
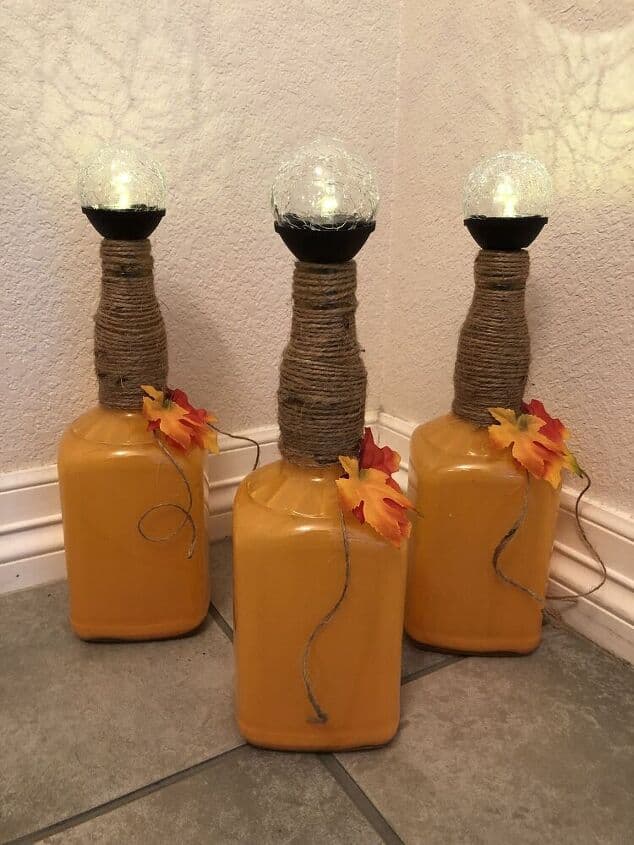
DIY Pumpkin Decor Using A Glass Bottle
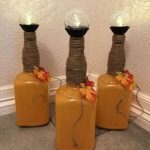
I had some old glass bottles that I had been saving for a project. With fall coming it’s the perfect time to create DIY pumpkin decor for your home. If you don’t have bottles laying around, not to worry. You can find bottles like this at thrift stores, yard sales, a hardware store, or among the craft supplies at any craft store. I decided to look for creative ways to use them. With fall coming it’s the perfect time for a DIY project. I created DIY pumpkins which are perfect for fall decorations around your home. This easy pumpkin craft is a fun idea for kids of all ages and it doesn’t take much time. Below are the step-by-step instructions.
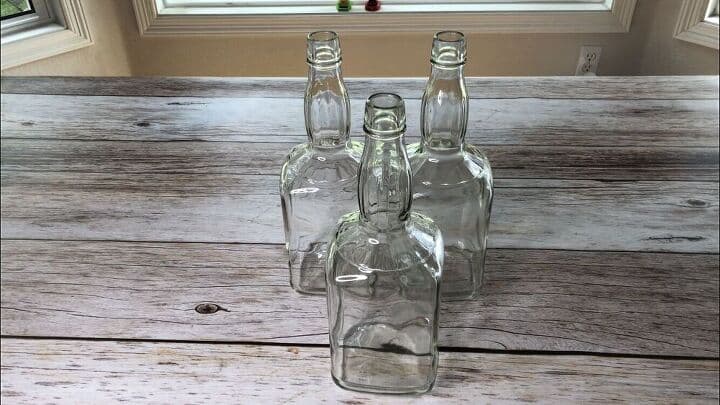
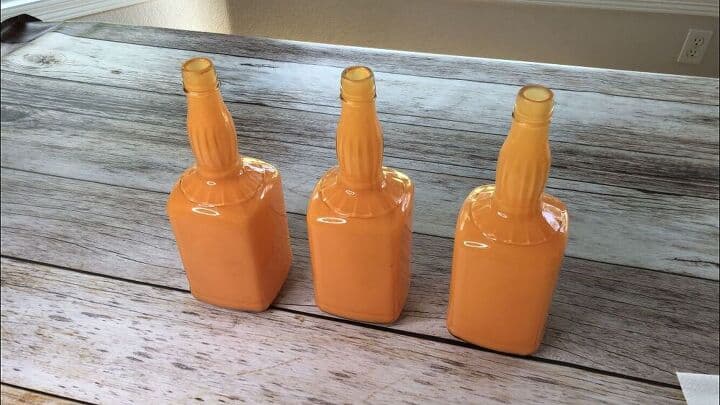
These are the 3 glass bottles I had. I removed the labels and washed them.
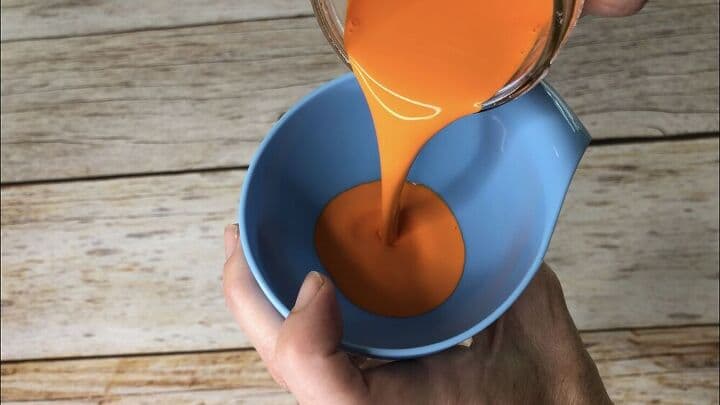
I wanted to use fall colors so I put some Apple Barrel orange acrylic paint in a glass jar, added a small amount of water, and mixed it up. You could skip the water if you like. I then poured the mixture into the glass bottles, making sure it made it all the way to the bottom of the pumpkin or bottle.
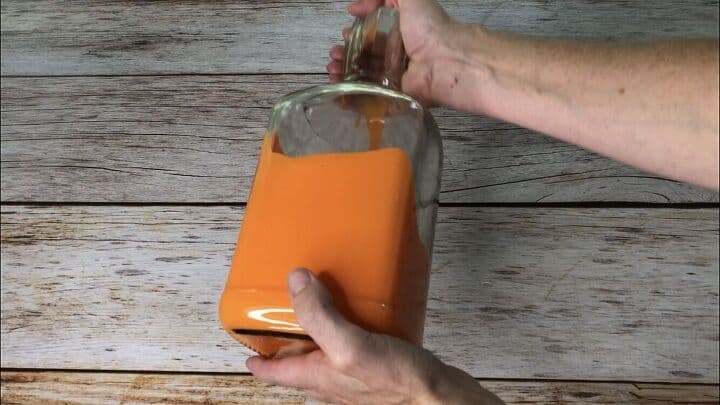
A simple way to coat the bottle is to rotate it and let the paint coat the inside of the glass bottle. Once the entire bottle was coated, I tipped the bottle upside down and let all of the extra paint drain out.

Here’s a quick picture of the painted bottles. You’ll want to leave the top open so that the paint can dry inside.
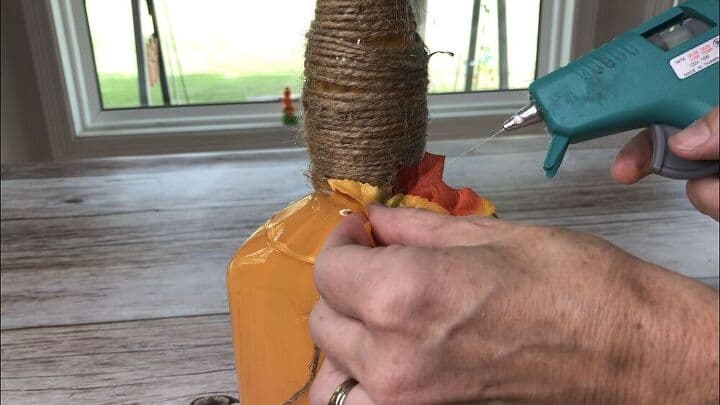
I used a hot glue gun added a little glue, and wrapped jute twine around the stem of the bottle. I hot glued the other end to hold it in place. I then hot glued on some fake leaves, and a longer strand of twine. The best part is this is a craft project you can adapt for your favorite season. You could add decorative ribbon or any other seasonal decor.
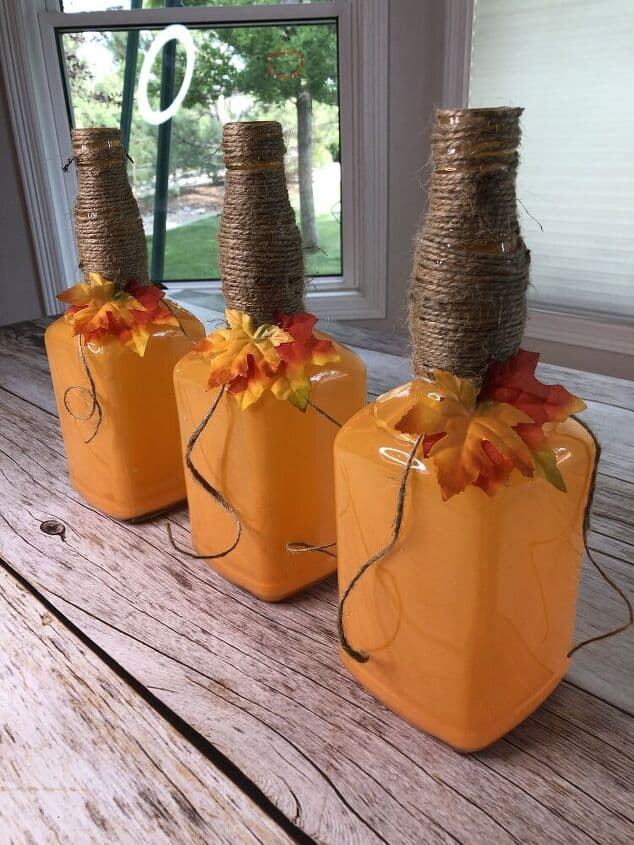
Now you could stop here and leave them just like this or you can take it to the next step…
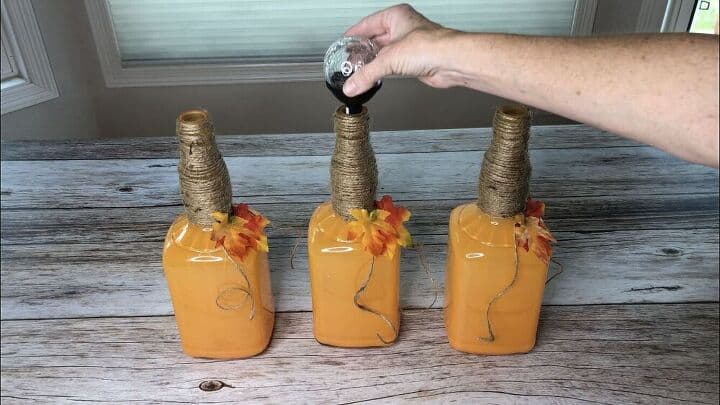
I pulled the stem off of a Walmart solar light and placed it into the bottle or top of the pumpkin.
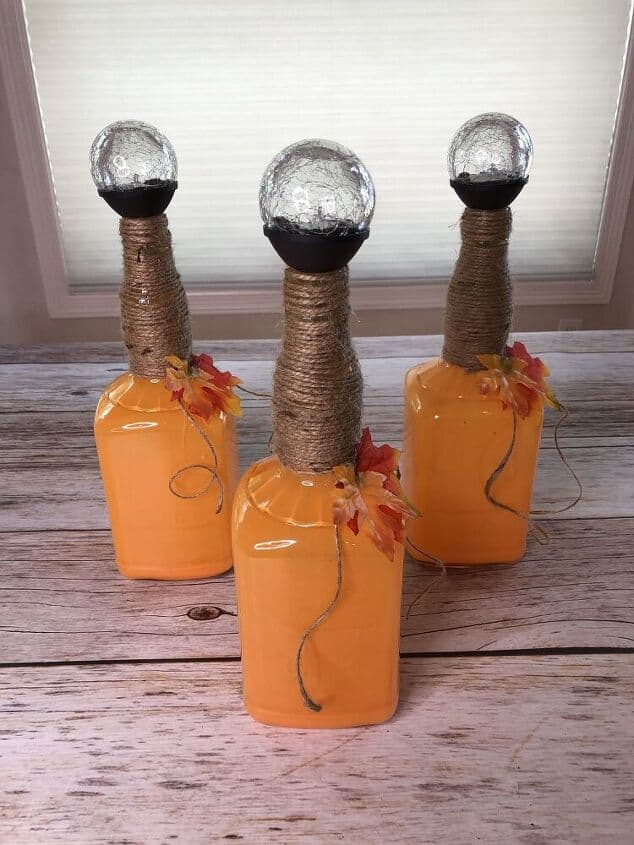
Now I can use them outside to light the front porch, railing, or walkway for the whole fall season.
DIY Pumpkin Decor Using A Glass Bottle Video
How to make homemade pumpkin decorations?
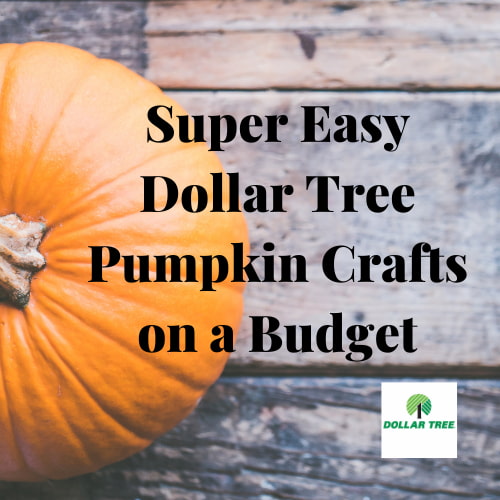
Did you know that you can make a ton of things out of dollar store pumpkins? Check out the different ways and easy ideas of how you can make cute pumpkins with items from Dollar Tree. Let’s get started making fun pumpkin crafts. Find the full tutorial below as well as other DIY pumpkin ideas:
You can have so much fun with easy DIY pumpkin decor! Pumpkin decorating is also great because you can leave these decorations up for an entire season. You might also enjoy some more of my Halloween decor ideas or other fall projects
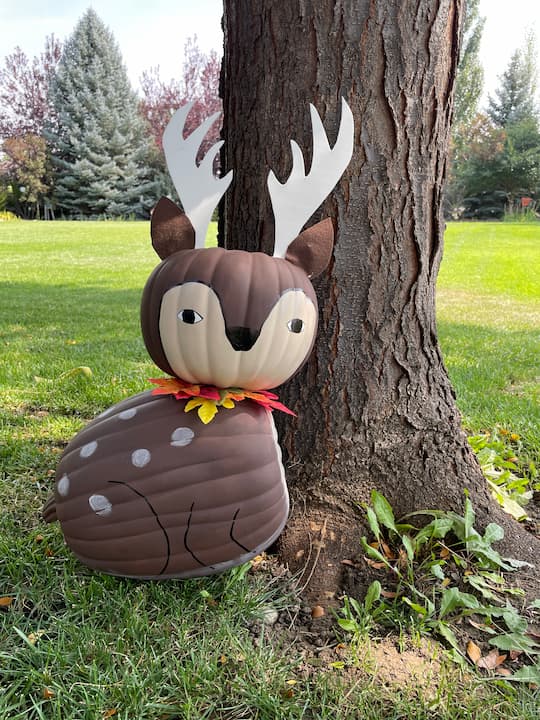
Easy Pumpkin Craft Deer
Do something unique with faux pumpkins – Turn 2 foam pumpkins into a cute deer that you can keep up year-round with just a few simple changes. All you’ll need is a little paint, hot glue, felt and foam to create this super cute and easy pumpkin craft. Easy Pumpkin Craft Deer for the full tutorial.
6 Easy Plastic Pumpkin Crafts
Do you ever wonder what to do with plastic pumpkin buckets? Here are 6 ways I have given plastic pumpkins a makeover. Anything from plastic pumpkins for Halloween, for fall, or some outside-the-box ideas as well. Hop on over to 6 Easy Plastic Pumpkin Crafts for the full tutorials.
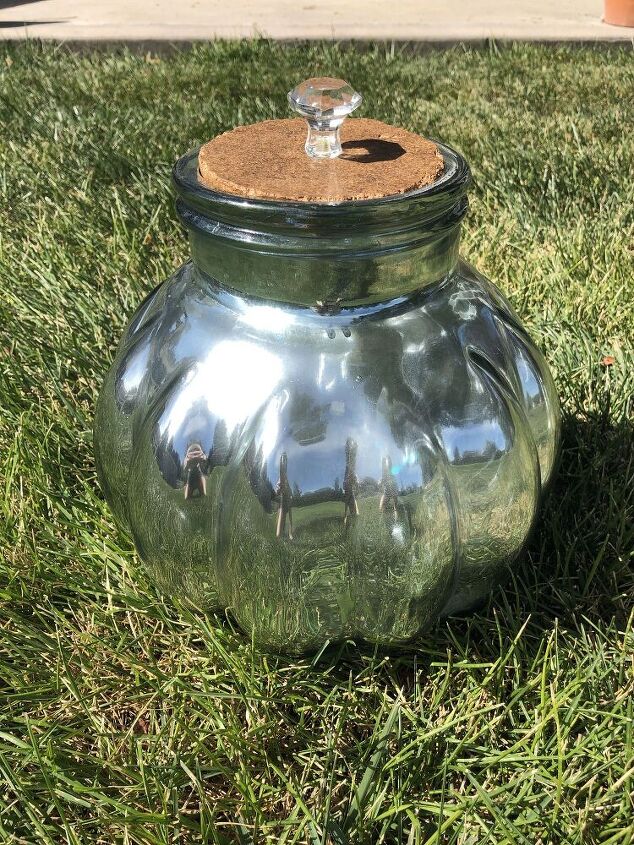
Upcycle Thrift Store Finds to create Amazing PUmpkins
Do you like thrift stores? I found this cute glass container and it reminded me of a pumpkin. Here’s an idea on how to upcycle thrift store finds. There are 2 ways to do this easy project and you can find the full tutorial at Upcycle Thrift Store Finds to create Amazing PUmpkins
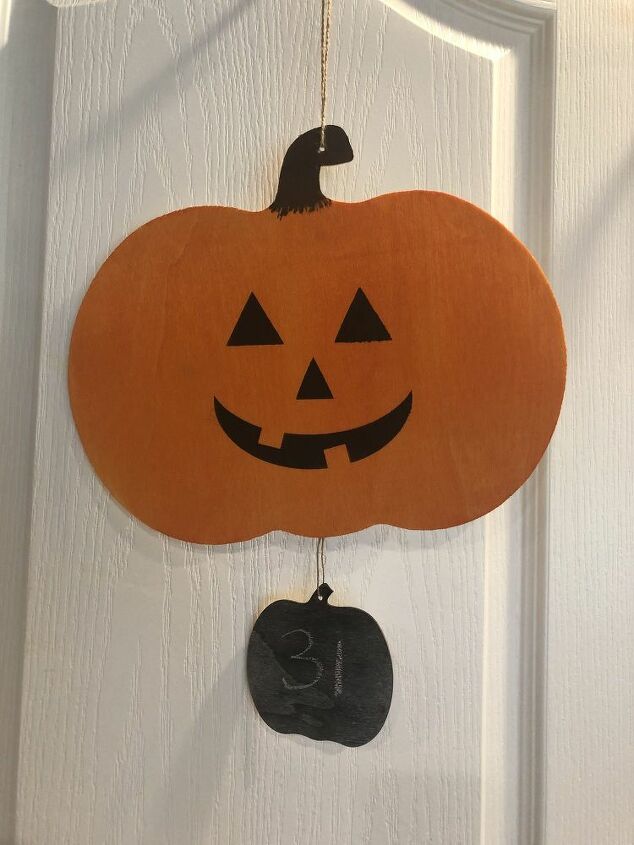
How Many Days Till Halloween Easy Dollar Tree Craft
How many days till Halloween? With a little dye and paint, I created a fun Halloween Countdown Calendar with items from Dollar Tree. Kids will love this project and it’s fun to create with them as well. You can find the full tutorial here at How Many Days Till Halloween Easy Dollar Tree Craft
Super Easy Glitter Pumpkin Craft
I’m a seasonal decorator and I love making things that I get to leave up for 3 months at a time. This glitter pumpkin is one of my favorite decorations, it is inexpensive and super easy to make. Great for kids, girls’ night out, party favors, etc. You can find the full tutorial at Super Easy Glitter Pumpkin Craft

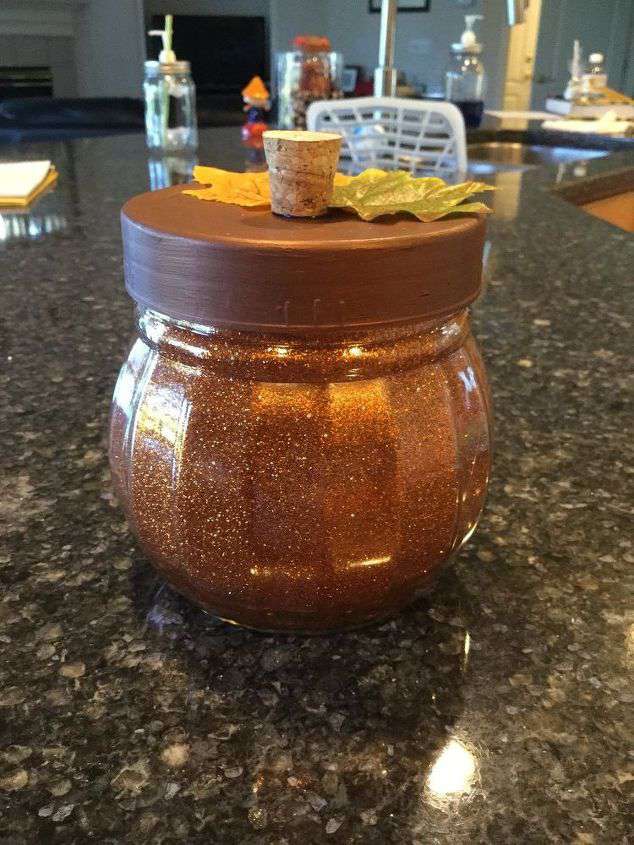
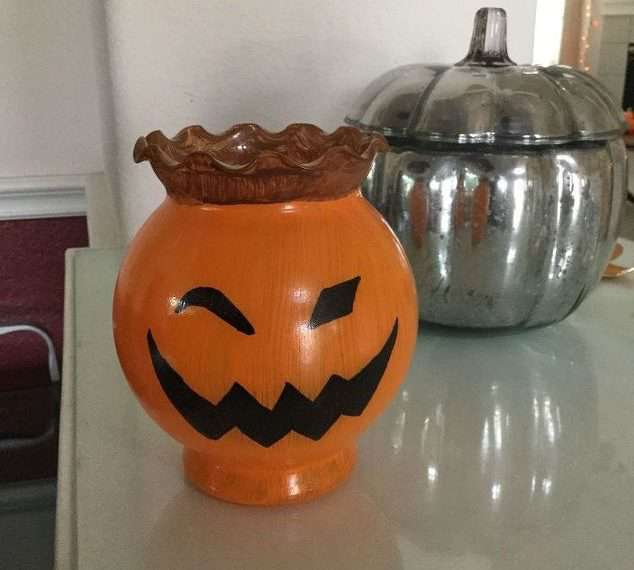
Easy Fall Decor – With a Glass Pumpkin Jar
Creating a seasonal look in your home doesn’t have to be hard. Just a few simple items put together can create ambiance in your home. I set this up every year and still love it to this day. Guess what? You can make this for under $10! Find the full tutorial here at Easy Fall Decor – With a Glass Pumpkin Jar
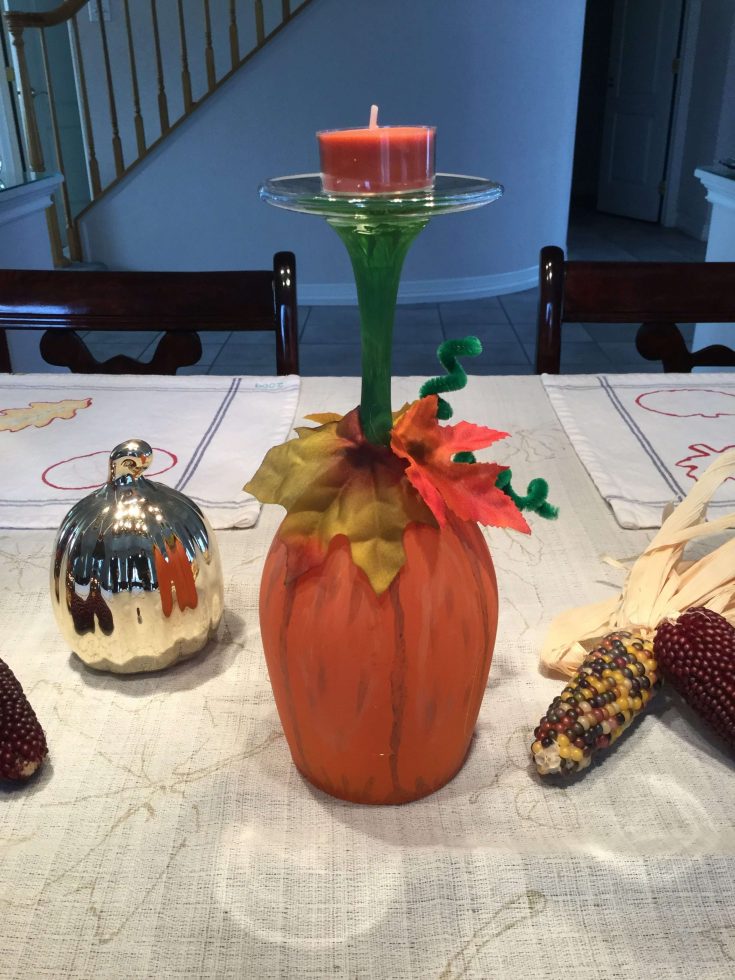
Wine Glasses to Pumpkin Candles
Have you seen the wine glasses turned into pumpkin candle holders? I have and I’ve been wanting to give them a try. I finally did it, for our Thanksgiving table! They are really easy and inexpensive to make. I think they’d make a great thing to sell at a craft fair too. You can find the full tutorial at Wine Glasses to Pumpkin Candles
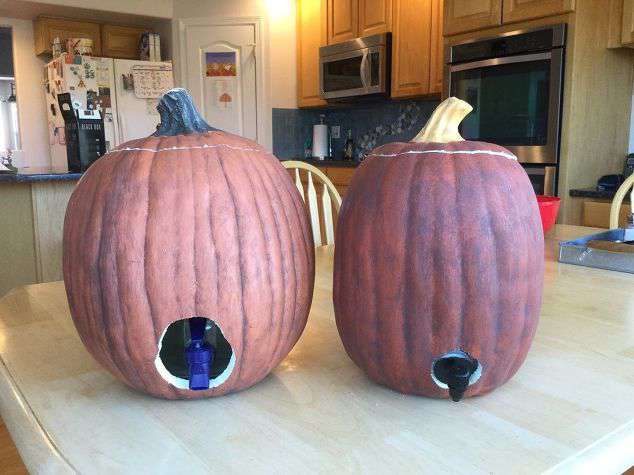
Fake Pumpkin Beverage Dispenser
Turn a fake pumpkin into a beverage dispenser for the holidays. It’s easy and reusable. My family LOVES these and you can put multiple options for beverages inside of them. Find the full tutorial at Fake Pumpkin Beverage Dispenser
Carving Fake Pumpkins
Here’s a no carve pumpkin trick to make faux pumpkins look real. Here is an inexpensive and simple way to carve your faux pumpkin carving. No power tools or hot knives are needed. You can simply use some paint, and pumpkin carving tools to create these. Want an easier option? Use a wood-burning tool. Find the full tutorial at Carving Fake Pumpkins
3 Ways to Have Fun with a Dollar Tree pumpkin crafTS
Decorate Dollar Tree foam pumpkins – All you need is one pumpkin and there are so many ways to have fun with it! Easy project – great for kids, girl’s night out, Halloween parties, party favors, etc. Could easily be amended for a simple fall or Thanksgiving decoration as well. To find these fun and easy tutorials hop on over to 3 Ways to Have Fun with a Dollar Tree pumpkin crafts
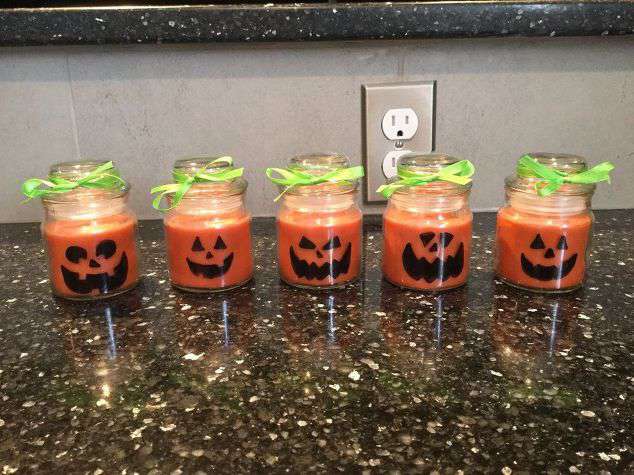
Easy pumpkin Candle craft
Make this super easy candle craft for Halloween. It’s easy and inexpensive! Great for kids and adults, parties, party favors, etc. Make them and sell them to earn a little extra cash before the holidays. Find the full tutorial at Easy pumpkin Candle craft
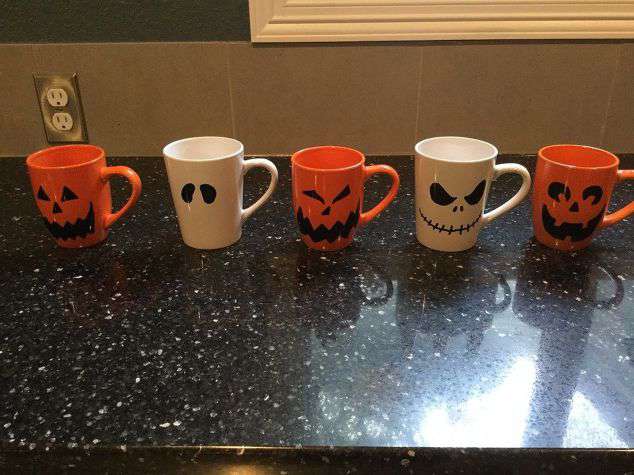
Easy Pumpkin Mug Craft
You’ll need a mug – can be a re-purposed mug or a new one from Dollar Tree, Walmart, etc. These cost $1 to make and they are great for classroom parties with kids, party favors, or make them and sell them! Find the full tutorial at Easy Pumpkin Mug Craft
Window Cling Pumpkin Crafts
Something we had done every year for fun, I decided to share it with the world. Fun for the whole family, have fun with some basic window clings. My kids LOVE this activity. Now that they’re older they giggle and laugh when we get them out and put them up at home. Find the full tutorial at Window Cling Pumpkin Crafts
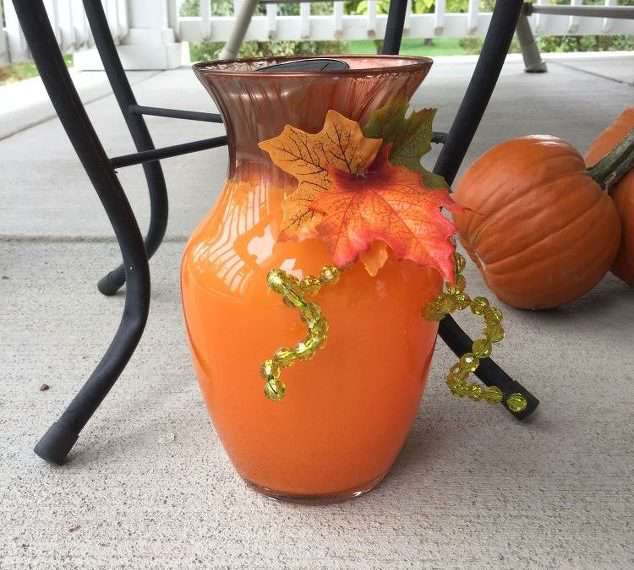
Bud Vase Pumpkins
Change a simple bud vase into a pumpkin or ghost. An easy project for kids too! All you need is a little paint and some markers. This costs so little to make and everyone has so much fun with it. Find the full tutorial at Bud Vase Pumpkins
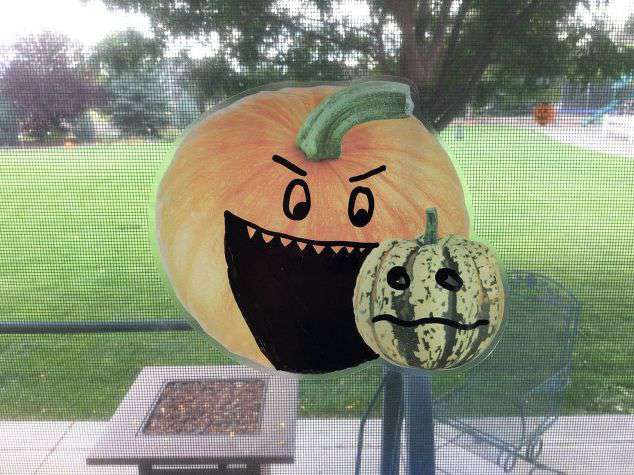
PUmpkin Crafts with repurposed vases
Do you have a bunch of vases on hand? Try these couple repurposed ideas – ghost & pumpkin vases This pumpkin I actually made a solar light and you can find the full tutorial at Pumpkin Crafts with repurposed vases, plus you won’t want to miss the ghost too!
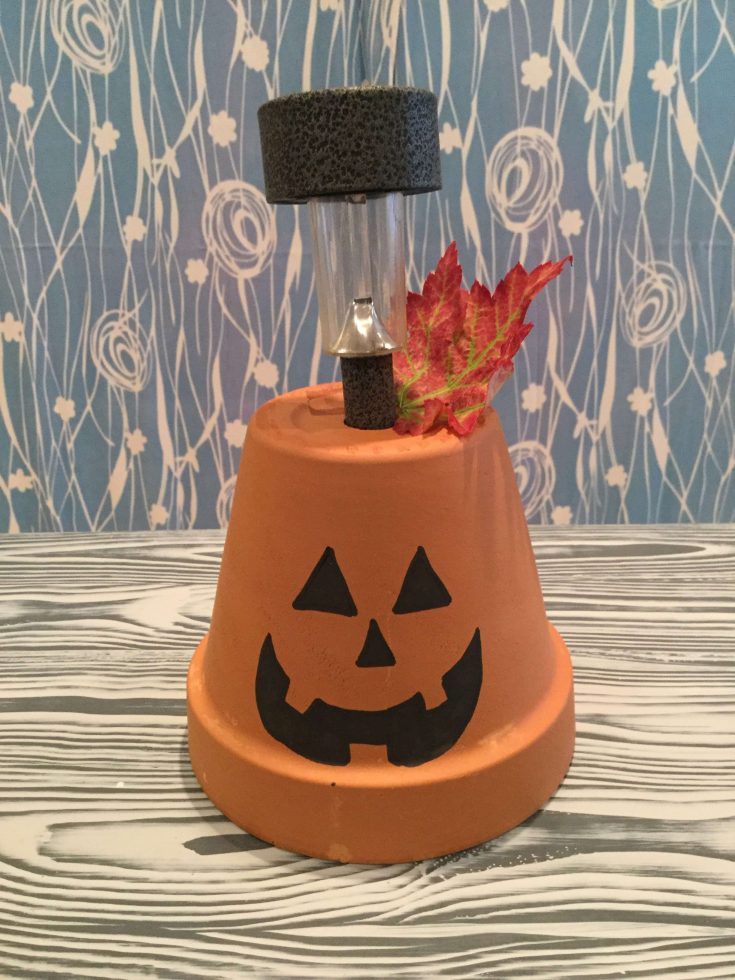
Flower Pot to Solar Pumpkin
I love fall, Halloween, and solar lights! Every year I want to make my walkway light up for fall and especially for safety on Halloween night when the kids are out trick or treating. I have come up with a way to merge all 3 of the things I love and make it functional for Halloween evening! Find the full tutorial at Flower Pot to Solar Pumpkin
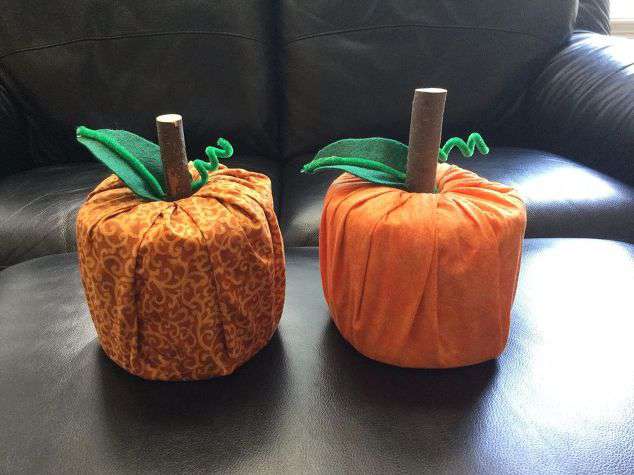
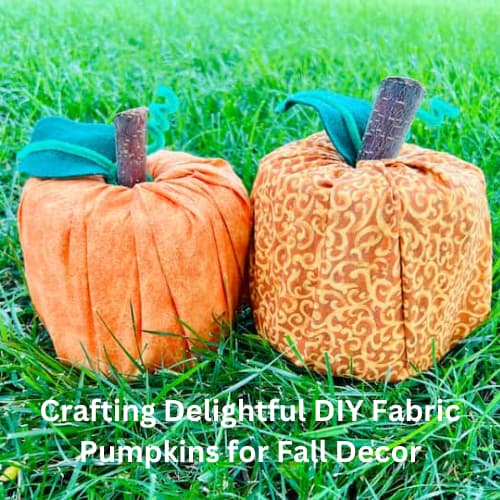
Easy Fabric Pumpkin Crafts
Use a toilet paper roll to create a pumpkin – These pumpkins are easy for anyone including kids to make. They are useful items (hides toilet paper), and they pack away nicely at the end of the season. You can find the full tutorial at Easy Fabric Pumpkin Crafts
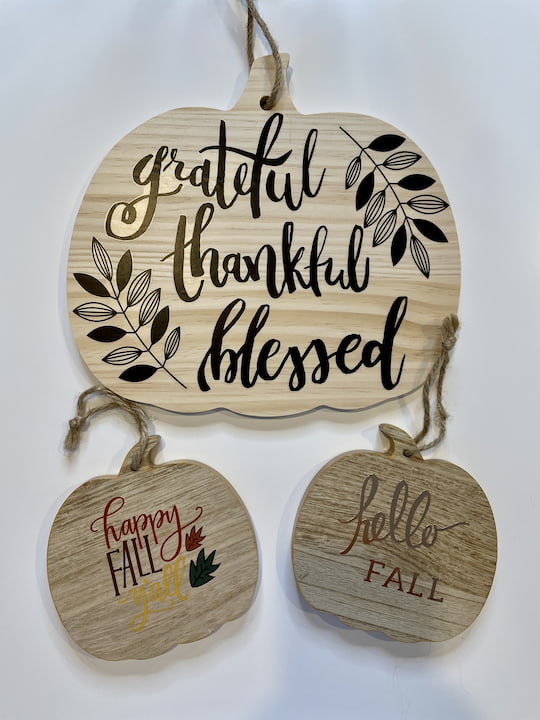
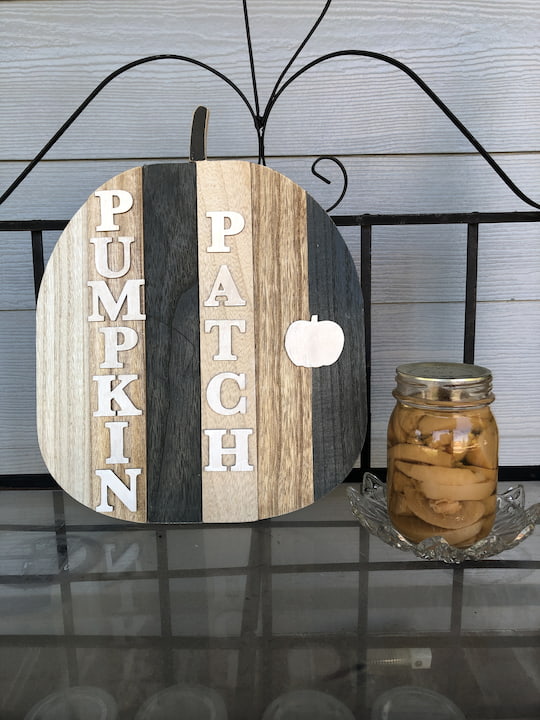
Easy and Fantastic DIY Wooden Fall Decor on a Budget
Are you looking for DIY wooden fall decor? I made a few different fall crafts with just a few items and supplies from the Target dollar spot and Dollar Tree. Make wood pumpkins with these awesome ideas: Easy and Fantastic DIY Wooden Fall Decor on a Budget and Easy and Cheap DIY Fall Decor on a Budget with Video
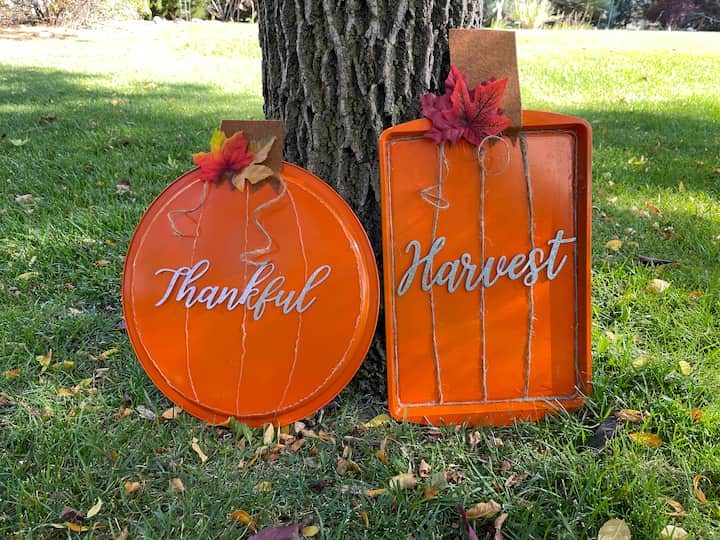
Easy and Beautiful Dollar Tree Pumpkins For Fall
Do you love Dollar Tree? I sure do and I made some easy and beautiful pumpkins for fall with a few of their pans. You can find the full tutorial at Easy and Beautiful Dollar Tree Pumpkins For Fall
What you’ll love about these crafts is that you don’t need dollar store pumpkins, faux pumpkins, or plastic pumpkins for some of them. They’re great Dollar Tree crafts with an easy tutorial. You’ll just need a few craft supplies to create this lovely home decor. These fall decor ideas are an easy way to decorate both inside and out.
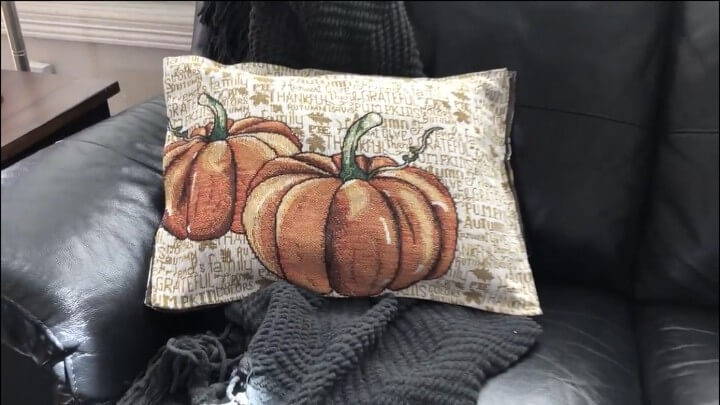
Easy No Sew Fall Pillow
I was on one of my trips to the dollar store when I found some super cute placemats. Inspiration struck – easy no sew fall pillows! You can find the full tutorial at Easy No Sew Fall Pillow
These easy craft projects all give a beautiful end result. Find the pumpkin tutorial and make a DIY Dollar Tree pumpkin that speaks to you. Get in the fall spirit and create your fall crafts and use fall inspiration to decorate your front porch, and put seasonal decor around your lovely home.
Shop any of these stores and I receive a small commission at no cost to you.
 North Mountain Supply – NMS…Shop on Amazon
 SOLPEX Solar Garden Lights …Shop on Amazon
") ElaDeco 1000 Pcs Artificial…Shop on Amazon
ElaDeco 1000 Pcs Artificial…Shop on Amazon, Gloss Pumpkin Orange") Apple Barrel Gloss Acrylic …Shop on Amazon
Apple Barrel Gloss Acrylic …Shop on Amazon KINGLAKE Natural Jute Twine…Shop on Amazon
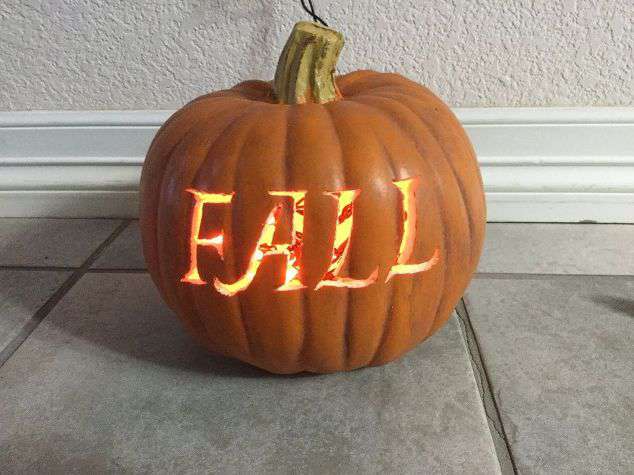
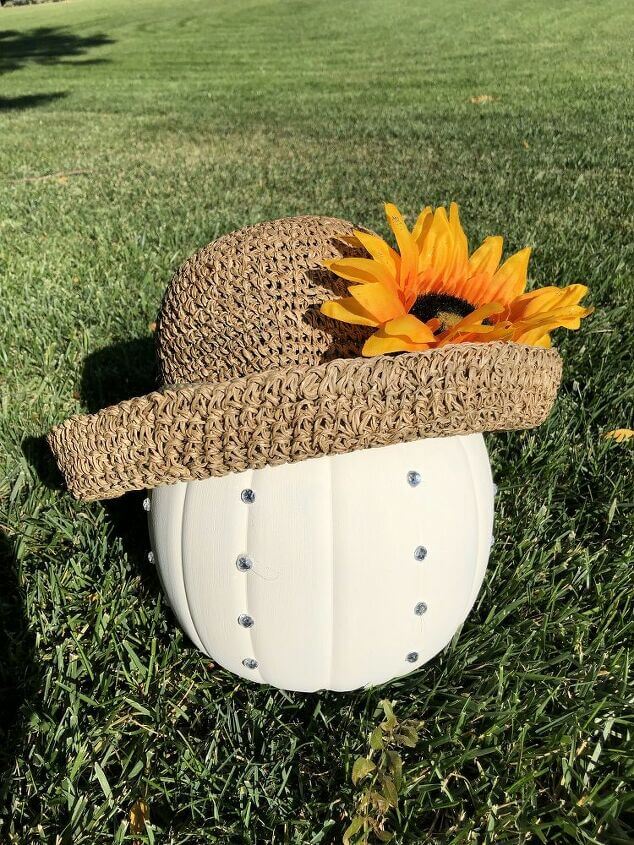
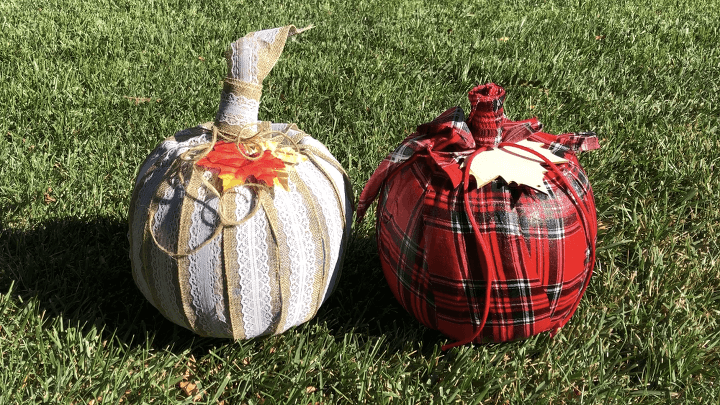
More DIY Pumpkin Decor Ideas
- Glitter Pumpkins: Paint pumpkins with a layer of glue and sprinkle glitter over them. You can use different colors of glitter to create a sparkling effect.
- Mosaic Pumpkins: Break colorful tiles or glass into small pieces and glue them onto the pumpkin’s surface to create a mosaic pattern.
- Painted Pumpkins: Use acrylic paints to create unique designs on your pumpkins. You can go for traditional patterns or get creative with abstract designs.
- Decoupage Pumpkins: Cut out various shapes and patterns from decorative paper or tissue paper. Then, apply a layer of Mod Podge or glue to the pumpkin and carefully place the cutouts on it. Once it dries, apply another layer of Mod Podge to seal the design.
- Lace Pumpkins: Wrap lace fabric or doilies around the pumpkins and secure them with glue or pins. You can choose different colors of lace or mix and match patterns.
- Drilled Pumpkins: Use a power drill to create intricate patterns of holes in the pumpkin. When you insert a candle inside, the light will shine through the holes, creating a beautiful effect.
- Floral Pumpkins: Attach artificial flowers or foliage to the top of the pumpkin using hot glue. You can create a floral crown or cover the entire pumpkin with flowers.
- Pumpkin Lanterns: Carve or cut out different shapes on the pumpkin to create a lantern effect. Insert a small battery-operated candle or LED light inside for an enchanting glow.
- Chalkboard Pumpkins: Paint pumpkins with chalkboard paint and let them dry. Then, use chalk to draw or write Halloween-themed messages or designs on them.
- Yarn-Wrapped Pumpkins: Wrap yarn or twine around the pumpkins, securing it with glue at the beginning and end. You can use multiple colors or create patterns with the yarn.
- Pumpkin Dioramas: Carve out a section of the pumpkin to create a small scene inside. Use miniatures, figurines, and other decorative elements to bring the diorama to life.
- Pumpkin Planters: Hollow out a small pumpkin and fill it with soil. Plant succulents, small flowers, or herbs inside for a charming pumpkin planter.
- Pumpkin Animal Faces: Instead of traditional Jack-o’-lantern faces, carve or paint your pumpkins to resemble animals. From cats and owls to foxes and bats, the options are endless.
- Pumpkin Topiaries: Stack small or medium-sized pumpkins on top of each other using dowels or skewers. Decorate the topiary with ribbons, bows, or other embellishments.
- Pumpkin Vases: Carve out the center of a pumpkin and place a small vase or glass jar inside. Fill it with fresh flowers or dried arrangements to create a unique centerpiece.
- Pumpkin Candy Holders: Carve out a pumpkin and insert a plastic or glass bowl inside. Use it to hold Halloween candies or treats.
- Pumpkin Terrariums: Create a miniature terrarium inside a hollowed-out pumpkin. Add soil, moss, small plants, and tiny figurines to make a whimsical garden.
- Pumpkin Fairy House: Carve or paint a pumpkin to look like a cozy fairy house. Add windows, doors, and other magical details using craft materials.
- Pumpkin Wreaths: Attach small pumpkins to a wreath form using hot glue. Decorate with leaves, berries, ribbons, or other seasonal elements for a festive door decoration.
- Pumpkin Luminary Bags: Carve small pumpkins and place battery-operated tea lights inside. Put them inside paper luminary bags and arrange them along walkways or on your porch.
- Pumpkin Stamps: Cut various shapes, such as stars, moons, or bats, into the bottom of small pumpkins. Dip them in paint and use them as stamps to create Halloween-themed patterns on paper or fabric.
- Pumpkin Fairy Lanterns: Carve small windows or openings in a pumpkin and insert battery-operated fairy lights inside. The soft glow will create a magical ambiance.
- Pumpkin Message Board: Paint a pumpkin with chalkboard paint and let it dry. Use chalk markers to write fun messages, quotes, or draw illustrations on the pumpkin. Change the messages throughout the season.
- Pumpkin Decals: Find or design your own Halloween-themed decals or stickers. Stick them onto the surface of a painted or natural pumpkin to create a quick and easy decoration.
- Pumpkin Succulent Centerpiece: Hollow out a pumpkin and fill it with a layer of soil. Plant small succulents inside, arranging them in an aesthetically pleasing manner. Display it as a striking centerpiece.
- Pumpkin Mummy: Wrap strips of white cloth or gauze around a pumpkin, leaving some areas uncovered to create the appearance of a mummy. Attach googly eyes or paint them on for a fun effect.
- Pumpkin Bathtub: Carve a pumpkin as if it were a bathtub and add miniature toy figures like rubber ducks or skeletons to create a playful scene.
- Pumpkin Spider Web: Stretch white or black yarn across the surface of a pumpkin in a spider web pattern. Add a few plastic spiders to complete the creepy effect.
- Pumpkin Marquee: Carve out large letters or shapes, such as a monogram or a spooky word, from a pumpkin. Place battery-operated fairy lights inside, highlighting the carved areas.
- Pumpkin Candy Corn Stacking: Paint a series of small pumpkins in the colors of candy corn (orange, white, and yellow). Stack them on top of each other to create a playful candy corn tower.
- Make a pumpkin out of old books, simply carve a book into a pumpkin and then open the book pages up to reveal a pumpkin shape.
- Use canning jar lids to make a pumpkin
- cover a cheap pumpkin with an old sweater
- Decorate real pumpkins
- Grab a large pumpkin for your front porch
- Create tissue paper pumpkins or fabric pumpkins
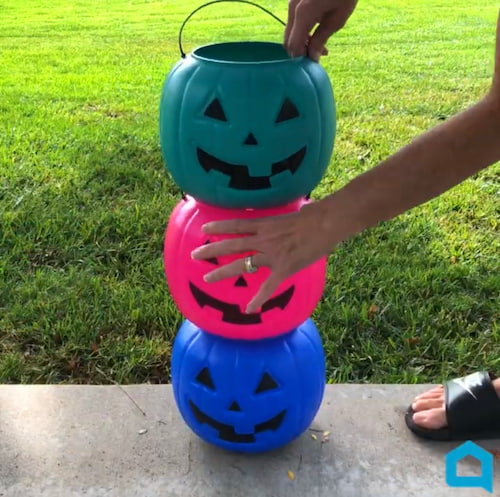
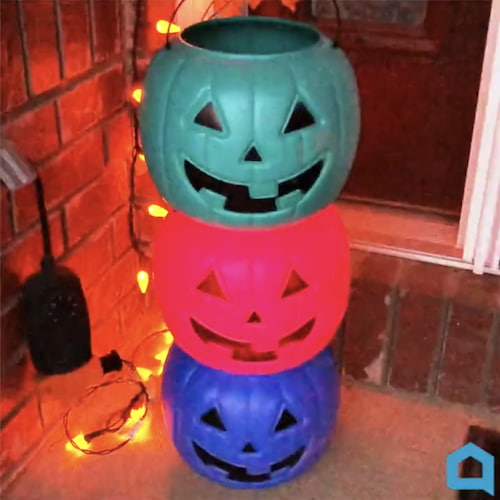
How to make stacked pumpkin decor?
Use plastic pumpkins to make several other pumpkin creations. You can see my stacked pumpkins that I created in my post: 6 Easy and Awesome Ideas For What To Do with Plastic Pumpkins Here’s a list of different ways you can create stacked pumpkin decor:
- Traditional Stacked Pumpkins: Simply stack three or more pumpkins of varying sizes on top of each other, starting with the largest at the bottom. You can use real pumpkins or artificial ones. You may want to secure them with dowels or skewers inserted through the center to keep them stable.
- Painted Stacked Pumpkins: Paint each pumpkin in the stack with different colors or patterns to create a vibrant and eye-catching display. You can use acrylic paints, spray paints, or even chalk paints for a rustic look.
- Ribbon-Wrapped Stacked Pumpkins: Wrap decorative ribbons or fabric strips around each pumpkin in the stack, securing them with glue or double-sided tape. Use ribbons of different colors and textures to create a festive and layered effect.
- Stacked Pumpkin Topiary: Use a combination of pumpkins, foam or wooden dowels, and a sturdy base to create a pumpkin topiary. Attach the pumpkins to the dowels, starting with the largest at the bottom and the smallest at the top. Insert the dowels into the base and secure them with floral foam or glue.
- Stacked Pumpkin Planter: Hollow out the pumpkins in your stack and use them as planters. Fill each pumpkin with potting soil and plant flowers or succulents in them. Stack the plant-filled pumpkins on top of each other for a unique and colorful display.
- Stacked Pumpkin Lanterns: Carve out the pumpkins in your stack to create lanterns of different sizes. Insert battery-operated candles or string lights inside each pumpkin and stack them to form a glowing pumpkin tower.
- Stacked Pumpkin Snowman: Paint three pumpkins in different sizes with white or off-white paint. Stack them from largest to smallest, with the largest pumpkin at the bottom. Decorate the pumpkins as a snowman, adding a hat, scarf, and facial features. This is a great option for fall and winter seasons.
- Stacked Pumpkin Wreath: Create a wreath using miniature pumpkins. Attach the pumpkins to a wire wreath frame using floral wire, starting with the largest at the bottom and adding smaller pumpkins as you move upward. Decorate the pumpkins with ribbons, faux leaves, or other fall-themed embellishments.
- Stacked Pumpkin Totem Pole: Paint each pumpkin in the stack with different patterns or designs inspired by different cultures or themes. Stack them one on top of the other, creating a whimsical totem pole effect.
- Stacked Pumpkin Pillars: Create pillar-like structures by stacking rectangular or cylindrical pumpkins. Secure them together with dowels or long screws and decorate them with paint, ribbons, or other embellishments.
Remember to always handle pumpkins carefully and ensure they are stable and secure in your stacked designs. Get creative, mix and match techniques, and have fun designing your unique stacked pumpkin decor!

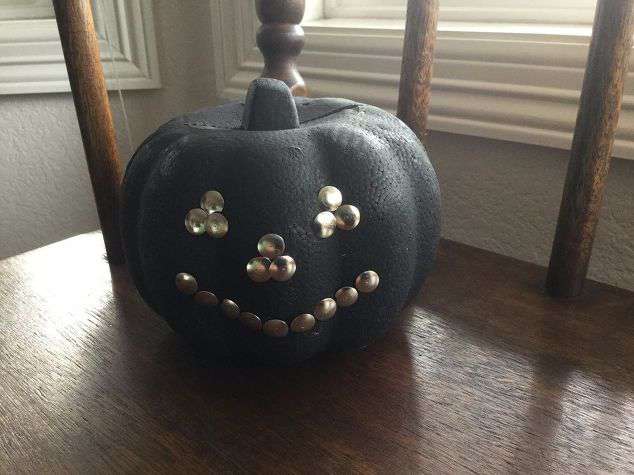
How do you decorate a pumpkin without carving or painting?
There are several creative ways to decorate a pumpkin without carving or painting. A couple of my own examples are: Cute and Easy Pumpkin Craft Idea Deer with Video and 6 Easy and Awesome Ideas For What To Do with Plastic Pumpkins Here are a few more ideas:
- Glitter: Apply glue or adhesive to the surface of the pumpkin and sprinkle glitter over it. You can cover the entire pumpkin or create specific patterns or designs.
- Decoupage: Cut out decorative paper or fabric shapes, apply a layer of decoupage glue or Mod Podge to the pumpkin’s surface, and carefully place the cutouts onto the glue. Smooth out any wrinkles or bubbles and let it dry. You can create intricate designs or use seasonal motifs.
- Wrapping: Use decorative ribbons, twine, or fabric strips to wrap the pumpkin. Start at the stem and work your way down, securing the wrapping with glue or tape as needed. You can experiment with different colors and textures for an interesting look.
- Mosaic: Use small, colorful tiles or glass pieces to create a mosaic design on the pumpkin’s surface. Apply adhesive to the back of each piece and carefully arrange them on the pumpkin. Let it dry and then fill in the gaps with grout.
- Fabric or lace overlay: Cut out pieces of fabric or lace in desired shapes or patterns and apply them to the pumpkin’s surface using glue or adhesive. You can cover the entire pumpkin or create specific designs. Trim any excess fabric or lace for a neat finish.
- Natural materials: Use natural materials like dried leaves, twigs, pinecones, or flowers to decorate the pumpkin. Arrange them on the surface using glue or adhesive to create unique patterns or designs. This can give your pumpkin a rustic or organic look.
Remember, when decorating pumpkins, it’s essential to consider the longevity of the decorations and the safety of the materials used. Avoid using anything that could rot or attract pests. Enjoy the process and let your creativity shine!
What kind of paint works best on pumpkins?
When it comes to painting pumpkins, it’s important to choose the right type of paint that adheres well to the pumpkin’s surface and withstands the test of time. Here are some paint options that work well for pumpkin decorating:
- Acrylic Paint: Acrylic paint is a popular choice for pumpkin painting. It adheres well to the pumpkin’s surface, dries quickly, and provides good coverage. You can find acrylic paints in a wide range of colors and finishes, including matte, glossy, and metallic.
- Craft Paint: Craft paints, such as those designed for wood or ceramics, can also be used on pumpkins. They offer good coverage and come in various colors and finishes. Make sure to choose non-toxic craft paint suitable for outdoor use if you plan to display your painted pumpkin outside.
- Spray Paint: Spray paint can be an efficient option for painting pumpkins, especially if you want to cover a large area quickly. Opt for spray paints designed for multi-surface use, which often work well on pumpkins. It’s best to apply multiple thin coats to achieve an even finish.
- Chalk Paint: Chalk paint is another popular choice for pumpkin decorating. It has a matte finish and can give your pumpkins a vintage or rustic look. Chalk paint adheres well to the pumpkin’s surface, and you can also distress or seal it for added effects.
- Watercolor Paint: If you prefer a more translucent and delicate look, you can use watercolor paints on pumpkins. They create a soft and artistic effect, allowing the pumpkin’s texture to show through. However, keep in mind that watercolor paints may not have the same durability as other paint options.
- Dry Erase Markers: This is my personal favorite and great for kids. It writes on nicely and stays on once dry.
Before painting your pumpkin, it’s a good idea to clean the surface and remove any dirt or debris. You can also apply a primer or a base coat to help the paint adhere better and enhance its longevity. Remember to let the paint dry completely before handling or displaying the painted pumpkin.
What materials can you use to decorate a pumpkin?
There is a wide variety of materials you can use to decorate a pumpkin. Here are some popular options:
- Ribbons and Fabric: Use colorful ribbons, fabric strips, or fabric swatches to wrap around the pumpkin, creating patterns or covering it entirely. You can tie bows, make fabric flowers, or create intricate designs using different textures and colors.
- Glitter and Sequins: Apply glue or adhesive to the pumpkin’s surface and sprinkle glitter or sequins over it. You can cover the entire pumpkin or create specific designs and patterns. This adds sparkle and shine to your decoration.
- Natural Materials: Incorporate natural materials like leaves, twigs, pinecones, acorns, or dried flowers into your pumpkin decoration. Glue them onto the surface or arrange them in interesting patterns. These elements can provide an organic and rustic look.
- Craft Supplies: Utilize various craft supplies like buttons, beads, rhinestones, pom-poms, or googly eyes to create fun and unique designs on the pumpkin. Glue them onto the surface to form shapes, faces, or patterns.
- Washi Tape: Washi tape is a decorative adhesive tape available in various colors, patterns, and widths. Use it to create stripes, geometric patterns, or intricate designs on the pumpkin’s surface.
- Mosaic Tiles or Gems: Apply small mosaic tiles or gemstones using adhesive to create a mosaic pattern or design on the pumpkin. This can give it a unique and eye-catching look.
- Faux Flowers: Use artificial flowers and floral stems to create a floral arrangement on top of the pumpkin. You can also glue individual flowers or petals onto the pumpkin’s surface for a colorful and dimensional effect.
- Yarn or String: Wrap yarn or string around the pumpkin, covering it partially or entirely. Experiment with different colors, textures, and patterns to achieve the desired look.
- Stencils and Cutouts: Use stencils or cutouts made from paper or cardstock to trace designs onto the pumpkin’s surface. Then, use a craft knife or carving tool to carefully cut along the traced lines. This method allows you to create intricate designs without actually carving the pumpkin.
You might be interested in this post: Creative Dollar Tree Pumpkin Wreath Form Ideas
Learn more about “Creating Seasonal Decor for Your Home” to create seasonal decor that doesn’t cost an arm and a leg.


Chas,
I love these cute bottles. I saw them on Hometalk and rushed over to explore some more. I would love to share a link on my Sunday, Dirt Road Adventures. I hope that ok.
Thank you for sharing your wonderful pumpkin bottles.
Have some old bottles I will definitely do this to.
Halloween is my favorite time of the year??
You’re most welcome Deborah, and I’m thrilled you are excited about making some too. Halloween is my favorite as well 🙂
What a great addition to our linky party! We are so happy to have you!
You are so sweet Ann, thank you so very much!
Thank you so much for sharing! Your project is absolutely darling!
Thank you so much Meg, I’m thrilled you like it.
You never cease to amaze and inspire me! These are fantastic and the addition of the solar light? Genius! Featuring when my BFF Open House opens tonight!!
You are so sweet Carol, thank you so very much for the kind words. Sending hugs to you friend.
We are so excited that you participated! Thank you for sharing your creativity!
Thank you so much for the invite Beth 🙂
This is so cute! Thank you for participating in our linky party!
Thank you Laura, I appreciate it.
These pumpkin bottle lights are fabulous! I will be featuring them in this week’s Creative Compulsions.
Michelle
mybijoulifeonline.com
Thank you so much Michelle, I appreciate the feature, kind words, and support.
Hi Chas, these pumpkin bottles are so adorable and fun to make. I love them. Thanks so much for coming by All About Home and Linking up. I’m featuring this post this evening.
What a cute and easy fall decor idea! I love how simple it is to do but adore the Autumn punch it brings! I need to try this out. My son would love this project.
Maureen
littlemisscasual.com
Thank you so much Maureen and I’m thrilled you want to create this and that you would make it with your son. What a special memory
I’m officially in love with your pumpkin solar bottles. I’m featuring this post on the Little Cottage Link Party tomorrow. I hope you can drop by.
Thank you so much Kristie. I’m so excited you like them and thank you so much for the feature. See you at the next one.
What a wonderful decor idea! I love unique pumpkin decorations and your pumpkin bottles are lovely.
Thank you so much T’onna, I’m thrilled you like them. Always fun to reuse something rather than just throw it away.