
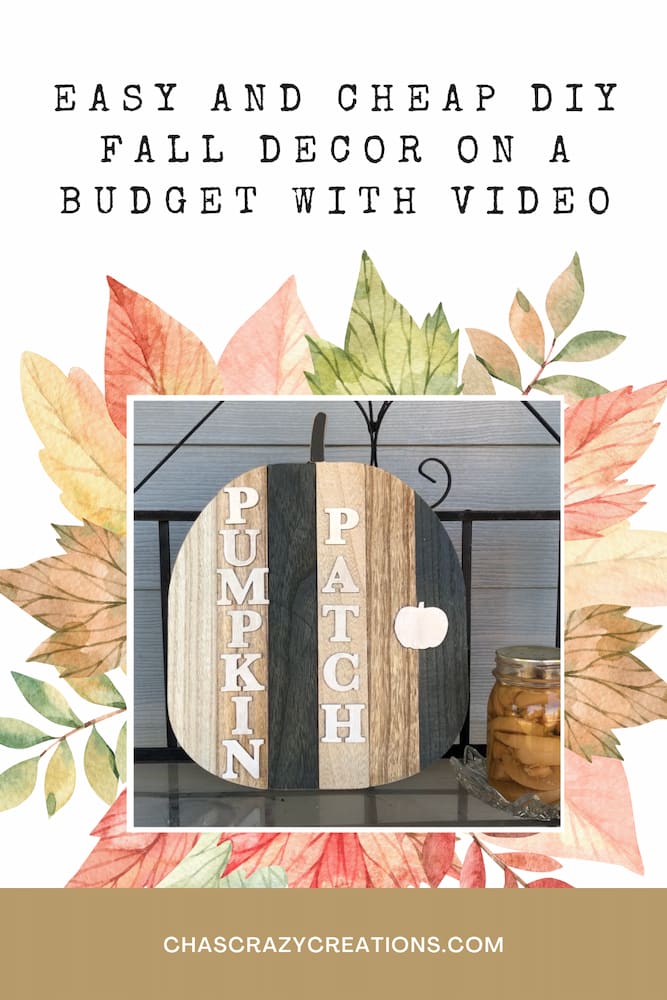
Easy and Cheap DIY Fall Decor on a Budget with Video

Are you looking for cheap DIY fall decor? I have a few to share with you today and all of them cost me under $10 to create.

Cheap DIY Fall Decor Materials
- orange placemats
- green felt
- faux leaves
- fall dish towel
- fiberfill
- wood pumpkin
- wood letters
- Folk Art Wood Tint
") AHHFSMEI Round Placemats Se…Shop on Amazon
AHHFSMEI Round Placemats Se…Shop on Amazon Boao 16 Pieces Christmas Gr…Shop on Amazon
 Moon Boat 1100PCS Fall Arti…Shop on Amazon
 Artoid Mode Buffalo Plaid P…Shop on Amazon
 Stuffing Pillow Filling Stuffing Cushion Filling, Batting High Resilience Fill Fiber for Stuffed Animals/DIY Crafts (White)") LOKUNN 7.05oz/200g Polyeste…Shop on Amazon
LOKUNN 7.05oz/200g Polyeste…Shop on Amazon WILLBOND 6 Pcs Large Size W…Shop on Amazon
 ilauke Wooden Letters 4 inc…Shop on Amazon
, Grey") FolkArt Home Decor Wood Tin…Shop on Amazon
FolkArt Home Decor Wood Tin…Shop on Amazon
Cheap DIY Fall Decor Video
Cheap DIY Fall Decor instructions
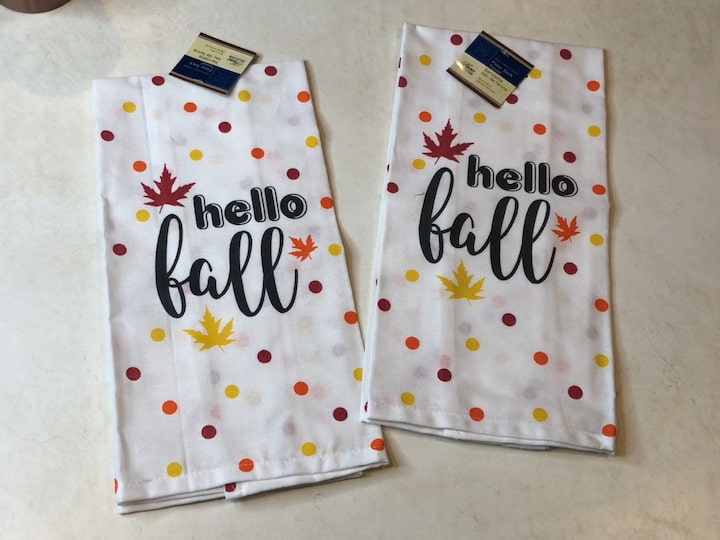
No Sew Pillow
For this first project, I found some super cute dish towels at Dollar Tree.
I opened up the first dish towel and I thought I would need two dish towels for this project but I was pleasantly surprised that I would only need one.
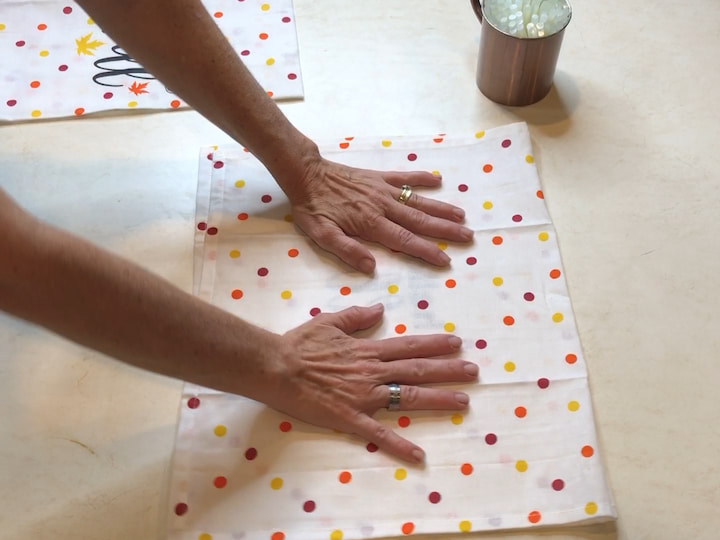
1. Fold the towel in half.
I folded the fabric in half with the right side facing out.

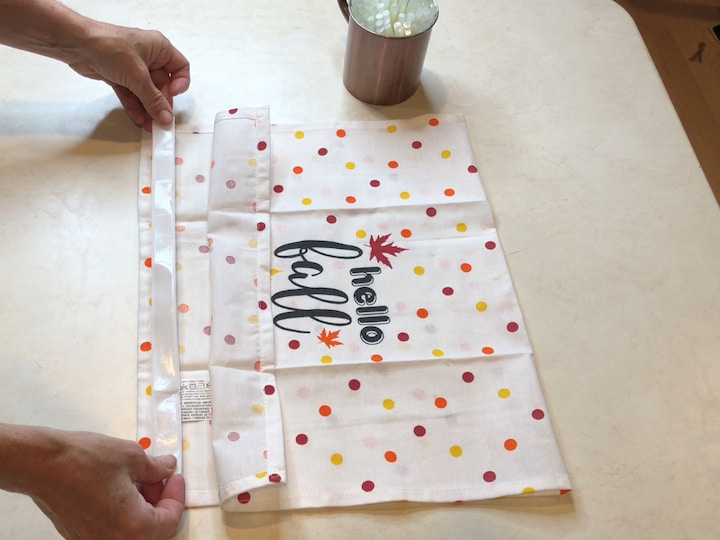
2. Cut and place the hook and loop fastener on the bottom of the towel.
I then took a hook and loop fastener that I also found at Dollar Tree that was self-adhesive. I cut it to size and put it on one side of the dish towel. I then folded down the top and pushed it onto the adhesive this will allow me a way to get in and out of my future pillow
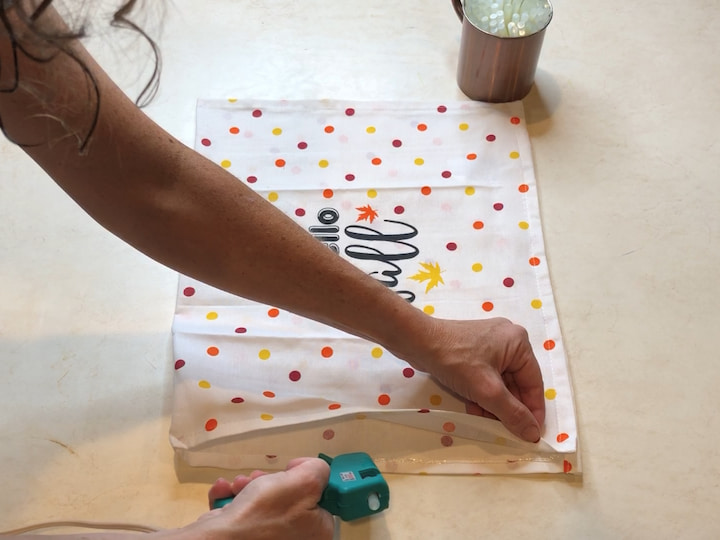
3. Hot glue the sides of the dish towel closed.
I then went and hot glued both sides of the pillow to close the entire pillow case up.
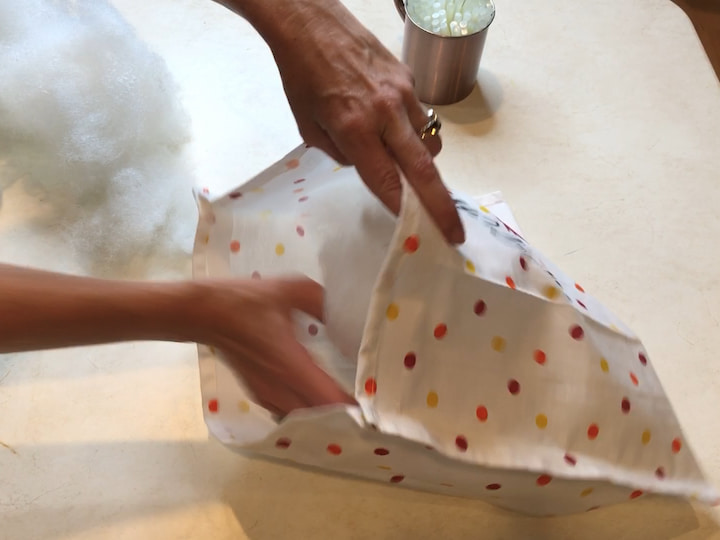
4. Stuff the pillowcase with fiberfill.
The pillow was fully enclosed so I pulled apart the hook and loop fastener and stuffed the stuffing inside to make a pillow. The reason for the hook and loop fastener for me is that I like easy storage. If I want to make another seasonal pillow for another holiday I’ll be able to pull the stuffing out of this one to put in another one. In addition to that, I’ll be able to put it away for the holiday flat and use it again next year and it will take up less storage space with my fall items.
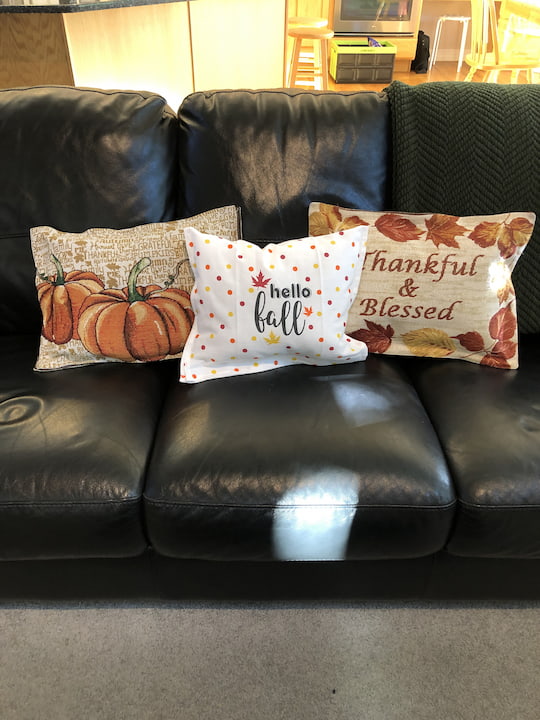
Once I got all my stuffing in I pushed the hook and loop fastener closed giving it a little fluff and it was ready to be displayed. One great thing I learned about this project is now it’s reversible so I could put the hello fall side down and leave the polka dot side out the rest of the year if I wanted.
I have also done the same process by finding a couple of placemats at the dollar store and doing the same technique with the hook and loop fastener and hot glue to close it again. For another project that’s reversible, you could alternatively do two different holidays back to back so that you could flip them back and forth for the holidays like fall and Halloween or thanksgiving or maybe fall and winter.
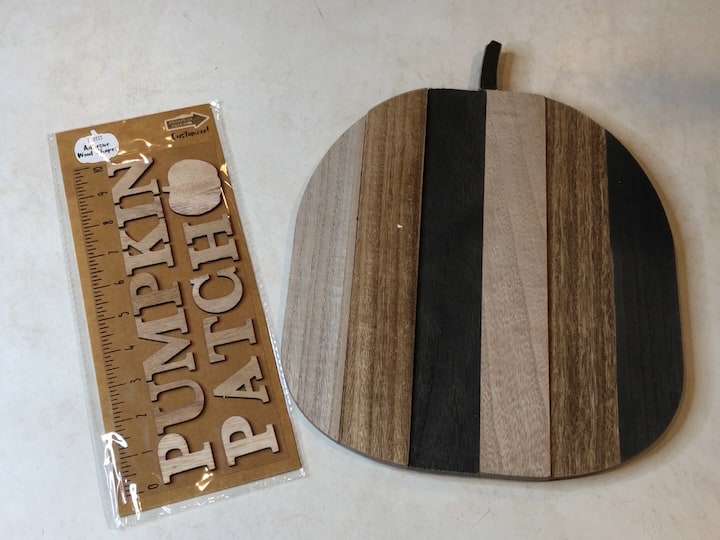
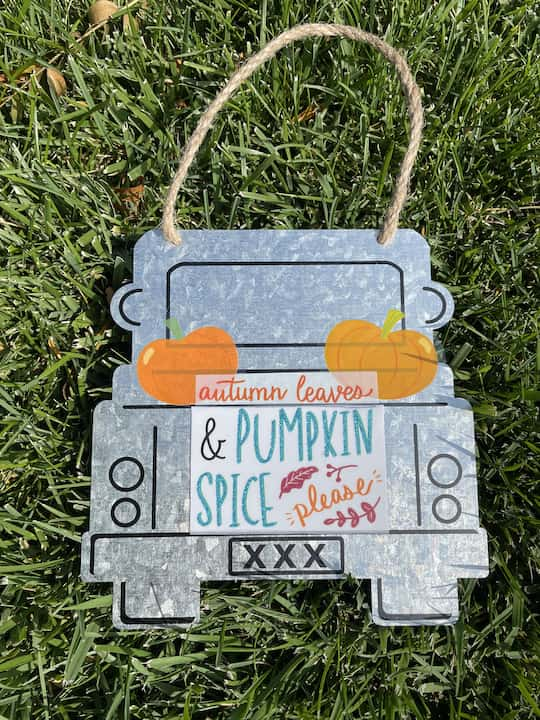
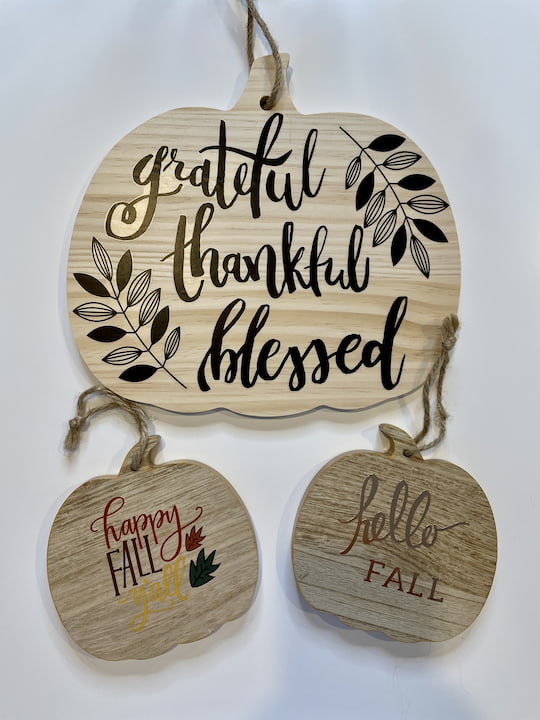
Target Dollar Spot Sign
For this next project I found these two items at Target they were located in the dollar section for just three dollars each. I thought that the wooden letters that were adhesive would go nicely right on top of this pumpkin.
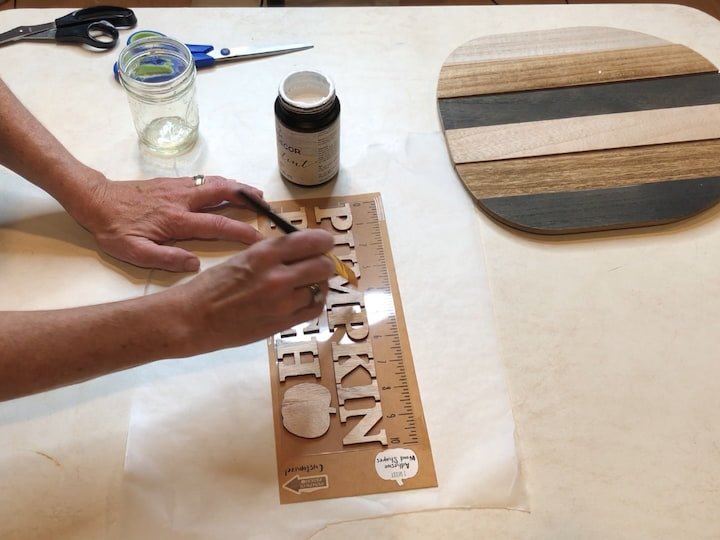
1. Paint the wood
I wanted to brighten the wood letters just a little bit so I used folk art home decor wood tint in the color white. I painted this onto all of the letters and the little pumpkin and then I wiped off the excess. I really love this wood tint as it’s water soluble so it’s easy to clean up I let the letters dry before moving on.
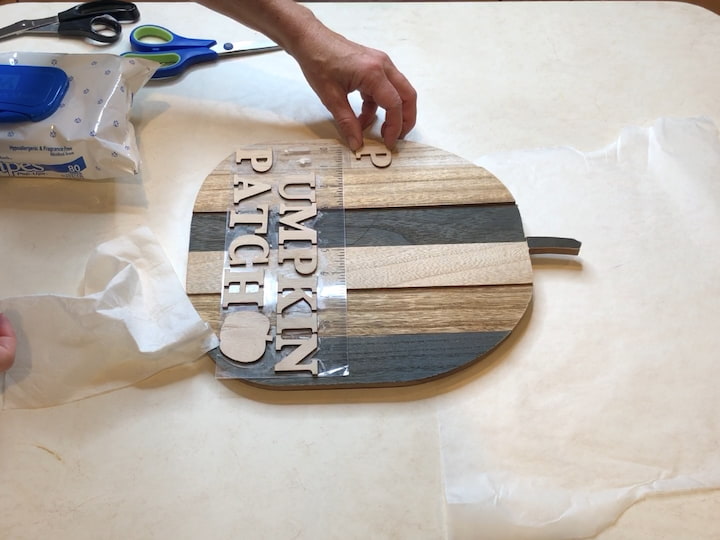
2. Place the letter on the wood
I carefully removed the letters and placed them onto the wooden pumpkin. I learned a little something while doing this project the wood was bumpy on the pumpkin so it was hard for the letters to go the original way that I thought.
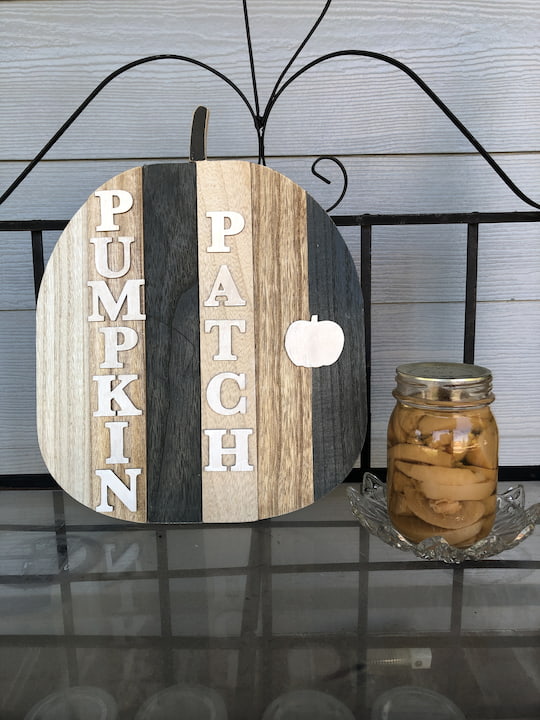
I ended up changing the direction that the letters went. I also didn’t feel like the letters popped enough so I added a second coat of the wood tint in the white I’m very pleased with how this whole project turned out
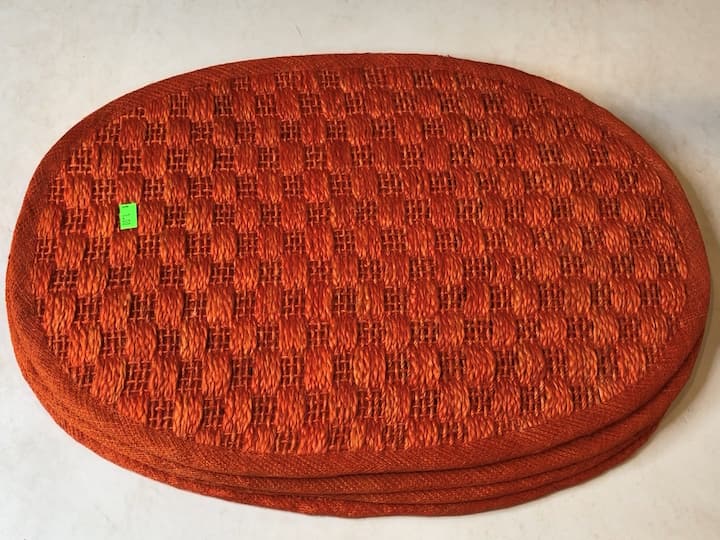
Pumpkin Placemats
For my last project, I found these orange placemats for just one dollar but they were 50 off so I bought four of them for two dollars.
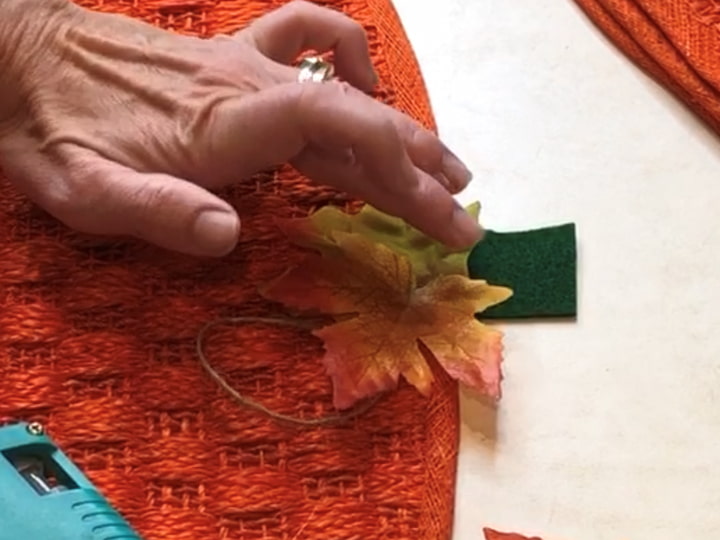
1. Glue on pumpkin stem and leaves.
I cut out four squares of green felt and I hot glued them onto the back side of each placemat. I then cut some twine to represent the vine of a pumpkin and hot glued that onto the top of the pumpkin placemat. I also used some fake leaves and glued those over the top of the twine onto the placemat as well.
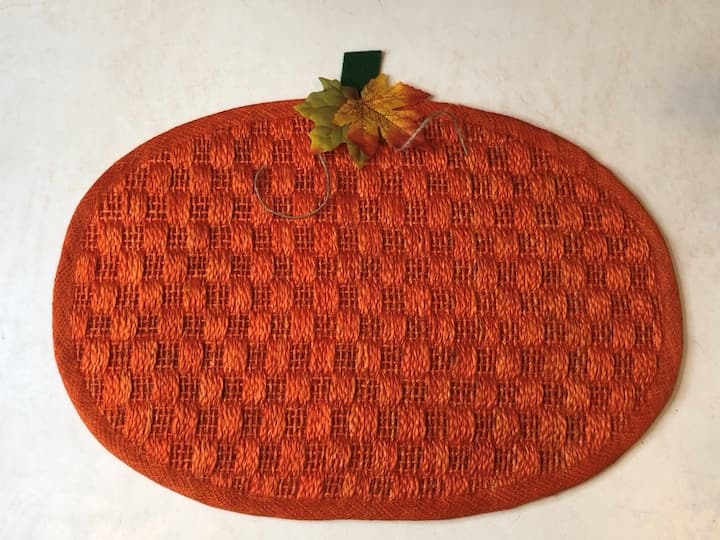
2. Let the glue cool and dry.
I let the hot glue dry and my placemats were ready to be displayed.
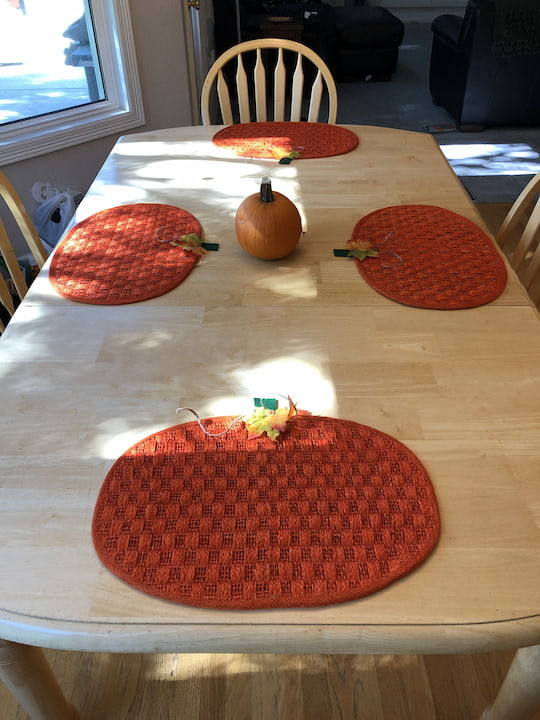
I’m thrilled at how they turned out and they look great on our kitchen table
Some other cheap fall decor ideas include adding these inexpensive fall ideas around your home.
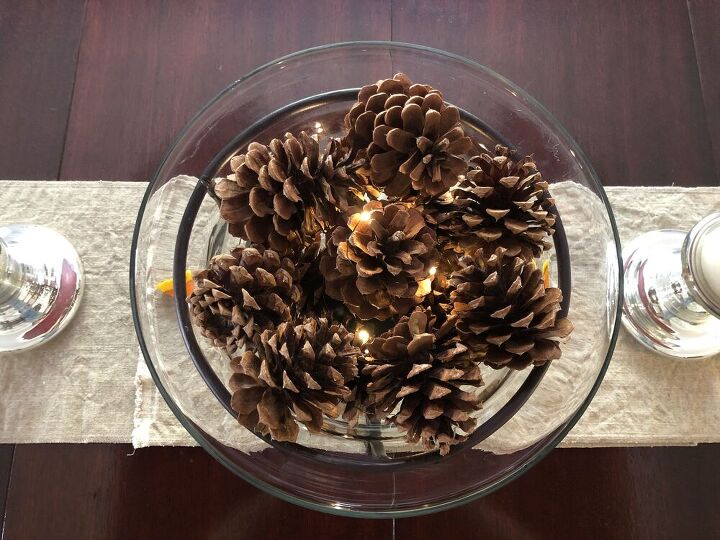
- Using natural elements like pine cones, nuts, fall leaves, and fall foliage
- Old books
- Fall flowers
- Cinnamon sticks
- Small gourds like mini pumpkins, small pumpkins (pie size), fresh pumpkins
- Faux pumpkins, maybe even make pumpkin topiaries
- Themed mason jars
- DIY fall wreaths
- Dollar store finds – colorful leaves, plastic pumpkins, and tea towels.
This fall season create and add autumn decor to your home. Here are some seasonal decor ideas and they don’t have to cost you a ton of money
- Decorate your front door with an easy DIY fall wreath
- Add a fall centerpiece to your dining table
- Create a table centerpiece for your kitchen table
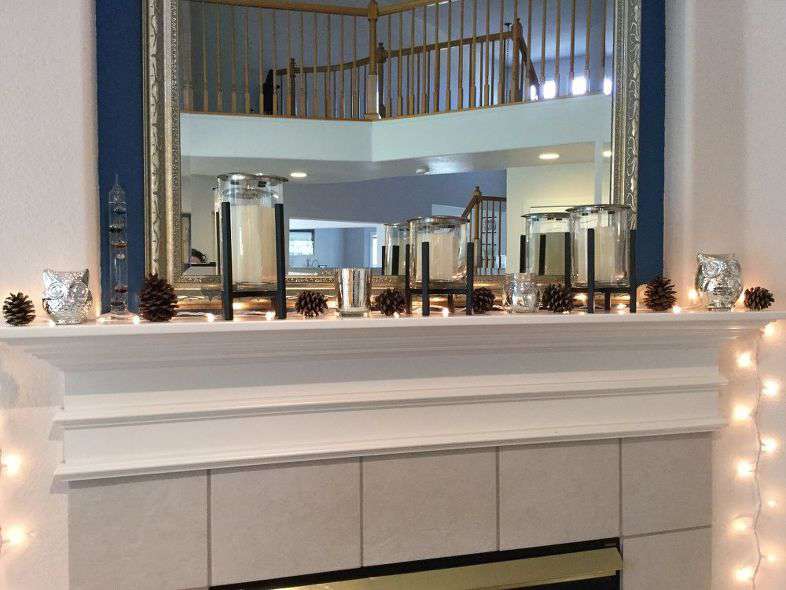
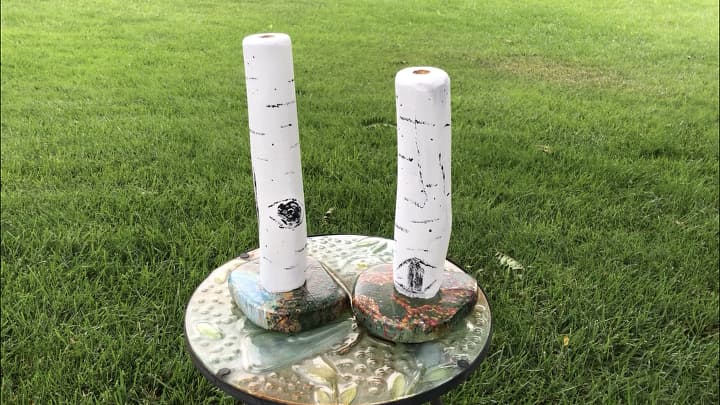
- Add a pillar candle or two to your fireplace mantel
- Add front porch decor for that cozy feel in the cooler weather
- Add cheap DIY fall decorations from the Dollar Tree or thrift stores around your home.
- Use a tiered stand or it’s an easy DIY project and you can make your own.
The best part is this holiday season, things don’t have to cost you a lot of money, and now you can afford that pumpkin spice latte.
I hope this inspires you to make some fall decor for your home I’d love it if you subscribe to my youtube channel and my blog
thanks for watching and I’ll see you in my next video don’t forget to like share and subscribe
Check out some of my other fall decor posts!
- Easy and Dynomite Dollar Tree DIY Farmhouse Fall Decor
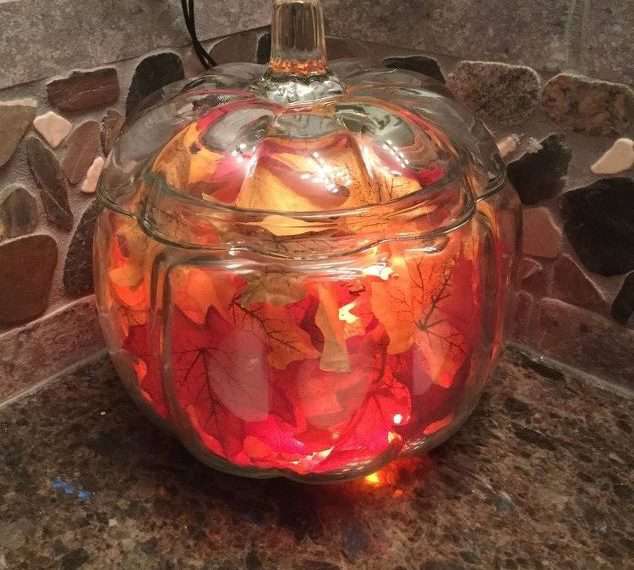
- Easy Fall Decor – With a Glass Pumpkin Jar
- Easy and Fantastic DIY Wooden Fall Decor on a Budget
Cheap DIY Fall Decor Video
Shop any of these stores and I receive a small commission at no cost to you.
 DearHouse 2 Pack Fall Garla…Shop on Amazon
 Interchangeable Seasonal We…Shop on Amazon
 Ticlooc 12pcs Mixed Artific…Shop on Amazon
 4TH Emotion Fall Decor Pill…Shop on Amazon
") 96PCS Natural Dried Pampas …Shop on Amazon
96PCS Natural Dried Pampas …Shop on Amazon

Thanks for sharing these inexpensive DIY fall decor ideas, my friend.
You’re so sweet, thank you!