
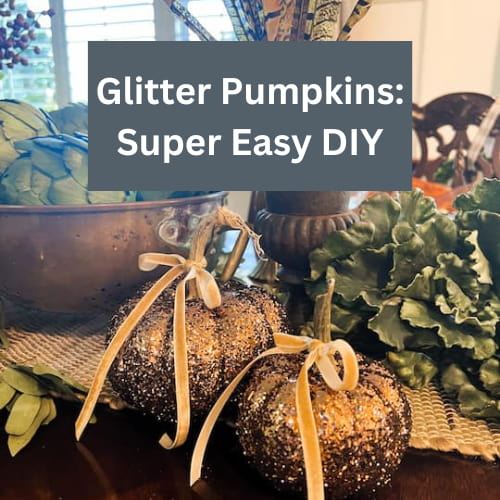
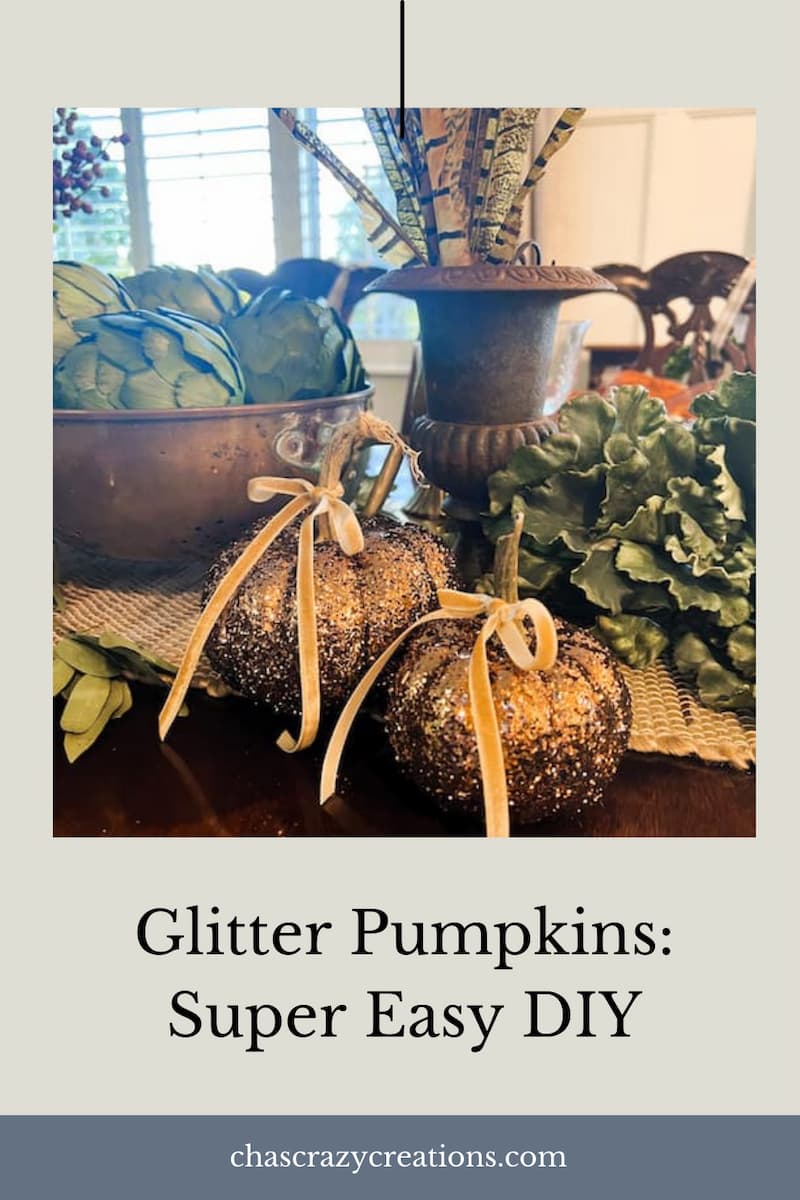
Glitter Pumpkins: Super Easy DIY
The month of October is my favorite! Why? Because I love all things pumpkin. And I love crafting and DIY don’t you? And I love a bit of sparkle. So what better way to combine all my Fall “loves?” Making DIY glitter pumpkins.
It is a fun and creative way to decorate your home for the fall season. Glitter pumpkins are easy to make with just a few simple supplies, and they can be used in a variety of ways, from place card holders to table centerpieces, Halloween decor, and fall decor. They are so easy to make, even for beginners or kids. Follow this tutorial for all the tips and tricks.
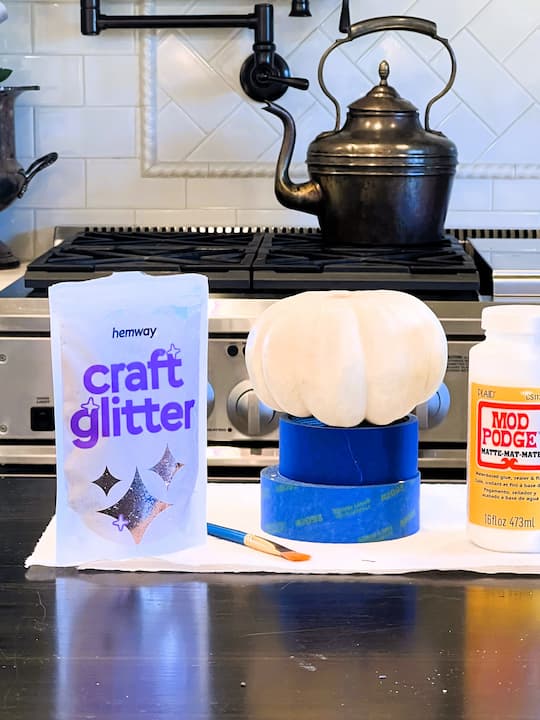
DIY Glitter Pumpkin Supplies:
I got most of my supplies from Hobby Lobby. They have a great selection of craft supplies.
- Pumpkins (real or fake pumpkins), I used white pumpkins.
- Glitter
- Mod Podge or other craft adhesive
- Paintbrush
- Newspaper or other drop cloth
- Ribbon (optional)
How do you make glitter pumpkins?
Once you have gathered your supplies, follow these steps to create your glam pumpkins:


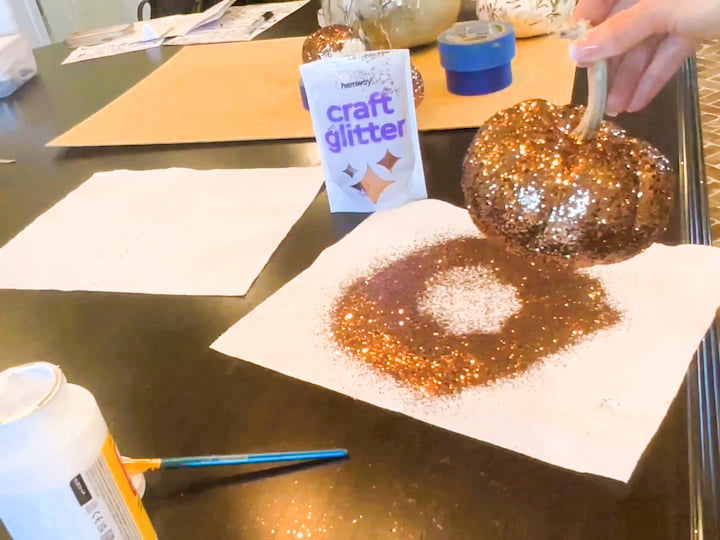
Paint the pumpkin with Mod Podge or another craft adhesive.
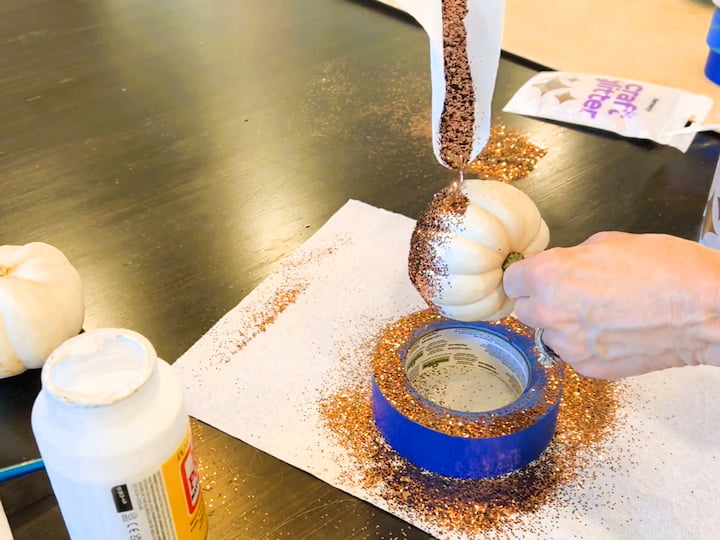
Sprinkle glitter over the wet adhesive. You can use many different colors of glitter, whatever makes your heart happy.
Tap off any excess glitter.
Let the pumpkin dry completely.
Repeat steps 1-4 if necessary to achieve the desired level of glitter
It’s easiest if you paint and glitter the bottom half of the pumpkin first. Put the stem end inside of a cup or jar to hold the pumpkin while the Mod Podge or Elmer’s glue, is drying. However, I definitely would not use hot glue.
Then, paint and glitter the top side.
I love the look of a natural stem, so I try not to get any glitter on the stem.
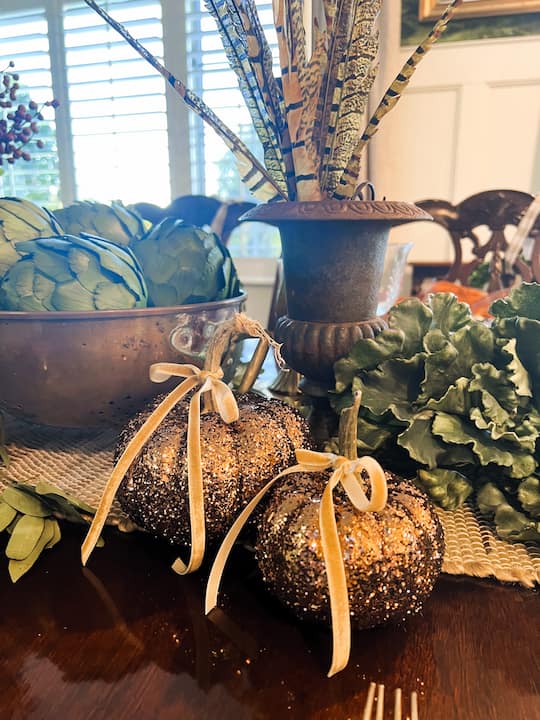
Once your glitter pumpkin is dry, you can display it as is or add additional embellishments, such as a ribbon or bow.
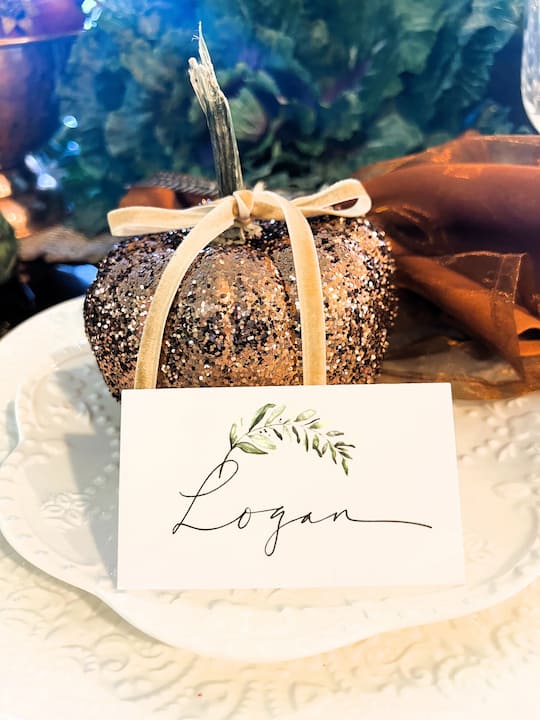
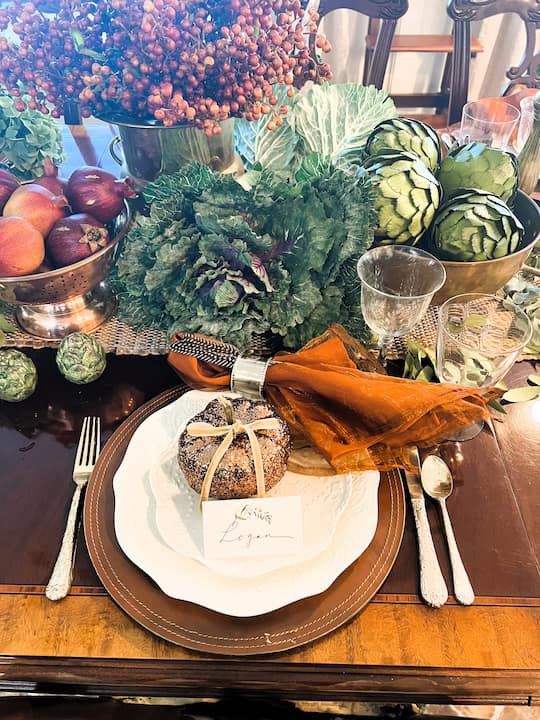
Get creative and have fun with your pumpkin designs. You can use any color or combination of glitter for your pumpkins. Wouldn’t silver glitter pumpkins be gorgeous? Or orange glitter pumpkins. You could even use gourds. What about using sequins or rhinestones? Glitter pumpkins can be used to decorate for a variety of occasions, not just Halloween. You can use glitter pumpkins as place card holders to take your Fall tablescape to the next level. You could even give each guest a glitter pumpkin as a parting gift.
You could decorate your fireplace mantel, sideboard, porch or even your kitchen or bathroom counter. These adorable pumpkins would be a fun addition to any space this holiday season.
Additional tips
- If you are using real pumpkins, be sure to clean them thoroughly before starting your project.
- Lay a piece of kraft paper under the pumpkin to catch any glitter that drops. Then use the paper to easily put the glitter back into the glitter container.
- To prevent the glitter from flaking off, you can apply a second coat of Mod Podge or other craft adhesive over the top.
- You can use any color of glitter you like to create your glitter pumpkins. For a more festive look, try using a mix of colors.
- If you want to add additional embellishments to your glitter pumpkins, such as a ribbon or bow, be sure to do so after the glitter has dried completely.
Here are a few creative ideas for using glitter pumpkins in your home décor:
- Use glitter pumpkins as place card holders for your Thanksgiving table.
- Create a pumpkin centerpiece for your dining room table.
- Place pumpkins on your mantel or coffee table.
- Hang glitter pumpkins from your ceiling or doorway.
- Use pumpkins as decorative shelf art.
No matter how you choose to use them, glitter pumpkins are a surefire way to add some extra sparkle and cheer to your home décor this fall season.
Shop any of these stores and I receive a small commission at no cost to you.
 DomeStar Artificial Glitter…Shop on Amazon
 Lvydec Artificial Pumpkins …Shop on Amazon
 Lvydec Artificial Pumpkins …Shop on Amazon
 winemana Fall Decorations f…Shop on Amazon
Glitter Pumpkins Q & A Section
How do you seal glitter on a pumpkin?
Sealing glitter on a pumpkin can be done by using sealing spray paint. This will help to ensure that the glitter stays in place and doesn’t flake off. Simply spray a thin layer of the sealing spray paint over the glittered pumpkin, allowing it to dry completely before displaying or handling.
How do you get glitter to stick to pumpkins?
To get the glitter to stick to pumpkins, you can use Mod Podge or other craft adhesives. First, apply a layer of the adhesive onto the pumpkin’s surface using a paintbrush. Then, sprinkle the glitter over the wet adhesive, making sure to cover the desired areas. Tap off any excess glitter and let the pumpkin dry completely. This will help the glitter adhere to the pumpkin and prevent it from easily falling off.
Will Mod Podge seal a painted pumpkin?
Yes, it can work as a sealant for a painted pumpkin. Once you have painted your pumpkin with acrylic or craft paint, allow it to dry completely. Then, apply a layer of the glue over the painted surface using a paintbrush. This will help seal the paint and provide a protective barrier. Let it dry completely before displaying or handling the pumpkin.
Will Mod Podge stick to pumpkins?
Yes, it will stick to pumpkins as it is a craft adhesive that is commonly used for various crafting projects. When applying it to pumpkins, make sure to use a paintbrush to evenly coat the surface and allow it to dry completely for the best adherence.
How do you use Mod Podge on pumpkins?
To use it on pumpkins, start by cleaning and drying the pumpkin surface. Using a paintbrush, apply a layer of it evenly over the pumpkin, covering the desired areas. You can also use a foam brush or sponge brush for a smooth application. Once the adhesives are applied, sprinkle glitter or other embellishments onto the wet adhesive as desired. Tap off any excess glitter and let the pumpkin dry completely. It will act as an adhesive and sealant, keeping the glitter in place and giving the pumpkin a glossy finish.
Further Reading
- Super Easy Glitter Pumpkin
- Easy and Awesome Halloween Ghost Craft with Video
- Glittery Mirror for the Holidays
- DIY Christmas Gift Ideas
- DIY Solar Mason Jar Lights: Illuminate Your Yard with Creative Ambiance
I hope that this tutorial has inspired you to make Easy DIY Glitter Pumpkins this holiday season.
This post is written by Renae, and I love all things home, French Country design, and cottage style. I love to entertain my friends and family in a stylish way without breaking the bank. I share easy recipes and life on the farm. Life is good.

These are the cutest! I love how easy they are to make. Happy Holidays!