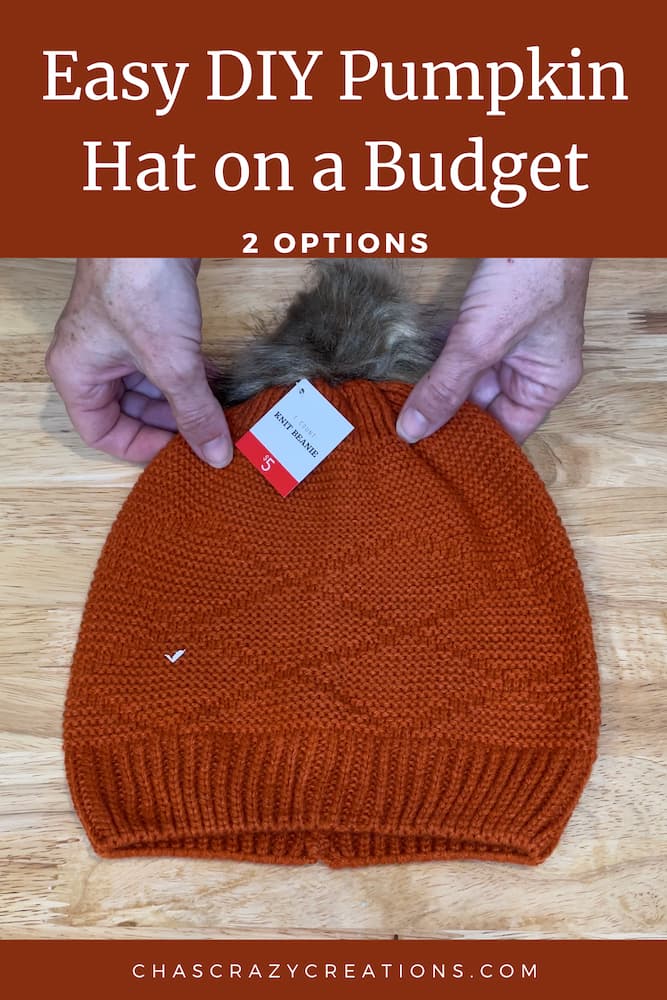
Easy DIY Pumpkin Hat on a Budget: 2 Options

Are you looking for an easy DIY pumpkin hat? I bought an inexpensive hat and added some yarn or stick-on felt to make these 2 options on a budget.
There are more options after this tutorial to check out as well.
Pumpkin Hat Materials
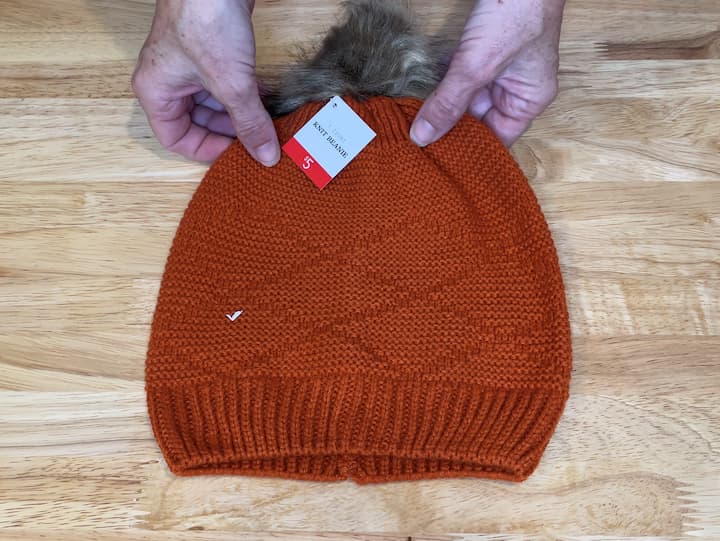
I found the super cute hat at the target dollar spot for just five dollars and today we are gonna have some fun upcycling it for fall. This fun hat will be great to wear to my Halloween party.
 SAMZX Womens Winter Hat Thi…Shop on Amazon
, Durable and Water Resistant, Multi-Purpose, Perfect for Holiday Crafts") Perzodo 8 Pieces Self Adhes…Shop on Amazon
Perzodo 8 Pieces Self Adhes…Shop on Amazon") Knit Picks Brava Tan 100% A…Shop on Amazon
Knit Picks Brava Tan 100% A…Shop on Amazon - Dual Temp, Precision Nozzle, and Easy Squeeze Trigger") Gorilla Mini Hot Glue Gun K…Shop on Amazon
Gorilla Mini Hot Glue Gun K…Shop on Amazon
Pumpkin Hat Video
Pumpkin Hat instructions
1. Cut Yarn and place it onto the hat
You could obviously leave it the way it is, but I found this yarn at the dollar store and I’m just going to be using some of this to update it. You could use green yarn, orange yarn, or even black yarn. I will start by just cutting some pieces of yarn about the same size and I can easily cut more off if I need to. It’s better to go long than short. Just go ahead and cut some more pieces, maybe four or five. I’ll finish cutting these up and show you what’s next.
I’ve got my string pieces here and I’m just going to go ahead and map them out how I’d like them to look. What I’m going for here is just the look of a pumpkin, so I just want to create those lines like the lines in a pumpkin. You can go with four strands or five, whatever your preference. If you want one more line down the center you could go with a straight one. Just shape these like a pumpkin as you go around.
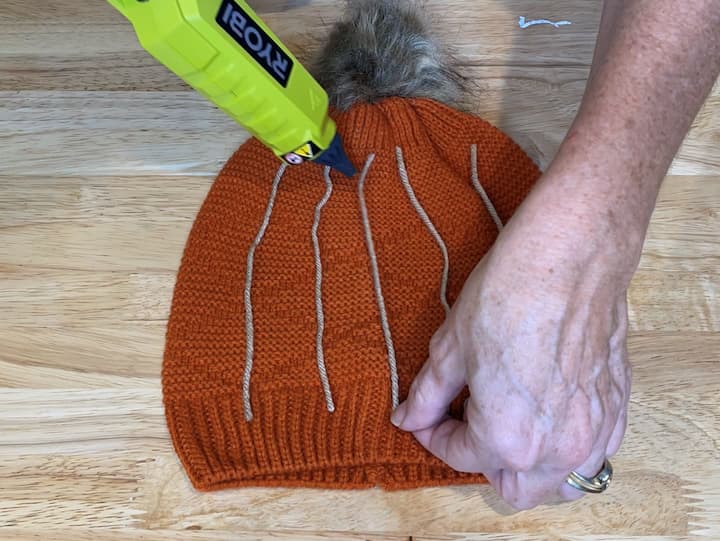
2. Hot glue the yarn onto the hat
For the next step next I just take my hot glue gun and run it along the lines carefully and then I just stick the lines down and let them cool. I’m going to go ahead and keep going with the rest of these and then I’ll show you what that looks like.

So here’s the hat all finished. I could easily stop here or flip it over and do the backside as well. In addition, you might want to add some to each side so that it’s a pumpkin all the way around, but I’m going to show you what I’m going to do to the other side.
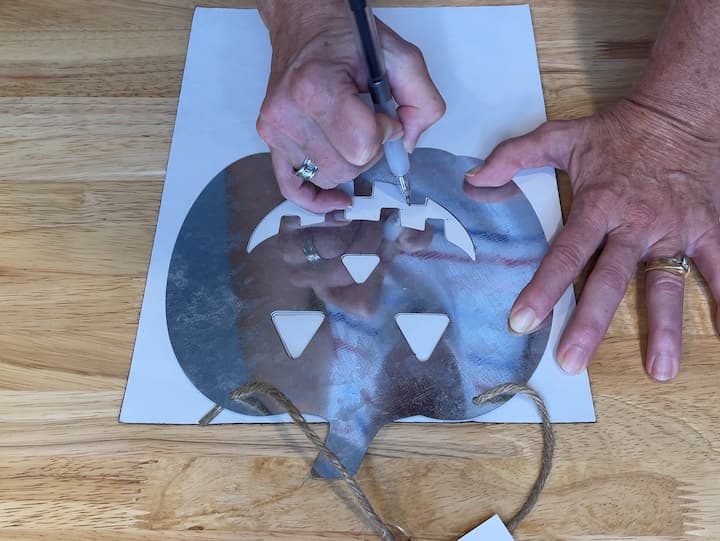
3. Draw a Pumpkin Face on the back of adhesive felt
Here’s the other side of the hat and I’m going to move this aside and get some adhesive felt. The adhesive felt is sticky on one side and then just plain black on the other.
On the back side of the felt, where the sticky peel and stick side is, I have this dollar tree pumpkin that I’m going to use for something else. It was the perfect size for my hat so I’m just placing it on and tracing it with my pencil to get a nice cohesive shape. Now if you are in love with drawing your own face, go for it otherwise just go ahead and find some form that works and trace it or print something out and trace it. You can even use stencils if you would like. I’ll finish tracing this and then the next step is to cut it out.
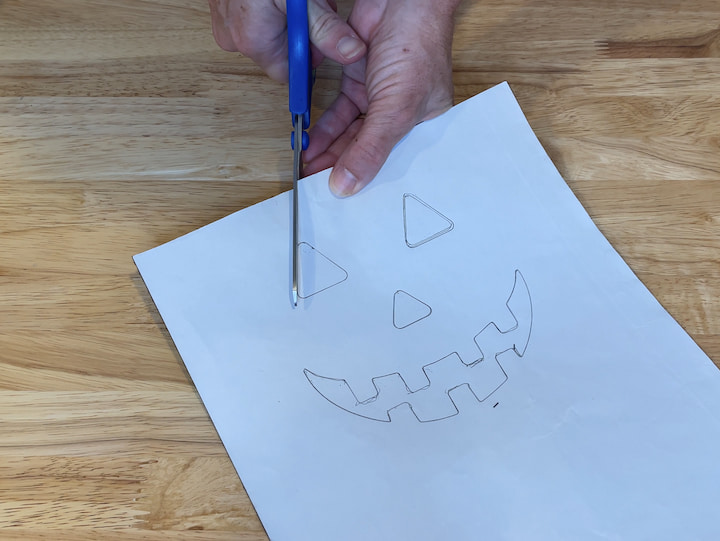
4. Cut out the pumpkin face
Now just using my scissors I’m going to go in and cut out the face. If you want you can use fabric scissors but you’ll want to make sure your scissors are sharp because felt can be tricky to cut. so I’m going to go ahead and finish cutting this out and then I will show you what comes next.
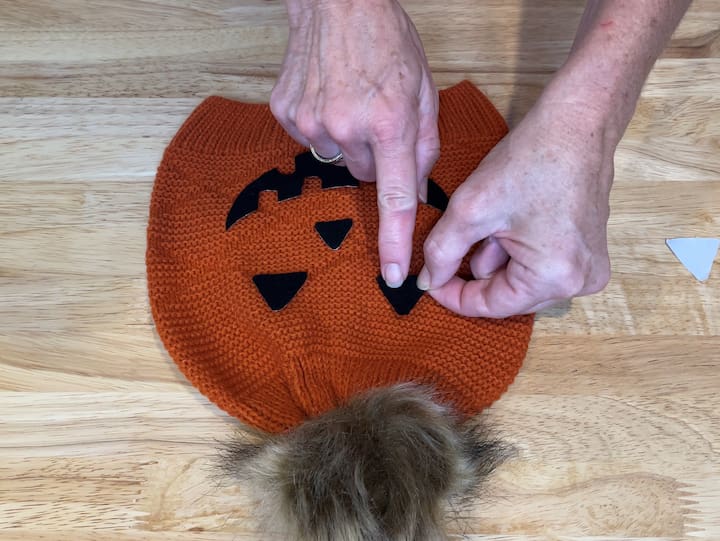
All of my pieces are cut out so I’m going to bring the hat back and place the pieces where I want them to go. If you want you could use fabric and sew these on instead or you could use hot glue. I’m just using adhesive felt backing so that I can peel this off later.
5. Peel the backing off and stick the felt onto the hat.
Now I just simply pull the backing off and place the adhesive felt where I want it to go. I’ll just continue doing that for the whole hat.
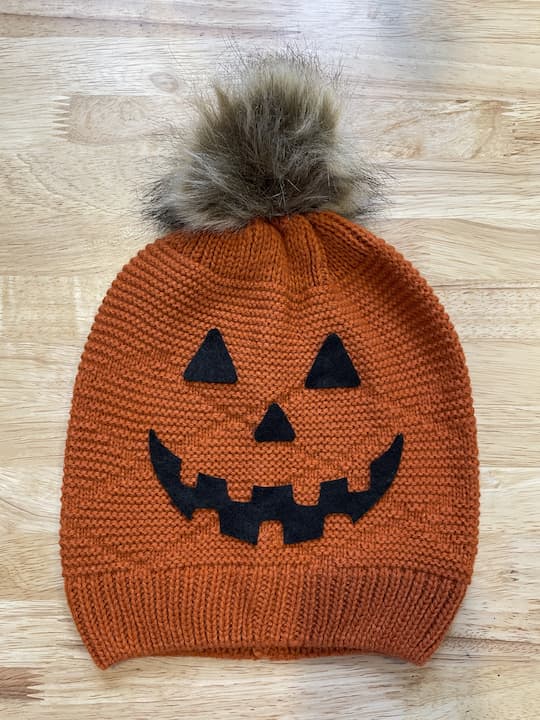
That’s all there is to it, such an easy way to upcycle a hat into fall decor to wear and have fun with. I hope this inspires you to take a hat and upcycle it into something fun.
I’d love it if you subscribe to my youtube channel and my blog. Thanks for watching and I’ll see you in my next video don’t forget to like share and subscribe.
Crochet pumpkin hat -0-3 Months, 6-12 months, and up
 Kafeimali Newborn Unisex Ba…Shop on Amazon
") Tinsow Baby Boys Girls Than…Shop on Amazon
Tinsow Baby Boys Girls Than…Shop on Amazon Winter Thick Knitted Beanie…Shop on Amazon
Free patterns in case you want to create your own pumpkin hat:
Pumpkin Hat Video
Shop any of these stores and I receive a small commission at no cost to you.
") Amoretu Womens Long Sleeve …Shop on AmazonShop on Amazon
Amoretu Womens Long Sleeve …Shop on AmazonShop on Amazon Farm Fresh Pumpkin T Shirt …Shop on Amazon
 Columbia Womens Benton Spri…Shop on Amazon
 EVALESS Womens Plus Size Ye…Shop on AmazonShop on Amazon

Easy DIY Pumpkin Hat on a Budget: 2 Options
Equipment
- 1 Scissors
Materials
- hat
- stick on felt
- yarn
- hot glue gun
Instructions
- CUT YARN AND PLACE IT ONTO THE HAT
- HOT GLUE THE YARN ONTO THE HAT
- DRAW A PUMPKIN FACE ON THE BACK OF ADHESIVE FELT
- CUT OUT THE PUMPKIN FACE
- PEEL THE BACKING OFF AND STICK THE FELT ONTO THE HAT.
Video
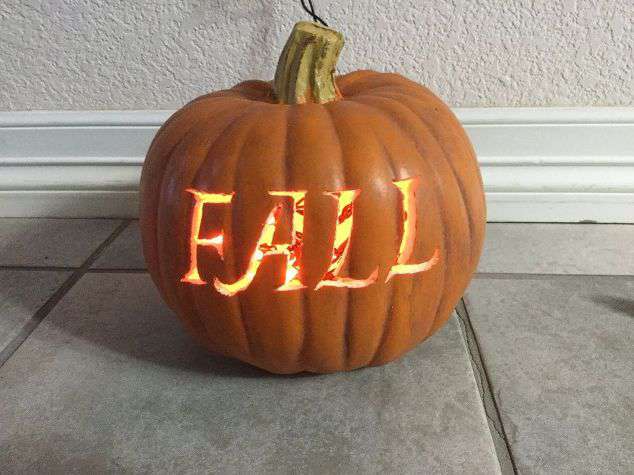
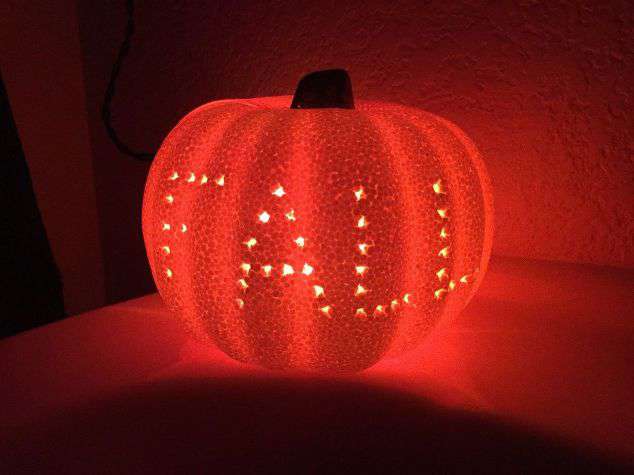
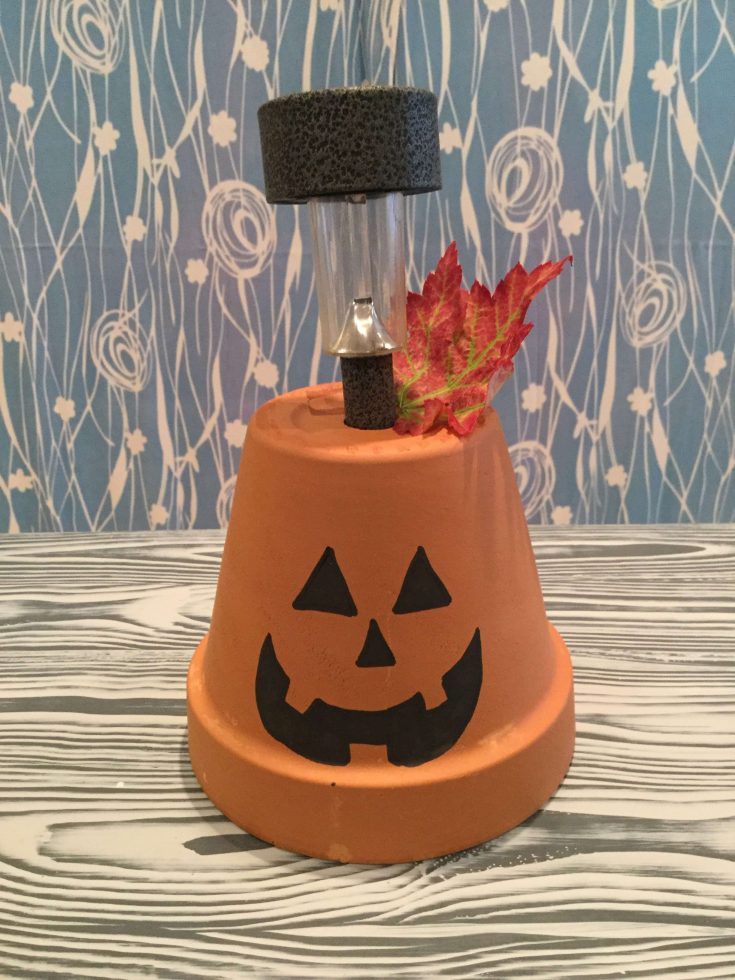
Check out some of my other pumpkin creations!