
DIY Dollar Tree Halloween Decorations on a Budget: Easy and Spooky

Are you looking for DIY Dollar Tree Halloween Decorations? Here are several easy and spooky DIYs that you can make on a budget.
Halloween is my favorite holiday! If you asked me why I would say because I love the excuse to sip hot apple cider, turn on candles, (yes, eat candy – lol), and reminisce about childhood memories of dressing up as what I wanted to be when I grew up (Wonder woman), as well as watch my kids do the same, bake and eat anything pumpkin/pumpkin spice, and all the fun activities there are. Oh and of course there are all those cute trick-or-treaters. You better bet my home will be decorated by October 1st!
With a little creativity and a few craft supplies or dollar store supplies you can make so many inexpensive Halloween decorations. Halloween is the perfect time to turn your dollar store finds into the best Halloween decorations. You can use these Halloween craft ideas for a Halloween party or decorate your front door, front yard, or front porch during this spooky season. I wanted to share some easy Halloween decorations I have been working on with all of you!
DIY Dollar Tree Halloween Decorations Video
DIY Dollar Tree Halloween Decorations
If you’re asking the following questions:

- How to make easy Halloween decorations?
- How do you decorate a house for Halloween on a budget?
- How to make easy Halloween decorations for kids?
Look no further as we will be digging into several easy DIY decor ideas you can make on a budget. Now let’s dive into some DIY Dollar Tree Halloween decorations.
DIY Dollar Store Halloween Decor – Halloween Painted Candle Holders
Materials Needed:
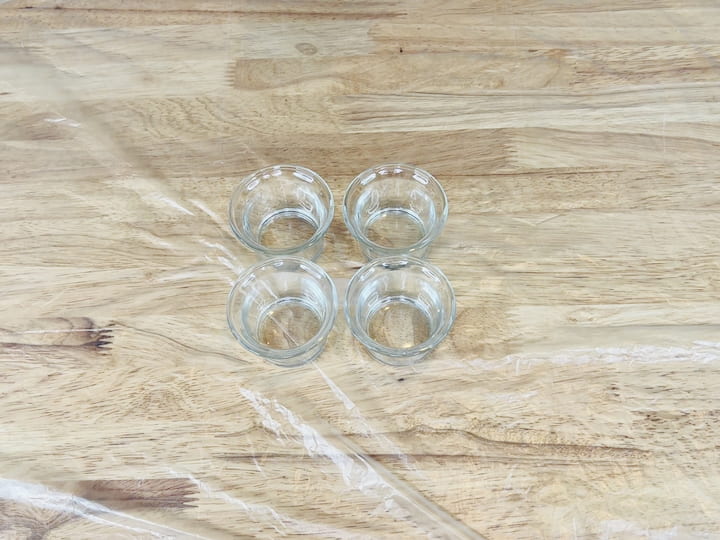
- Four-pack of candle holders from Dollar Tree
- Apple Barrel acrylic paints (orange, green, white, and black)
- Permanent markers (black and silver)
- Silver Sharpie
- Paintbrushes
- Protective surface cover
Instructions:
Start by choosing your candle holders from Dollar Tree. You’ll need four of them for this project.
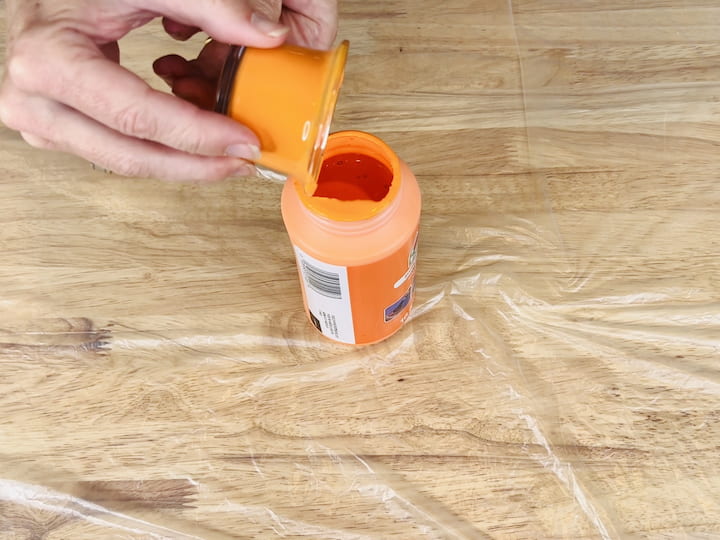
Pour the orange paint into one of the candle holders and swirl it around until the entire inside is coated. Dump out the excess paint back into the bottle for future use.
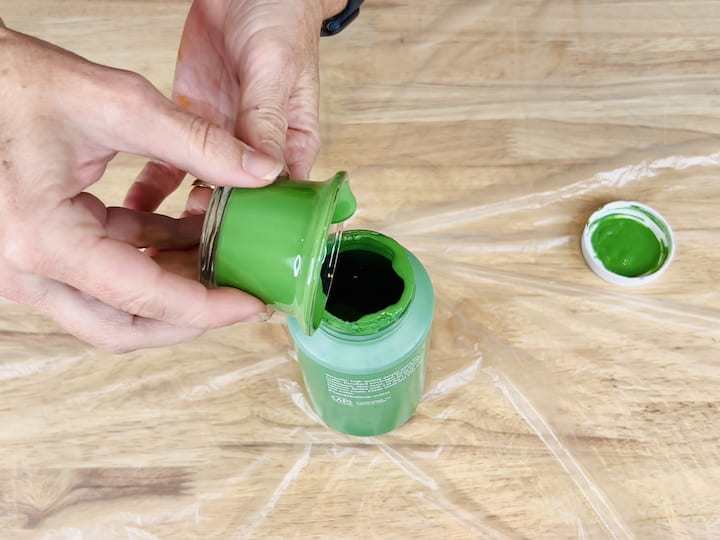
Repeat the painting process with the other candle holders, using green, white, and black paints for each one.
Let the painted candle holders dry completely. You can speed up the drying process with a hairdryer if needed.
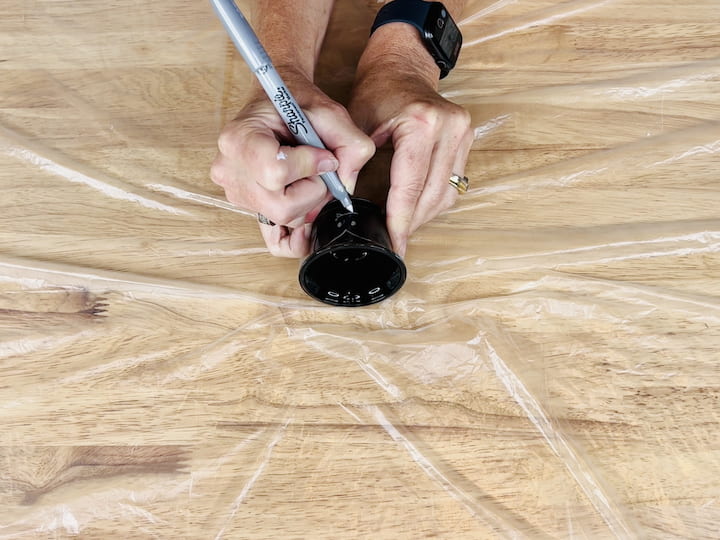
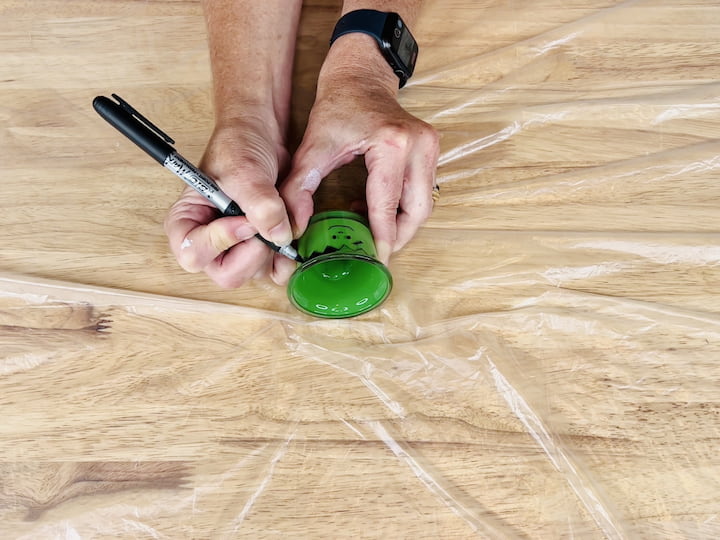
Once dry, use permanent markers and a silver Sharpie to draw different Halloween faces on each candle holder. Create a pumpkin, ghost, Frankenstein, and bat or vampire face.
Allow the marker designs to dry completely, and if desired, seal the candle holders with dishwasher-safe Mod Podge to prevent the marker from wiping off.
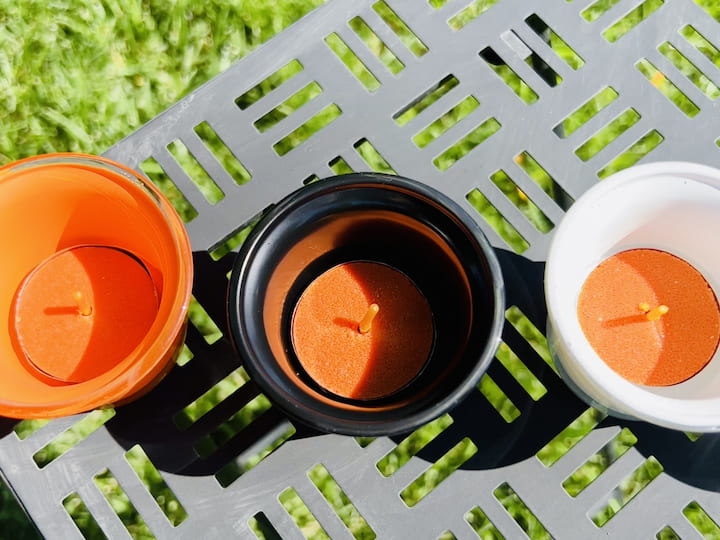
Place pumpkin-scented tea lights or battery-operated tea lights inside the candle holders for a spooky glow.

These candle holder jack-o’-lanterns are a versatile and affordable way to add Halloween charm to your home décor. You can adapt the designs for any holiday or season, making them a great DIY project for any time of year.
Handmade Dollar Tree Halloween Crafts – Hanging Halloween Sign
Materials Needed:
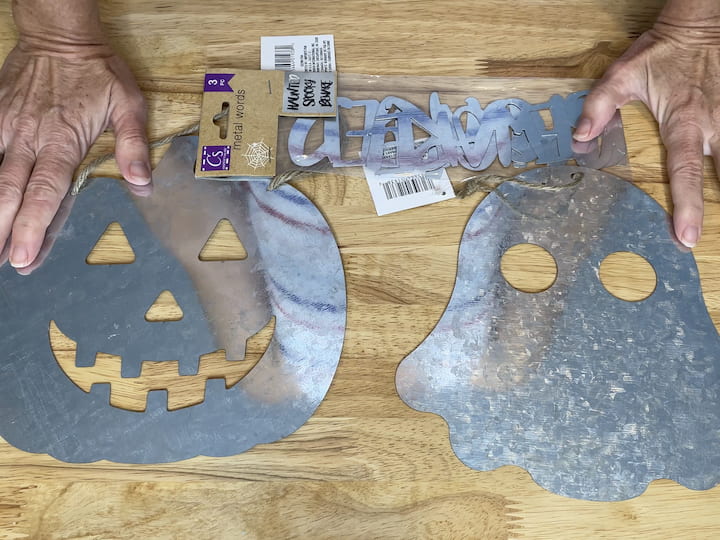
- Galvanized word signs (e.g., “haunted,” “spooky,” “beware”)
- Halloween-themed ribbon or twine
- Hot glue gun and glue sticks
- Scissors

Instructions:
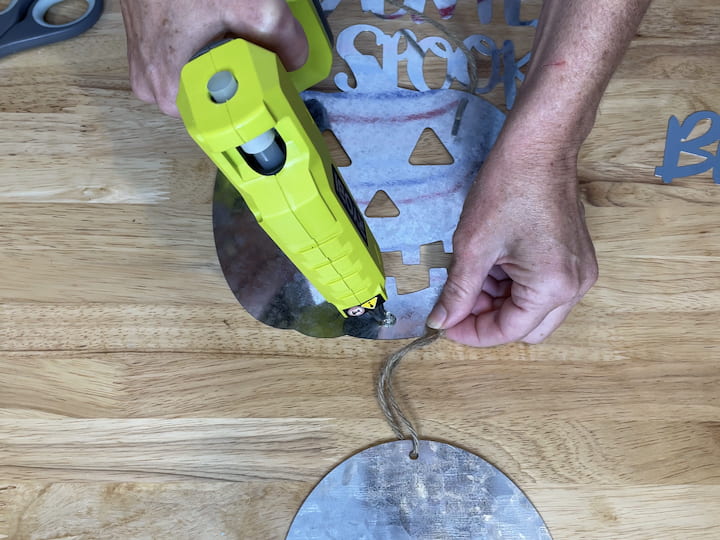
- Remove any tags from the galvanized word signs.
- Arrange the words in the order you prefer, leaving enough space at the top for hanging.
- Use a hot glue gun to apply glue to the back of each word and press them onto the ribbon or twine, spacing them evenly.
- Allow the hot glue to cool and set.
- Tie a knot at each end of the ribbon or twine to create loops for hanging.
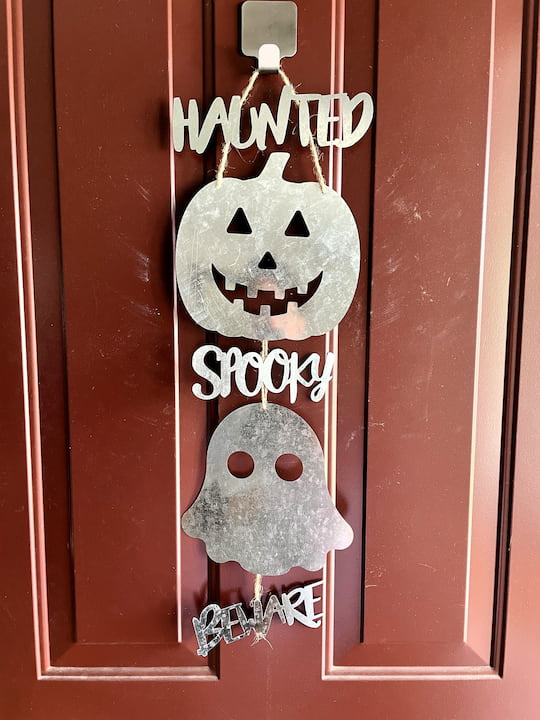
Hang your Halloween sign in your preferred location, whether indoors or outdoors.
This easy project transforms simple galvanized word signs into a charming Halloween decoration that adds a touch of spookiness to your home.
Budget-Friendly Halloween Decorations from Dollar Tree – Spooky Flower Pot Candy Holders
Materials Needed:
- Flower pots in your preferred size (mini size used in this project)
- Apple Barrel acrylic paints (orange, green, white, and black)
- Black Sharpie marker
- Black permanent marker
- Silver Sharpie
- Candy corn or Halloween candies
- Paintbrushes
- Protective surface cover
Instructions:
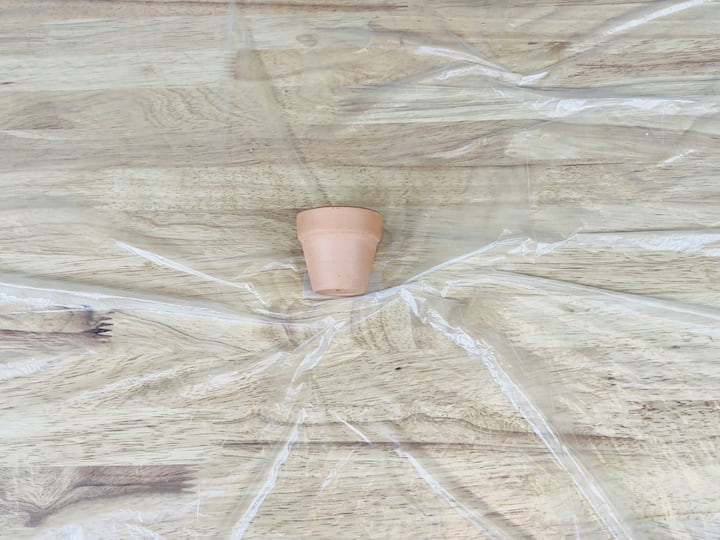
Start by choosing the flower pots for your candy holders. You can use any size you prefer; for this project, mini flower pots were used.
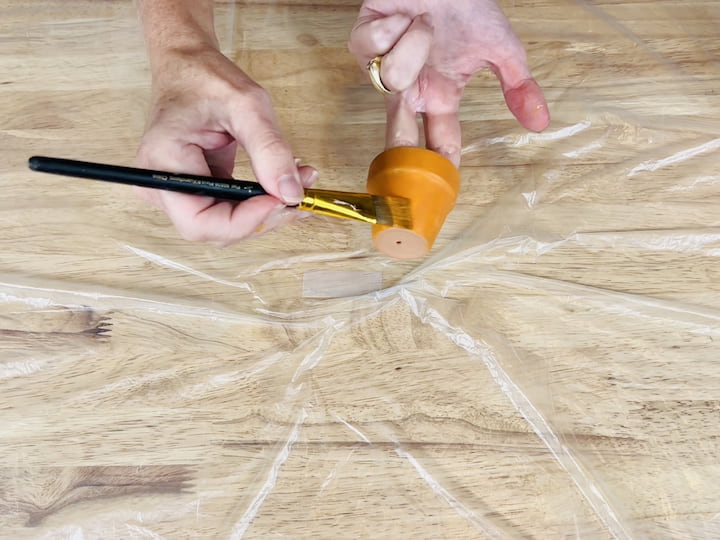
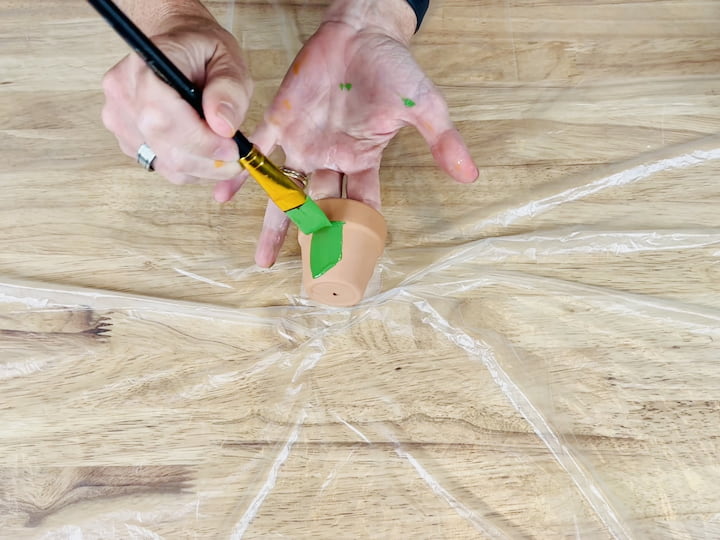
Paint the first flower pot with Apple Barrel orange paint. Ensure you cover the entire surface and let it dry completely.
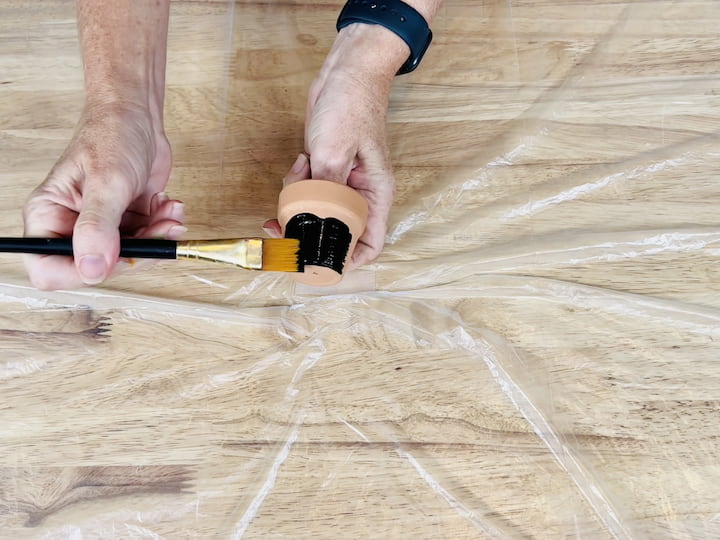
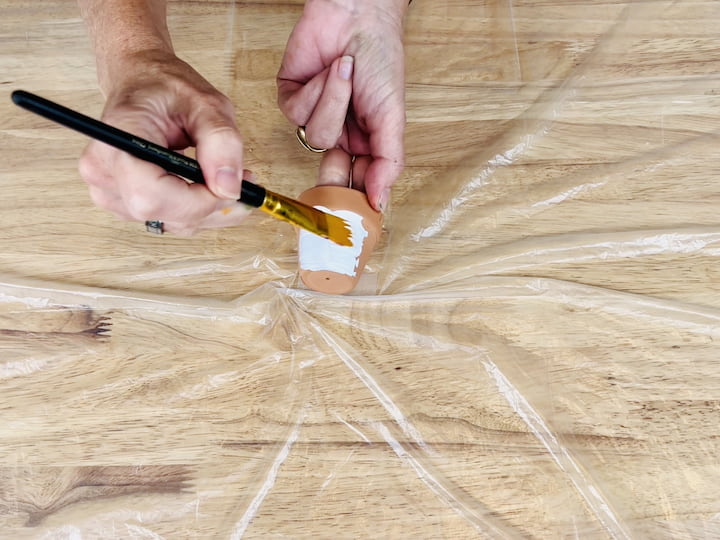
Repeat the painting process for the other flower pots using green, white, and black paints. Multiple coats may be needed, so assess whether a second coat is required after the initial drying.
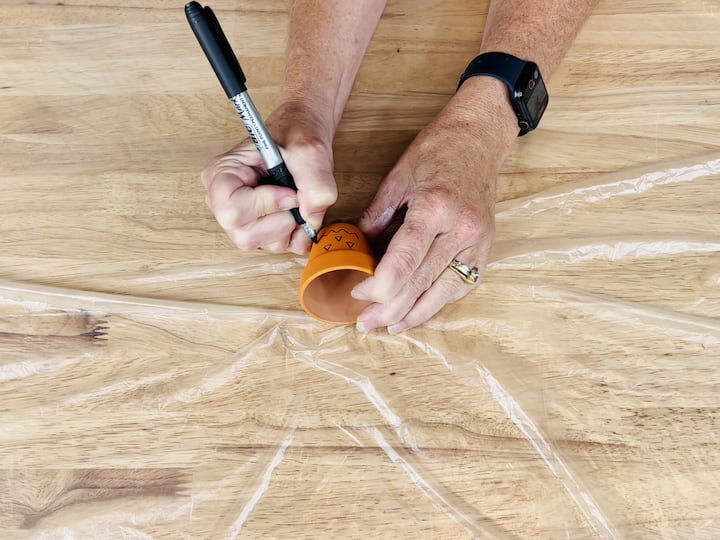
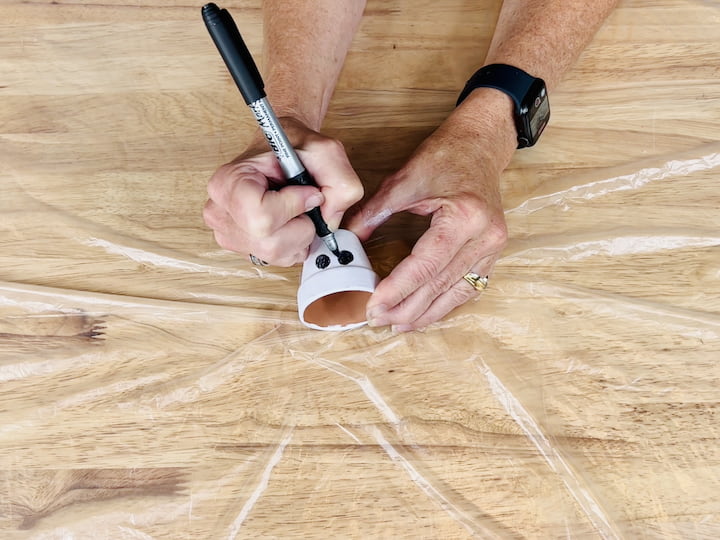
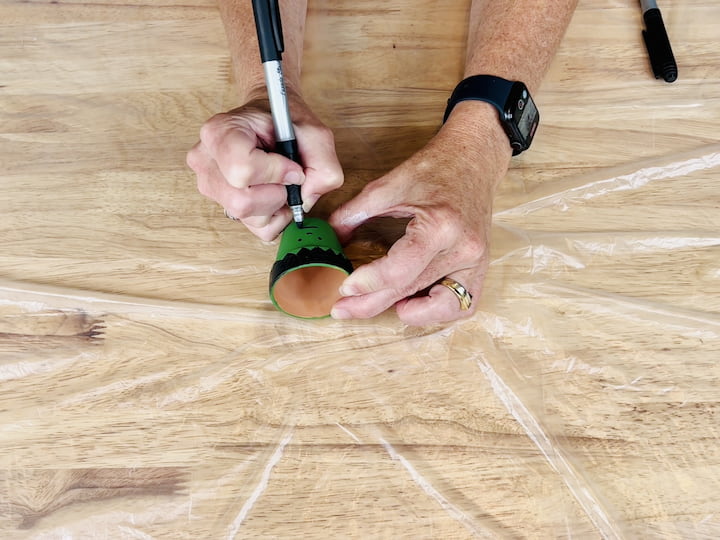
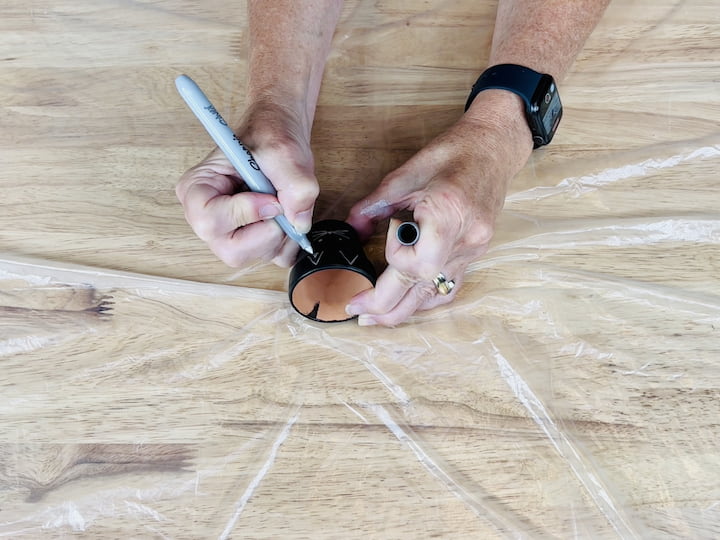
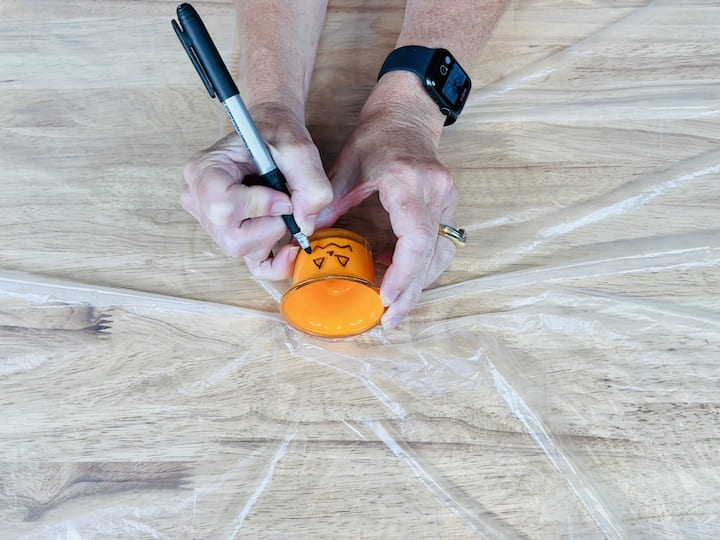
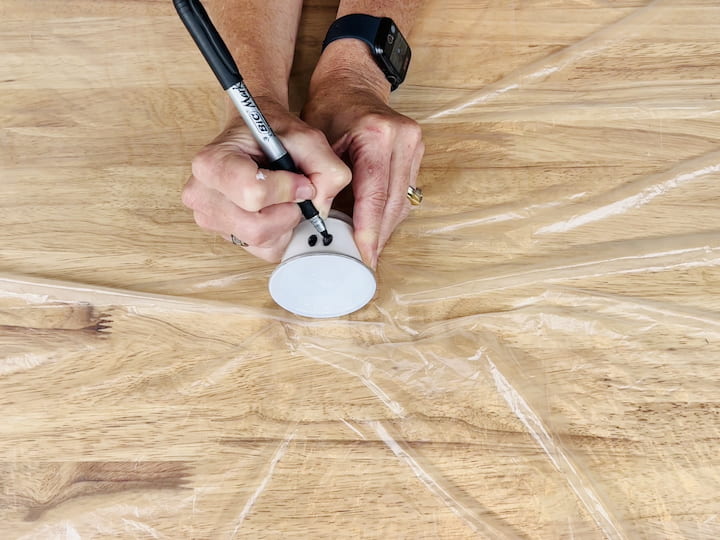
For the orange flower pot, use a black Sharpie marker to draw a pumpkin face onto it. Allow the marker to dry. Draw a ghost face onto the white flower pot using a black permanent marker and let it dry. Create a Frankenstein face on the green flower pot using a black permanent marker as well. Let it dry completely. Draw a black cat face on the last flower pot using a silver Sharpie. Customize the faces as you like, and get creative!
Once all the faces are dry, consider sealing the flower pots with dishwasher-safe Mod Podge to protect the designs.

Fill each flower pot with candy corn or your favorite Halloween candies. These flower pots can serve as adorable snack holders for your Halloween table or party.
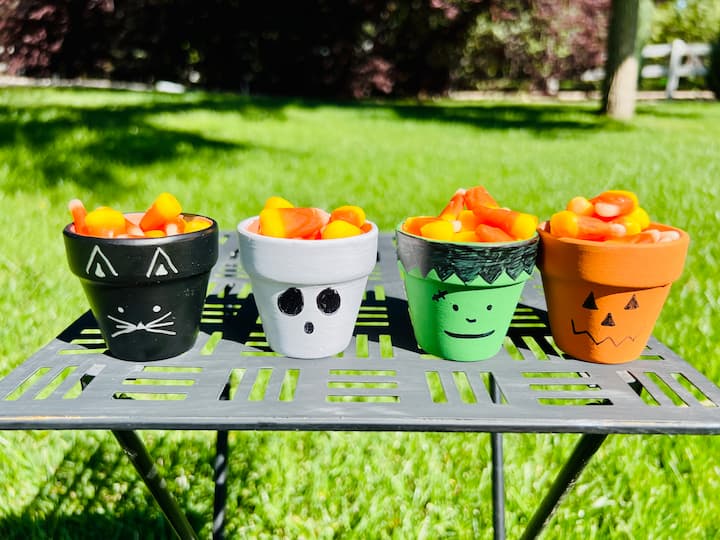
These flower pot candy holders are not only a cute addition to your Halloween décor but also a fun way to distribute treats to your guests or trick-or-treaters. Get creative with the designs and enjoy the spooky season!
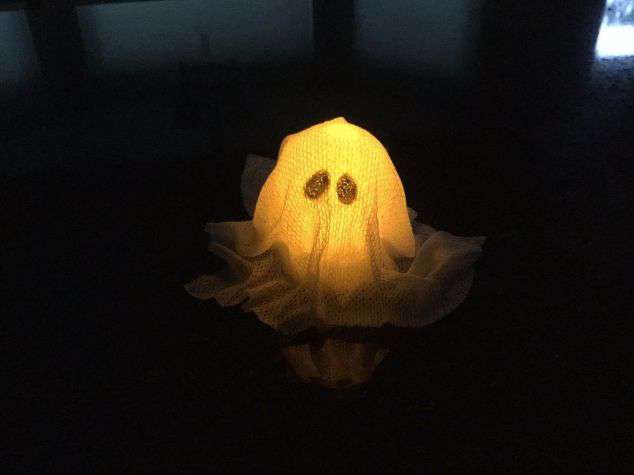
Crafting Spooky Decor with Dollar Tree Supplies -Cheesecloth Ghost
Materials Needed:
- Bowl
- Mod Podge
- Cheesecloth
- Black Felt

Instructions:
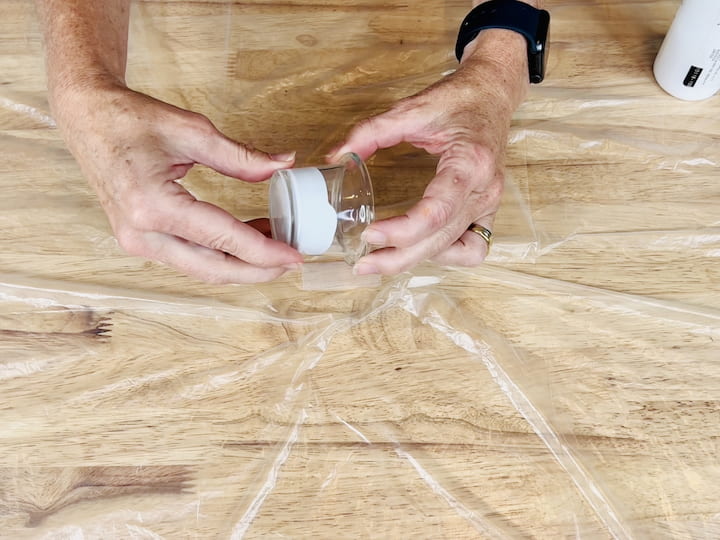
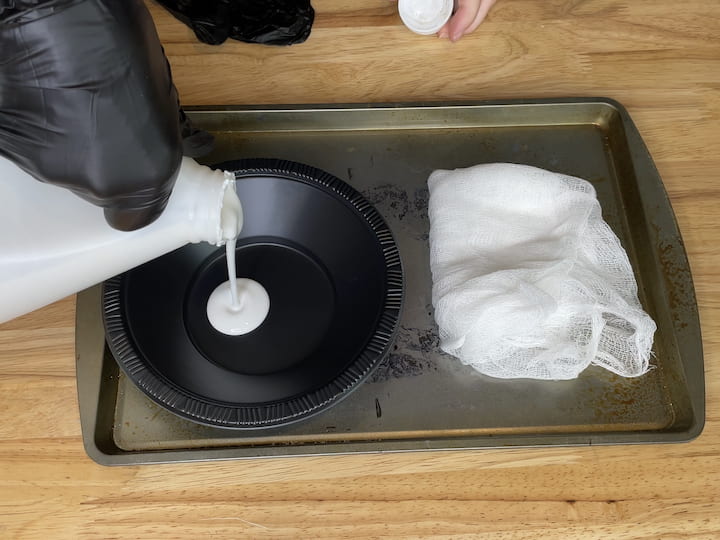
Pour your Mod Podge in a bowl, dip your cheesecloth into the Mod Podge and get it nice and coated. Squeeze the excess out of the cheesecloth.
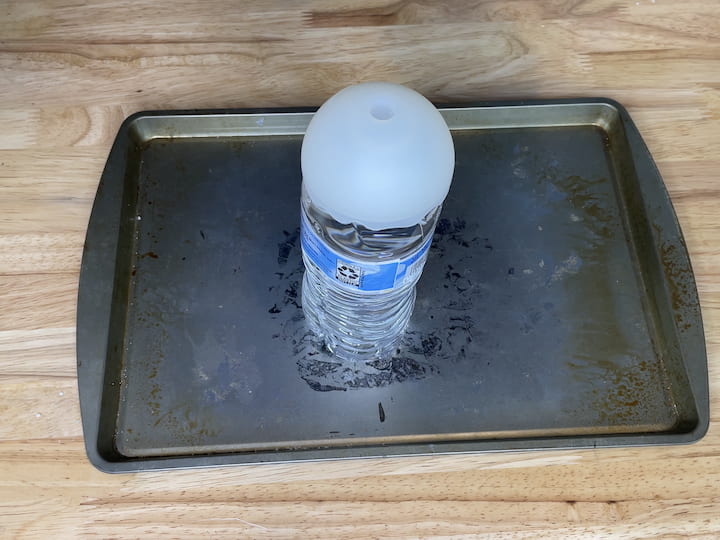

Make your ghost form. I used a water bottle and a silicone ice cube maker to make my ghost form. You can find my other cheesecloth ghosts and how I made them differently in this post Easy and Fun DIY Halloween Yard Decorations on a Budget.
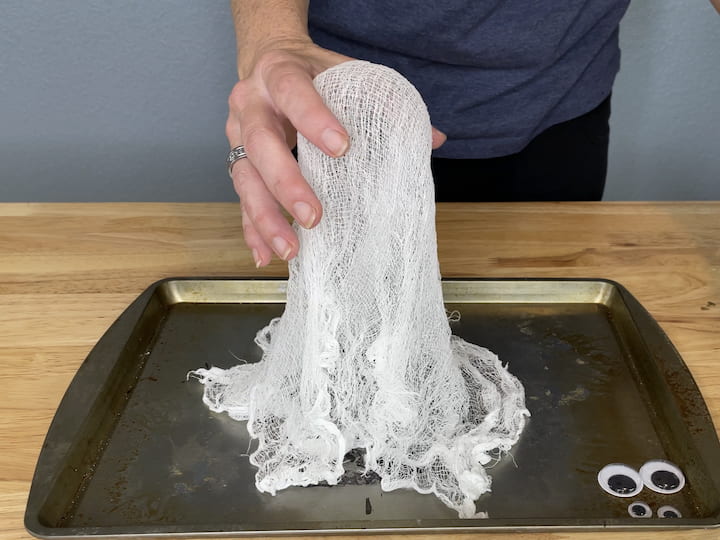
Lay your cheesecloth over the top of the form and let it dry completely. Once dry remove the ghost from the form.
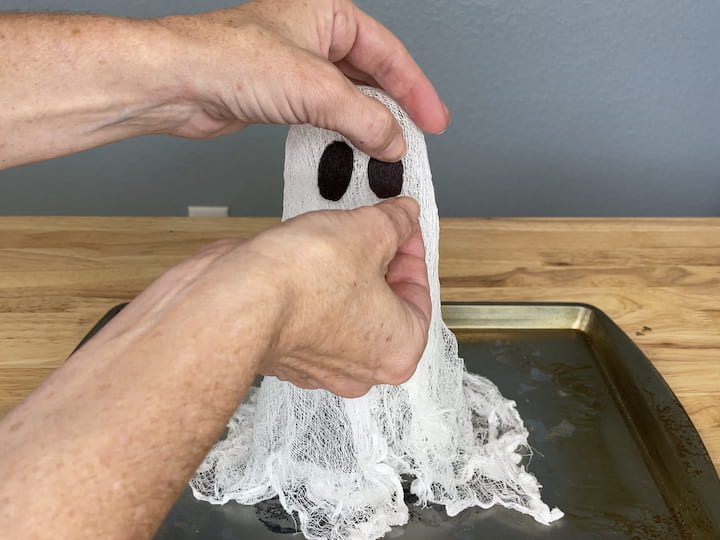
Cut out and glue on 2 black felt eyes.
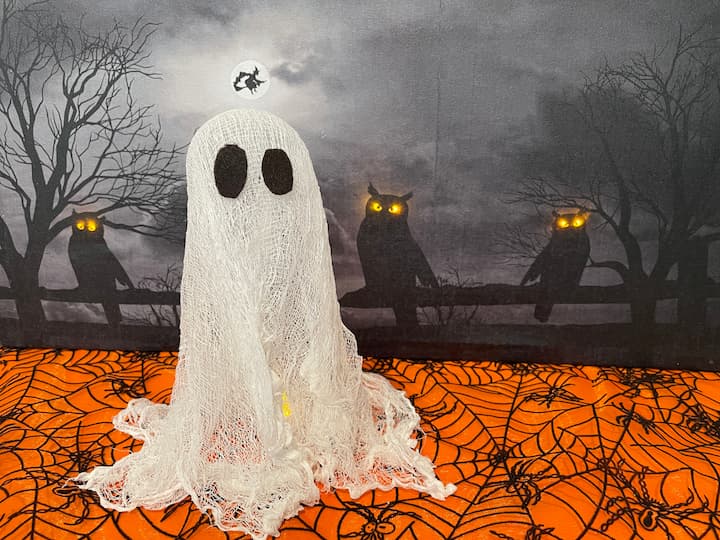
Place your spooky ghost on display anywhere in your home. I like to add a battery operated tea light underneath my ghost for added glow.
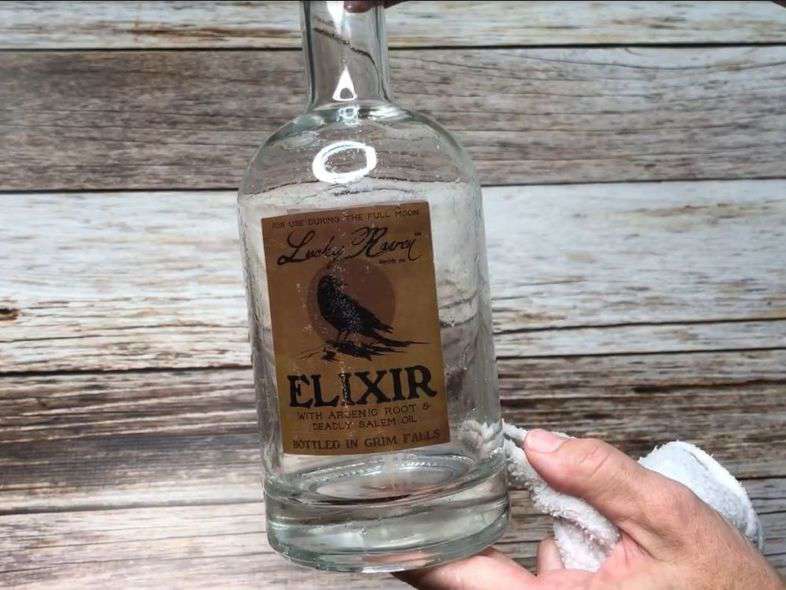
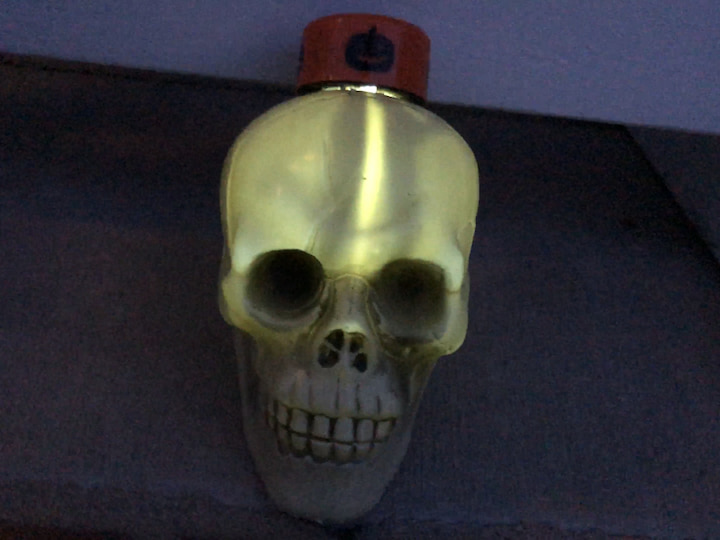
Economical Halloween Decor Ideas at Dollar Tree – Make A Potion Jar Halloween Decoration
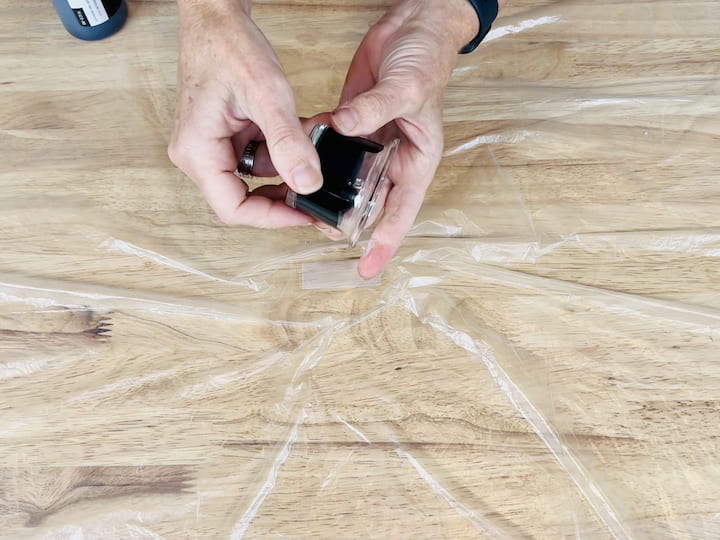
Using a recycled bottle I added a glass “tattoo” that I found at the local Dollar Tree. Alternatively, you could print your own label and Mod Podge it onto your bottle or find one at the craft store.
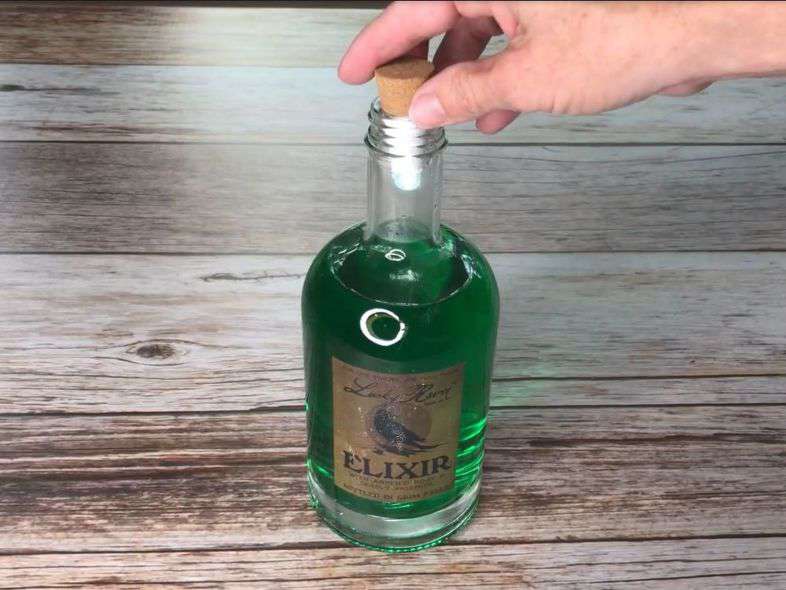
Add some water and food coloring of your choice inside the potion bottles. You can leave it at that or add a Bottle Light on top for added glow. I love these bottle lights as they are rechargeable by plugging them via USB plug. You can find the bottle lights here – USB Bottle Lights
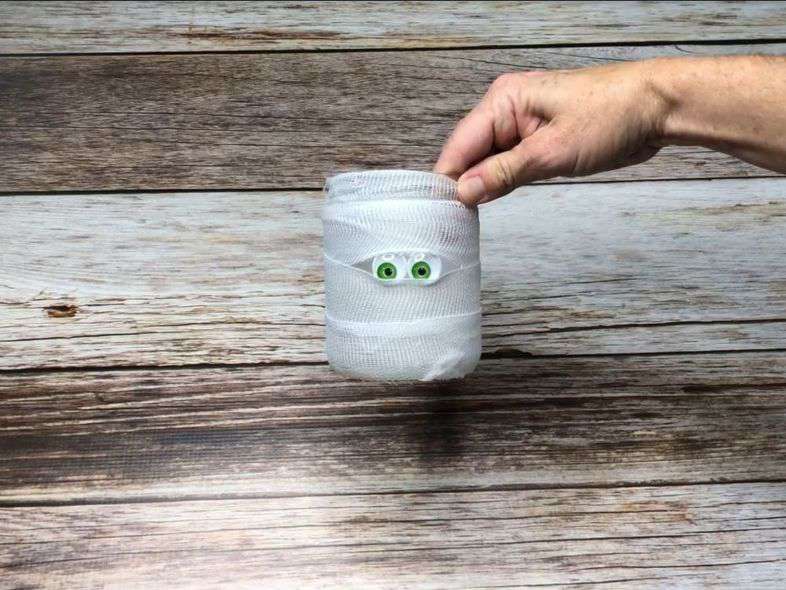
Make A Dollar Tree DIY Mummy Jar
Using a recycled mason jar, I hot glued on 2 google eyes, then I used hot glue to attach the gauze to the jar, wound it around the jar, and hot glued the other end once it was fully covered. Add a battery operated tea light and he’s ready to glow.
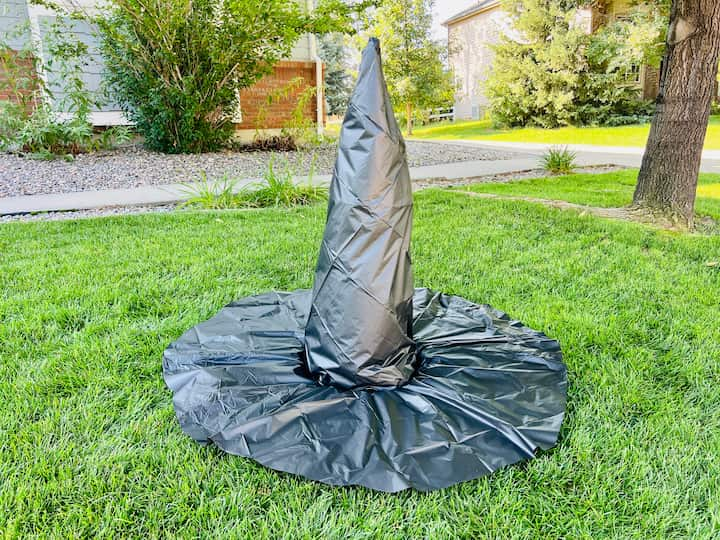
Creating Haunting Decor on a Budget with Dollar Tree – Make A Trash Bag Cobweb
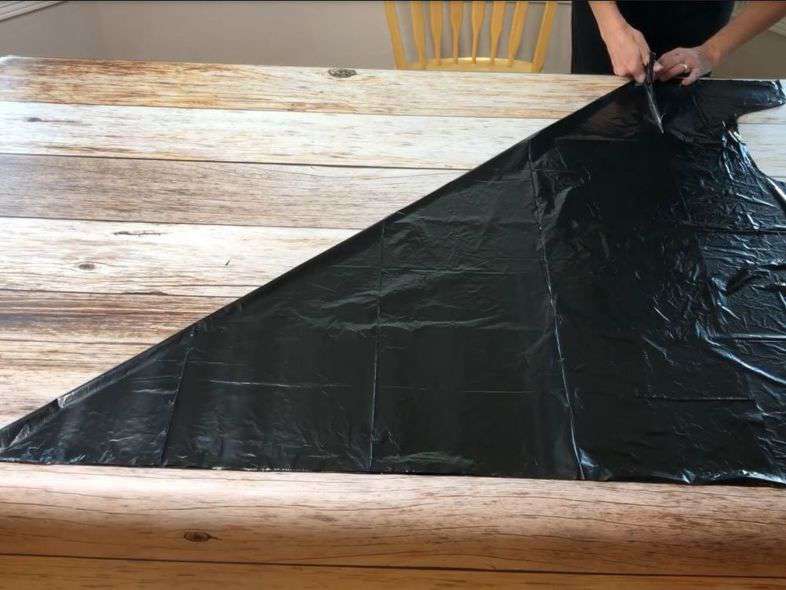
Trash bag spider webs are one of those diy projects that won’t cost a lot of money and with the best part is with just a little bit of time you will have a giant, spooky cobweb to put in the window. Fold the corner of the bottom up to the top of the trash bag and using a pair of scissors cut off the extra to make a square. Cut all the sides open but leave them stacked as this will make 2 cobwebs.
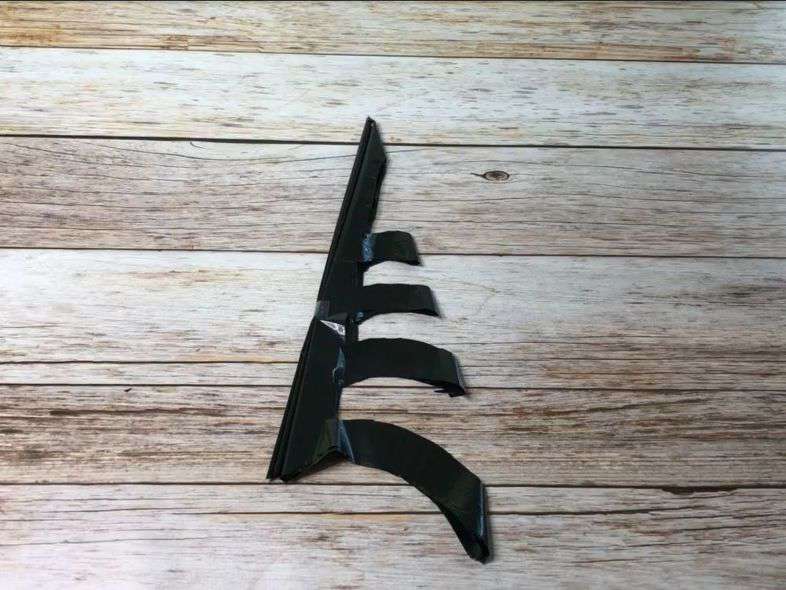
Fold your trash bag similar to when you make paper snowflakes. Folding 1 triangle, then another until you have folded it to your desired amount. I folded it about 4 times. I placed a piece of tape on the open end to hold it steady as I cut the other side like this shape in the picture to make the cobweb shape.
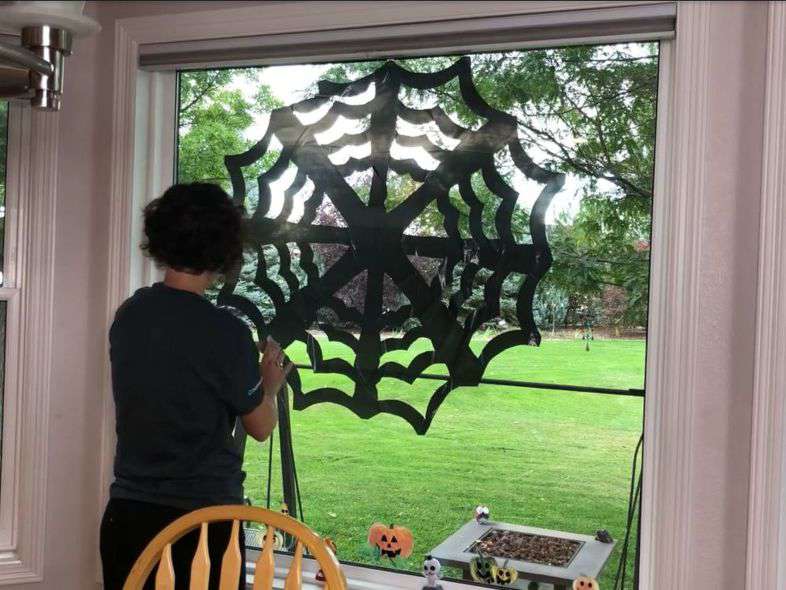
Open it up and pull it apart as it will make 2 cobwebs. Place one end on your window and I used a piece of tape to hold it to the window molding. Spread the cobweb out onto your window and the rest of mine held in place purely by static electricity. You could go the extra mile and add plastic spiders.
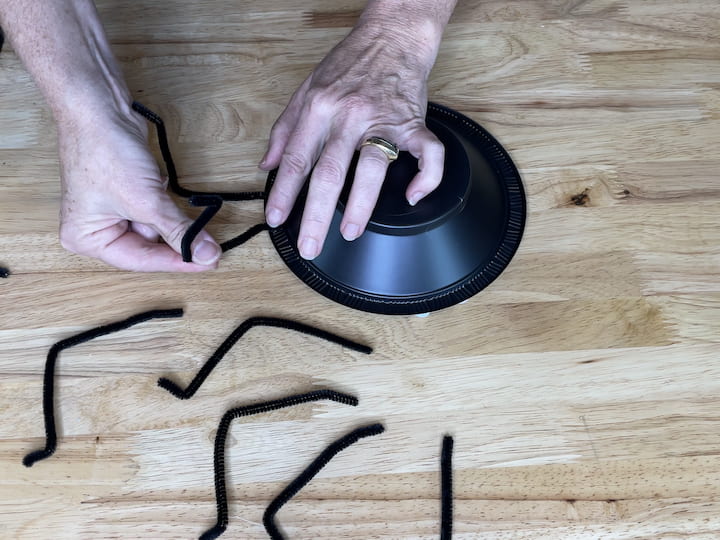
Crafty Halloween Decor on a Dime at Dollar Tree – Spider Snack Dish
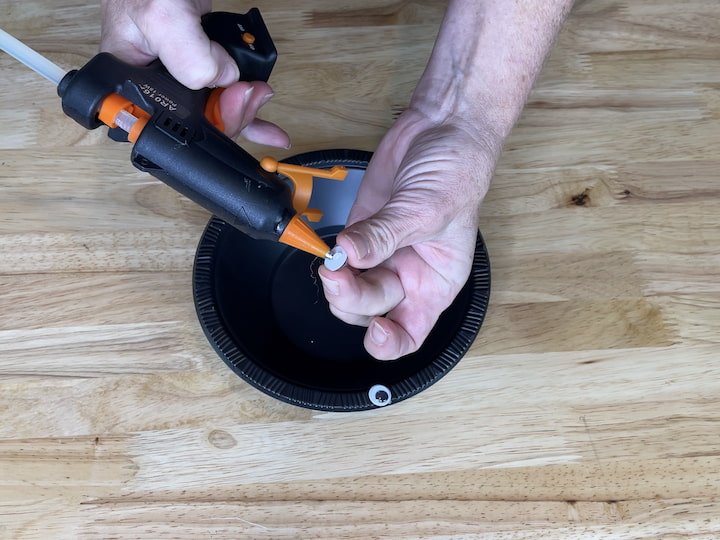
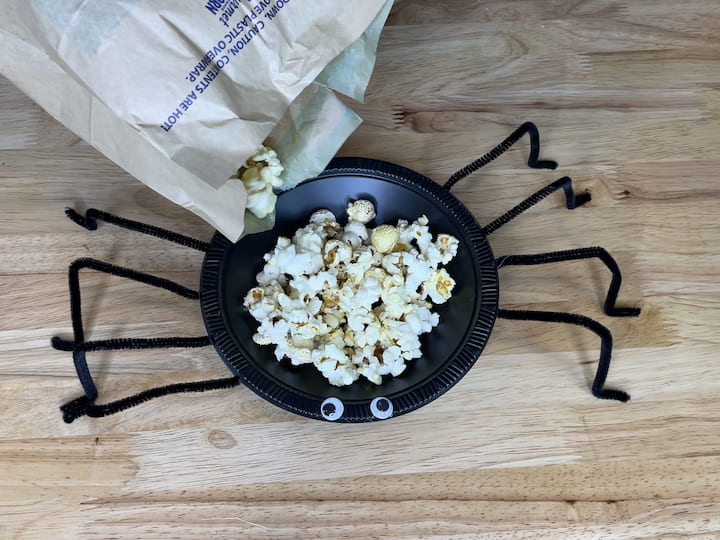
Hot glue 2 google eyes onto the rim of a bowl. Cut 4 black pipe cleaners in half, and bend into leg shapes. Glue those onto the bowl. Add snacks of your choice to your fun spider snack dish.
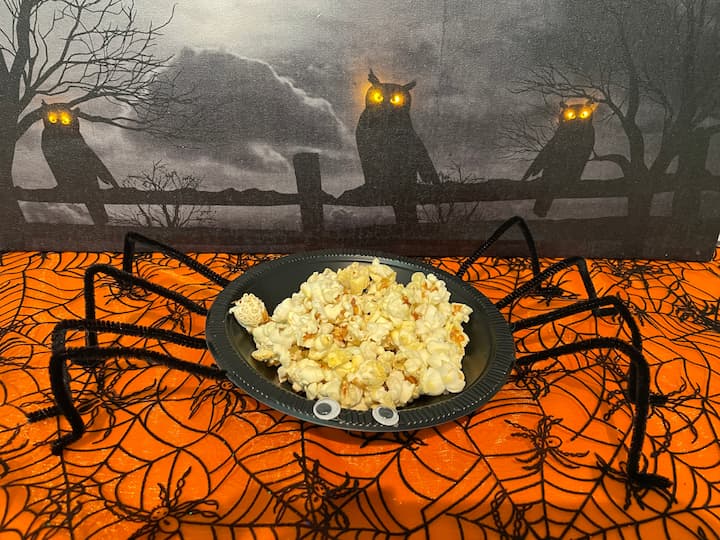
These make a fun way to serve different snacks up on your table. It also makes a great classroom project for kids to make and enjoy.
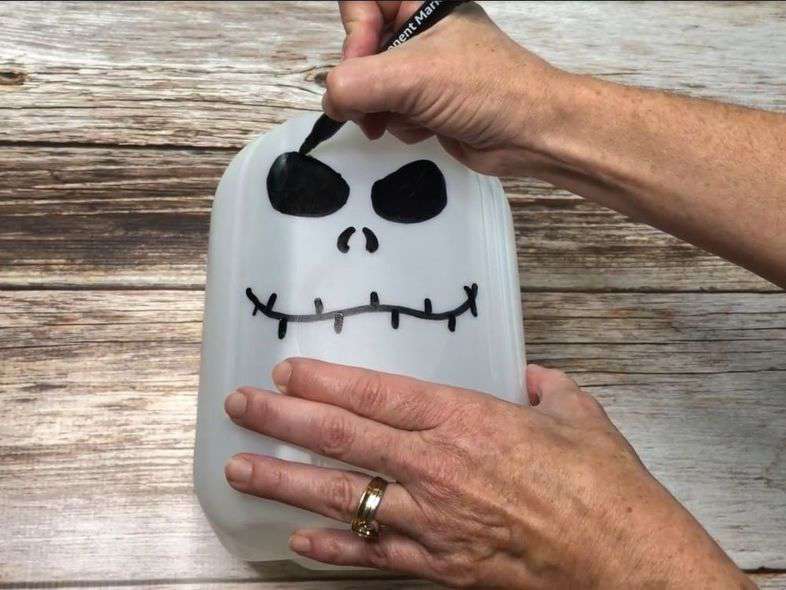
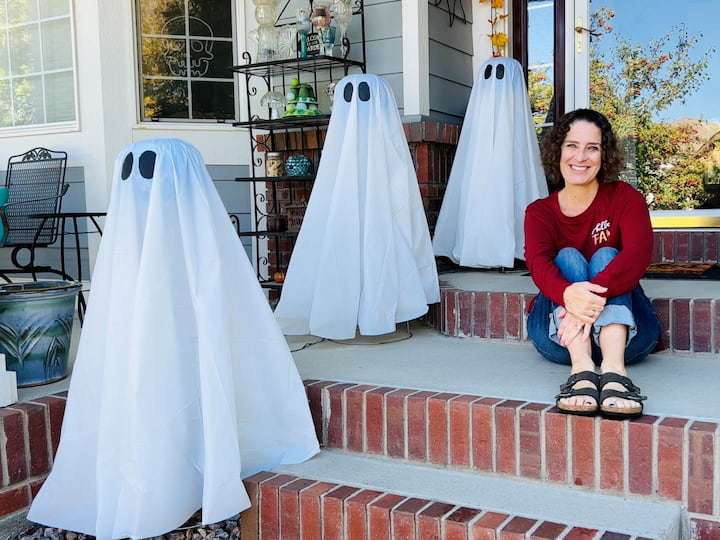
Frugal Halloween Decor Ideas with Dollar Tree Products – Recycled Jug Ghosts Halloween Decoration
Draw faces on one side or your recycled jug with a permanent marker. The little guys will have so much fun doing this. *Dry erase markers work great for younger kids with this project!
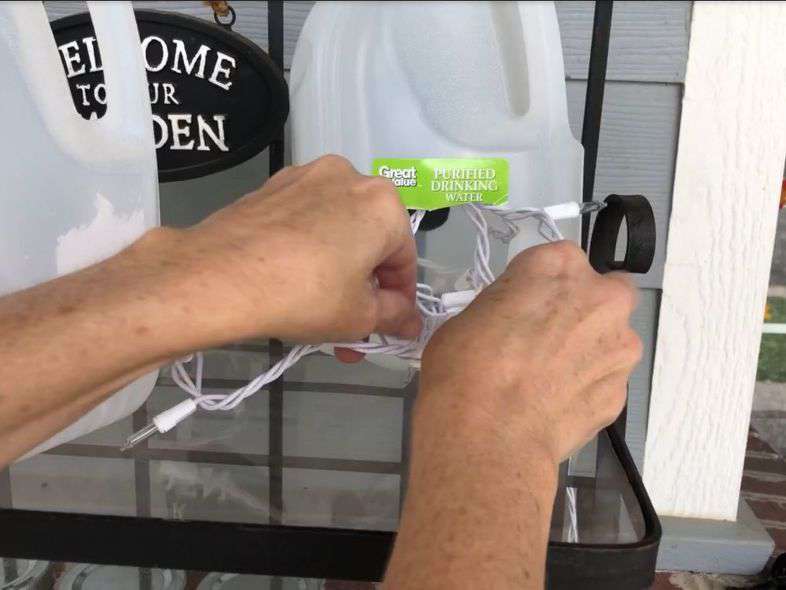
Cut a hole with a scissors or box cutter on the opposite side. Place a strand of white lights into the hole. If you are making more than, one like me, you string them into the holes across the back of all of them.
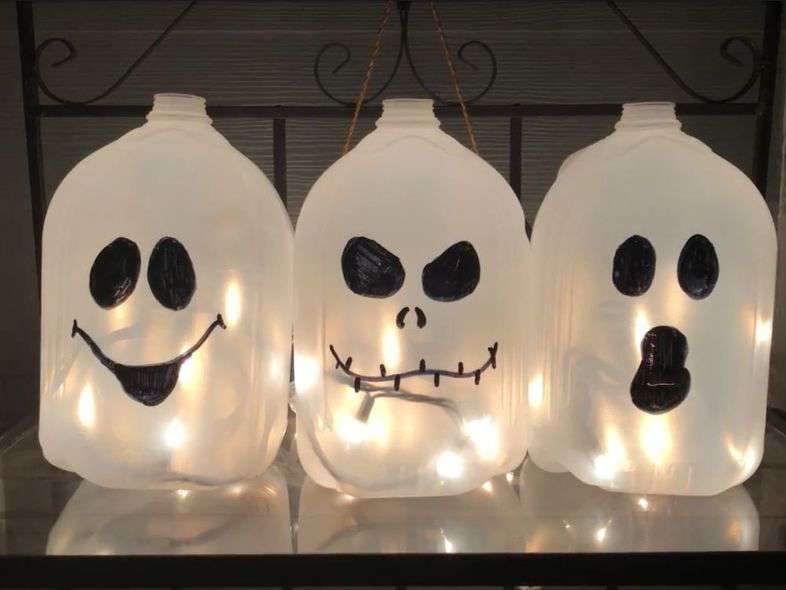
Plug them in and they’re ready.
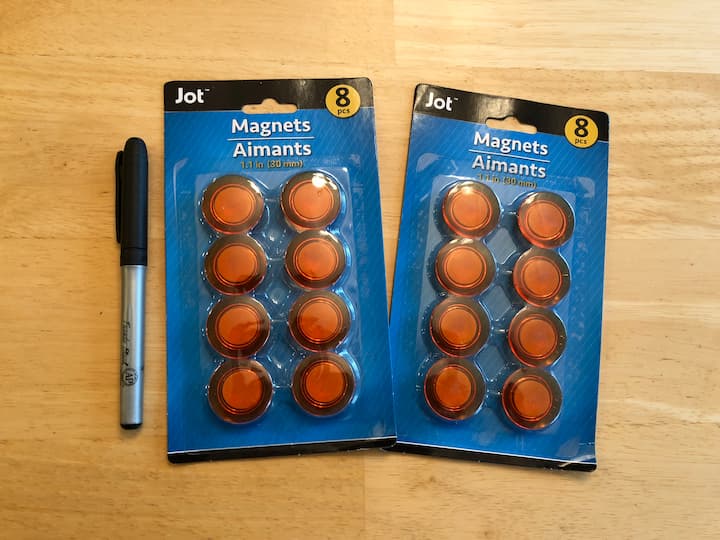
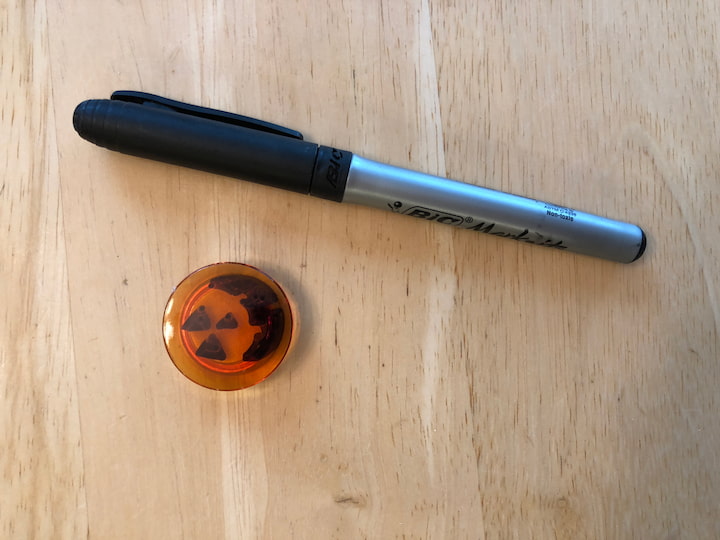
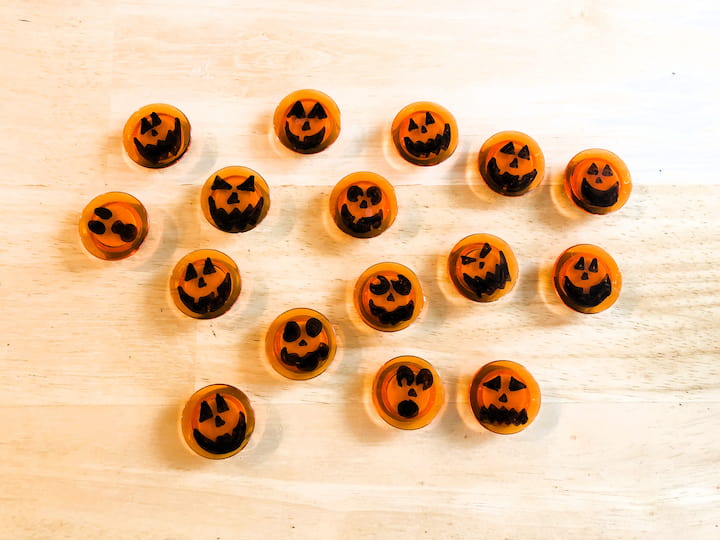
Crafting Affordable Halloween Decorations from Dollar Tree – Easy Pumpkin Magnets
For this project, I grabbed some orange magents from the office section at the dollar store. I drew a variety of pumpkin faces on the magnets. This made a great party favor for me to hand out. It also makes a great kids’ project as well.
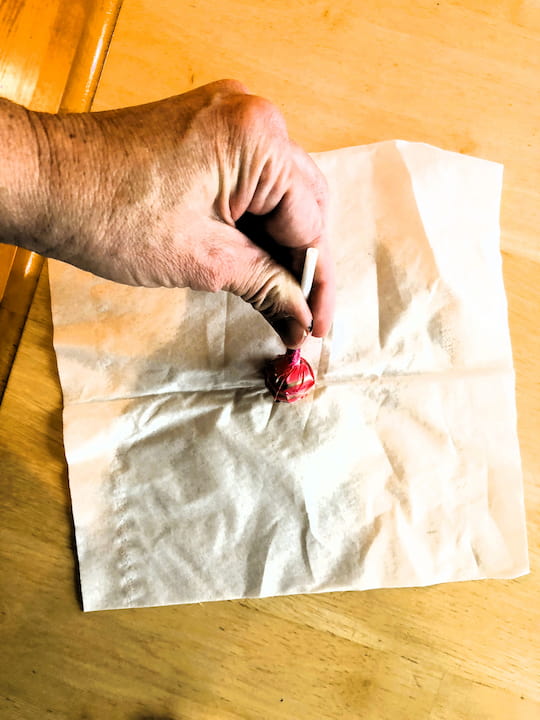

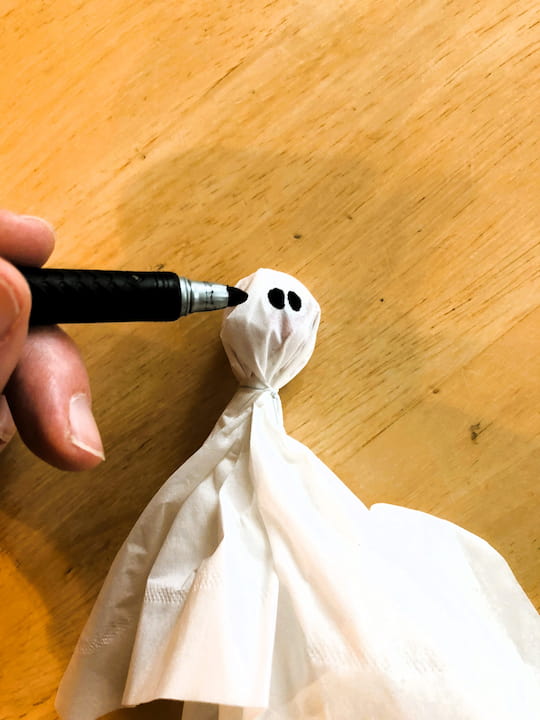
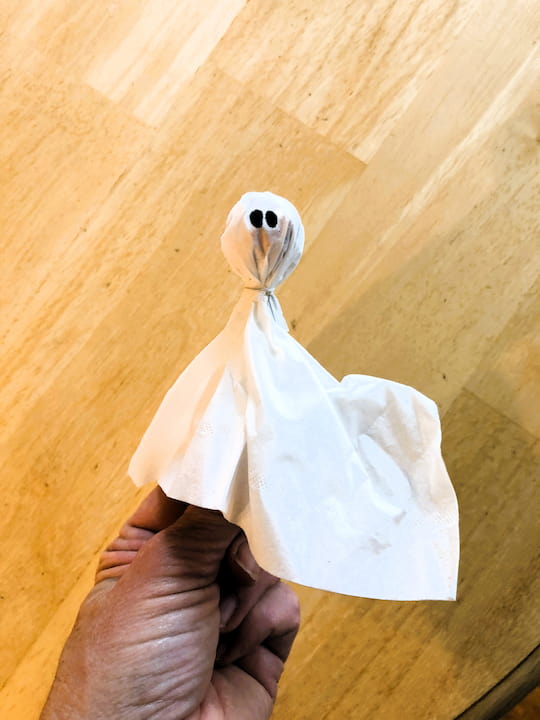
Spooky Dollar Tree Halloween DIY Projects – Ghost Lollipops
I placed a lollipop into the center of a tissue. I wrapped the tissue around the lollipop and secured it with a twist tie, and you could alternatively use string. I drew on 2 eyes. This makes a great party favor, and kid’s craft.

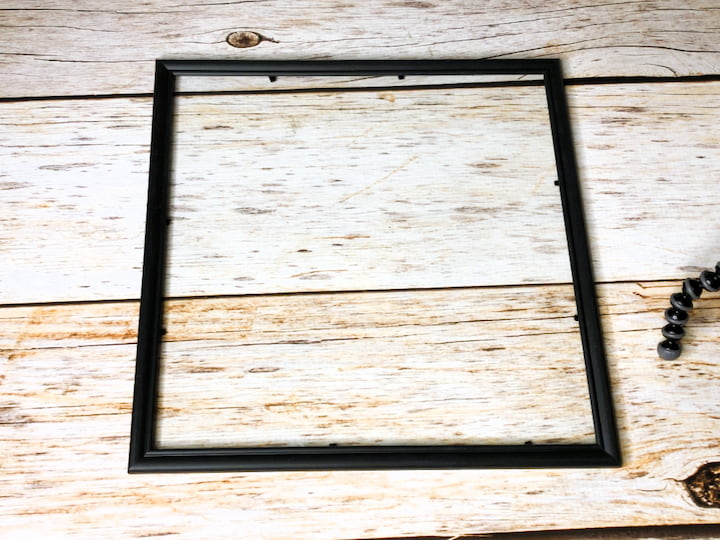
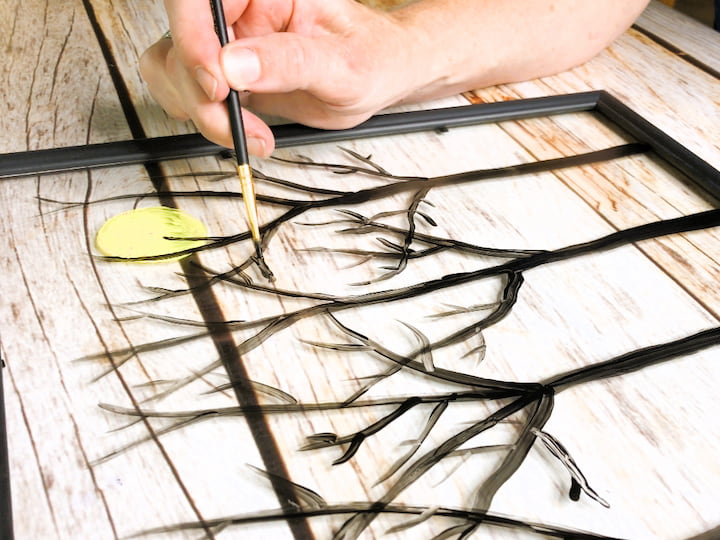
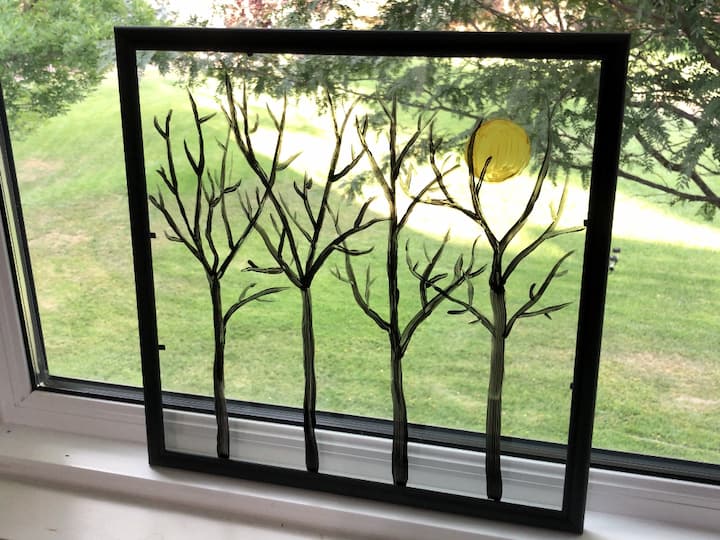
Low-Cost Dollar Tree Halloween Decorating – Halloween Suncatcher
I took the back off of a picture frame. I used Apple Barrel paints and painted on a moon and tree trunks without any leaves to create a spooky scene. I displayed this in my window.
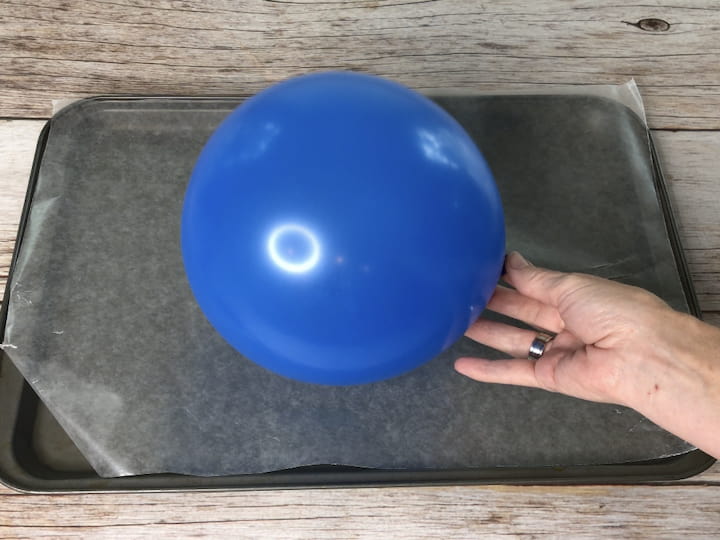
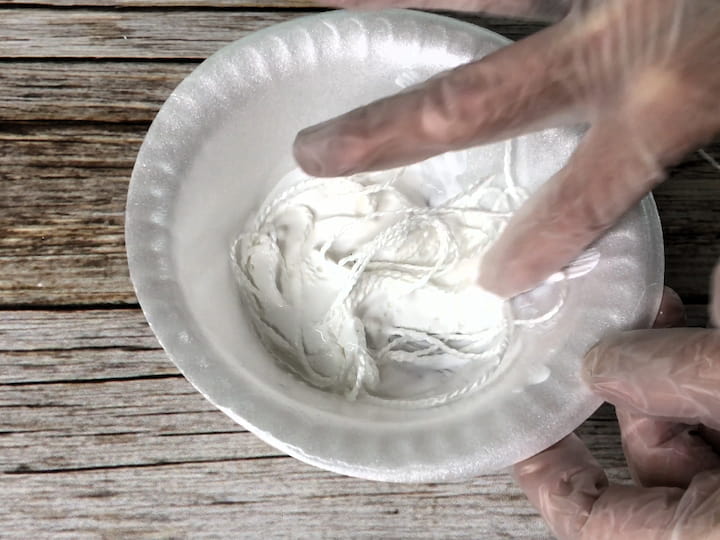
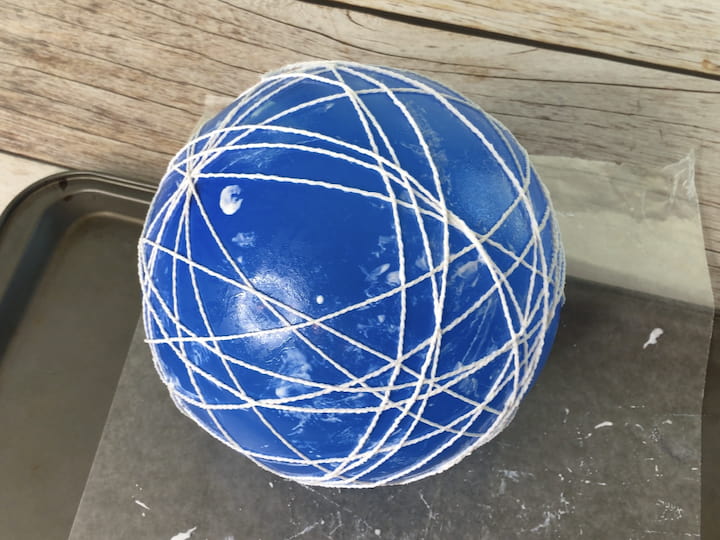
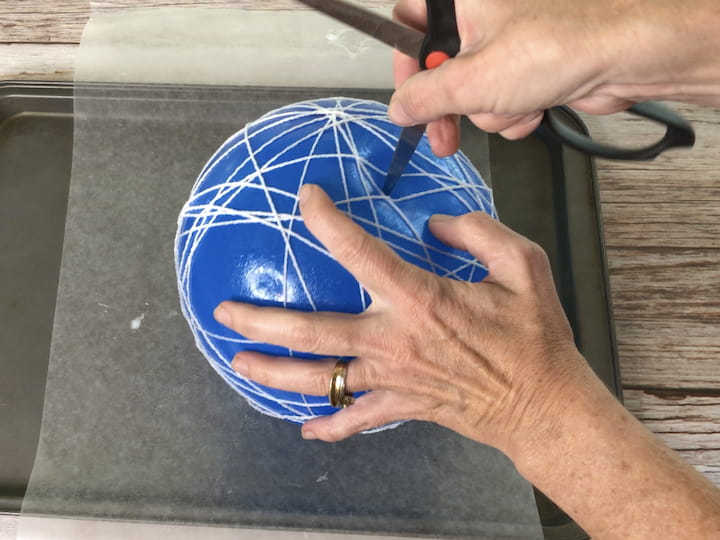
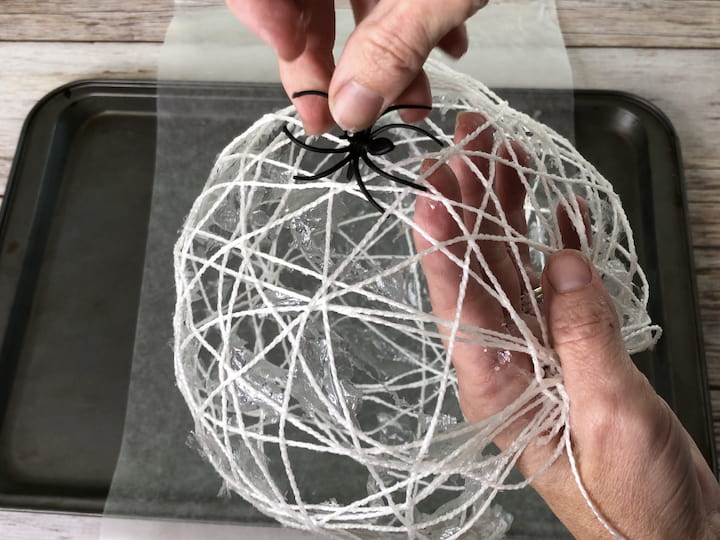
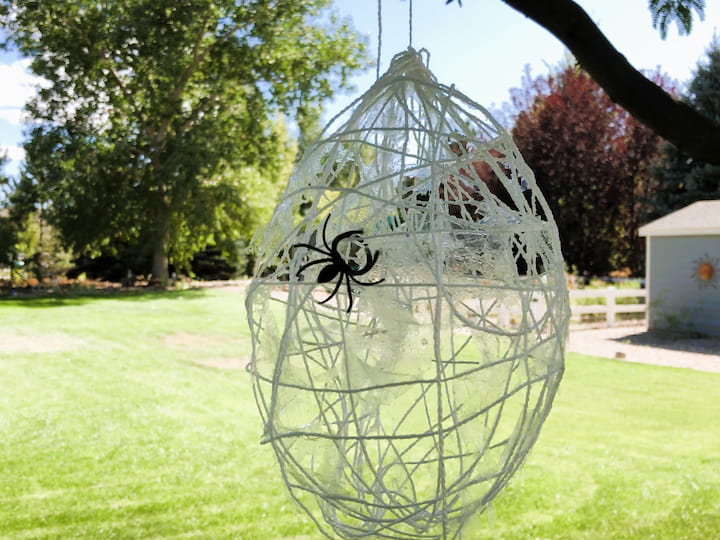
Scary Good DIY Dollar Tree Halloween Decor – Hanging Spider Nest
I blew up a balloon. I dipped a bunch of string into Mod Podge and then wrapped it around the balloon. I let it dry completely, then I popped the balloon and removed it. I hot glued on some plastic spiders and hung my spiderweb nest up for display.
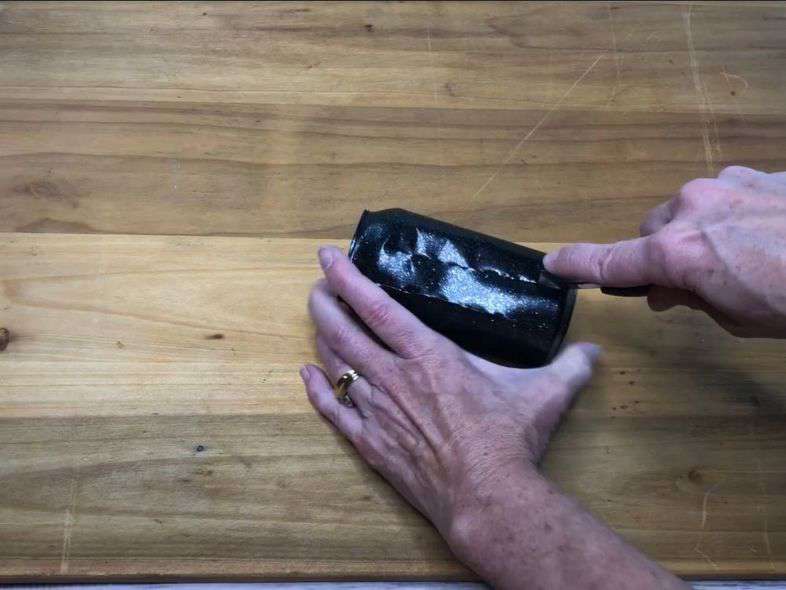
Budget-Savvy Halloween Decorating from Dollar Tree – Can Lanterns
I spray painted my pop cans with black paint and then sprayed them with Glitter Blast and let them dry. *Alternatively you could cut the can first and then use black spray paint afterward. I might suggest this option over the way I did it as some of the spray paint scratched as I was cutting the can.
Use a box cutter and cut slits from the top of the can down to the bottom. I did about a 1/2 in with this one, but I tried different widths with my other cans. You can pick what’s right for you.
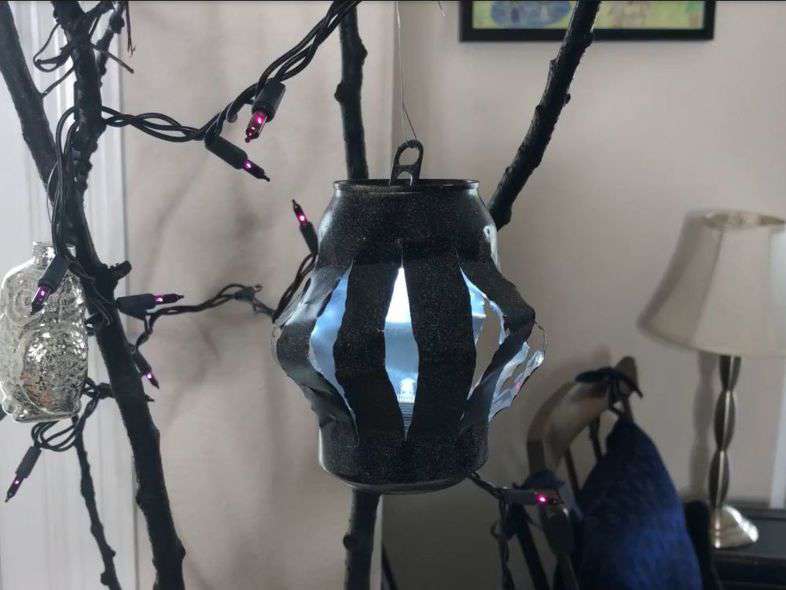
Carefully push the top of the can down, and pull out the slit sides so that they bow out. Slide in a battery operated LED light, and hang with ornament hooks by using the pop tab on top.
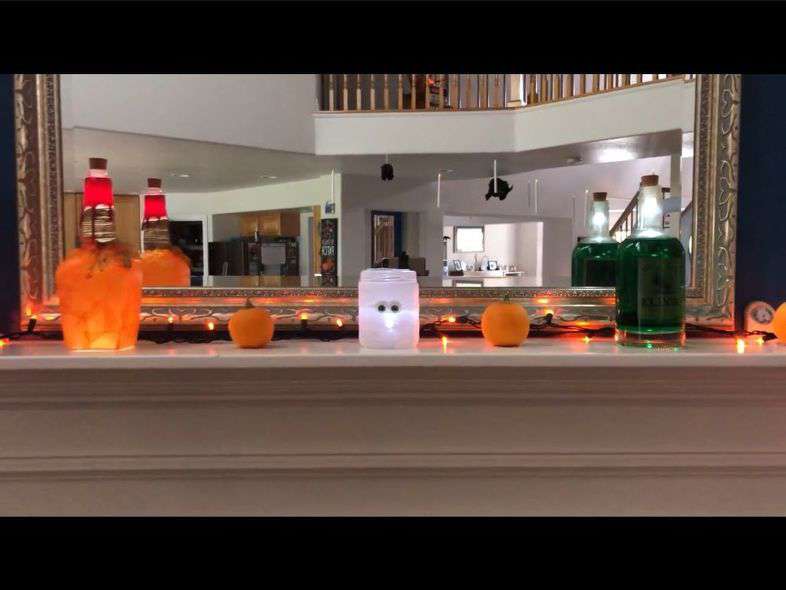
Here you can see the mummy jar and potion jar lit up. You can find my pumpkin tutorial here – Repurpose Jars and Bottles For Halloween Fun!
DIY Dollar Tree Halloween Decorations Video
To see my Easy Halloween Decor video with Hometalk click here!
Shop any of these stores and I receive a small commission at no cost to you.
 Set of 3 Wine Bottle Lights…Shop on Amazon
  American Art Classics Set o…Shop on Amazon
  Paramount Roasters, Fall In…Shop on Amazon
 ") Celestial Seasonings Black …Shop on Amazon
Celestial Seasonings Black …Shop on Amazon , Warm, Spicy & Aromatic, Caffeinated, Enjoy Hot or Iced, 20 Teabags") Twinings Pumpkin Spice Chai…Shop on Amazon Shop on Amazon
Twinings Pumpkin Spice Chai…Shop on Amazon Shop on Amazon
More DIY Dollar Tree Halloween Decorations
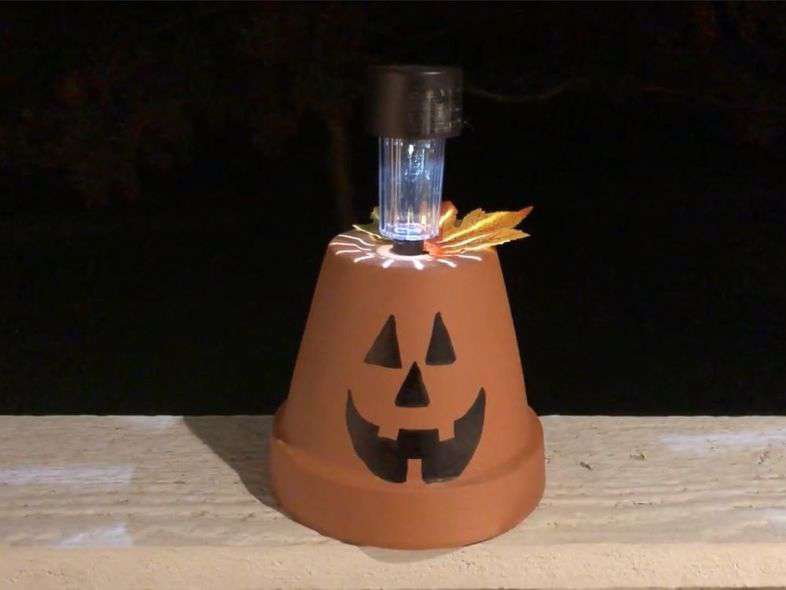
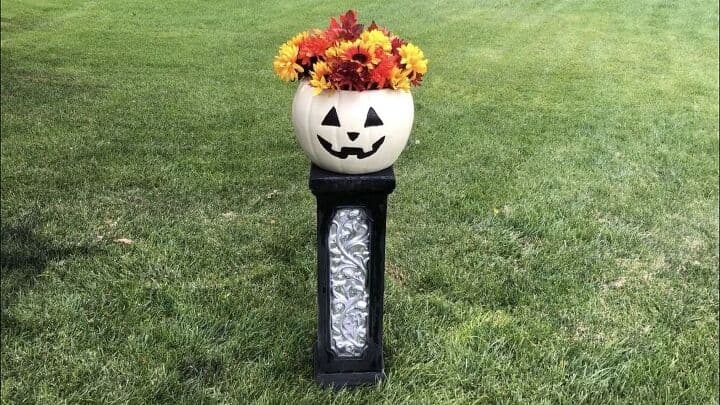
Terra Cotta Pumpkin Solar Lights –
I use these to light up my walkway during Halloween. You can find the tutorial here – Flower Pot To Solar Pumpkin
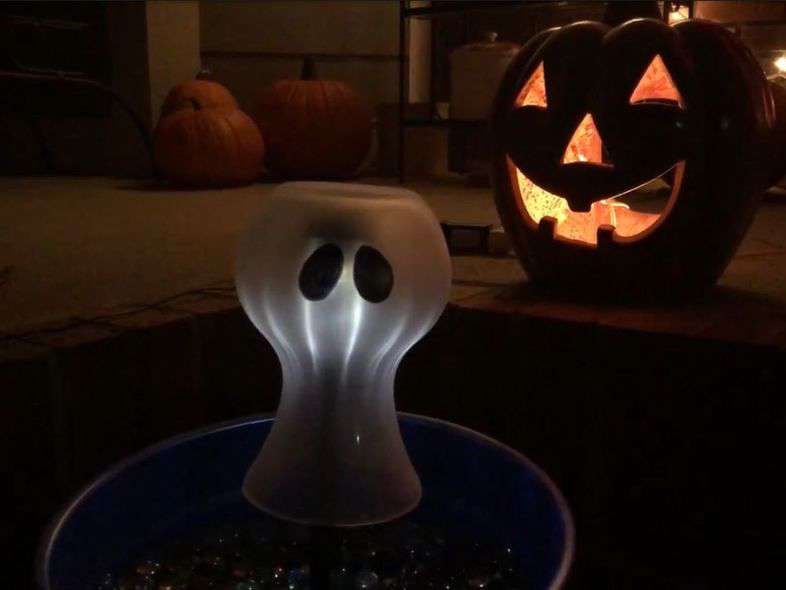
Vases Repurposed to Solar Ghosts –
you can find the full tutorial here –Repurposed Vases to Glowing Ghosts
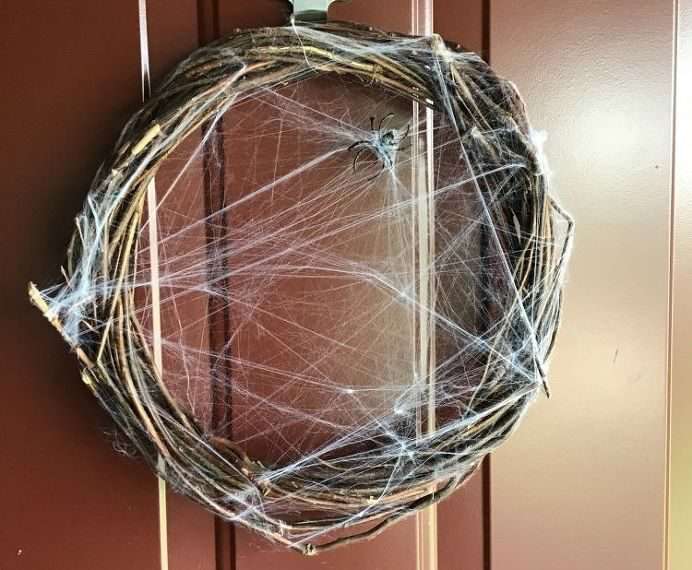
Easy Halloween wreath
Grab a wreath form, spider rings, and some cobwebs and you can make this super easy Halloween wreath. Find the full tutorial at Easy DIY Halloween Wreath Dollar Tree
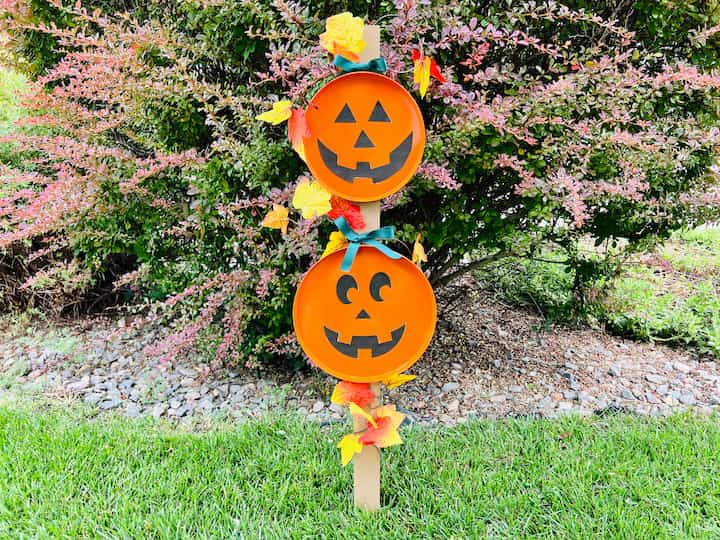
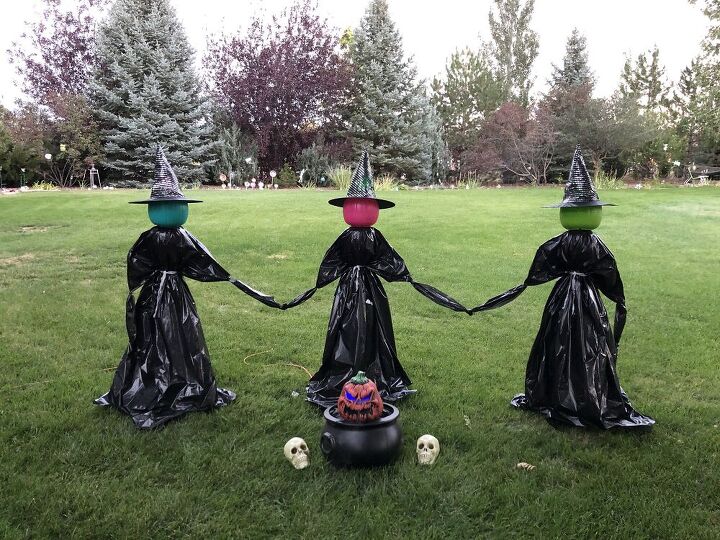

I have several outdoor yard decorations I have made with Dollar Tree items that you might be interested in checking out and you can find all of those tutorials at Easy and Fun DIY Halloween Yard Decorations on a Budget
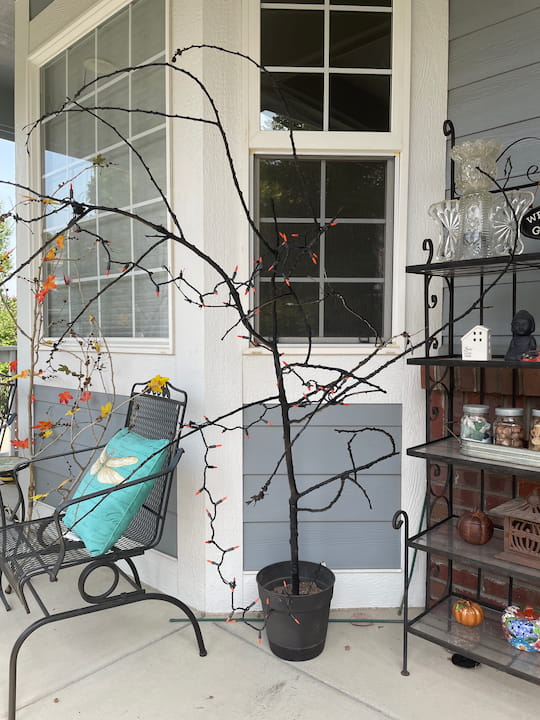
How do you make a spooky tree? How to make a fake Halloween tree?
Have you seen the lighted fall trees? Ouch, they can be expensive and I’m going to share my own DIY fall tree using a branch from my yard. You can find the full tutorial at Awesome and Easy DIY Fall Tree Branch with Video
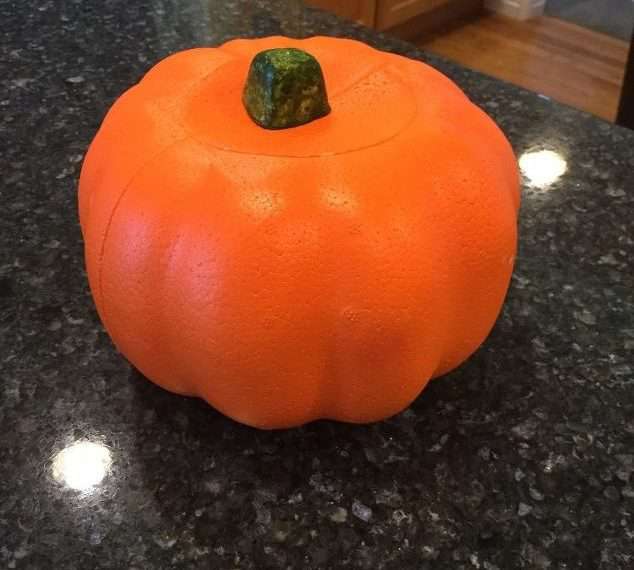
Ideas with store foam pumpkins
Discover a plethora of imaginative foam pumpkin craft ideas perfect for adding a festive touch to your autumn decor. From elegant designs to kid-friendly crafts, explore unique ways to transform foam pumpkins into charming seasonal accents. Creative Foam Pumpkin Craft Ideas for Fall Decorating
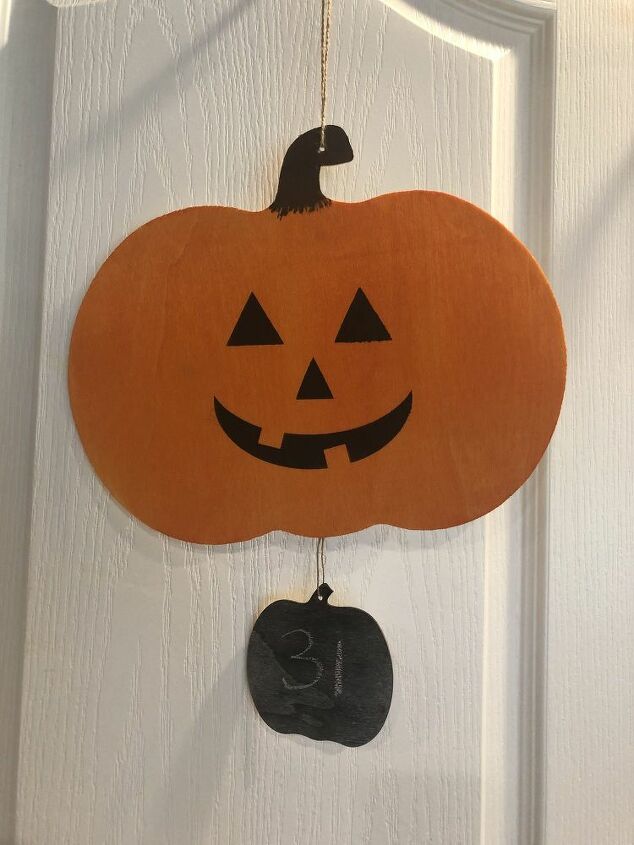
How Many Days Till Halloween Easy Dollar Tree Craft
How many days till Halloween? With a little dye and paint, I created a fun Halloween Countdown Calendar with items from Dollar Tree. You can find the full tutorial at How Many Days Till Halloween Easy Dollar Tree Craft
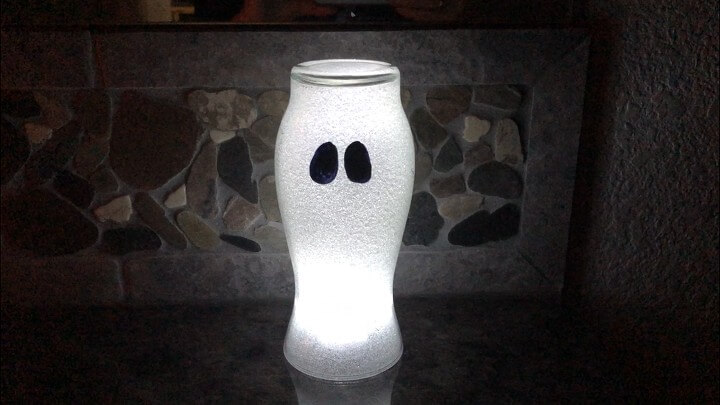
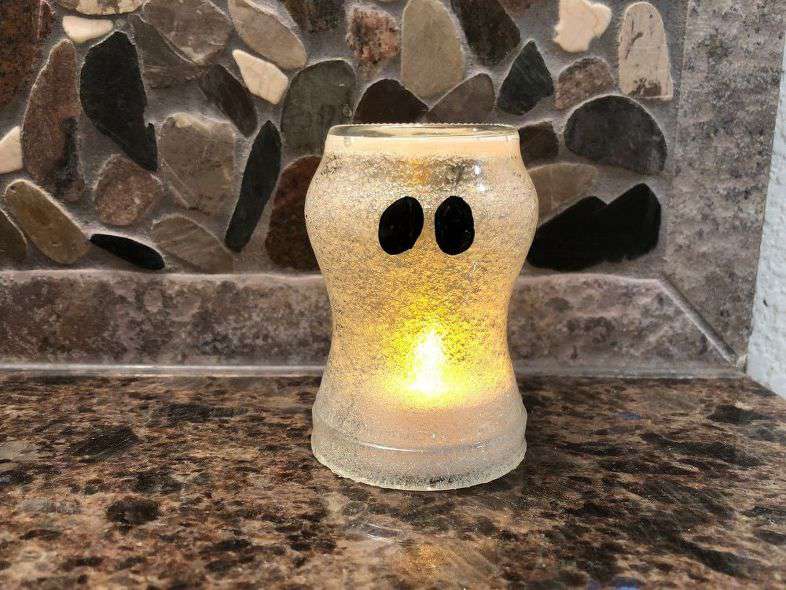
Dollar Store Vase to Glittery Glowing Ghost
I was at the Dollar Store and saw a vase. I knew I could turn it into a glittery and glowing ghost with just a few supplies. You can find the full tutorial at Dollar Store Vase to Glittery Glowing Ghost
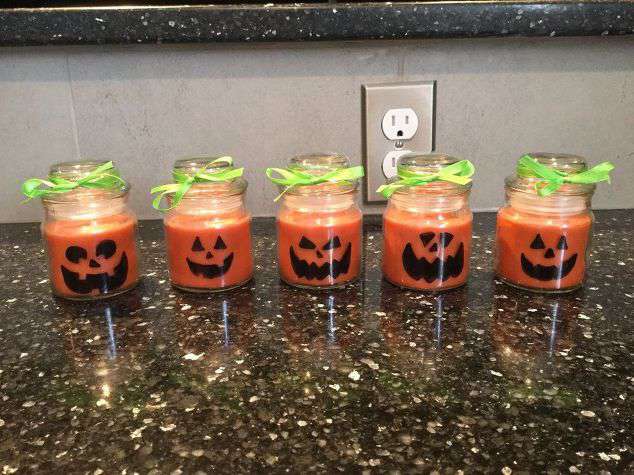
Easy pumpkin Candle craft
Make these super easy Halloween craft candles. It’s easy and inexpensive! Great for kids and adults, parties, party favors, etc. Make them and sell them to earn a little extra cash before the holidays. You could also try making ghost candles. Find the full tutorial at Easy pumpkin Candle craft
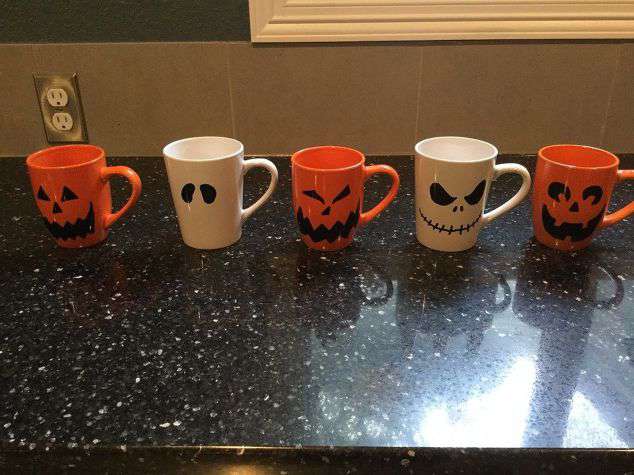
Easy Pumpkin Mug Craft
You’ll need a mug – can be a re-purposed mug or a new one from Dollar Tree, Walmart, etc. These cost $1 to make and they are great for classroom parties with kids, party favors, or make them and sell them! There are so many different ways you can decorate them. Find the full tutorial at Easy Pumpkin Mug Craft
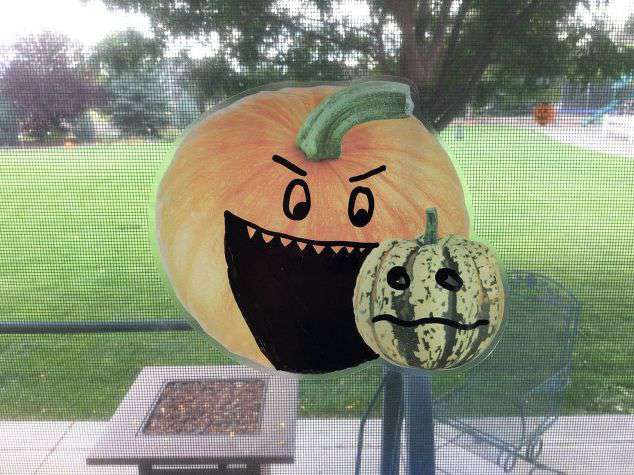
Window Cling PUmpkin Crafts
Something we had done every year for fun, I decided to share it with the world. Fun for the whole family, have fun with some basic window clings. My kids LOVE this activity. Now that they’re older they giggle and laugh when we get them out and put them up at home. Find the full tutorial at Window Cling Pumpkin Crafts
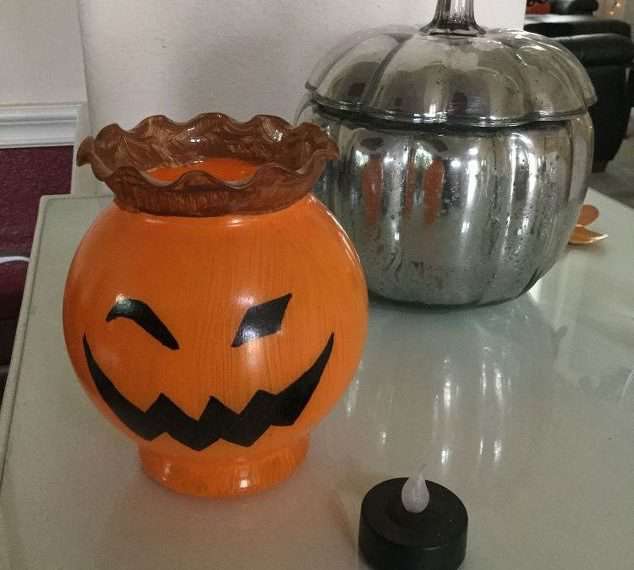
Bud Vase Pumpkins
This is a great example of re-purposing things you have around the house for fun Halloween projects. Change a simple bud vase into a pumpkin or ghost. An easy project for kids too! All you need is a little paint and some markers. This costs so little to make and everyone has so much fun with it. Find the full tutorial at Bud Vase Pumpkins
Easy Halloween Light Up Ghost Craft! (2 Options)
Make this super easy light-up ghost craft for Halloween. It’s easy and inexpensive! Great for kids and adults, parties, party favors, etc. You can find the full tutorial at Easy Halloween Light Up Ghost Craft! (2 Options)
Do you want to know how to decorate a door for Halloween? I have a cheap and easy idea to share with you that you won’t want to miss! How To Decorate A Door For Halloween Cheap and Easy
DIY Dollar Tree Halloween Decorations Q & A
What are some other items you can grab at your local dollar store to celebrate in case don’t have time to make DIY Dollar Tree Halloween Crafts?
- candle holders or ghost candles
- glow sticks
- witch hats and brooms
- giant spiders
- Halloween candles, tea lights, red candles, white candles
- plastic skulls or styrofoam skulls
- creepy cloth
- foam pumpkins
- Dollar store Halloween decorations
- cheap Halloween decorations
- plastic pumpkin
- Halloween-themed wreath
- creepy skeletons
- fairy lights
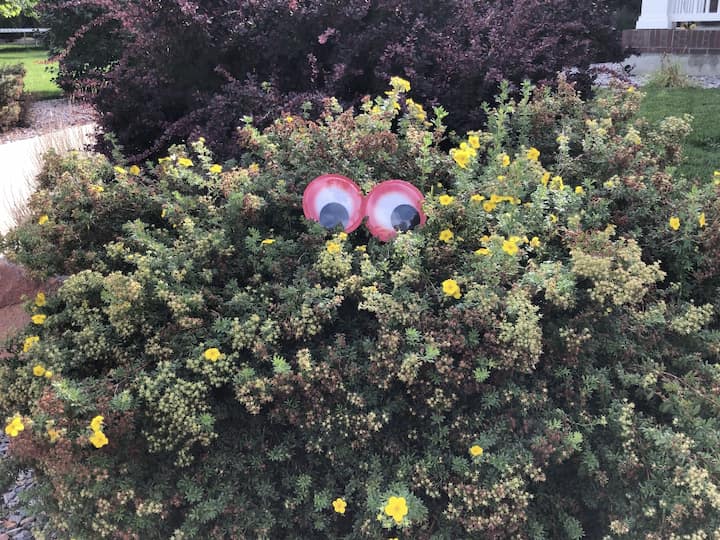
- spooky bush eyes
- and craft supplies for your favorite DIY like construction paper, wax paper
Are you ready to make some DIY Dollar Tree Halloween decorations? Let me know what is your favorite in the comments below.

These are GREAT ideas. LOVE THEM…amazing how simply fantastic those milk jugs are! Thank you for sharing at last week’s RTT party. We’d love to have you visit this week: https://www.jodiefitz.com/
It’s open all week long. xo
Thanks Jodie, Thank you so much for hosting a place for all of us to share our ideas.
Chas,
I love all of your ideas. So creative. Stop by Thursday Favorite Things since you are featured.
Hugs,
Bev
https://eclecticredbarn.blogspot.com/2018/10/thursday-favorite-things_11.html
Thank you so much Bev, I truly appreciate the feature. Thanks for always hosting a place for all of us to share our creations.
Adorable! Thanks for sharing–you’re such fun!
Thank you so much Richella and thanks for the feature and for hosting a wonderful place for all of us to share our creations.
I love all of your ideas. Holiday decor doesn’t have to cost a fortune! The terra cotta solar light pumpkins are darling!
Thank you so much Candice, and I totally agree. Some of my favorite holiday decor are things I found at thrift stores, garage sales, and things I’ve made. Have a great week!
These ideas are so cute & easy to make. Thanks for sharing at Merry Monday.
Thank you so much Jenny and thanks for stopping by 🙂