
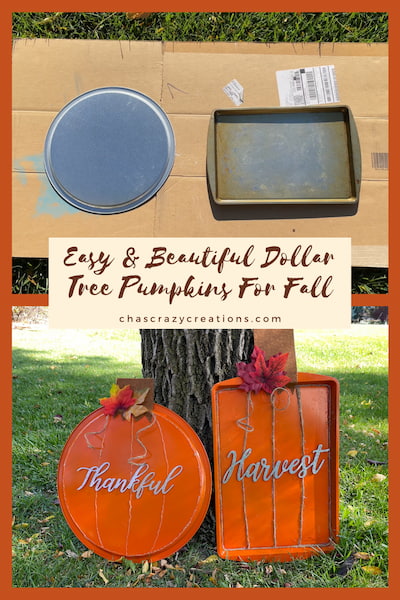
Easy and Beautiful Dollar Tree Pumpkins For Fall
Do you love Dollar Tree? I sure do. This is a quick and easy DIY project using dollar tree supplies. I came up with a dollar tree pumpkin craft that is a great way to use inexpensive items in creative ways. You can also find items to use in the craft section of your local store, hobby lobby, or other home decor stores. This is a great opportunity to use your imagination to make a variety of seasonal decor creations for any time of the year. I made an easy and beautiful faux pumpkin for fall with a few Dollar Store pans.
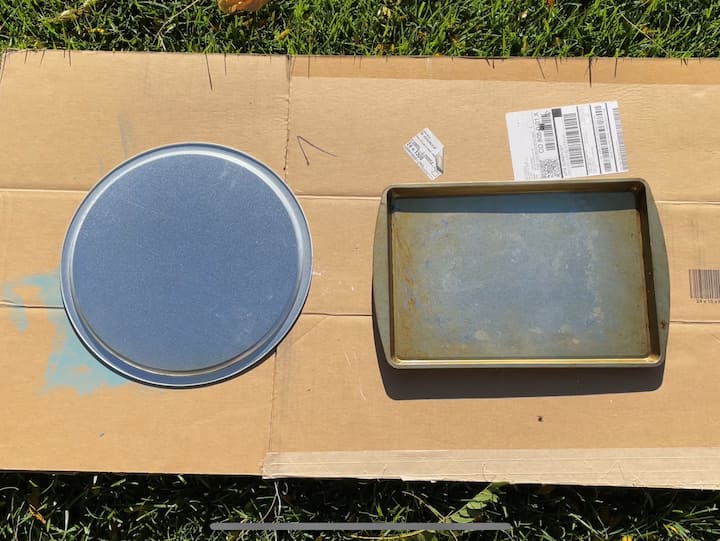
Materials needed for your Dollar Tree Pumpkins
- Pizza Pan
- Sheet Pan
- Orange Spray Paint
- Glue Gun
- Glitter Glue Sticks
- Faux leaves
- Twine
- Galvanized Words
Dollar Tree Pumpkins Video
Instructions for your Dollar Tree Pumpkins
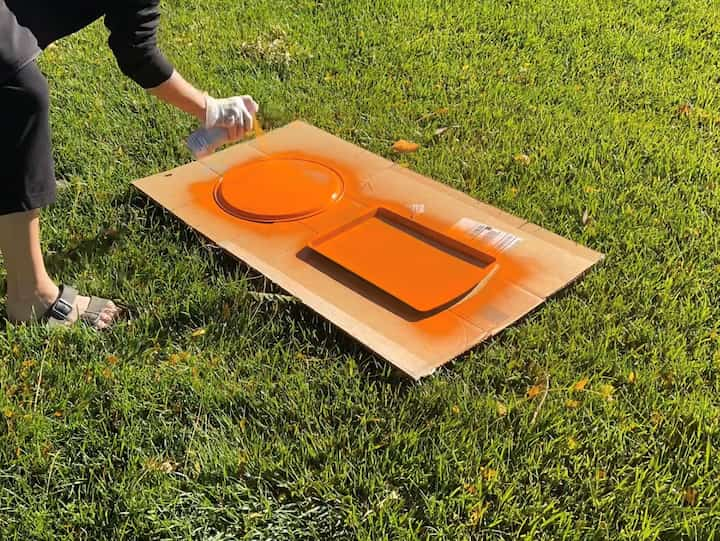
1. Spray Paint Your pans
The first step is to paint the pans. I used orange Rustoleum paint with primer and spray-painted both of my baking pans. You can use your desired color, it doesn’t have to be a traditional bright orange color. I let them dry completely before moving on to the next step.
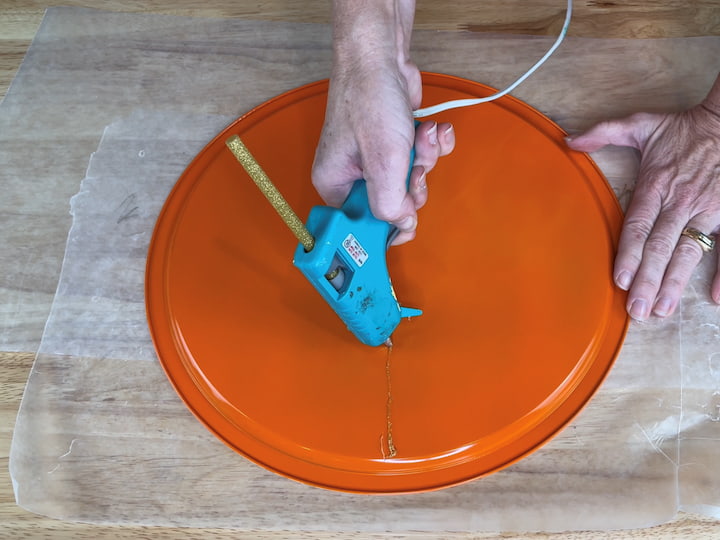
2. Add pumpkin lines
Every pumpkin has creases in it. I used gold glitter glue sticks to create the lines for my pumpkin on the pizza pan.
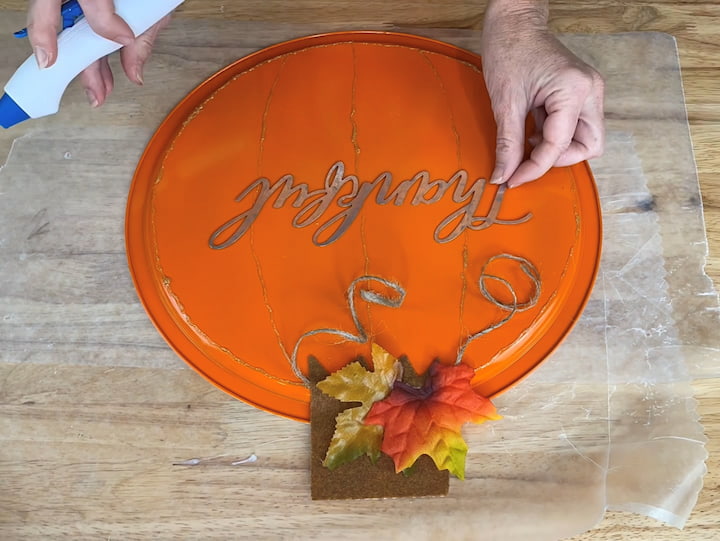
3. Add Stem, Leaves, and vine
I used a piece of adhesive felt and cut out the stem of the pumpkin. Use can use green felt if you would prefer a green stem. I peeled off just enough backing to stick it on the pizza pan. I then used hot glue on some twine to represent the vine and some faux leaves. I used hot glue to add a galvanized word to my dollar tree pumpkin.

My second dollar tree pumpkin from a baking pan
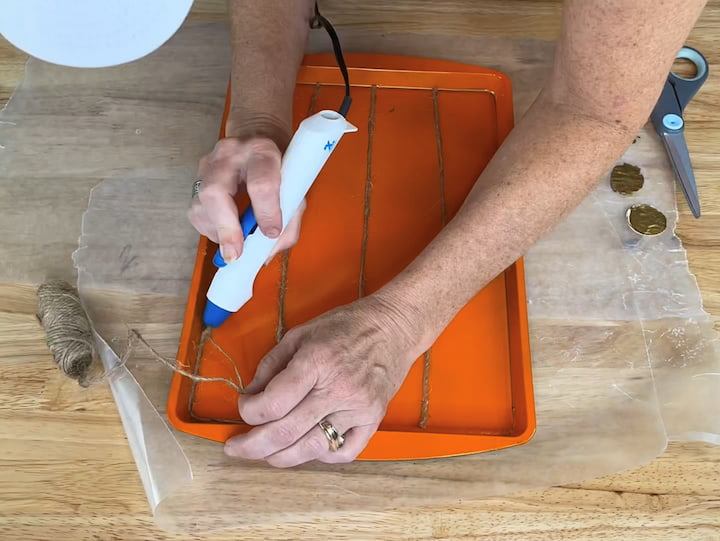
I hot glued on some twine this time to create the creases of the pumpkin and add some dimension.
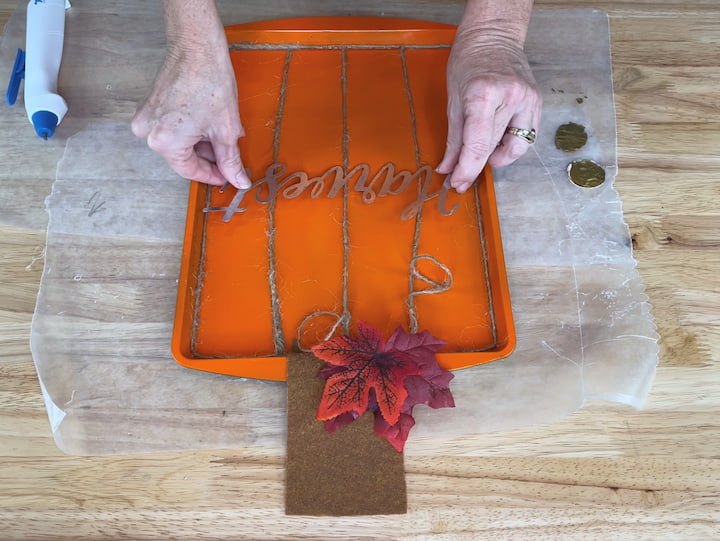
I added the stem, faux leaves, twine, and galvanized word to this pan as well.
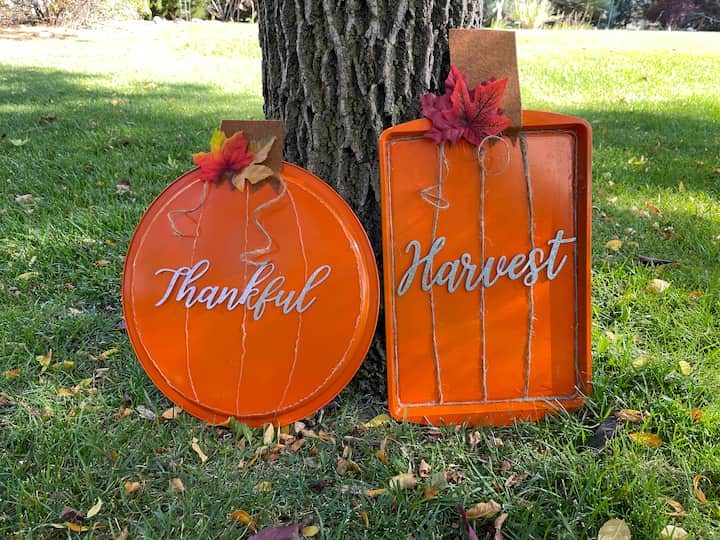
I love how both of these dollar tree pumpkins turned out!
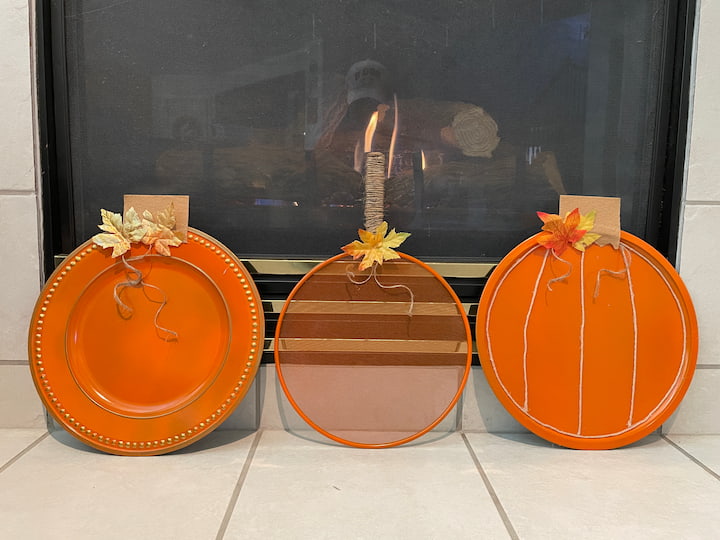
Here are some other pumpkin ideas made from Dollar Tree items
The above pumpkins I made for Hometalk TV. From left to right I used a charger plate, splatter screen, and a pizza pan. I painted them all orange.
- For the charger, I used gold sharpie and paint to embellish the pumpkin, and then I added a stem, twine, and faux leaves.
- For the splatter pan, I hot glued the twine around the handle, and then added faux leaves.
- For the pizza pan, I hot glued on yarn for the creases, then added faux leaves, twine, and a stem.
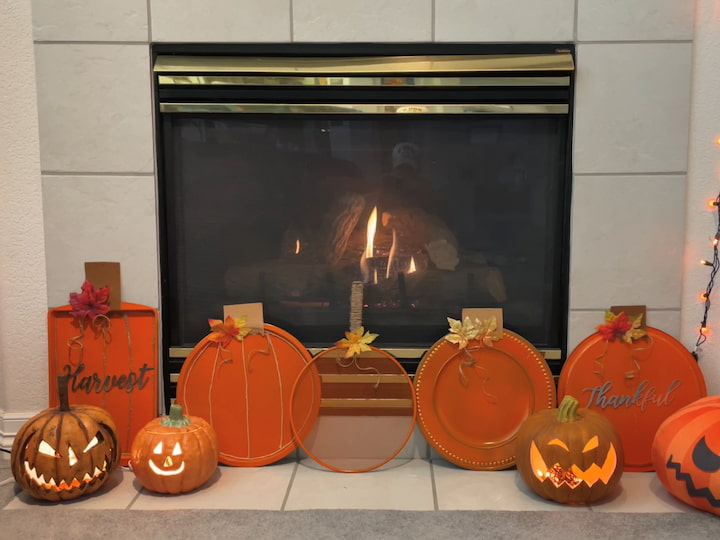
I have them all set up in my pumpkin patch by my cozy fireplace for fall.
Aren’t these dollar store pumpkins cute for fall decor?
- You might also like my styrofoam pumpkins made with Dollar Tree foam pumpkins.
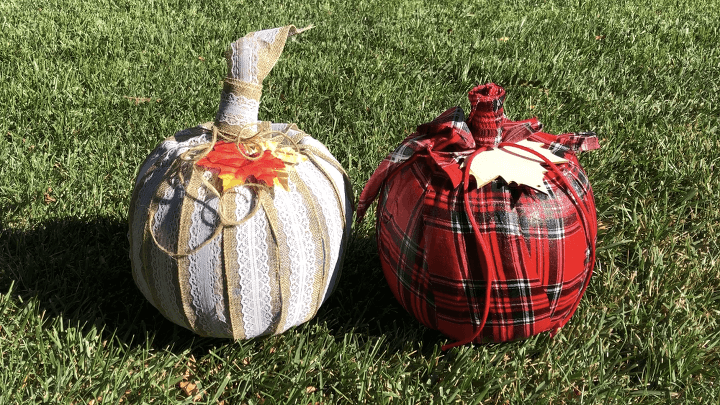
- I have also made several crafts out of plastic pumpkins using a few craft supplies
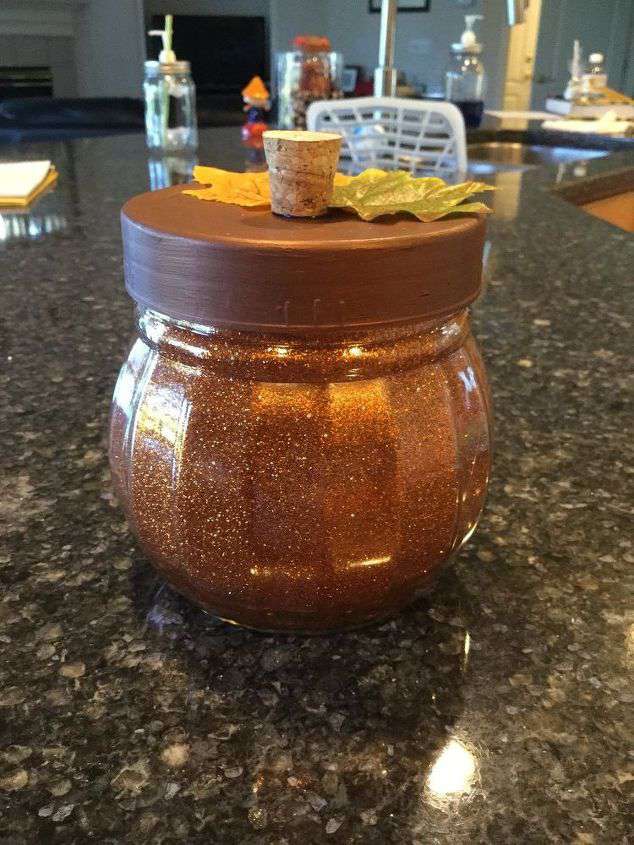
- You might also like my glass glitter pumpkins
- I have a few fall wreaths too.
I like using these as they last year to year instead of real pumpkins. I like using these inexpensive pumpkins during my favorite time of year.
Learn more about “Creating Seasonal Decor for Your Home” to create seasonal decor that doesn’t cost an arm and a leg.
Easy and Beautiful Dollar Tree Pumpkins For Fall video
Shop any of these stores and I receive a small commission at no cost to you.
Learn more about the history of pumpkins
Easy and Beautiful Dollar Tree Pumpkins For Fall
Equipment
- Glue Gun
Materials
- Pizza Pan
- Sheet Pan
- Orange Spray Paint
- Glitter Glue Sticks
- Faux leaves
- Twine
- Galvanized Words
Instructions
- I used orange Rustoleum paint with primer and spray-painted both of my baking pans. I let them dry completely before moving on to the next step.
- Every pumpkin has creases in it. I used gold glitter glue sticks to create the lines for my pumpkin on the pizza pan.
- I used a piece of adhesive felt and cut out a stem. I peeled off just enough backing to stick it on the pizza pan. I then hot glued on some twine to represent the vine and some faux leaves. I hot glued on a galvanized word to my dollar tree pumpkin.
Video
Check out some of my other pumpkin projects!


Chas, oh so very clever!
You’re so sweet – thank you Mary.
I always love to see what you can do on such a low-budget Chas. Thanks for the ideas.