
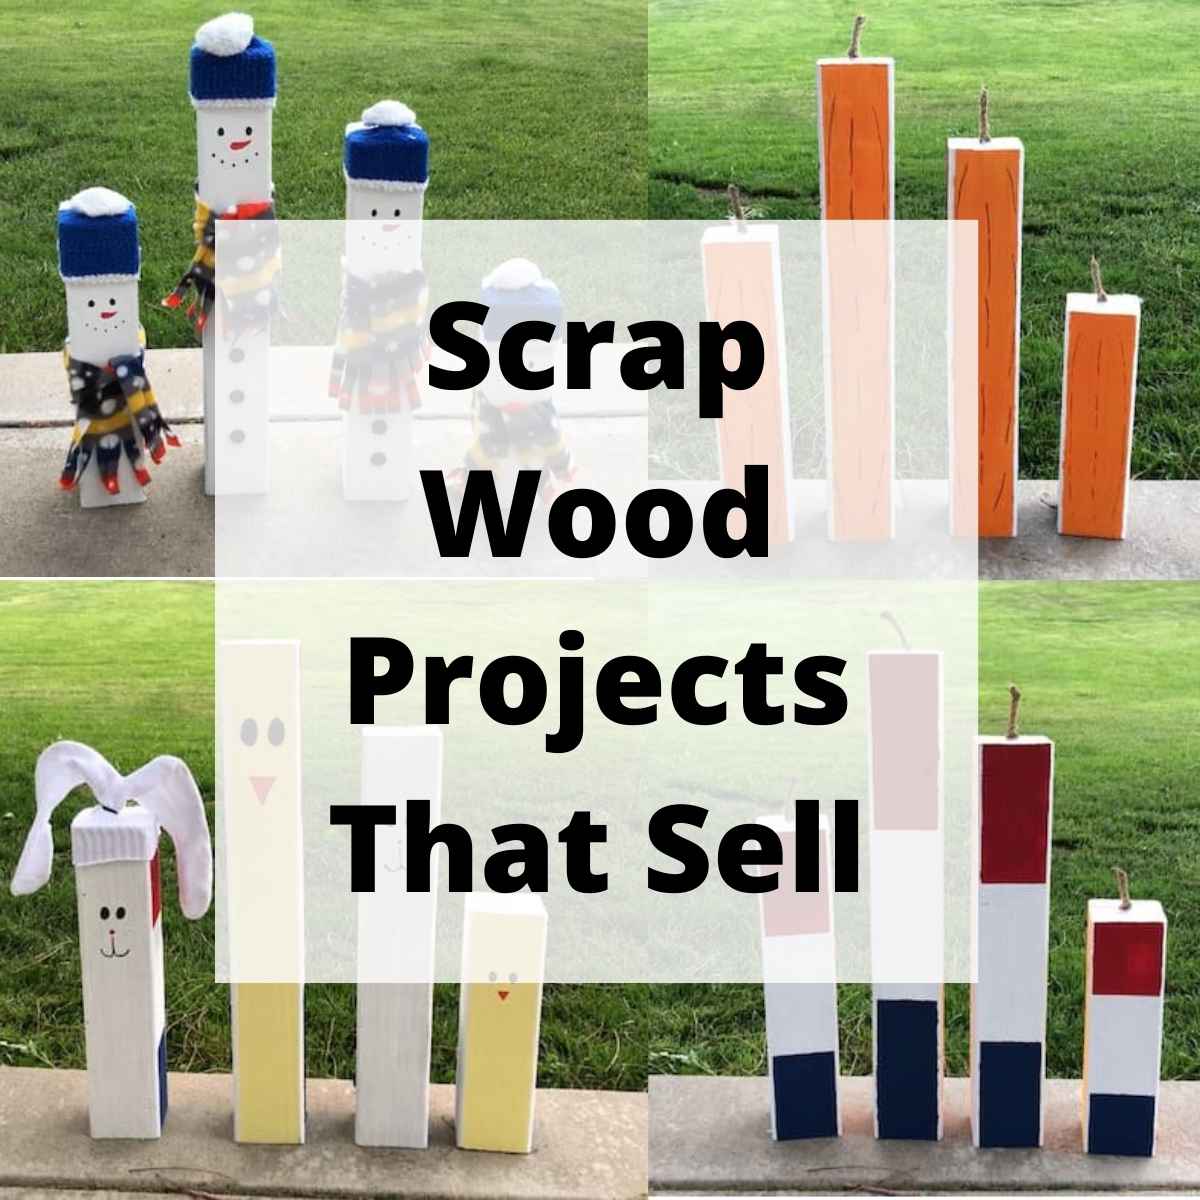
Easy Scrap Wood Projects That Sell (Beginner Friendly!)

Did you know you can turn that pile of dusty scrap wood in your garage into extra cash? I created a simple [Wood Block Snowman Family] project, and with a little imagination, I turned it into a rotating seasonal decoration that sold immediately! Even better, I turned my hobby into a bit of extra spending money.
Quick Answer: What are the best wood projects to sell?
The most profitable scrap wood projects are small, functional, and require minimal materials. Top sellers include:
- Seasonal Decor: Reversible blocks (Snowmen/Pumpkins) allow year-round use.
- Rustic Signs: Welcome signs and “Love” marquees are always in demand.
- Candle Holders: Made from birch logs or 4×4 scraps.
- Garden Art: Wooden scarecrows and lighthouse pots.
Whether you are a beginner looking to practice your skills or a crafter wanting to start a side hustle, scrap wood projects are the perfect entry point. If you love [Seasonal DIYs] or are looking for more [Easy Upcycling Projects], these simple builds are perfect for you. In this post, I’m sharing my famous 4-in-1 blocks plus 15 other ideas to get you started.
Scrap Wood Projects That Sell Video
Where to Find Free (or Cheap) Scrap Wood
Before you start building, you need materials. Here is where I find my wood for free:
- Big Box Stores: Check the “cull bin” at Home Depot or Lowes for discounted cuts. They will also sometimes cut wood for you for free!
- Online Marketplaces: Check “Freecycle,” Nextdoor.com, or Facebook Marketplace for people giving away pallets or construction scraps.
- Construction Sites: Always ask permission first, but many job sites are happy to let you take scrap lumber from their dumpster.
Project 1: The 4-in-1 Seasonal Decor Blocks
(This is my #1 best-seller because customers can leave it out all year long!)

The Concept
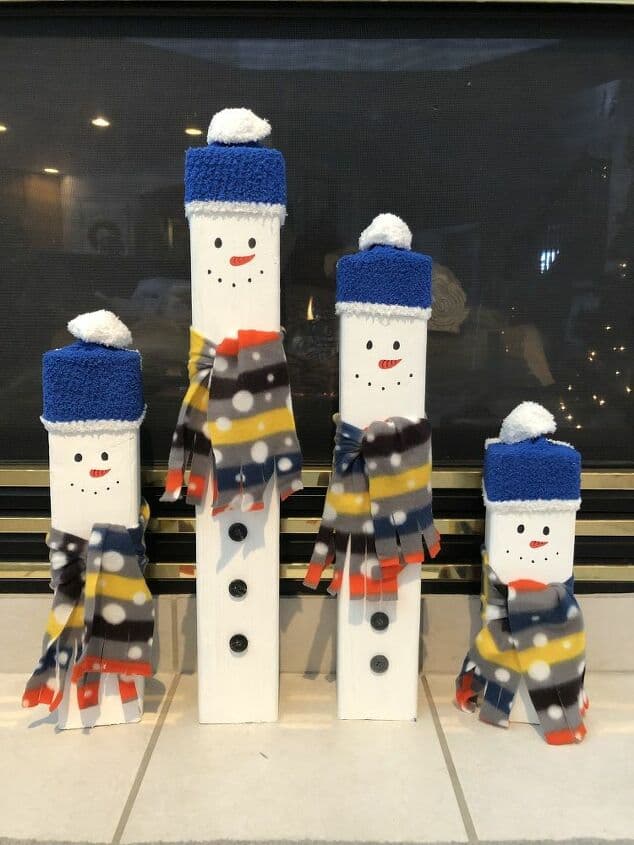
Instead of storing four different holiday decorations, I painted one set of wood blocks to feature a different design on each of the four sides.
- Winter: Snowmen faces.
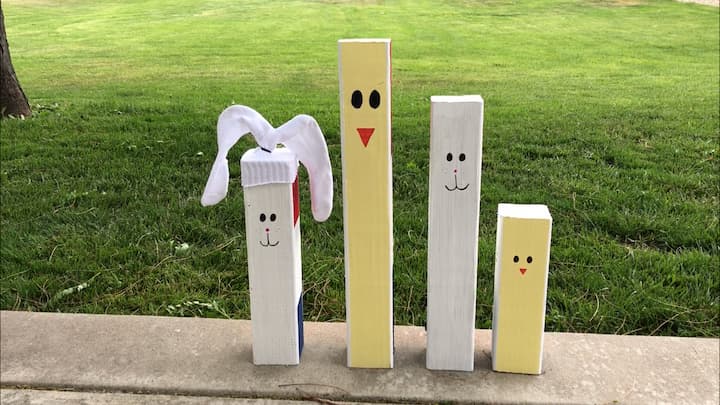
- Spring: Bunnies and Chicks.
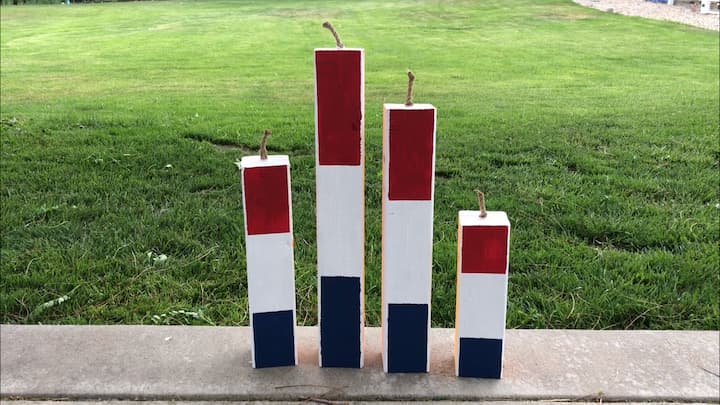
- Summer: Red, White, and Blue Firecrackers.
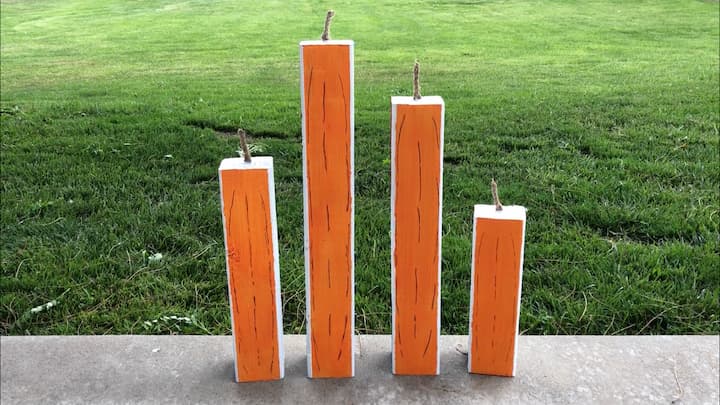
- Fall: Pumpkins.
Materials Needed
- Scrap 4×4 Wood Blocks (cut to varying heights)
- Acrylic Paints (White, Orange, Blue, Yellow)
- Painter’s TapeVelcro Dots (for attaching removable accessories)
- Accessories: Rope, ribbon, or faux stems.
Instructions
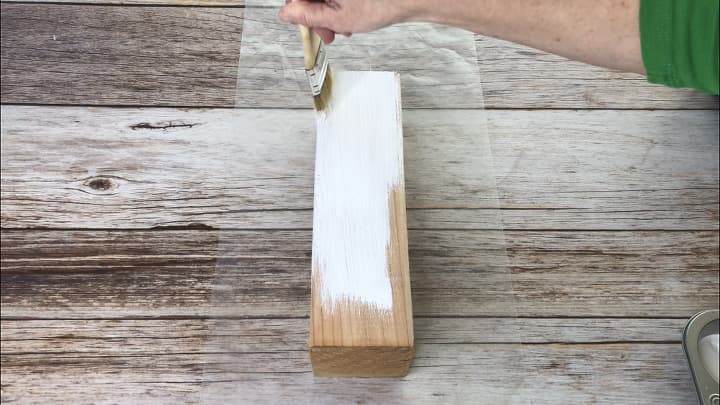

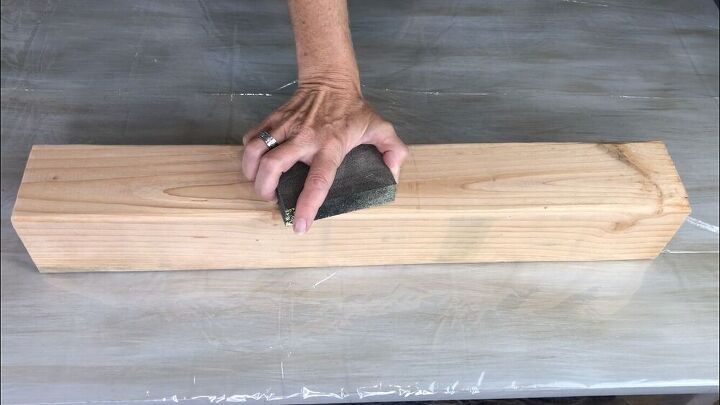
- Cut & Clean: Cut your 4×4 post into 3 or 4 pieces of varying heights. Sand any rough edges.
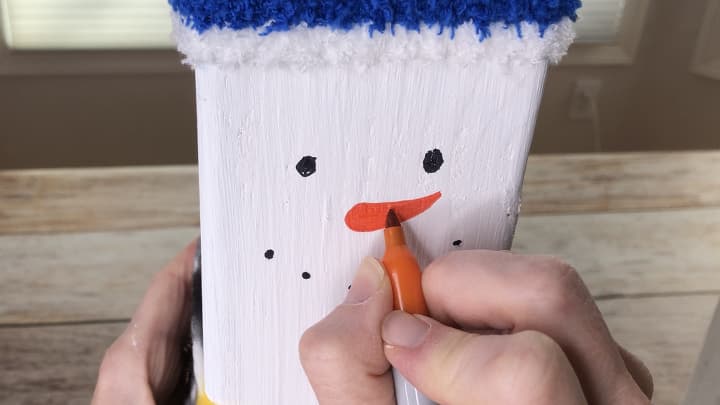
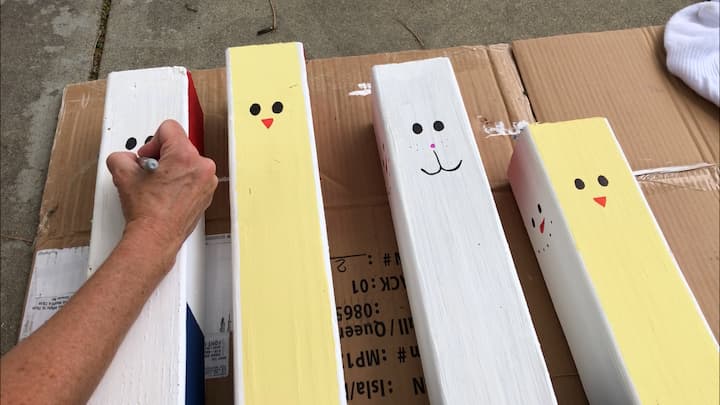
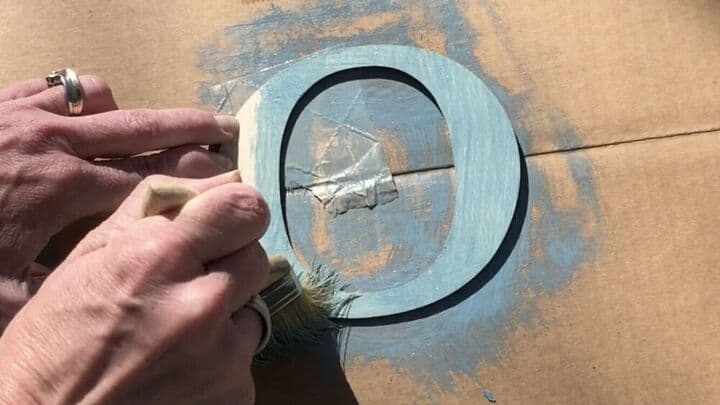
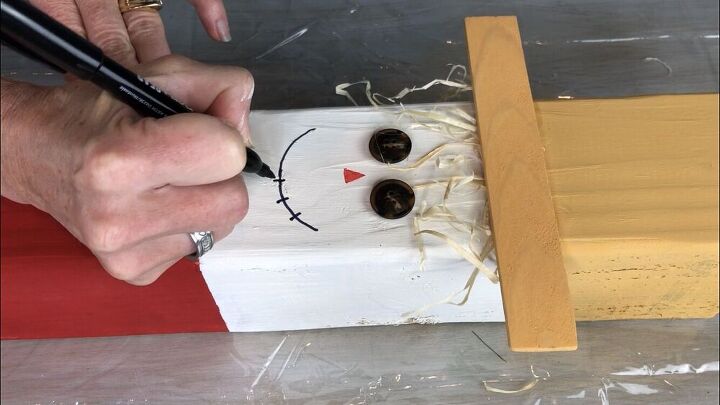
- Side 1 (Winter): Paint the blocks white. Use a permanent marker to draw Snowman eyes, mouths, and carrot noses.
- Side 2 (Spring): Rotate the blocks. Paint them soft yellow or white. Draw bunny ears and whiskers.
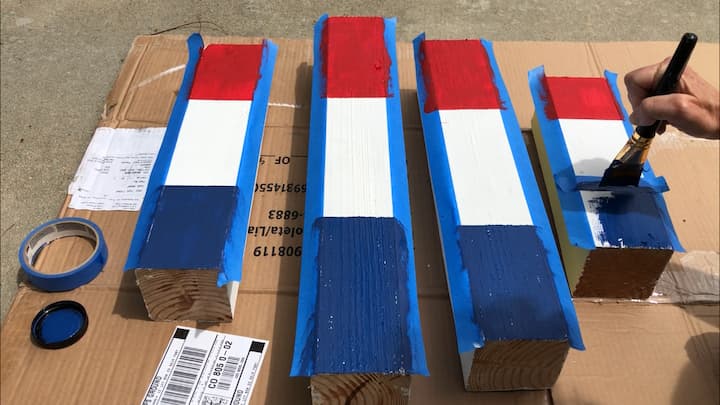
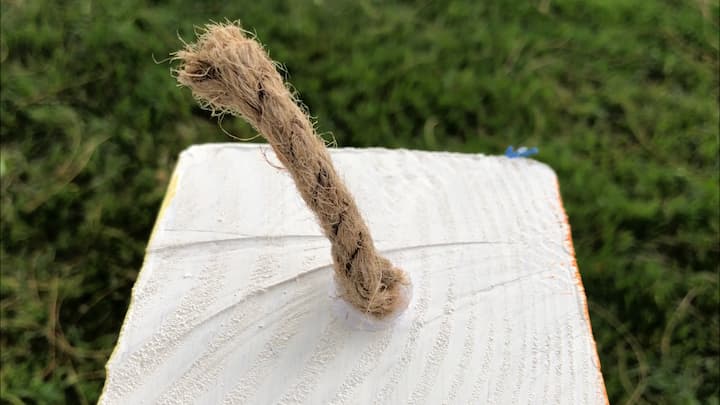
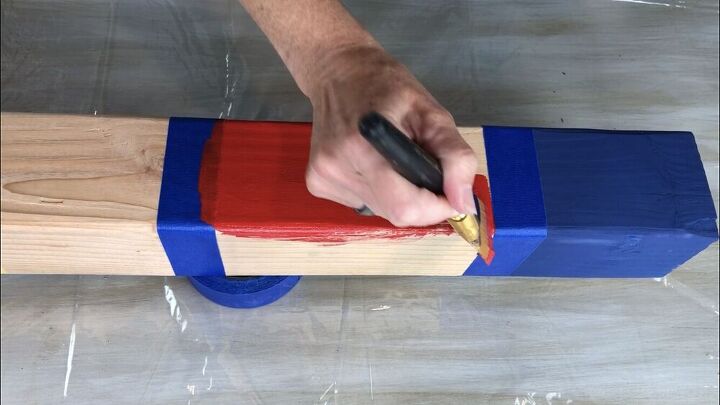
- Side 3 (Summer): Paint the blocks red, white, and blue. I used Velcro dots to attach a piece of rope as a “fuse” for the firecracker look (which can be removed later!).
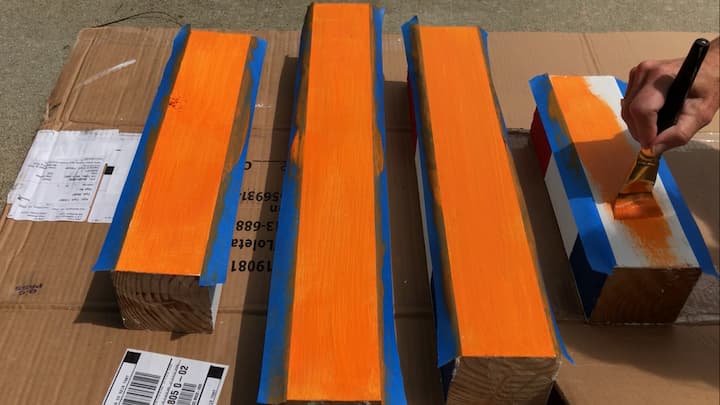
- Side 4 (Fall): Paint the blocks orange. Use a brown marker to draw vertical lines for pumpkin ridges.
- Sell It: List this as “Space-Saving Year-Round Decor.” My customers loved that they didn’t have to pack it away in a box after Christmas!
More Easy Scrap Wood Projects to Sell
If blocks aren’t your style, here are other projects I have made that are perfect for craft fairs or online shops.
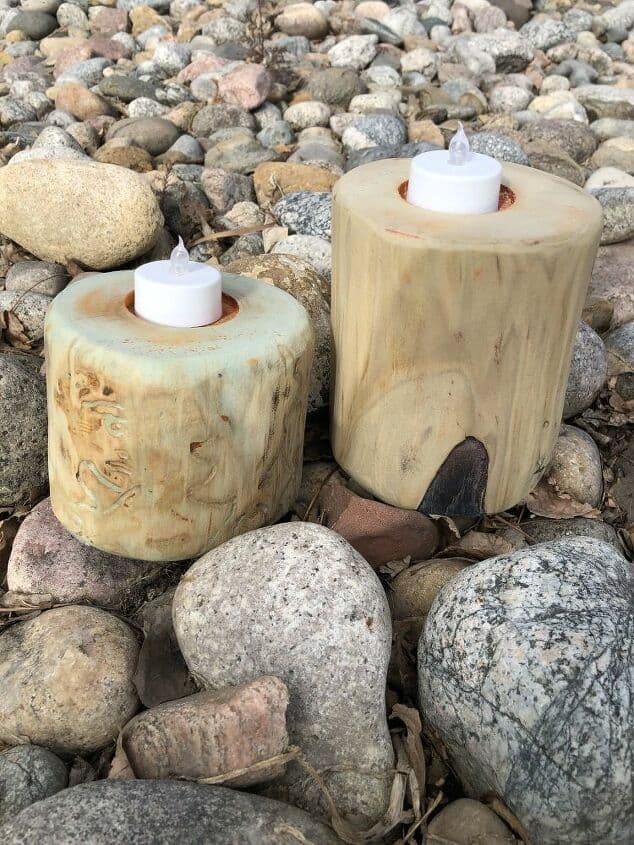
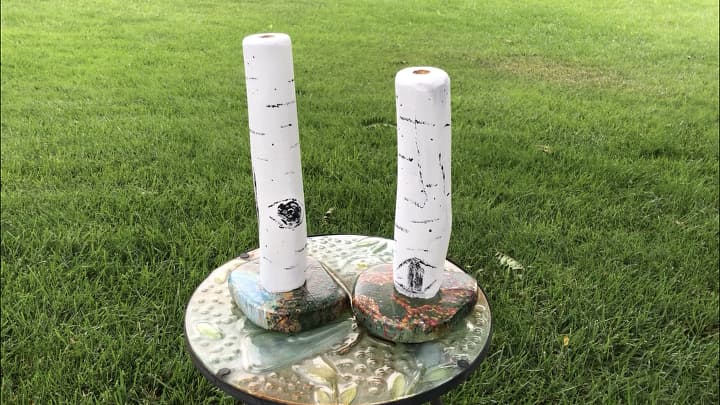
Rustic Wooden Candle Holders
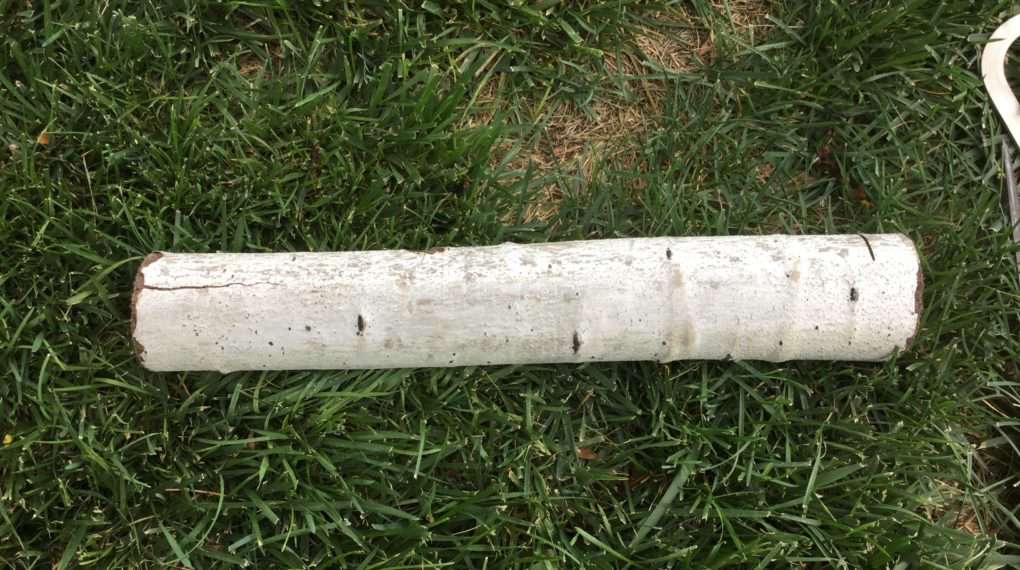
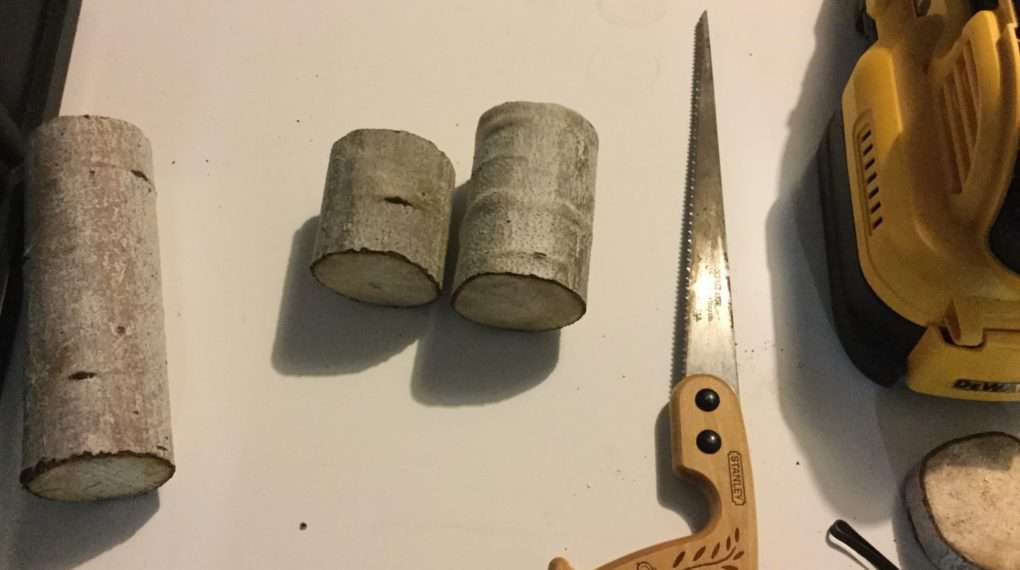
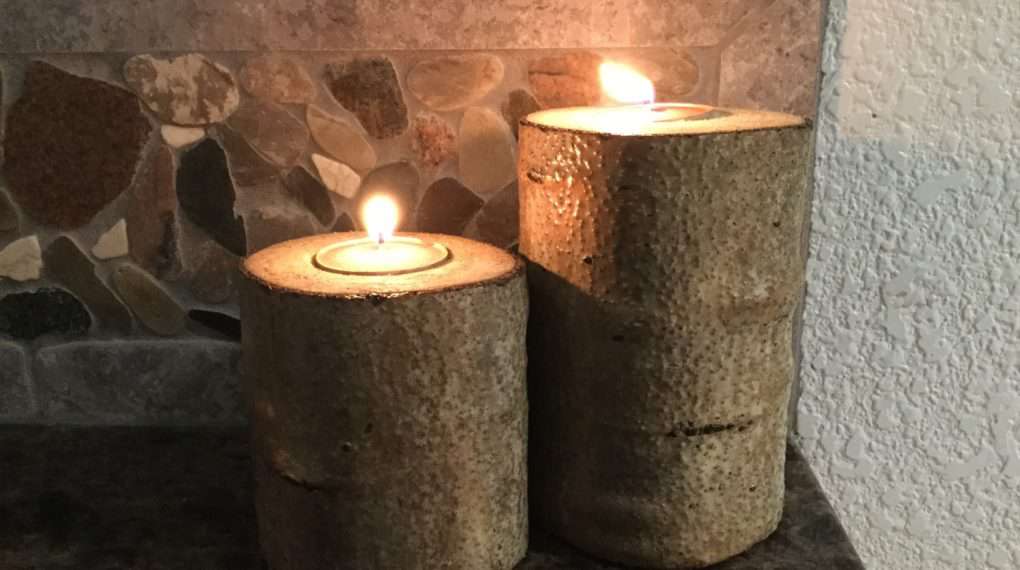
We trimmed our trees in our back yard and made these, and you can easily make these from 4×4 scraps.
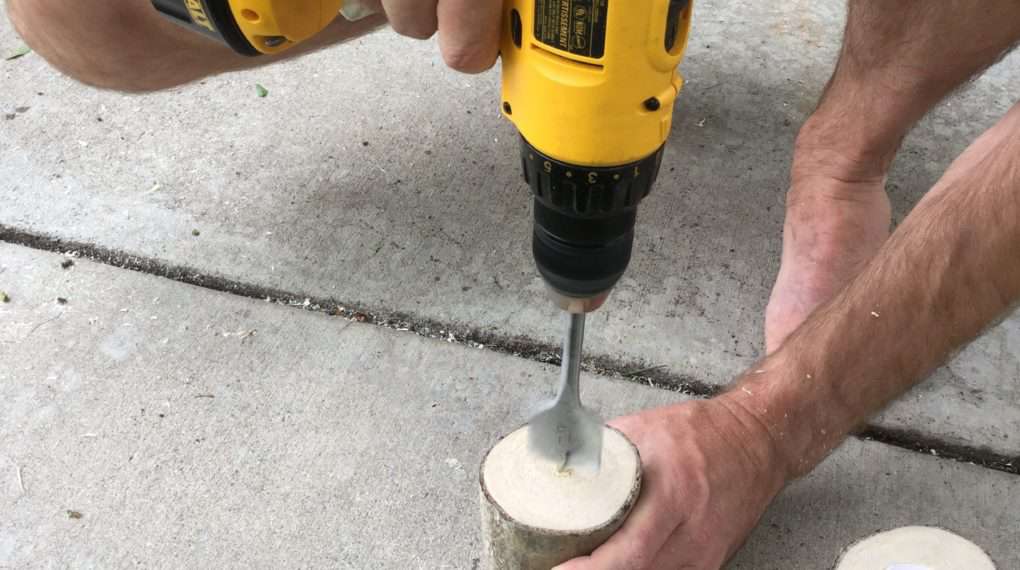
- The Look: Birch or Aspen logs look beautiful when drilled out to hold a tea light.
- [Read the Full Tutorial: How To Make Real Tree DIY Candle Holders]
A couple of other options for inspiration include:
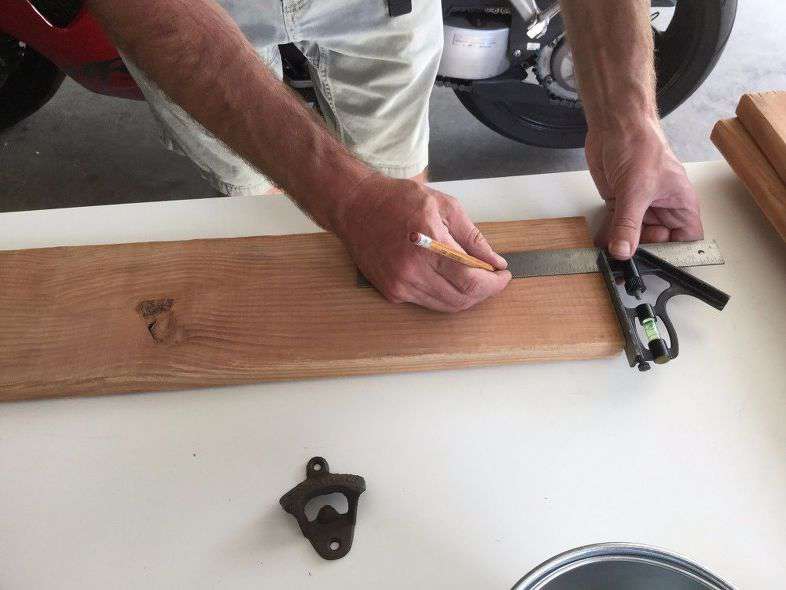
The Front Porch Welcome Sign
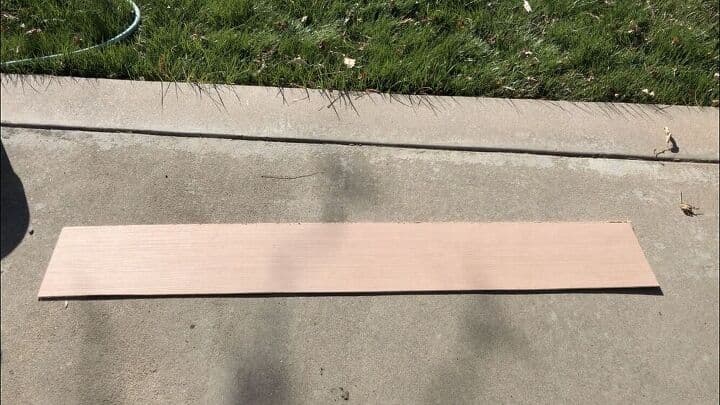

Tall, leaning porch signs are huge sellers. You only need one long board and some stencils. I made mine for a fraction of the cost of the store-bought ones.
Garden Scarecrow (Fence Post Craft)

I love fall decor that can stay up from September through November. I turned a single fence post into a cute scarecrow for the garden.
Marquee “LOVE” Sign
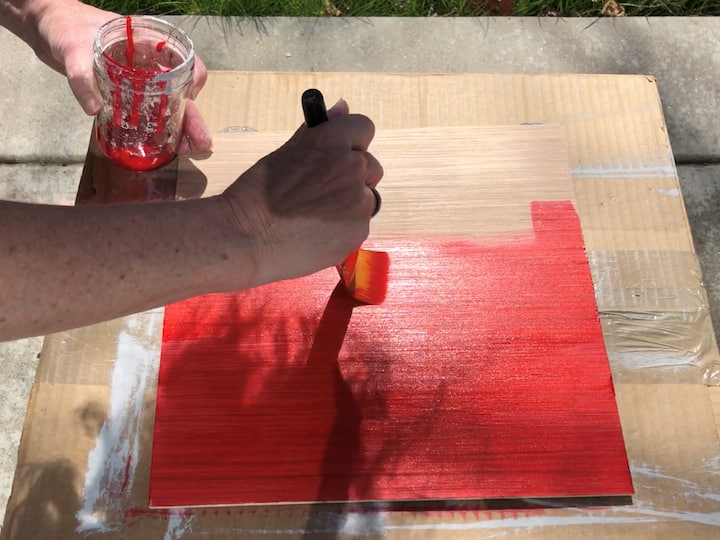
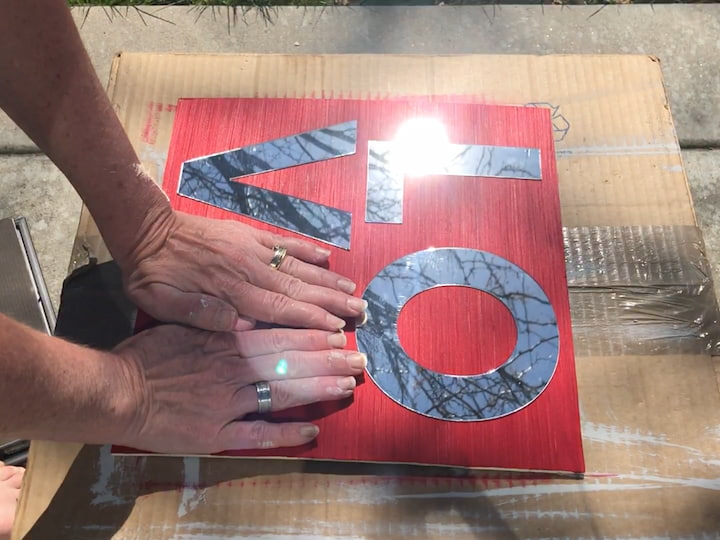
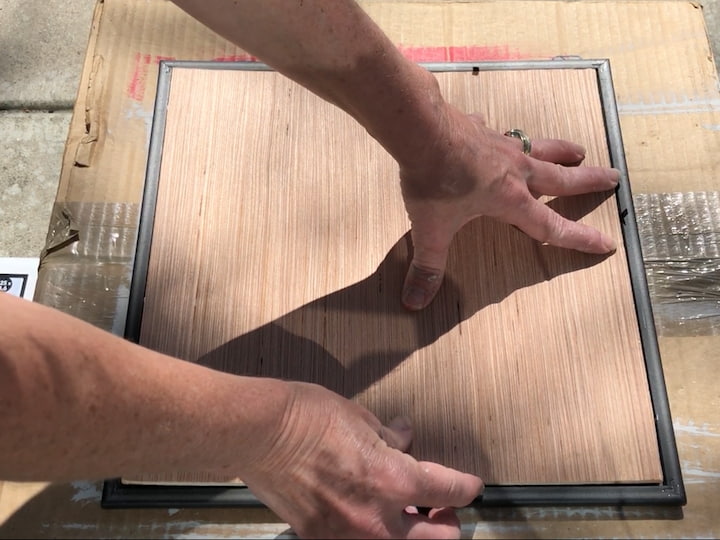
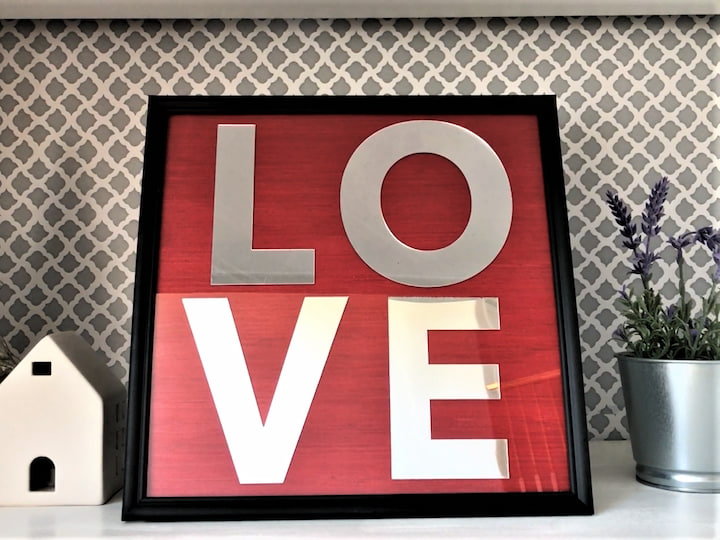
This light-up sign looks complicated, but it’s just scrap wood with holes drilled for battery-operated lights. It’s perfect for weddings or Valentine’s Day decor.
Simple Wooden Storage Box (Crate)
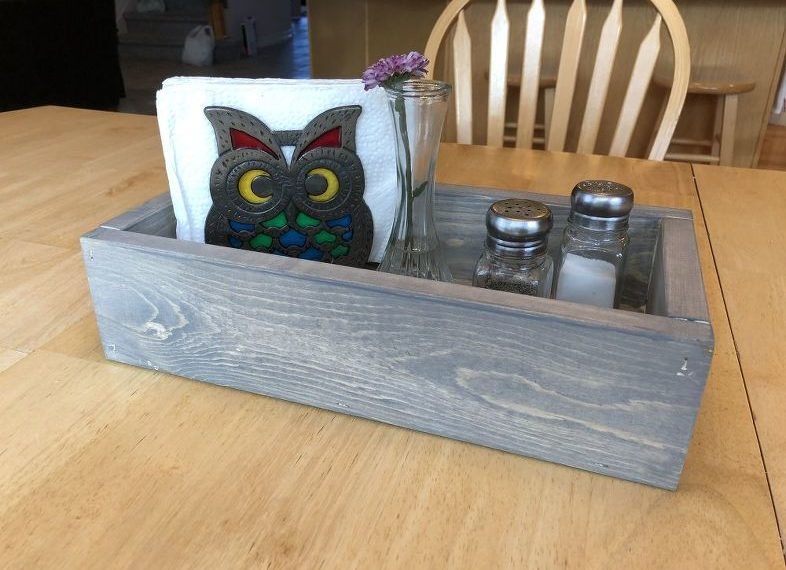
One of the easiest things to make with wood—and a huge seller for farmhouse decor—is a simple rustic box or crate. These are perfect for centerpieces, bathroom storage, or holding mason jars.
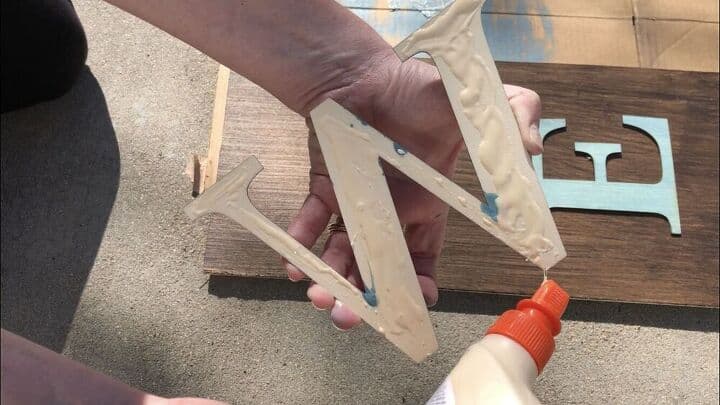
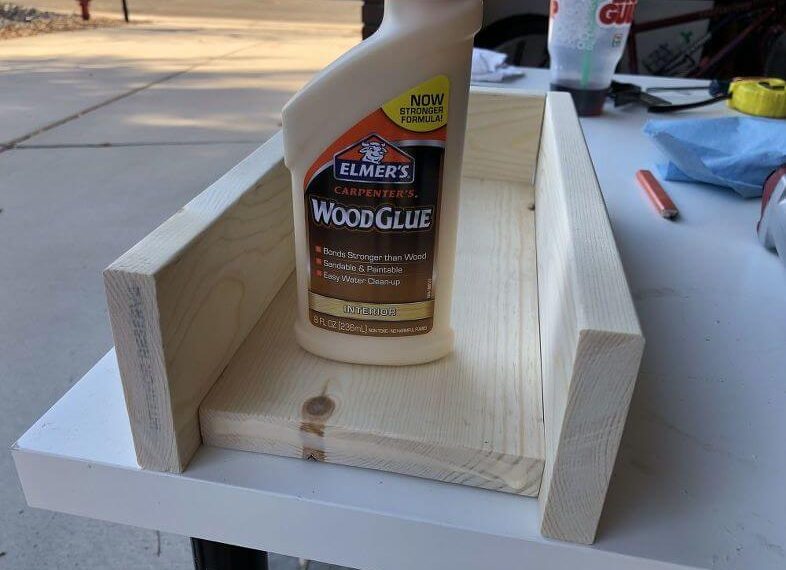
- Materials: 1×4 lumber scraps or pallet wood, wood glue, and nails.
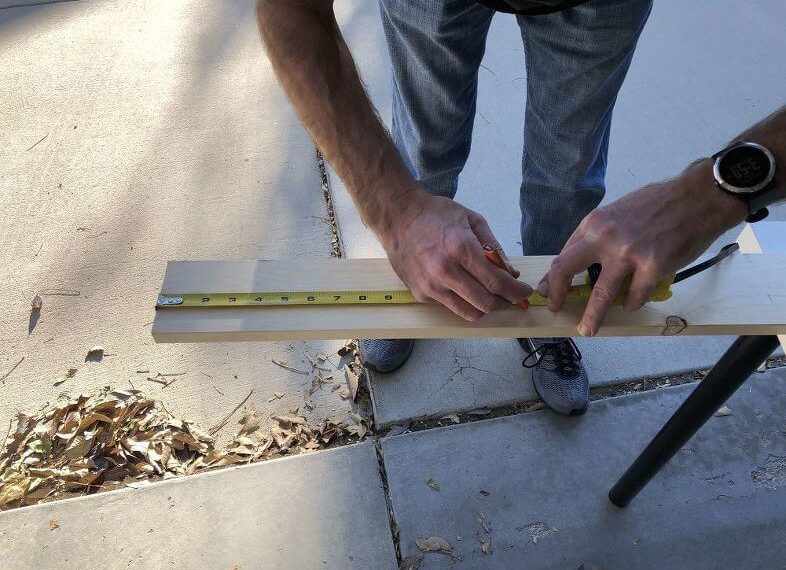
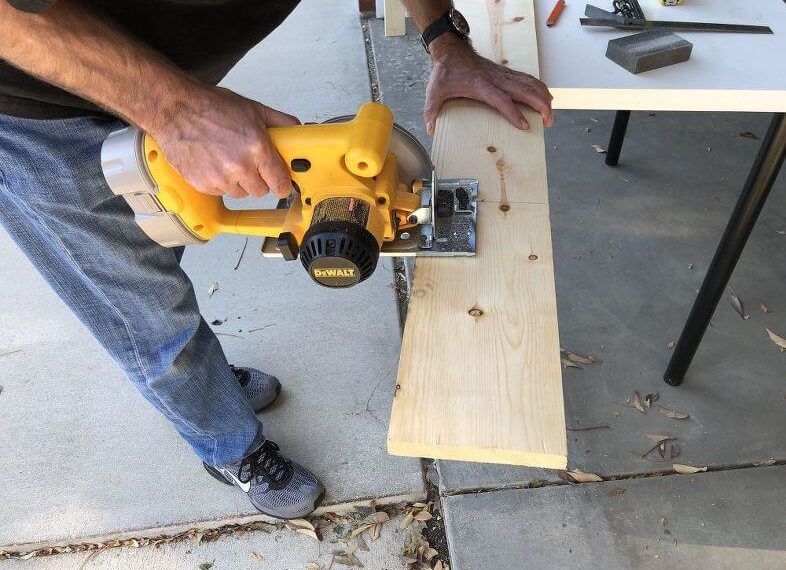
- The Build: Measure your desired size (I like making them fit 3 mason jars perfectly). Cut a bottom piece and four side pieces. Glue and nail the sides to the bottom.
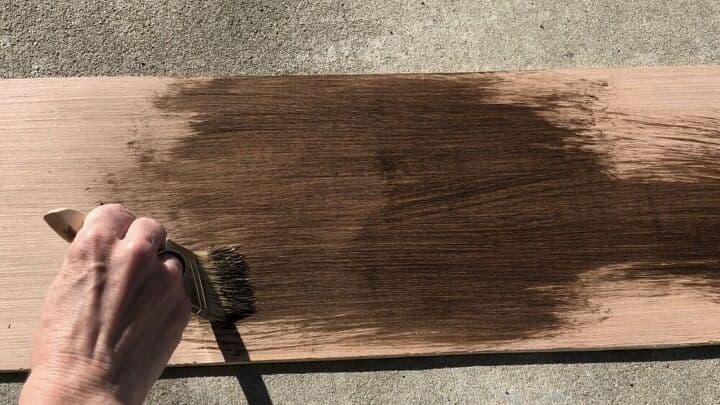
- The Finish: Sand it down and add a dark walnut stain for that antique look. Add handles on the sides for extra flair!
- You can find the full tutorial at [Amazingly Useful Wood Box DIY]
Cabinet Door Serving Tray
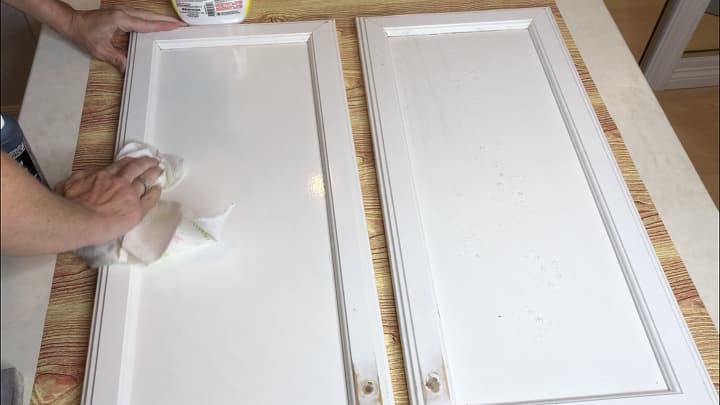
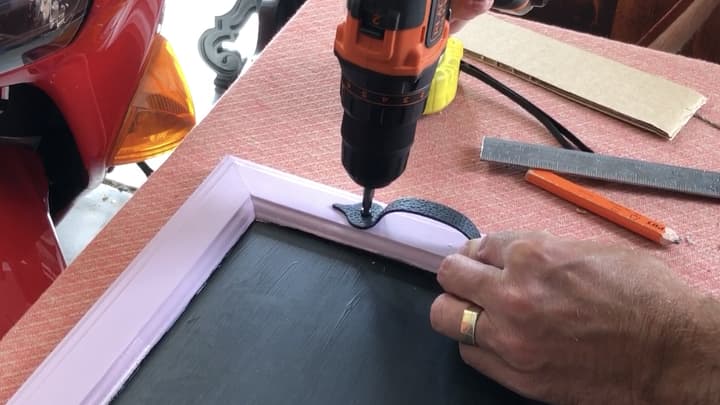
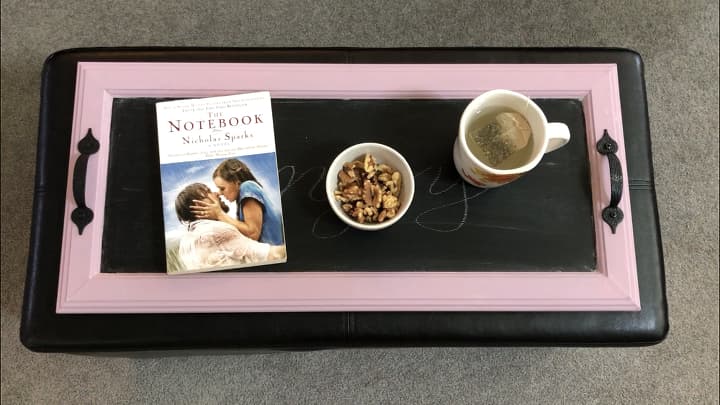
Cabinet doors are one of my favorite things to upcycle because they are usually made of high-quality solid wood. I found a lone cabinet door at the Habitat ReStore and turned it into a stunning farmhouse serving tray.
- The Makeover: I cleaned it up, added a coat of paint, and attached two hardware pulls on the sides for handles.
- Why it Sells: It’s sturdy, functional, and looks great on a coffee table or ottoman.
- [Read the Full Tutorial: Cabinet Door Serving Trays]
Repurposed Thrift Store Autumn Sign
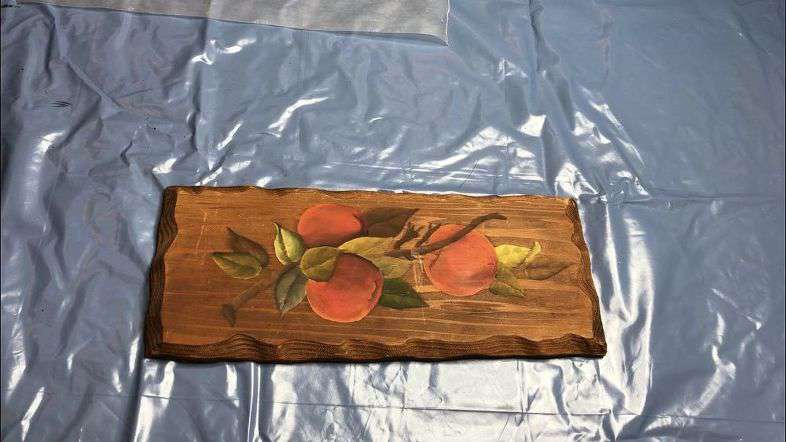
Sometimes you find a piece of wood art at the thrift store where the wood is beautiful, but the painting on it… isn’t.
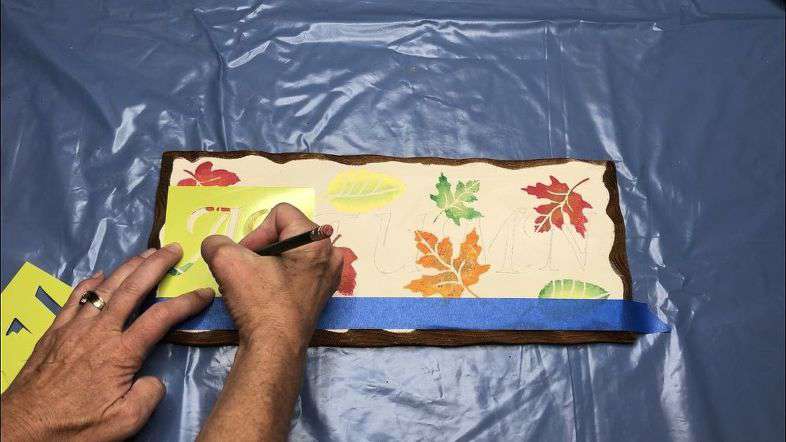
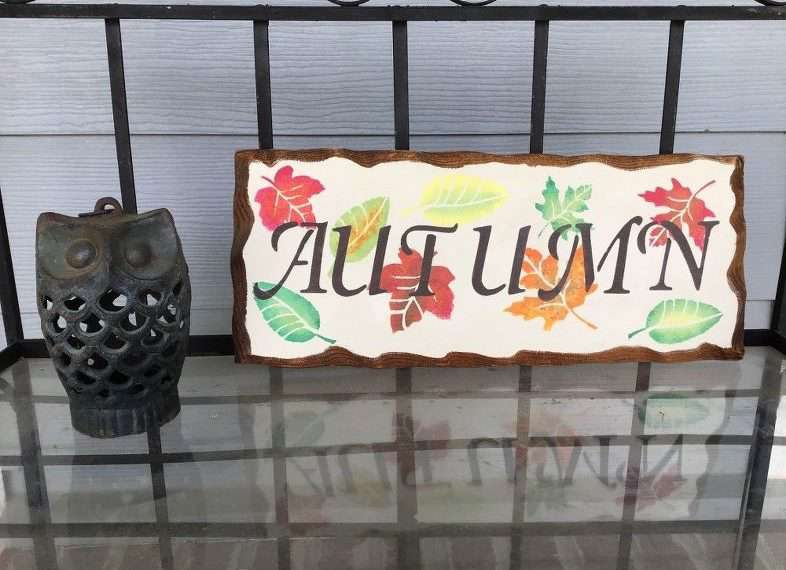
- The Fix: I found an old wooden plaque, sanded it down (or painted over the old design), and used stencils to turn it into a beautiful “Autumn” sign.
- The Profit: Custom seasonal signs are always top sellers on Facebook Marketplace because people love changing their decor for the season.
- [Read the Full Tutorial: Old Plaque to New Autumn Sign]
Wall-Mounted Bottle Opener
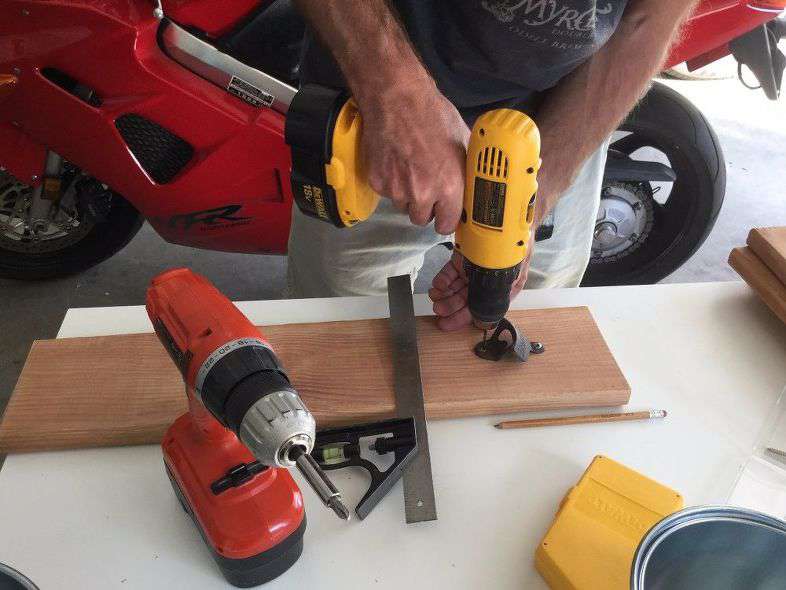
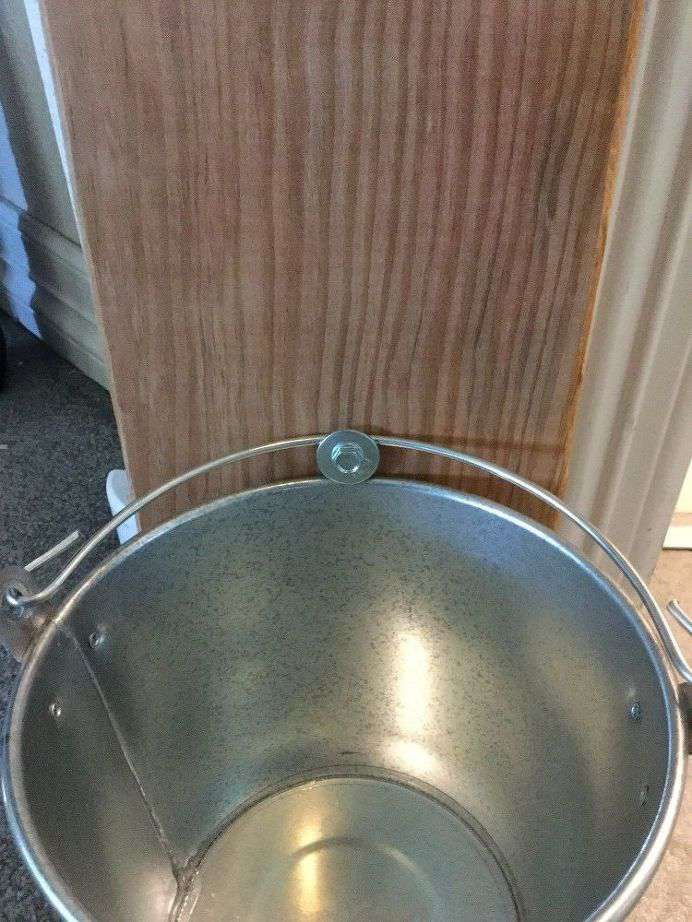
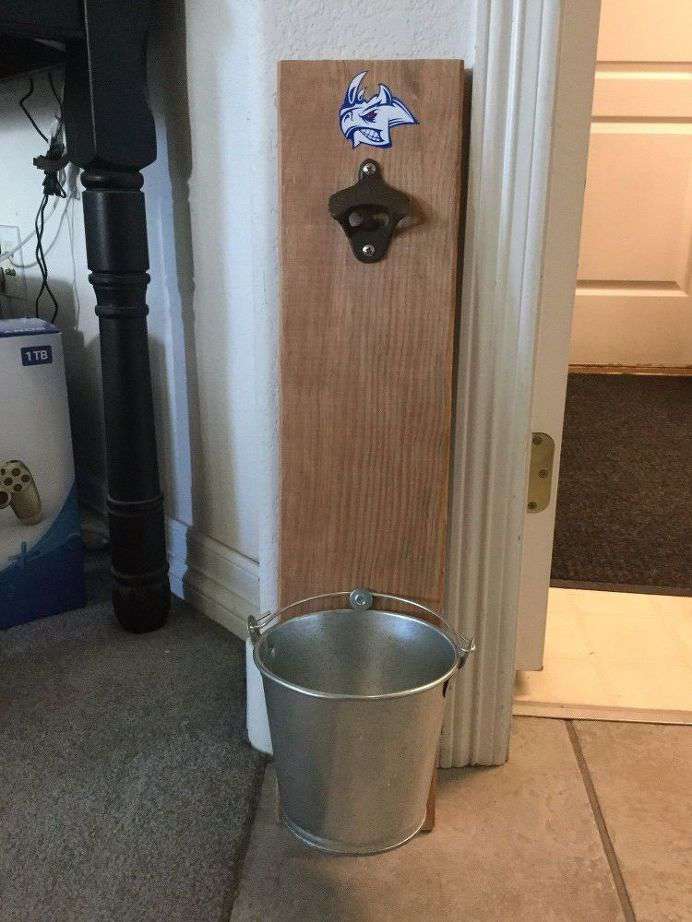
This is one of my top recommendations for “Gifts for Him.” Using just a small scrap of wood and a cheap metal opener hardware, you can make a functional piece for a patio, BBQ area, or man cave.
- The Build: Stain a small board or plaque. Screw on a metal bottle opener (you can buy bulk packs online cheaply).
- The Upgrade: I attached a small tin cup or wooden box at the bottom to catch the bottle caps!
- [Read the Full Tutorial: Easy Bottle Opener for Indoors or Outdoors]
Wood Slice Coasters
Don’t throw away those tree branches or small log ends! Wood slice coasters are incredibly popular for weddings and rustic home decor.
- The How-To: Slice a dry branch/log into 1/2 inch thick discs. Sand the surface smooth (keep the bark on for texture!). Seal them with a waterproof polyurethane so they can handle sweaty drinks.
- Selling Tip: Tie a set of 4 together with twine and a sprig of greenery. They make instant gifts!
Frequently Asked Questions
I have had the best luck with local pickup options because you don’t have to worry about shipping heavy wood items!
Local: Facebook Marketplace, Nextdoor, Craigslist, OfferUp.
Online: Etsy, eBay (best for smaller items like coasters).
In-Person: Craft Fairs, Holiday Bazaars, Farmers Markets.
You don’t need a fancy workshop! You can make almost all of these projects with:
Essentials: Hammer, nails, screws, ruler, and a pencil.
Finishing: Sanding block (or orbital sander), paint/stain, and wood glue.
Power Tools (Optional): A drill and a simple saw (circular or jigsaw) speed things up, but aren’t strictly necessary for small projects.
Pine: It is soft, easy to cut, and usually the cheapest option.
Poplar: A step up from pine; it has a smoother grain and takes stain beautifully.
Reclaimed Wood: Pallets and fence pickets are often free, but be sure to sand them well to avoid splinters!
More Quick Scrap Wood Ideas
Still have a pile of wood scraps? Here are a few more rapid-fire ideas you can try:
What can I make with 2×4 scraps?
- Rustic Shelf: Cut a 2×4, stain it, and add brackets for a small wall shelf.
- Bookends: Cut two blocks, sand them smooth, and paint them for heavy-duty bookends.
- Garden Markers: Cut stakes and paint the names of your veggies on them.Step Stool: A sturdy little stool for kids to reach the sink.
Other Best-Selling Wood Ideas
If you are looking for more inspiration, these items are always popular at craft fairs:
- Kitchen: Serving trays, cutting boards, wine racks, and spice racks.
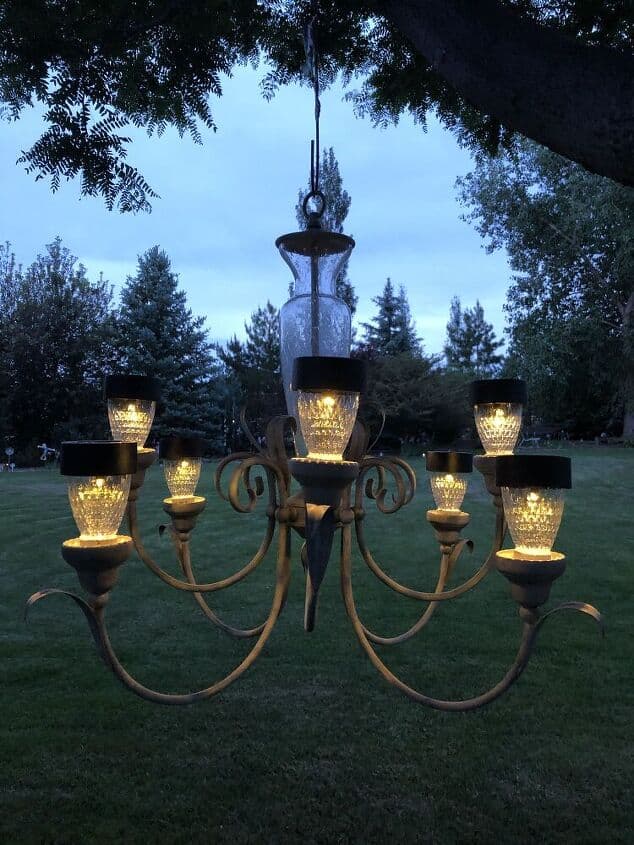
- Decor: Picture frames, blanket ladders, and lantern posts.
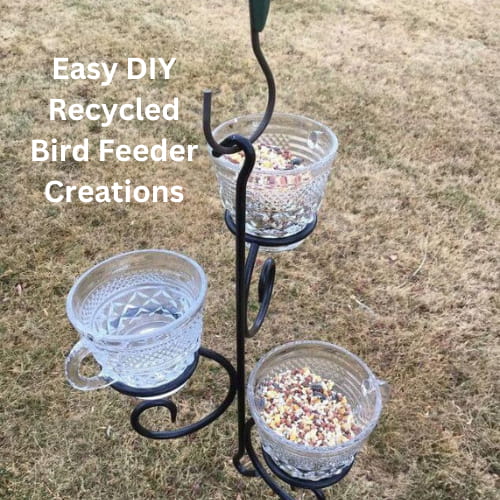
- Garden: Bird feeders, planter boxes, and house number signs.
Scrap Wood Projects That Sell Video

4-in-1 Seasonal Scrap Wood Blocks
Materials
- 4 x4 Wood Post Scrap pieces
- Acrylic Paints White, Orange, Yellow, Blue, Red
- Permanent Markers Black, Orange, Brown
- Velcro Dots
- Rope for Firecracker fuse
Instructions
- Cut: Cut your wood into 3 pieces of varying heights (e.g., 6″, 8″, 10″).
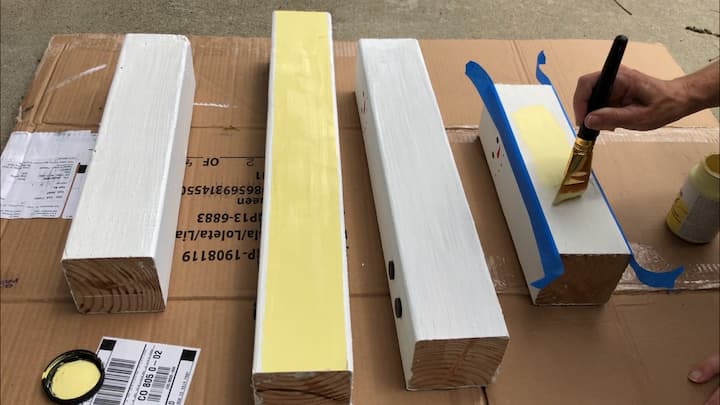
- Paint: Paint one side of each block white (Snowman). Paint the opposite side orange (Pumpkin).
- Detail: Use markers to draw faces on the Snowman side and ridge lines on the Pumpkin side.
- Rotate: On the third side, paint yellow/white for Easter (draw bunny faces). On the fourth side, paint red/white/blue for 4th of July.
- Accessory: Use Velcro dots to attach a small piece of rope to the top of the “Firecracker” side so it can be removed when the season changes.
Video
I hope this list gives you the confidence to dig into that scrap pile and create something amazing (and profitable!). Which project are you going to try first? Let me know in the comments below!
Chas, I do love that Lowes will cut your wood for you and give you scrap pieces. I have several in our garage, list waiting to be used in a project. Thanks for the reminder about using them.
Thank you so much Carol and I’m glad you like the tips.
These are amazing, Chas! You’re so clever and creative! I love how you can use one item for all four seasons. Pinned!
Thank you so very much Lynne, I love that you don’t have to store them too!
What a great scrap wood project, Chas! I love that you can use them for every season. I’ve done craft shows before, and these would definitely be popular! Thanks for showing how you made them. It was fun hopping with you again, my friend!
Thank you so much, Rebecca, and I love that you could sell these at craft shows… a great idea and an additional tip!
Chas the snowman family are the cutest things. I am pinning them to make me a set. Thanks for sharing.
Thank you so much Terrie, I’m thrilled you like them.
Now that’s what I call multi-purpose! Great job Chas!
Thank you so much friend, I love that you don’t have to store them.
Chas, these are so cute! I love the idea that you could use the came decorations for four different holidays. The best thing about this for me would be that these would take up one quarter of the storage space instead of having all four of them! Storage for holiday decorations is always my problem! So, have you made these and sold them? Do you sell them at craft fairs, or online?
Thank you so much, Chloe, and yes you could make just one…. and leave any of them out all year round… no storage 🙂 Yes, I did sell these, and I have had good luck with Nextdoor and Facebook Marketplace.
Such a cute idea Chas! Something for every season! Fun stuff!
Thank you so much Jenna
I love how there are so many different things you can use them for, one for each season. My favorite is the bunny. This is such a fun idea. Thanks for sharing it this month.
Thanks so much Andrea, and thanks for organizing our crafting hop! I’m so glad you like the project
Getting four seasons out of a project would make this one a keeper, and the fire work one is my fav. But I do understand about needing to sell or move on some projects. There’s only so much storage space!
Thanks Rachelle, and I love it for both reasons… no storage needed, and you can sell it if you just don’t have the space 🙂
Wood is SO expensive right now so we’re holding onto all of our scraps! These are so cute. Thanks for sharing this creative way to use them Chas!
Thank you so much Sara and yes I can believe it is like many other things. Good idea to hold onto your wood… and or maybe sell it 😉
Very creative, Chas, as always! Love how you made the firework fuse removable.
Thank you so much Liberty, wonderful crafting with you
How clever Chas! I love the firecrackers for summer! Happy Memorial Day weekend! Blessings, Cecilia @My Thrift Store Addiction
Thank you so much Cecilia! I’m so glad you like them
What a cool way to create a multi-purpose craft using wood scraps, Chas! You made each side adorable and I love that it’s interchangeable and perfect to use year-round!
Thank you so much Gail, I love that it can be kept out all year (no storage needed)
So clever and creative of you to get 4 seasons of cute decorations out of your scrap wood Chaz! I love the sweet faces of the bunnies and chicks, cute snowmen and fire crackers too! Happy to be crafting with you again. ♥
You are so sweet Mary, thank you so much for your kind words.