
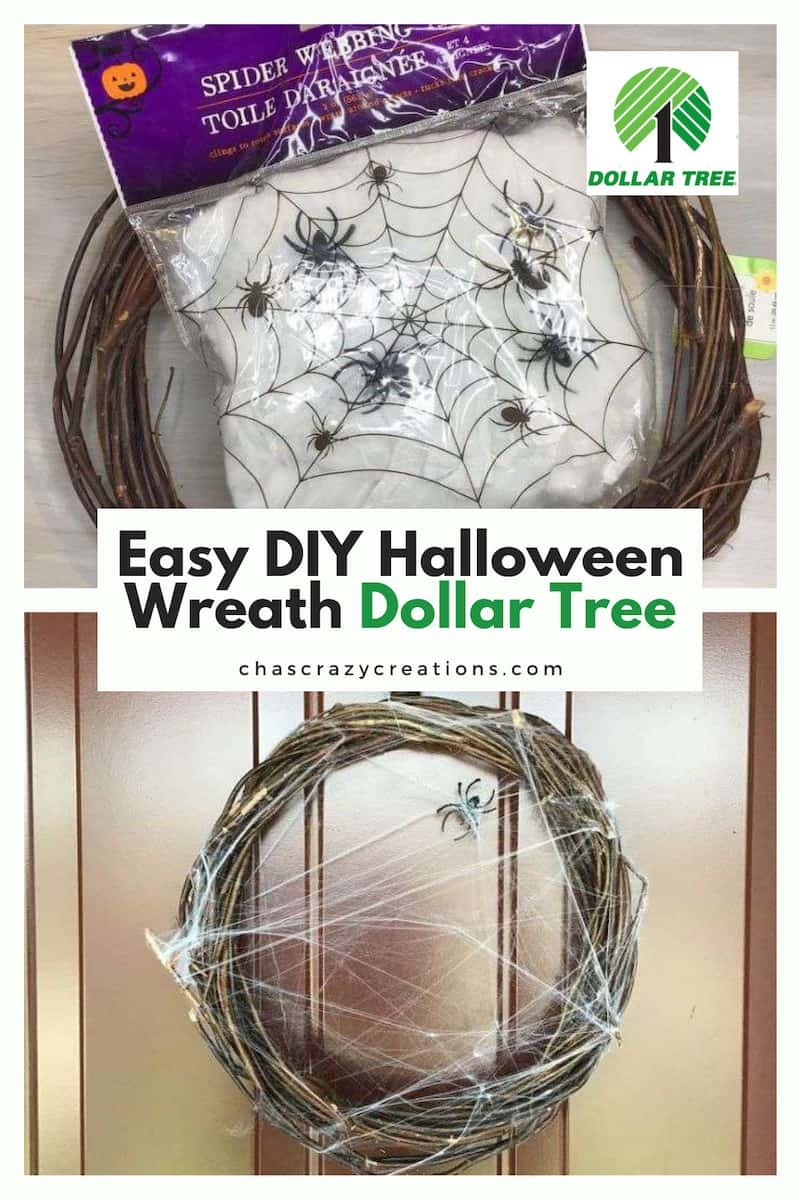
Easy DIY Halloween Wreath Dollar Tree

Are you looking for a Halloween wreath? Look no further as I share a super easy Dollar Tree DIY Halloween wreath!
How to make a wreath for Halloween from Dollar Tree?
It’s my favorite time of year and I love creating Halloween crafts. This project was one that I had a bunch of kids and teenagers do for a Halloween get together. It was easy and required just inexpensive craft supplies. Everyone had a great time pulling webs.
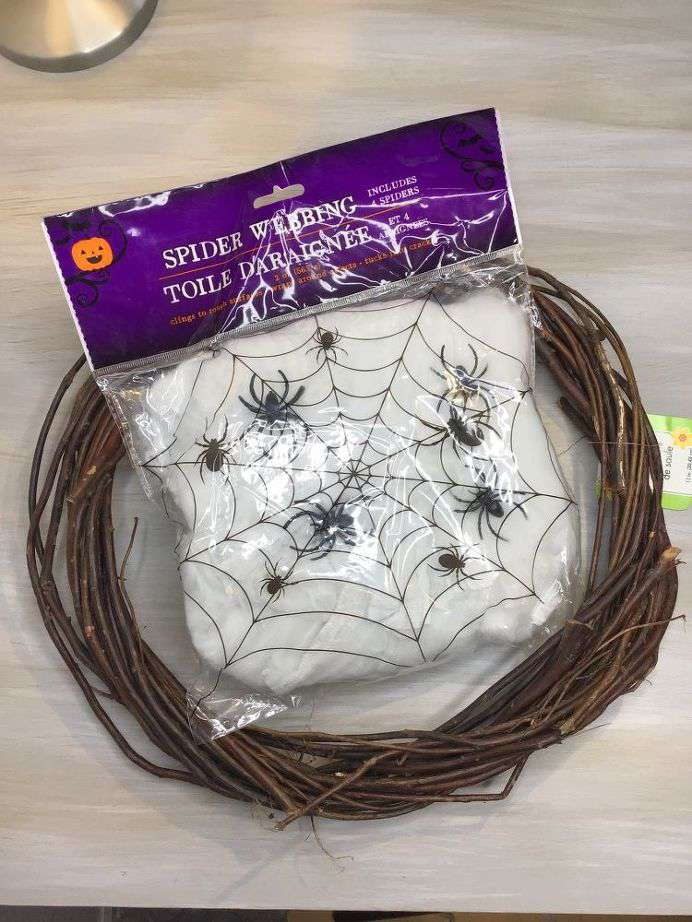
DIY Halloween Wreath Dollar Tree Materials List
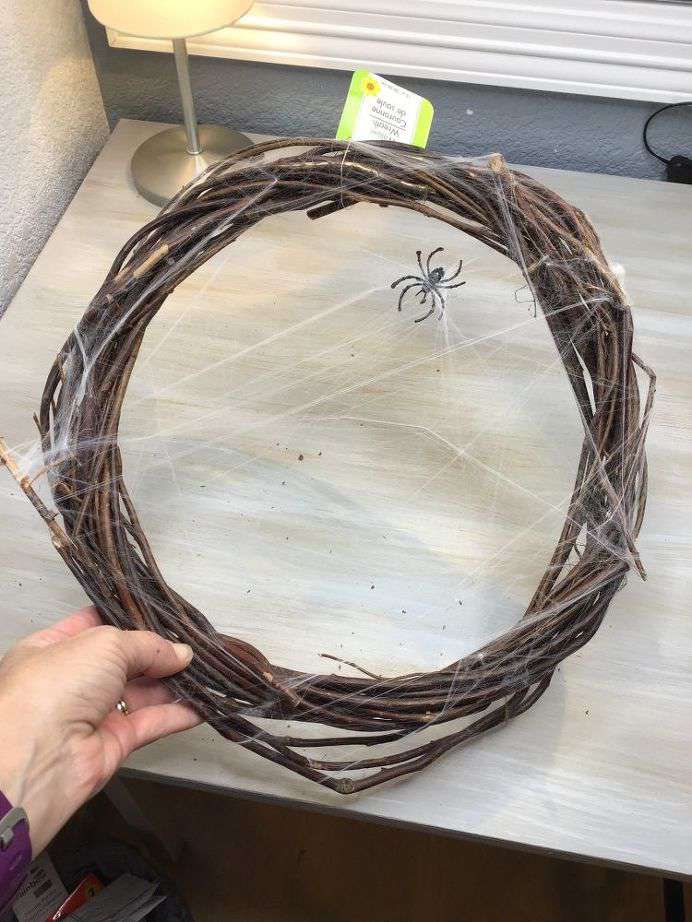
You’ll need a grapevine wreath form and a package of cobwebs with spiders. I got both of mine from Dollar Tree! You could also use a wire wreath if you prefer, but the web won’t catch on that as easily so you might need a dab of hot glue.
DIY Halloween Wreath Dollar Tree Instructions
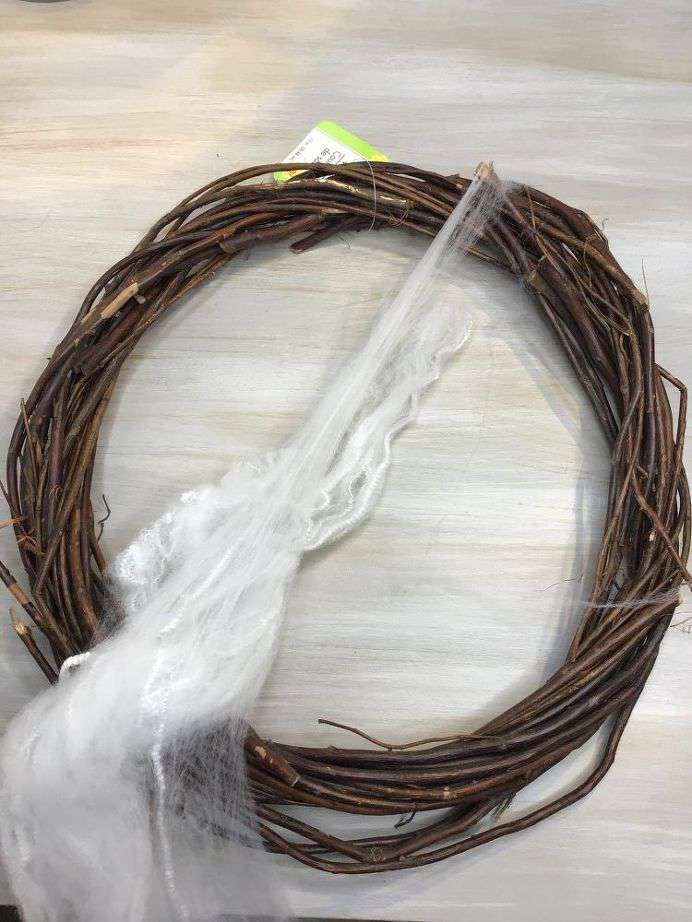
Start by hooking on a section of cobweb onto the grapevine wreath. This is the perfect wreath because the cobwebs snag on it, you do not have to glue it.

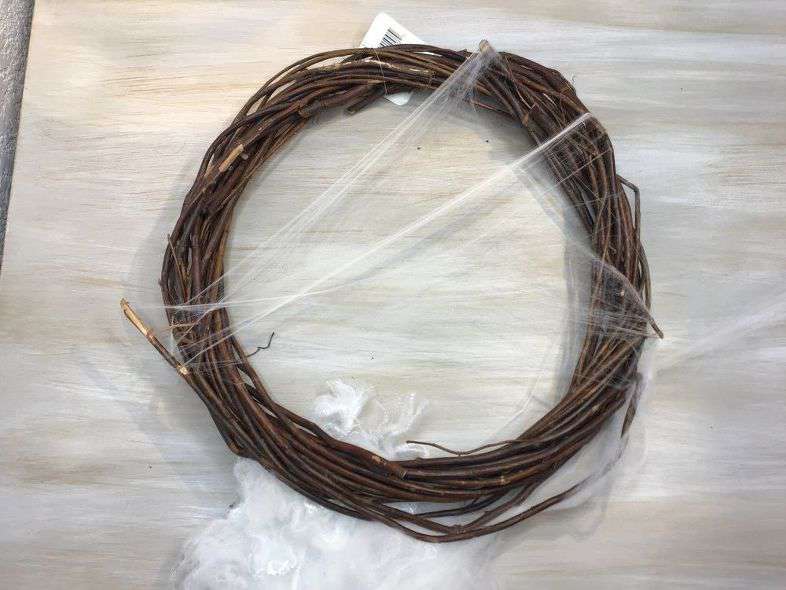
The secret to making the fake cobwebs look real is to pull and pull and pull. You’ll get a more web like look the more you pull the fake cobweb. You’ll continue to pull, and hook onto your wreath on another branch, pull and hook, etc. until you get your desired look.
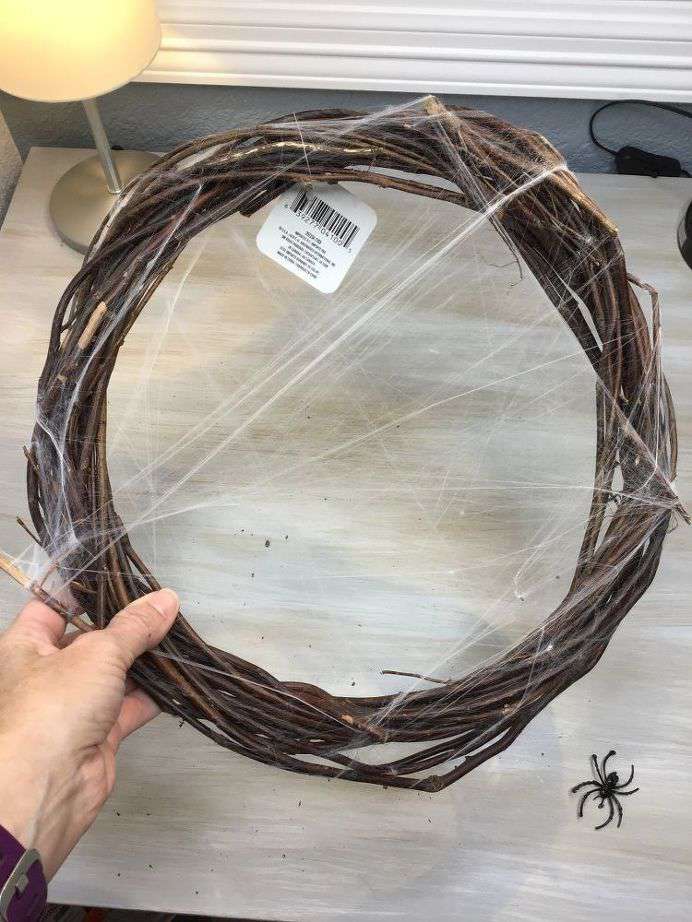
I took one of the spiders and hooked him onto some of the fake web.
I then stuck him in the middle and continued wrapping the webbing a bit more. You could even add a few more dangling spiders if you like. You could also add battery operated LED lights.
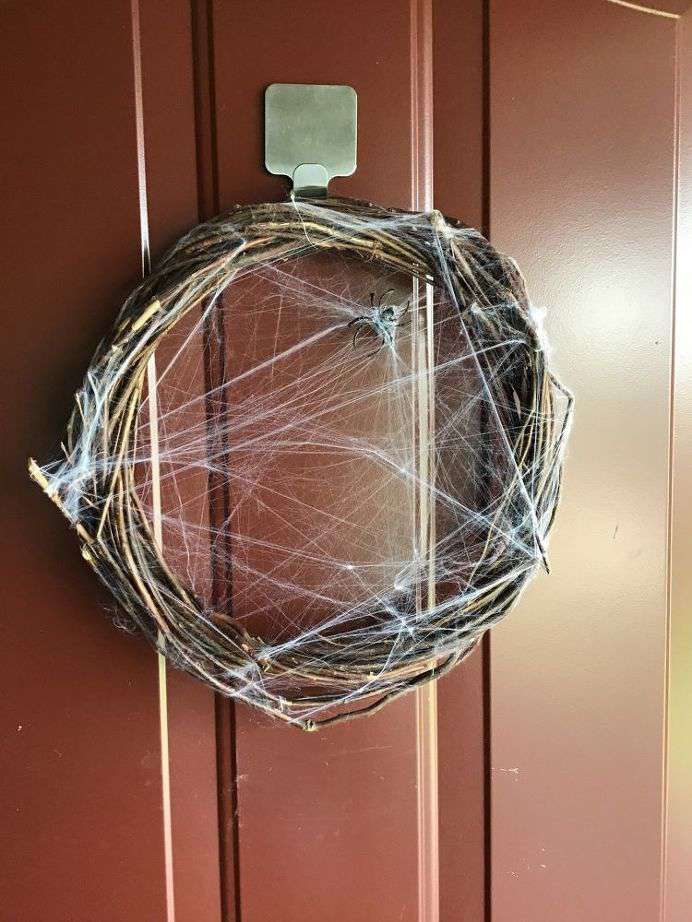
I hung this wreath on the front door with the original loop tag that was already on it. It is perfect to greet trick-or-treaters.
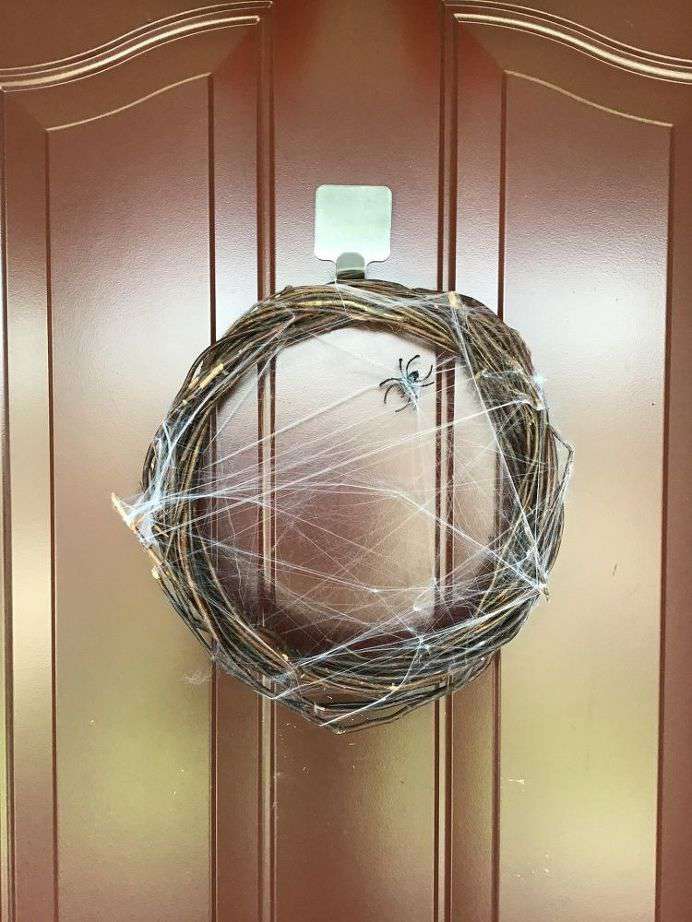
A dollar tree halloween wreath made with a grapevine wreath and spider webbing is about as easy as it gets. Browse the whole crafting aisle at your local dollar store to spark your imagination.
In addition to webbing and spiders you can add pumpkins, leaves, a witch, ghost or skeleton. Just put your own twist on it.
Shop any of these stores and I receive a small commission at no cost to you.
") Sntieecr 8 PCS 2 Sizes Natu…Shop on Amazon
Sntieecr 8 PCS 2 Sizes Natu…Shop on Amazon 1000 sqft Spider Webs Hallo…Shop on Amazon
 18 Inch Halloween Wreath Wi…Shop on AmazonShop on Amazon
 Fall Decor 2 Pack Lighted F…Shop on Amazon
") ORIENTAL CHERRY Halloween D…Shop on Amazon
ORIENTAL CHERRY Halloween D…Shop on Amazon OCATO 200" Halloween Spider…Shop on Amazon
 TDHDIKE Halloween Party Sup…Shop on Amazon
What do I need to start making wreaths?
What are some Dollar Tree supplies I might need for a DIY Dollar Store Halloween Wreath?
Making wreaths can be a fun and creative craft project. I like to use supplies from crafters corner inside Dollar Tree. To get started, you’ll need a few basic supplies. Here’s a list of items you’ll need:
- Wreath Base: Choose a wreath base made of materials like wire, foam, grapevine, or straw. The base provides the structure for your wreath.
- Greenery: Select a variety of artificial or real greenery, such as eucalyptus, pine branches, leaves, ferns, or any other foliage you like. Or go a different route with deco mesh like orange or purple decor mesh, or flowers with stem removed
- Floral Wire: Floral wire is essential for securing the greenery to the wreath base. It’s flexible and easy to work with. You could also use pipe cleaners
- Wire Cutters: These are used to cut the floral wire and any excess stems from your greenery.
- Ribbon: Get a variety of ribbons in different colors, textures, and widths to use as accents or to create bows.
- Decorations: Choose decorative elements like artificial flowers, pinecones, berries, ornaments, or any other items that match the theme of your wreath.
- Hot Glue Gun: A hot glue gun can be useful for attaching smaller decorations securely to the wreath.
- Scissors: Have a pair of scissors handy for trimming ribbon, cutting thread, and making any adjustments.
- Work Surface: Find a flat and spacious area to work on your wreath-making project.
- Optional Tools: Depending on your design, you might also consider using things like floral foam (for fresh flower wreaths), paint or spray paint (to color elements), and a wreath hanger (to display your finished wreath).
Here’s a basic step-by-step guide to making a wreath:
- Prepare the Base: If using an artificial wreath base, fluff it to make it look fuller. If using a natural base like grapevine, make sure it’s clean and intact.
- Attach Greenery: Start attaching your chosen greenery to the wreath base using floral wire. Secure the stems to the base by wrapping the wire around them.
- Layer and Build: Add different types of greenery in layers, alternating directions for a more natural look. Secure each layer with wire as you go.
- Add Decorations: Once the greenery is in place, start adding decorative elements. Use floral wire or a hot glue gun to attach them securely.
- Add Ribbon: If you’re using ribbon, create bows or loops and attach them to the wreath with wire or glue. You could also add a purchased bow. Burlap is always a fun choice as well.
- Final Touches: Stand back and assess your wreath. Make any adjustments needed to balance the design and ensure everything is securely attached. You might incorporate wood blanks or Halloween sign, glitter, lights, etc.
- Display: Hang your finished wreath on a door, wall, or wherever you’d like to showcase your creation.
Remember that wreath-making is a creative process, so feel free to experiment with different combinations of greenery, decorations, and ribbon to achieve the look you want. Enjoy the process and have fun creating a beautiful and personalized wreath!
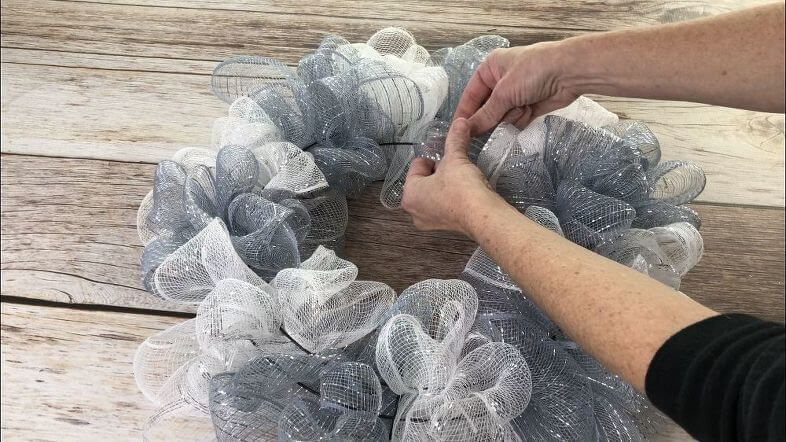
How do you make a mesh fall wreath?
I made a mesh wreath for New Year’s that can be easily adjusted and you can find the full tutorial for that here: Deco Mesh Light Up New Year Wreath
Check out some of my other Halloween projects!
- How Many Days Till Halloween Easy Dollar Tree Craft
- Easy and Spooky DIY Dollar Tree Halloween Decorations on a Budget
- Easy Halloween Candle & Mug Craft
Are you ready to get creating this holiday season?


I would do this in a heartbeat, but my best friend is unbelievably creeped out by spiders. I love it though. Keep up the good work.
Thank you so much and I totally understand – good for you for supporting your best friend 🙂
HI Chas! Cute wreath and so easy to make!! This would be perfect for even young kids to create. Happily pinned. <3
Thank you so much Barbara and thank you so much for the Pin!
Just what I need, cobwebs on my front door. ROFL – JK, of course. Awesome wreath and so easy. 🙂
Thank you so much Linda – and I know, you are so right – lol Why don’t we just use what we already have and there is an excuse not to clean – ha ha.