
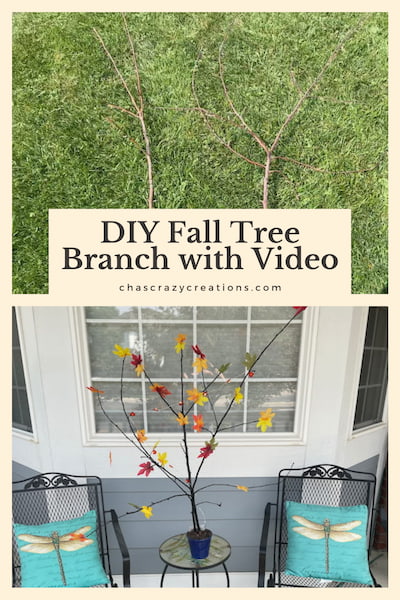
Awesome and Easy DIY Fall Tree Branch with Video

Have you seen the lighted fall trees? Ouch, they can be expensive and I’m going to share my own DIY fall tree using a branch from my yard.
Here are the materials for a diy fall tree branch
- Tree branch
- Spray paint (optional)
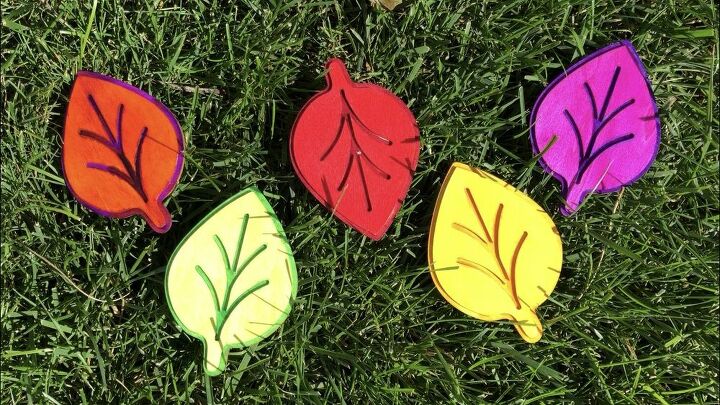
- Faux leaves
- Hot glue gun & glue
- Flower pot
- Dirt
- Lights (optional)
DIY Fall Tree Branch Video
Here are the Fall Tree Instructions
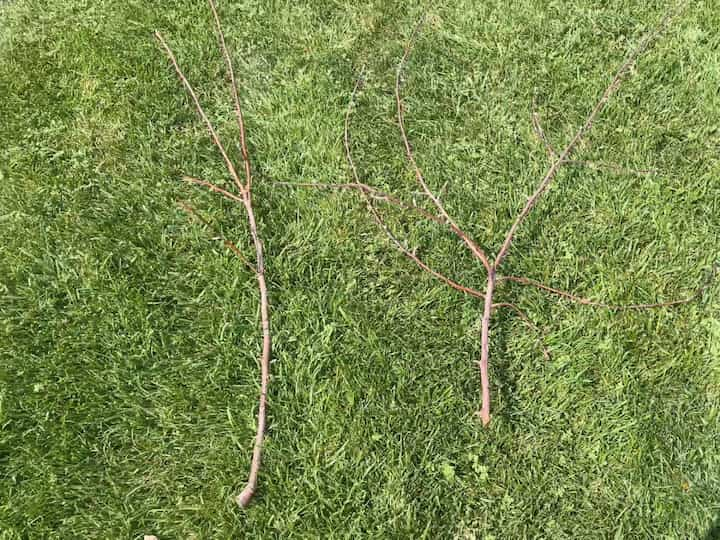
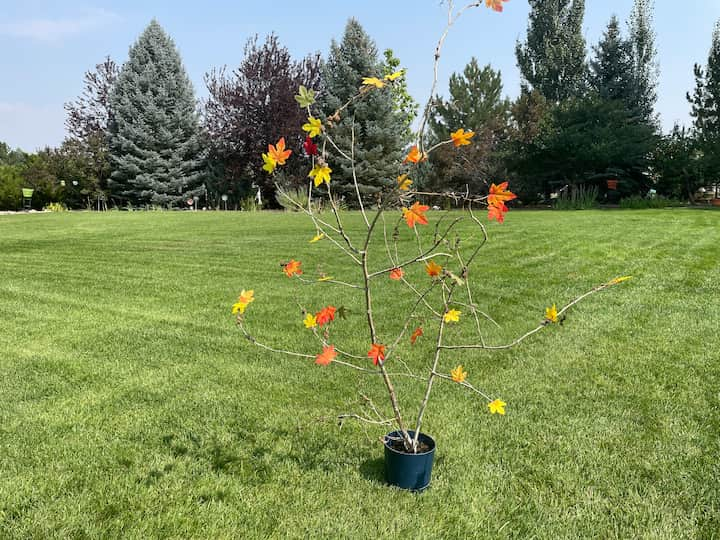
1. Find a tree branch
We had a storm this summer and some of the branches from our trees had fallen to the ground. I picked out one branch and thought it needed a little more to look like a tree so I found a second tree branch. You could easily just use one, or put many together to get the look you want. If you don’t have branches available you could look for a faux tree at a thrift store, or you could make your own tree branch form.
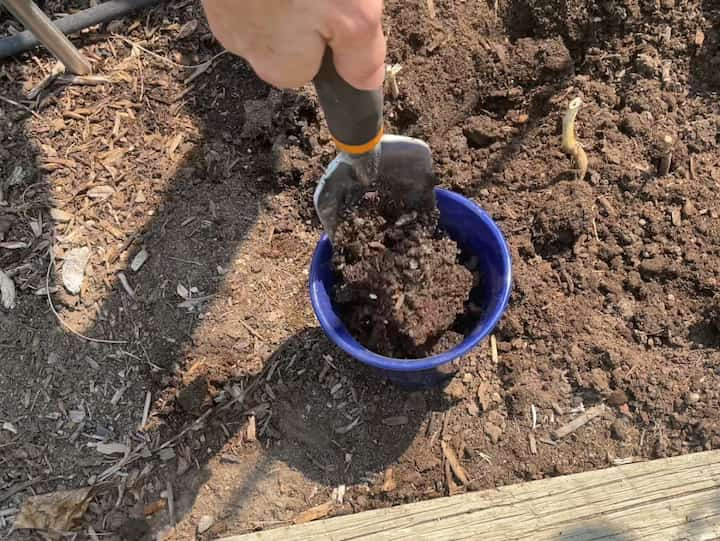
2. Fill Flower pot
I picked a flower pot that would be big enough to hold the branch. I filled the flower pot with dirt. Other things you could use to fill the flower pot include rocks, decorative glass, or concrete. Anything that will help stabilize the branch in the flower pot.
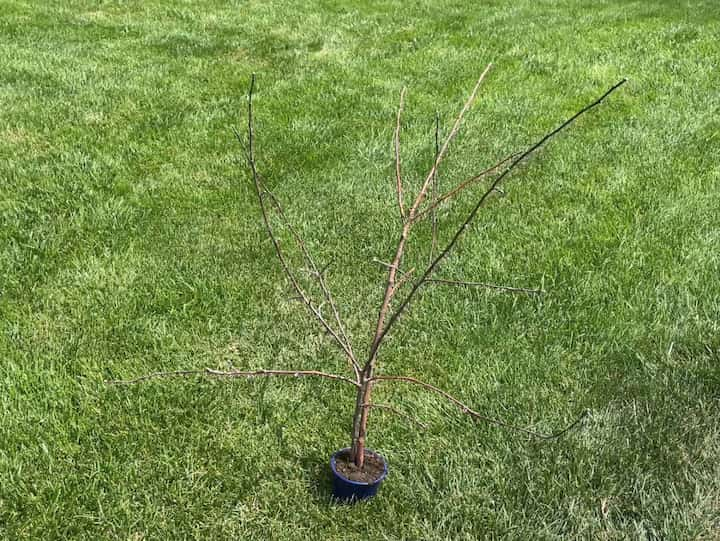
3. Place the tree branch in the flower pot
I cleaned up my branches and removed all of the dead leaves. I placed the branch in the flower pot with dirt and secured it.

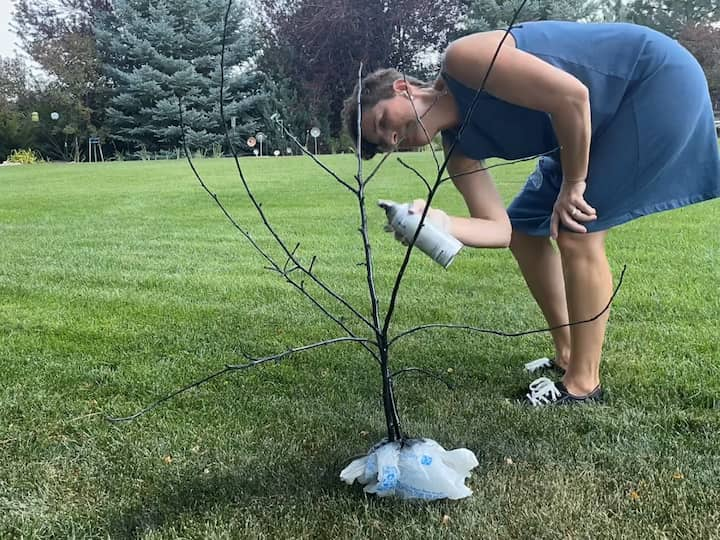
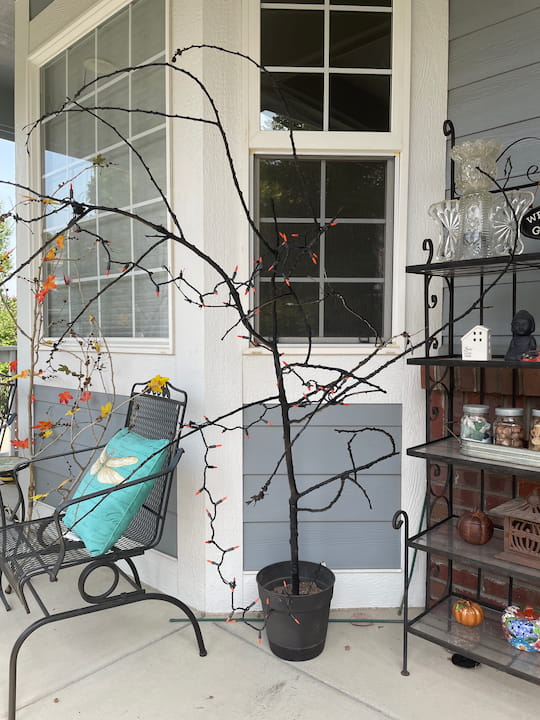
4. Paint the tree branch black (optional step)
You could leave the tree as is with its natural bark, or I chose to spray paint my branch with black spray paint. You could paint the branch first and then place it in the pot second. I placed the tree branch in the pot, and then I covered the flower pot to protect it from the spray paint. I like painting the tree this way as it allows me to paint the entire tree and then let it dry. Laying it down you have to paint one side, then the other. It can be more challenging to get all of the angles that way too.
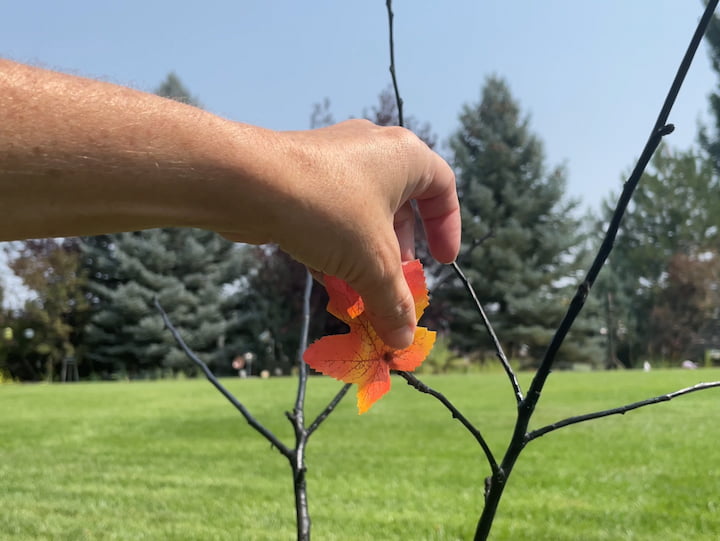
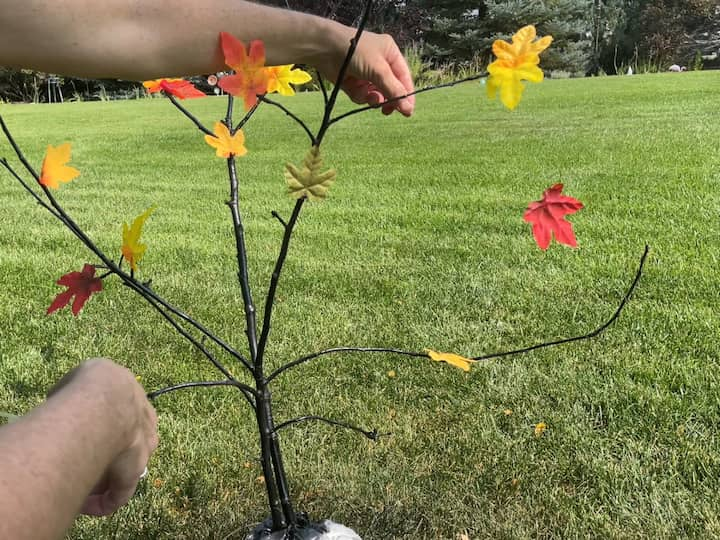
5. Hot Glue The Faux Leaves onto the Tree
After the paint dried completely, I started hot gluing on the faux leaves. You can have a lot of fun with this step and put as many or as few leaves as you like on your black tree. Don’t be afraid to leave some branches empty, after all, you’re creating a fall tree.
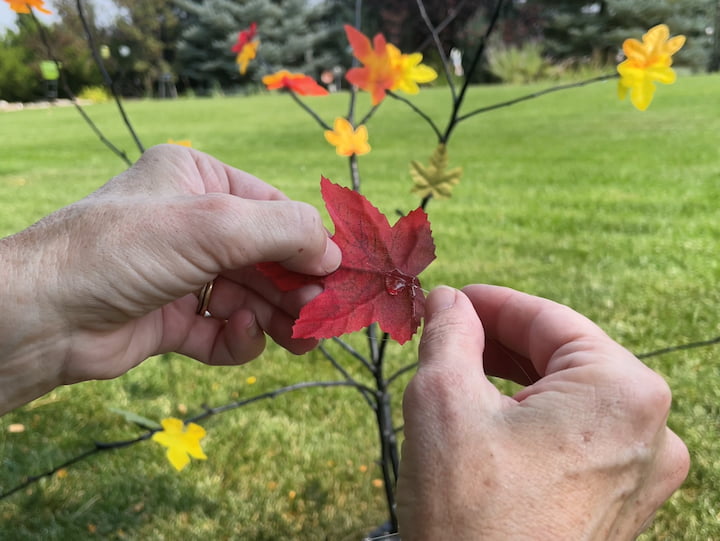
Once I had all of the leaves in place that I wanted on the tree, I added some hot glue and fishing line to a few leaves.
I hot glued the other end of the fishing line to one of the branches. This gives the illusion of leaves falling from the tree.

6. Add lights to your fall tree (Optional step)
I found some LED fall leaf lights at Dollar Tree and I added them to the tree.
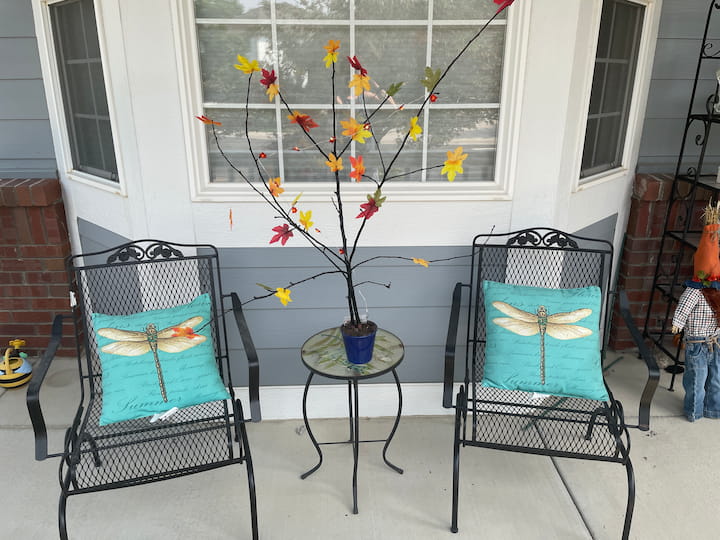
I placed my tree on my front porch, and it could be used inside or outside.
What I love about this project is that it is so versatile. Here I used a larger branch and left it all-natural. You’ll be able to see this tree when I host Hometalk TV
7. How do you make a Halloween tree?
To make a black Halloween tree you can place a tree branch in a flower pot with dirt, and spray paint it black. Once it’s dry you can add some orange lights. For my DIY Fall Tree, you can simply pull off the faux leaves when it’s time to make a Halloween tree. You might enjoy seeing some of my other Halloween Decor.
Learn more about “Creating Seasonal Decor for Your Home” to create seasonal decor that doesn’t cost an arm and a leg.
Awesome and Easy DIY Fall Tree Branch Video
Shop any of these stores and I receive a small commission at no cost to you.


Now check out these other amazing posts from my friends!
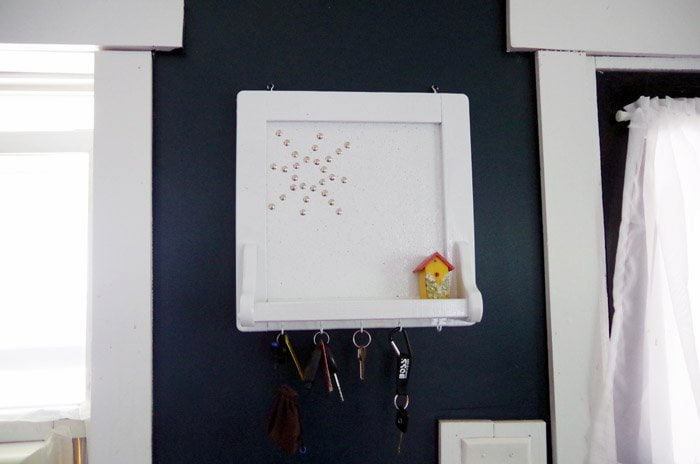
Corkboard and Key Caddy Makeover – Grandma’s House DIY

Craft Room Makeover – Life As A LEO Wife

Laundry Room Refresh – The House on Silverado
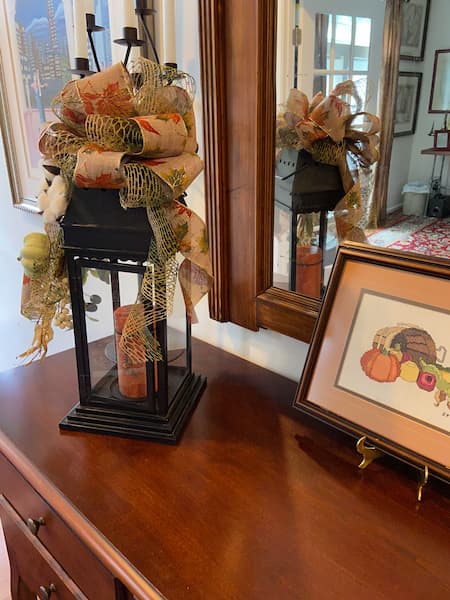
Fall Entryway and Lantern DIY – Thrifting Wonderland

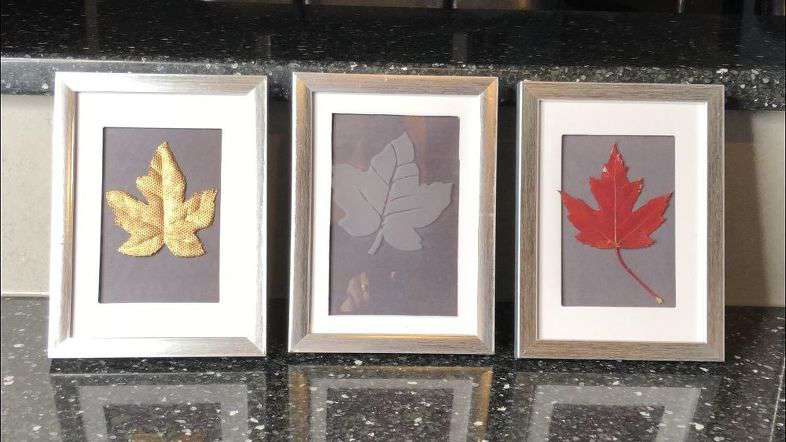
How to Cheaply Update Framed Art – Health Home and Heart

Check out some of my other decor!


What fun Chas, love it!
I love a simple project that turns out so cute! Loved your video, too!
Niky @ The House on Silverado
That is absolutely the only way I would have any fall colored trees here in Florida! Cute as can be, and so easy! Pinned!
Such a cute idea! We have branches galore, as we have a ton of trees in our yard and neighborhood. I think my daughter would love to make one of these, especially a Halloween one! Thanks for the tutorial!
What a great way and cost-effective, too, to dress up a porch. The leaf lights are a nice touch.
Lynne, Thrifting Wonderland
This is so cute! I love a good budget-friendly project! Having the leaves “fall’ is such a cute, very fall idea. I love the little leaf lights. I think I bought some last year and put them away in the fall decor. You’ve given me a good excuse to go ahead & drag out all the fall stuff!