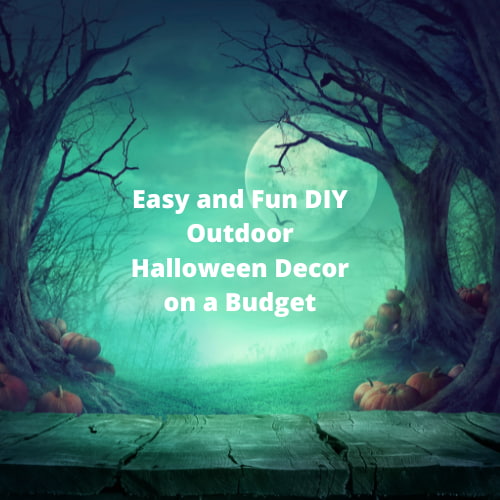
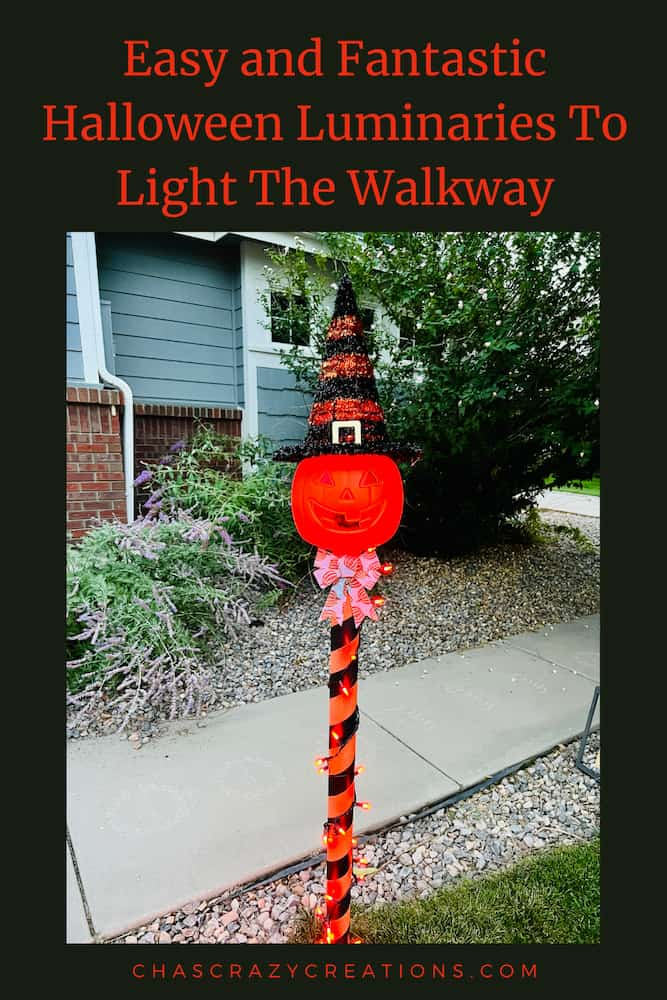
Easy and Fantastic Halloween Luminaries To Light The Walkway

Are you looking for Halloween luminaries? Here’s a tutorial that will show you how to make some on a budget that is easy and fantastic.
So today I am going to show you how to create an easy Halloween craft. These DIY Halloween luminaries are an inexpensive way to give your home a spooky glow on Halloween night and are a great alternative to traditional luminary bags. With just a few simple craft supplies that you can get at the dollar store, you can make this luminary craft project. The best part is this is a fun craft project your kids will love and it’s the perfect time of year for Halloween crafts. We love making DIY Halloween decorations and ghostly decor to welcome trick-or-treaters to our front porch.
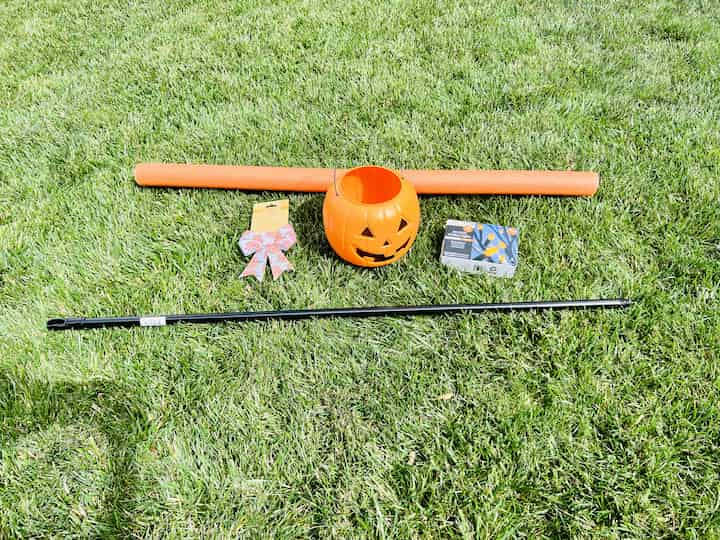
Halloween Luminaries Materials
For this project, you’re going to need a pool noodle, a pumpkin pail, a broom handle, some lights, and a bow.
 Pool Noodles, Fix Find 5 Pa…Shop on Amazon
 Gaffer Power Proudly Made i…Shop on Amazon
 8\" | Trick or Treat Bucket") Halloween Pumpkin Jack O' L…Shop on Amazon
Halloween Pumpkin Jack O' L…Shop on Amazon JMEXSUSS 2 Pack Solar Hallo…Shop on Amazon
 Edoneery Furry Animal Ears …Shop on Amazon
Halloween Luminaries video
Halloween Luminaries instructions
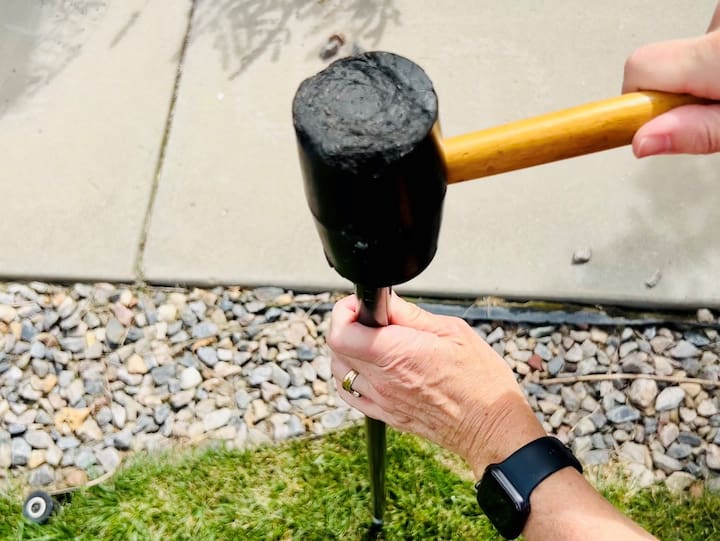
1. Hammer your broom handle into the ground
The first thing I’m going to do is remove the top handle of the broom. I’m gonna stake the broom into the ground so it’s nice and strong.

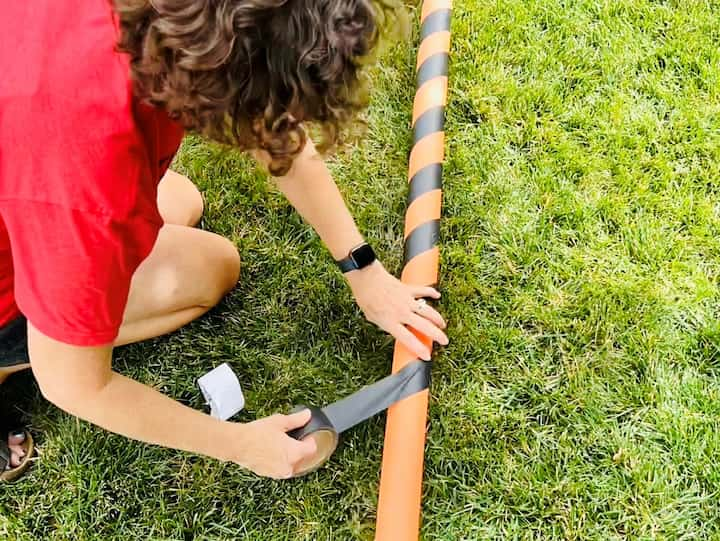
2. Wrap Black Tape Around the Pool Noodle
Next, I will I’m taking the gaffer’s tape and wrap it around the pool noodle spiraling it like a candy cane.
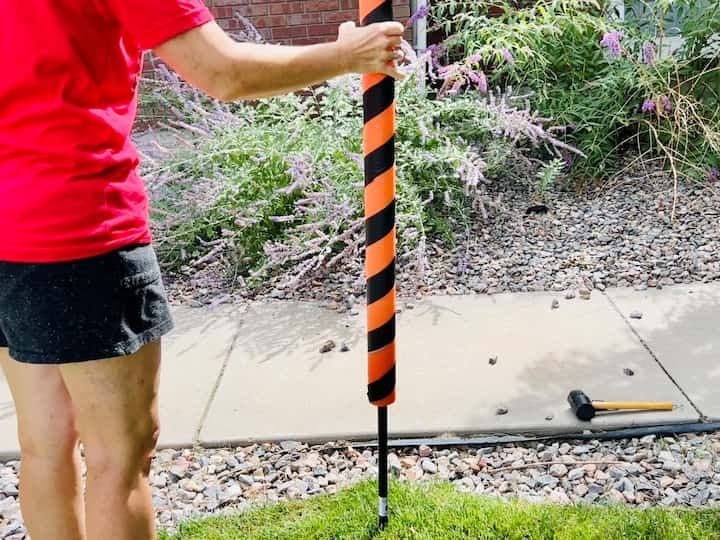
3. Place the pool noodle onto the broom handle
I slid the pool noodle onto the stake or broom handle.
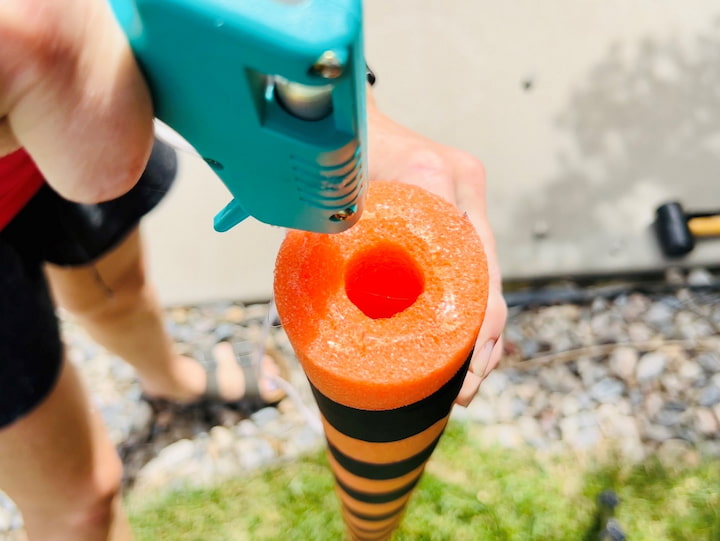
3. Glue a pumpkin Pail to the top of the pool noodle
I will take a cool glue gun and add some hot glue to the top. The reason it needs to be cool glue is so it doesn’t melt your pool noodle. I’m going to give it a lot of glue so it’ll be solid.
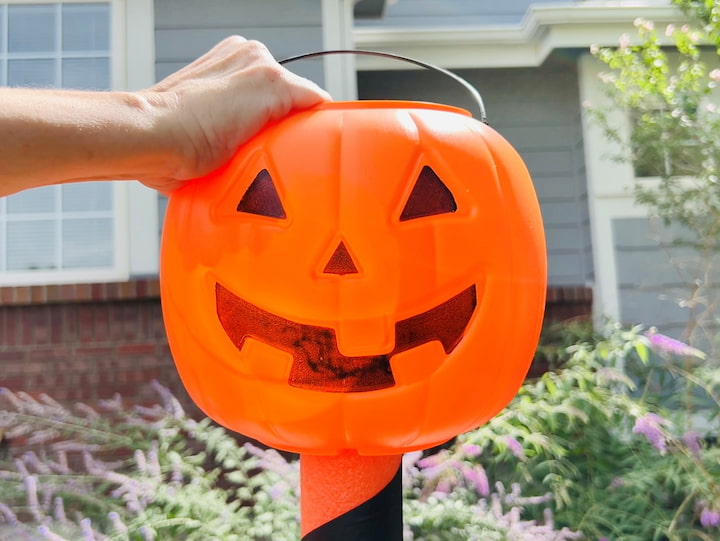
Next, I take a pumpkin pail and place it on top.
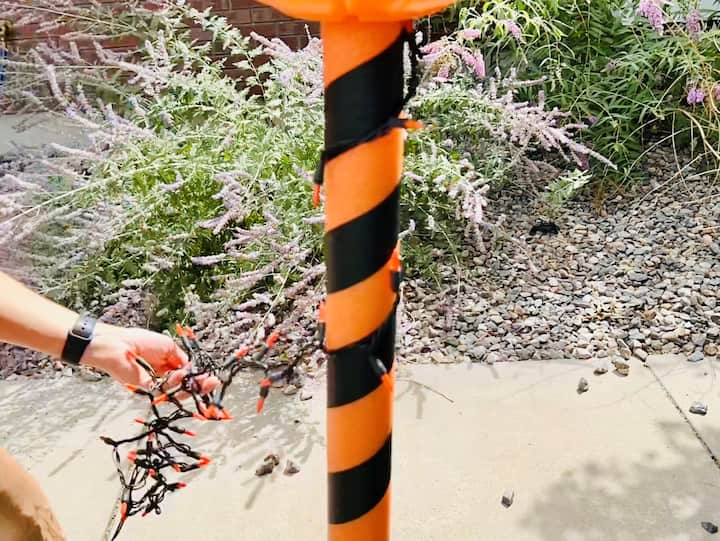
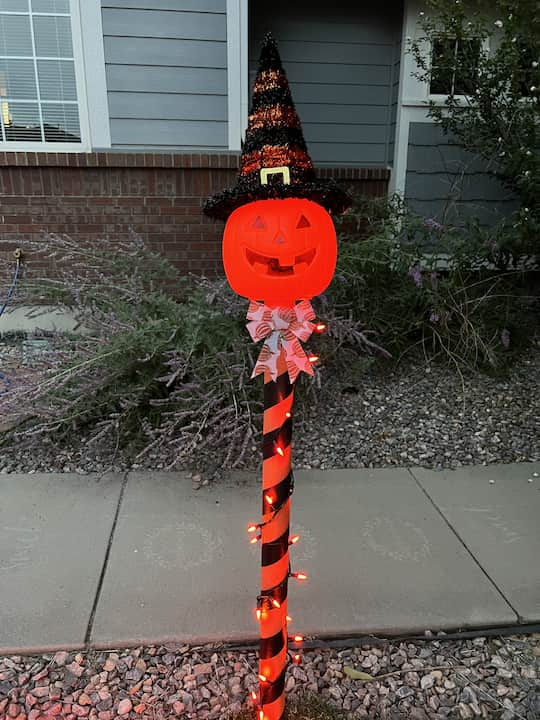
4. Add lights
Once the glue has had time to cool, I’m going to place some lights on the top of the pumpkin pail and wrap the light string around the pumpkin.
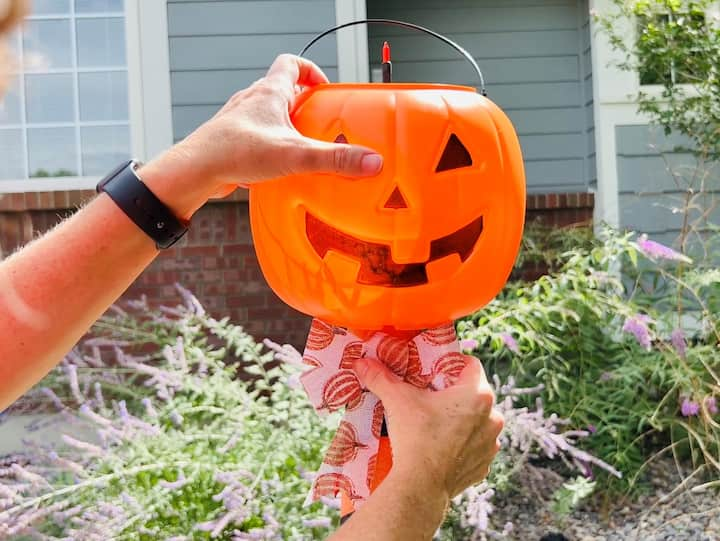
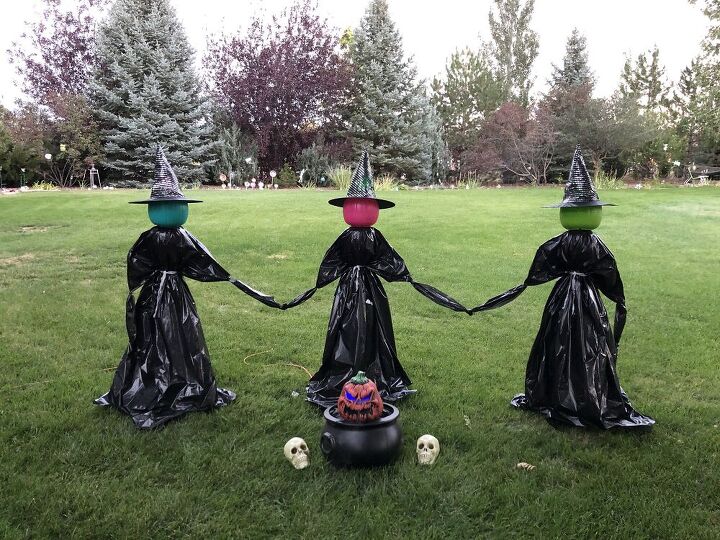
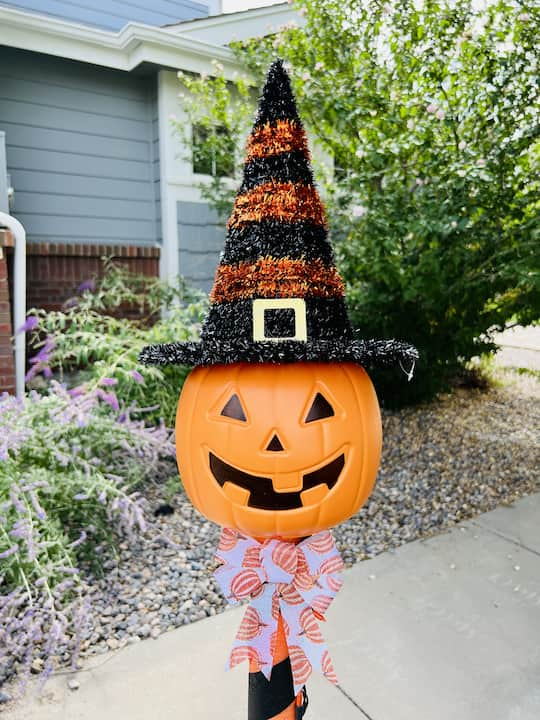
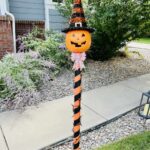
5. Add a bow and witch hat to the luminary
After I’ve wrapped the lights I’m going to add a bow with a little hot glue.
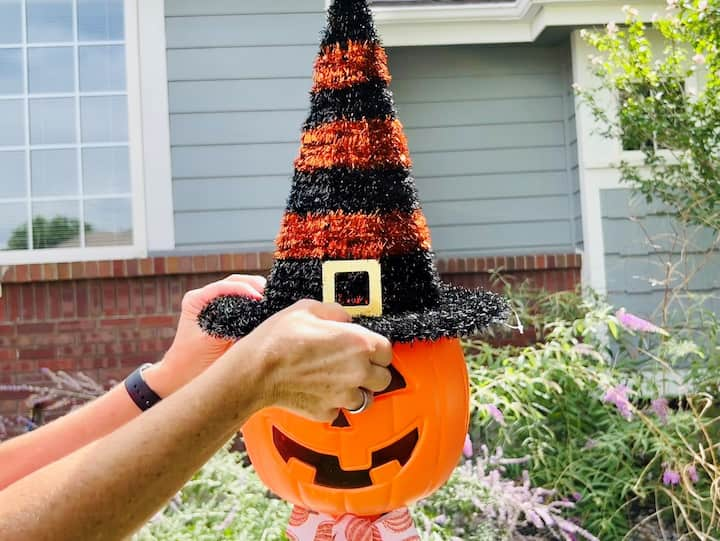
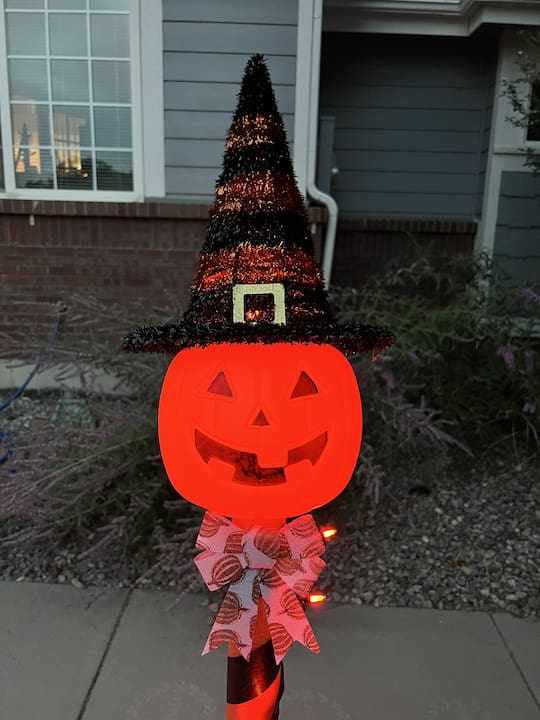
You can remove the handle, but I am going to leave it. I am going to put a witch hat on top and secure it with a little hot glue.
If you don’t have a place to plug in your string lights, or you’re worried about it at all you can buy these LED lights that are operated by batteries. Simply place it into the pumpkin head on top.
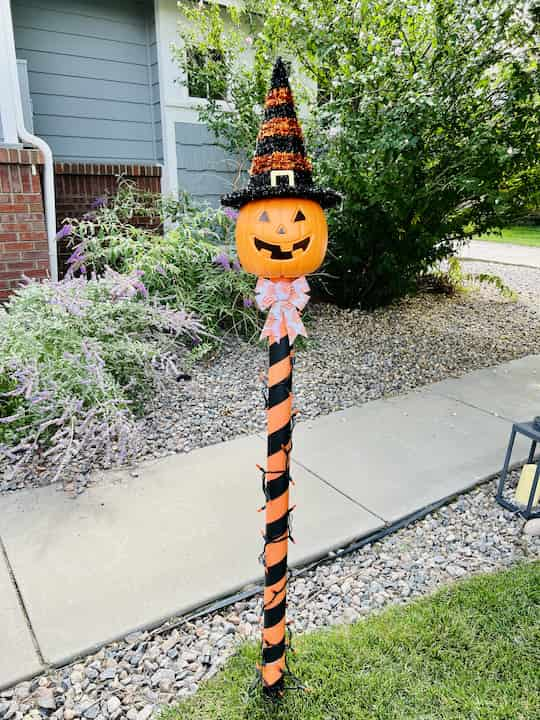
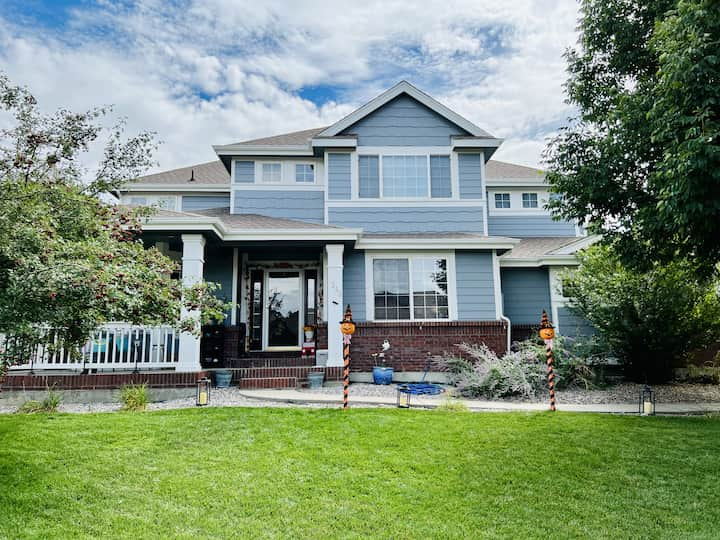
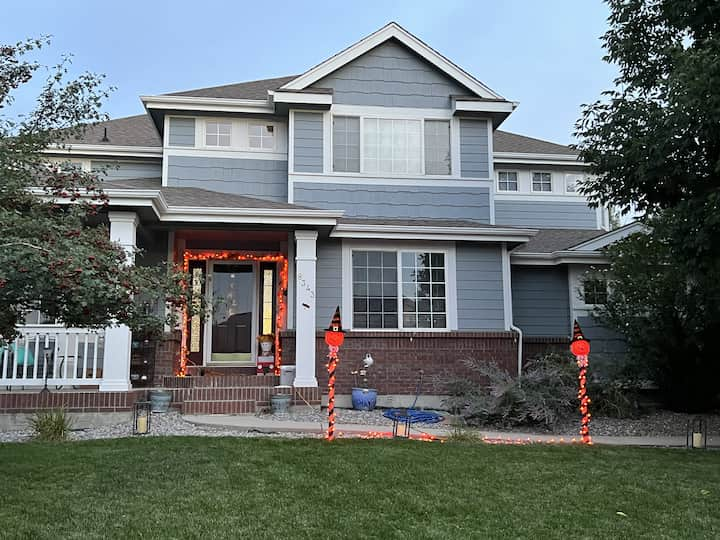
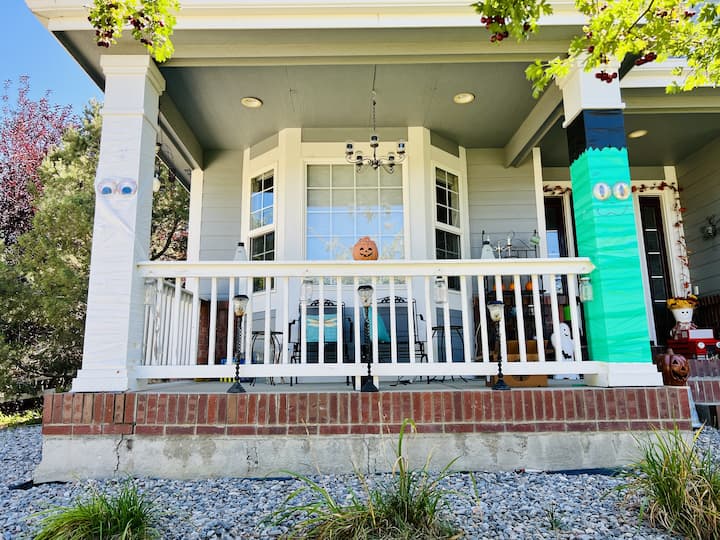
This is a fun way to greet trick-or-treaters. They can walk up the lighted path to my front door where they will be greeted with candy, Charlie Brown rocks, hot apple cider, and glow sticks.
I hope this inspires you to make your own DIY Halloween decor and create pumpkin luminaries of your own for Halloween.
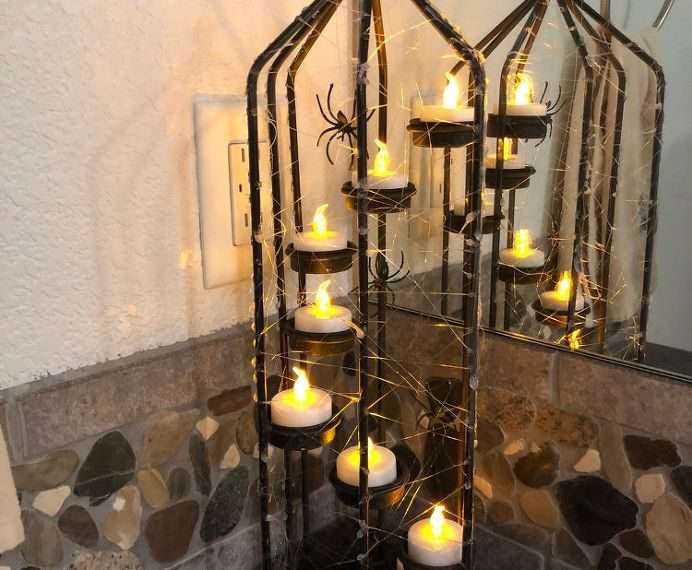
Other ways to make Halloween Luminaries:
- Hang Halloween lanterns from trees or Shepard hooks
- Add tea lights to pumpkin pails to create luminaries
- Milk Jug Lanterns or Ghost luminaries, – Use milk jugs, draw spooky faces on them, and place either flameless candles or Christmas lights in them.
- Use recycled glass jars and mod podge tissue paper to the outside of the jar, and use a black marker to make pumpkin faces or ghost faces.
- Free water inside tin cans or coffee cans, drill holes through the cans to make a lantern face, and place tealight candles inside for this luminary idea.
- Jack O’lanterns – Use a laundry pod bucket, draw a face with a permanent marker on the outside or paint with acrylic paint, and place an LED light inside.
- Paper luminaries – Place a paper lunch bag or white paper bags along a walkway filled with faux candles inside. Use black paint or a marker to make faces on the bags. You could also use paper cups as well.
I’d love it if you’d subscribe to my YouTube channel and my blog. Thanks for watching and I’ll see you in my next video don’t forget to like share and subscribe.
Happy Halloween!
Halloween Luminaries Video
Shop any of these stores and I receive a small commission at no cost to you.
") It's the Great Pumpkin, Cha…Shop on Amazon
It's the Great Pumpkin, Cha…Shop on Amazon") ORIENTAL CHERRY Halloween D…Shop on Amazon
ORIENTAL CHERRY Halloween D…Shop on Amazon DAZONGE Halloween Decoratio…Shop on Amazon
 DIYASY Bats Wall Decor, 120…Shop on Amazon
 Halloween Tiered Tray Decor…Shop on Amazon
Easy and Fantastic Halloween Luminaries To Light The Walkway
Equipment
- Hot Glue Gun
Materials
- pool noodle
- gaffers tape
- pumpkin pail
- lights
- witch hat
Instructions
- HAMMER YOUR BROOM HANDLE INTO THE GROUND
- WRAP BLACK TAPE AROUND THE POOL NOODLE
- PLACE THE POOL NOODLE ONTO THE BROOM HANDLE
- GLUE A PUMPKIN PAIL TO THE TOP OF THE POOL NOODLE
- ADD LIGHTS
- ADD A BOW AND WITCH HAT TO THE LUMINARY
Video
Check out some of my other Halloween decor!