
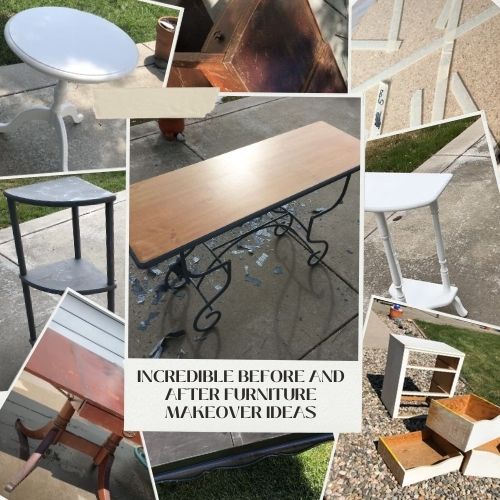
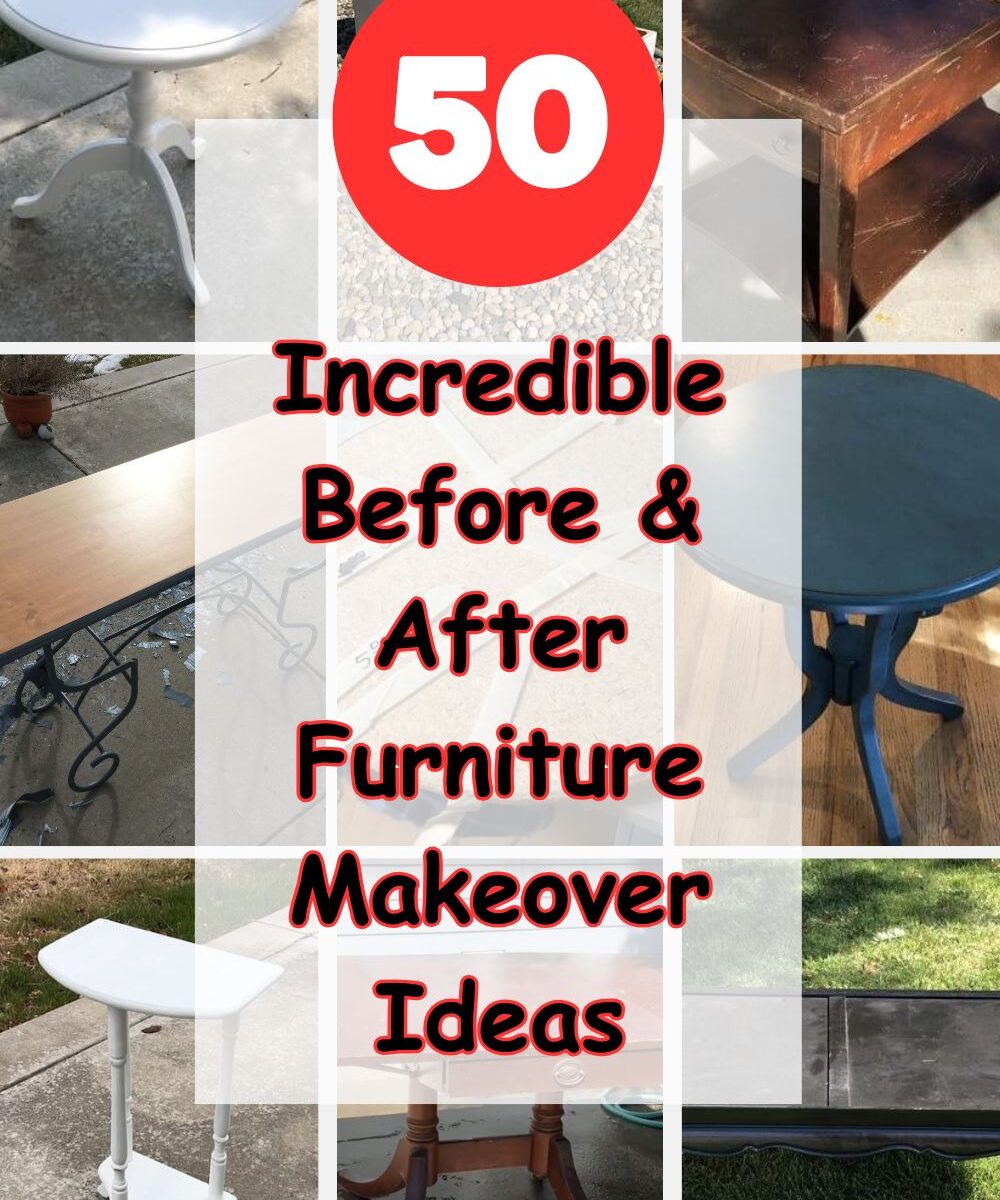
50+ Incredible Before and After Furniture Makeover Ideas
Hey there, welcome to Chas’ Crazy Creations! Today I’m super excited to share some of my favorite furniture makeover ideas with you. If you’ve been following me, you know I love hunting for bargain pieces at garage sales and on Facebook Marketplace, then transforming them into something beautiful and functional. Let’s dive into some amazing before and after transformations that might inspire your next DIY project!
Furniture Makeover Ideas Video
Tables & Desks

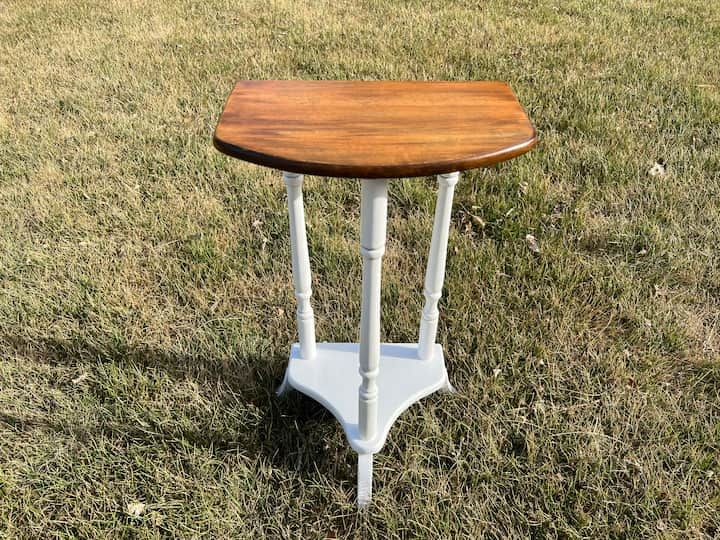
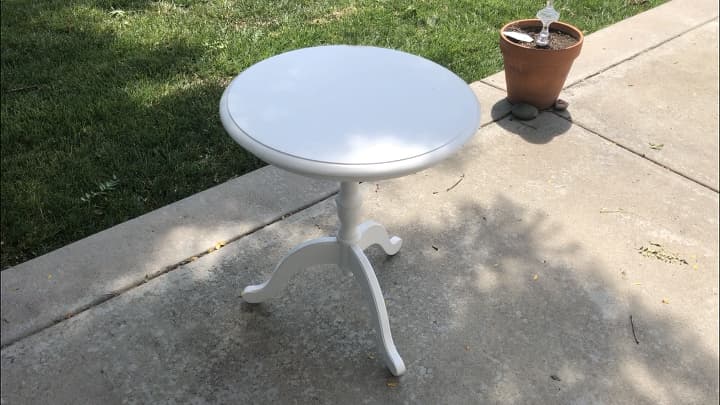
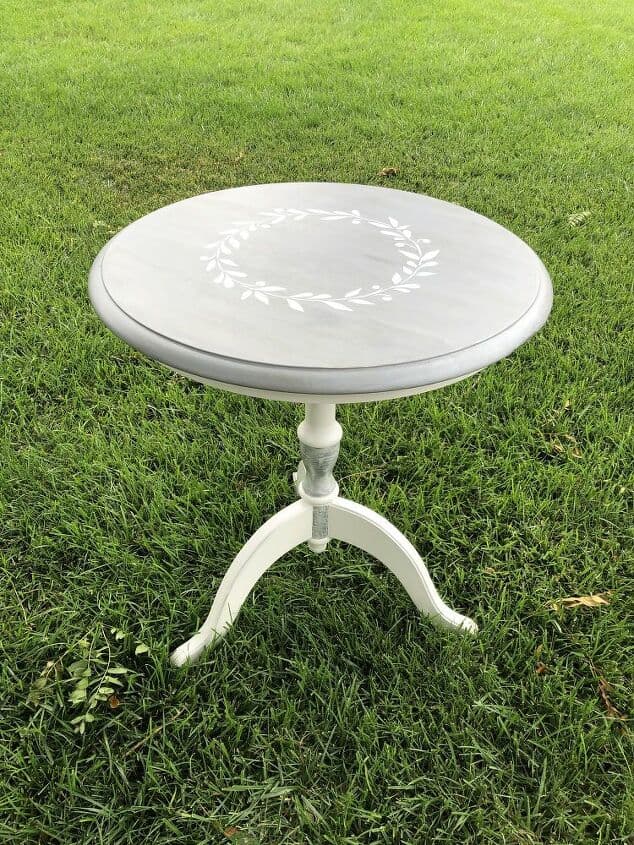
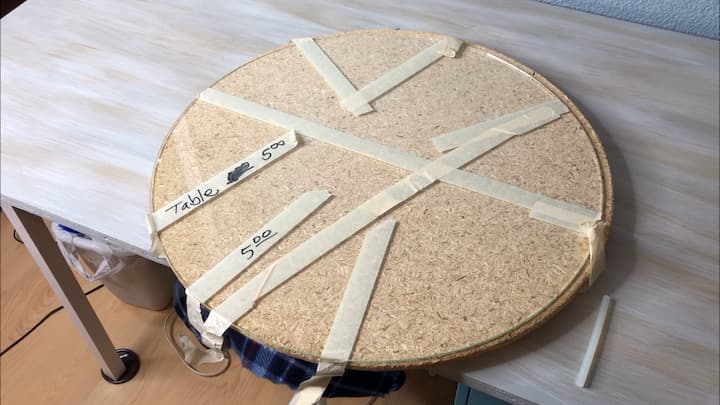
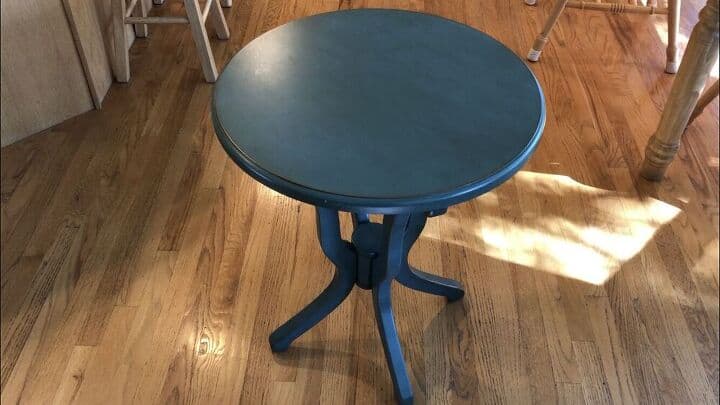
I found this piece at a garage sale for $5. I started with the prep work. I sanded the top all of the way down to reveal a beautiful solid wood top. I lightly sanded and cleaned up the piece. I used a screwdriver to tighten the legs and any other necessary repairs. I painted the bottom with white chalk paint using a paintbrush. I glazed the indents with glaze medium and gray paint to have the accents in the table pop. I used waterbased wood tint on the top to stain it and give it a natural look. You can find the full tutorial on my post: Beautiful and Easy Painted Side Table with Video
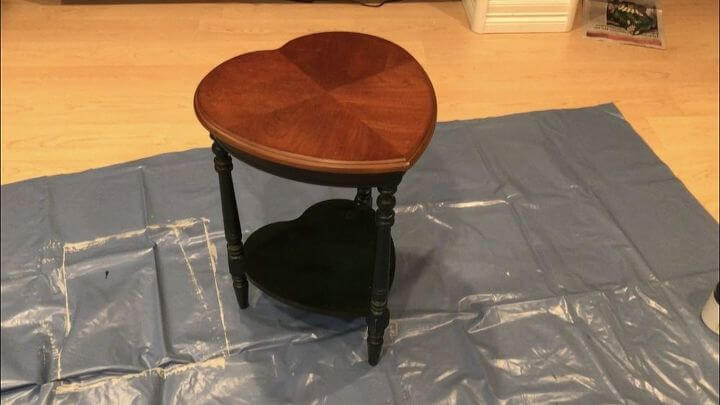
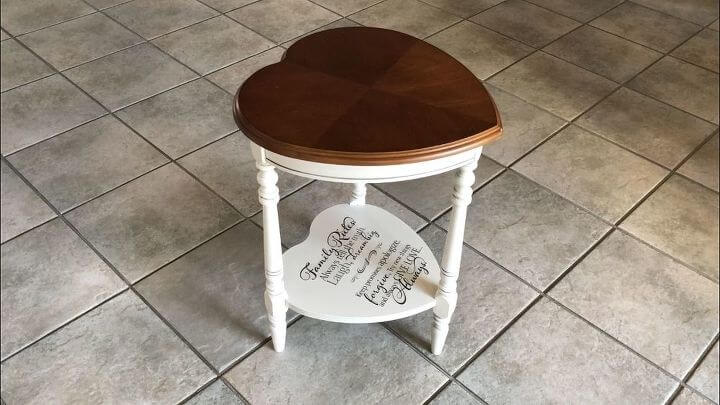
I found this heart table at a thrift store. I cleaned the piece up, and then gave it a fresh coat of paint to the base. I left the top with its original finish because it was in great shape. I used a glaze medium with some gray paint to accent the indents in the piece and give it dimension. I added a sticker decal to the base that was plain, and then varnished over the top of that. You can find the full tutorial at: Beautiful Thrift Store Heart Table Makeover
Stenciled Furniture
I found this side table on Facebook Marketplace. I first started by repairing the furniture with some wood fill. This required some woodfil, and then I sanded and cleaned the piece. I added some metallic silver paint to the bottom to accent the piece.
I added gray chalk paint topped with metallic silver chalk paint. Once that dried I added a stencil to the top with white chalk paint. You can find the full tutorial in my post Updated Side Table
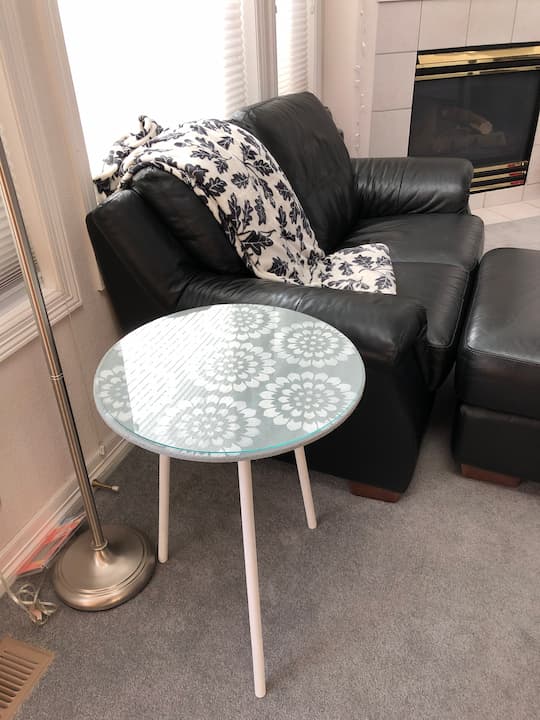
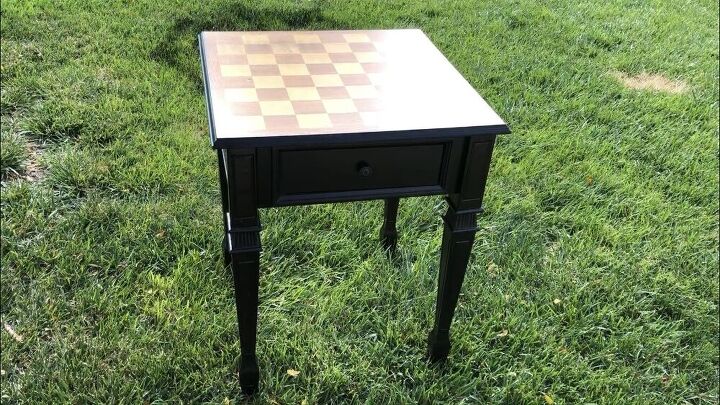
I found this table piece at a thrift store. I painted the legs white and the table top gray. I stenciled the design on with some white paint, and then placed the glass top on to protect the piece. You can find the full tutorial for this post: How To Stencil On Wood
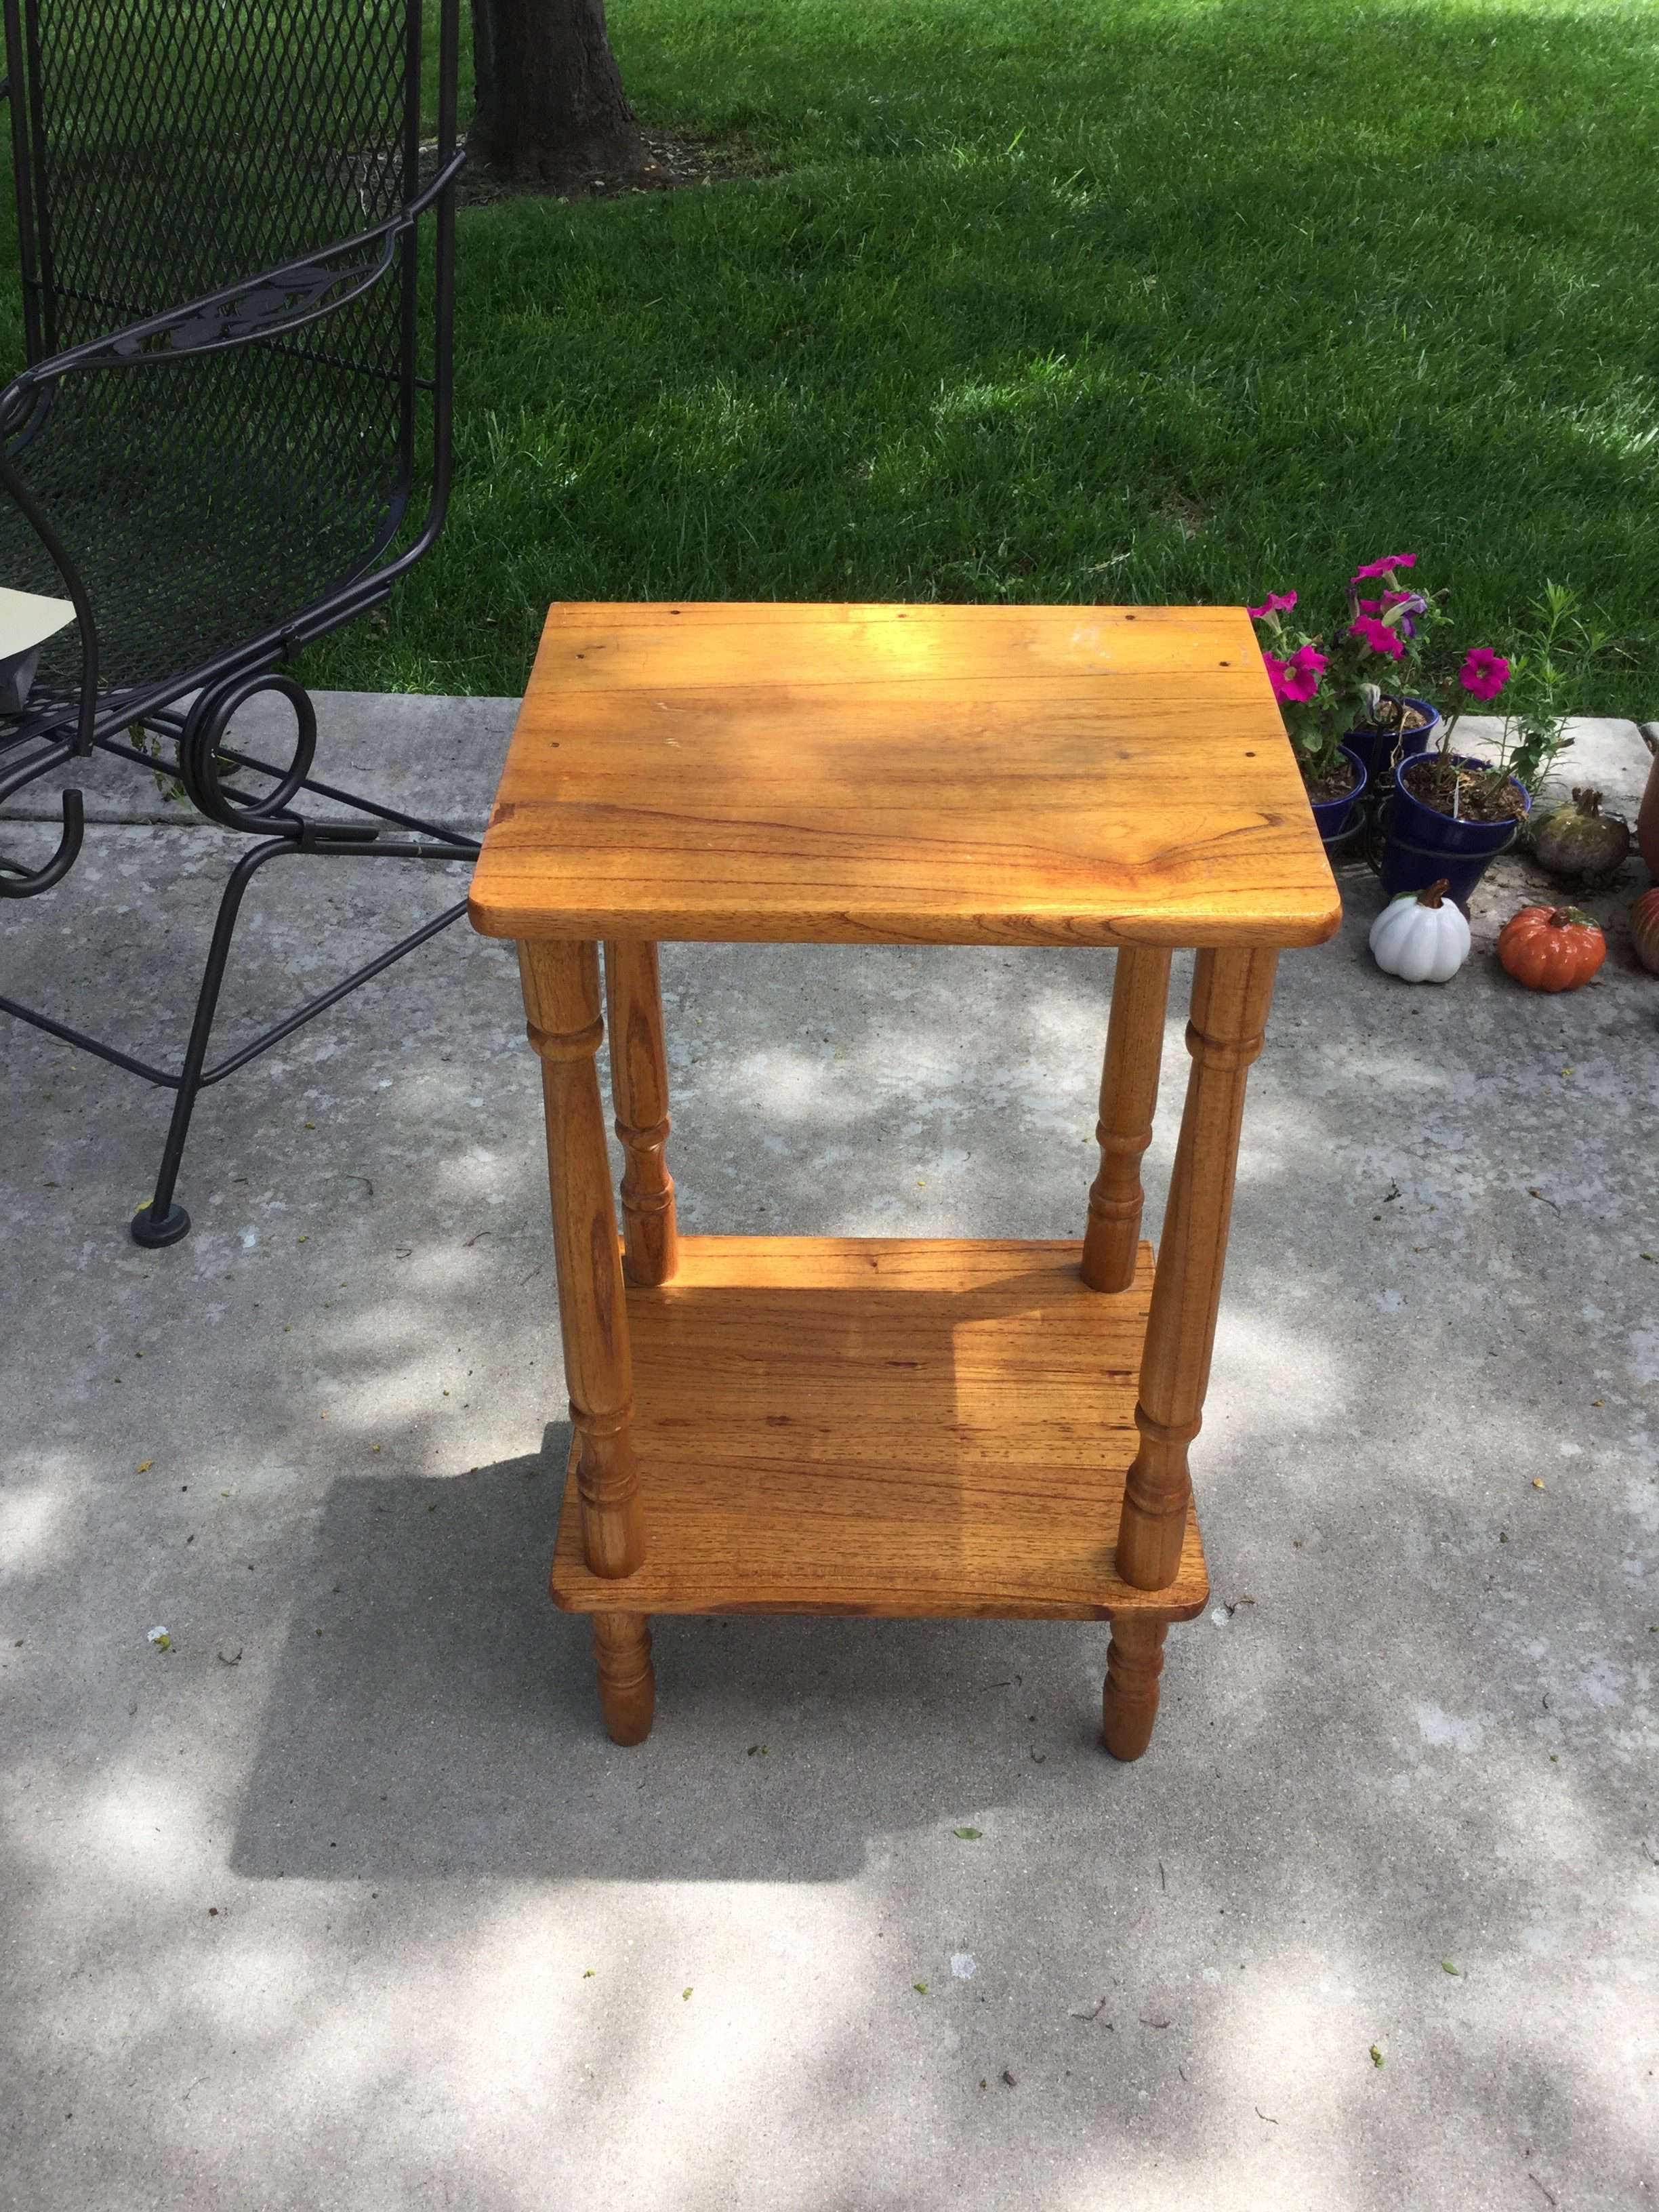
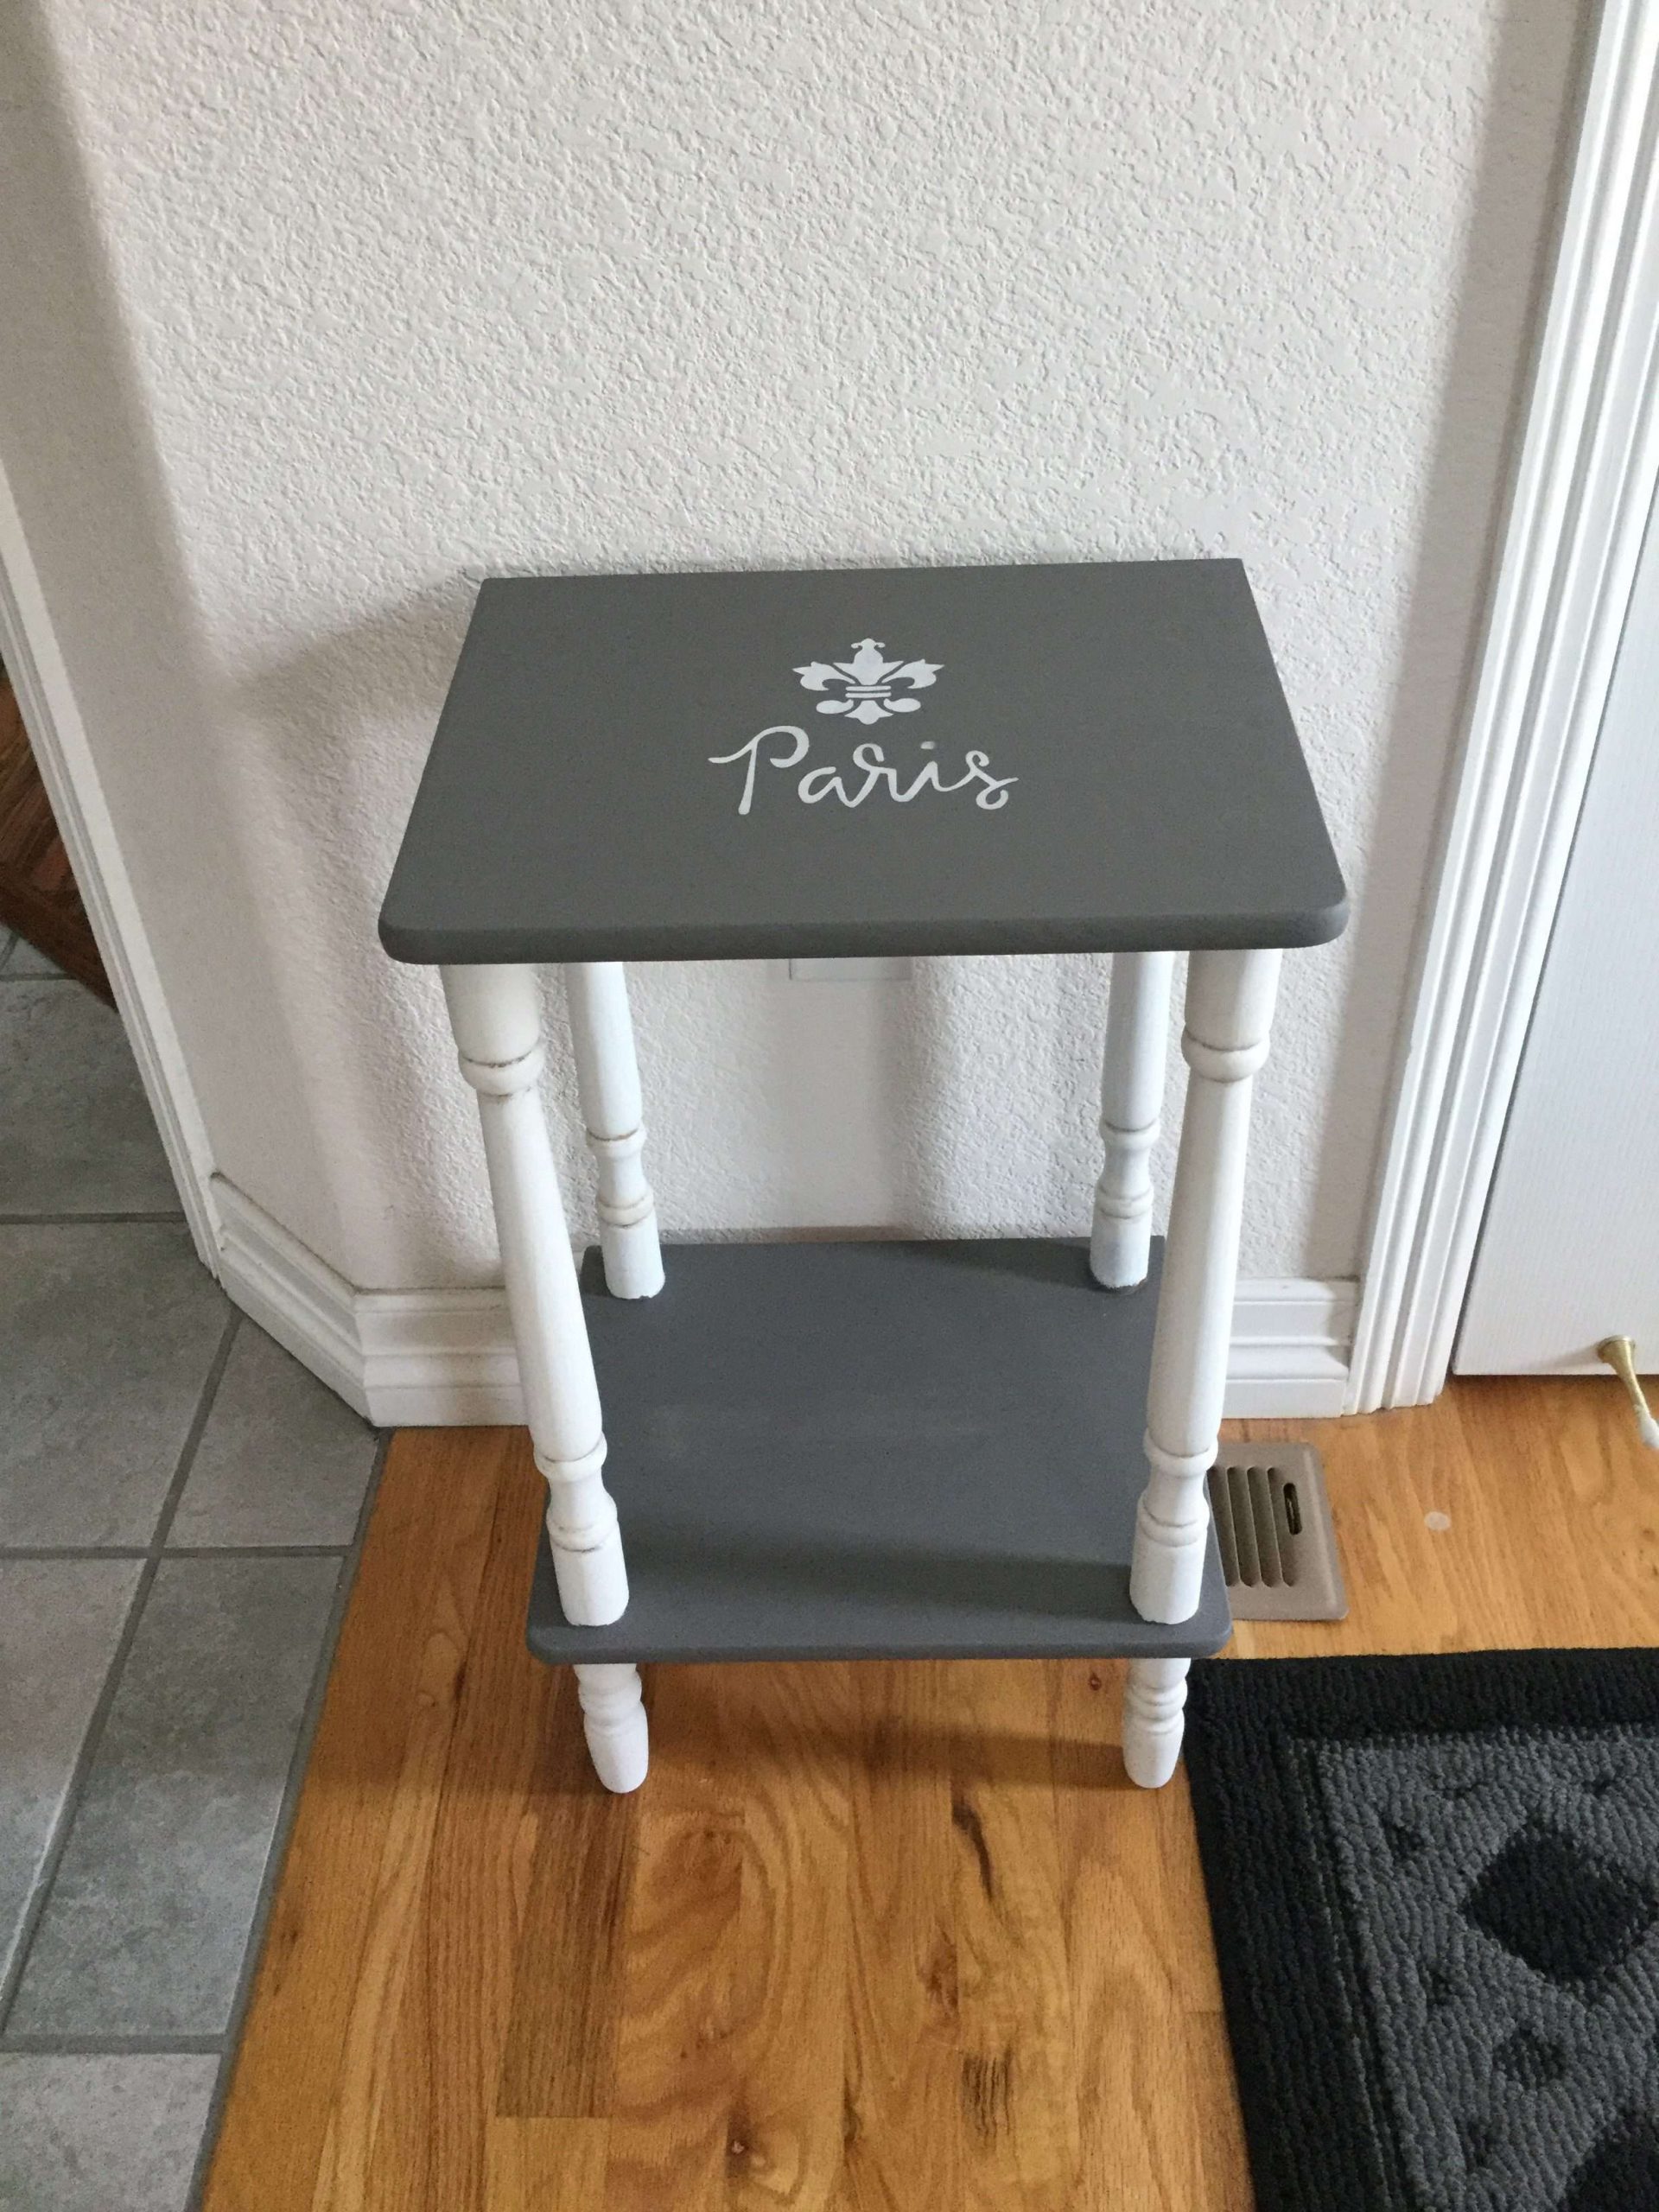
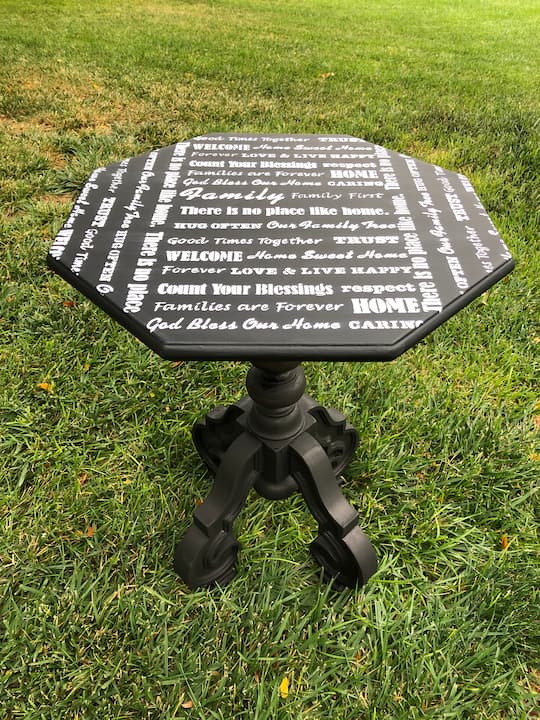
I found this table at a garage sale. I repaired it, sanded it, and cleaned it. I planned on painting the entire piece. I painted the flat surfaces with gray mineral paint and the legs with white mineral paint. I used a glaze medium with the gray paint to accent the indents in the legs. I stenciled the top of the table, and I gave the table a topcoat. You can find the full tutorial in my post Quick and Easy Side Table Makeover On A Budget
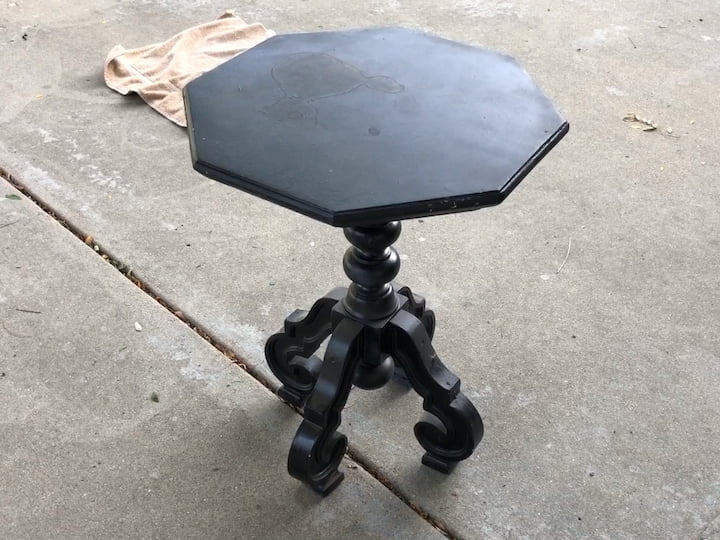
I found this table at a thrift store, I started by sanding and cleaning it to get the dust off, then I painted it with chalk paint, added some acrylic paint accents, stenciled the top with white chalk paint, and gave it a top coat of varnish. You can find the full tutorial in my post Upcycling a Side Table with Stenciling on Wood
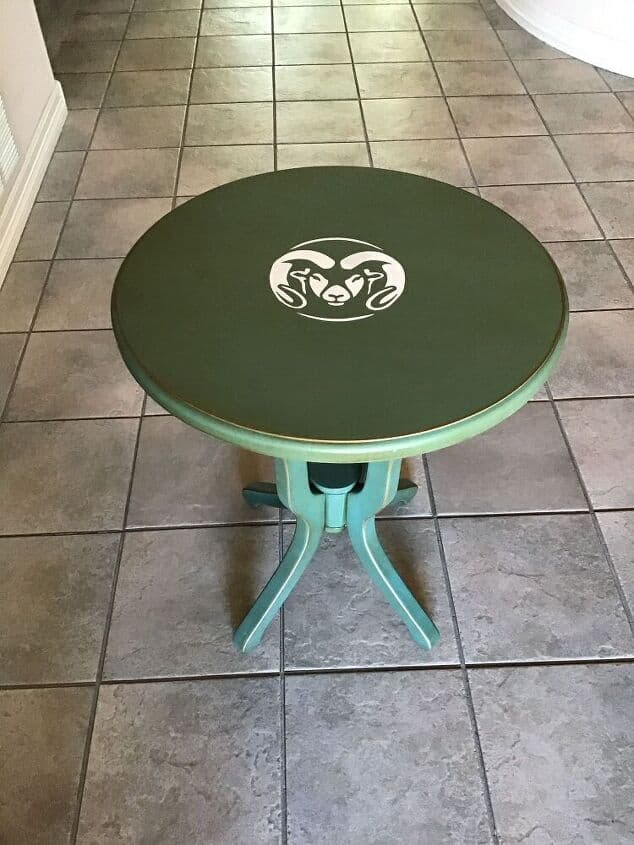
I found this table on Facebook Marketplace. It was in great shape, I was just looking to customize it for a college student. The table’s colors were green and gold the Colorado State University colors.
I printed out a pumpkin CSU Rams stencil. I placed it on the table and use while chalk paint to paint on the stencil. You can see the full tutorial on my post How To Make A Stencil With A Printable with Video
Dining Table
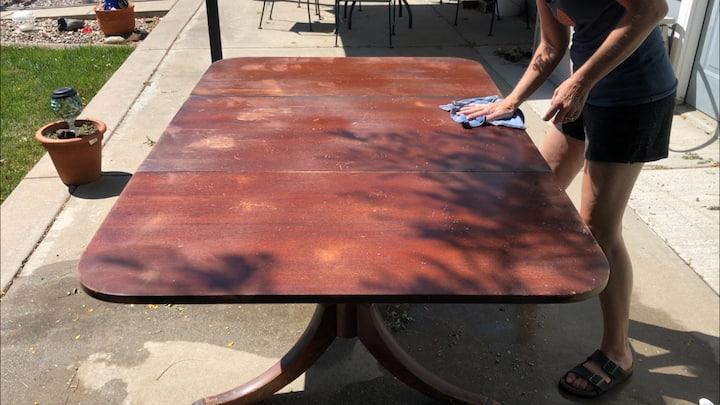
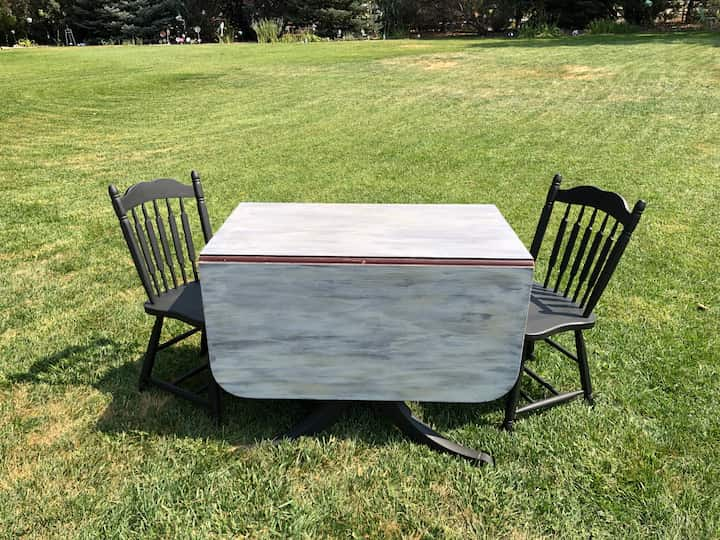
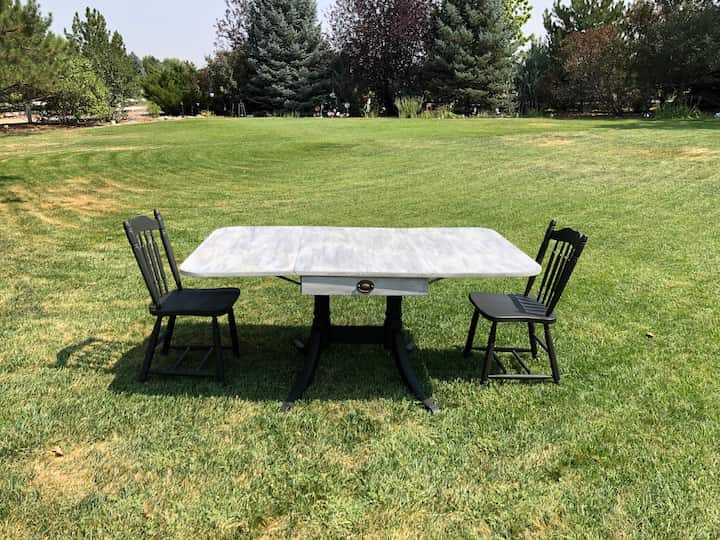
I found this dining table for free on Facebook Marketplace. I sanded and cleaned it. I painted it with gray chalk paint, and then I used a dry chip brush to “dry brush” the entire table with wood tint paint to give it a reclaimed wood look.
You can find the full tutorial for this project in my post: Reclaimed Wood Dining Table and Chairs Awesome and Easy DIY
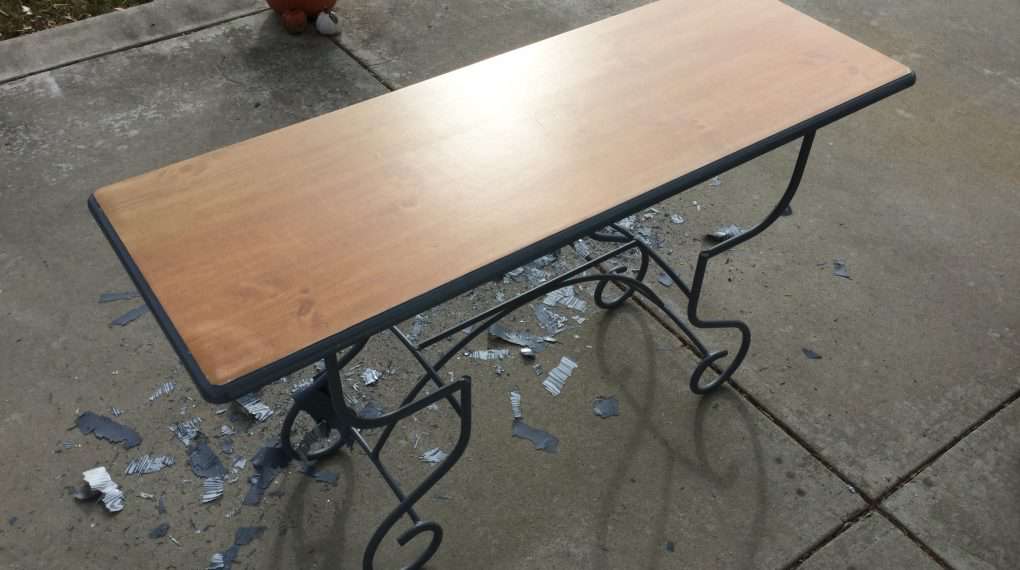
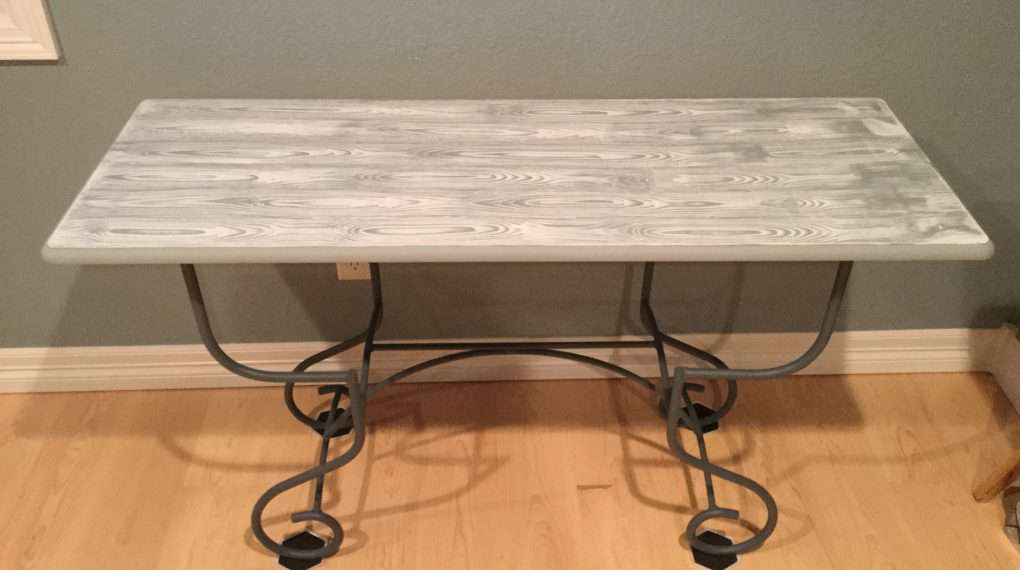
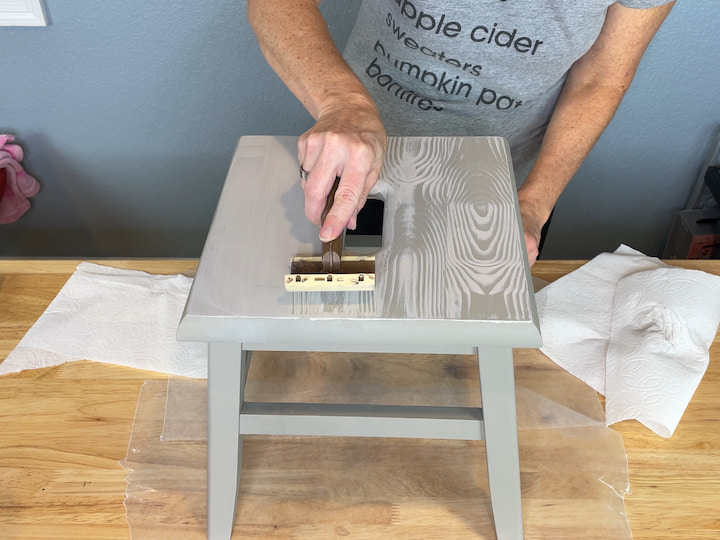
I painted this laminate table with some primer to make sure the paint would stick to the laminate. Veneers need to be treated the same to make paint stick. Next I painted it with chalk paint, and then I used a glaze with white paint and a wood grain tool to create the plank look. You can find the full tutorial in my post How To Use A Wood Grain Tool: It’s So Easy
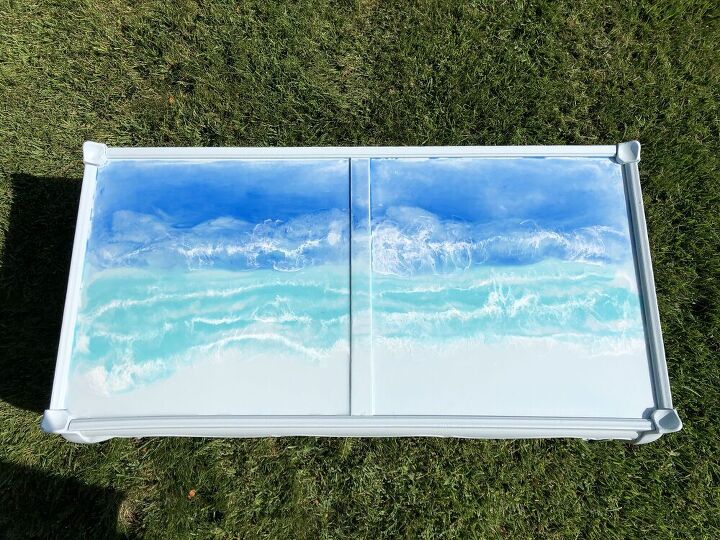
Coffee Table Makeover
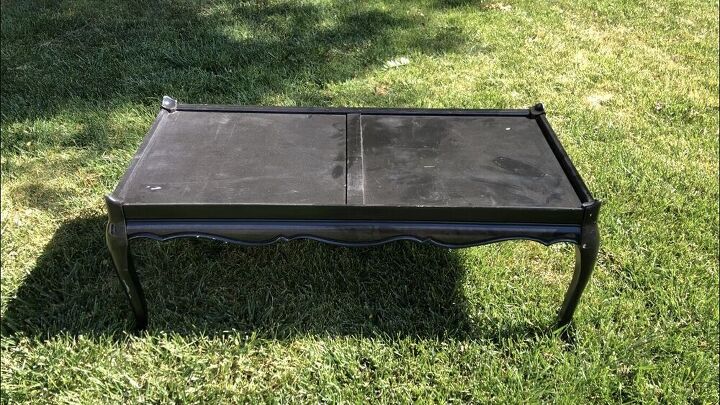
I found this coffee table in rough shape while shopping yard sales. I cleaned it up and then spray painted it with Behr paint. I then mixed different batches of resin and layered them onto the coffee table top. I used a heat gun to push the resin around until I got the look I wanted. You can find the full tutorial on my post Easy Coffee Table Makeover
Decoupage Tables
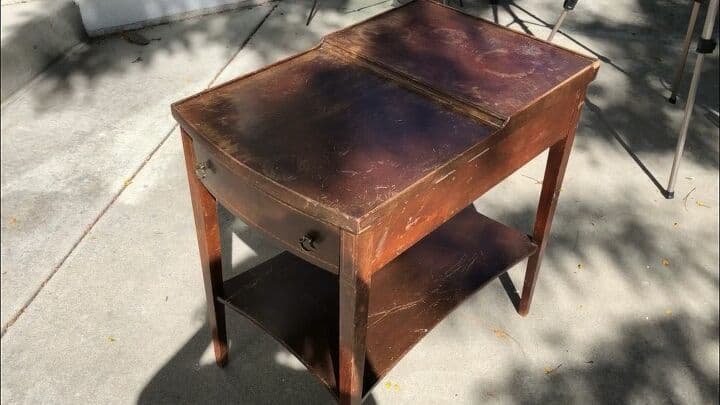
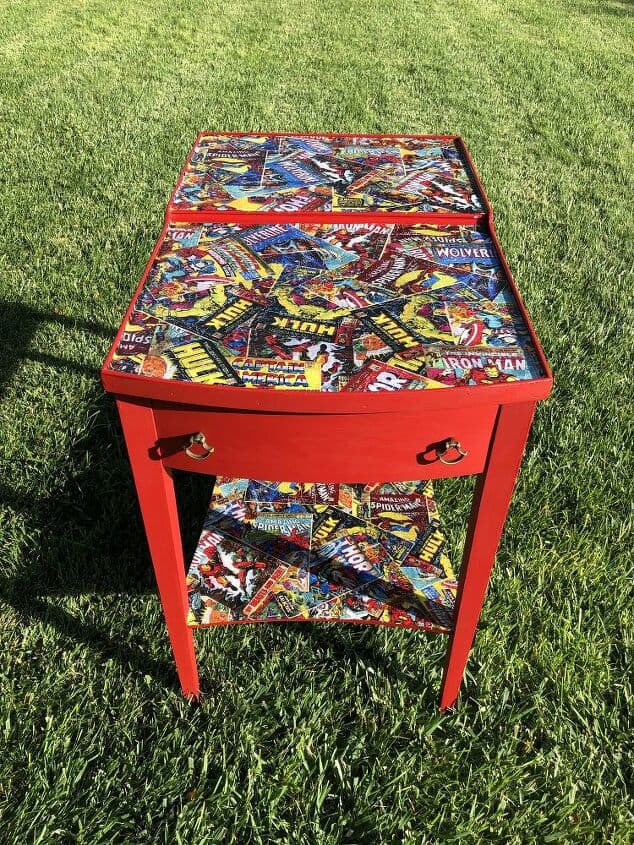
I found this side table on Facebook Marketplace. The table was in horrible condition, it had seen better days for sure. I sanded and cleaned it. I painted it with red chalk paint.
I used Mod Podge on the flat surfaces and applied superhero fabric, then gave it another coat to seal it. You can find the full tutorial in my post Chalk Paint Side Table: It’s So Easy and Has Amazing Results
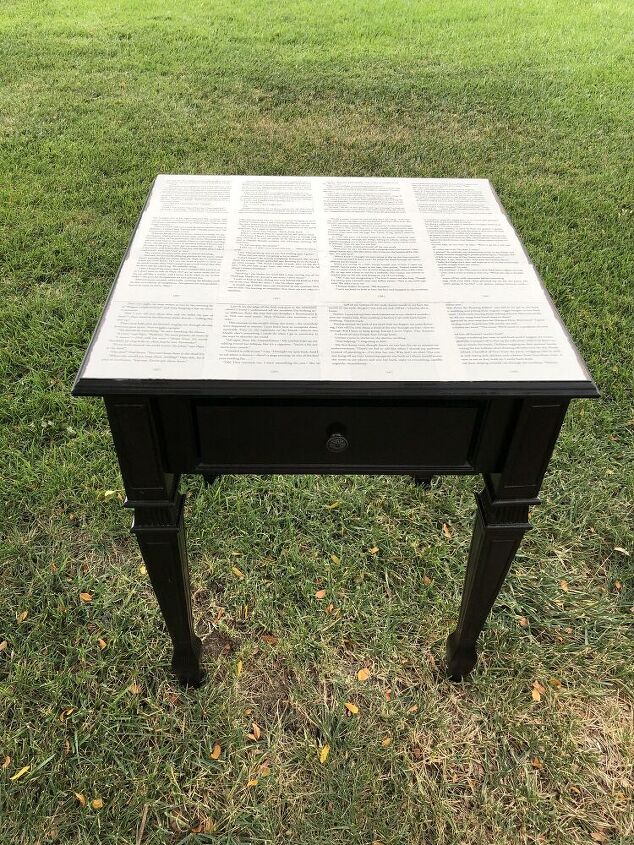
I found this table at a thrift store. The base was fine but the top had some scratches on it. I lightly sanded and cleaned the piece. I added a layer of Mod Podge to the top, and then placed book pages (they were from a book that was falling apart).
I placed another coat of Mod Podge on the top to protect it. You can find the full tutorial in my post Quick and Easy DIY Side Table Makeover For Your Home
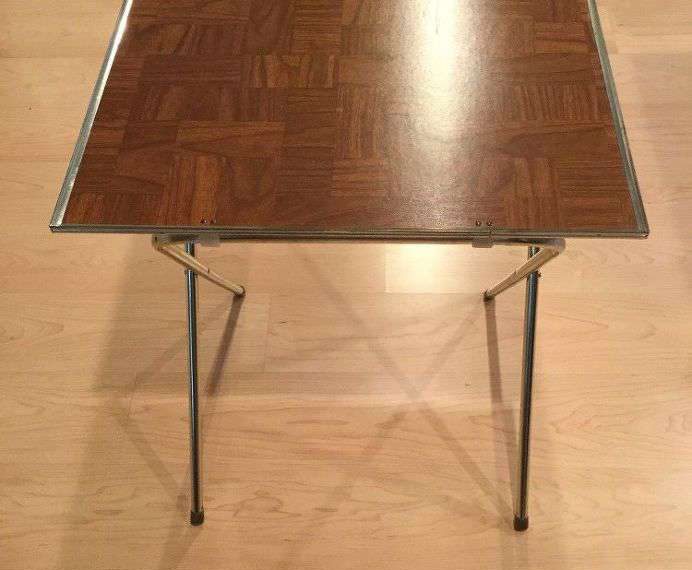
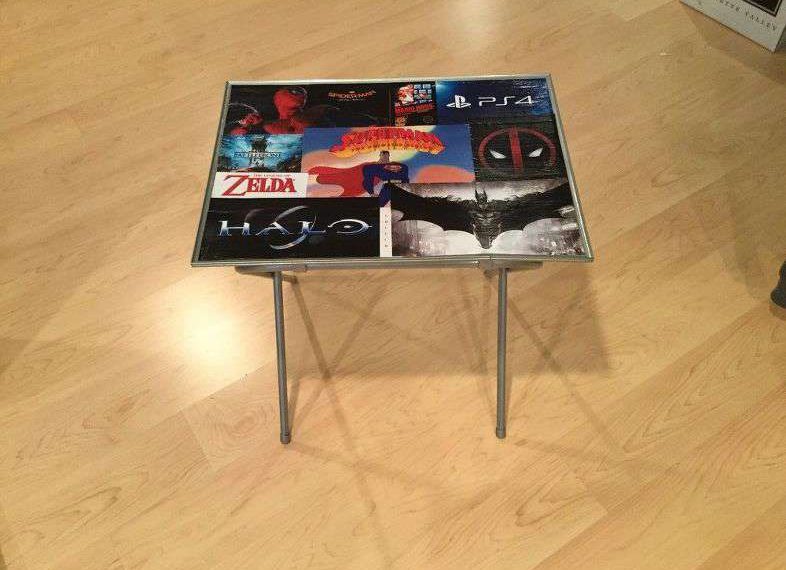
I found a set of TV trays at a garage sale. I customized each one by placing a layer of Mod Podge on the tray, then adding laser printed images of each person’s favorite things.
I coated it with Mod Podge to seal it when I was done. You can find the full tutorial on my post Personalized TV Tray Upcycle
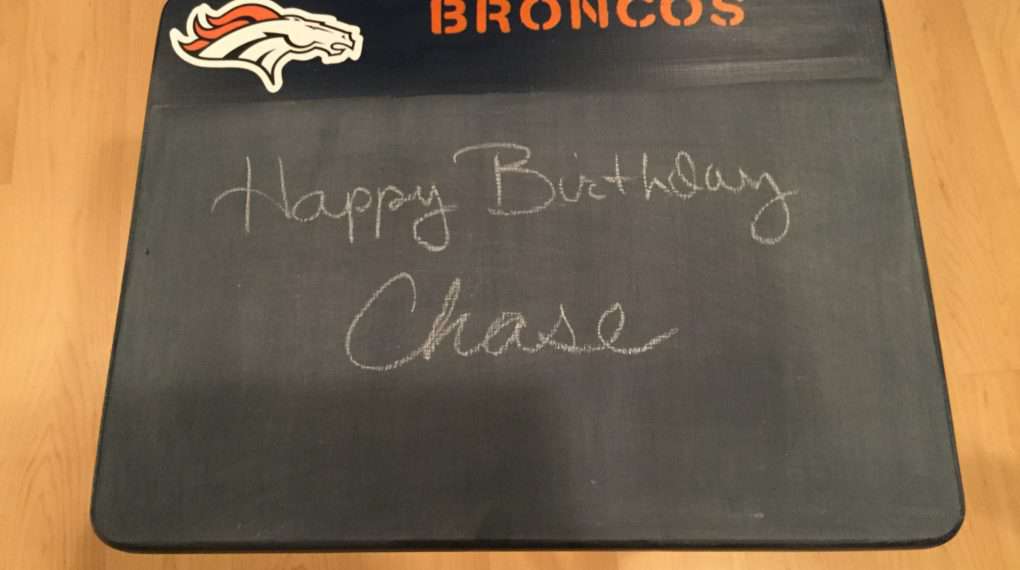
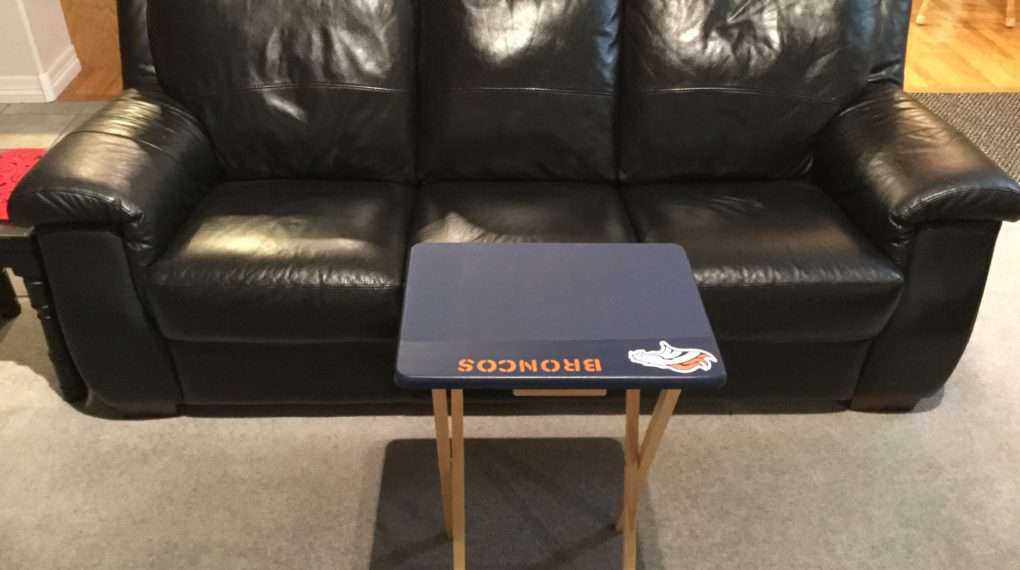
I found these tv trays at a garage sale. I painted it with chalk paint and added a Bronco decal and stenciled the word Broncos with chalk paint on it. I seasoned the chalk so now the tv tray can be used as a chalk board as well. You can find this tutorial in my post Awesome and Easy Old TV Tray Makeover with Video
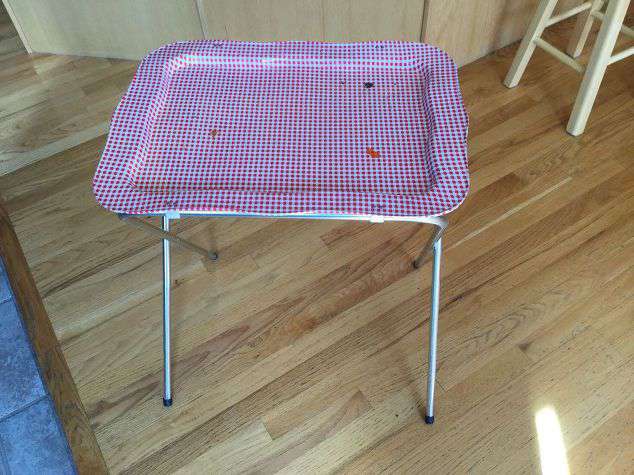
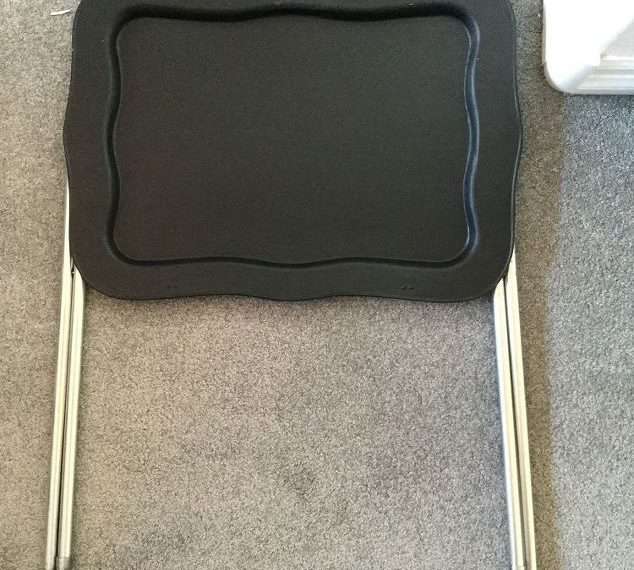
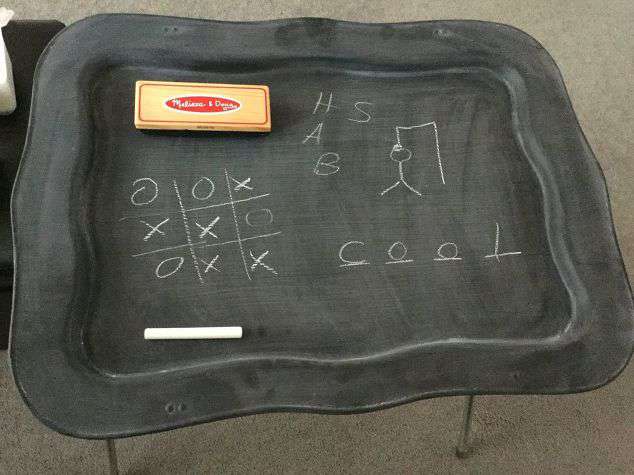
I did the same thing to this tv tray but just using black chalkboard paint. You can find this tutorial at Upcycled TV Trays – I Had No Idea on the Family Fun They’d Become!

Make Your Own Furniture Pieces
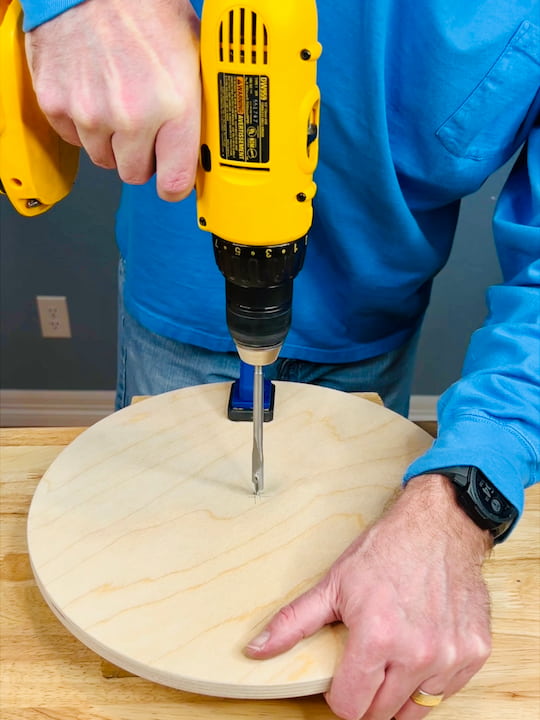
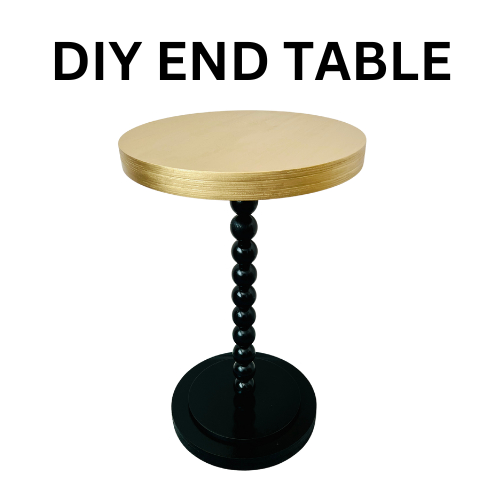
If you don’t want to flip a piece of furniture, you can always make your own. I didn’t have to pay $700. Instead, I was able to build it myself and create a custom design that fits well in our home. You can find the full tutorial at DIY End Table: Create Your Own Stylish Furniture!
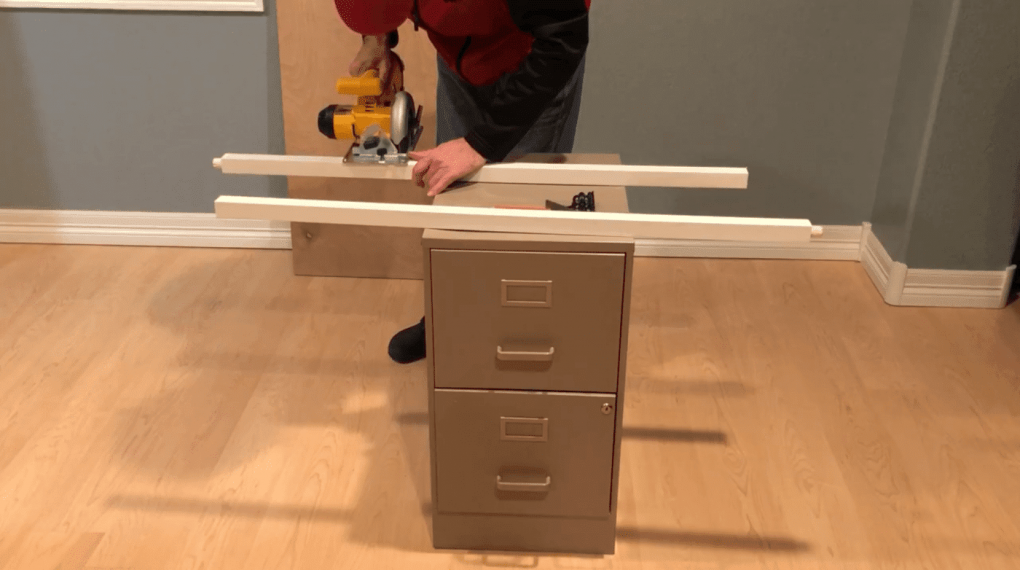

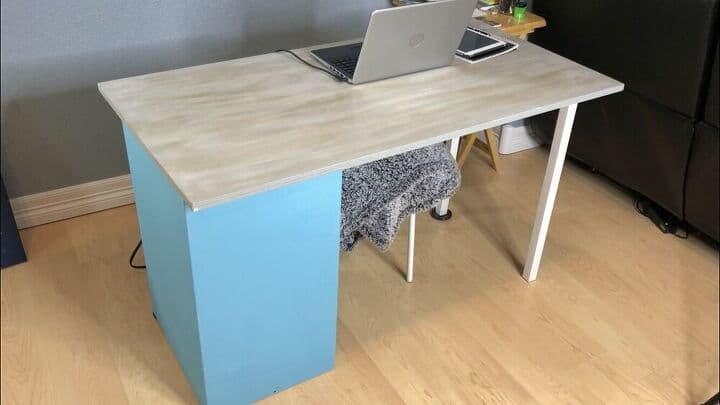
I found a filing cabinet for free on the side of the road. I painted it to make it look better, and then I created a desk out of it by adding 2 legs to a board and the other end went over the filing cabinet. I painted the wood gray, and then dry brushed it with wood tint to give it that aged look. You can find the full tutorial in my post Easy and Useful DIY Filing Cabinet Makeover with Video
Chairs & Benches
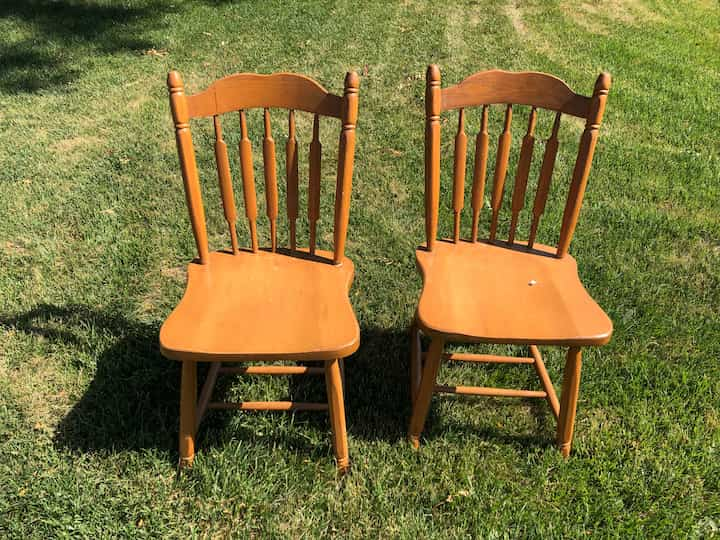
I found these chairs for free at a garage sale. I cleaned them, and then I used my paint sprayer with some Behr paint. You can find the full tutorial on my post: Reclaimed Wood Dining Table and Chairs Awesome and Easy DIY
Bench Makeover
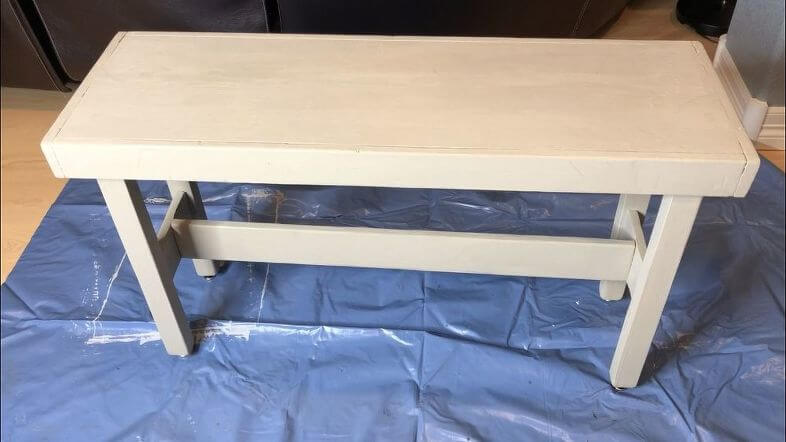
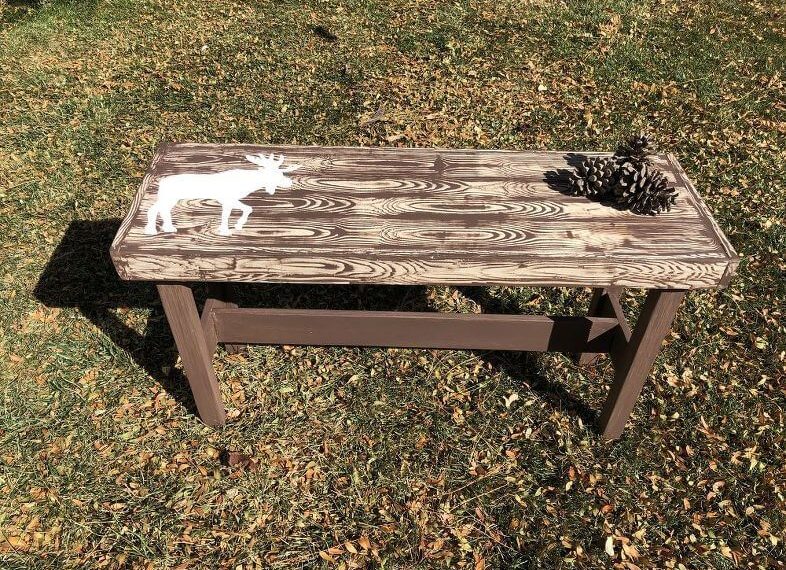
I found this bench at a thrift store. I painted it with acrylic paint, then I watered down some lighter acrylic paint and used a wood grain tool to create the wood plank look. I stenciled a moose on the top of the bench and we use it in our entry way. You can find the full tutorial in my post Easy and Awesome How To Paint A Bench with Video

Posture Chair – Upholstery Makeover
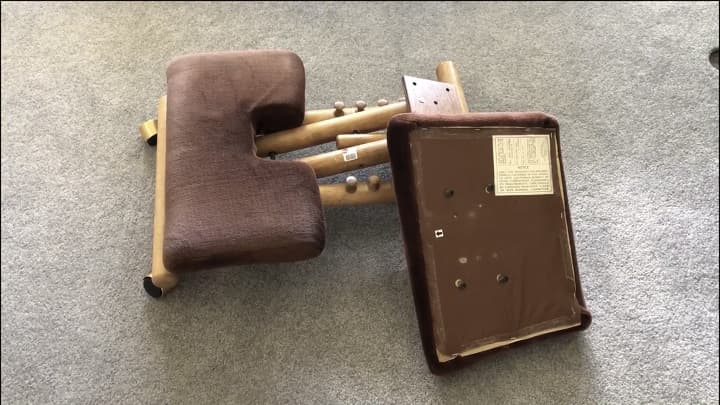
I found this posture chair at a thrift store. I repaired the damage and stripped off the old fabric, and added a new cushion and new fabric to it. You can find the full tutorial on how I upholstered this piece in my post Posture Correcting Chair Makeover
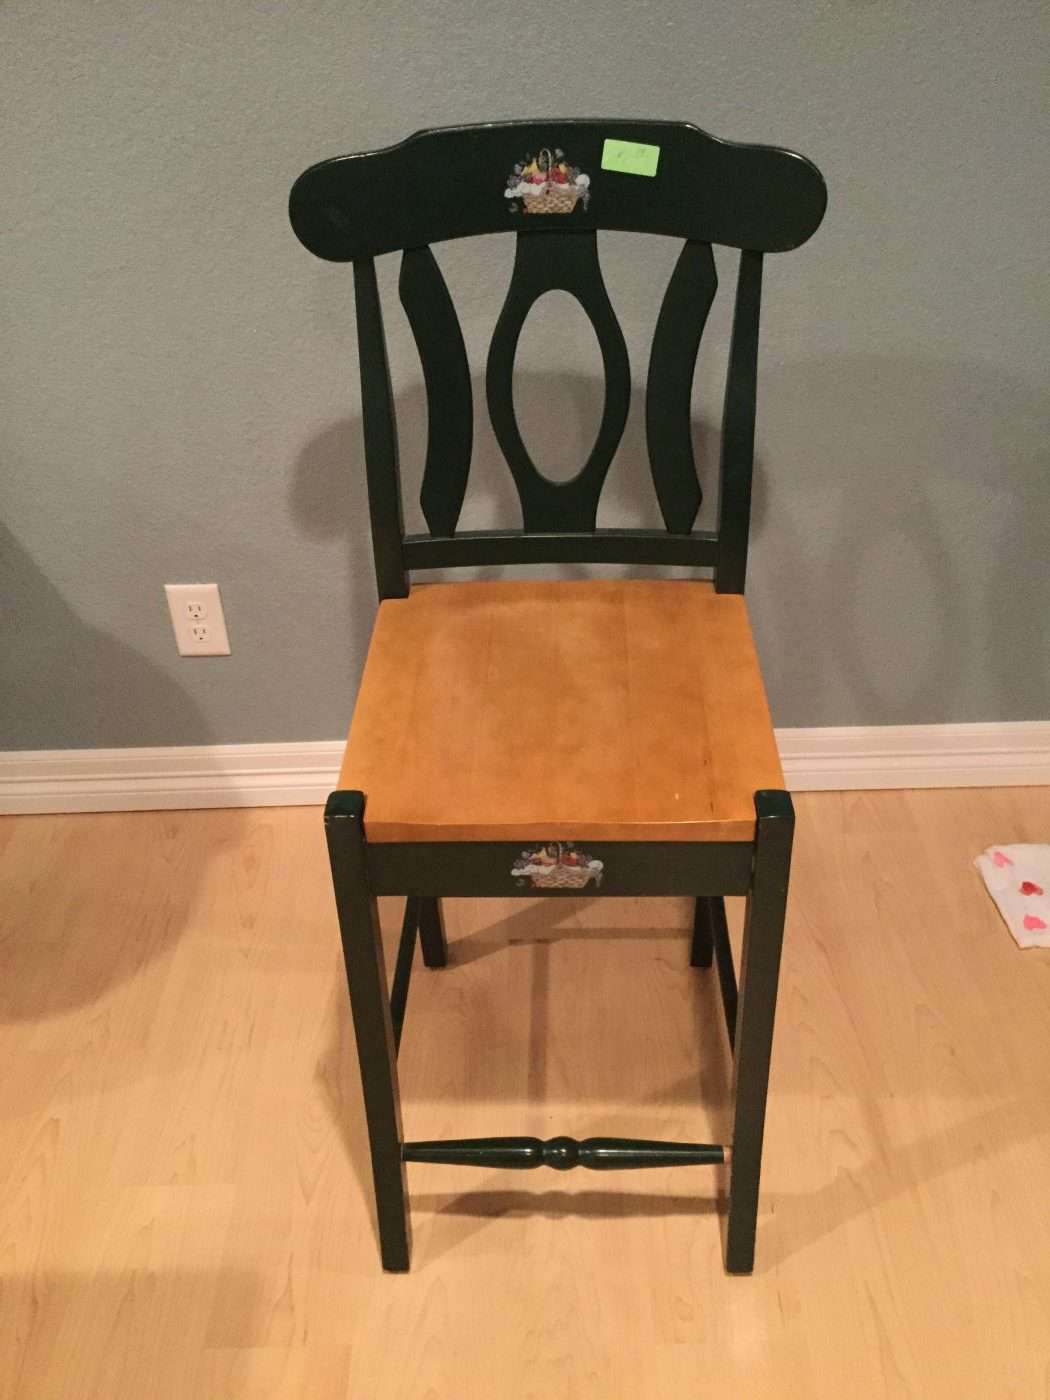

I repaired this old chair with some wood glue, and then sanded it and cleaned it. I painted this chair with chalk paint and metallic chalk paint. You can find the full tutorial in my post Up-cycling a Thrift Store Chair
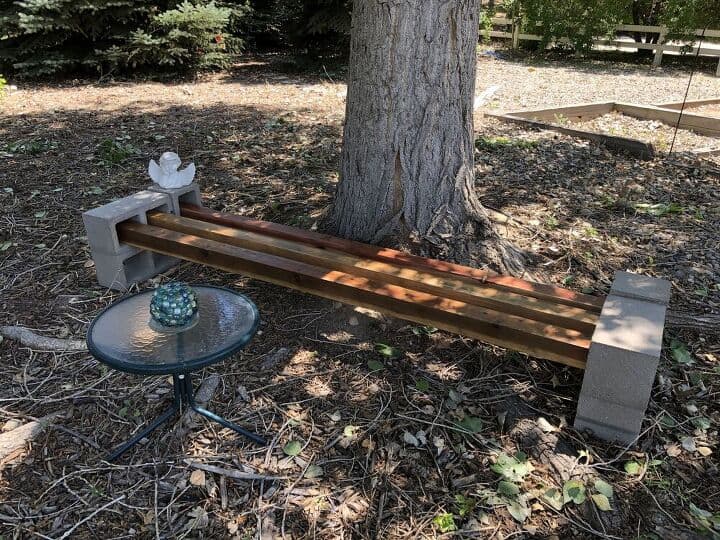
Cinderblock Bench
I made my own bench from some cinderblocks and wood. You can find the full tutorial at How To Make A DIY Cinderblock Bench
Dressers & Cabinets
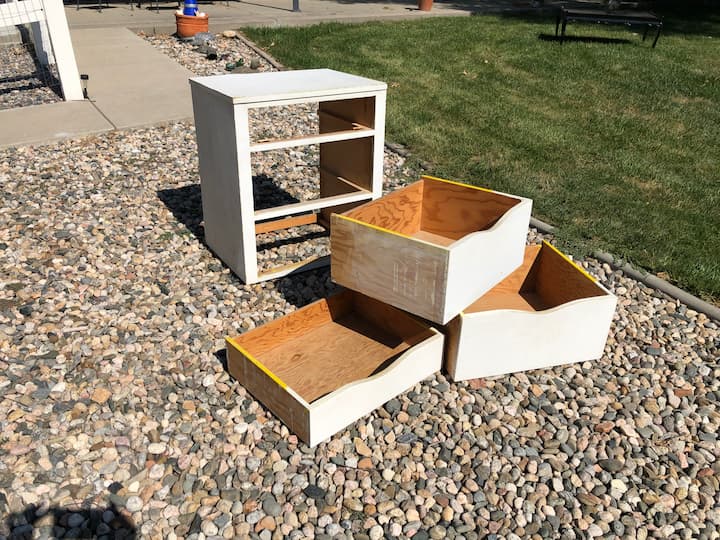
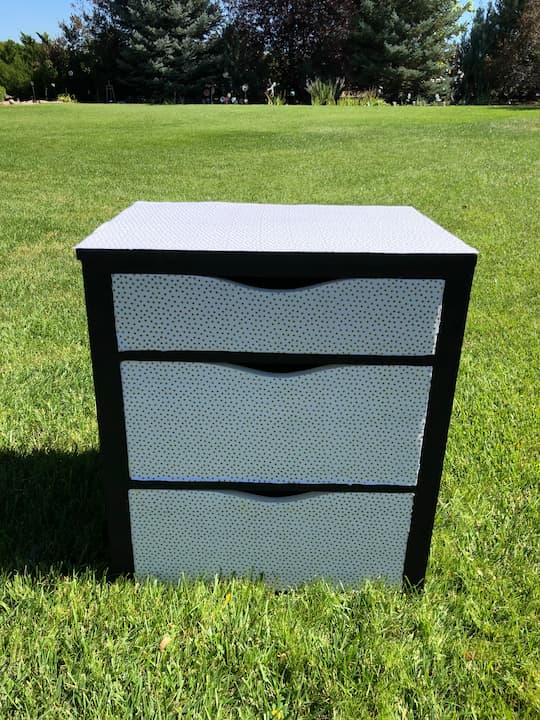
Dresser Makeover for Dresser Drawers or Chest of Drawers
I found this chest of drawers for free on the side of the road. I sanded and cleaned it. I painted it with chalk paint and used white paint on the drawer front and top of the chest of drawers, and the rest I painted with black paint. I gave the drawer fronts and top of the chest of drawers a coat of Mod Podge and I applied fabric.
Now I used fabric, but you can use paper (scrapbook paper, wrapping paper, book pages, wall paper, etc).
You can find the full tutorial on my post Super Easy Chest of Drawers Makeover with Video
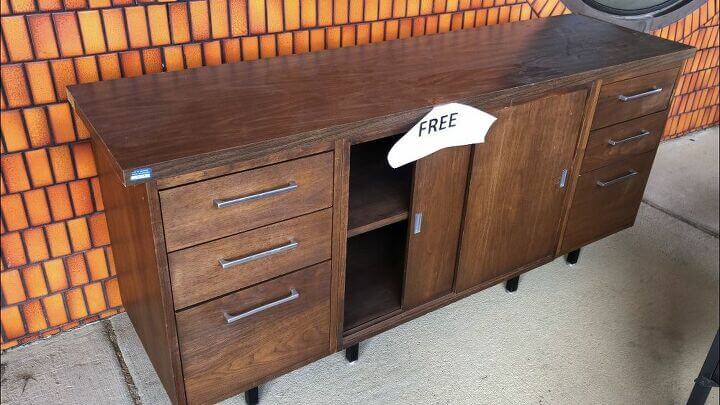
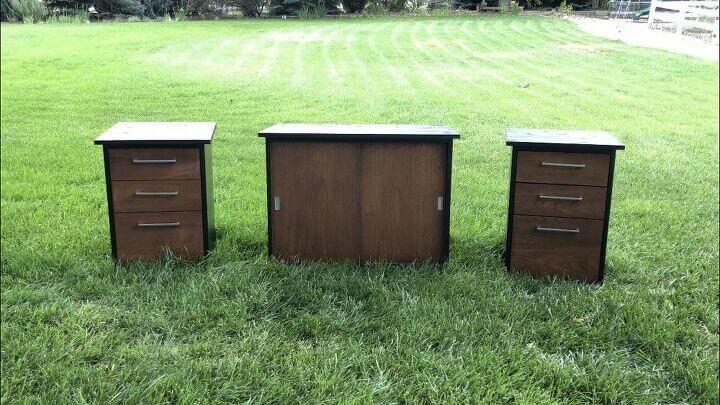
Credenza and Sideboard Flip
Check out this old furniture piece! I found this credenza or sideboard for free on the side of the road. I brought it home and pulled it apart. I removed the feet and counter top. I added a new board to the top of each piece. I painted the sides and tops with black acrylic paint. I was able to create 2 end tables and a storage piece for my bedroom. You can find the full tutorial at Easy DIY Painted Sideboard
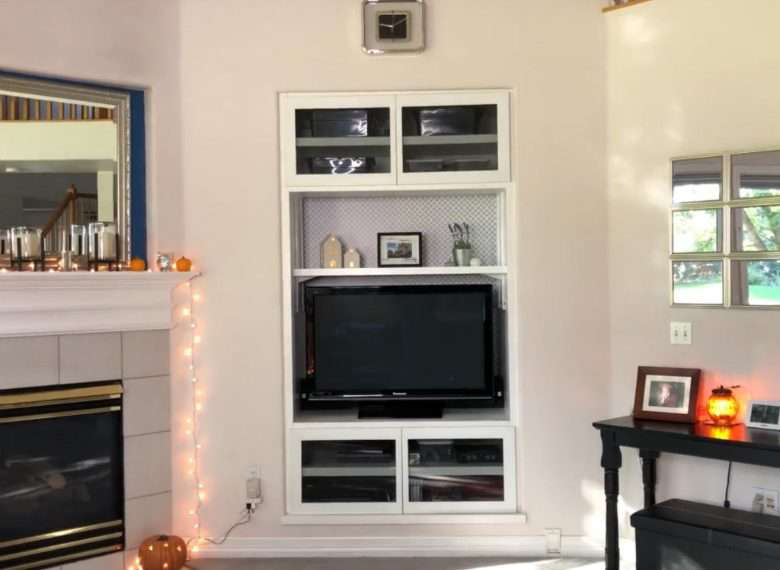
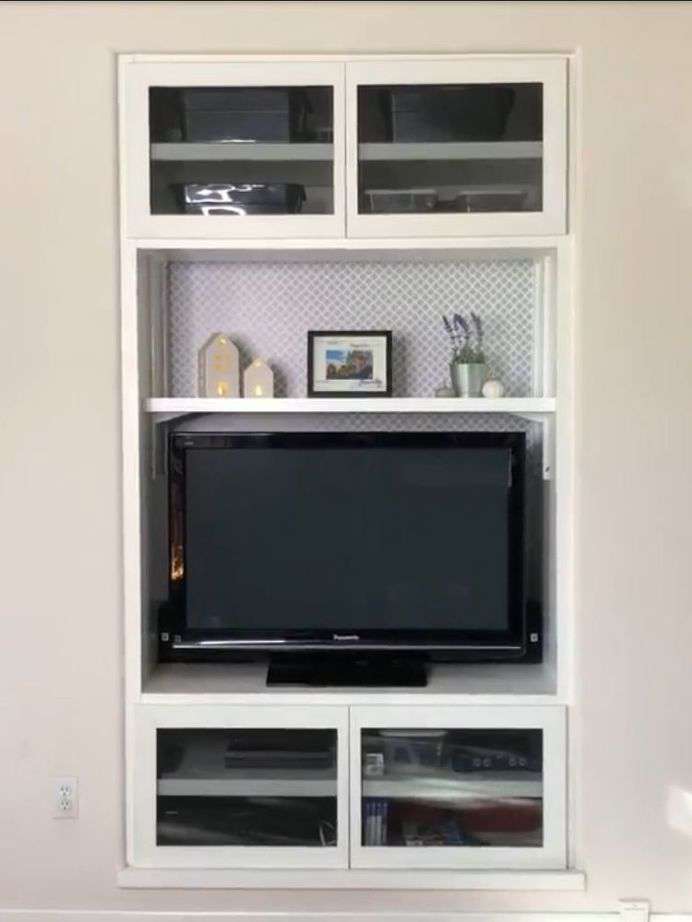
Entertainment Center
Our entertainment center is built in. It is out of date with the size of the tv space. we added a shelf and contact paper to give it a new look. You can find the full tutorial at Entertainment Center Makeover: Easy and Quick with Video
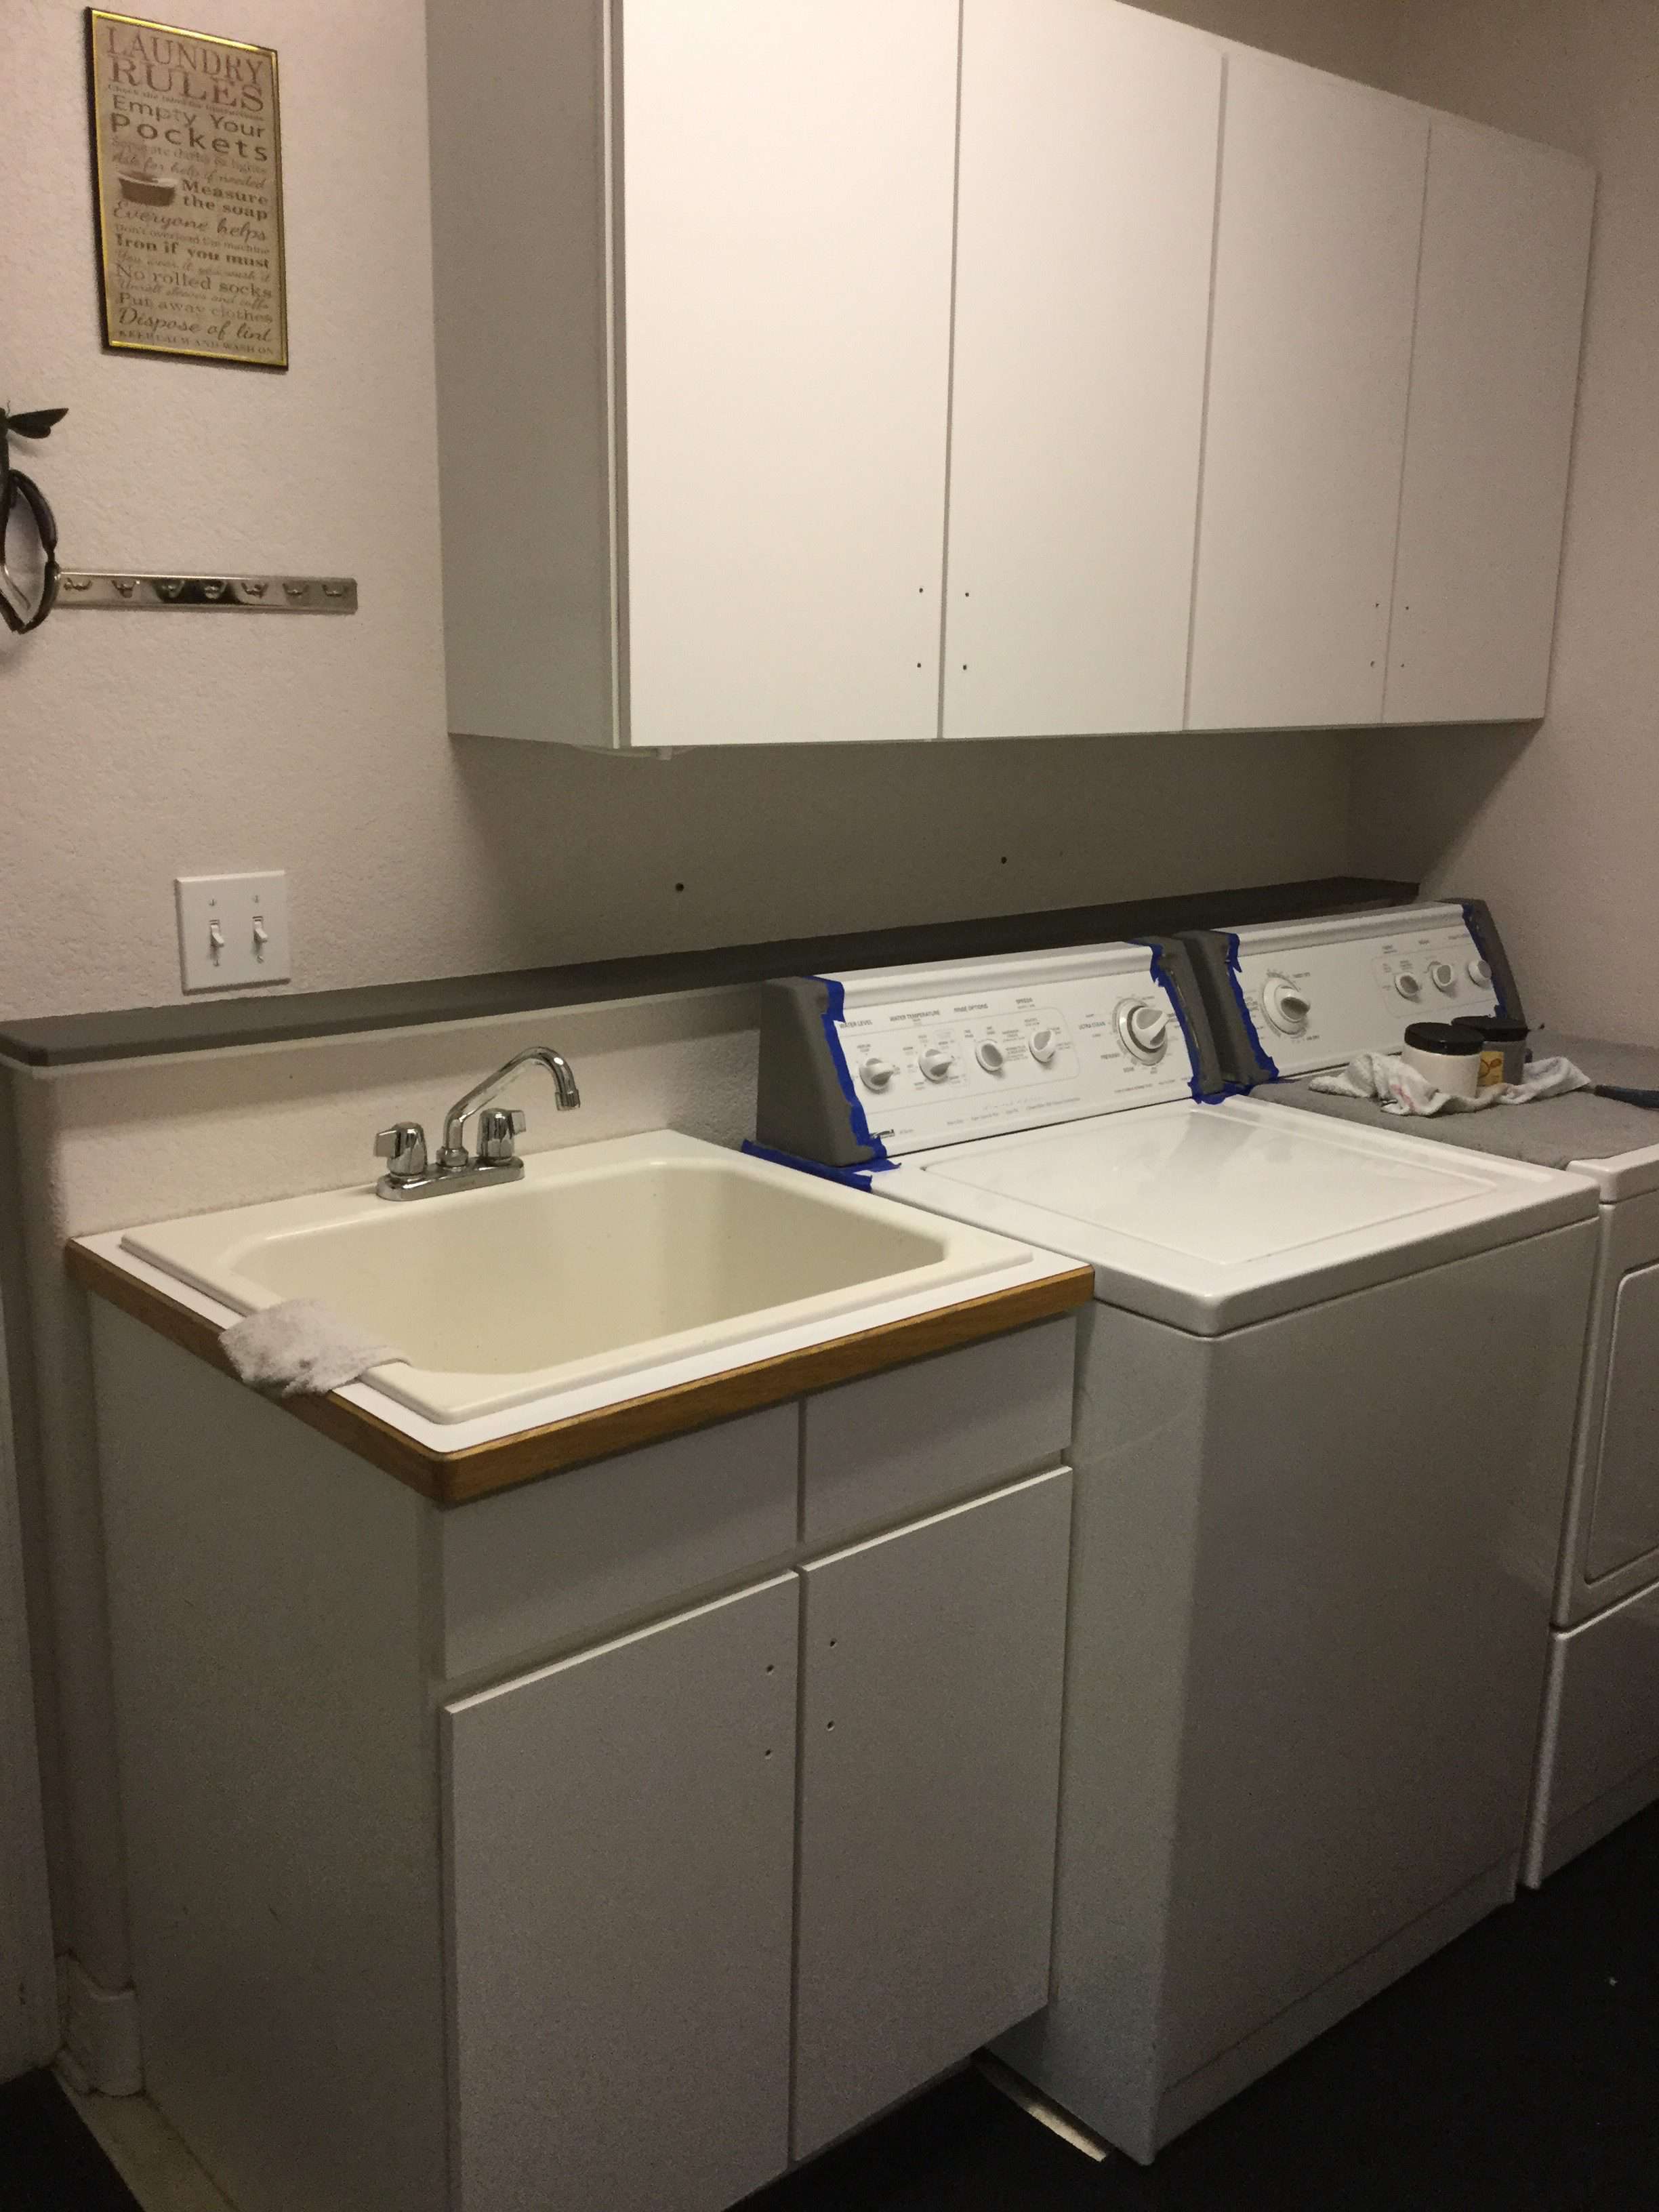
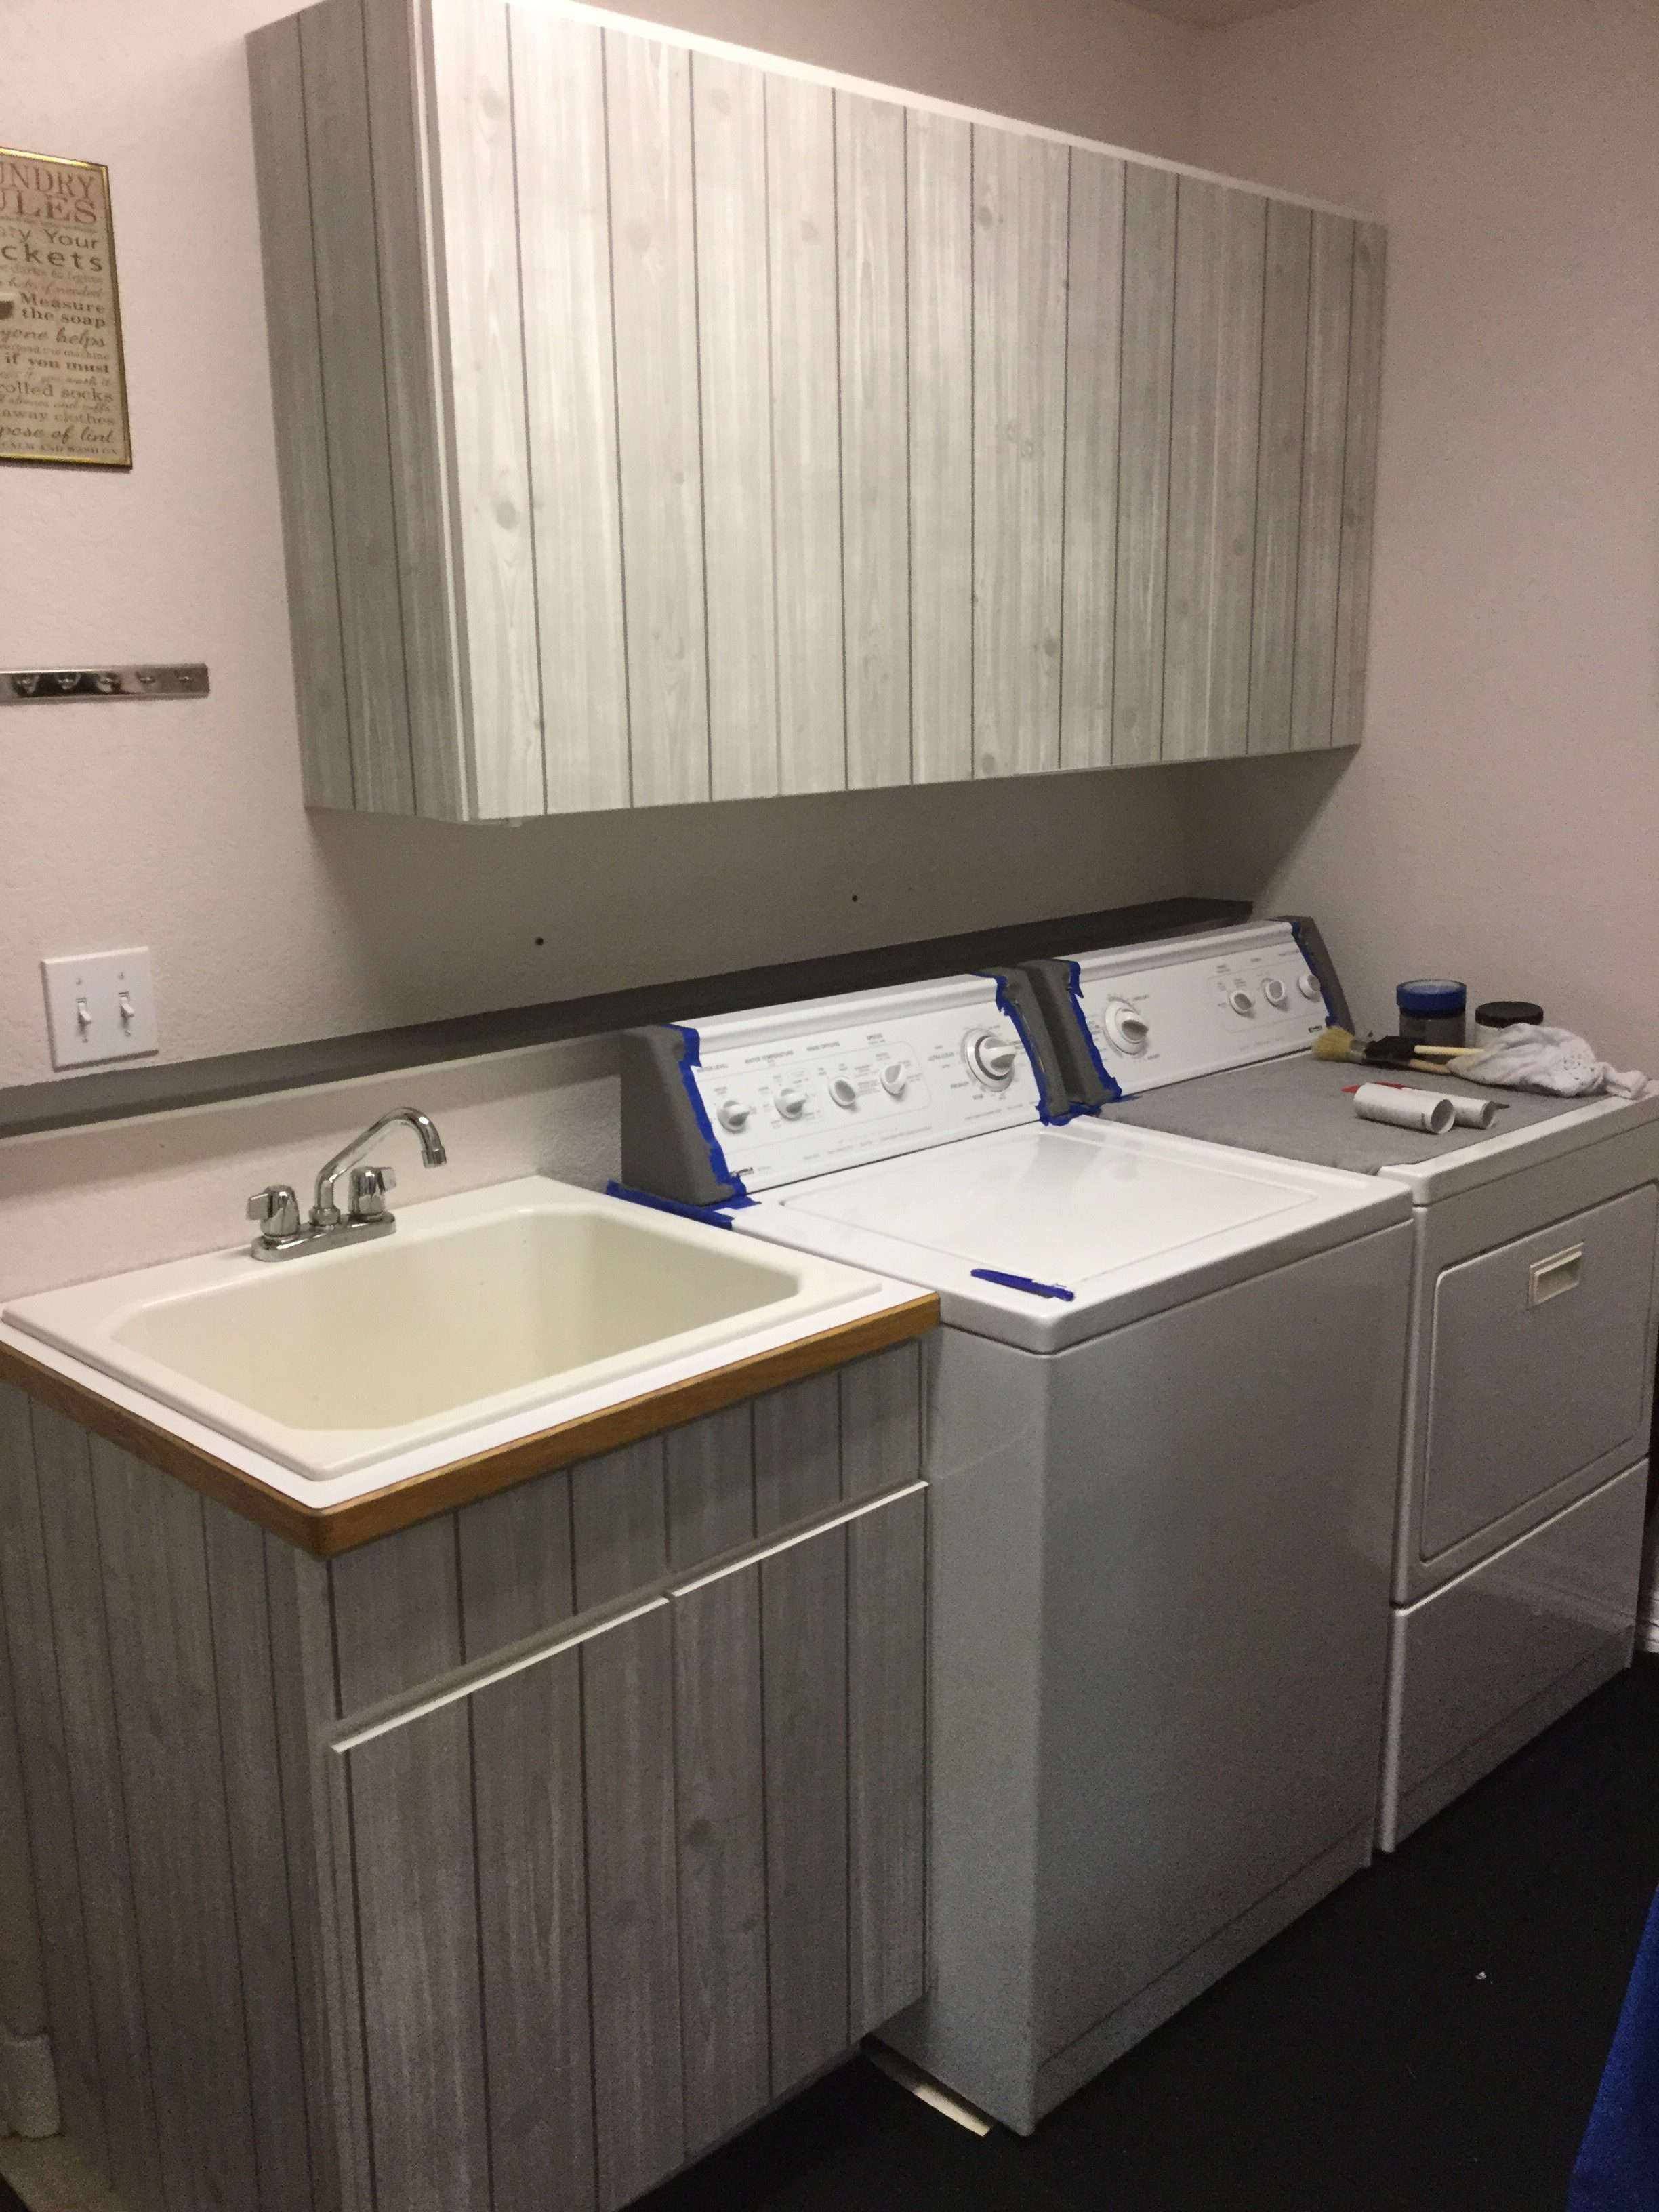
Cabinet Makeover Using Adhesive Wallpaper
I gave my laundry room cabinets a makeover by using adhesive wallpaper that you can purchase online. You can see my full tutorial on my post Easy Inexpensive Laundry Room Makeover on a Budget
Shelving & Storage
Bookshelf or Shelf Furniture
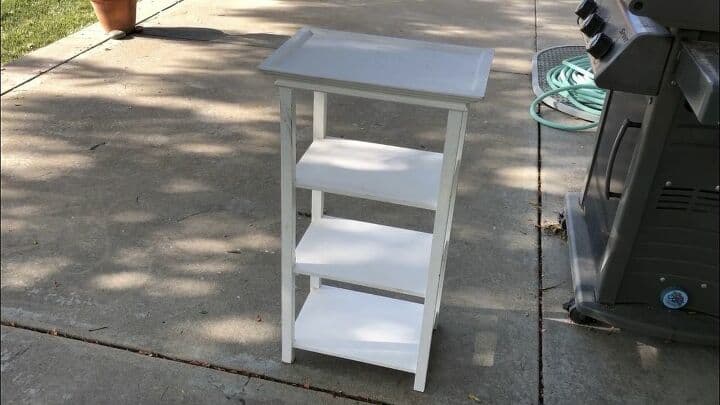
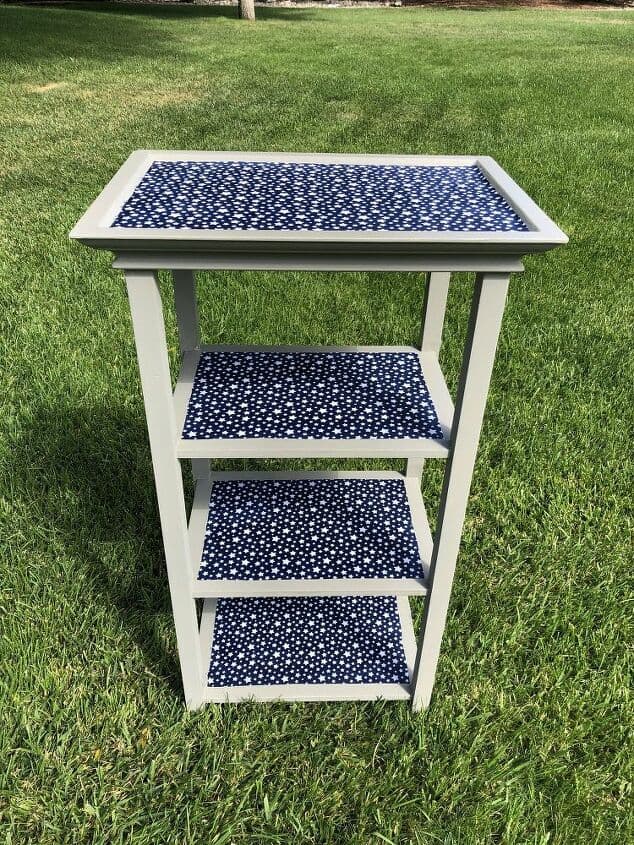
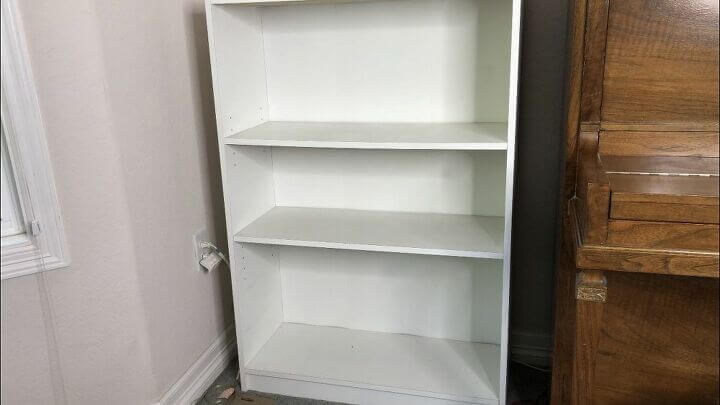
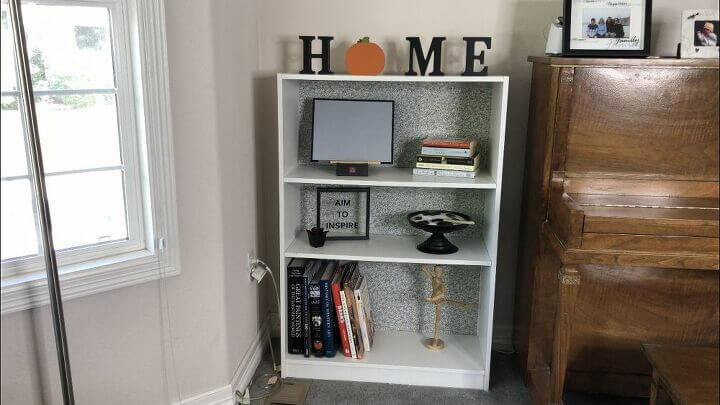
I found this bookshelf at a garage sale. I lightly standed and cleaned the piece. I painted it with gray chalk paint.
I Mod Podged the top of each shelf and added blue fabric to the top, then gave it a top coat of Mod Podge to protect it. You can find the full tutorial at How To Paint A Bookshelf DIY
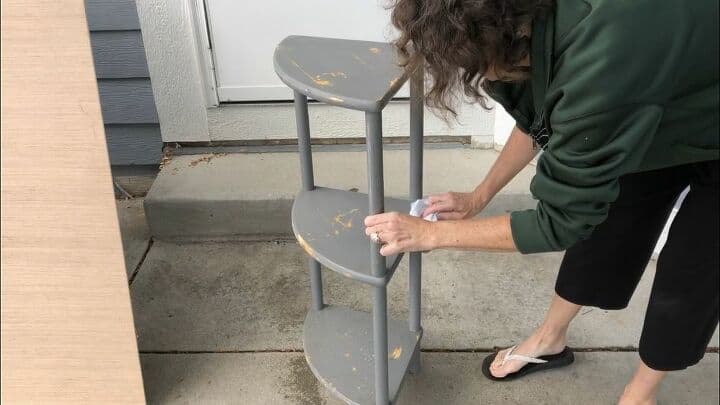
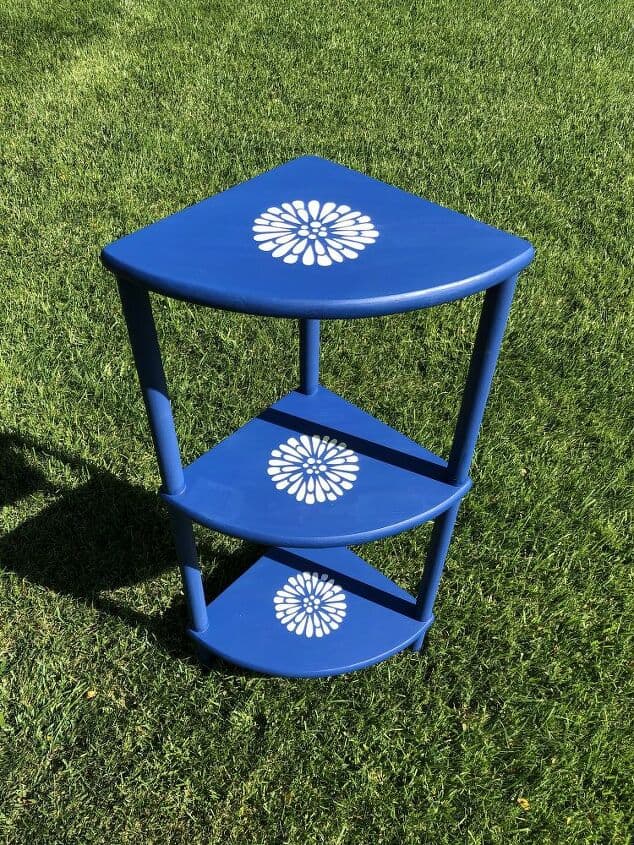
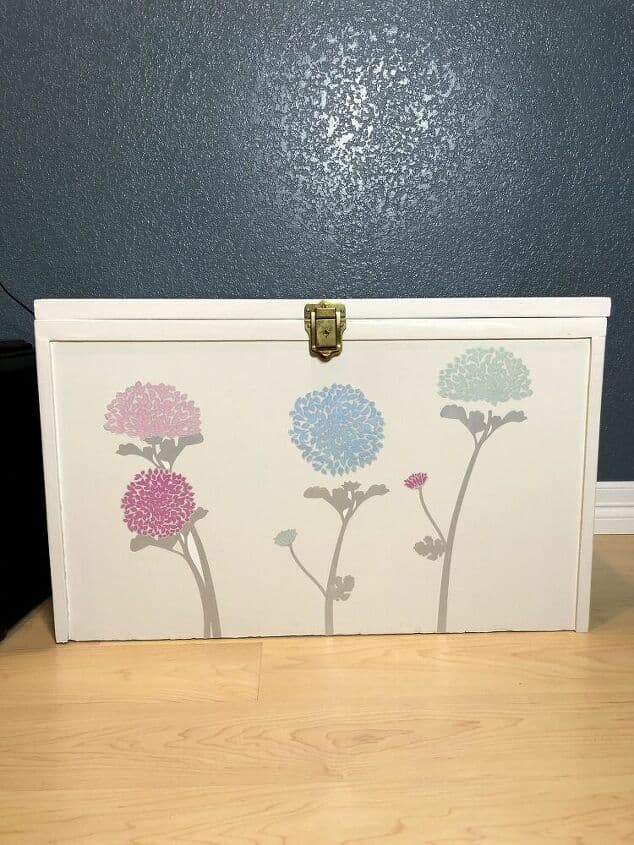
I found this shelf unit at a garage sale. I started by sanding and cleaning the piece. Then I painted it with blue chalk paint.
I used a stencil to paint on flowers and used yellow and white chalk paint. I gave the whole piece a coat of varnish to protect it. You can find the full tutorial on my post Awesome and Easy Furniture Makeover with Video
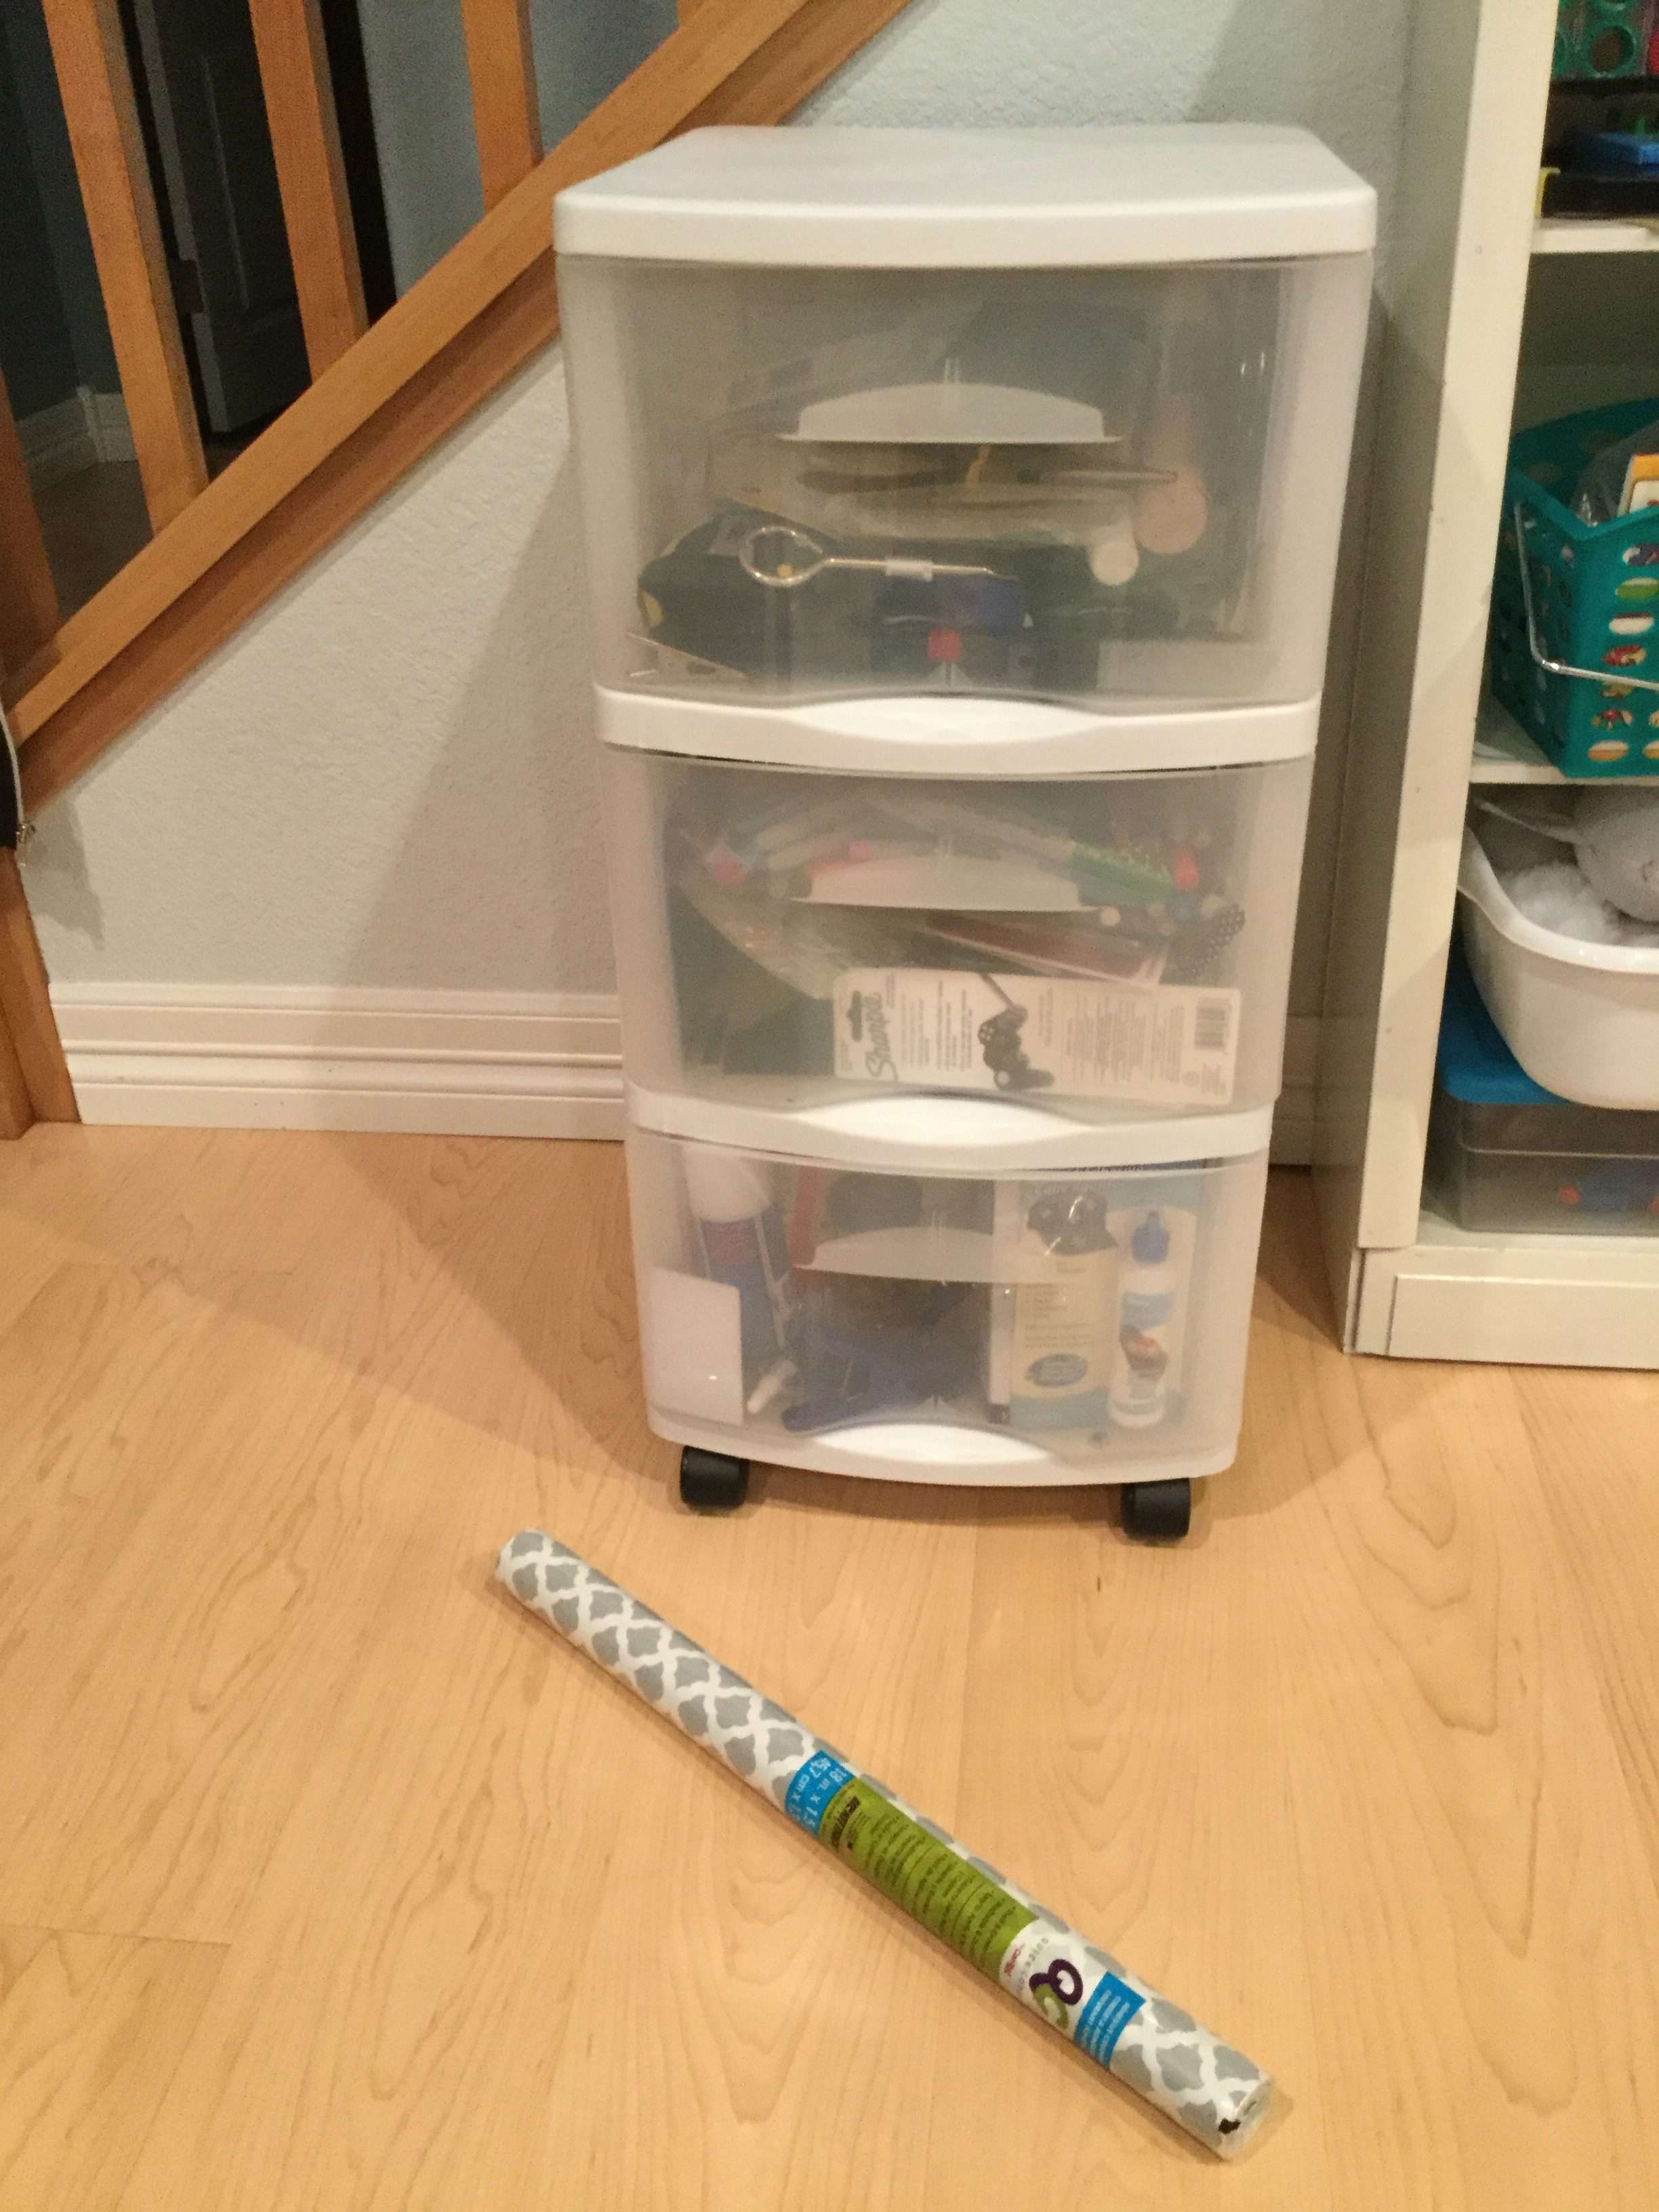
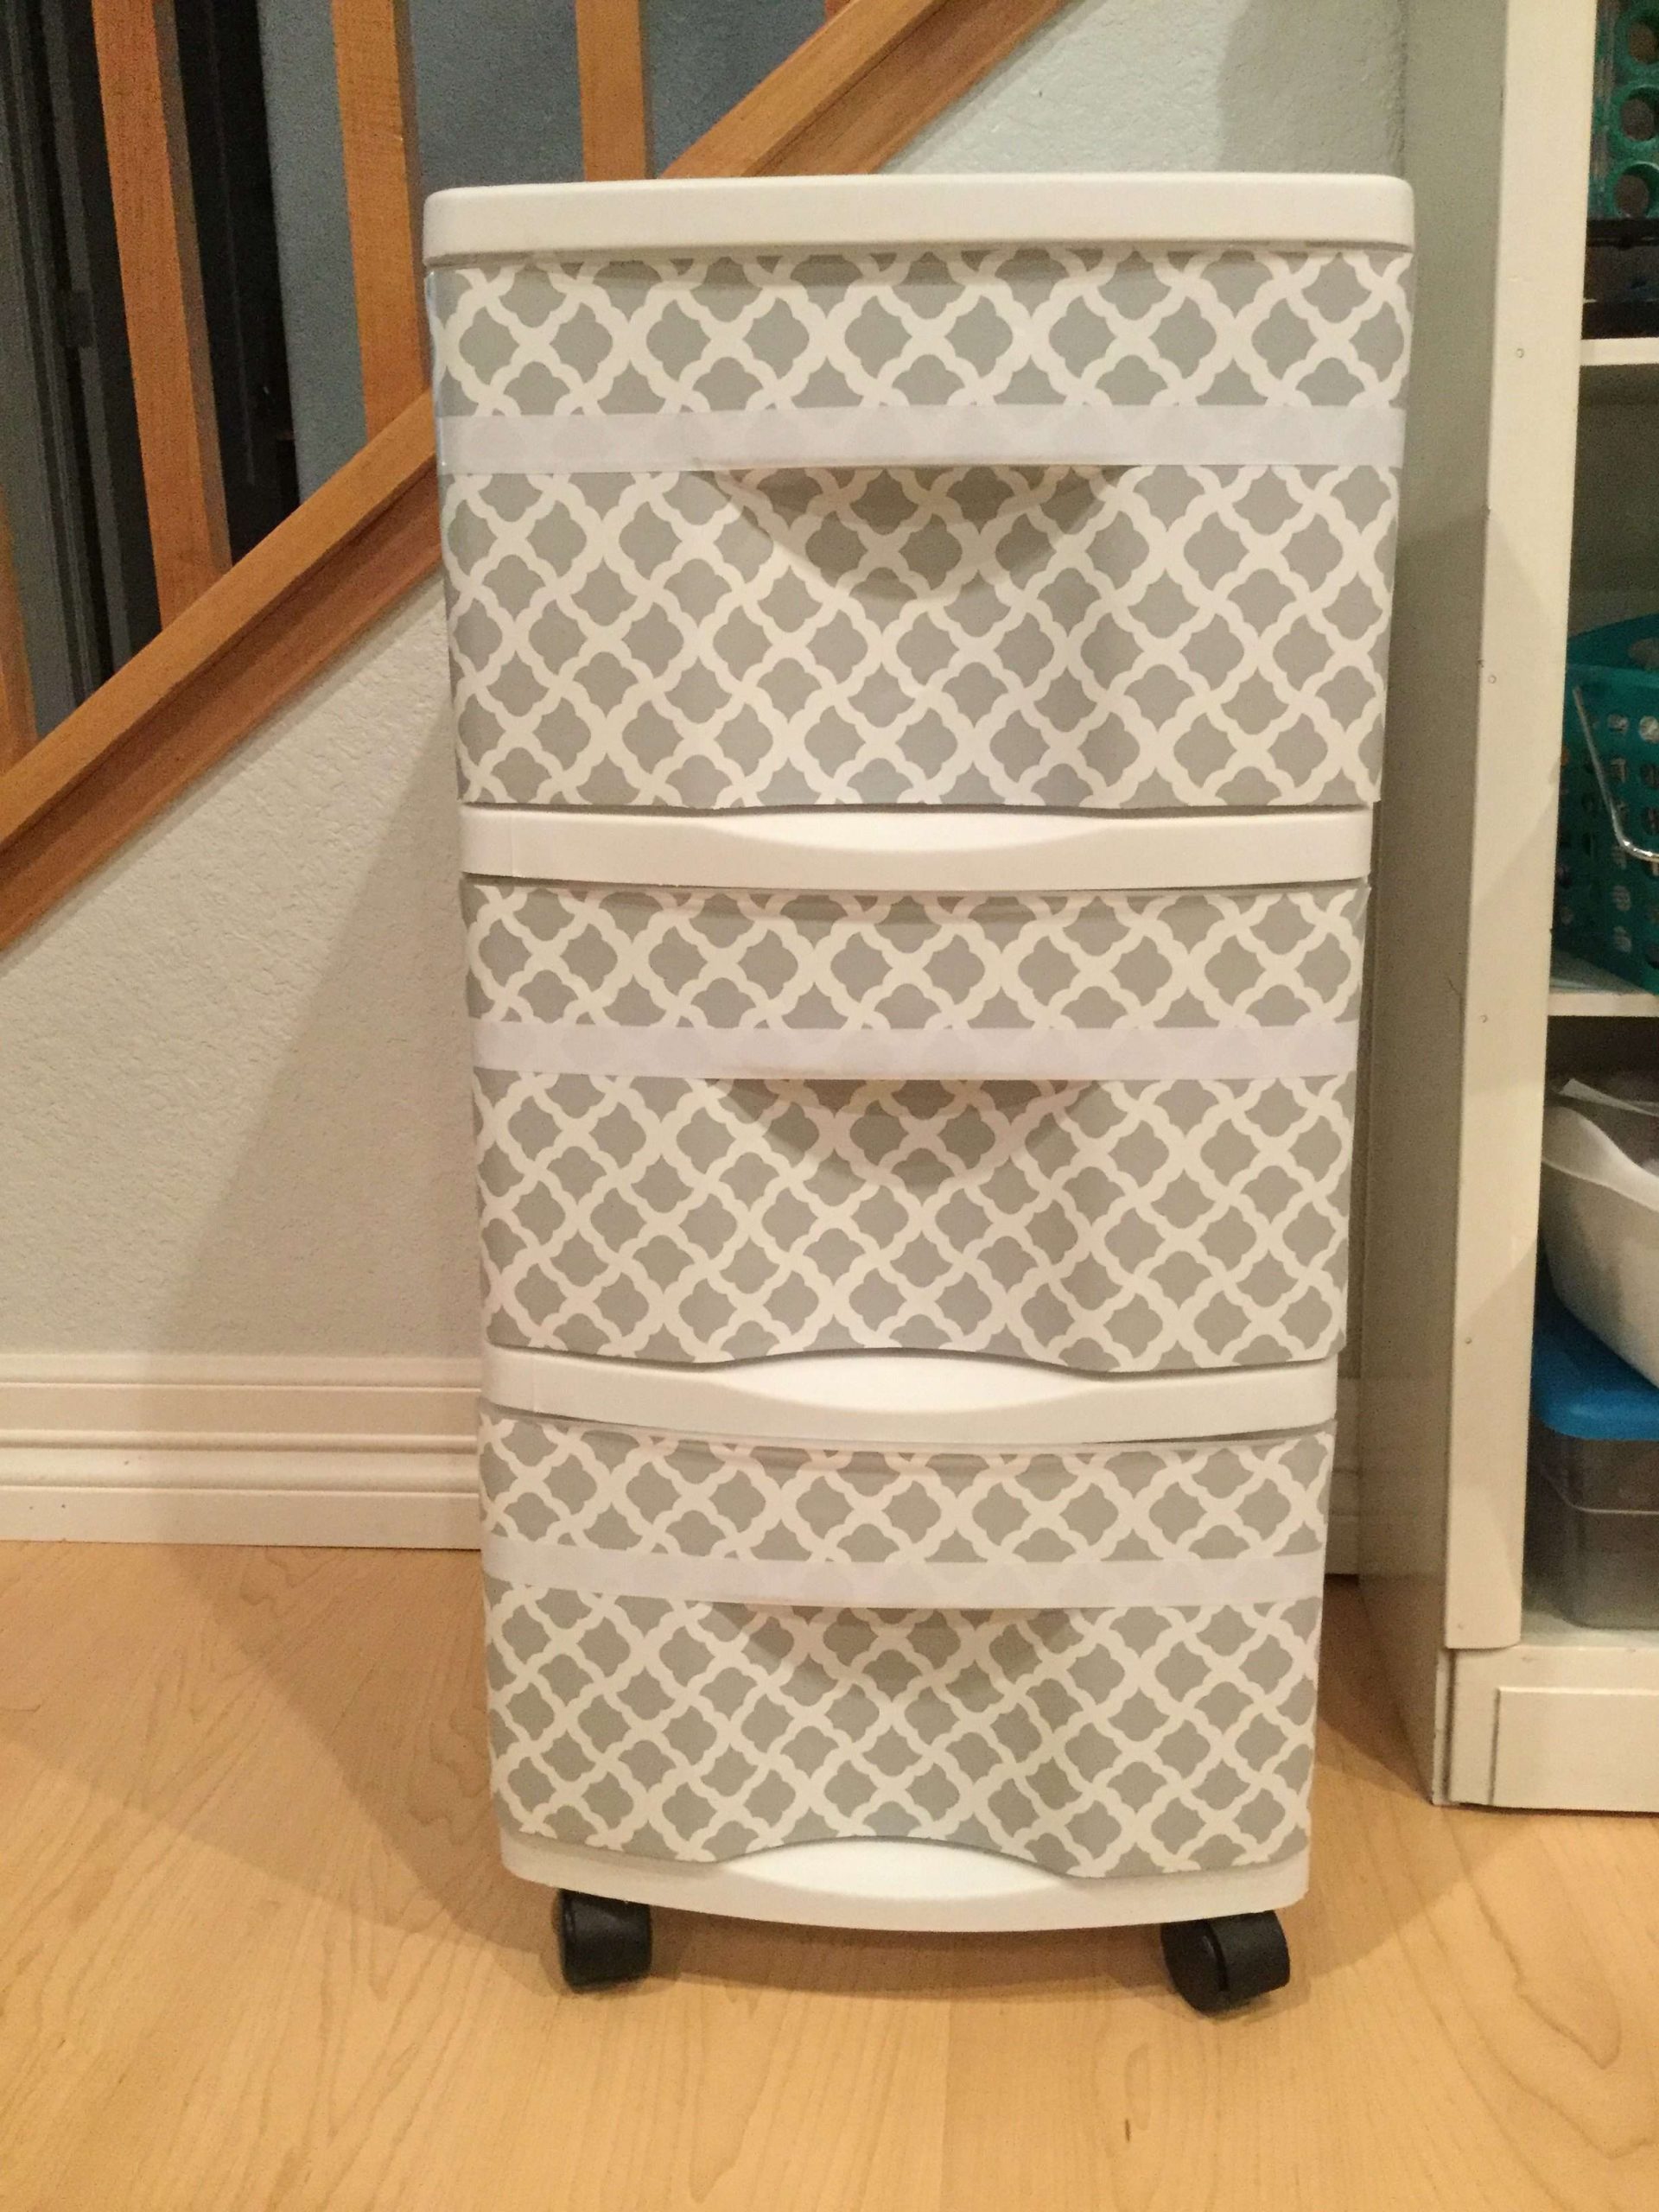
Update Plastic Storage Containers with Contact Paper
I took a clear drawer plastic rolling cart and covered it with contact paper to cover the drawers. This hid the things inside from view, and gave it a classier look on a budget. You can find the full tutorial at How To Upcycle Storage Containers Easily and on a Budget
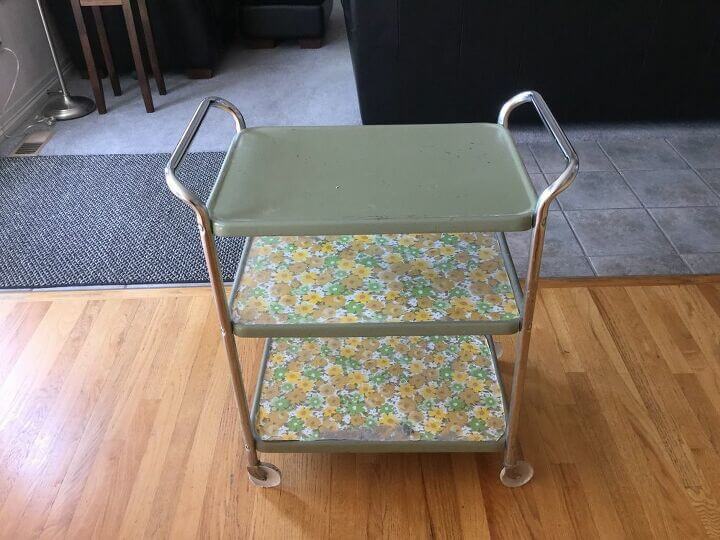
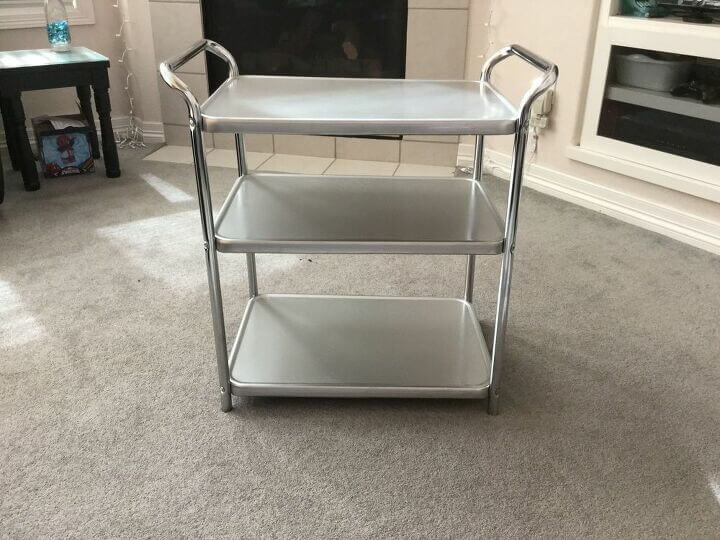
Furniture Flip with Spray Paint
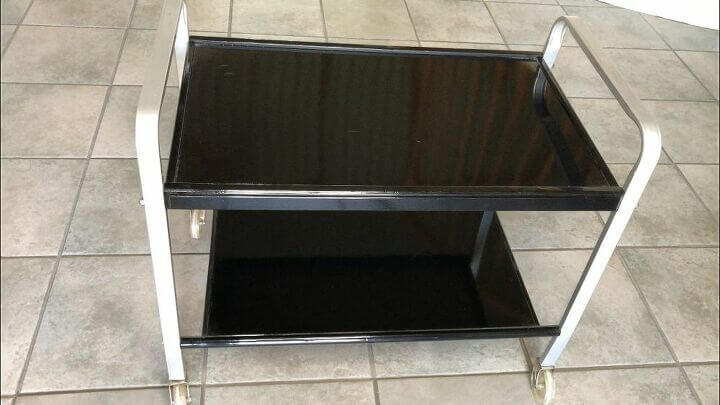
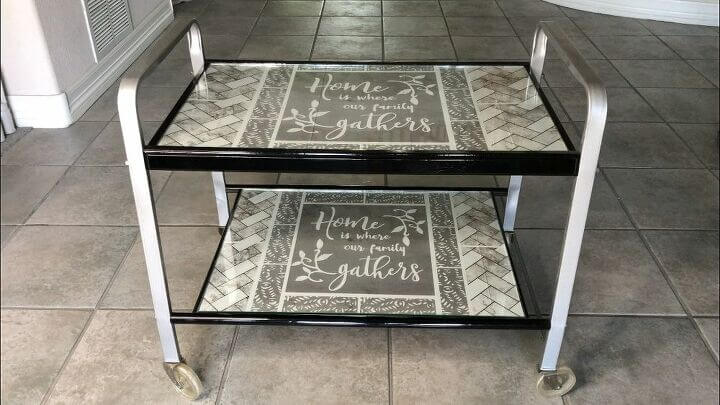
I found this serving cart at a thrift store. I removed the contact paper and cleaned it up. I spray painted it with Rustoleum metallic gray spray paint. You can find the full tutorial in my post Upcycled 3 Tiered Serving Cart
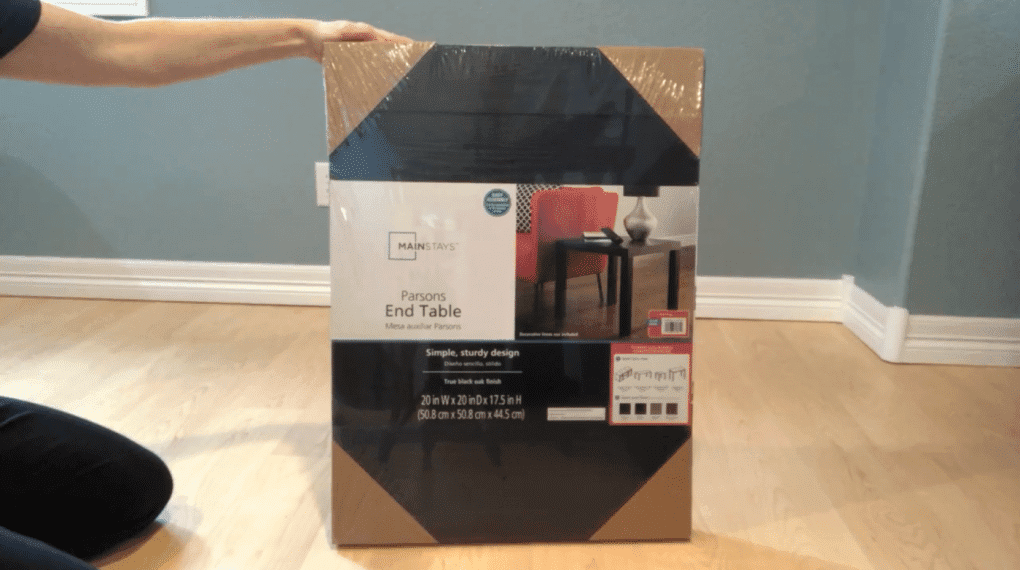
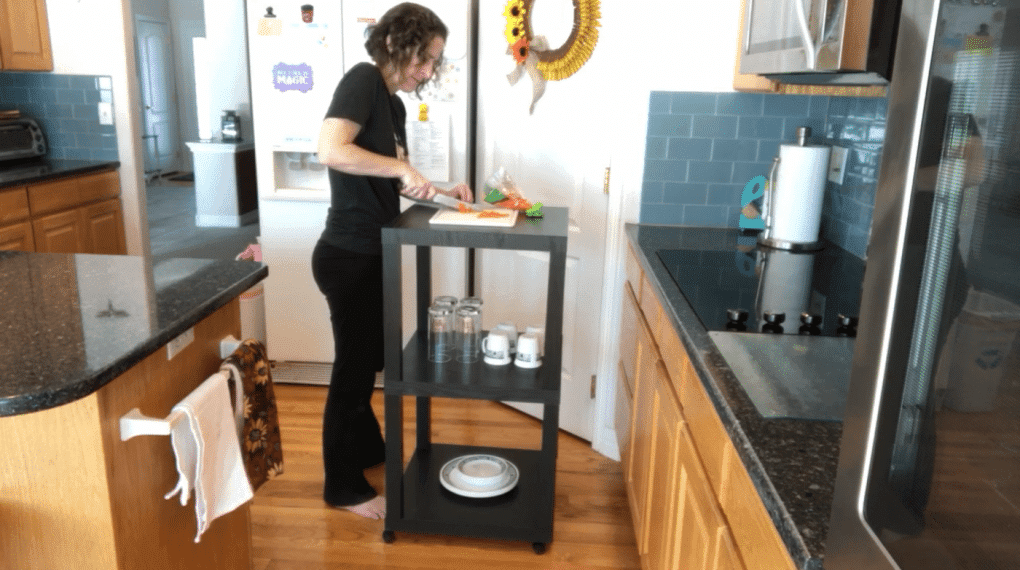
Make Your Own Rolling Cart Storage, Kitchen Island, Or Storage Shelf
I bought a few of these Walmart end tables. I glued them together to create versitle storage for anywhere in your home. You can find the full tutorial at DIY Storage Self and Kitchen Island
More Furniture Makeover Ideas

Stool Makeover
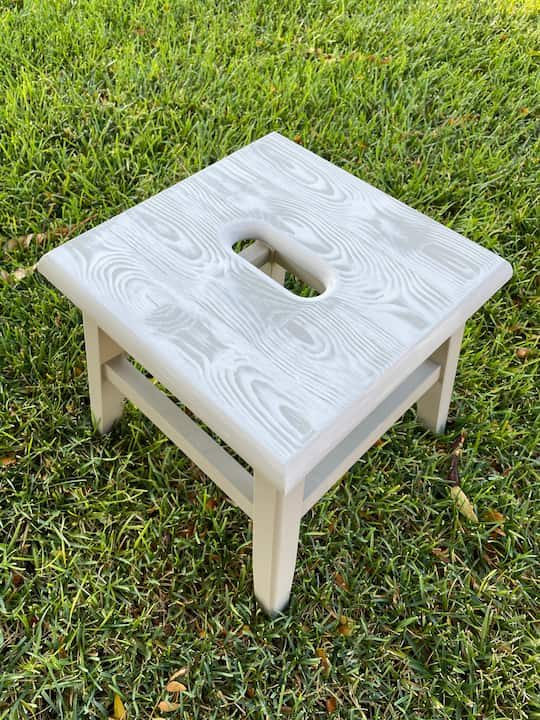
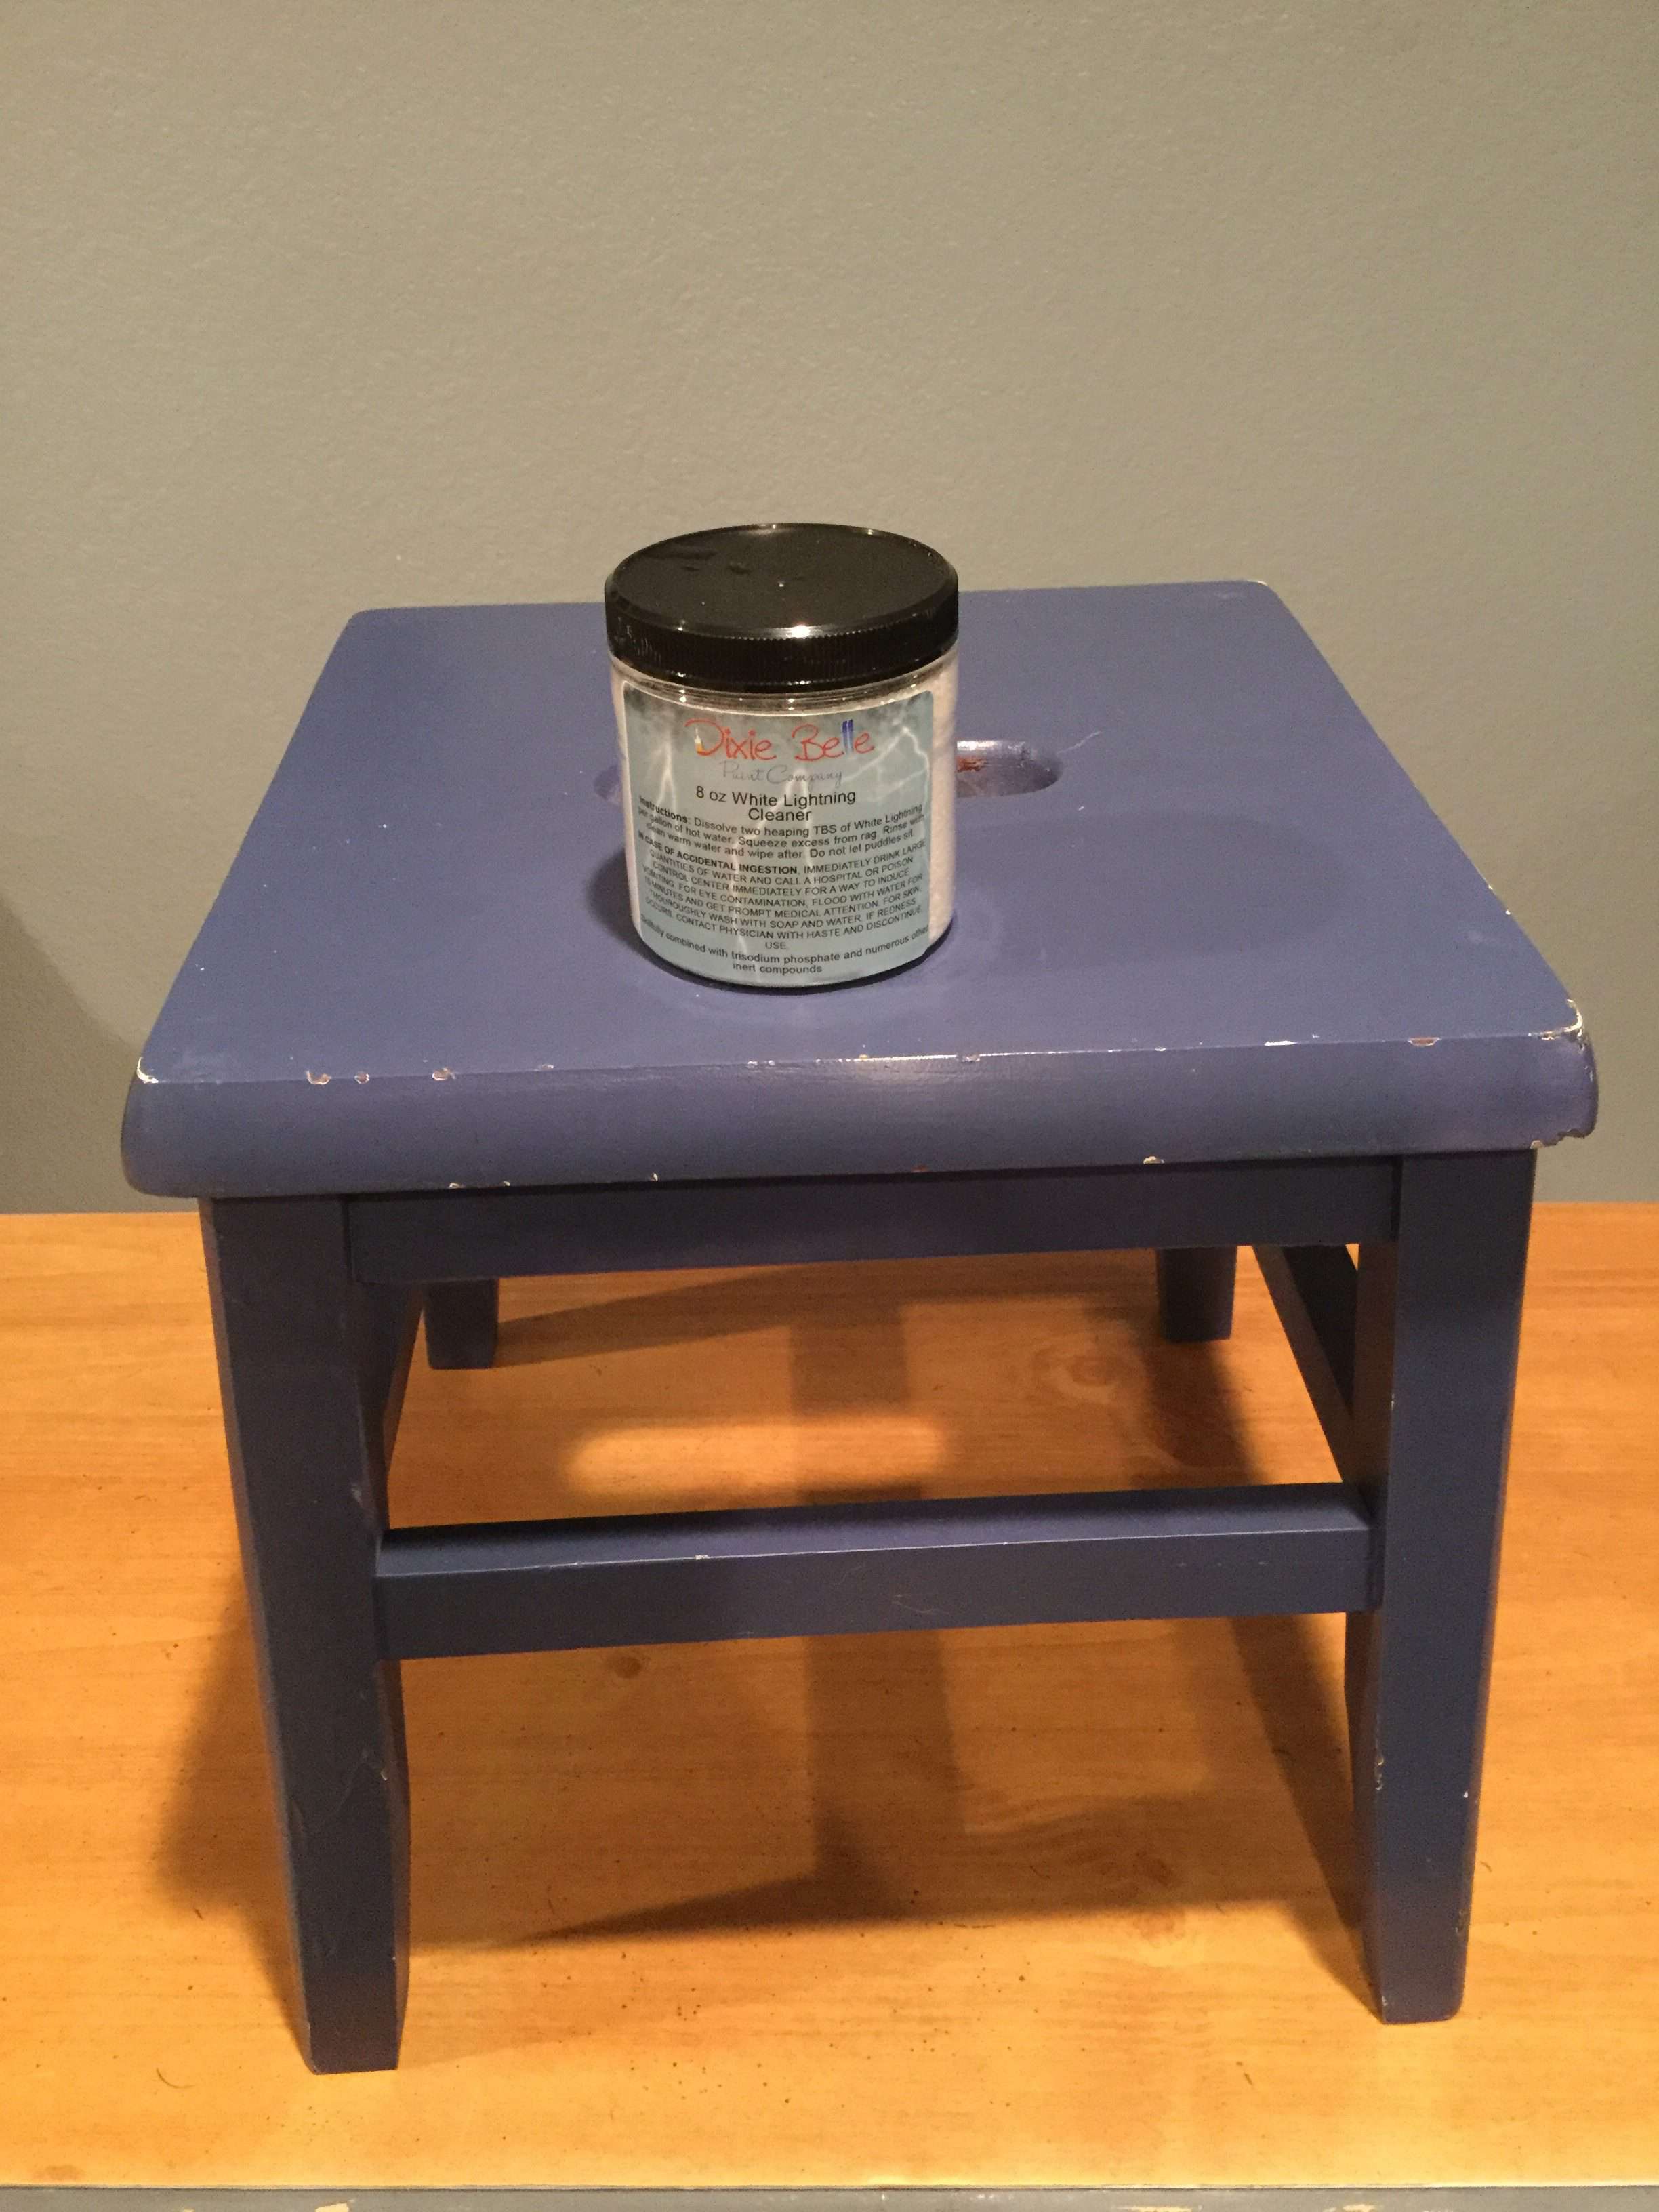
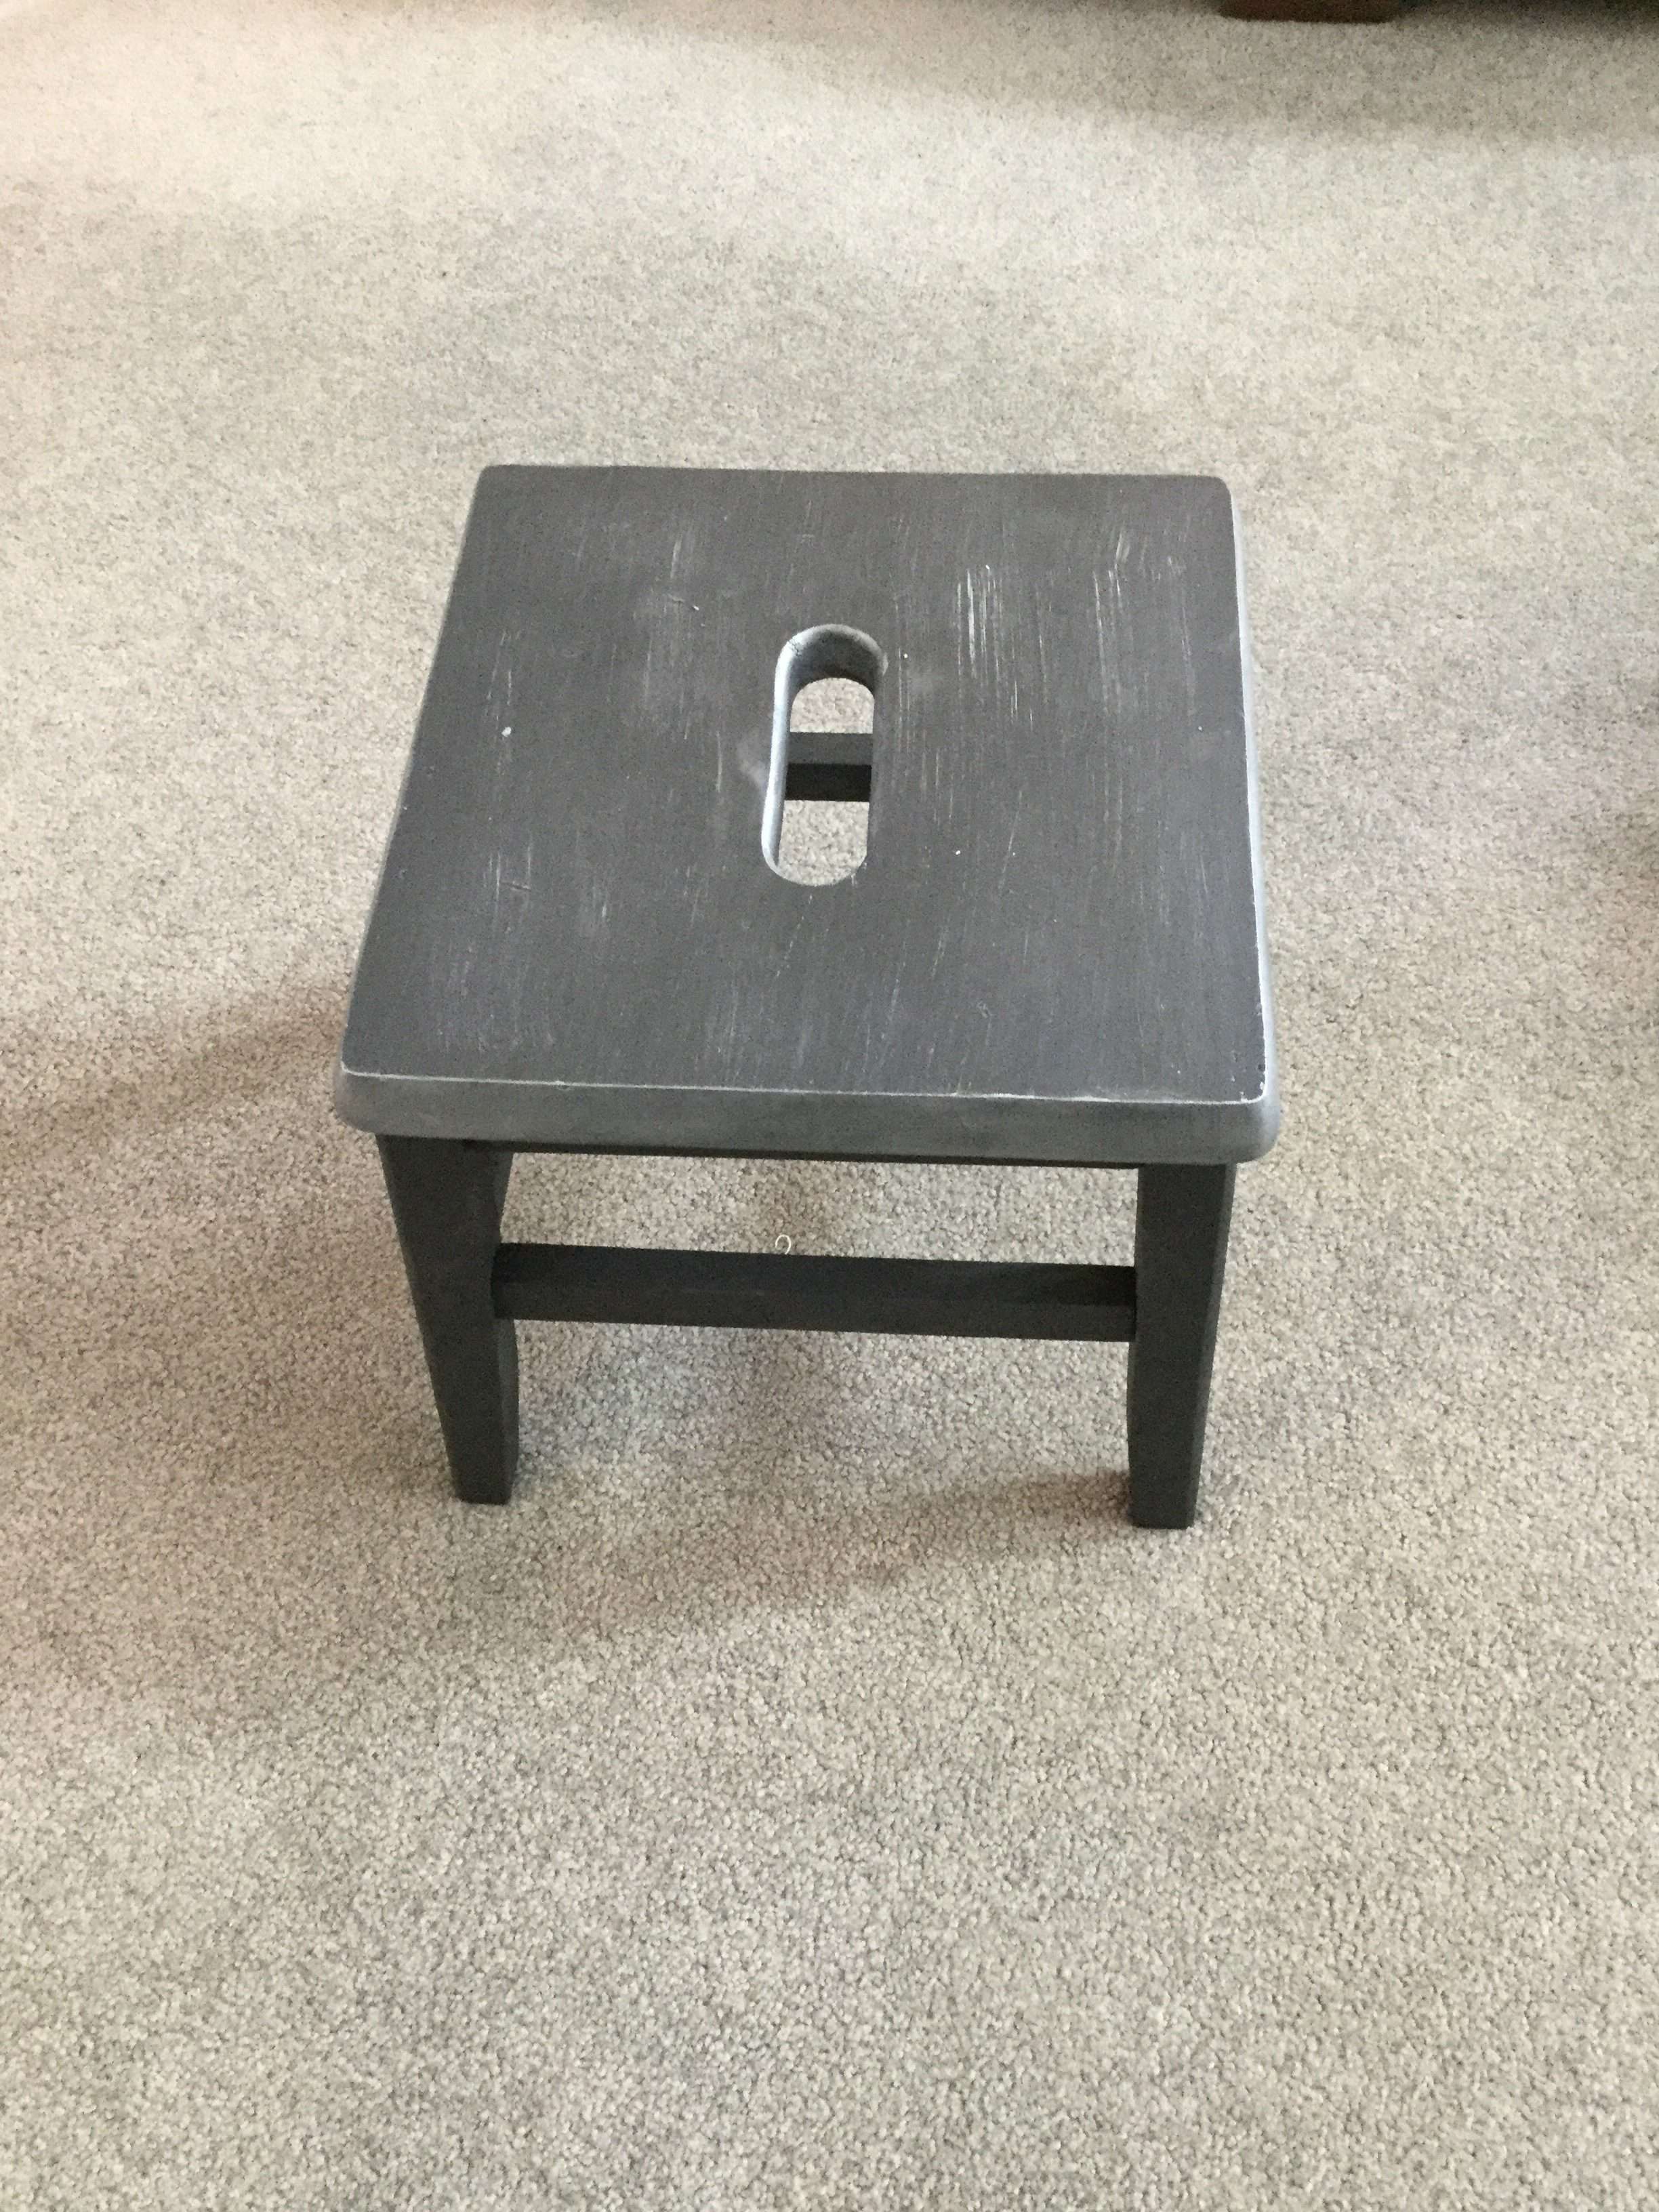
I found this stool at a flea market. I sanded and cleaned it up.
Next, I painted it with gray chalk paint, made a glaze, and used a wood grain tool with some white paint to give it the wood plank effect. I coated it with varnish to protect it. You can find the full tutorial at How To Paint Wood Grain: An Easy Guide with Video
I painted this stool black and then dry brushed it with metallic paint. I also added a metallic guilding wax to the outer edge of the stool. You can find the full tutorial at Up-Cycle An Old Step Stool
Couch Table Tray
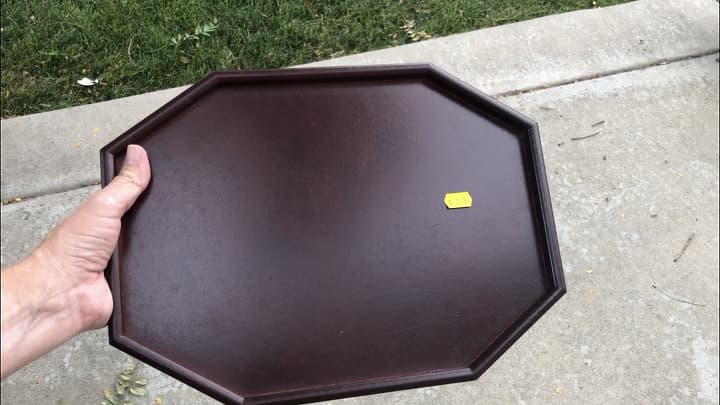
I found a couple of these couch table trays at a thrift store. I lightly sanded and cleaned the pieces and I used chalk paint on both of them.
Once that dried, I stenciled the top with white chalk paint, and added a varnish to protect them. You can find the full tutorial on my post: Sofa Arm Tray Useful and Fun DIY
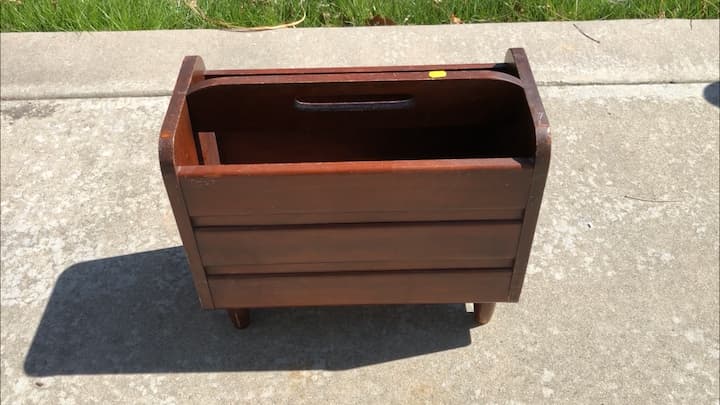
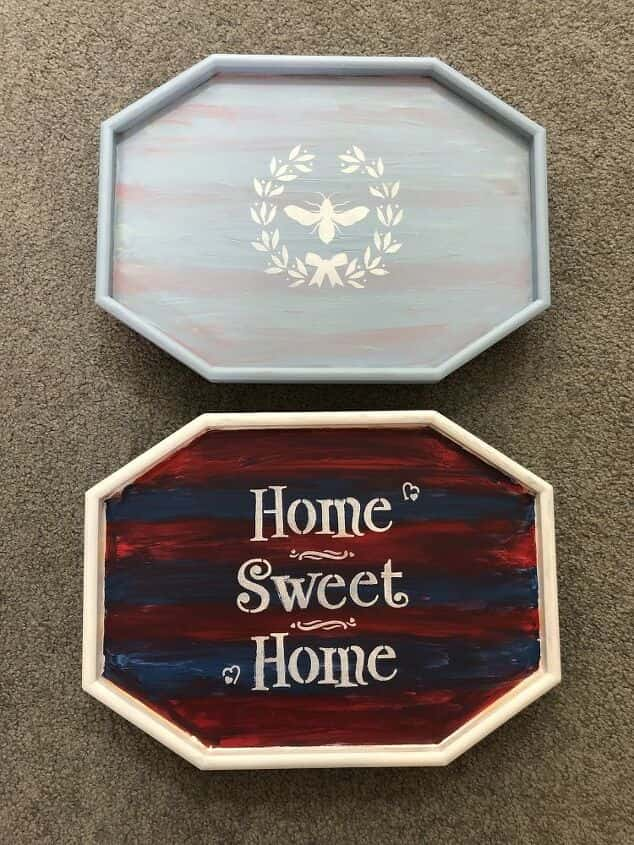
Magazine Rack
I found this magazine rack at a thrift store. I sanded and cleaned the piece. I painted it with gray chalk paint.
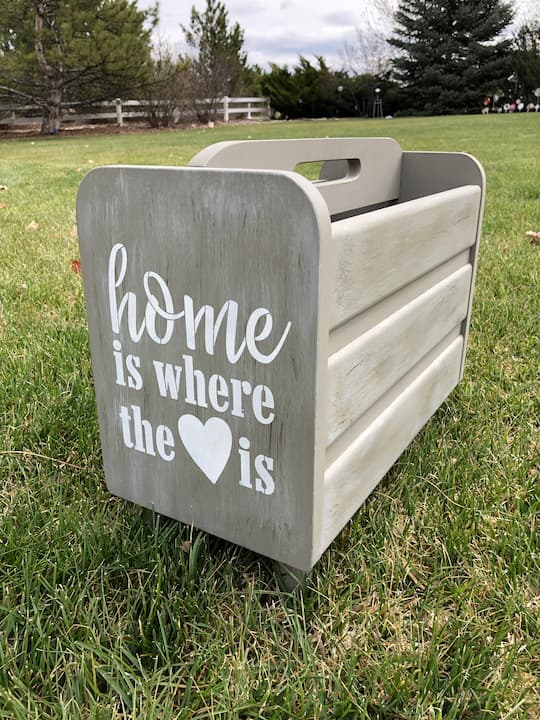
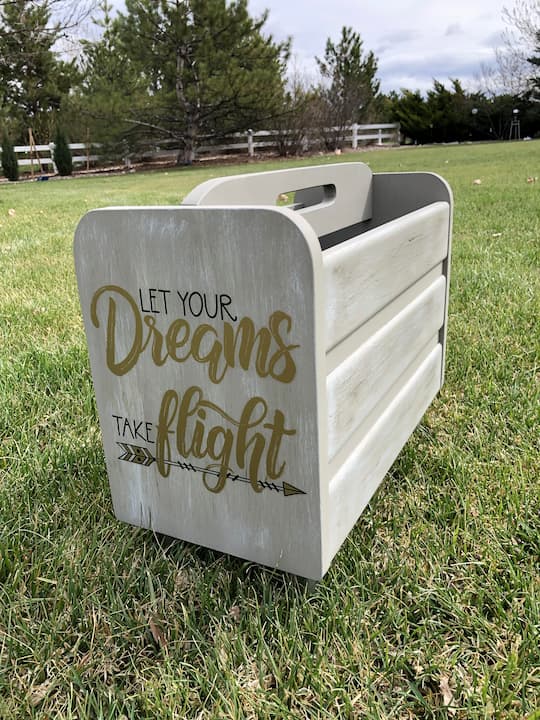
I use a dry brush and some wood tint to give it the old furniture look. I stenciled one side with chalk paint, and the other side I used a decal sticker that I found at Dollar Tree. You can find the full tutorial for this project in my post: Easy How To Paint with Chalk Paint with Video
Which side do you like better? Let me know in the comments below.
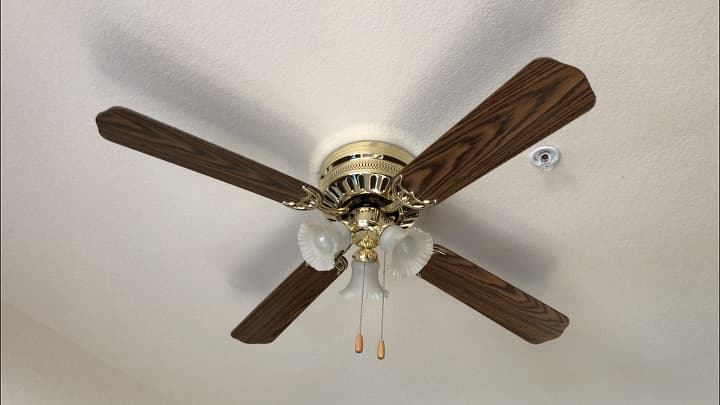
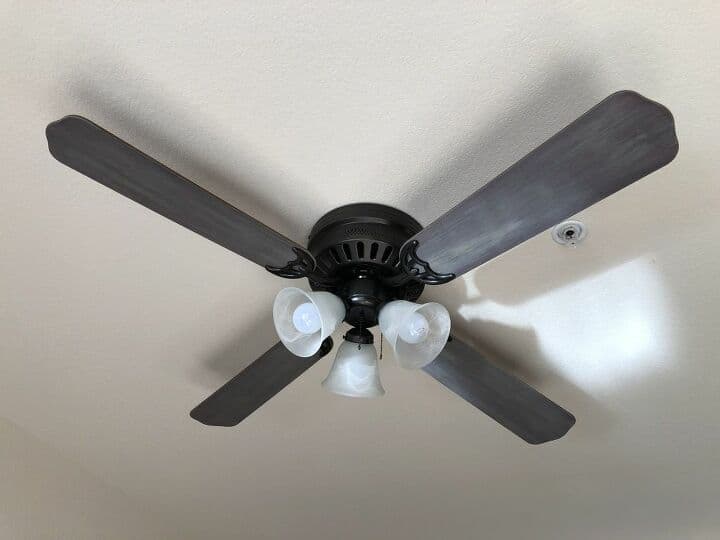
Ceiling Fan Makeover
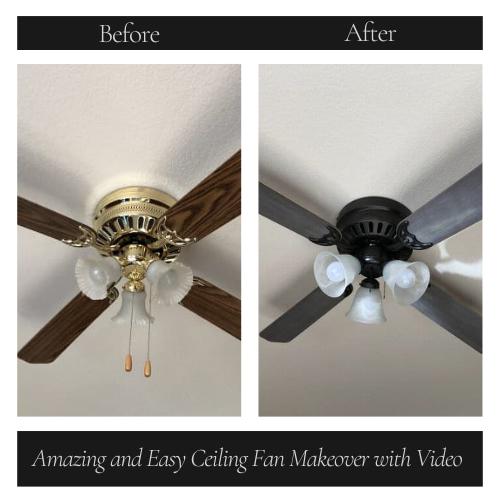
We had this ceiling fan in my house, and yes to me it counts as furniture. We updated it with some chalk paint on the blades, spray paint on the unit, and replaced the glass globes to give it a refresh. You can find the full tutorial in my post Amazing and Easy Ceiling Fan Makeover with Video
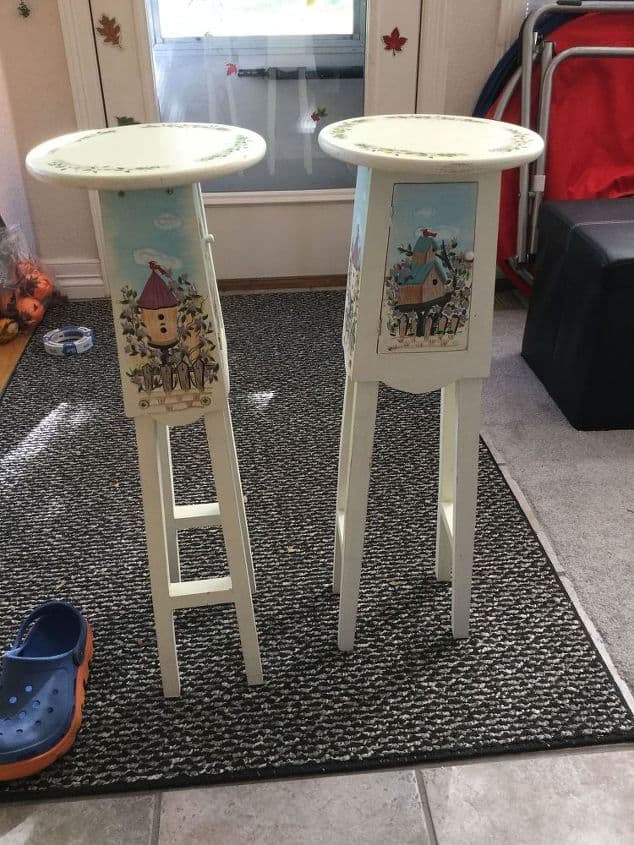
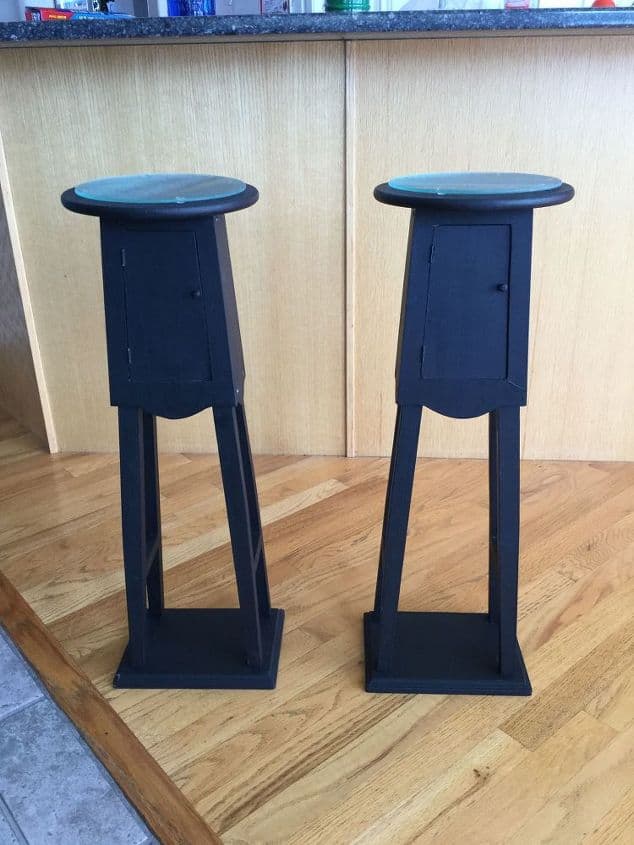
Plant Stand Furniture Makeover
I found these plant stands at a garage sale. I painted them with chalk paint, made them more stable, and added 2 dollar store cutting boards to the top to protect them. You can find the full tutorial at Hobby Lobby Plant Stands Side Tables

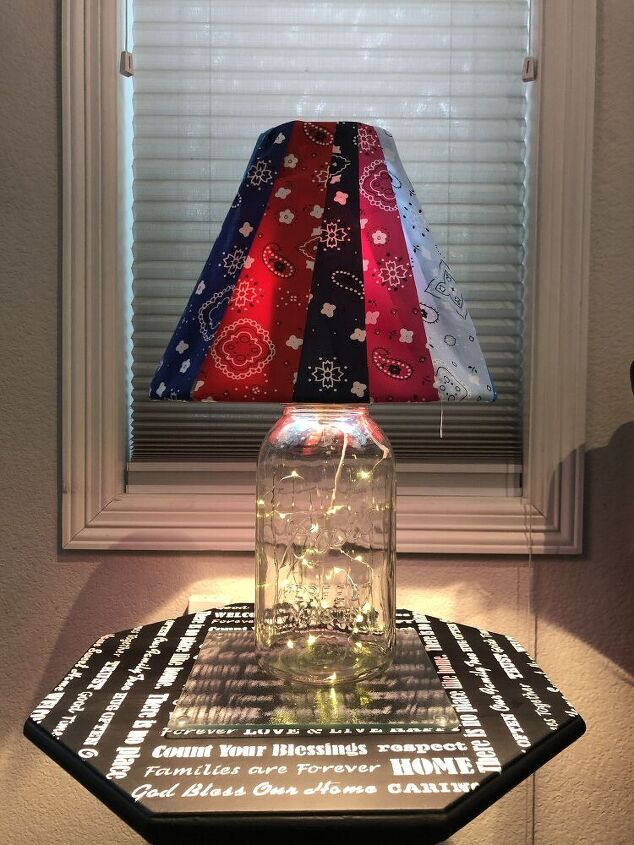
Lamp Makeovers
I found this lamp at a thrift store, I cleaned it up and I added fairy lights to it, as well as fabric to the lampshade to give it a makeover. You can find the full tutorial in my post Lampshade Makeover: Easy and Awesome DIY
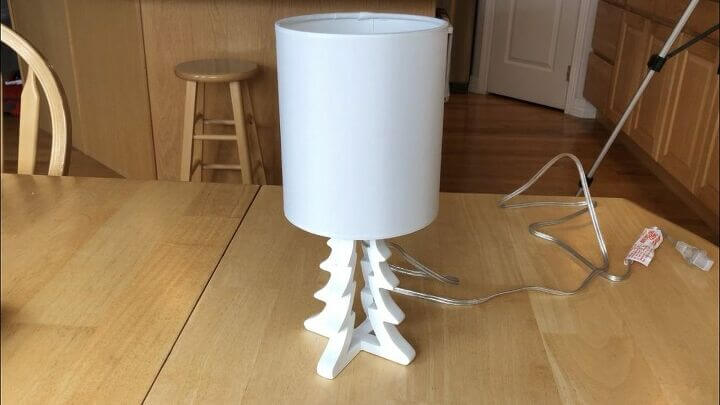
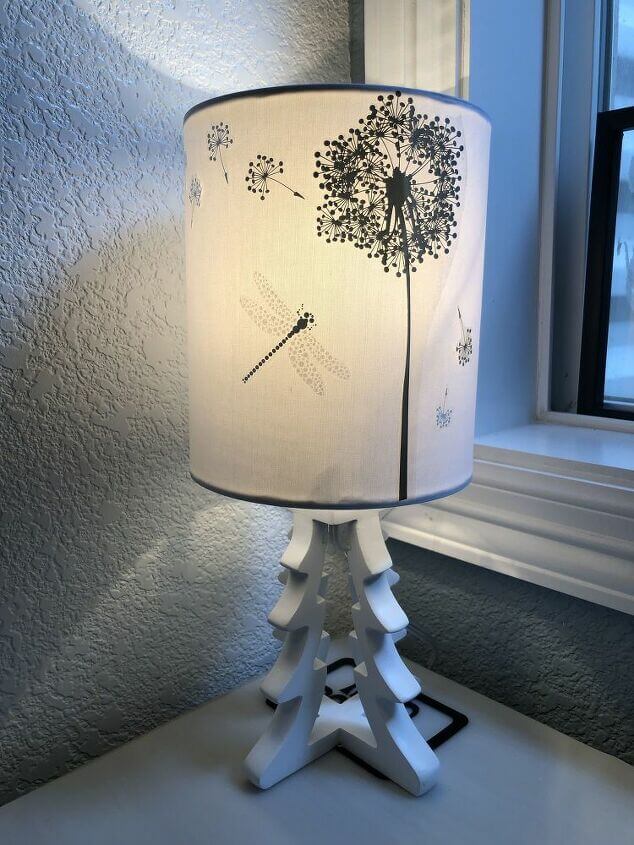
I simply added some decals and stickers to create a different look for this lamp. You can find the full tutorial in my post Upcycle A Lamp With Dollar Store Stickers
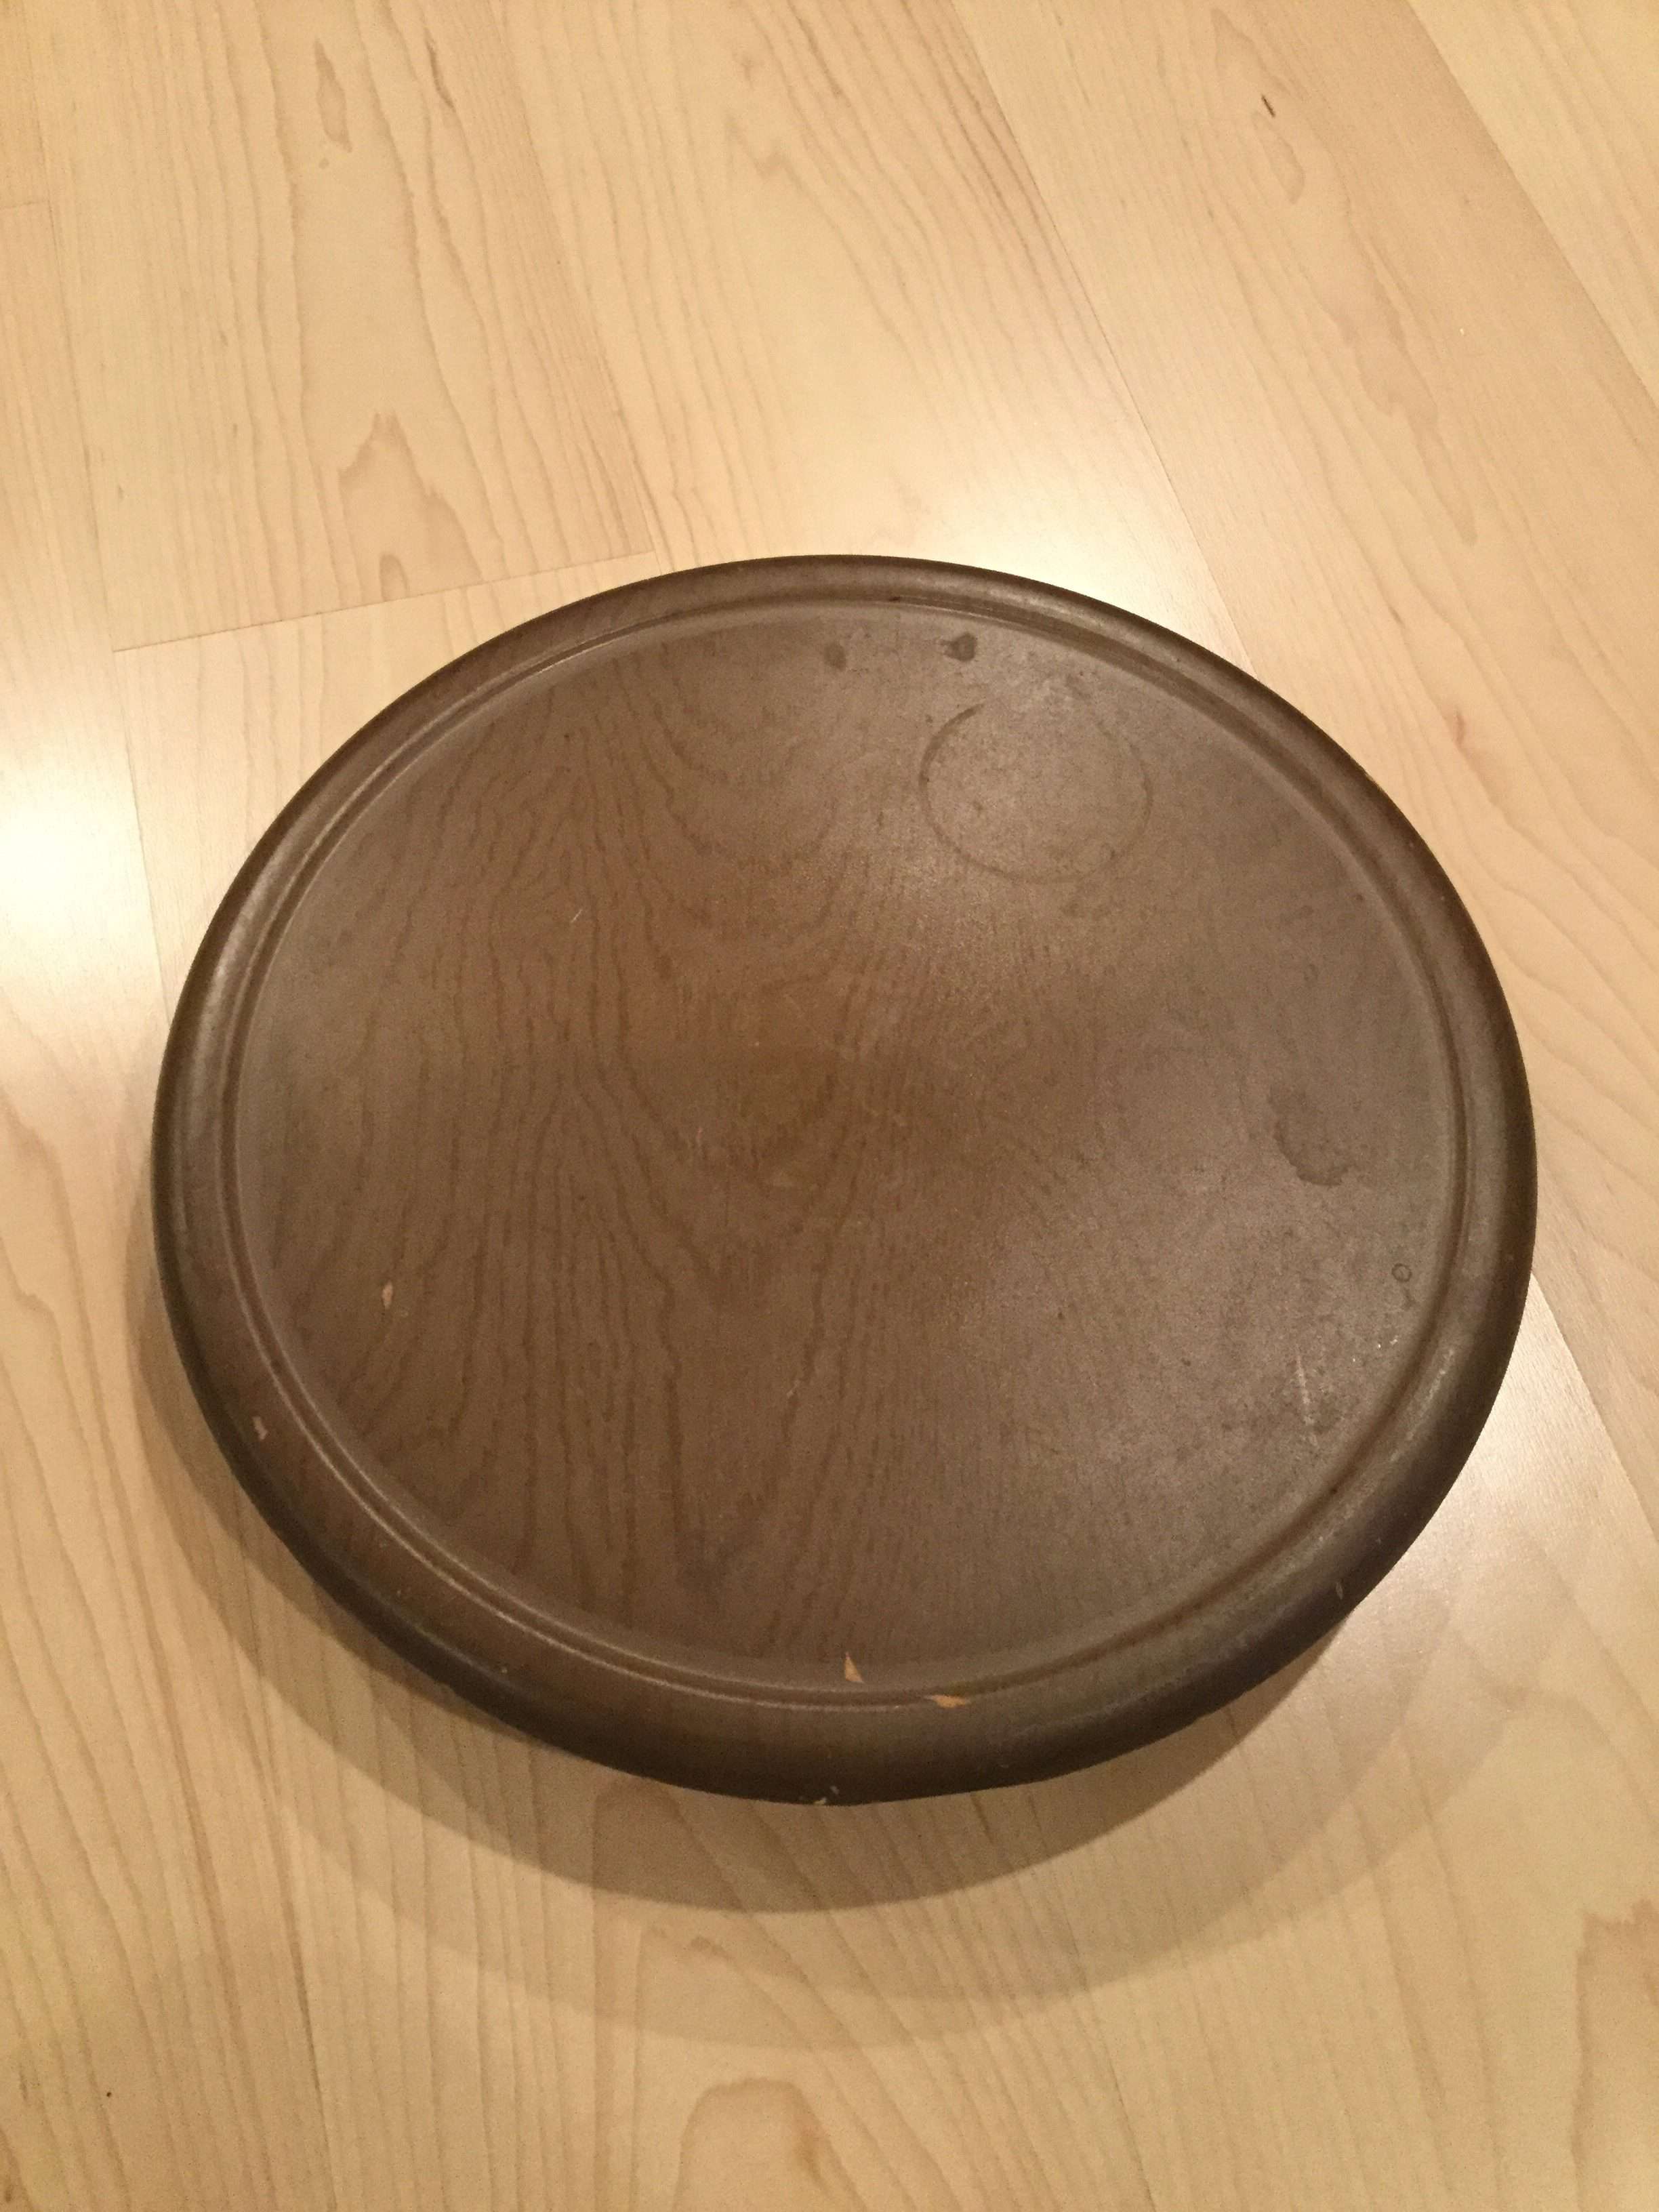
Lazy Susan
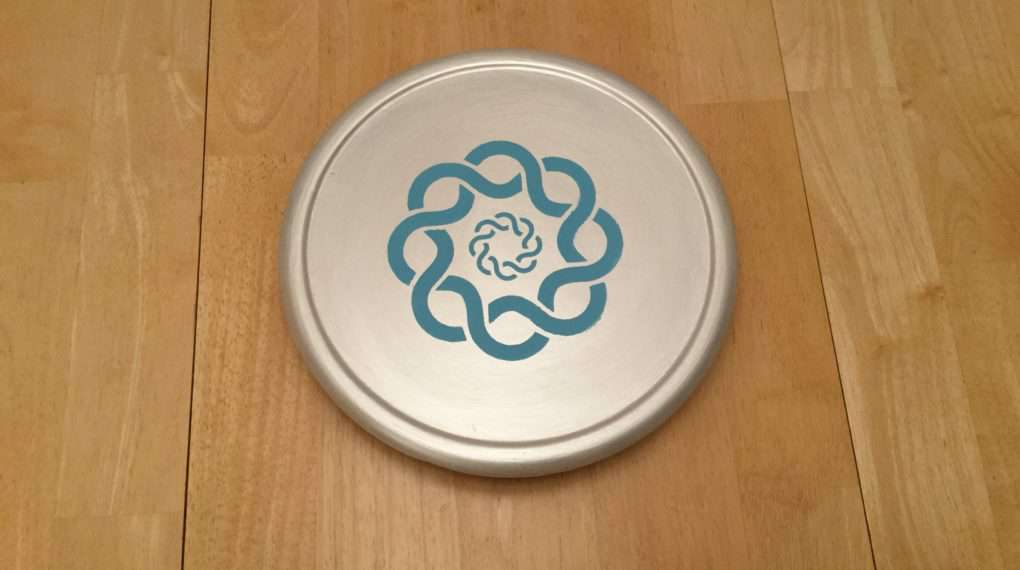
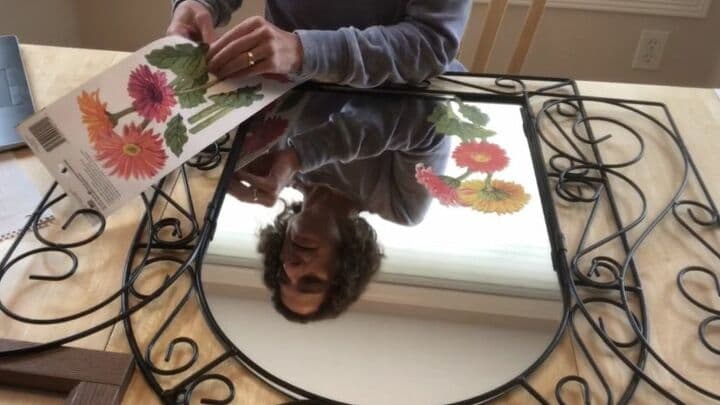
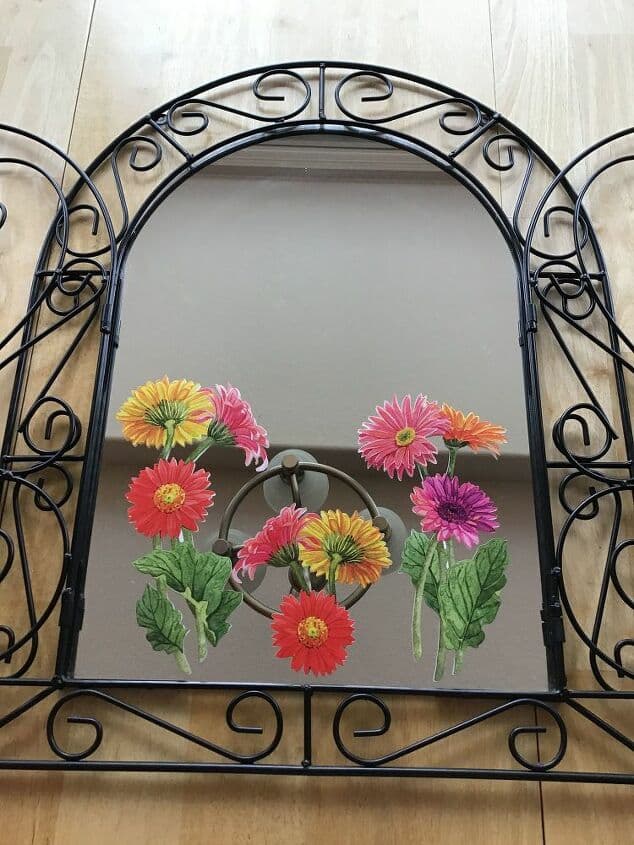
I found this lazy Susan at a thrift store, and I painted it with metallic paint and added a stencil. You can find the full tutorial at Up-Cycle An Outdated Lazy Susan
Charging Station
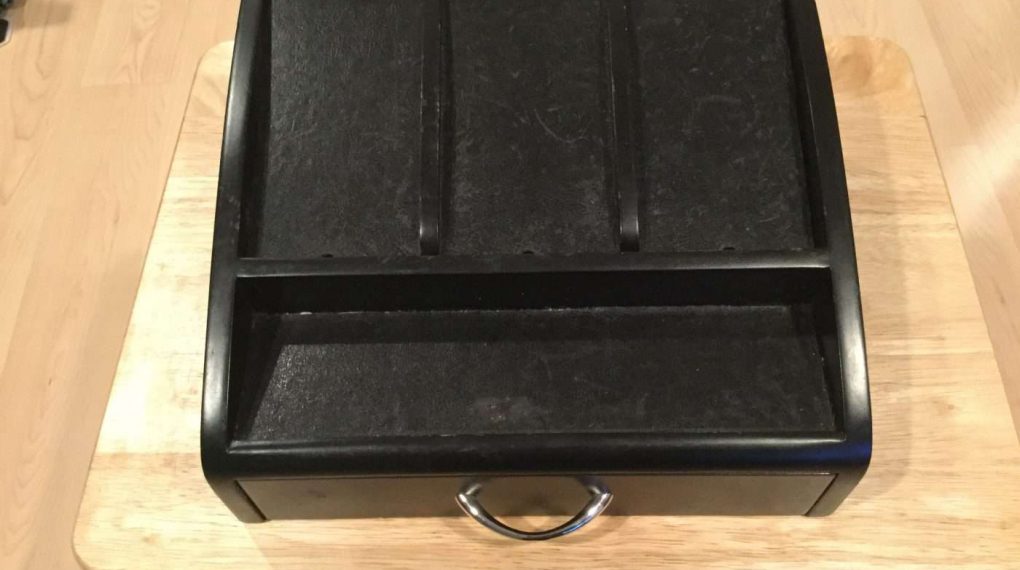
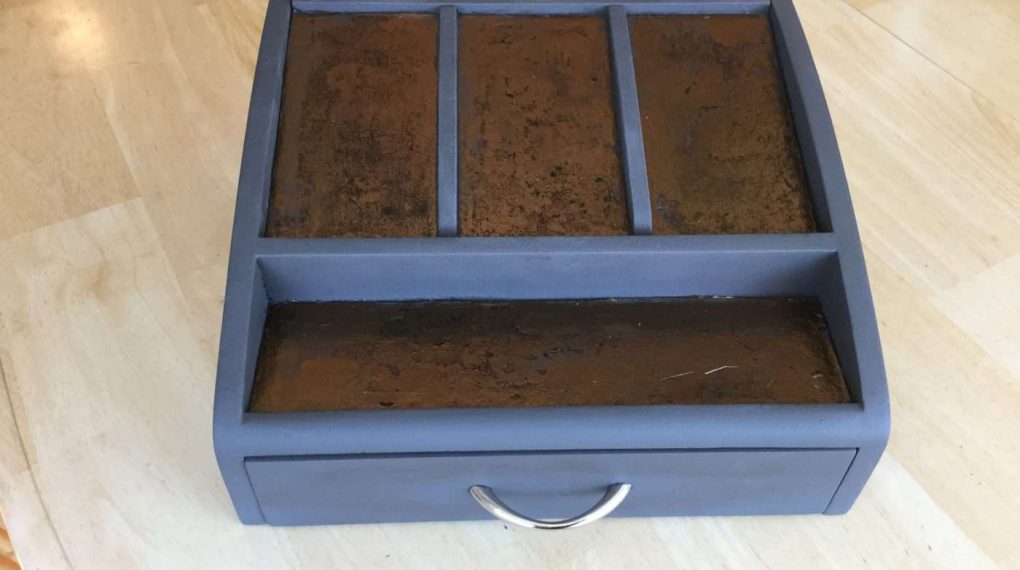
I found this charging station piece at a thrift store. I painted it with chalk paint and added some metallic gilding paper to the indents. You can find the full tutorial at Up-cycle A Charging Station – Thrift Store Find!

Contact Paper Furniture Makeovers
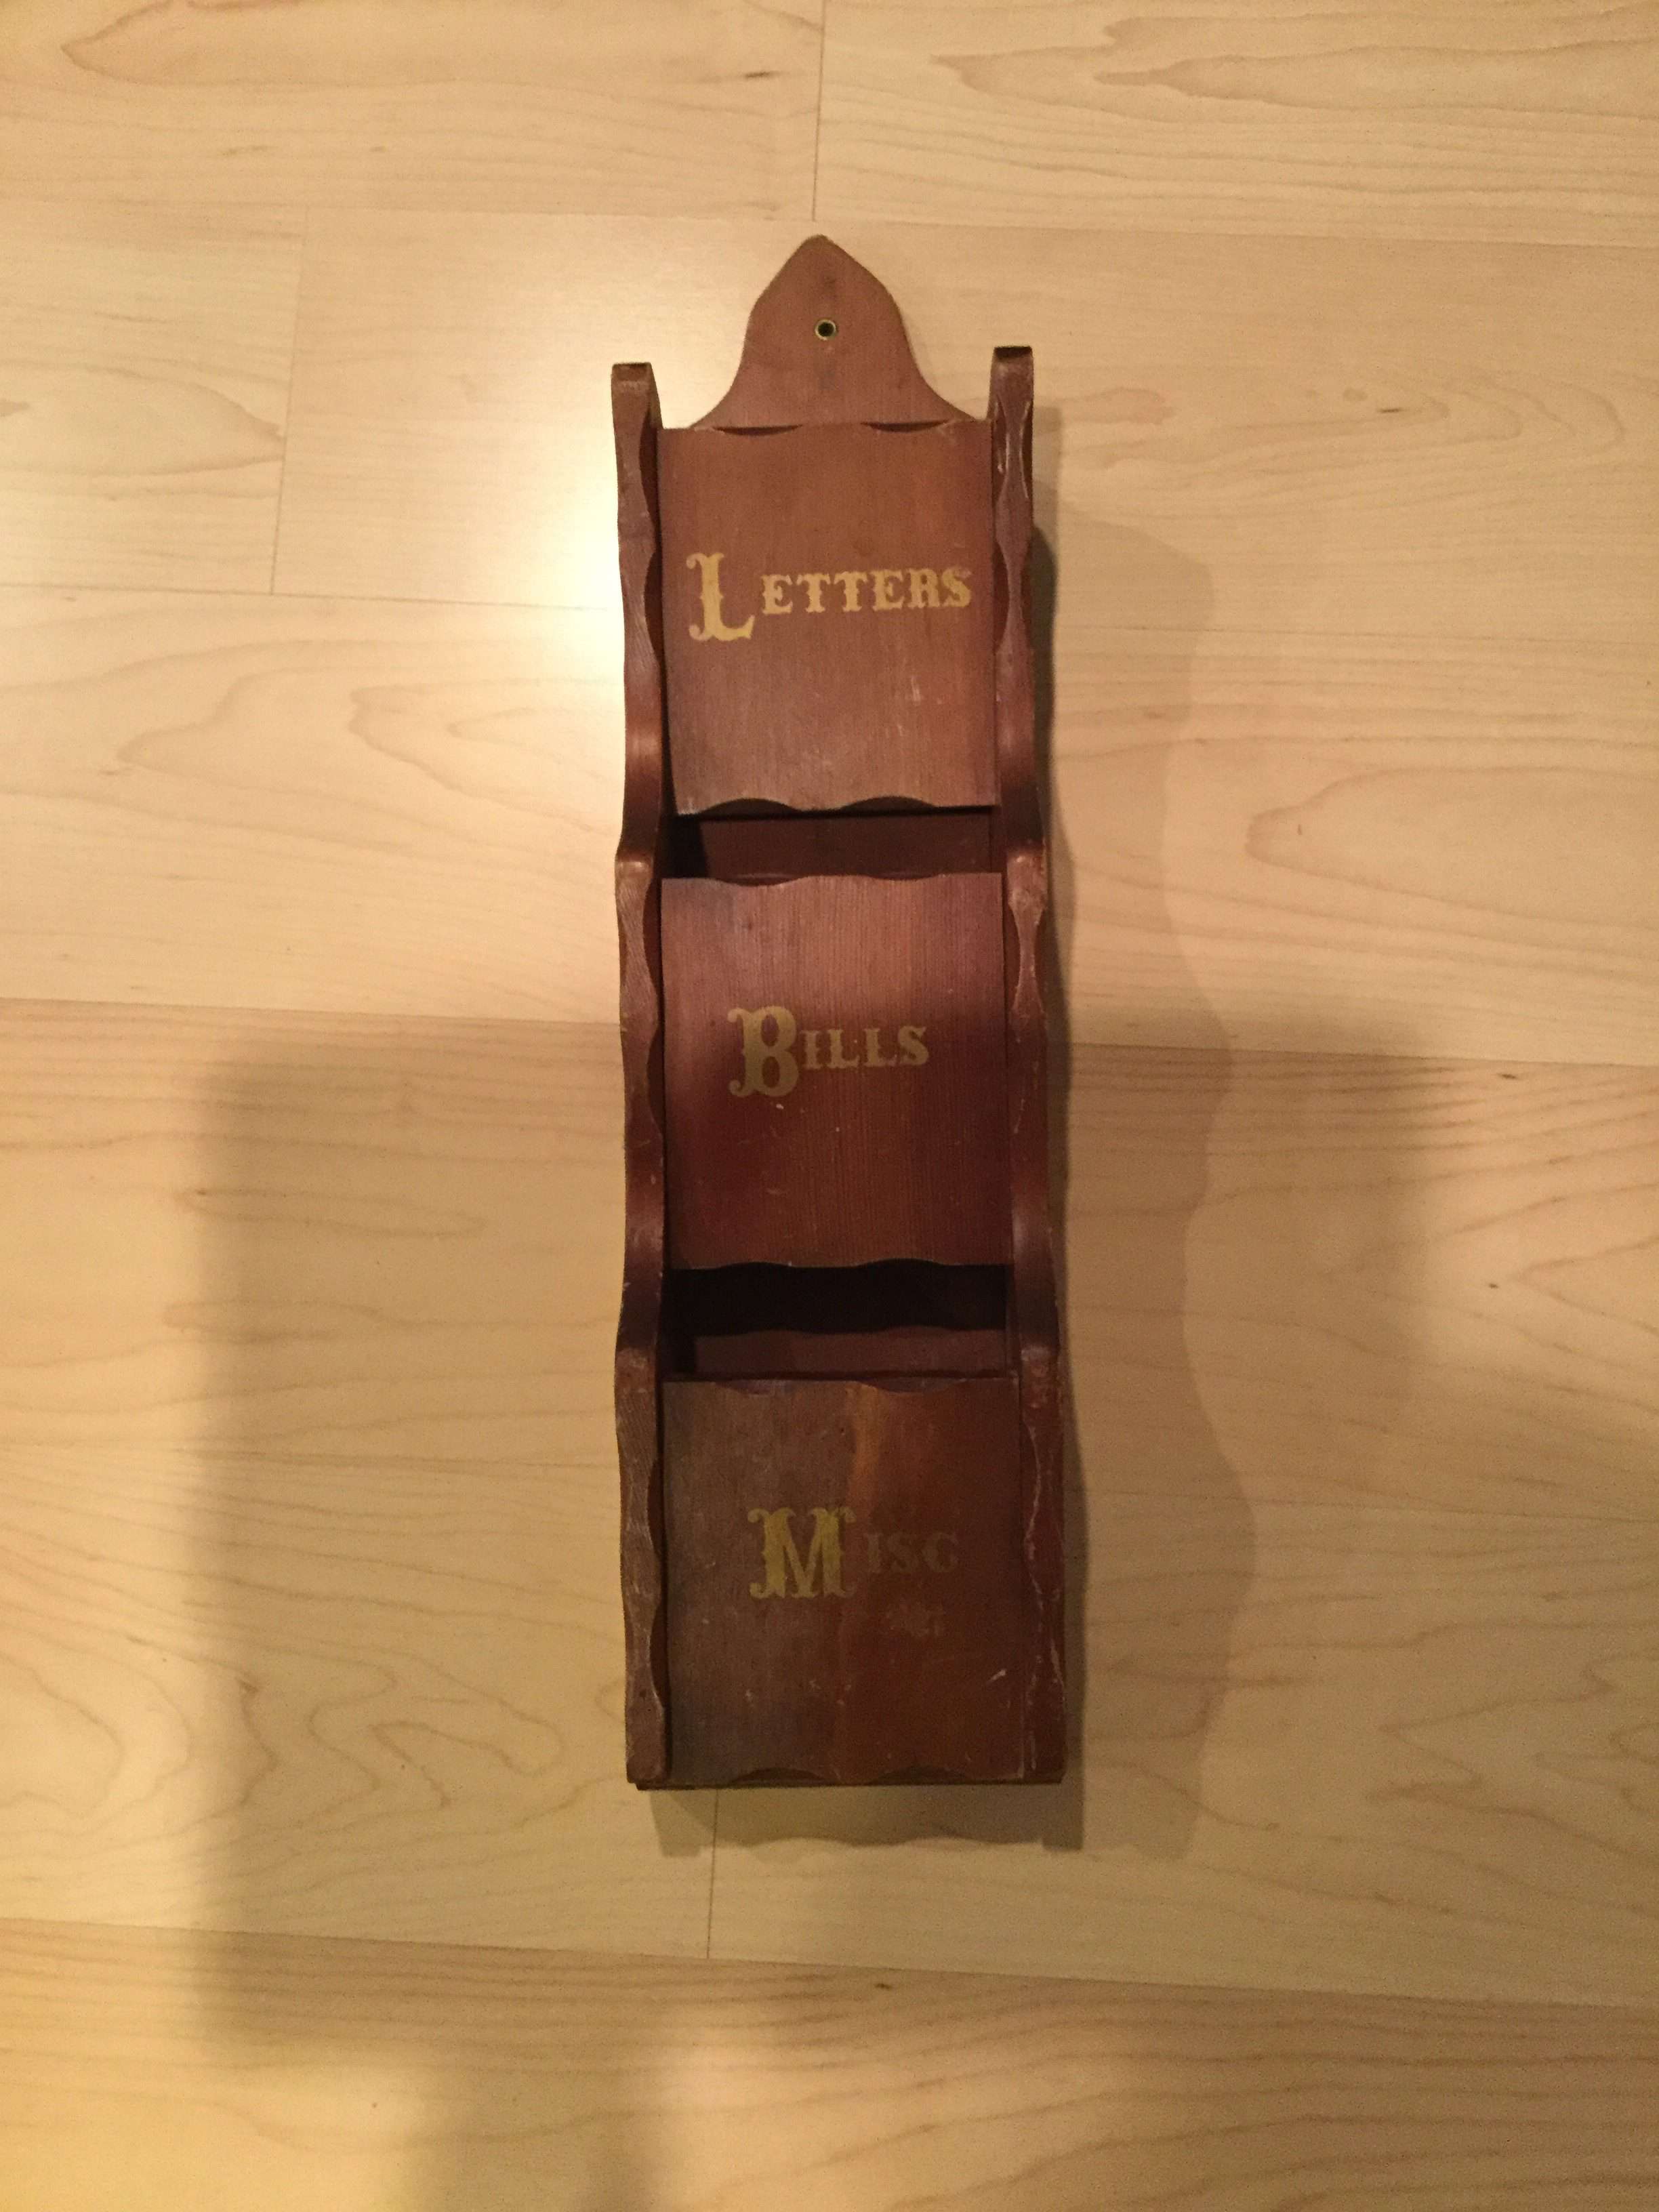
I found this vintage letter holder piece in the thrift store. I bought it home and cleaned it up. I had to put a primer on it as the stain would come through the paint. I then added gray chalk paint and some gilding to the edges. I painted on a clear coat and added photos to the front of the letter holder, then I added a top coat ontop of the photos as a sealant. You can find the full tutorial at Up-Cycle A Vintage Letter Holder
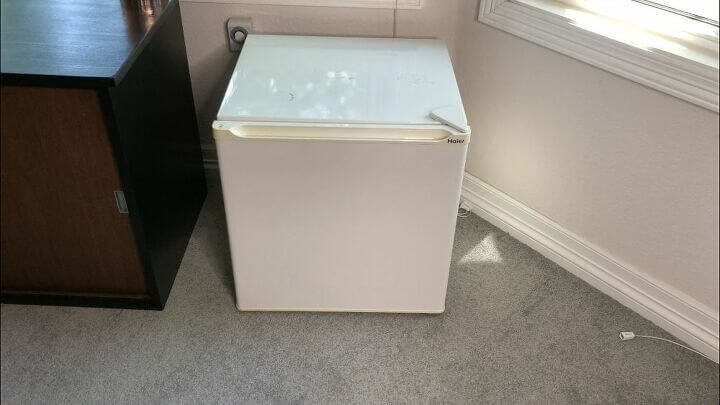
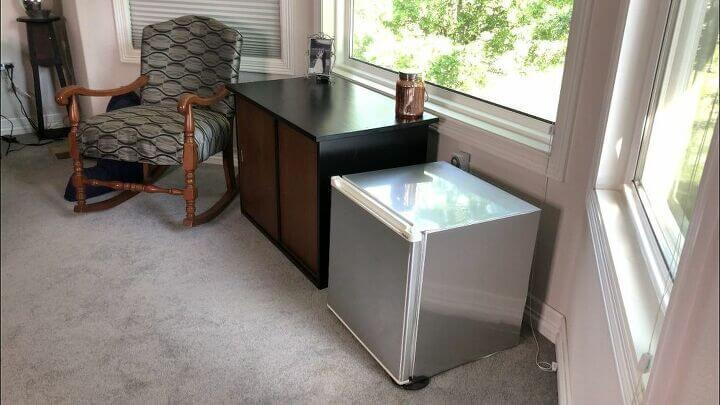
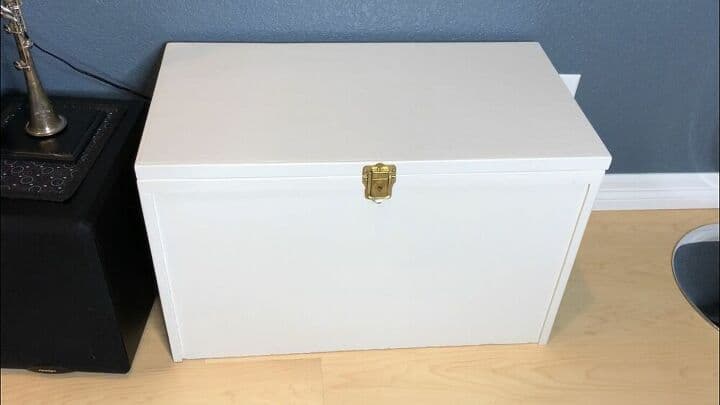
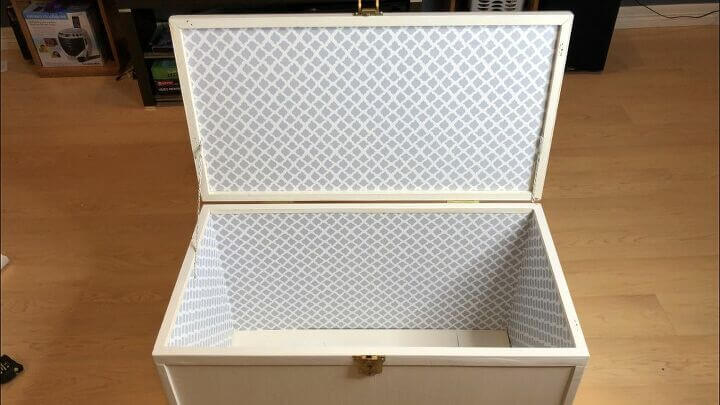
I used some contact paper to update my furniture pieces like my grandpa’s old chest he made, my refrigerator, the back of a bookshelf, and an old TV Cart. You can find all of these tutorials in my post 5 Easy Upcycles Using Contact Paper For Furniture

Sticker and Decal Furniture Makeover
I updated several pieces of furniture using decals and wall stickers from the dollar store. You can see these tutorials here:
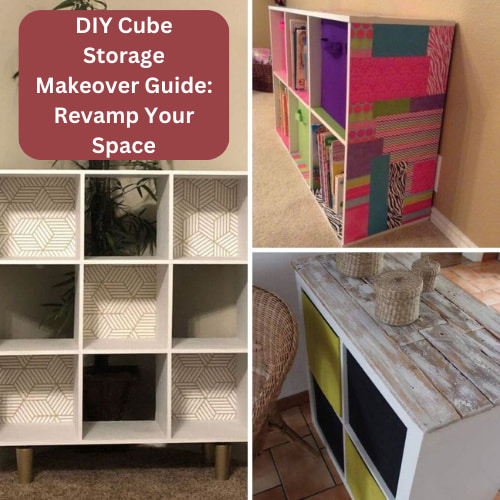
If you’re looking for a variety of ways to update storage cubes you might be interested in my post DIY Cube Storage Makeover Guide: Revamp Your Space
Furniture Makeover Ideas Video
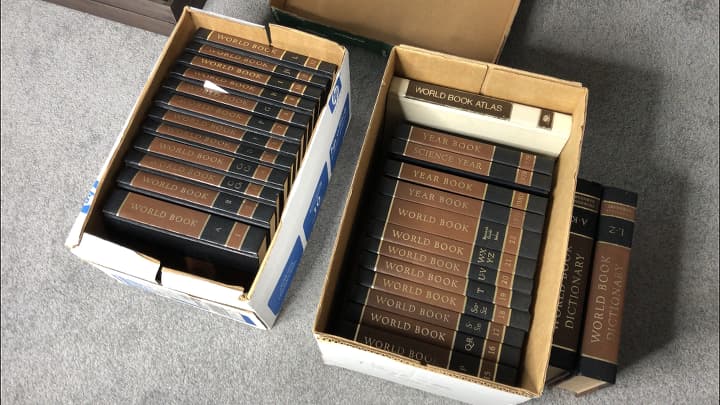
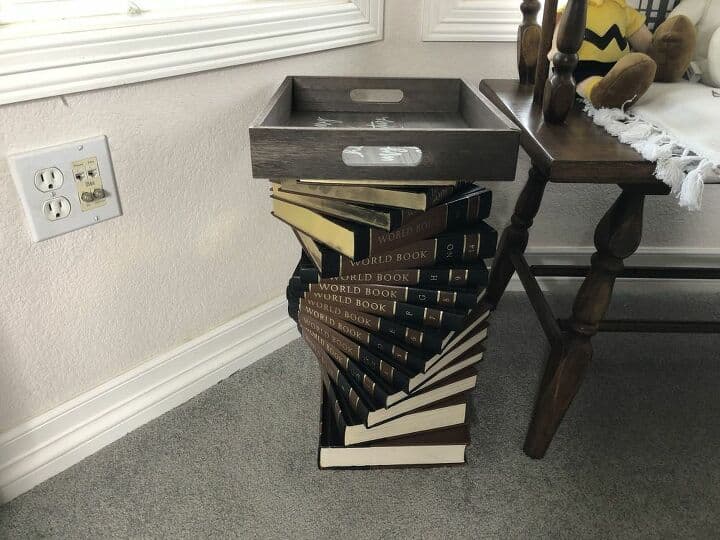
You might also be interested in how I used these encyclopedias to make side tables in our home What To Do With Old Encyclopedias: A Unique and Easy DIY with Video
Ready to Try Your Own Furniture Makeover?
Are you ready to create new home decor in your home by giving old pieces a whole new look and new life?
I hope these projects inspire you to look at old furniture in a new light and try some makeovers of your own!
Don’t forget to subscribe to my YouTube channel and blog for more creative DIY ideas. And grab my free guide, “21 Sensible Home Acts to Make You a Smarter Homeowner”.
Thanks for reading, and I’ll see you in my next post! Don’t forget to like, share, and subscribe if you enjoyed these furniture flips!

Wow, Chas! You’ve done a lot of furniture makeovers!!
Thank you Liberty, it has been a lot of fun giving new life to old things.