
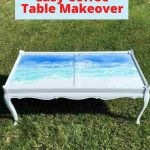
Easy Coffee Table Makeover
Have you wondered how do you make a coffee table look new? Or maybe how to paint an old coffee table? I’m going to share how I did my coffee table makeover with a $5 garage sale table.
This post is in collaboration with Behr, Total Boat, Wagner, and Plaid. All thoughts and opinions are my own. A big thanks to Behr for providing me with the Behr Premium Interior Semi-Gloss Cabinet & Trim Enamel, Total Boat for the Table Top Epoxy, Wagner for providing me the Heat Gun, Paint Sprayer, and Plaid for the Folk Art Acrylic Paint
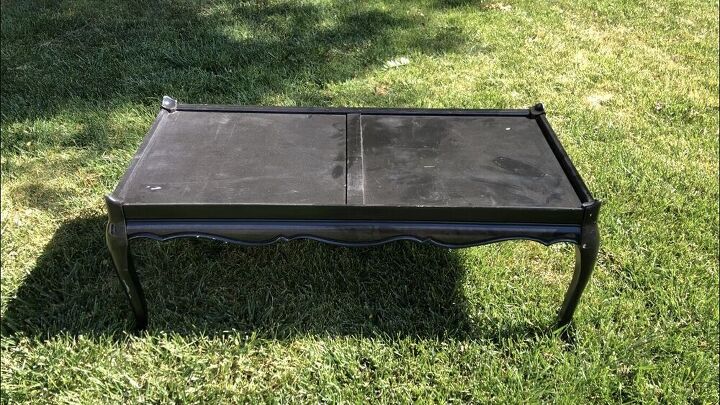
Here is as picture of the original table that I found for $5 at a garage sale.
The table was real wood, originally white, and spray painted black.
It has some water damage on the top of the table, but not much.
Easy Coffee Table Makeover Video
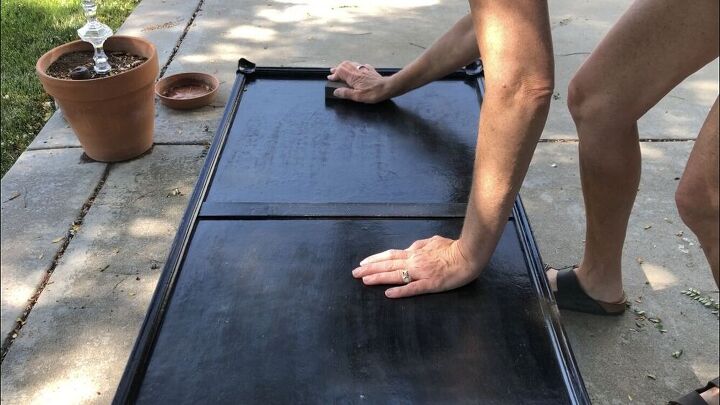
Using a sanding block, I lightly sanded the entire table.
I wiped the coffee table off with a damp rag.
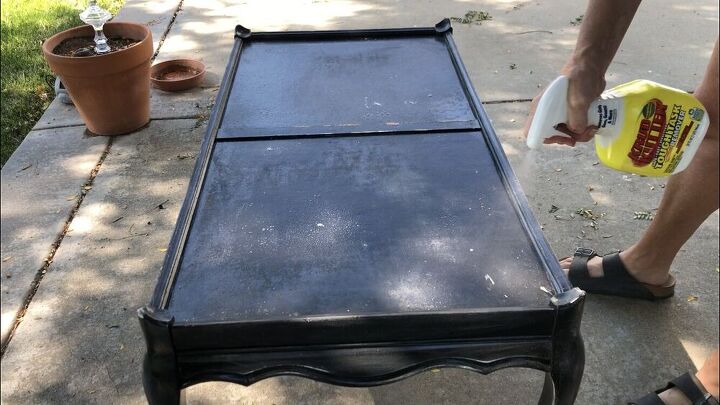
Next I sprayed Krud Kutter on the table and wiped it down with that to clean the piece and get it ready for painting.
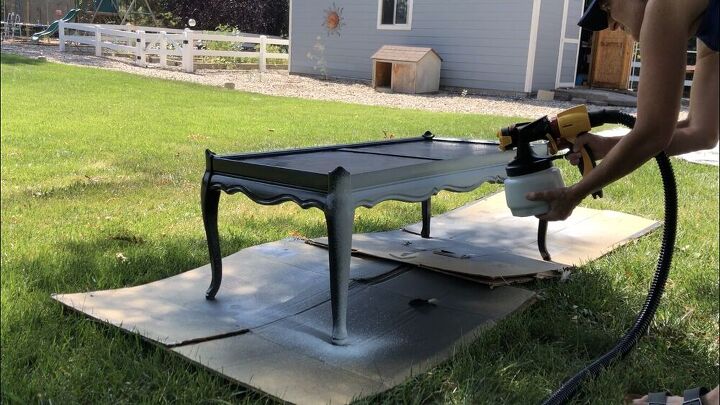
I used Behr Premium Interior Semi-Gloss Cabinet & Trim Enamel in the color Dayflower.
I placed the paint in my Wagner paint sprayer. Following the paint sprayer instructions,
I painted the entire table, It was super easy to use, and make painting the table a breeze.
I love how easy the Wagner paint sprayer was to use.
You could alternatively hand paint the table as well.
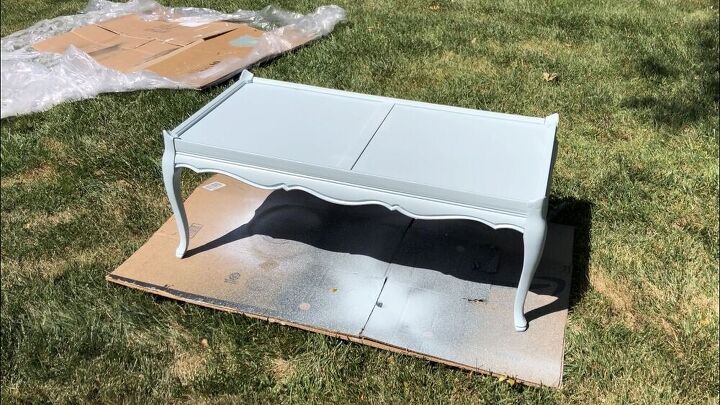
Once the table was painted, I let it dry completely before moving on.
The Behr paint is a beautiful color don’t you think?
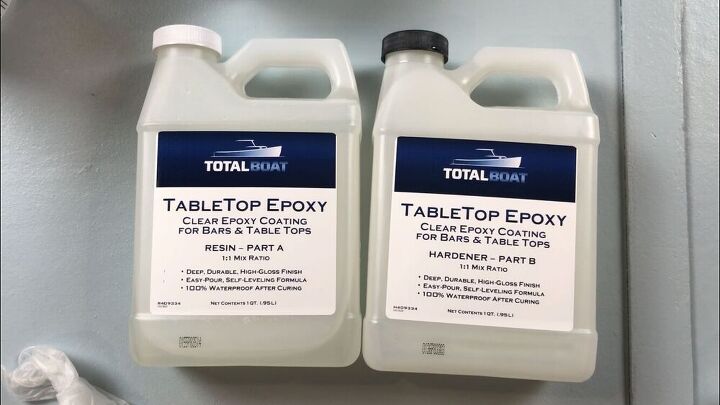
For this next step I used Total Boat Table Top Epoxy. It comes in 2 parts – Resin part A, and Hardner part B.
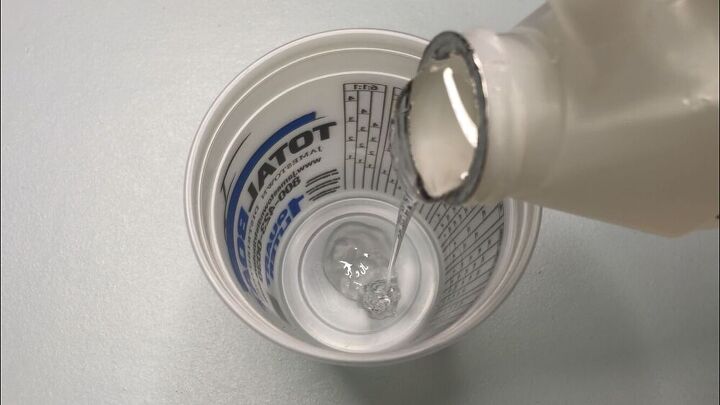
I mixed equal parts A & B together.
The Total Boat measuring cups are great so they can help you measure the perfect amount.
I made a guess as to how much I would need to cover this table.
I followed the directions and slowly stirred the mixture together for 3 minutes.
Stirring slowing is important to avoid bubbles.
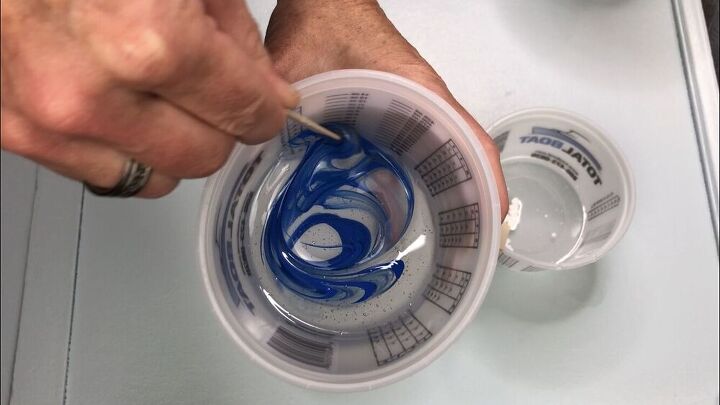
Next I divided the epoxy into 3 smaller bowls, and reserved plenty of clear in the original container.
I added a small drop of Folk Art Acrylic paint in the colors True Blue, Ocean View, and Titanium White to each container.
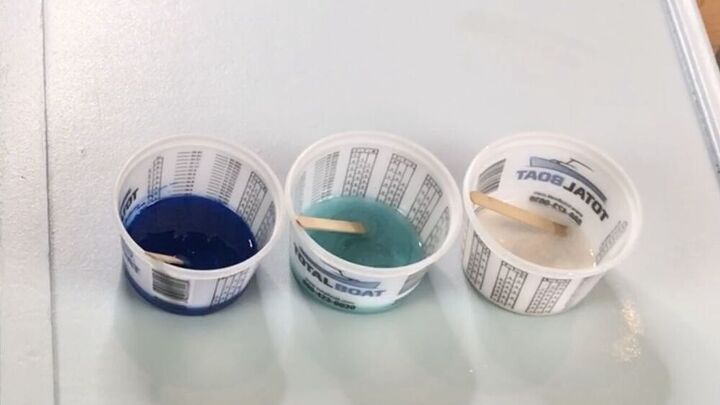
I mixed the paint into the epoxy.
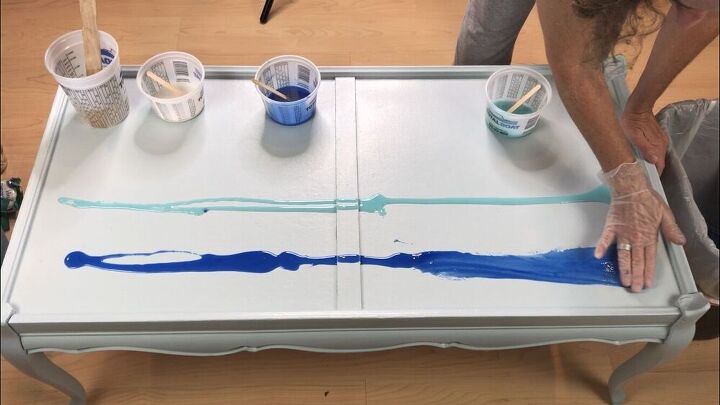
I poured the tinted epoxy onto the coffee table.
I started with the true blue in the back, and the ocean view in the middle.
With a glove on my hand, I smeared epoxy over the surface. I also blended the colors together.
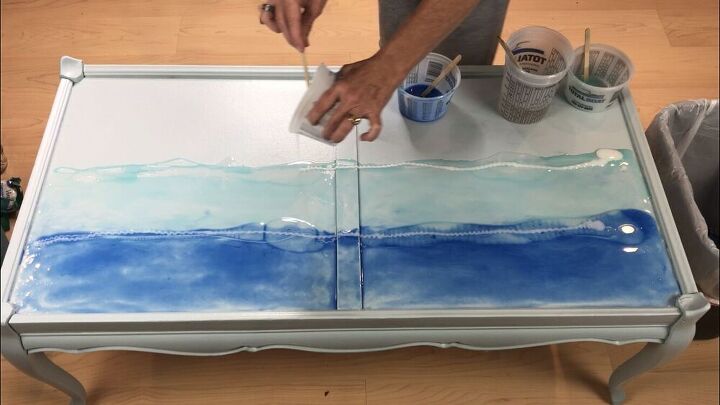
I poured a line of clear epoxy at the edge of both colors, then poured the white on top of the clear.
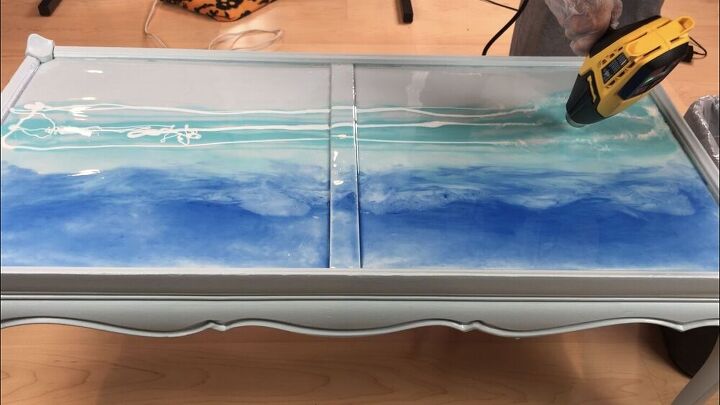
Using my Wagner heat gun on high fan speed but the coolest setting, I pushed the white and clear resin around to start creating waves.
I put clear epoxy on the remaining portion of the coffee table, and used the white on top of that.
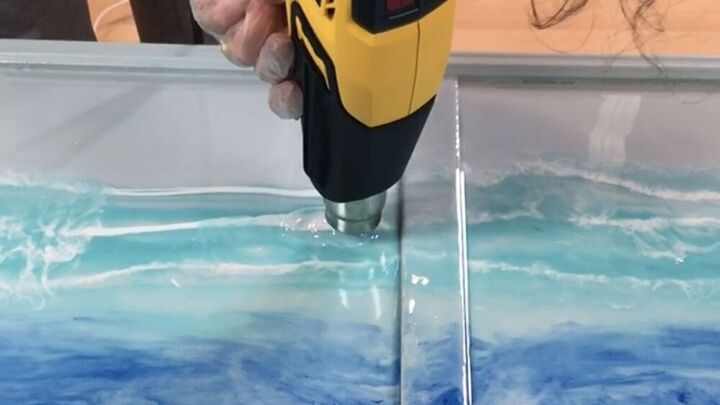
I continued with layers of clear and white and then pushing with the heat gun until I got the look I wanted.
I was originally a little nervous to work with the Total Boat resin, but I’ve learned it’s so easy to work with! I encourage you to create some waves of your own with the Total Boat epoxy and Wagner heat gun, because it’s so therapeutic!
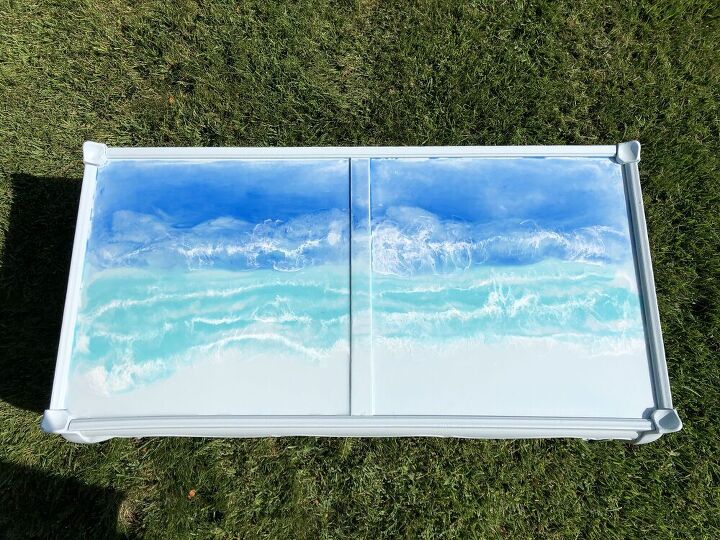
Once I was finished, I let the resin set for 24 hours to cure.
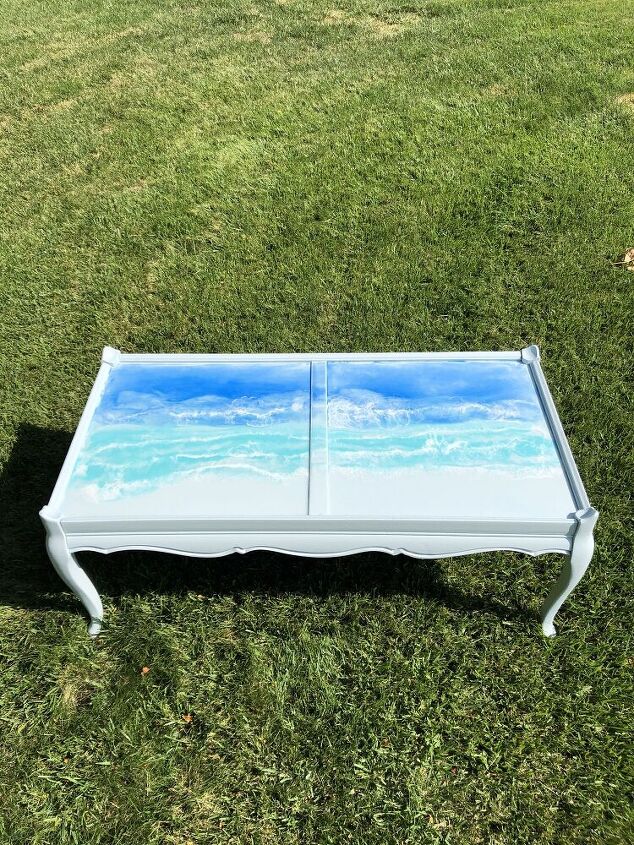
I’m really happy with how the coffee table turned out!
Check out some of my other furniture makeovers!
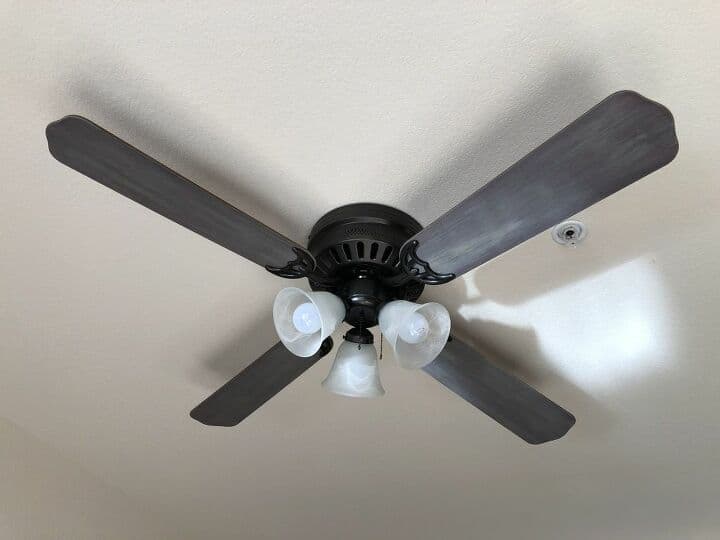
- Amazing and Easy Ceiling Fan Makeover with Video
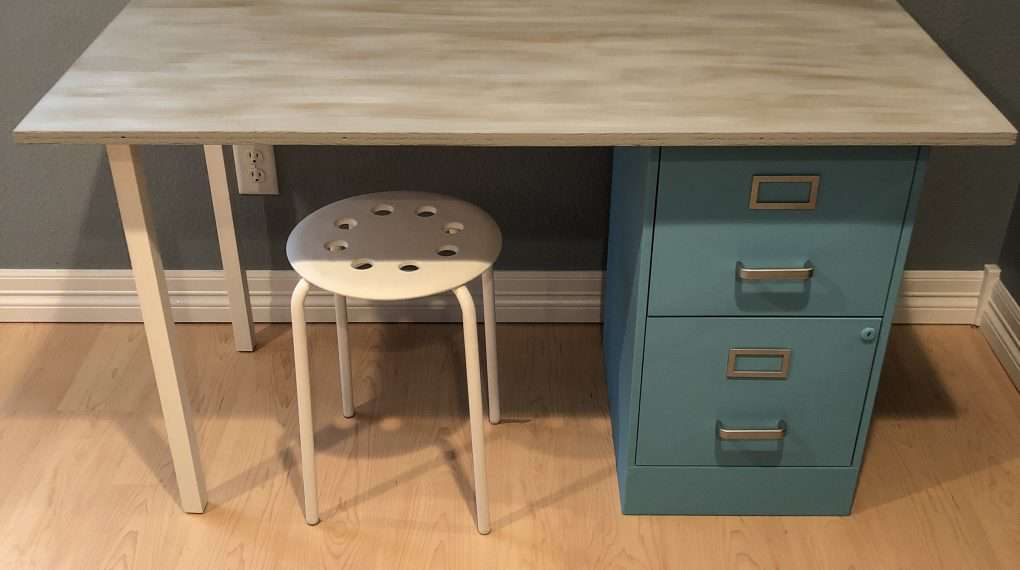
- Easy and Useful DIY Filing Cabinet Makeover with Video
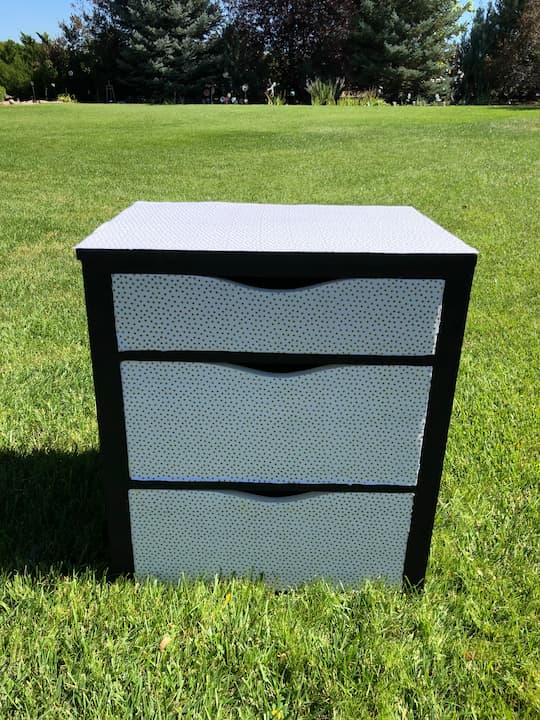
- Super Easy Chest of Drawers Makeover with Video
easy coffee table makeover video
Shop any of these stores and I receive a small commission at no cost to you.
 TotalBoat Table Top Epoxy R…Shop on Amazon
 Wagner Spraytech 0503063 FU…Shop on Amazon
, PROMOFAI Colors I (18 Colors)") FolkArt Acrylic Paint Set (…Shop on Amazon
FolkArt Acrylic Paint Set (…Shop on Amazon BEHR PREMIUM PLUS 1 gal. Ul…Shop on Amazon
 Wagner Spraytech 0518080 Co…Shop on Amazon
Find out “What Exactly Does It Mean To Repurpose Or Upcycle“, save money, and create the most amazing things.
Other materials you might need for a DIY coffee table makeover
- Strip off that old paint with some different grit sandpaper
- Add a new stain color on raw wood or over the top of white paint
- Use a stencil to create a stenciled coffee table
- Use a paint stripper to remove the original paint or old stain like citristrip
- Chalk paint is easy to work with. I have used white chalk paint and a variety of other colors.
- You’ll need a top coat to protect your table. You can use clear wax or a varnish
- painter’s tape can help you create some fun designs
- Steel wool and vinegar can make a fun wood stain
- If you have any hardware like brass, make sure to pull it off and clean it while painting your project.
- You can use a paint brush or a paint sprayer
A little flip like this can help transform your living room, family room, or other space in your home. All you need is a little inspiration.


I can’t even believe how much talent you have Chas. Everything you do is so creative and I could see a table like this in my little beach cottage!
Thank you so much Kim, I’m so pleased that you like it. Yes, I think that would be a great place for it as well.
Wow! This is an incredible technique! I’ve never seen this done before. So unique and beautiful!
Thank you so much Danielle, I’m so glad you like it.
wow that is totally amazing! thanks for sharing on craft schooling sunday!
Thank you so much Sara, I’m so glad you like it.
********************************************************
Thank you for sharing at #OverTheMoon. Pinned and shared. Have a lovely week. I hope to see you at next week’s party too! Please stay safe and healthy. Come party with us at Over The Moon! Catapult your content Over The Moon! @marilyn_lesniak @EclecticRedBarn
********************************************************
Thank you so much Marilyn, I hope you have a great week.
Unbelievable transformation! Great work!
Thank you so much Michele, I really appreciate it.
You are so welcome. I love seeing your seeing what next project/craft is.
WOW you did a great job upcycling that table.
Hope you visit me.
Thanks.
Thank you so much Crystal, and I’m getting your emails too… thanks!
What a fun technique–the perfect coastal table!
You are so creative!
Happy day!
KariAnne
You are so sweet KariAnne, thank you so very much friend! Hugs
Chas, I have never used epoxy but certainly can see you get some beautiful results with it. Is it difficult or complicated to do? What about if you don’t have a heat gun? It really came out great.
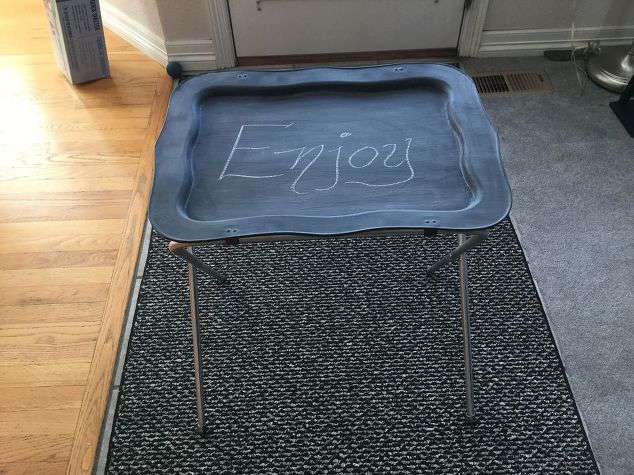
Thank you Ticia, I appreciate it. The epoxy is easy to use, and I do recommend doing some practice runs to get used to it. (You can see my practice run here – https://chascrazycreations.com/how-to-make-an-ocean-serving-tray/) You only need the heat gun if you are trying to move the paint and epoxy around to create the waves, otherwise you don’t need that.
So Cute! I love the blue colors.
Thank you so much Rebecca, I appreciate it. Sending hugs
Chas, This is an amazing transformation! You really created that beautiful ocean look, I can imagine I am sitting on the beach!
You are so very sweet Chloe, I’m so pleased you like it. Hugs to you friend!