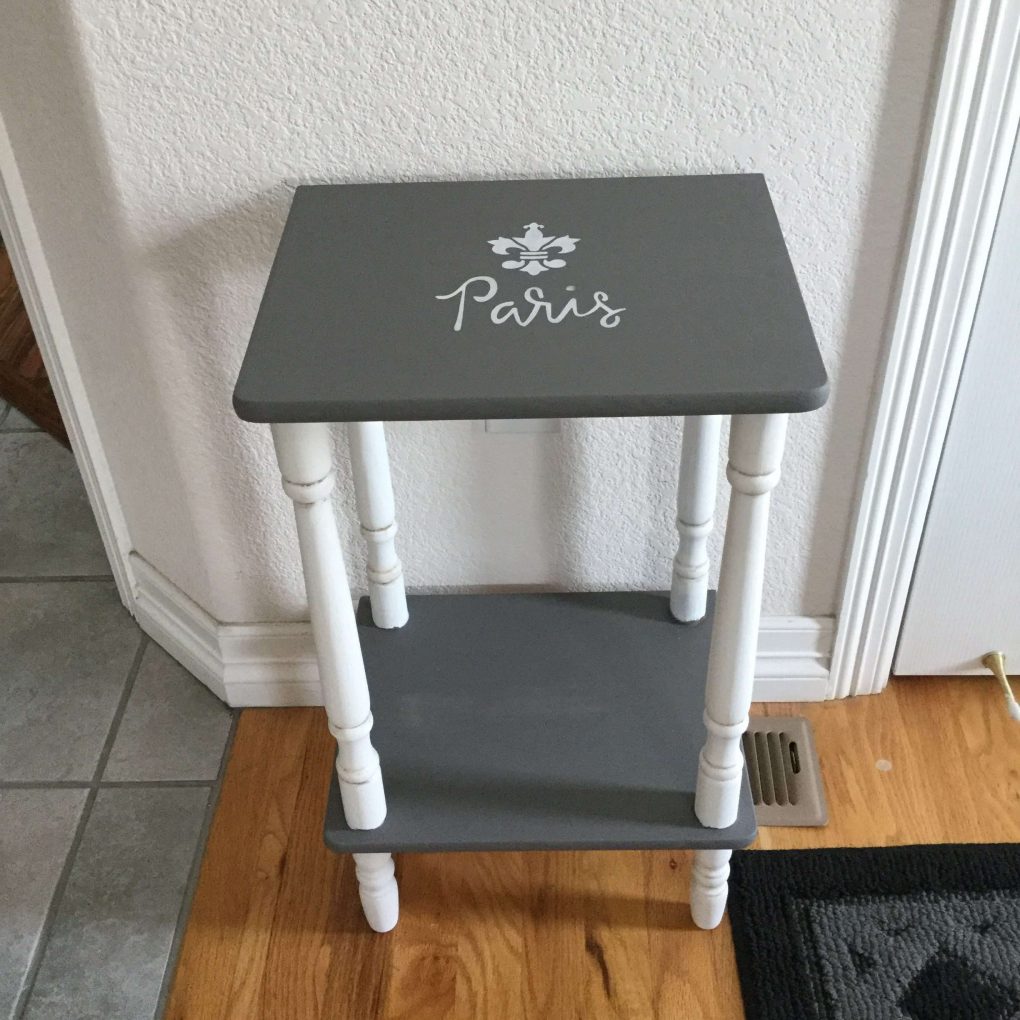
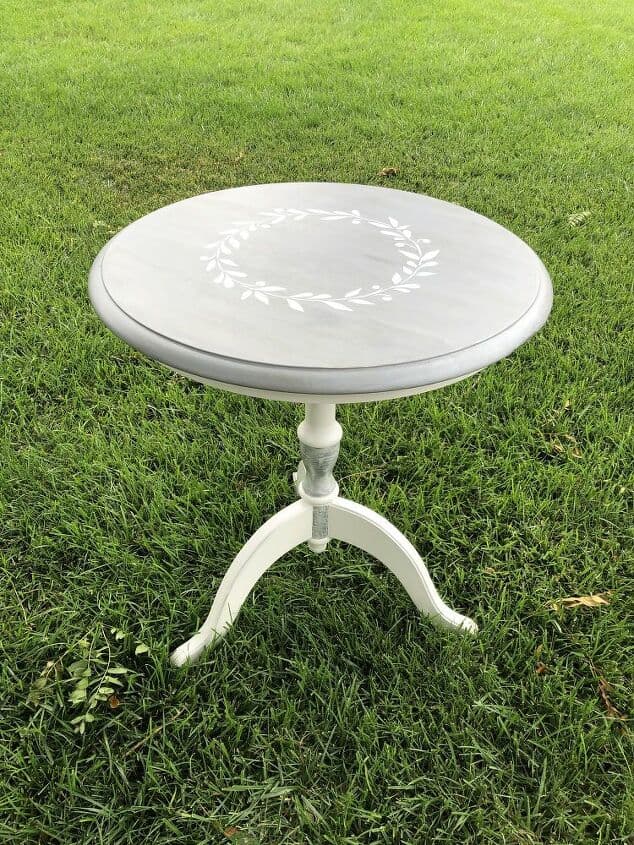
Beautiful and Easy Painted Side Table with Video
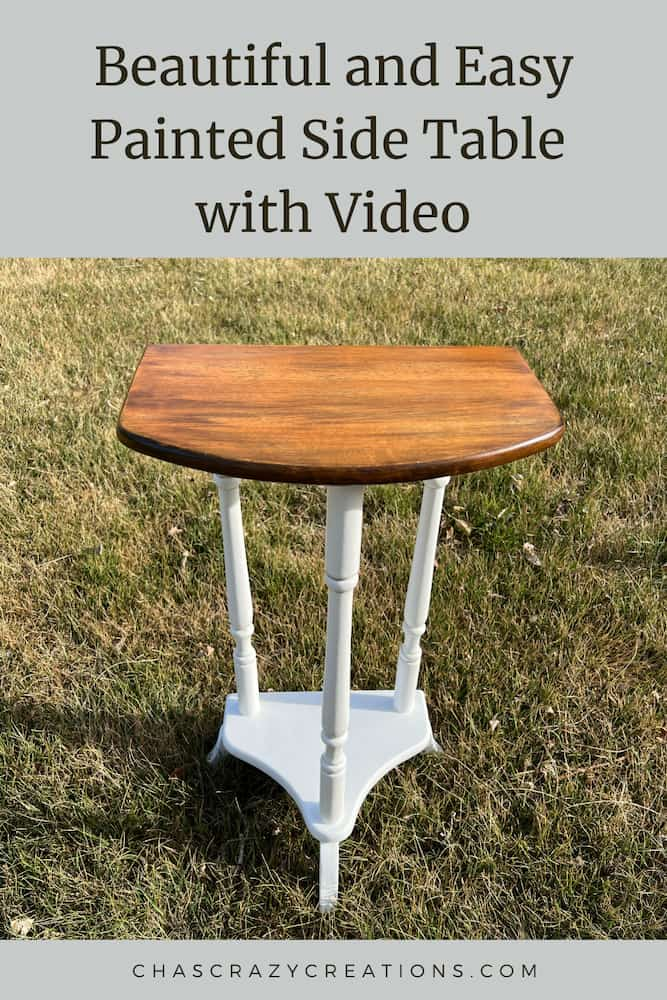
Are you looking for a painted side table? Don’t want to spend a fortune? You can easily flip furniture on a budget. I found this table at a garage sale for just $5 and turned it into decor we love.

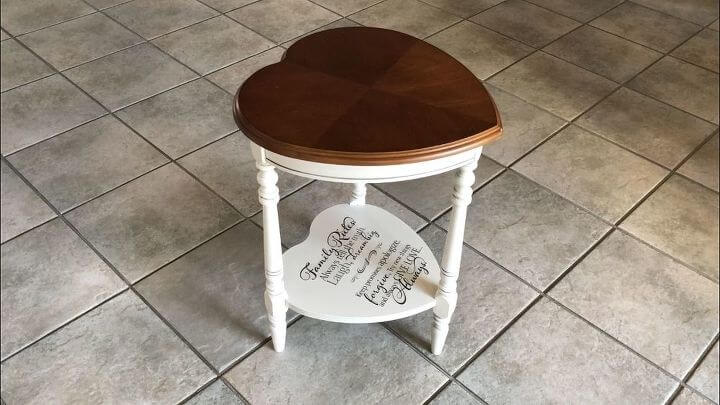
I love doing furniture makeovers. I found this little side table at a garage sale for just five dollars. Garage sales are great places to find gently used furniture pieces. The legs weren’t attached so I placed them back onto the table and tightened everything up.
Painted Side Table Materials
 Decor Therapy Simplify End …Shop on Amazon
, PROMOFAHDC") FolkArt Home Décor Chalk F…Shop on Amazon
FolkArt Home Décor Chalk F…Shop on Amazon, Walnut") FolkArt Home Decor Wood Tin…Shop on Amazon
FolkArt Home Decor Wood Tin…Shop on Amazon") BLACK+DECKER Orbital Sander…Shop on Amazon
BLACK+DECKER Orbital Sander…Shop on Amazon
Painted Side Table Video
Painted Side Table instructions
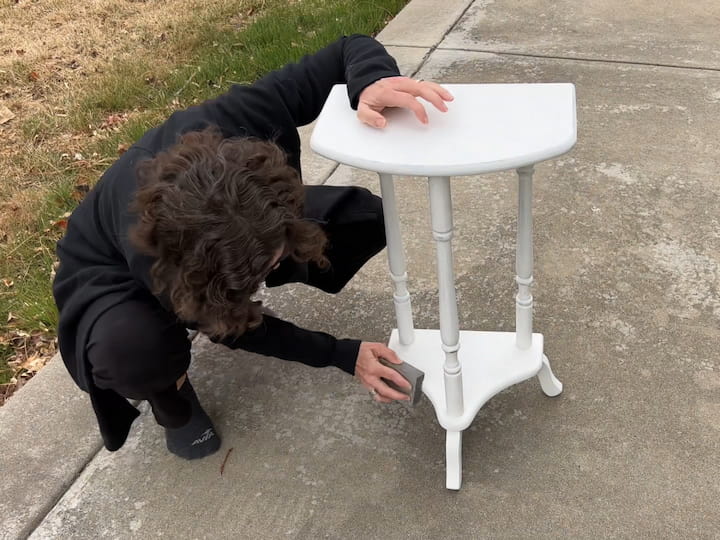
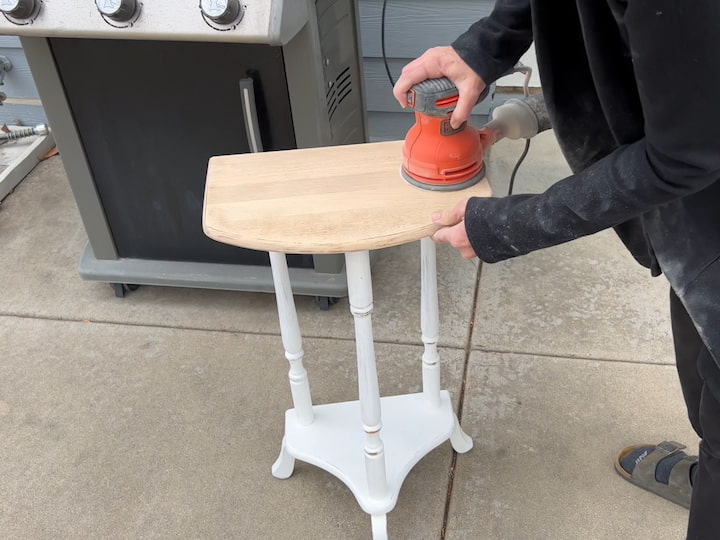
1. Sand The Table
The sheen of the paint they used was shiny and cracking so I took a sanding block and roughed it up so I could get ready to paint it.
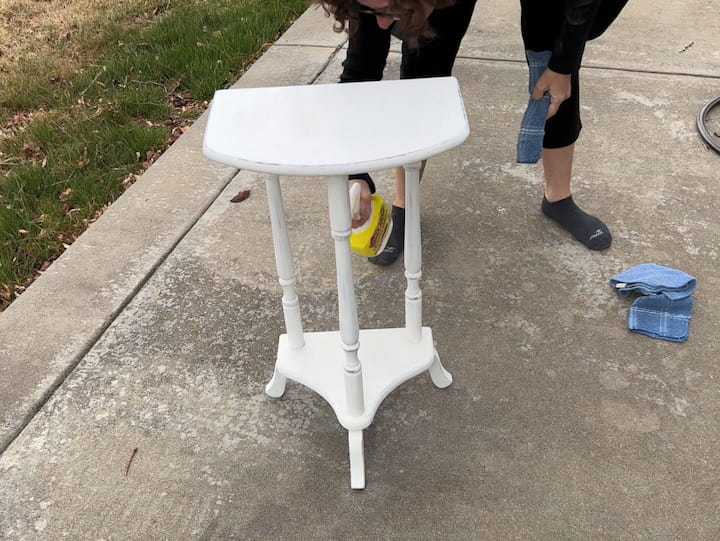
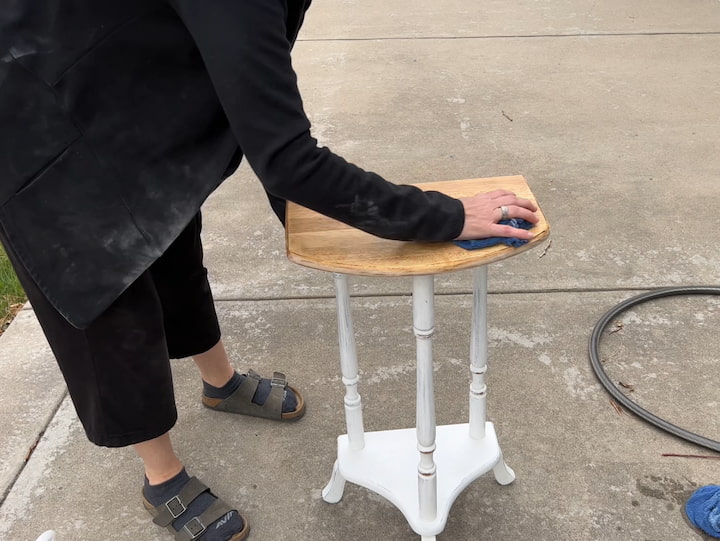
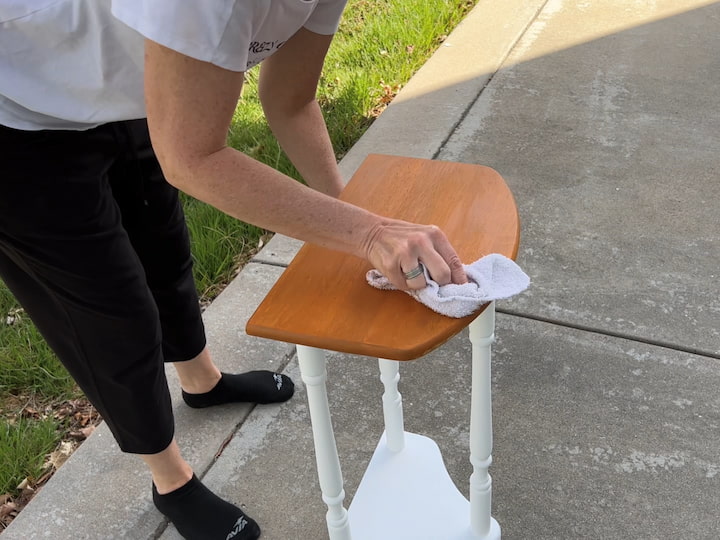
2. Clean your Table
Next, I decided to prep using Krud cutter to clean the entire piece. This removes all the sanding dust as well as any of the other oil, dirt, debris, and sticky stuff left on the table. It may not be visible now but would show up when I try to paint it.
3. Repeat steps 1 & 2 if necessary
Once I had messed around with this table enough I decided that I wanted to sand the tabletop all the way down to the wood to match another accent table in the living room that I’d done in a previous video.
If necessary you can use wood fillers if there are holes, then sand that smooth as well. After the sanding was done I cleaned it again with Krud cutter.
4. Paint the table
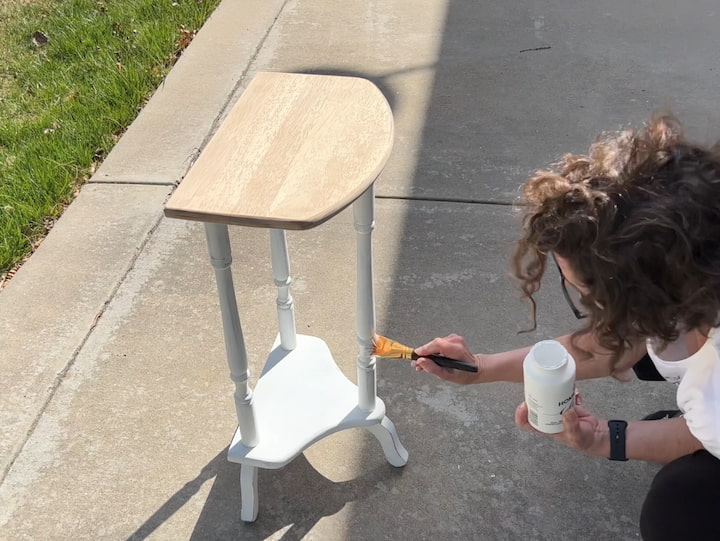
I wanted to start by painting the legs and the bottom half of the table. I used Folk Art Home Decor chalk paint in the color white. I painted the entire base of the table all of the legs the feet and the bottom with white paint.
I gave it one full coat and let it dry according to the bottle’s instructions and then gave the whole thing a second coat of paint.
One of my favorite things about this paint is that it’s water soluble so it cleans off of skin and brushes easily. This is my secret weapon because it’s so easy to work with. Of course, you can always wear gloves if you prefer. After I finished the second coat I let it dry completely and I was ready to move on to the top.
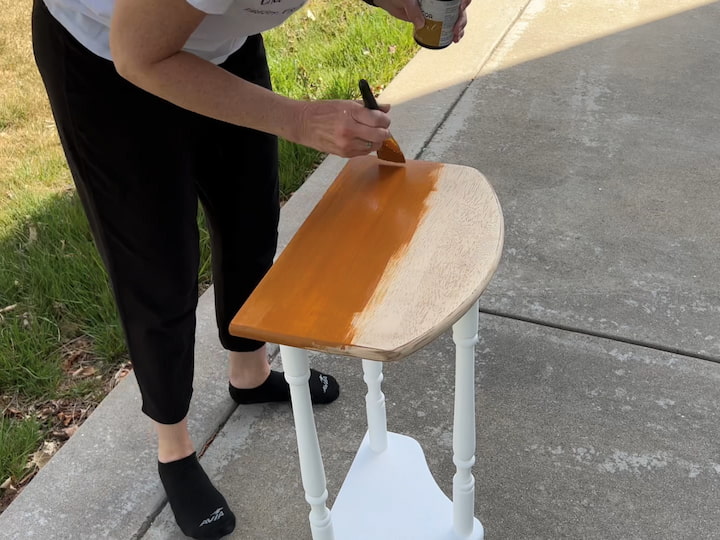
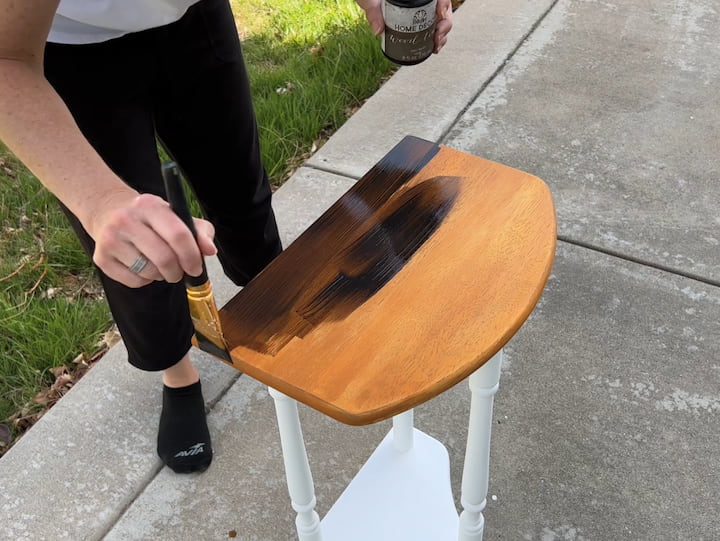
I used Folk Art Home Decor Wood Tint in the color oak to paint the top and sides. Again this is water soluble so really easy to clean up out of your brushes.
I let the paint sit for a couple of minutes and then I came back with a dry rag and wiped off the excess then let it dry.
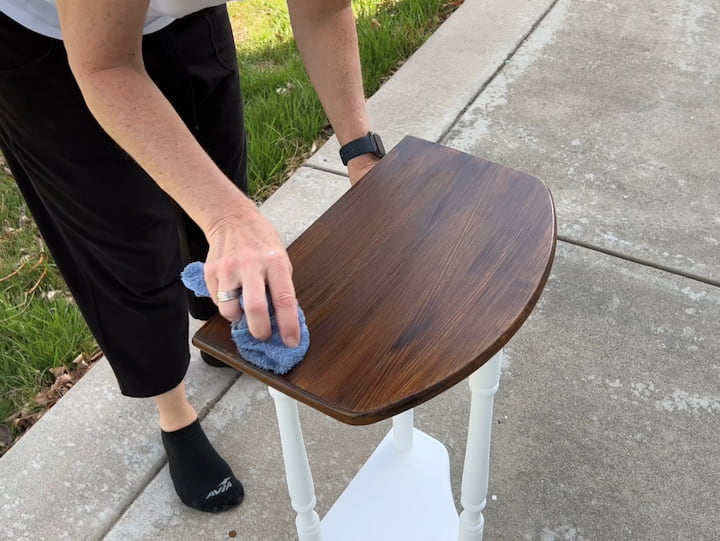
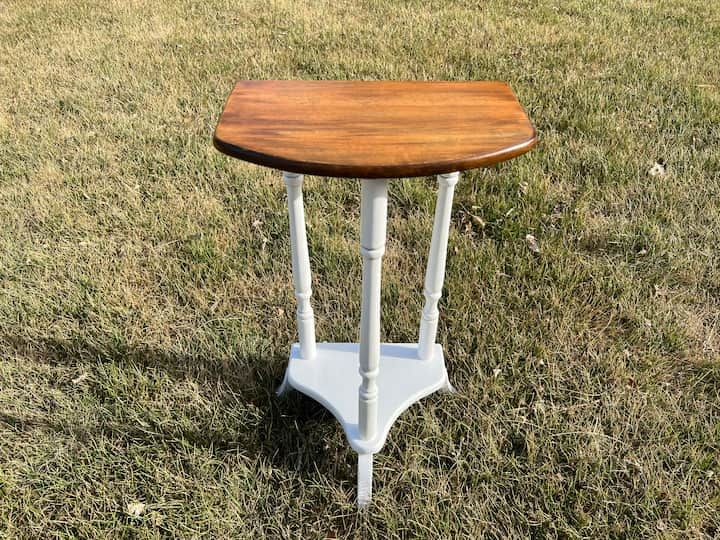
I thought the wood tint was a little more orange than I wanted it to be. I brought the table inside to compare it to my other table and wanted it to be a little bit darker. I used Folk Art Home Decor Wood Tint in the color walnut and painted over the entire top and sides of the table. I work to get nice even brush strokes.
5. Let the Paint Dry
I let that sit for a little bit and then I came back with a dry soft cloth and wiped off the excess. I tried to be careful to be nice and smooth. The coloration of the oak underneath started to come through the top and I love how it turned out. I let that dry completely.
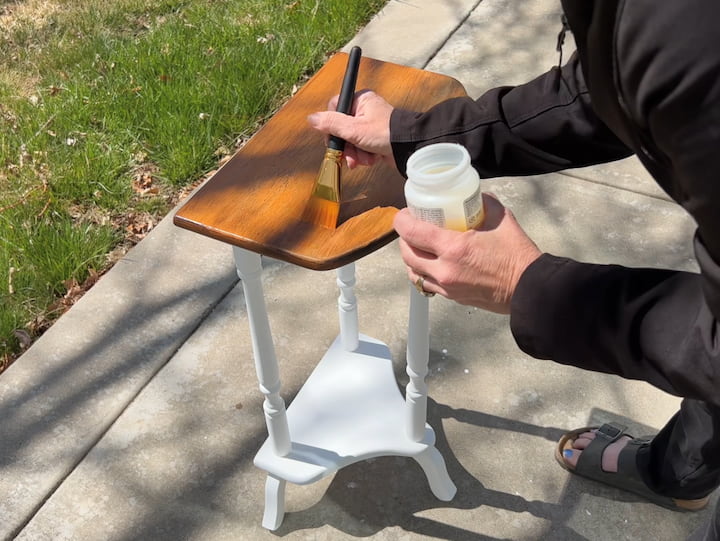
6. Add A Protective Top Coat To the Painted Table
Now it was time to move on to folk art home decor varnish. I was careful to roll the varnish and didn’t shake it according to the bottle instructions. I started at the top of the table working with the wood with nice and even strokes all the way across.
After I finished that I worked around the edges of the wood and then started from the top of the legs and worked my way down to the bottom and all the way down to the feet. I let that dry according to the bottle’s instructions and I gave the entire thing a second coat and then let that dry completely.
I let this dry overnight before moving on to the next step which is glazing.
7. Glaze your Painted Table
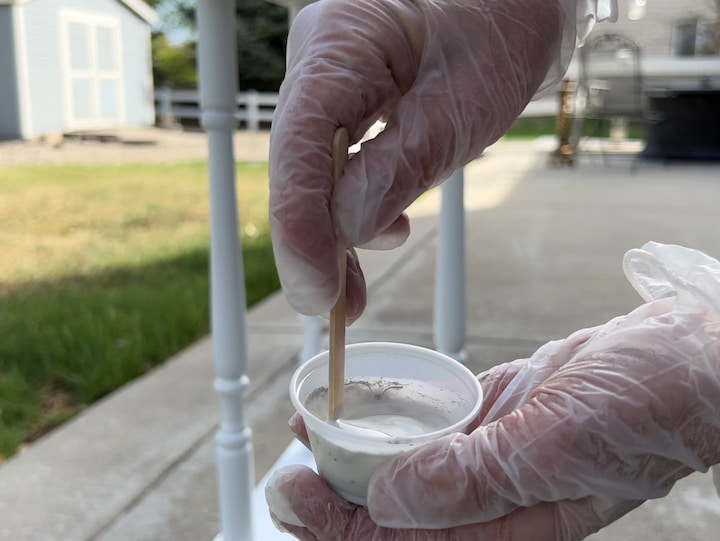
For the glazing process, I started with Folk Art glazing medium. I am also using my paint Folk Art Home Decor chalk paint in the color partisan Gray. Following the instructions on the back of the glazing bottle, I mixed the two parts together.
I went a little extra heavy on the glazing material as the glaze is what helps give you the time that you need to work on the project. The more paint the faster it dries the less paint the longer you have to work with it.
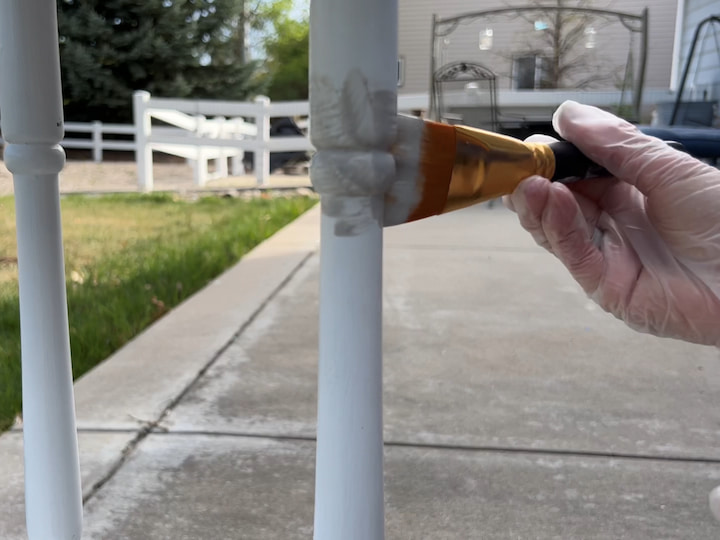
Start this process by painting the glaze. You can paint the entire leg but you want to work in small areas. I was primarily focusing on the indents in this project to bring out the dimension.
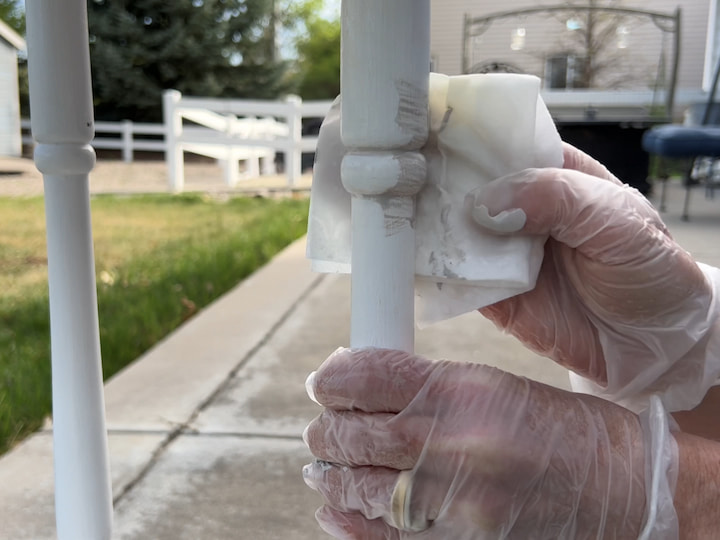
Once you have the glaze on you can take a wipe, I used a baby wipe but you can also use a damp cloth. You just wipe to remove the part you don’t want, leaving the glaze in the creases. I can also fine-tune it to leave more or less glaze.
I could add glaze to the entire thing if I wanted but I just focused on these little indentations. I went around the entire thing and did all of the indents then let it dry.
I hope this inspires you to repurpose and upcycle. I’d love it if you’d subscribe to my YouTube channel and my blog. Thanks for watching and I’ll see you in my next video. Don’t forget to like, share and subscribe.
Painted Side Table Video
Shop any of these stores and I receive a small commission at no cost to you.
 Furinno LUDER Book Shelf, 3…Shop on Amazon
 FDW | 8 Inch Queen Mattress…Shop on Amazon
 Furinno JUST Side Table, 3-…Shop on Amazon
") Simple Houseware 24 Pockets…Shop on Amazon
Simple Houseware 24 Pockets…Shop on Amazon Amazon Basics Classic Pures…Shop on Amazon
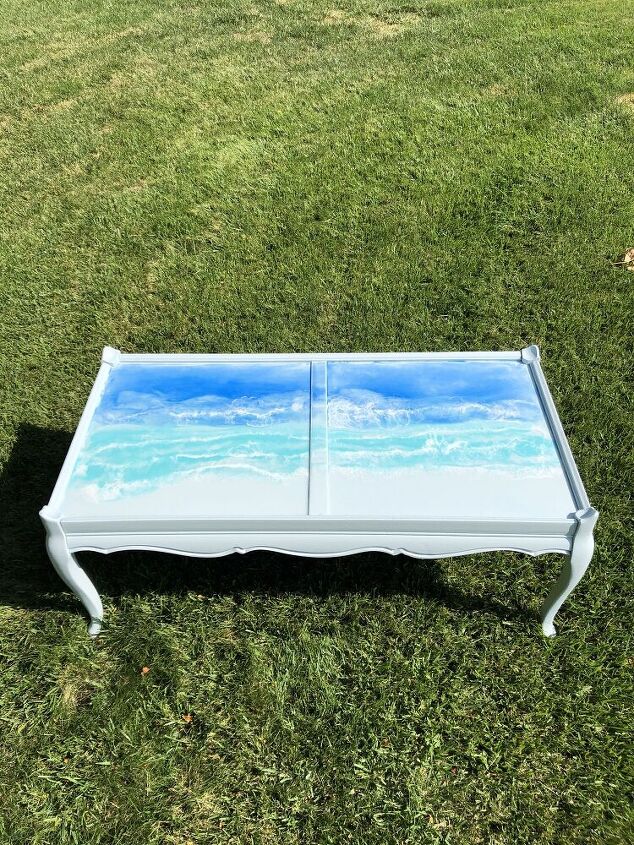
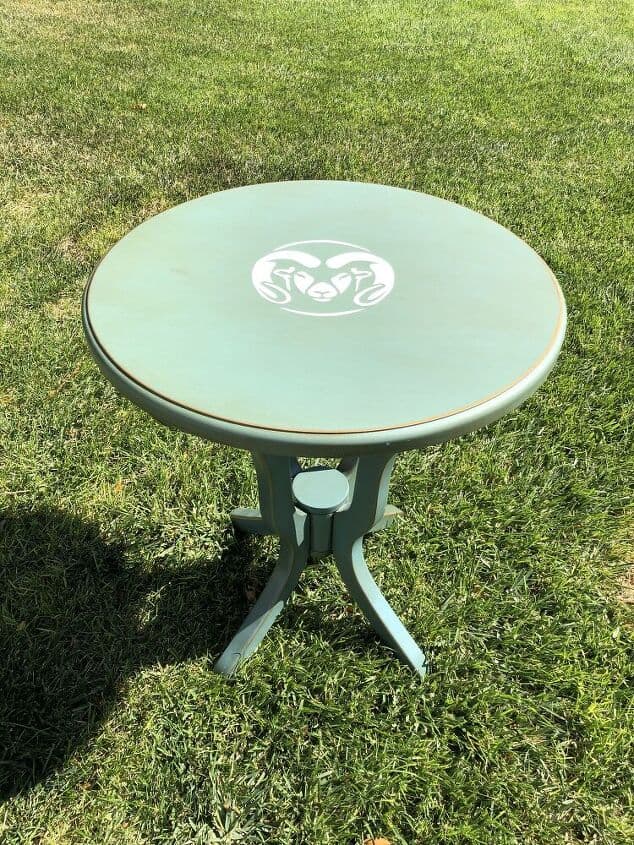
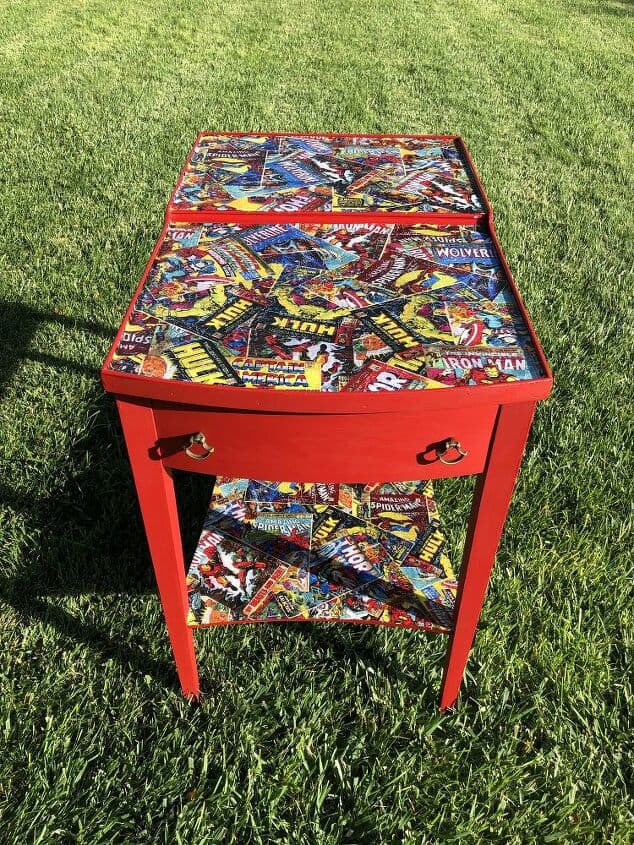
You might like some of my other painted tables
Click the links below the images of the painted table makeovers.
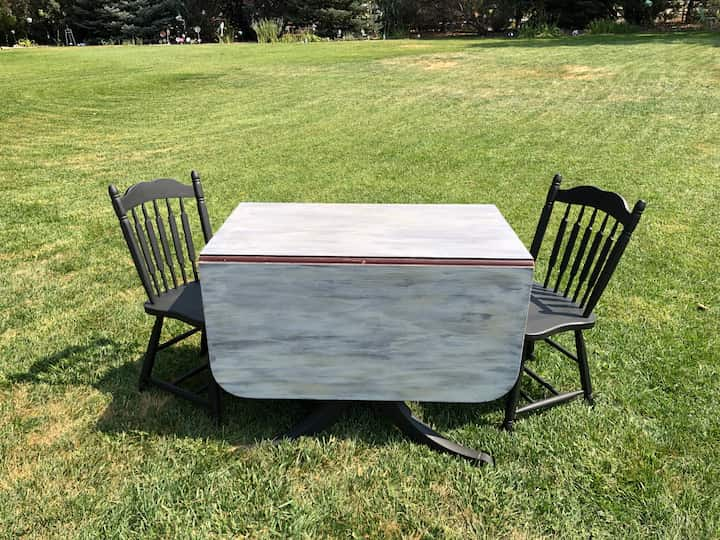
- Reclaimed Wood Dining Table and Chairs DIY
- How To Stencil On Wood
- Beautiful Thrift Store Heart Table Makeover
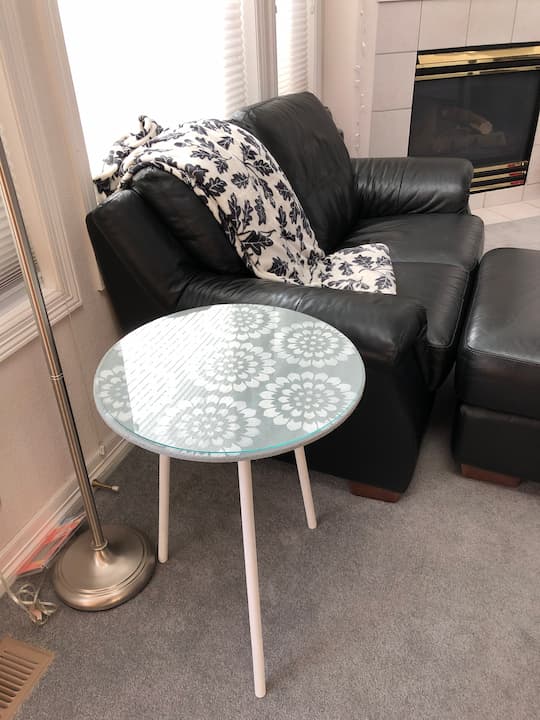
- Quick and Easy DIY Side Table Makeover For Your Home
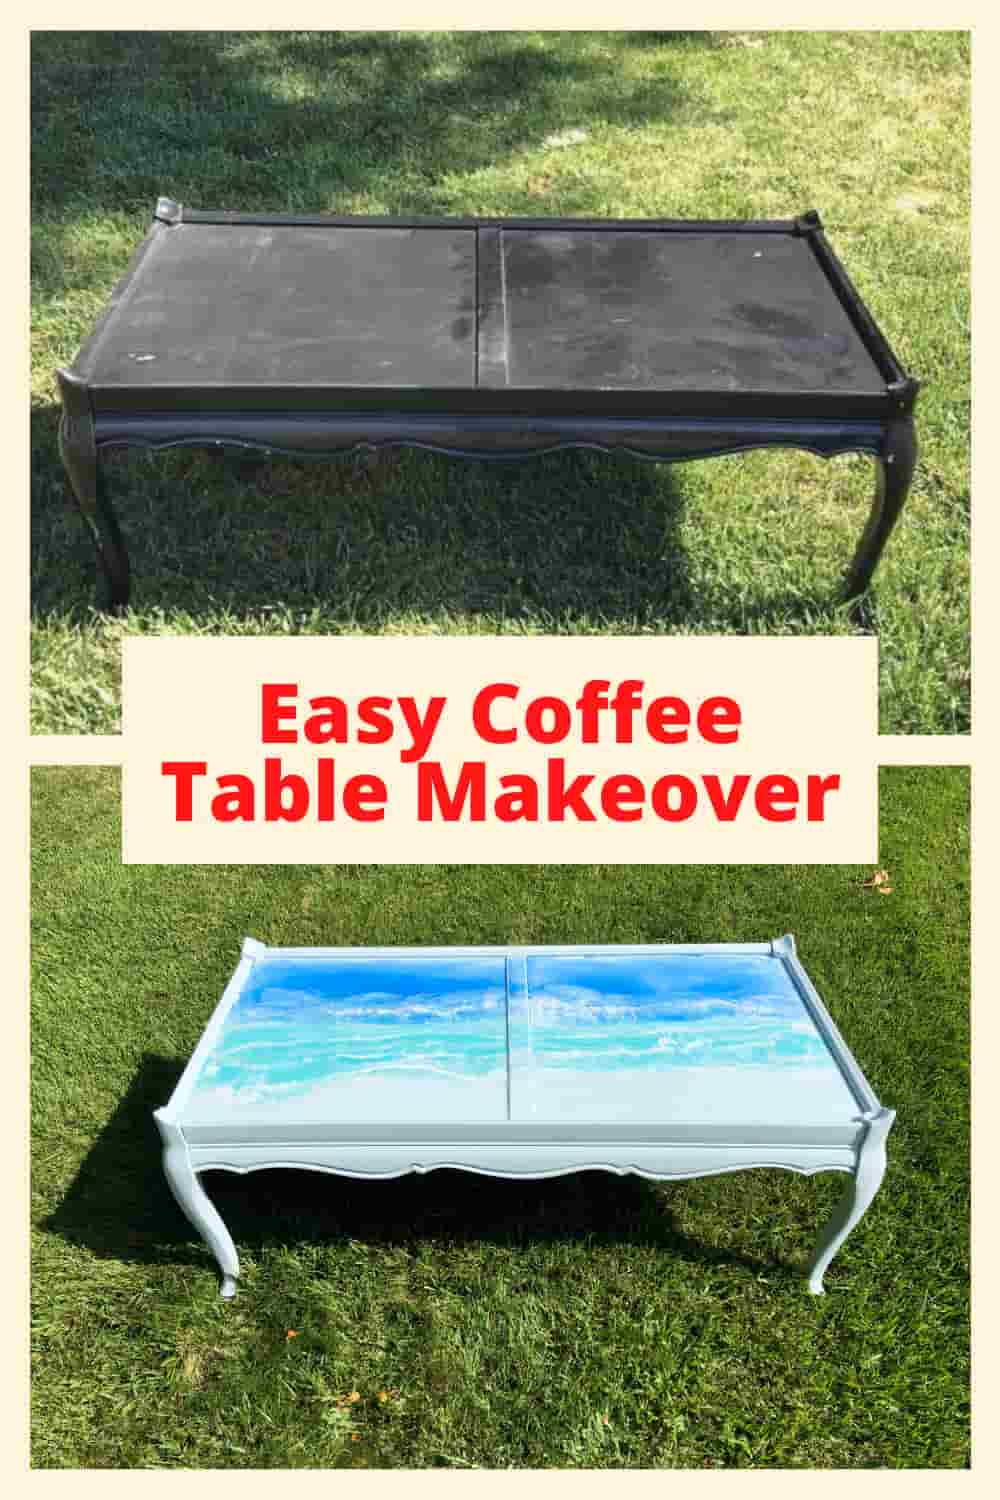
- Easy Coffee Table Makeover
- Quick and Easy Side Table Makeover On A Budget
- How To Stencil With A Printable
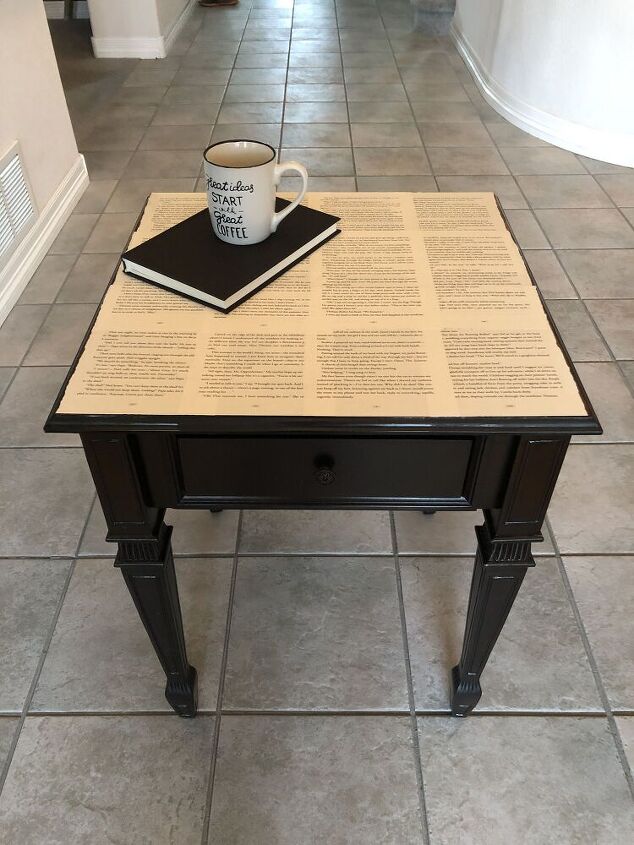
- Chalk Paint Side Table: It’s So Easy and Has Amazing Results
- Updated Side Table
- How To Use A Wood Grain Tool: It’s So Easy