
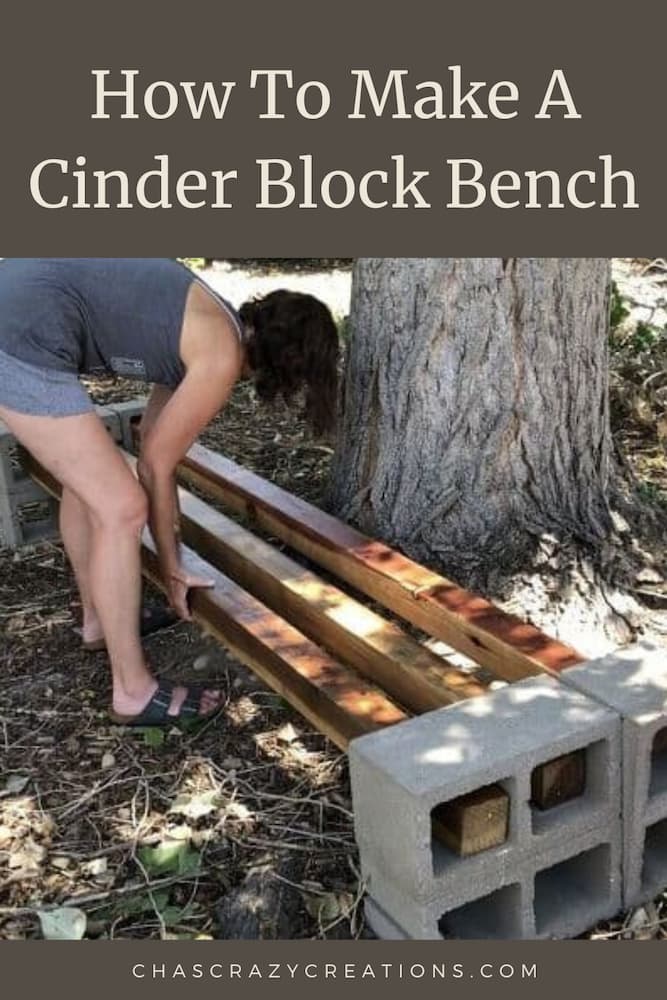
How To Make A DIY Cinderblock Bench
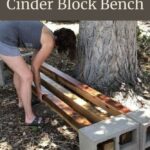
Ever wondered how to make an easy cinder block bench for your outdoor area? This simple and affordable DIY project creates sturdy and stylish bench seating that’s perfect for patios, porches, or even garden areas.
I had built this outdoor bench years ago and it was time to fix it up. This great DIY project is easy to create, and affordable especially compared to the price of outdoor furniture. This beautiful bench can be put in just about any outdoor space you need extra seating whether it’s your front porch, back deck, patio or around a fire pit.
This post is in collaboration with Wagner. All thoughts and opinions are my own. A big thanks to Wagner for providing me the PaintEater & Flexio Paint Sprayer
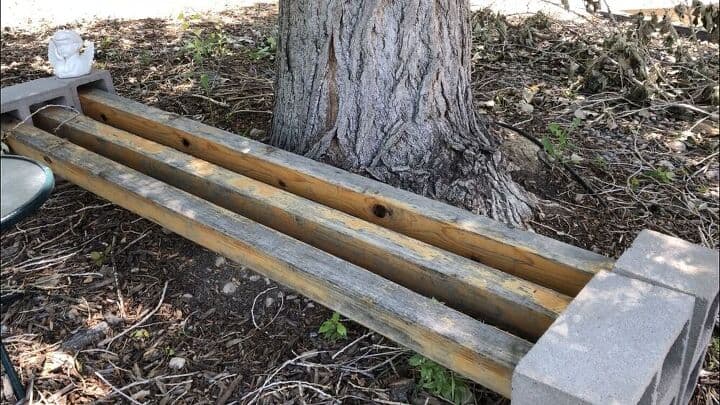
Here’s my original bench – As you can see it has been exposed to constant moisture in the winter which isn’t ideal conditions, and it was time to give it a little love and a refresher.
How To Make A Cinder Block Bench Video
How To Make A Cinder Block Bench
What materials are used for concrete garden bench?
Materials List:
- Cinder Blocks
- 4×4 Wooden Posts
- Outdoor Paint or Sealant
- Paintbrush or Roller
- Cushions or Outdoor Decorative Pillows (optional)
- Construction Adhesive or Liquid Nails (optional)
- Sander or Sandpaper
For this project, you’ll need wood posts, I used 3 Redwood 4x4s. You can pick the length that works depending on the length of your bench. You can readily find wood planks at any building material store, home improvement store, or Home Depot. I like the wood I chose because it’s a pressure-treated wood and shouldn’t warp.
Placement Distance: Measure the length of the bench seat carefully before cutting your wood pieces to ensure a snug and level fit.
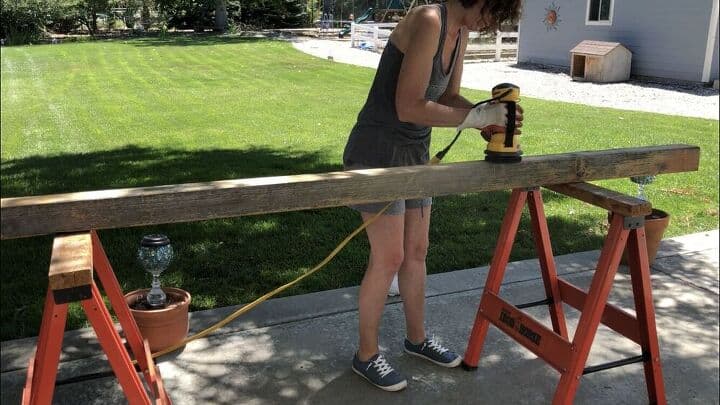
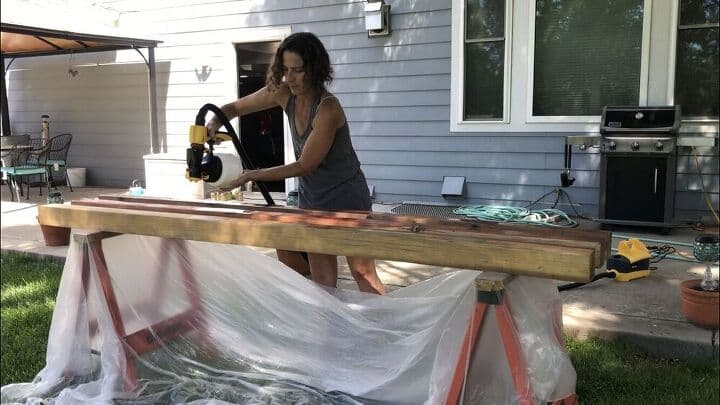
First Sand: Start by sanding the wooden boards on all sides. I did this the easy way and used my Wagner PaintEater to clean off the old product and sand it down. An orbital sander works just as well. I prefer using one of these to a handheld sander with grit sandpaper as that takes a lot of extra time. I made sure to sand the entire surface of each post, as I didn’t want anyone to get slivers.
It worked like a charm and took me only minutes to clean up each board. If the boards are uneven you can level them with a router or jointer. Not everyone has such tools, so you can find yours on the beginner wood routers list. But I don’t think it’s worth the trouble for a street bench.
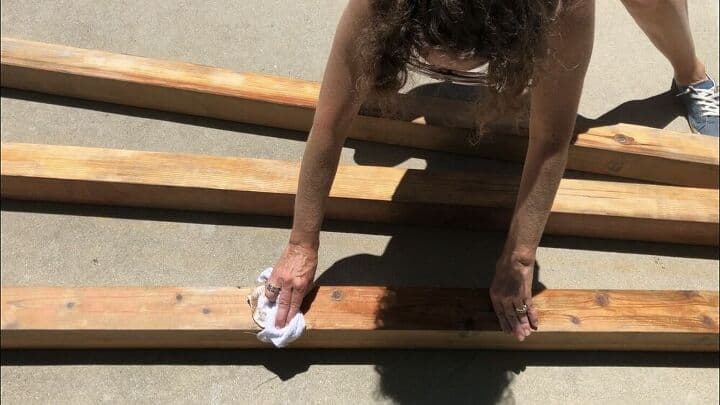
After all the wood was sanded I used a rag and I did some hand washing. I wiped each board on all sides. This will clean off all the sawdust, dirt,and debris, and get it ready for painting or wood stain.

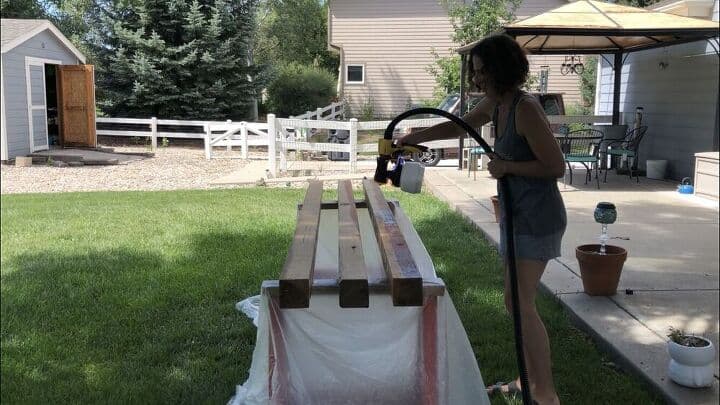
While the wood was drying I poured Varathane Ultimate Spar Urtheane (waterbased for exterior) into my Flexio Paint Sprayer. I read the instructions and adjusted all of the settings for what I needed.
You can use any sealant you’d like, you could change it to a polyurethane or acrylic outdoor exterior paint. If you’d rather paint it a color first and then seal it, that works too!
I started by painting the top of each board. This Flexio paint sprayer made painting so incredibly easy. I even said it was therapeutic to my family.
If you don’t have a spray painter, you can easily use a paint brush and paint the top coat onto the wooden planks.
After I painted the top of each of the boards, I let it dry for 30 minutes.
I then rotated the boards and painted the next side. I repeated this process until all 4 sides were painted. I then repeated this process with all the boards giving them a second layer, then a third coat.

I painted the ends of the wood as well to seal it. I just have to say that after hand painting them the first time, and this time using the paint sprayer…. it was so much faster and easier this time around! The paint sprayer is definitely a great way to go.

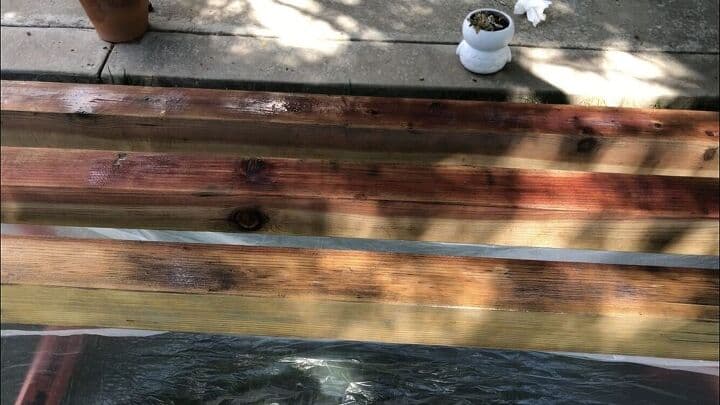
Don’t the boards look much better? I let the boards dry completely before moving forward.

How many cinder blocks does it take to make a bench?
I used standard cinder blocks, also known as square cinder blocks, which are easy to find at most home improvement stores.
This project needs 6 cinderblocks, concrete blocks, or cement blocks and you set them up in this shape. 2 stacked on top of each other and the other one is vertical behind the first 2.
Rotate the blocks so the nicer looking side faces out, especially if you’re placing the bench in a high-visibility area.
Optional Prep: If your cinder blocks are dusty or dirty, give them a quick scrub using a nylon scrub brush and a bucket of soapy water. Let them dry before assembly.
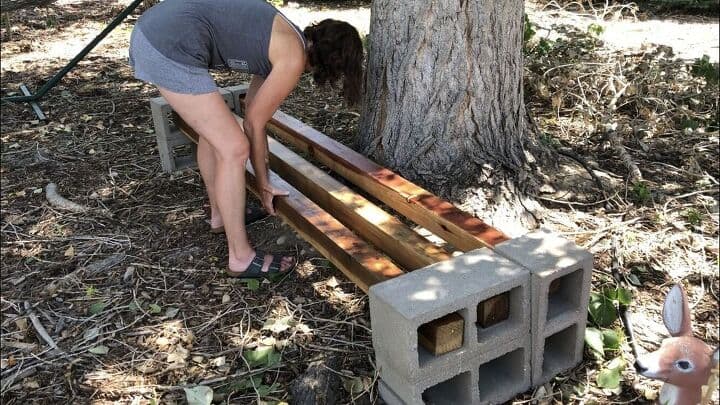
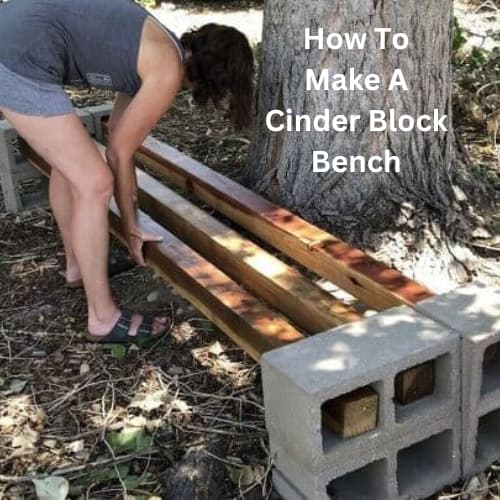
Next, I slid each of the boards into the top hole in the cinder blocks on either side.
Make sure the wood slides evenly into the holes and sits flush toward the back of the block for stability.
The added weight of the cinder blocks helps anchor the bench securely, so there’s no need for nails or screws.
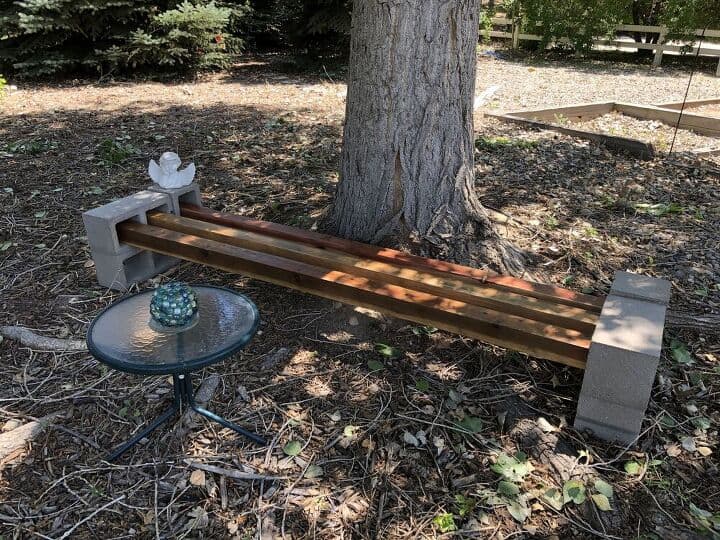
We made this outdoor seating area in tribute to the people and pets we have lost. It’s our memorial bench. It was a fun and easy DIY project and a great way to make inexpensive outdoor furniture.
Here is the finished product I love how my concrete block bench turned out, and I’m super thrilled with how easy my Wagner PaintEater and Flexio Paint Sprayer made it.
Because this is a waterbased product, I will need to tend to it in the future. I will probably touch it up every year. Or I could cover it when its not in use to help with the durability of the top coat.
Additional DIY Cinder Block Bench Tips
- Add seat cushions or outdoor pillows for extra comfort, especially if you’ll be using the bench for longer periods or entertaining guests.
- You can also get creative with the leftover or extra cinder blocks! Some people turn them into planters by placing soil and plants in the openings. This adds greenery and function to your outdoor space.
- If you aren’t comfortable just stacking the blocks you could use glue to attach them.
- If you’d rather, you can give the boards a coat of primer, give it a coat of acrylic exterior paint, followed by a second coat of paint, and then top that off with a clear water-based urethane of your choice.
Where would you put a DIY cinder block bench like this in your home? Drop that in the comments!
So you know I love the Wagner Steamer, PaintEater, and Paint Sprayer…. what product do you think I want next? Go here to Wagner, look at the options, then come back and tell me in the comments what you think!
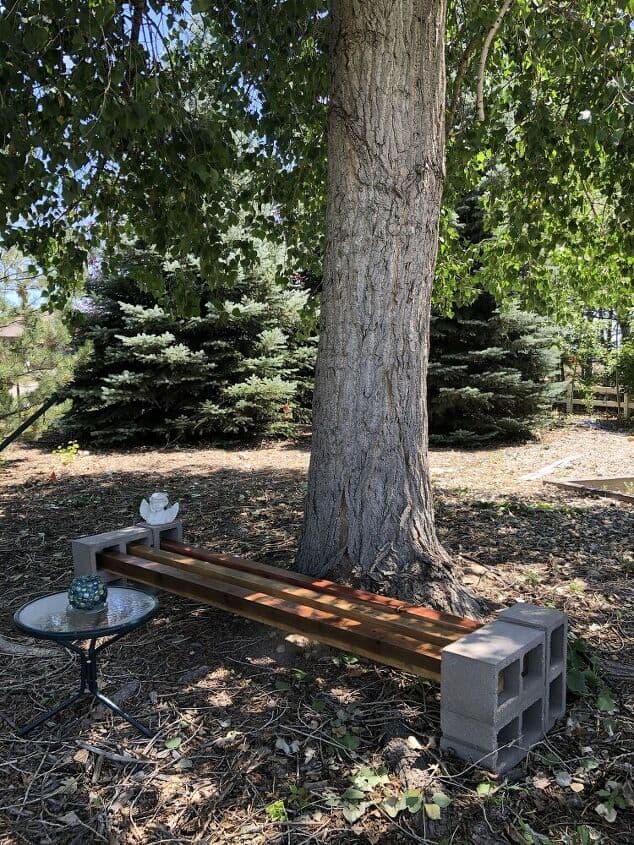
My simple outdoor bench held up to the elements for many years. These types of benches are know for their stability and longevity.
If you are looking for comfortable seats try adding outdoor cushions or make your own using outdoor fabric.
How To Make A Cinder Block Bench Video – Quick YouTube Video
Shop any of these stores and I receive a small commission at no cost to you.

Find out “What Exactly Does It Mean To Repurpose Or Upcycle“, save money, and create the most amazing things.
Learn more about “Creating Seasonal Decor for Your Home” to create seasonal decor that doesn’t cost an arm and a leg.


is it safe to sit on
Yes it is, we love it
********************************************************
Thank you for sharing at #OverTheMoon. Pinned and shared. Have a lovely week. I hope to see you at next week’s party too! Please stay safe and healthy. Come party with us at Over The Moon! Catapult your content Over The Moon! @marilyn_lesniak @EclecticRedBarn
********************************************************
Thank you so much Marilyn, I hope you’re having a great week.
Now I want one for my yard! You did a great job of fixing it up to last even more years. Thanks as always for stopping by and sharing your projects each week. #HomeMattersParty
Thank you so much Donna and I’m thrilled you want one for your home too 🙂
Simple enough that a newbie to DIY could do it. It looks really nice.
Michelle
mybijoulifeonline.com
Thank you so much – and it’s so true! Just buy the supplies and create 🙂
It looks great, you’ve created a lovely spot to sit in that gorgeous dappled shade.
Thank you so much Julie, I appreciate it. We enjoy it and it’s a great memorial space.
What a fabulous idea. It is funny but cinder blocks remind me of when I was growing up. Our barn and old grainery were made of cinder blocks. I miss the farm when it comes to things like this. I could have totally found the cinder blocks and wood to make this bench on the farm. It was so much more fun than going and buying these type of things! Thank you for sharing.
Oh Amy, thank you so much for sharing that memory. My childhood home had a basement made of cinder blocks so I totally know what you’re saying. Love that you grew up on a farm. My grandparent’s farm (now run by my uncle and cousins) celebrated 100 years this year.
Wow – that’s so cool!! I’m betting you want the paint roller next. (At least if you don’t, I’m happy to take it for you) 😉 You have such great ideas Chas, and the memorial part is so sweet! ? Nice work!
Thank you so much Barbara! It’s so hard to choose… I like so many of their products… but you are right! I was thinking about the roller. Thank you for your kind words and glad you like the memorial tribute.
This bench is genius! I love how it looks and how doable it is! The color is so beautiful!!! I would put it down by the lake.
Thank you so much Kristin! Oh I love that you could use this at your home too … lake view sounds lovely. It was super easy and so versatile for anyone’s porch/deck/patio/yard… etc
Wow! Looks great! Using the Wagner painter made this so quick and easy. This is like a brand new bench now! You rock with those tools!
Thank you so much Chloe! You’re so sweet, thanks for the kind words. I love my Wagner tools, they make everything so much easier and faster!
Can you tell me how easy or hard it is to clean? I’ve been thinking about getting one of these but I’ve never tried using a sprayer. Great post!
Great question Andrea! I used a water based product this time around and it was really easy to take apart and clean. The instructions in the manual are fantastic and walk you through every step of the cleaning process whether you use water based, oil based, etc.
Love this DIY project! I know it is something I will be making soon. Nice to see that you like the Wagner products I like them too.
Thank you so much Cynthia, and I’m so excited you want to make one too. I’m such a fan of Wagner, they’re the greatest!