
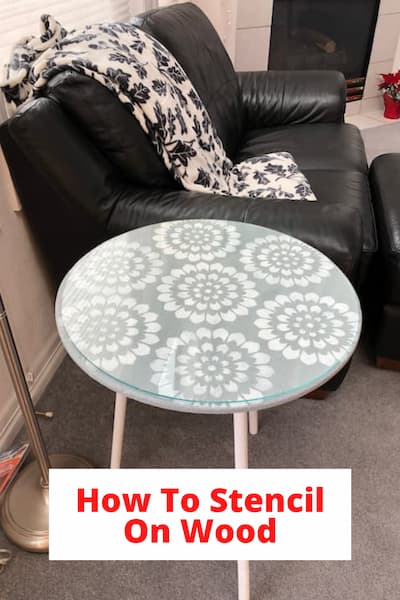
How To Stencil On Wood
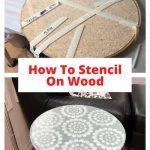
How do you stencil on wood? I found this little table at a thrift store and was challenged to up-cycle it. I used a stencil and loved how it turned out. Below is a step-by-step tutorial showing you how I used this simple technique to refurbish this inexpensive table. This is an easy way to update a piece of wood furniture or any wood surface with a stenciled design.
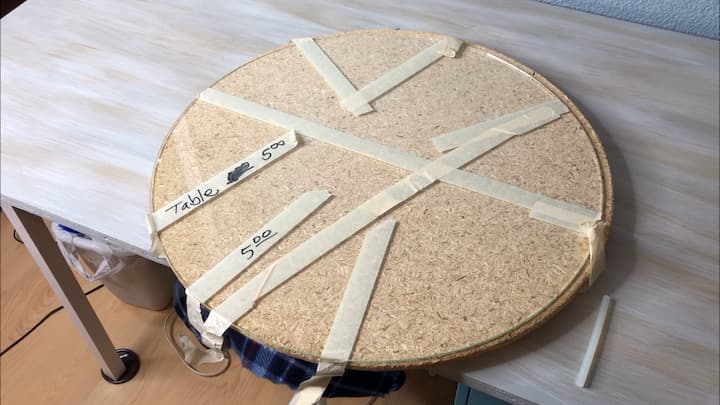
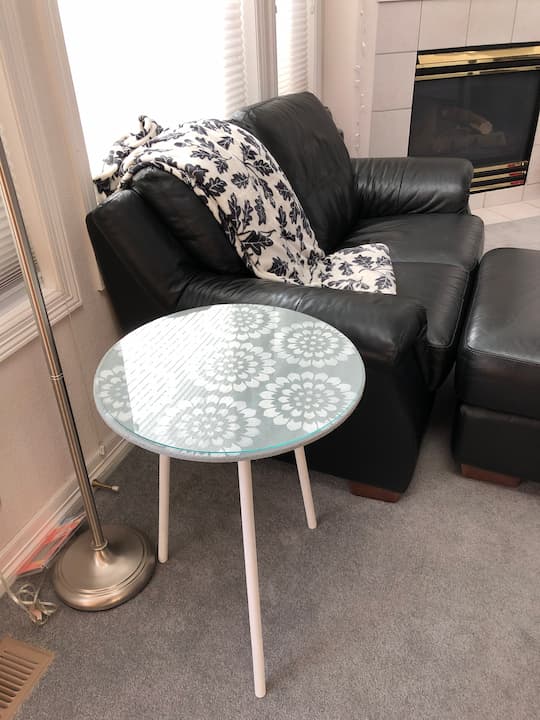
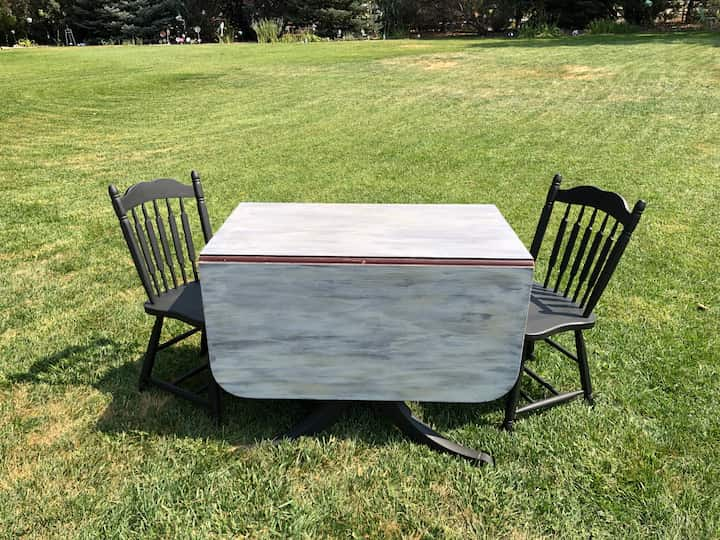
Here is the original table that I found at the thrift store. The first thing I did was clean the table and glass.
Materials Needed for this project
- Paint
- Stencil
- Stencil Brush
- Optional – Stencil Tape
How To Stencil On Wood Video
Steps for Stenciling
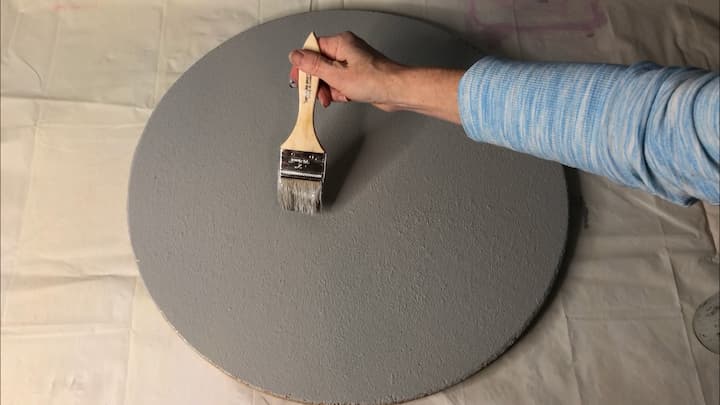
I painted the base color on the table with Folk Art Home Decor Chalk Paint in the color Silver Shadow. Chalk paint is one of my favorite paints to use for DIY projects. I gave it one coat, then for the best results, I let that dry completely before adding a second coat.
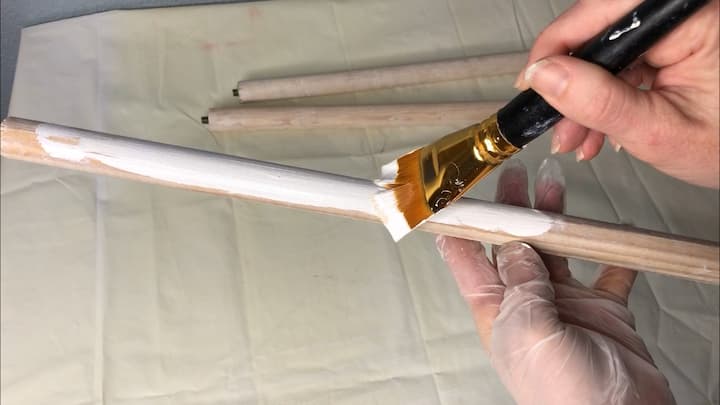
While the table top was drying I painted the legs with Folk Art Home Decor Wood Tint in white. I painted it on, and then wiped off the excess. Full disclosure this was my first attempt and although very pretty, it wasn’t the look I was going for. I decided to paint the legs with Folk Art Home Decor Chalk Paint in the color white.
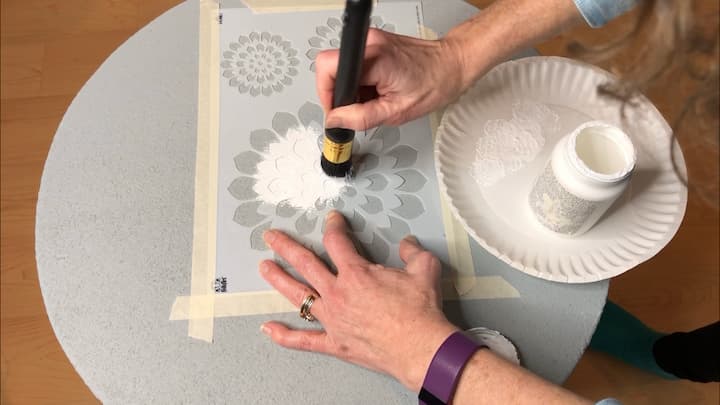
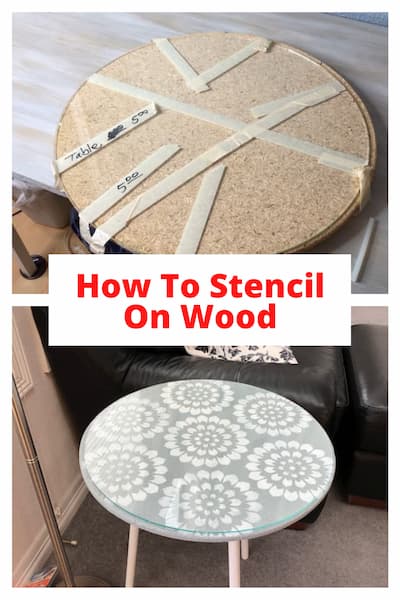
Once everything was dry, it was time to stencil. I placed the stencil design on the table in the center and secured the stencil with stencil tape. This would prevent the stencil from moving around while I was working with it.
I dipped my stenciling brush into the paint, and then I tapped it on a paper plate to get rid of as much excess paint as possible. This is an important step, it’s the best way to prevent paint bleed underneath the edges of the stencil and ensure that you have crisp lines. Once I had just a small amount of paint I tapped the stencil brush onto the table and stencil. I continued tapping until I got the look I wanted. When I ran out of paint, I dipped the brush into the paint, offloaded the paint onto the paper plate, then continued tapping on the stencil.
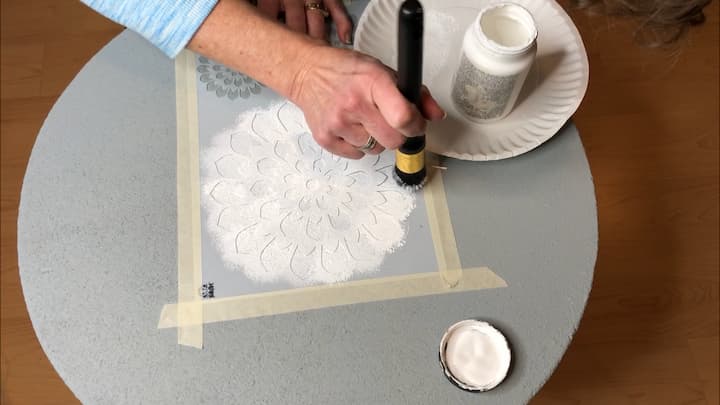
Once I got the entire stencil covered, I carefully peeled up the stencil.
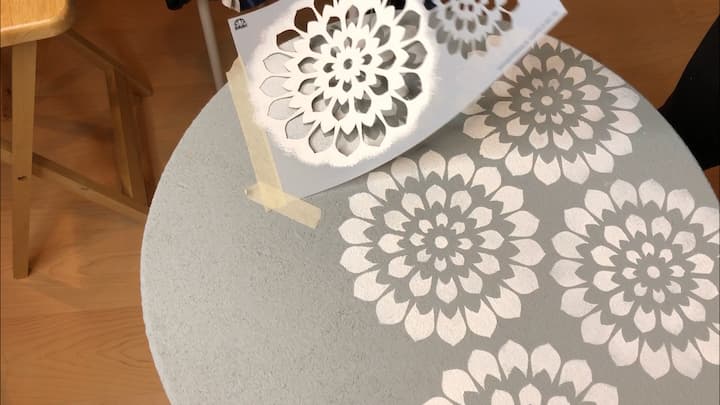
I checked to make sure there wasn’t wet paint on the back of the stencil, and I moved it to a new spot on the table and taped it down. You want to make sure you are working with clean stencils. I was careful not to place anything on the painted stencil while it was drying.
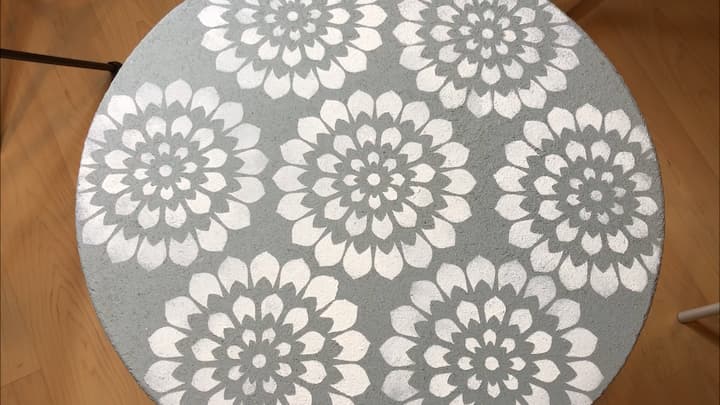
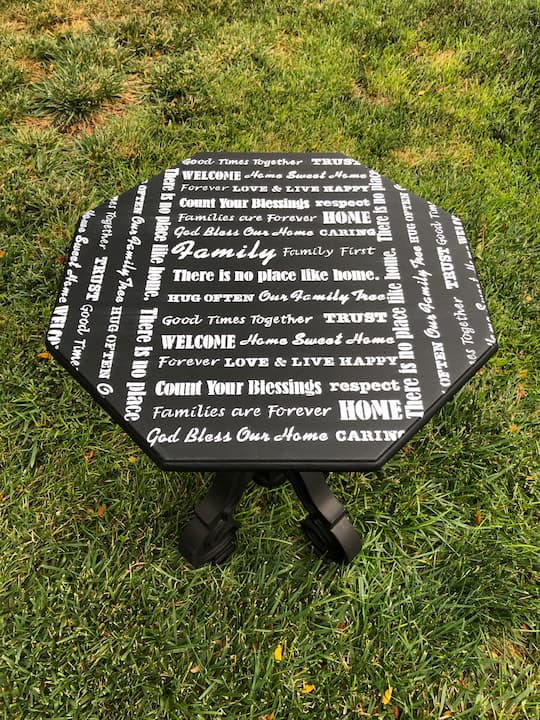
I continued around the entire table. Once everything was stenciled I let it dry completely.
I placed the glass top back on the table and it was ready to be used.
How To Stencil On Wood Video
Shop any of these stores and I receive a small commission at no cost to you.
 Mid Century Small Side Table, 15.8’’ Tall – Round Side End Table Flower Pot Holder Home Decor (Plant and Pot NOT Included) (2 Pack, White )") LITADA Wood Plant Stand (Se…Shop on Amazon
LITADA Wood Plant Stand (Se…Shop on Amazon") TIMEYARD Indoor Plant Stand…Shop on Amazon
TIMEYARD Indoor Plant Stand…Shop on Amazon") FolkArt Home Decor Ultra Ma…Shop on Amazon
FolkArt Home Decor Ultra Ma…Shop on Amazon, 34068") Plaid Stencil Brush (3/4-In…Shop on Amazon
Plaid Stencil Brush (3/4-In…Shop on Amazon FolkArt Small Painting Sten…Shop on Amazon
You can use acrylic paint or chalk paint for a project like this.
- I have been known to blot my paintbrush on a paper towel.
- If you don’t want to use painter’s tape you can use a spray adhesive on the back of your stencil.
- Some people prefer a foam brush or paint brushes over a stencil brush.
- You can make your own custom stencils if you prefer.
- You can spray paint over stencils.
- Be aware of uneven surfaces or rough wood to make sure you get in all of the grooves.
- Be careful when getting to the edge of the stencil so that you don’t accidentally paint where you don’t want to.
I would love to invite you to my YouTube channel and you can see many of my DIY videos there as well.
How To Stencil On Wood
Equipment
- None
Materials
- Paint
- Stencil
- Stencil Brush
- Stencil Tape
Instructions
- I painted the surface of the table with Folk Art Home Decor Chalk Paint in the color Silver Shadow. I gave it one coat, let that dry completely, and then gave it a second coat.
- While the tabletop was drying I painted the legs with Folk Art Home Decor Wood Tint in white. I painted it on and then wiped off the excess. Although very pretty, it wasn’t the look I was going for so I decided to paint the legs with Folk Art Home Decor Chalk Paint in the color white.
- Once everything was dry, it was time to stencil. I placed the stencil on the table in the center and secured the stencil with stencil tape. This would prevent the stencil from moving around while I was working with it.
- I dipped my stencil brush into the paint, and then I tapped it on a paper plate to offload as much paint as possible. This will help prevent bleeding underneath the stencil. I then taped the stencil brush onto the table and stencil. I continued tapping until I got the look I wanted. When I ran out of paint, I dipped the brush into the paint, offloaded the paint on the paper plate, then continued tapping on the stencil.
- Once I got the entire stencil covered, I carefully peeled up the stencil.
- I checked to make sure there wasn’t wet paint under the stencil, and I moved it to a new spot on the table and taped it down. I was careful not to place anything on the other stencil while it was drying.
- I continued around the entire table. Once everything was stenciled I let it dry completely.
- I placed the glass top back on the table and it was ready to be used.
Video
Find out “What Exactly Does It Mean To Repurpose Or Upcycle“, save money, and create the most amazing things.
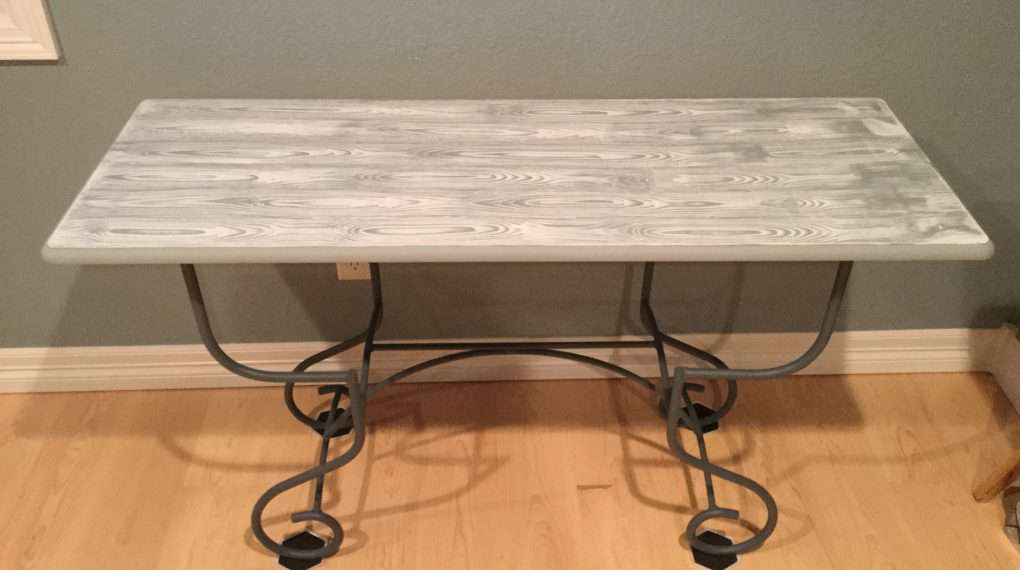
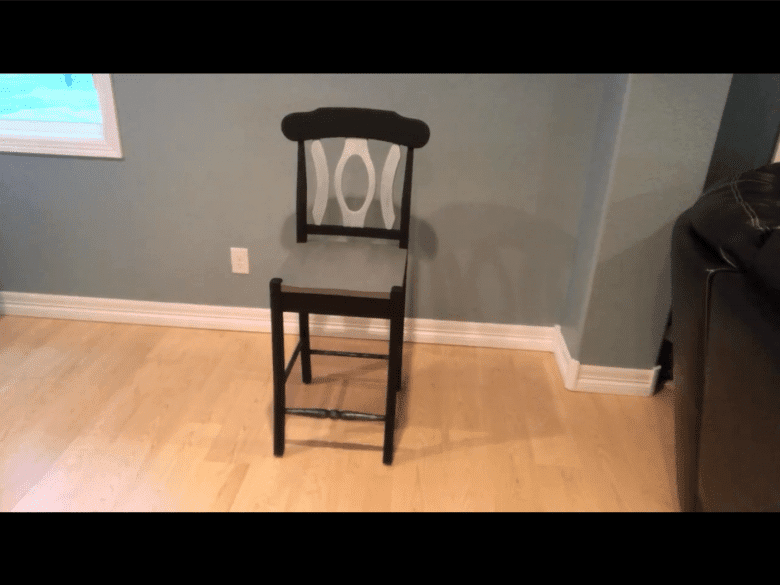
Check out some of my other wood projects!


Chas, this is a very thorough tutorial! I’ve stenciled floors but not furniture before. And the best tips are tapping the paint on, and making sure there is no paint on the bottom of the stencil before you move it! The table looks so good. I am inspired to now look at thrift store tables in a different light! Thank you for sharing.
Thank you so much, Mary, and I feel fortunate that I have seen one of your amazing floors in person! WOW!!! Hugs to you friend.
I love this! I have two chests that are now asking for stencil. Now to get all that started! Thanks for your inspiration, Chas!!
Thank you so much, I’m so excited you want to give this a try too!
You gave new life to this cute table. The paint color and stencil that you used look great. It’s super nice that the table came with a glass top to protect your work.
Thank so much Paula, and I totally agree about the glass.
This is such a pretty idea!! It turned out beautiful!
Thank you so much Kristin 🙂
The table came out to cute! I love the colors and stencil you chose.
Thank you so much Meegan 🙂
Hi Chas! What a great project…now I want to find a cute table to stencil! Love how it turned out. Welcome to The Thrifty Style Team!
Thank you so much Kelly, I’m thrilled you like it and I’m so happy to be a part of the team.
What a fun project! Love how the stencil pops against the dark table top!
Thank you so much Cindy 🙂
So excited to have you on our team, Chas! I love this project!! I need to try it asap!!
Thank you so much, Julie, I’m excited to be a part of the team. I’m thrilled you like the table and want to give it a try too.
Welcome to the Team, Chas! Love the stencil that you chose. It fit perfectly on that tabletop!
Thank you so much Jane, I’m really excited to be joining everyone!
Such a great idea! I love the stencil you chose and the end product looks so chic and high end!
Thank you so much Mary Beth, I really appreciate it.