
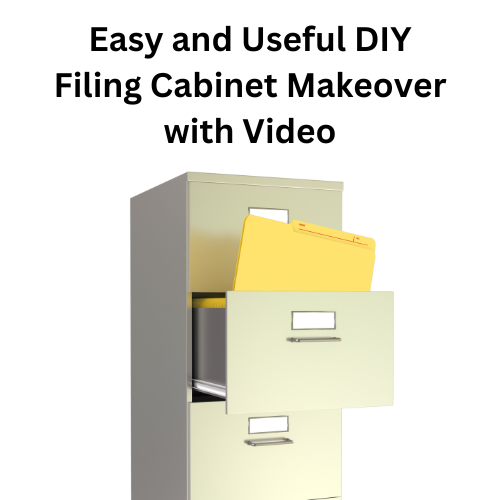
Easy and Useful DIY Filing Cabinet Makeover with Video
Are you wondering how to do a DIY filing cabinet makeover? I not only did just that but also made a desk and it was so easy!
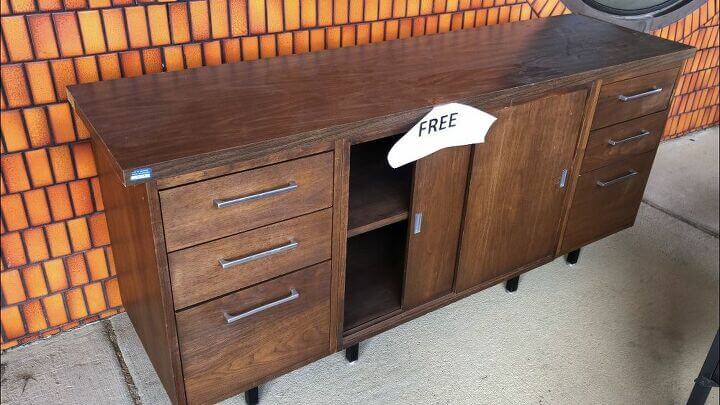
I found an old filing cabinet on the side of the road for free! It was in pretty good condition so tried to figure out what I could do with a metal file cabinet. I love easy DIY projects and with a little help from Hometalk we decided on up-cycling it into a desk for my home office. The best part about this filing cabinet makeover was I was able to take an ugly file cabinet that would have ended up in the landfill and give it a new home and it took very little time and very little money. If you aren’t lucky enough to find an old metal cabinet on the side of the road, check out your local thrift store or yard sale. You can customize it with a fresh coat of paint in your favorite color so it becomes part of your home decor.
DIY Filing Cabinet Makeover Instructions
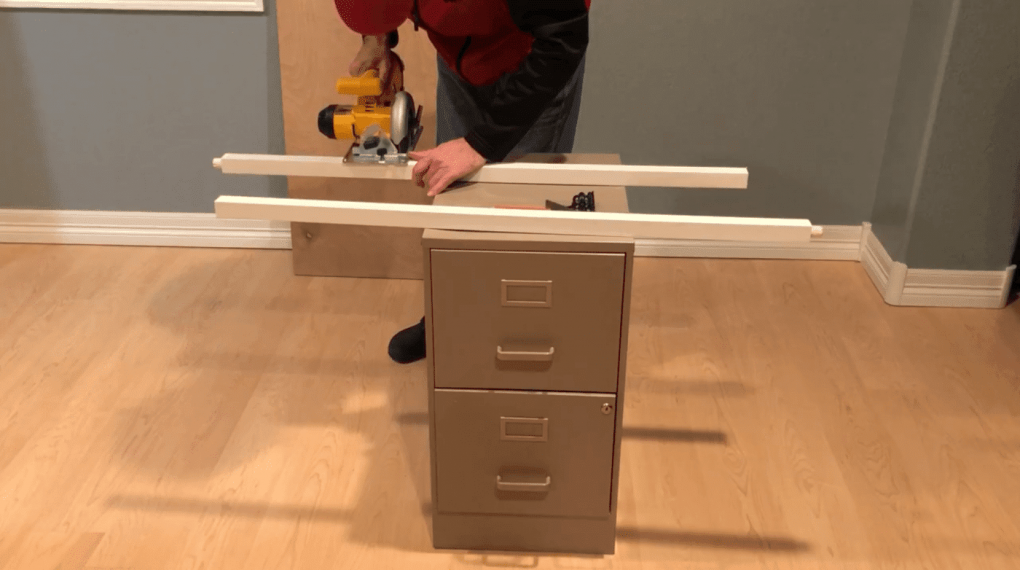
The first thing we did was buy 2 stair balusters to support the opposite side of the desk and a piece of wood for the top. We cut them to be the same size as the old file cabinet.
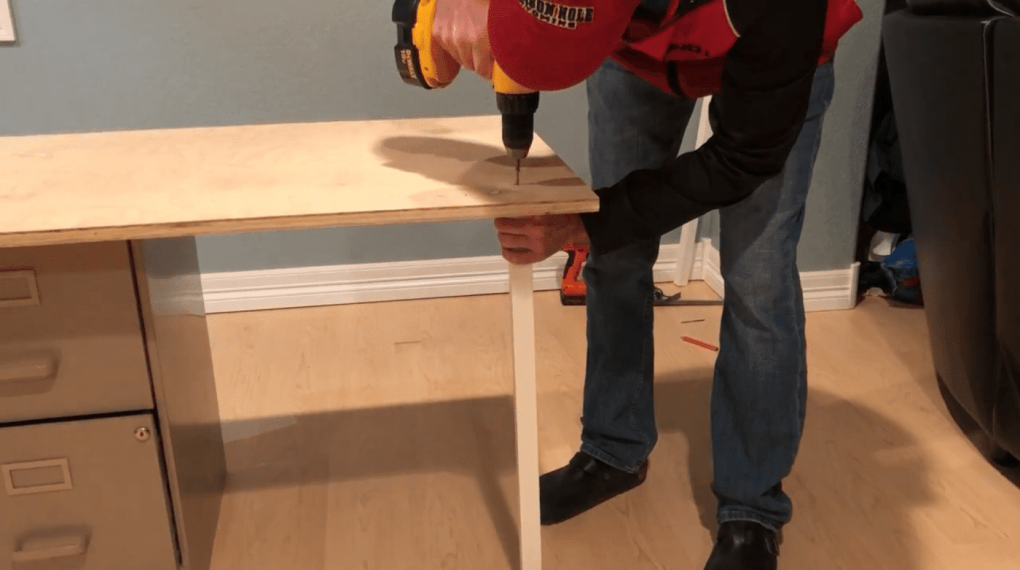
We decided where we wanted the plywood to go on top as the desk top. We measured where the screws needed to go to attach the stair baluster. Ours was approximately 3 inches in from the corners. My husband pre-drilled the screw holes in the board. He made an “X: on the balusters and then pre-drilled a center hole. He lined up the baluster under the wood and used a drill to place the screw through the board and baluster to secure the legs into place.
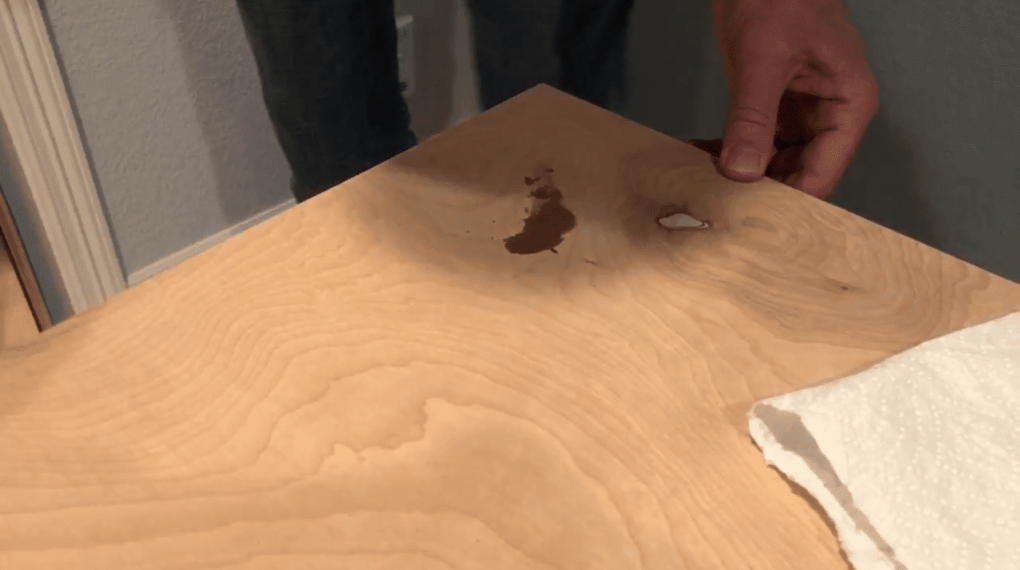
We used some wood putty to cover the screws in the top.
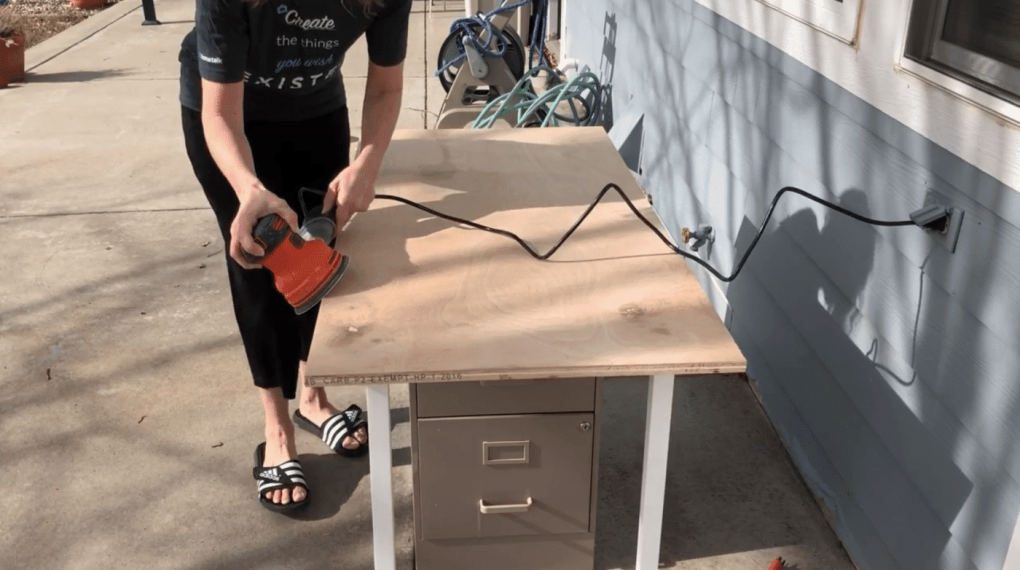
I used my sander to sand down the putty to make it level, and I gave a light sanding to the sides and edges. After the sanding was done, I wiped the board down the wood surface with a damp cloth to clean it before painting. You could also use a tack cloth if you have one.
I removed the hardware from the drawer fronts and painted them with Dixie Belle Metallic Silver.
The first step in painting the old cabinet was to use Dixie Belle Slick Stick – this allows paint to adhere to metal.
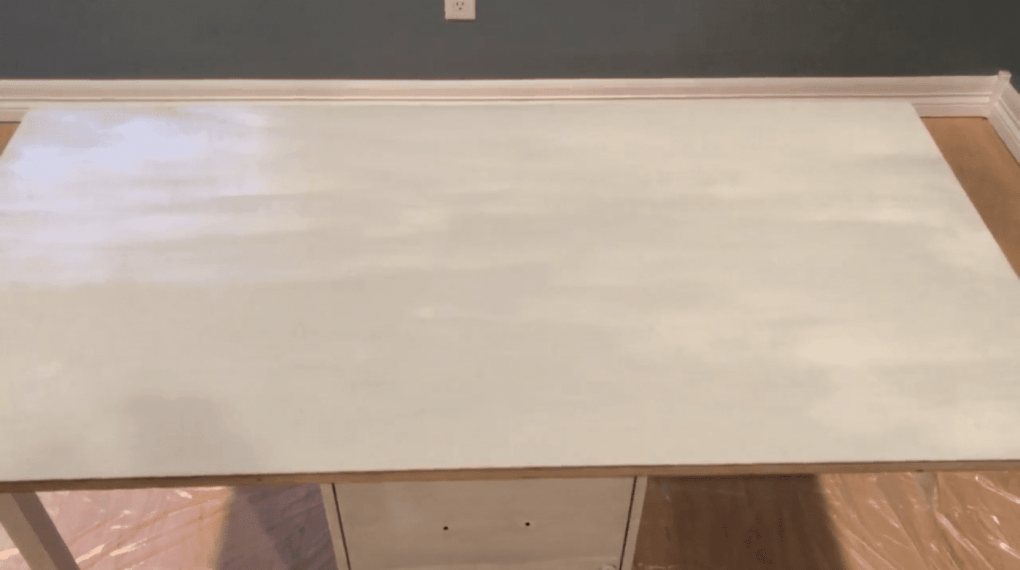
I painted the first coat on the board with Dixie Belle Driftwood paint and let everything dry overnight.
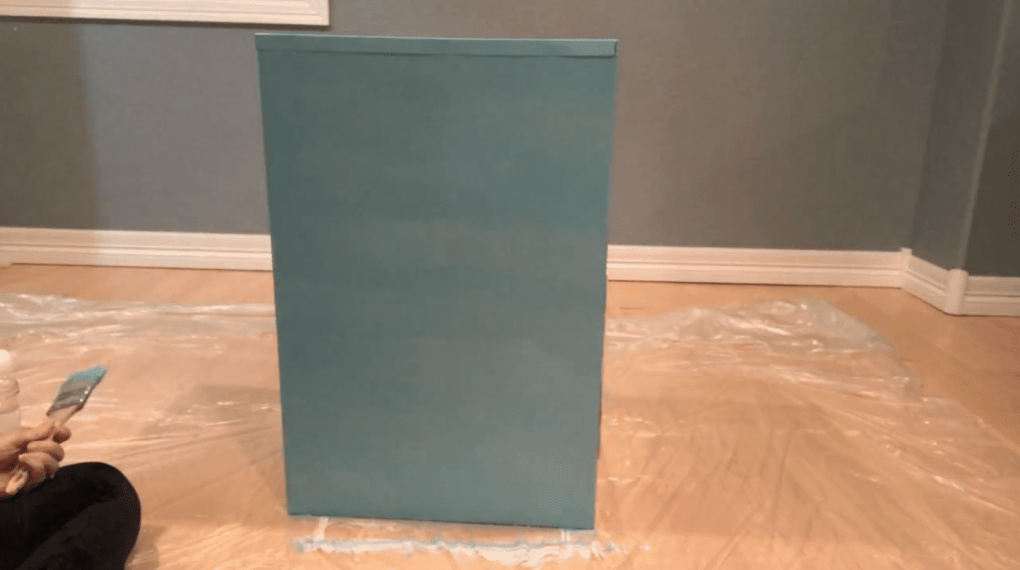
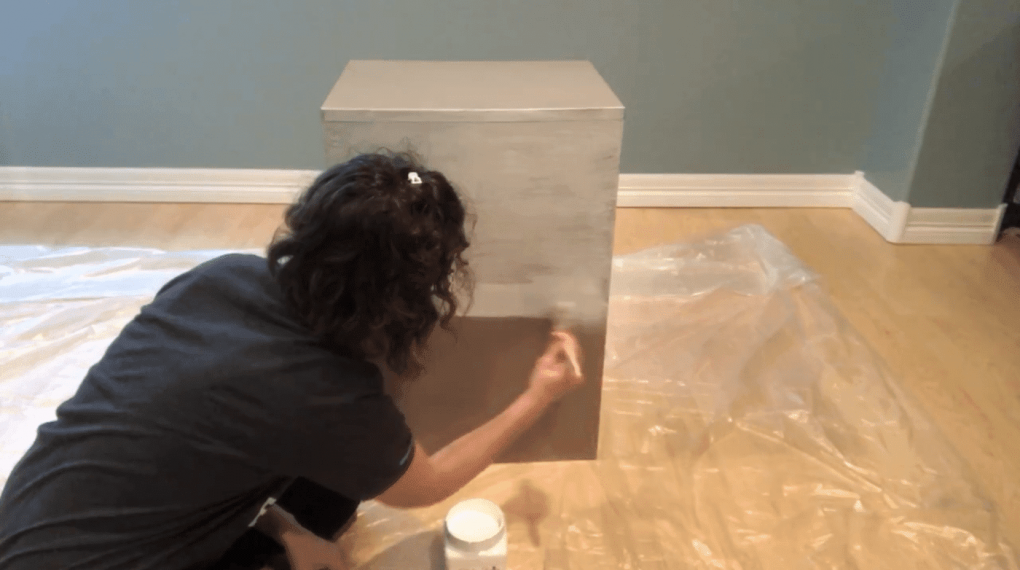
I painted the filing cabinet with Dixie Belle Blue paint.
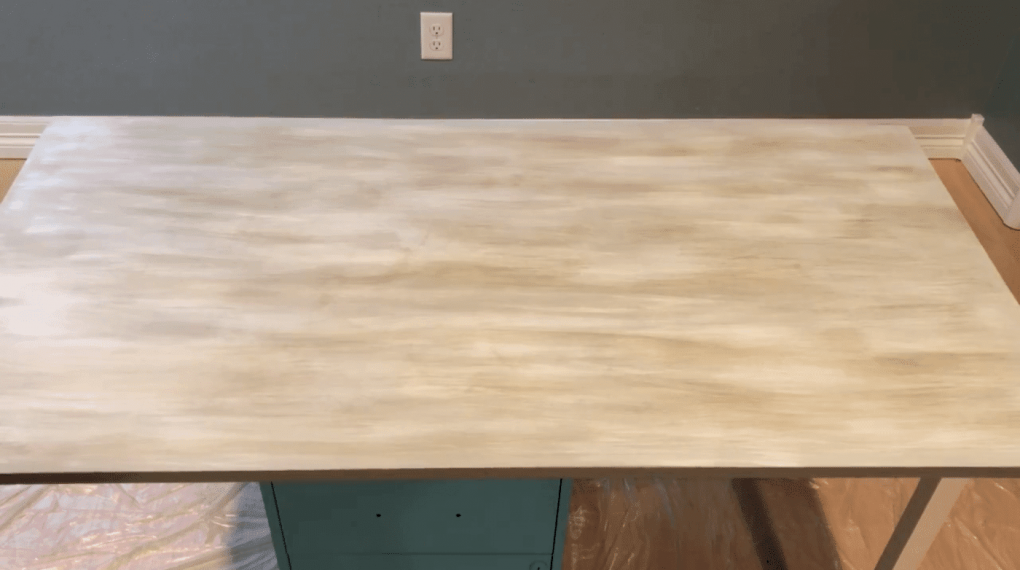
I wanted a driftwood look so I first put on Dixie Belle Whitewash glaze and let that dry. I then added the second coat which was Dixie Belle Van Dyke Brown glaze. To achieve this look you start by dry brushing on the white glaze and wiping with a paper towel as you go. After that dries you do the same with the brown glaze. I painted the legs with Dixie Belle Fluff.
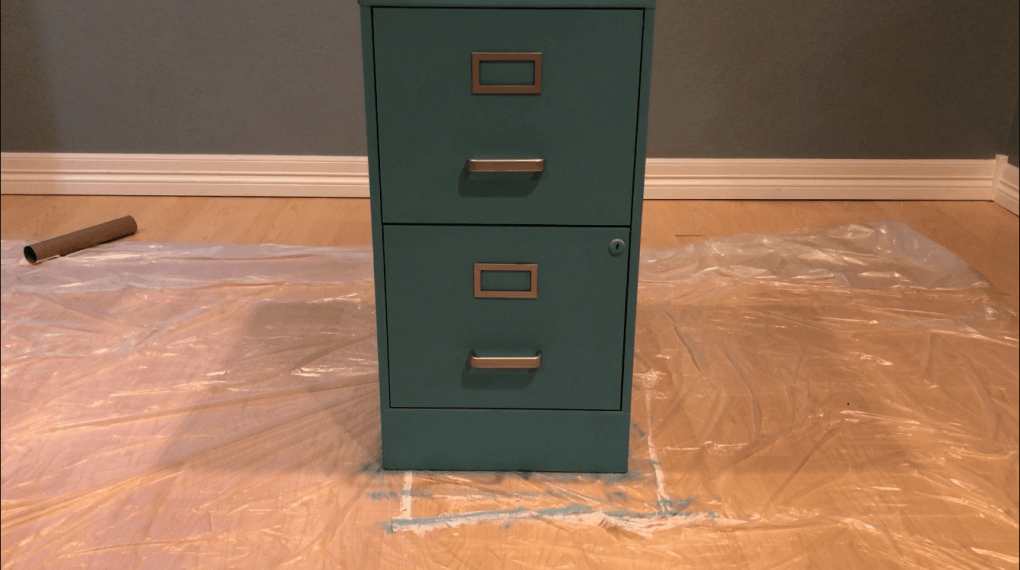
I put the hardware back on and it looked like a brand new file cabinet.

Here is the completed desk! You can make it right or left handed.
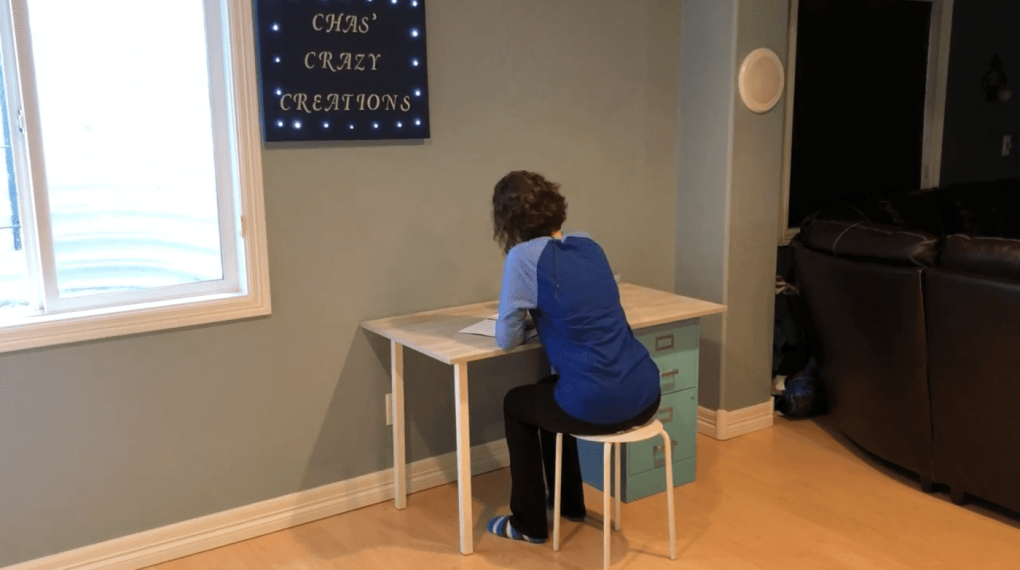
Now I have a place to work on all my project planning and crafts which gives me a lot of storage.
Other ideas for your cabinet project include:
- You can paint your filing cabinet with chalkboard paint, chalk paint, cans of spray paint, acrylic paint, latex paint etc.
- You can update your filing cabinet with contact paper
- Update your filing cabinet with fabric or paper and Mod Podge
- Decorate your filing cabinet with duct tape
- Change your hardware and use drawer pulls
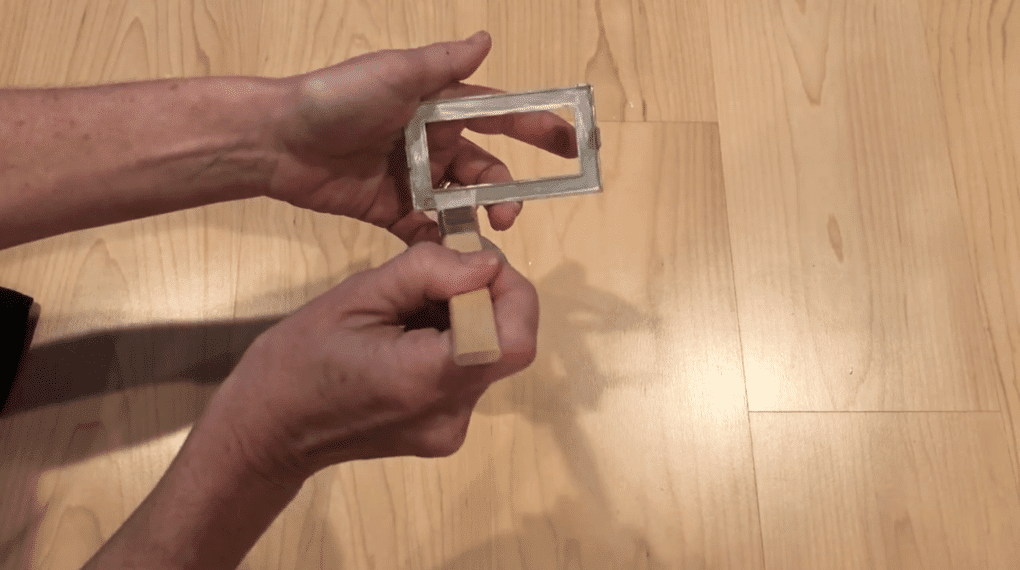
- Pull apart picture frames and glue on the frame to create some texture to the front of each drawer.
If you are wondering where you can find a free or inexpensive filing cabinet so you can do this project. You can check out thrift stores, garage sales, and places like Habitat for Humanity.
DIY Filing Cabinet Makeover Video
Shop any of these stores and I receive a small commission at no cost to you.
 Signature Design by Ashley …Shop on Amazon
 Furinno Econ Multipurpose H…Shop on Amazon
") BestOffice Office Chair Erg…Shop on Amazon
BestOffice Office Chair Erg…Shop on Amazon Furinno LUDER Book Shelf, 5…Shop on Amazon
") Handy Laundry Folding Step …Shop on Amazon
Handy Laundry Folding Step …Shop on Amazon Zinus Jennifer 47 Inch Blac…Shop on Amazon
Find out “What Exactly Does It Mean To Repurpose Or Upcycle“, save money, and create the most amazing things.


Love this idea for a desk for my daughter! How did you apply plywood to filing cabinet? Did you pre-drill into that as well? Super excited to find a file cabinet and make this!
Thank you so much and I’m thrilled you want to make one too. We didn’t attach the plywood to the filing cabinet, we just set it on the filing cabinet. If you wanted to attach it, you could use silicone to adhere it to the cabinet.