
DIY Storage Self and Kitchen Island

Do you want to build a DIY storage shelf on a budget? Have you ever needed more counter space? I’ll share how to build a kitchen island and storage shelf for your home, and show how many ways you can use it.
Here are the materials needed to build a DIY storage shelf and kitchen island.
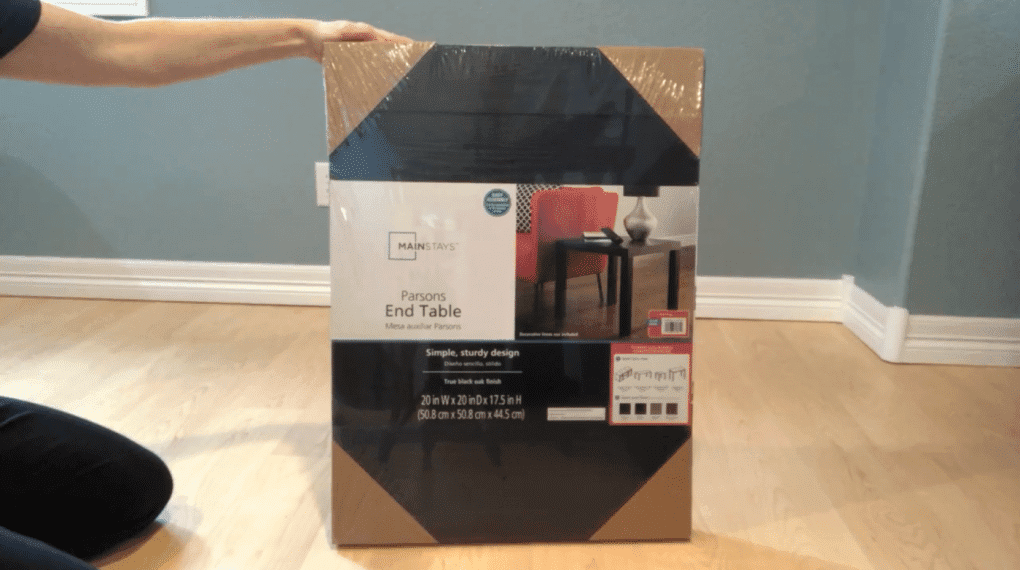
To start you’ll need 3 Parson’s End Tables and I purchased mine at Walmart. They are usually $10 each, but I ordered them online for in store pick up and I got a discount!
How do you make a simple kitchen island?
Here are the instructions to build a small kitchen island cart.
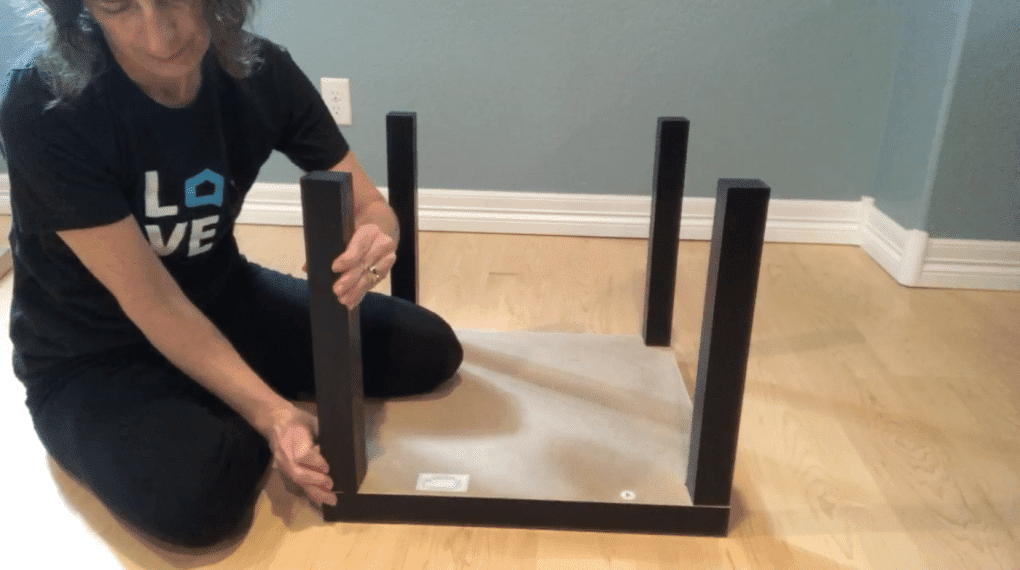
I put 2 of the tables together. It was really easy – just screw in the legs.
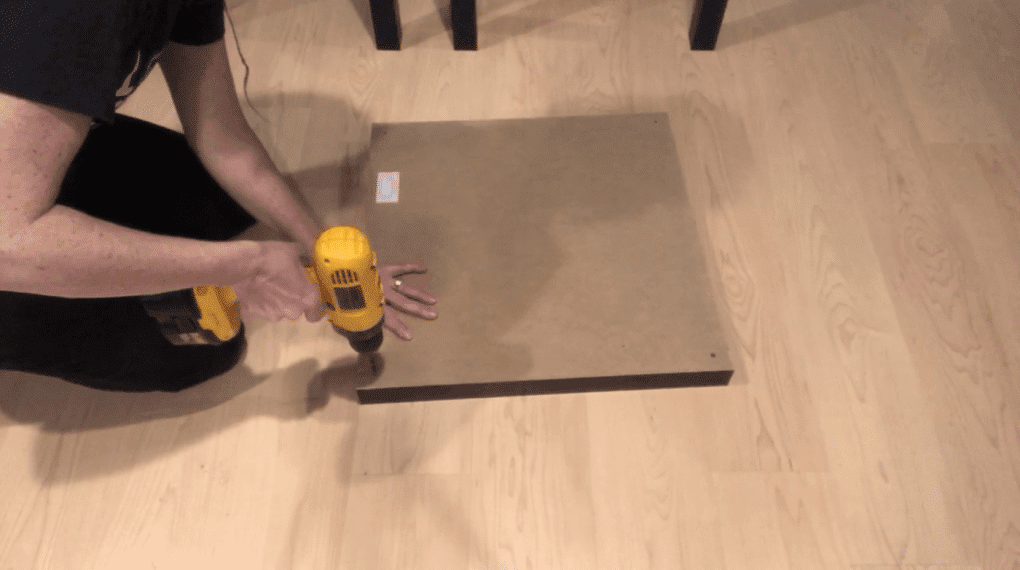
For the third table, I drilled the holes just a little bigger so I could fit rolling wheels in them.
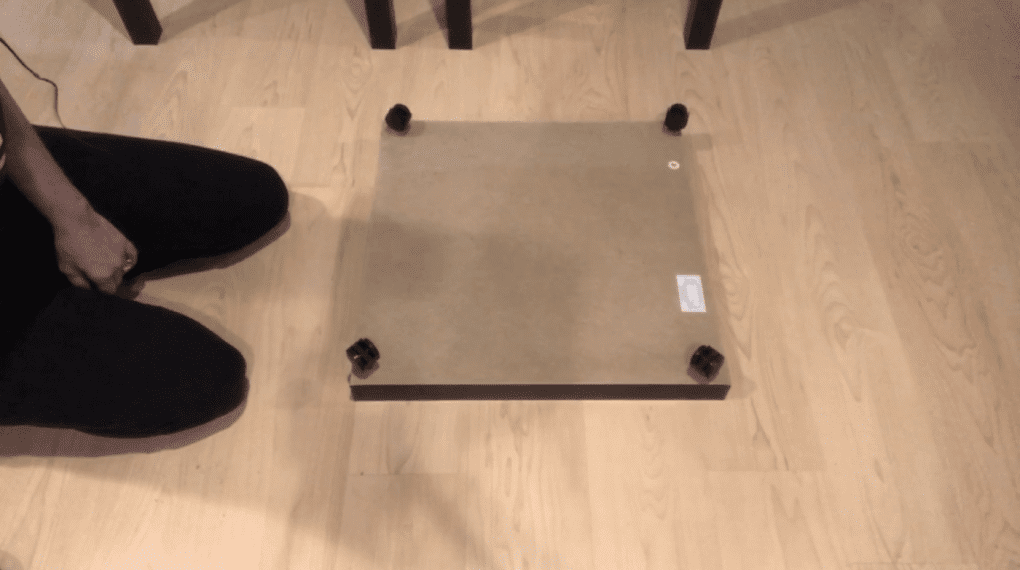
I had these wheels on hand, but they sell them at Dollar Tree. If you don’t want to put wheels on it, or you are intimidated by power tools, you could attach floor sliders onto the bottom instead.
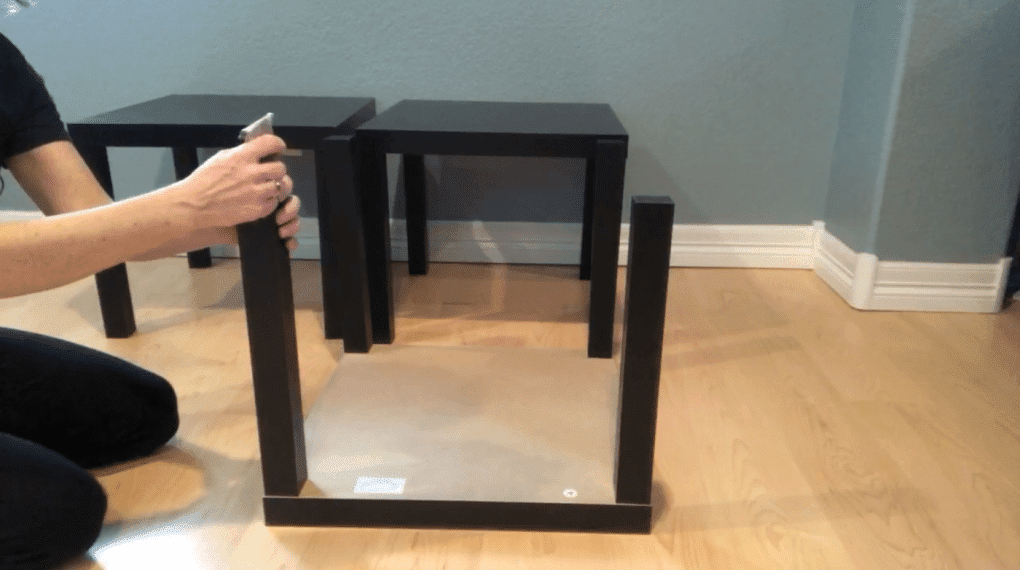
Use some E6000 or glue of your choice and put on the bottom of the legs on 2 of your tables.
Stack your tables on top of the table top with wheels.
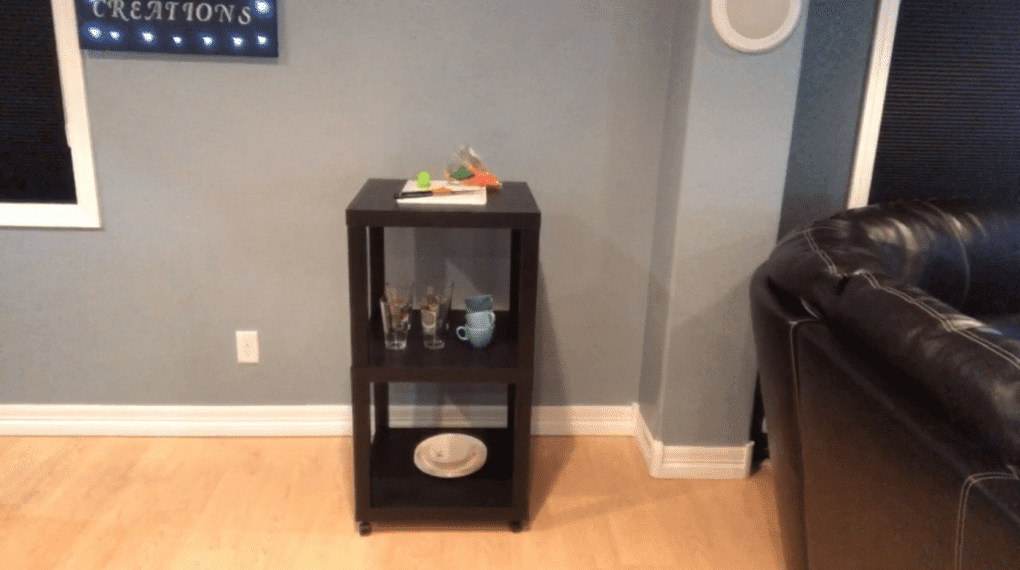
Add dishes, cookbooks, whatever you want to use the added space for. On top use it as a cutting board or service tray.
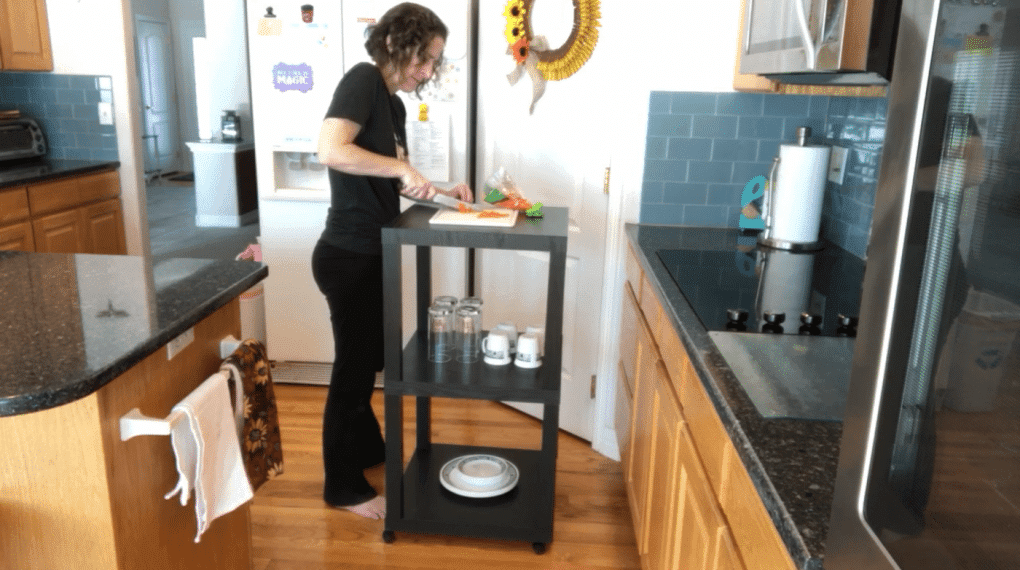
The kitchen island is great if you don’t have a lot of counter space.
How do you build a DIY storage shelf?
Here is how you build a DIY storage shelf
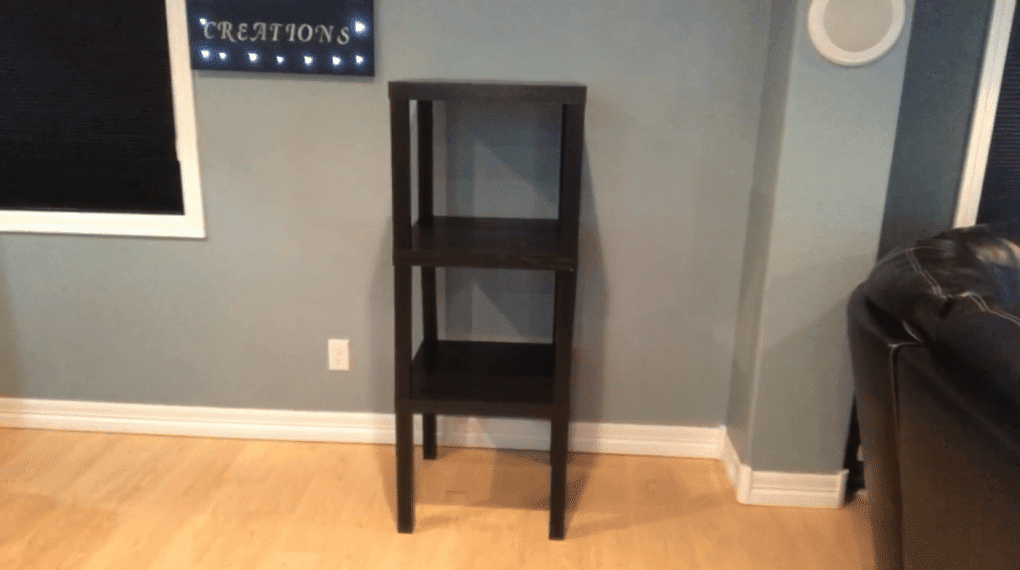
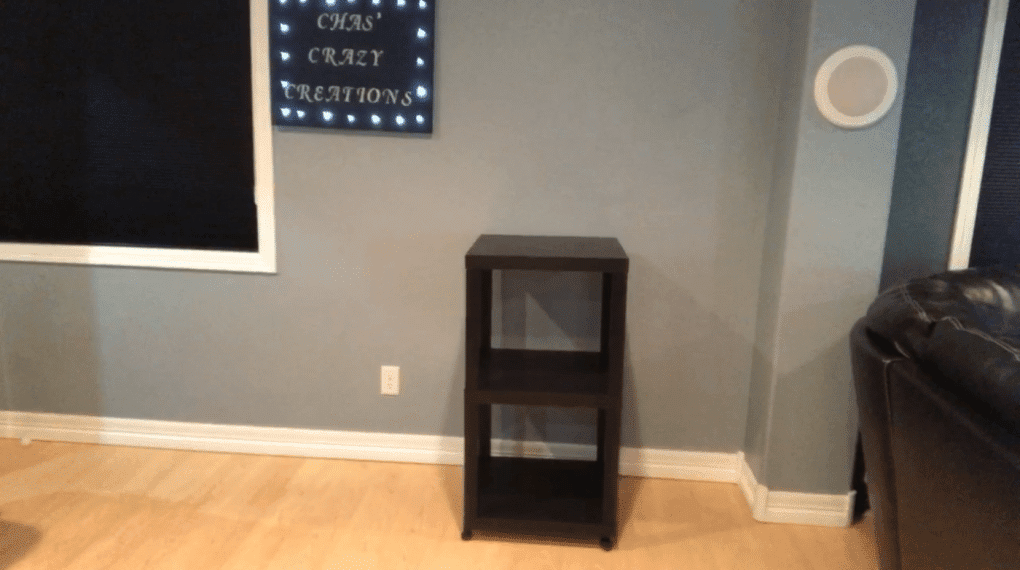
For this you’ll put together all 3 tables, add the E6000 to the bottom of 2 of the tables legs, and stack them on top of each other.
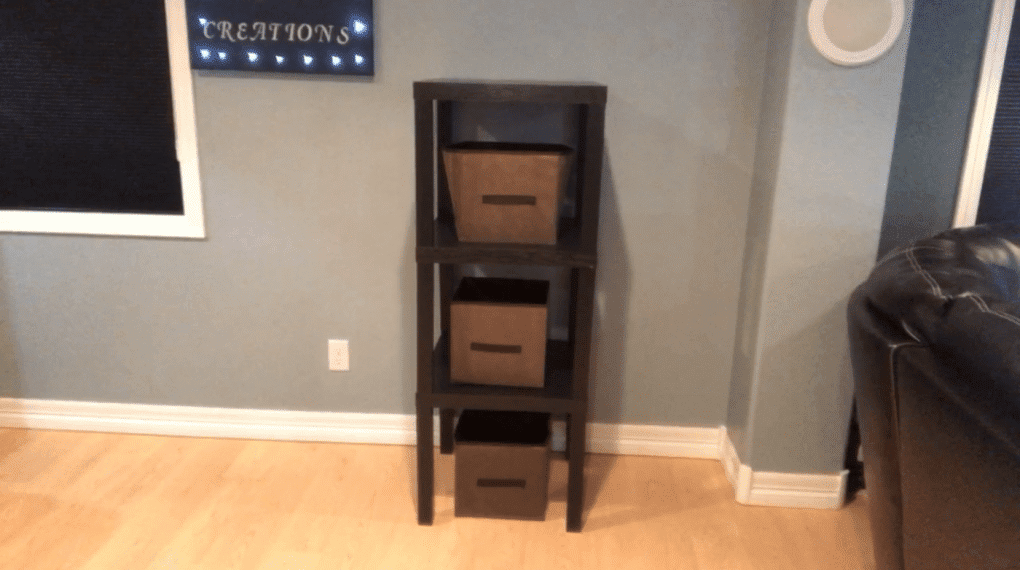
Add storage baskets to the shelves…
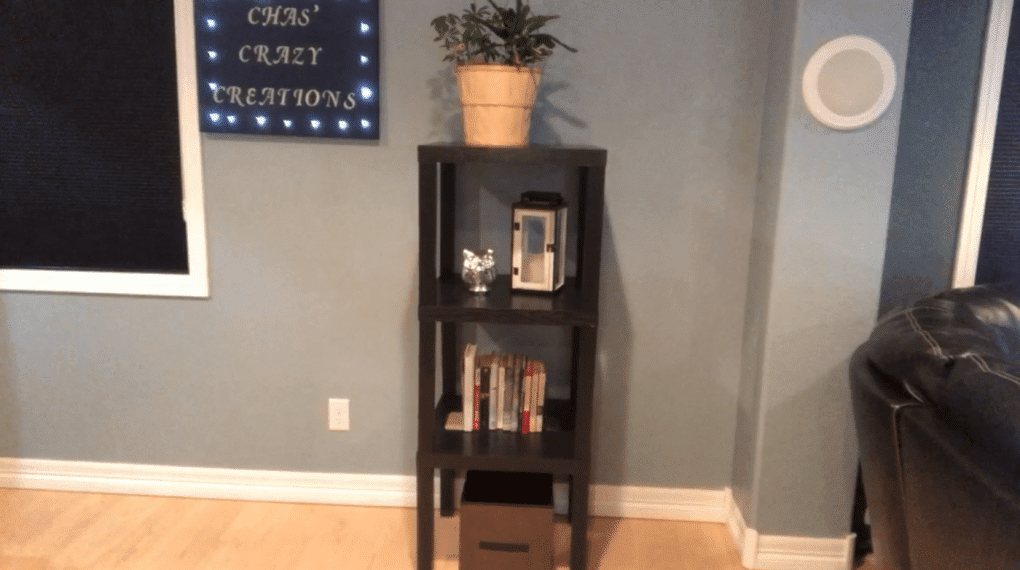
Use it as a decorative storage shelf to hold plants, books, decor, and I added a basket underneath to hold blankets.
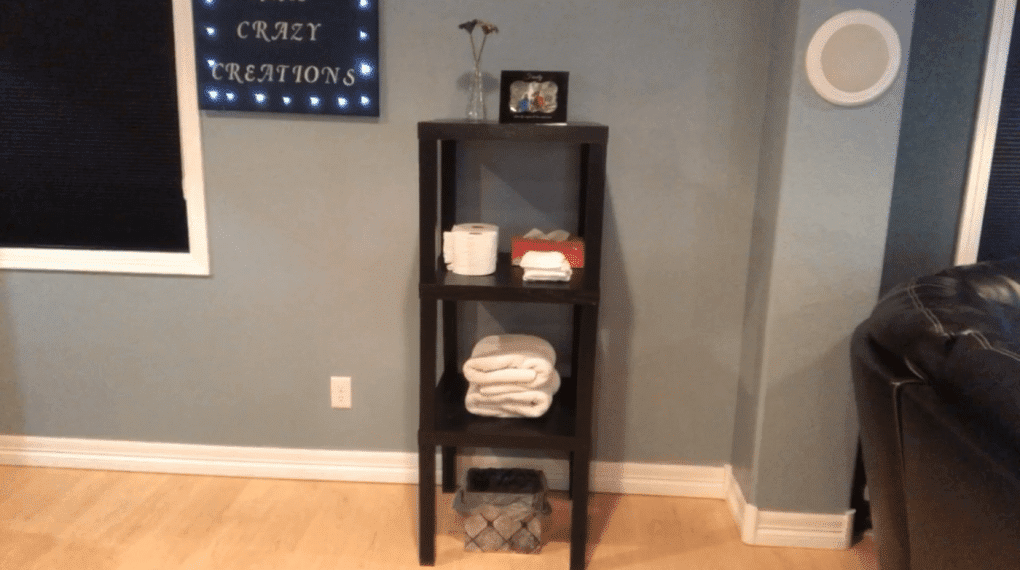
Use it in your bathroom as a storage shelf to hold towels, toilet paper, tissue, wash clothes, decor, and underneath I added a trashcan.
Are you ready to build a kitchen island or storage shelf for your home?
For this DIY storage shelf project it cost me $30.
I built this kitchen island for $35.

Click here to buy Walmart’s Parson End Tables
DIY Storage Self and Kitchen Island Video
Find out “What Exactly Does It Mean To Repurpose Or Upcycle“, save money, and create the most amazing things.
Shop any of these stores and I receive a small commission at no cost to you.
 Ameriwood Home Parsons Blac…Shop on Amazon
 E6000 231020 Adhesive with …Shop on Amazon
 Smart Surface Furniture Sli…Shop on Amazon
") BLACK+DECKER 20V MAX Cordle…Shop on AmazonShop on Amazon
BLACK+DECKER 20V MAX Cordle…Shop on AmazonShop on Amazon


This is a great idea and I like that it is portable! I would have never thought of this.
Thank you so much Amy, I am so glad you like it.