
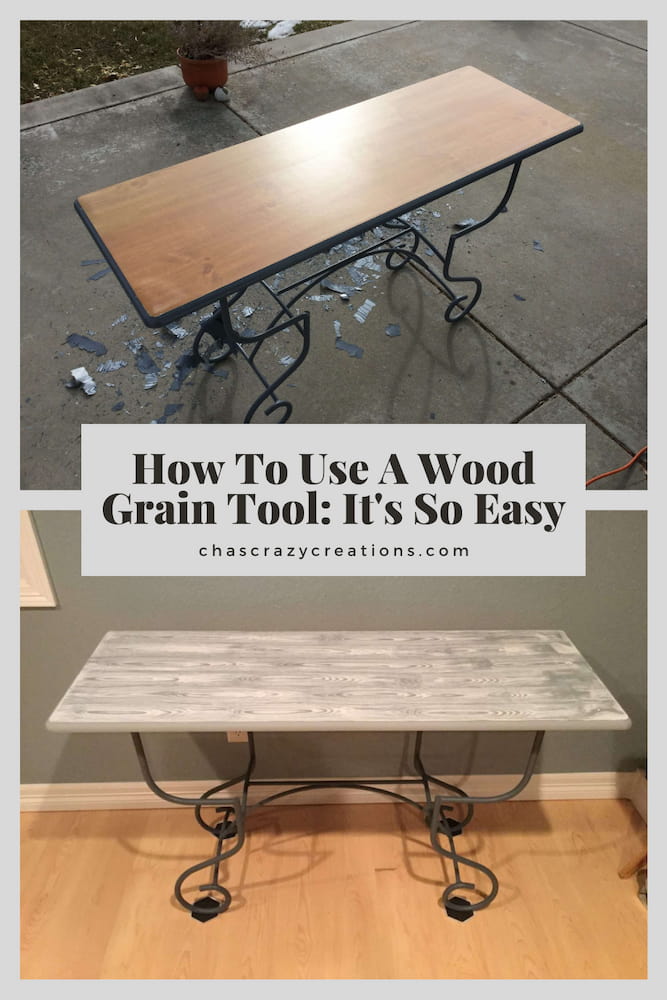
How To Use A Wood Grain Tool: It’s So Easy
Have you ever wanted to know how to use a wood grain tool? In this tutorial, you’ll learn how to use this fantastic tool, and it’s so easy.
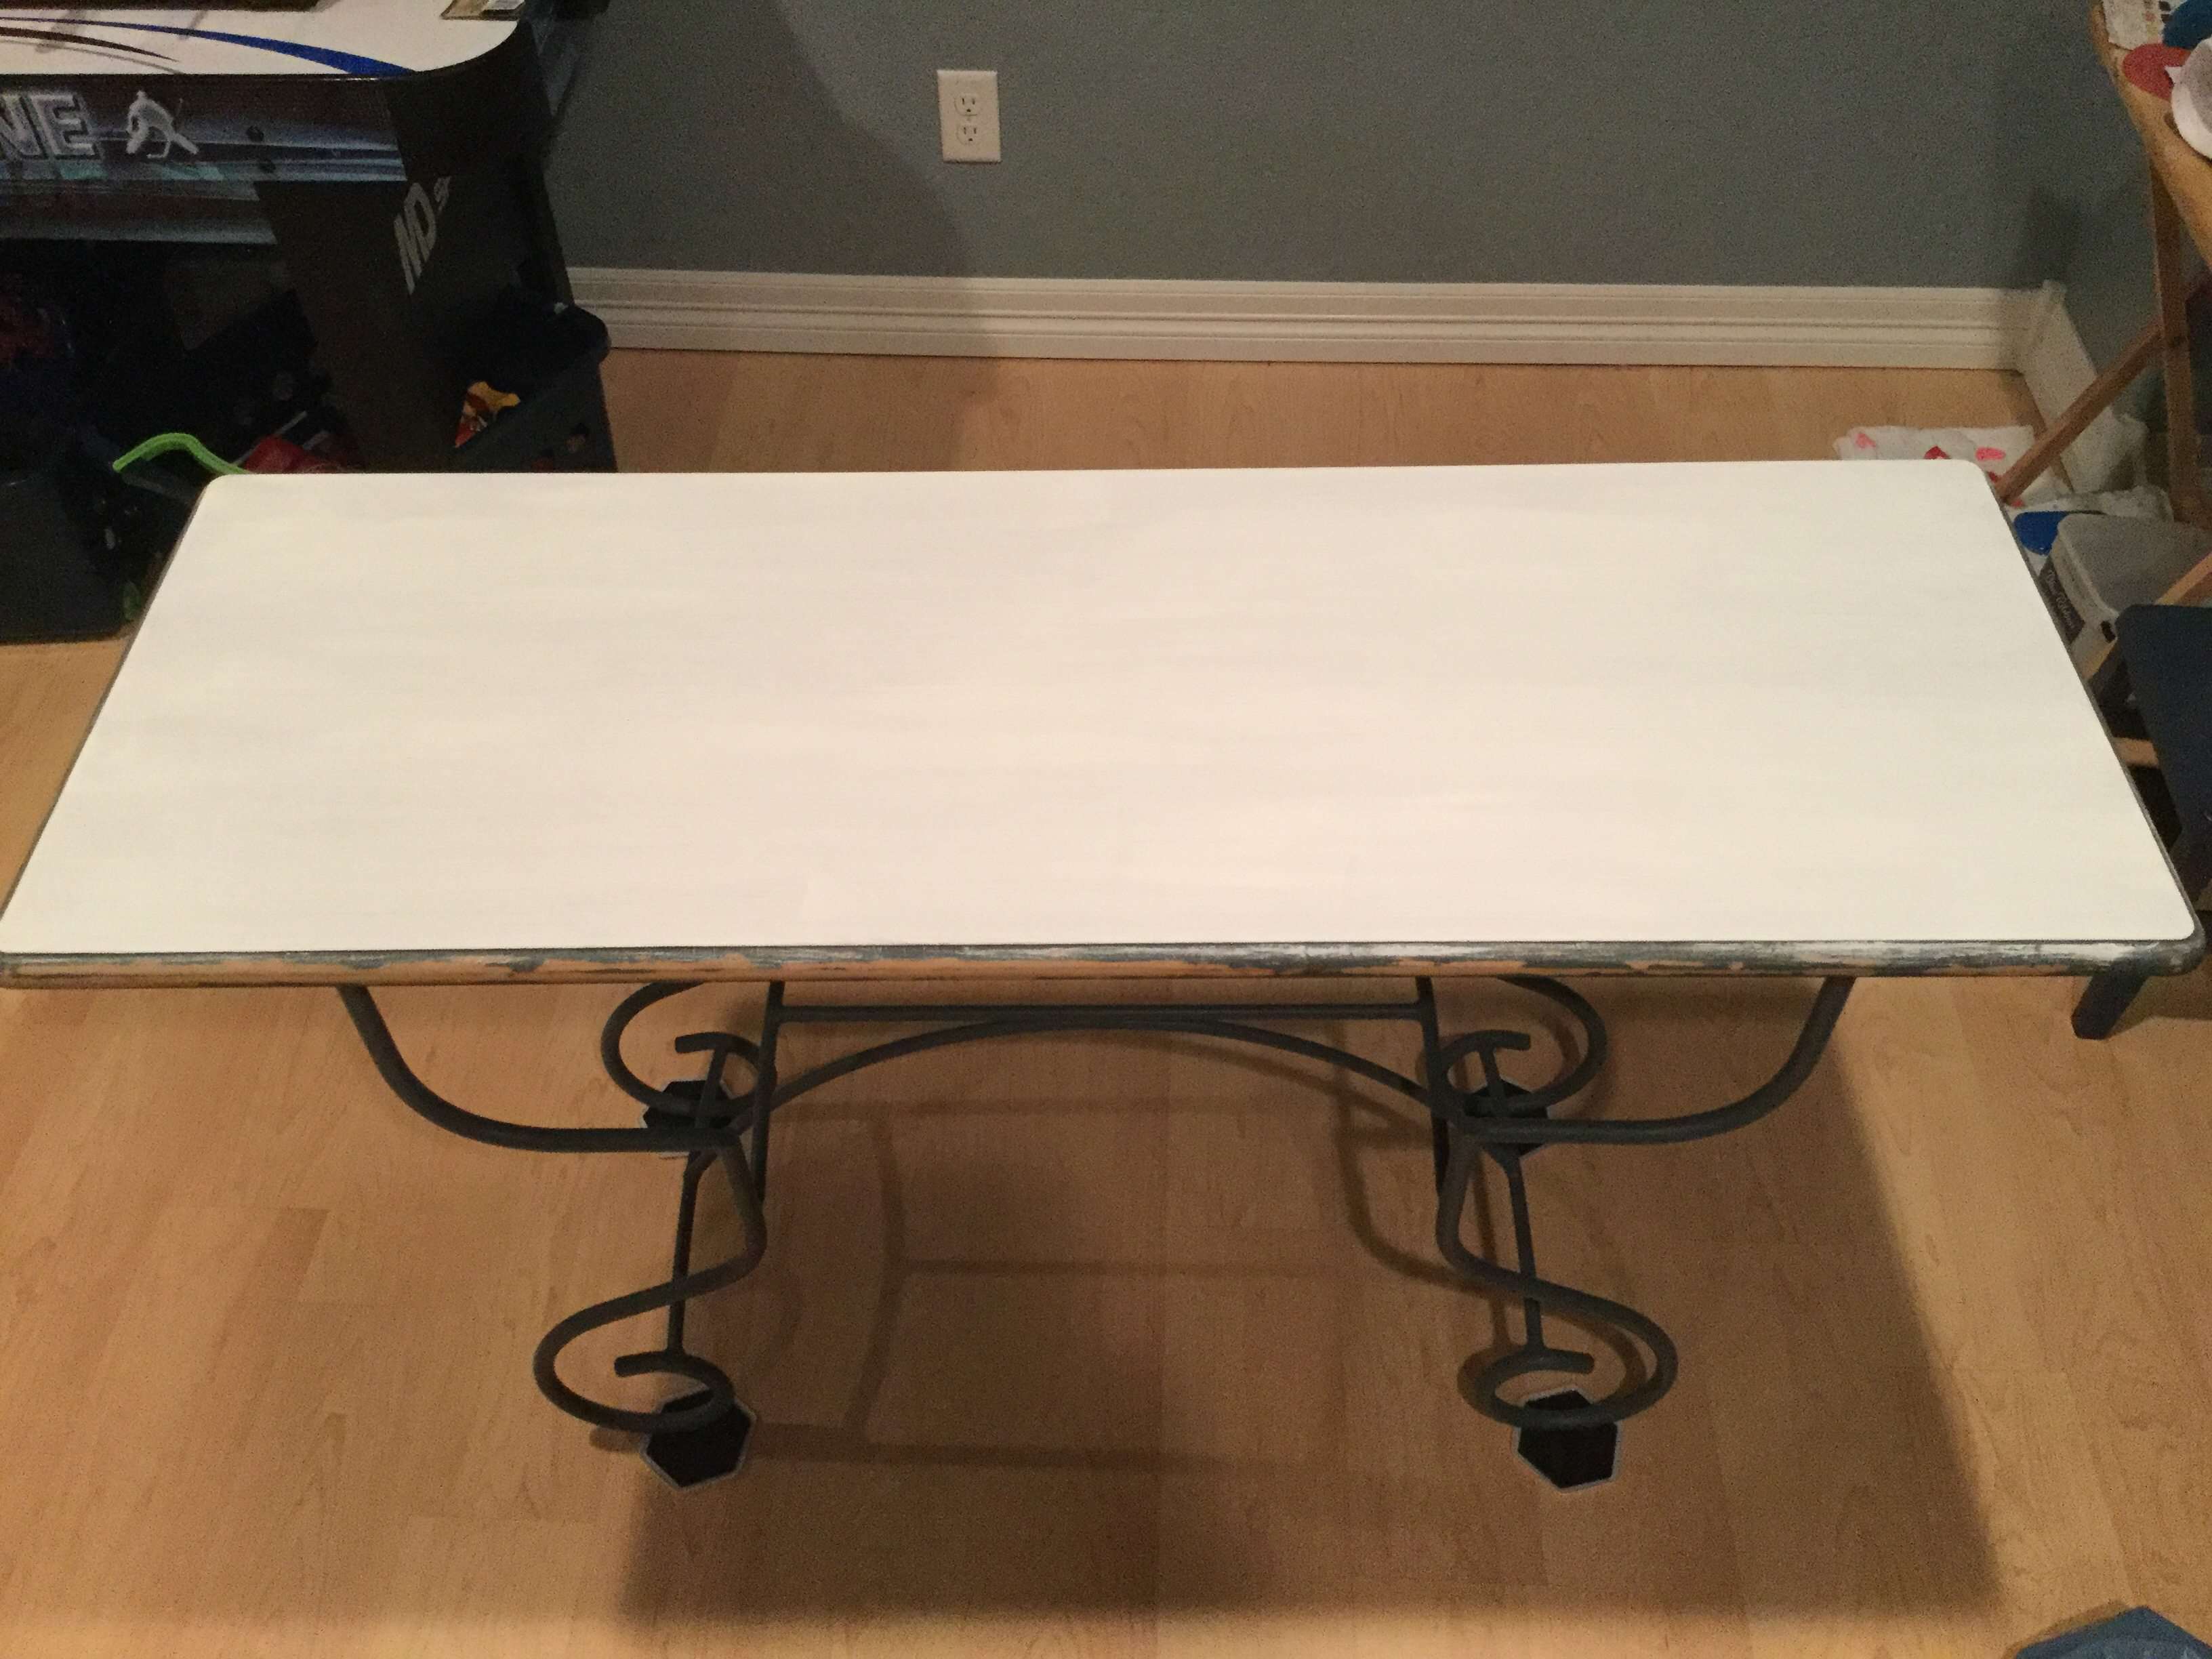
The story of my table… I bought a table for $10 and I upgraded it for a Hometalk Live show. Sadly the veneer didn’t hold the paint and it started chipping. I am excited to share the re-do of this table with Dixie Belle Paint Company products!!!
I wanted to redo this piece of furniture and give it a wood grain effect. I used paint and a wood-graining tool to make this table look new.
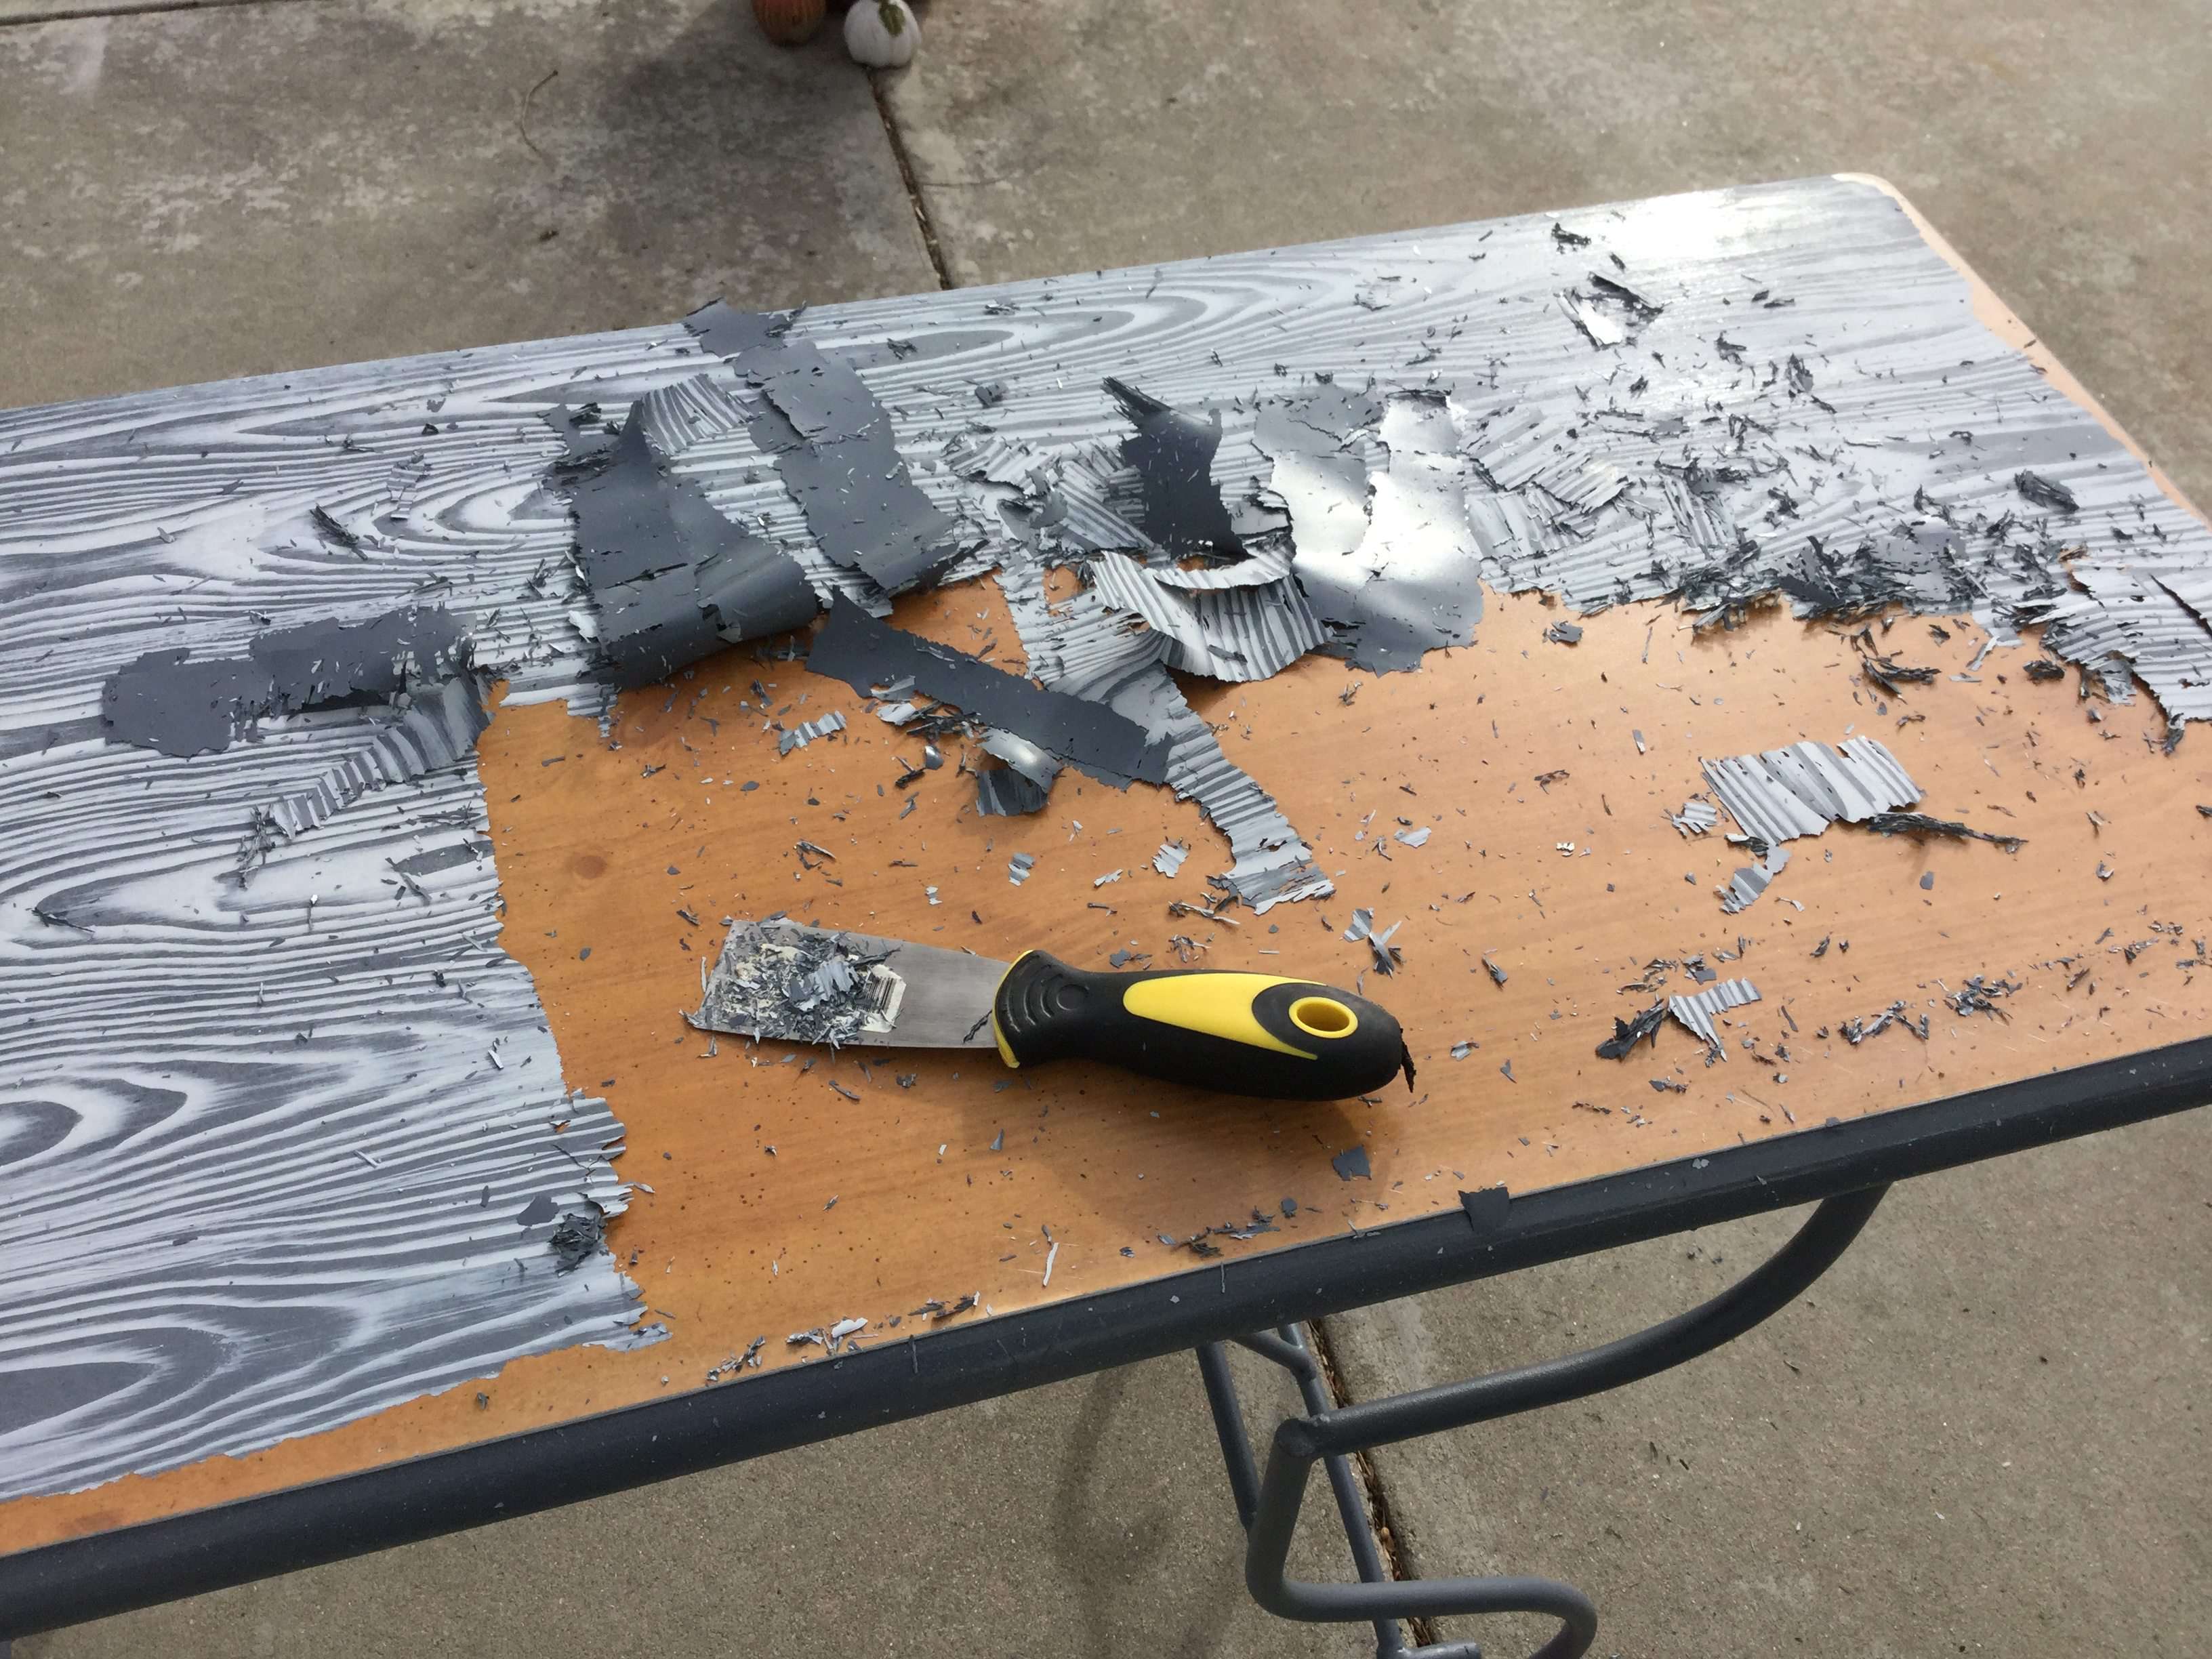
The faux wood top of the original re-do was peeling up. It wasn’t hard to get the rest up. The first step is to scrape all the old paint off. Make sure you use a smooth motion with the scraper so you don’t damage the table.

Back to its original form.
How To Use A Wood Grain Tool Materials
How To Use A Wood Grain Tool instructions
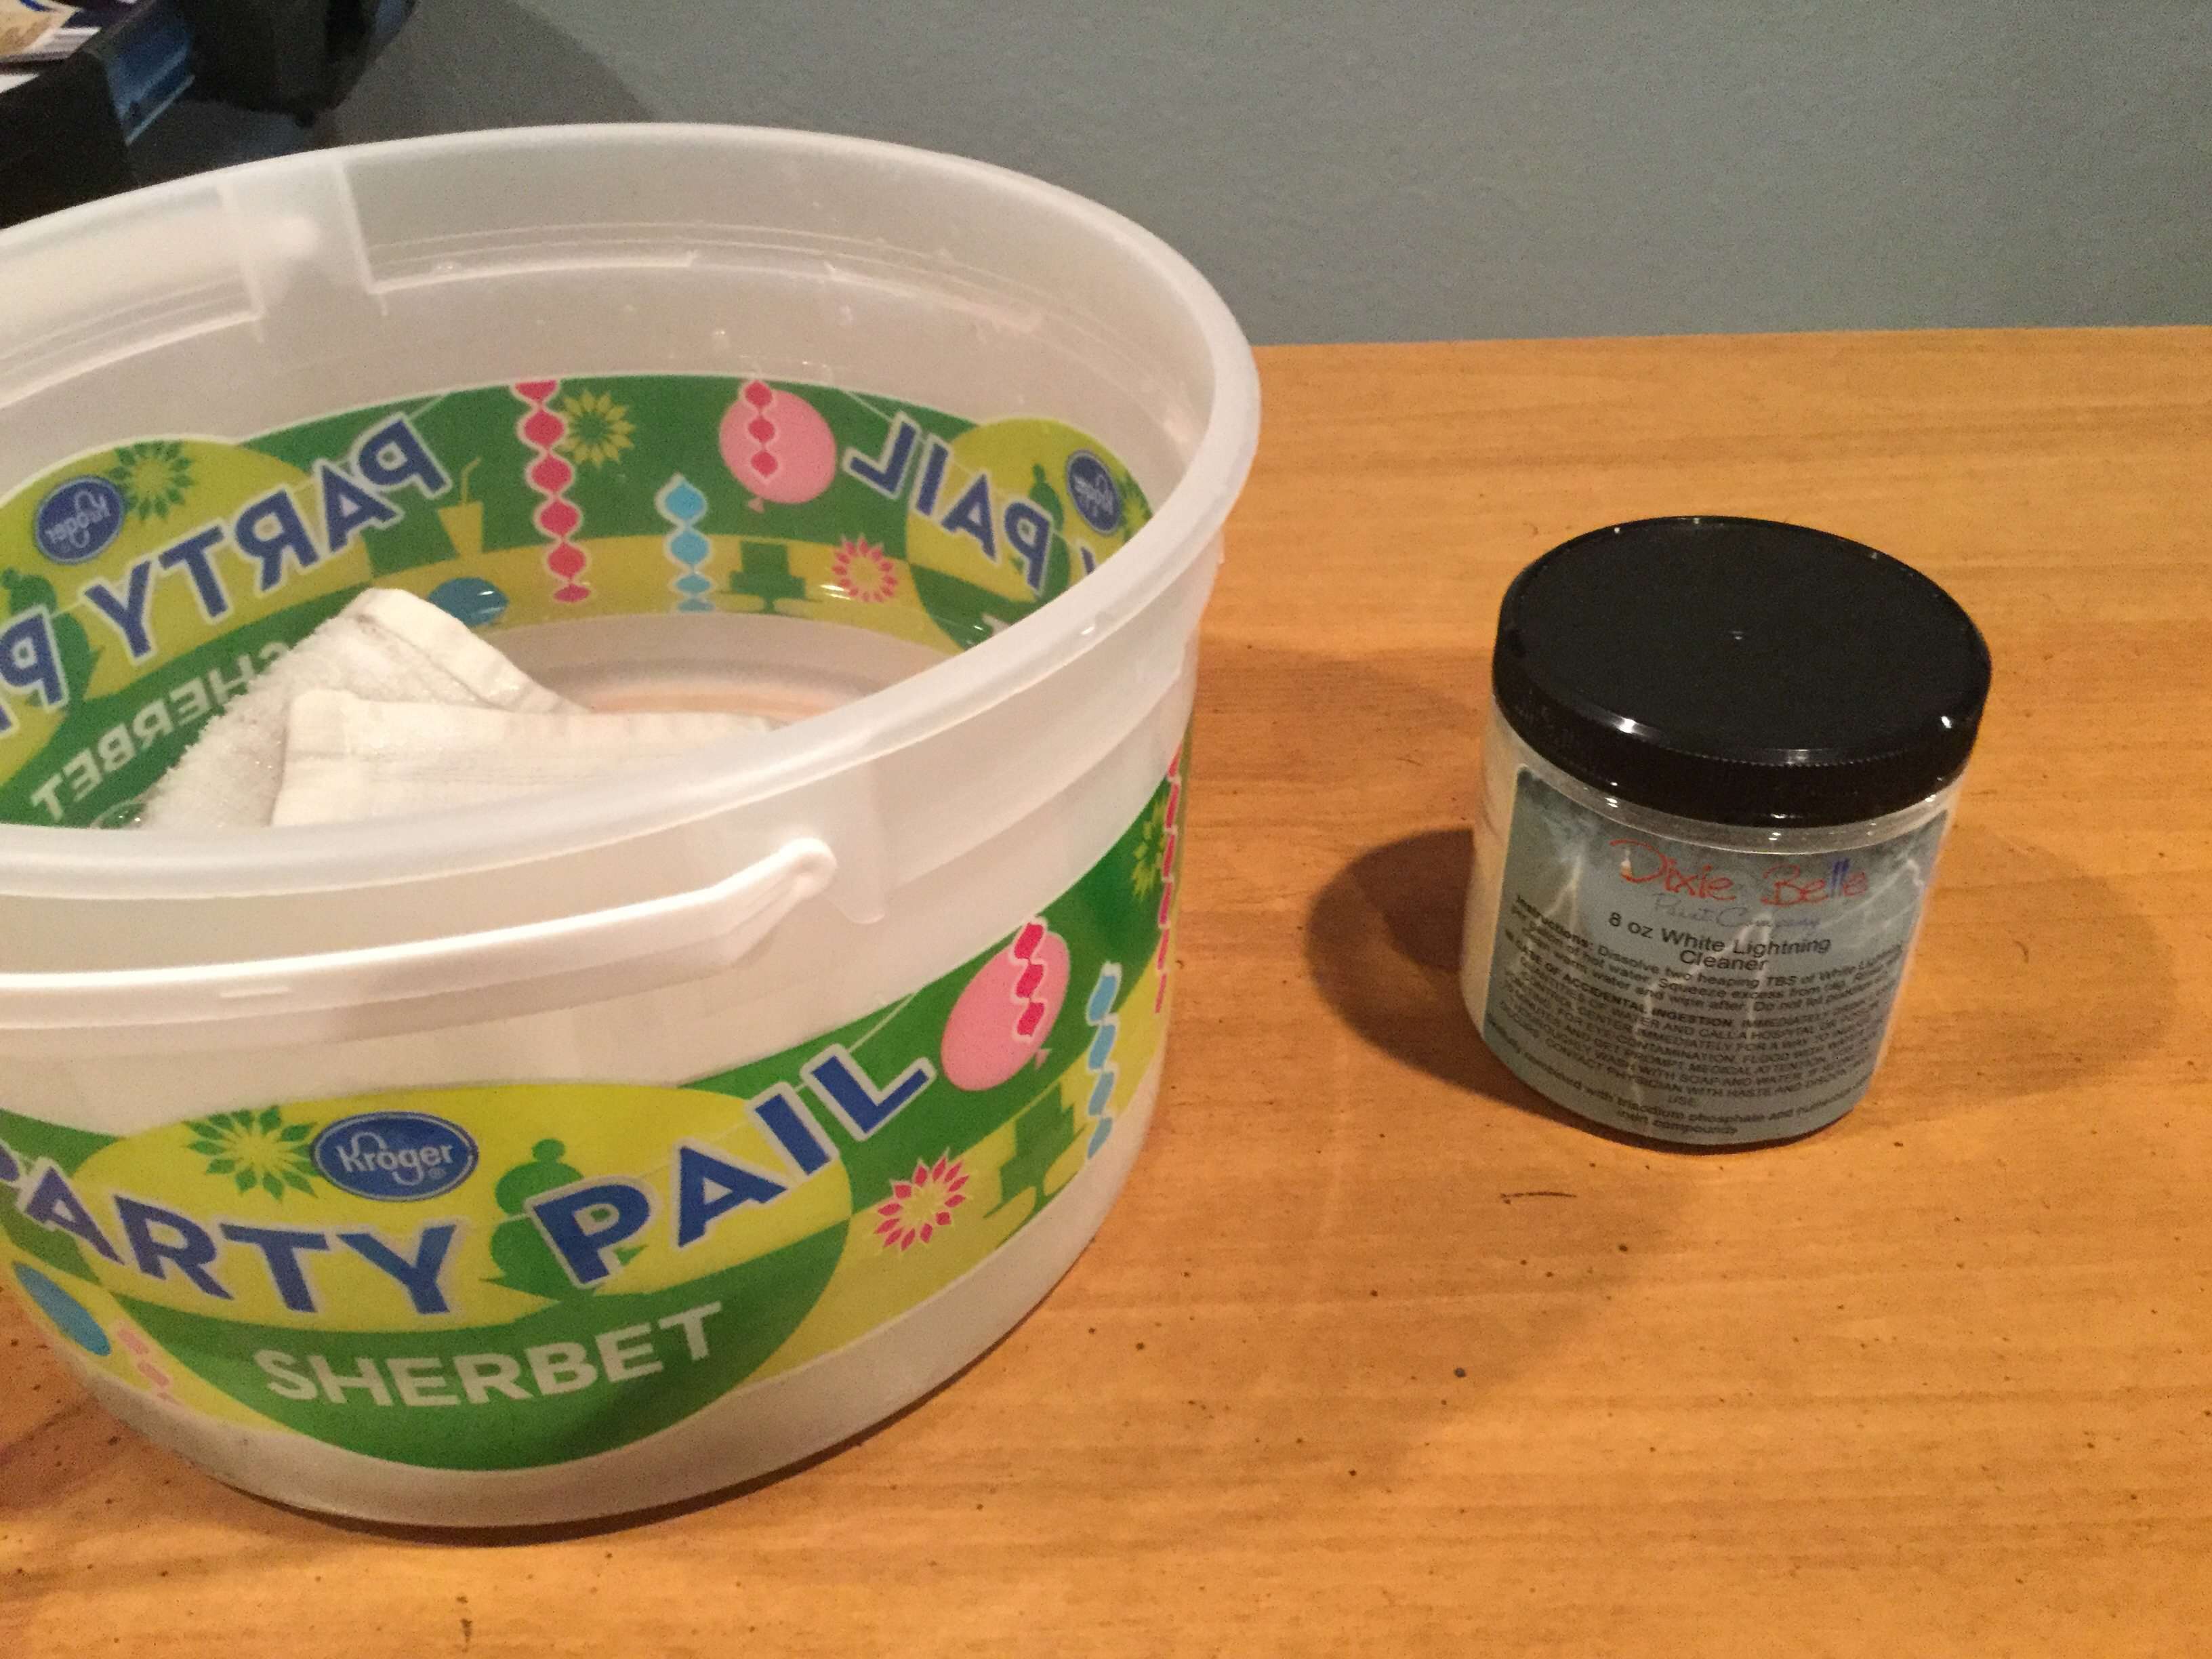
1. Clean the furniture
The next step was to clean it with Dixie Belle White Lighting Cleaner. I did this by using a clean, lint free cloth and then I rinsed it with clean water.
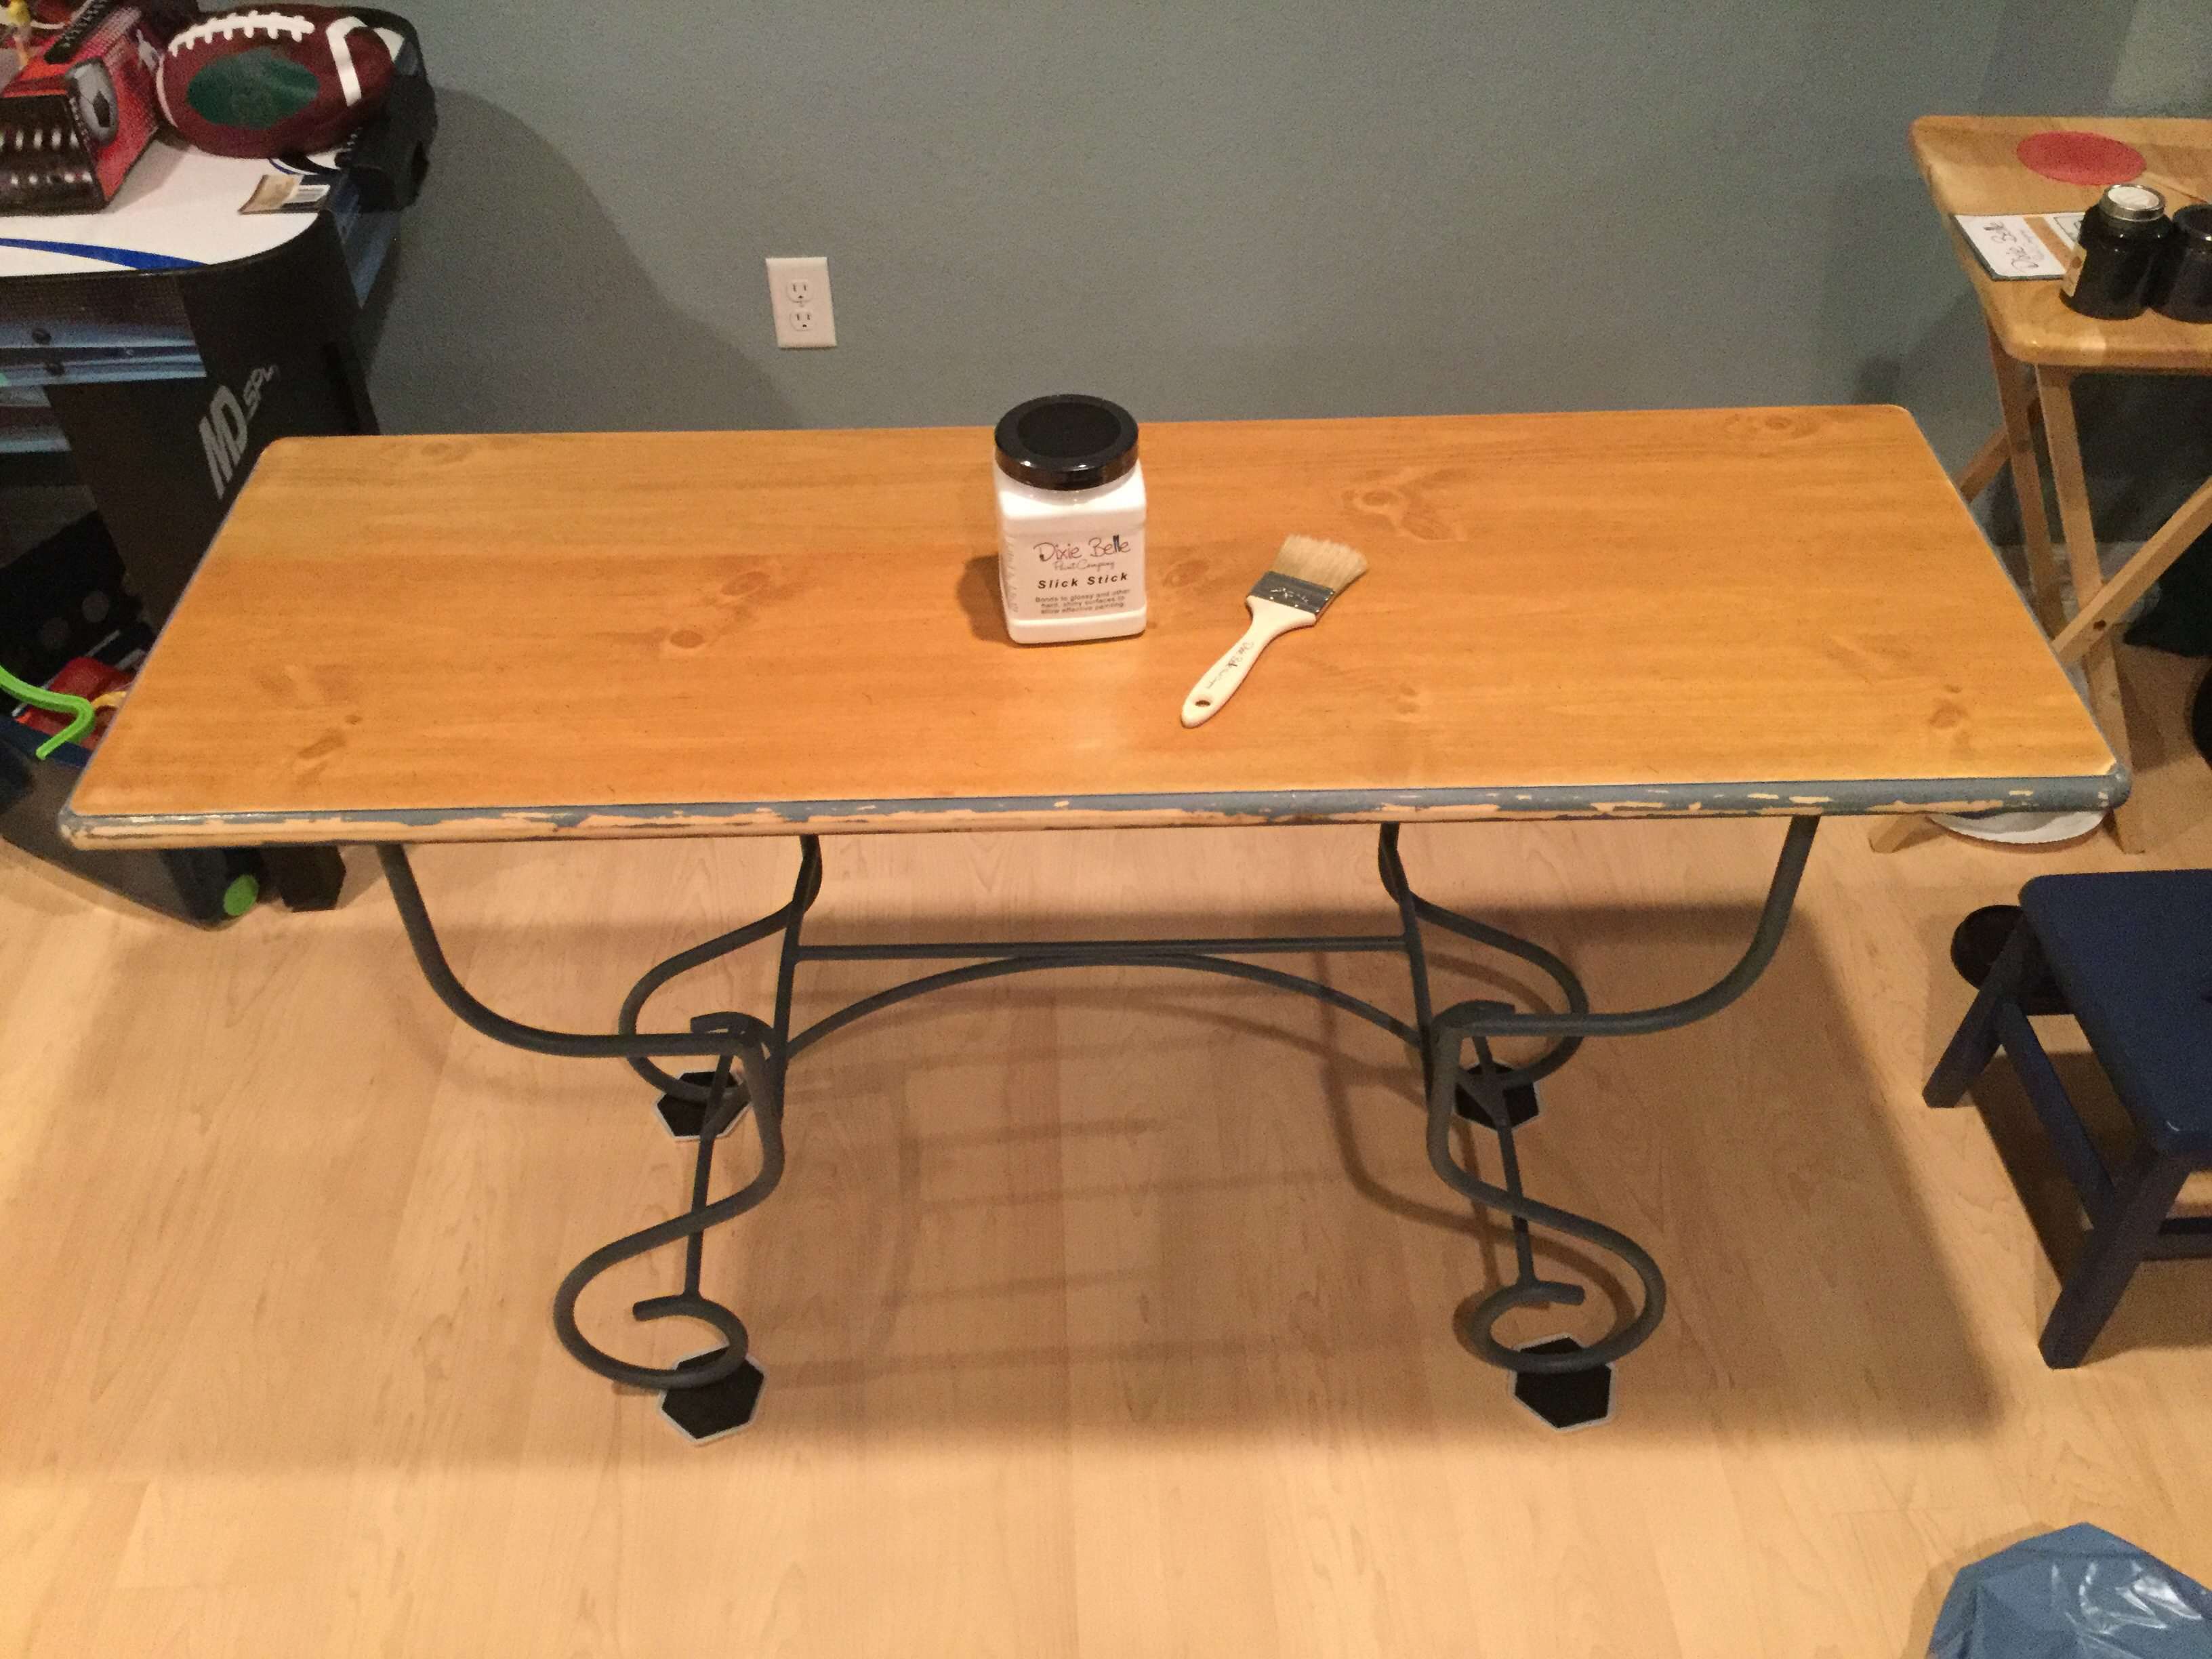
2. Coat the furniture with a primer (optional)
After the table was clean, I painted the base color. I did 2 coats of Dixie Belle’s Slick Stick which is an awesome product that helps paint stick to a glazed surface or slick surfaces. For this I used a natural bristle brush but you could also use a foam brush.
3. Paint the furniture
I let the 2 coats dry completely. Once that was done, I painted the top of the table with Dixie Belle Manatee Gray.
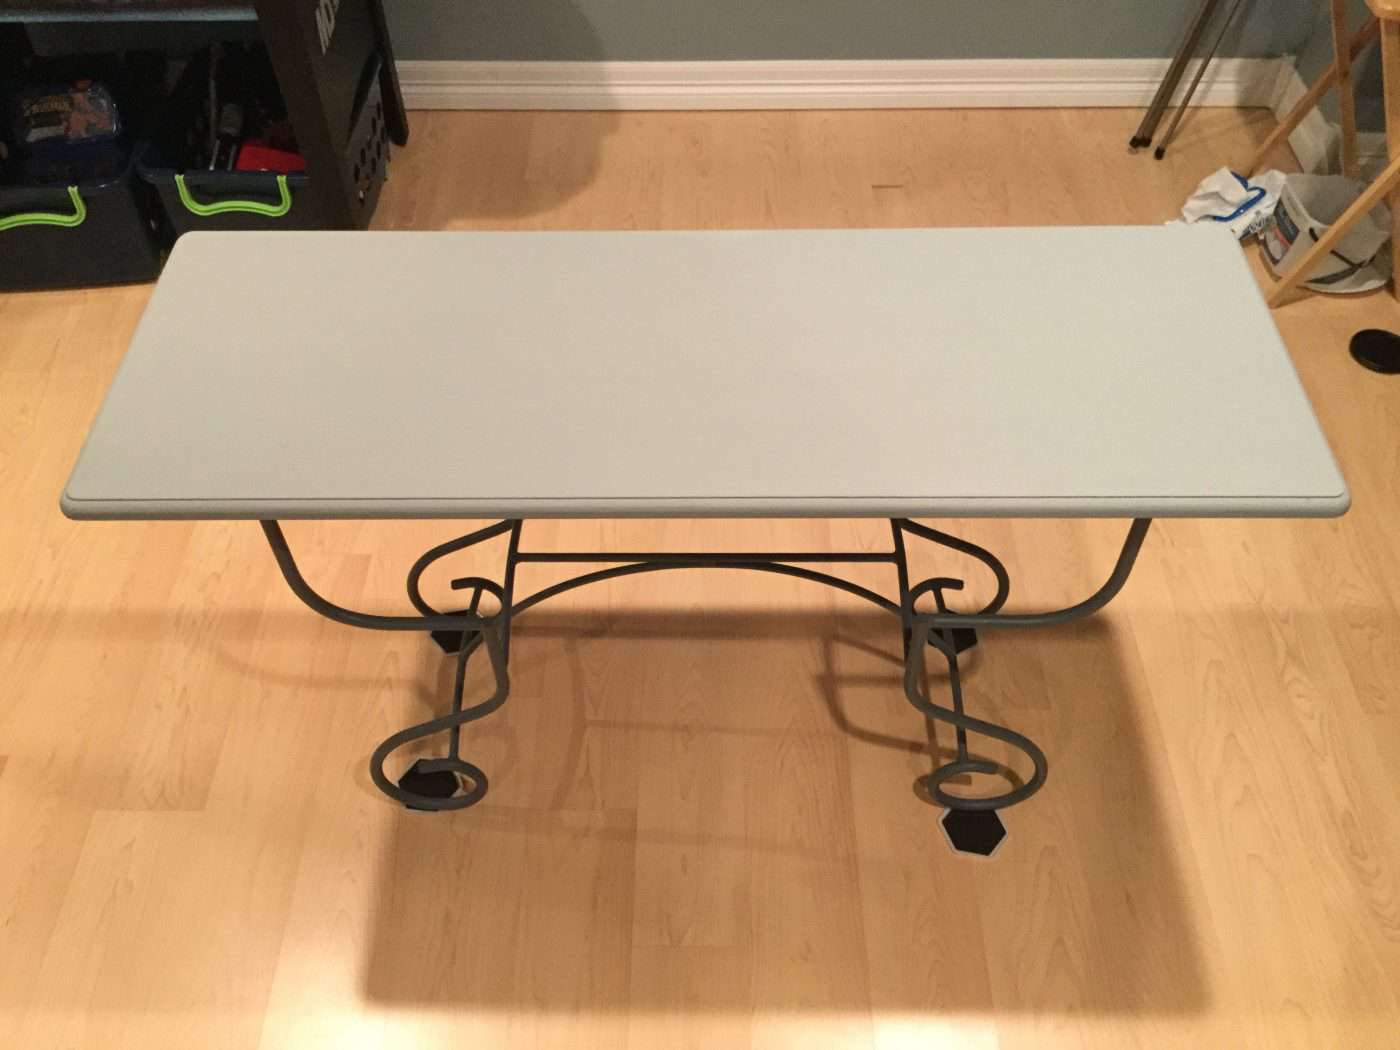
I let the paint dry completely.
4. Mix the glaze
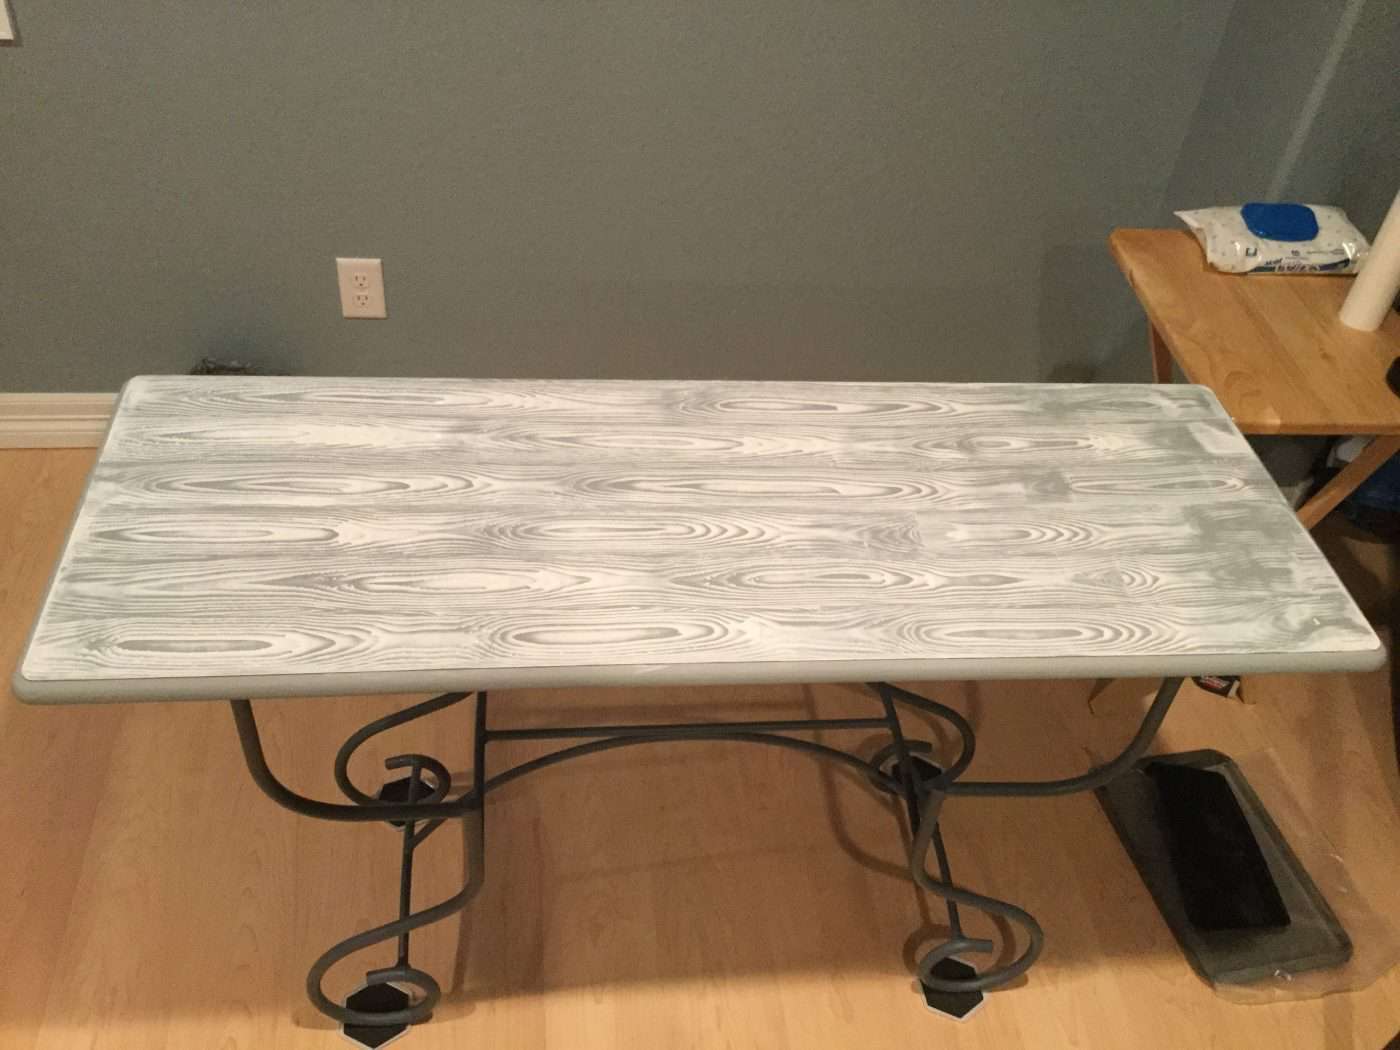
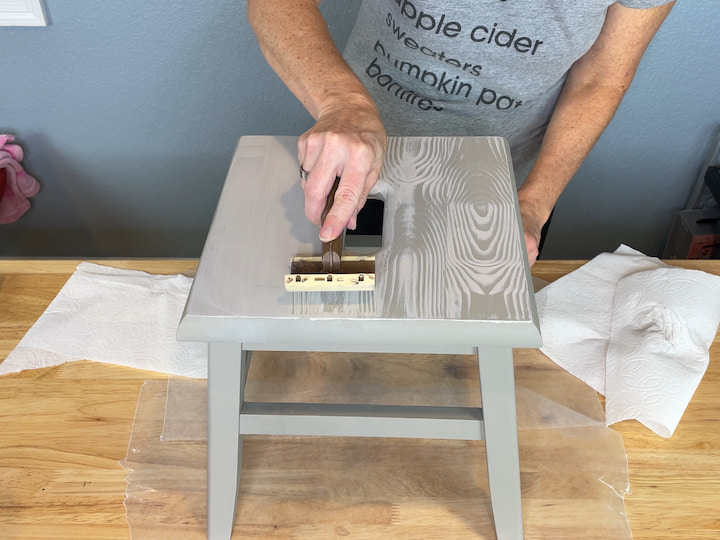
I mixed Dixie Belle Whitewash Glaze with a little Dixie Belle Cotton. I used the wood grain tool to put the glaze onto the table. I mixed 1 part paint to 4 parts glaze. You can get this look by painting the wet glaze mixture onto the table, then use the wood grain tool.
5. Use the Wood Grain Tool
The easiest technique of wood graining is to rock the wood grain painting tool back and forth over the glaze to get the faux wood grain finish.
6. Add a Top Coat
Once it’s completely dry, I will use Dixie Belle Gator Hide to protect it.
If you’d like to watch the video of how to use the wood grain tool to get a faux wood finish please click on the photo below.
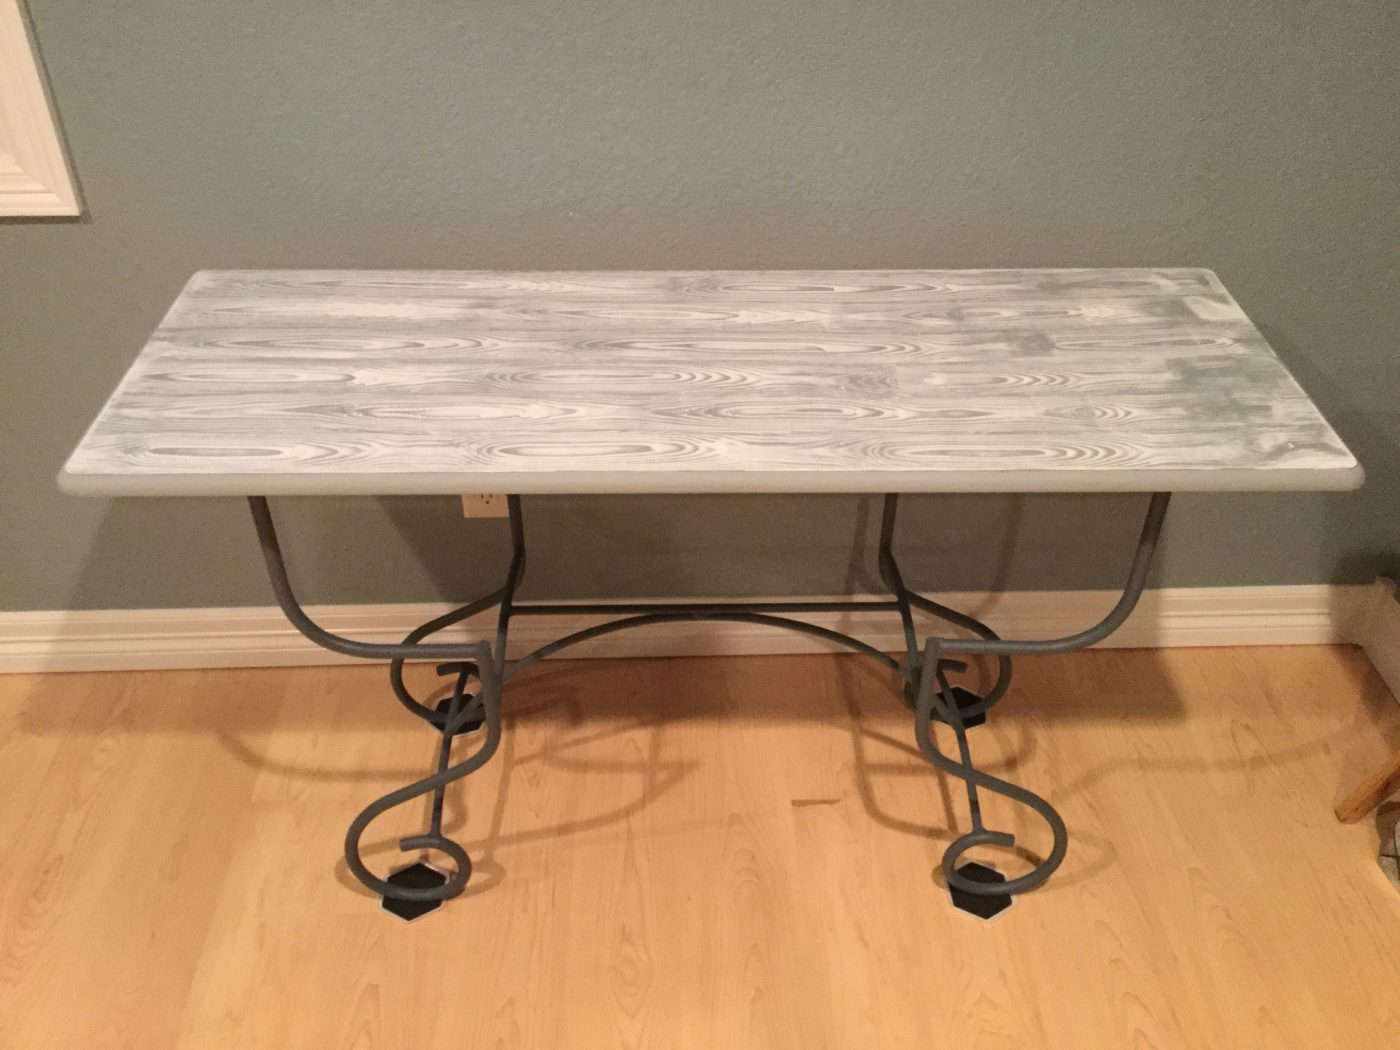
How To Use A Wood Grain Tool
Think of all of the possibilities with this wood grain rocker! You can easily update any of the following with wood-graining tools
- kitchen cabinets
- metal doors
- tables
- floors
- doors
Interested in more furniture Makeovers?
- Upcycled Thrift Store Heart Table
- Upcycled Thrift Store Wooden Bench
- Upcycle Storage Containers
- Updating a Built-In Entertainment Center
- Pottery Barn Mirror Hack
- Kitchen Island/Storage Self Hack
- Inexpensive Laundry Room Makeover
- Side Table Makeover
Shop any of these stores and I receive a small commission at no cost to you.
Shop any of these stores and I receive a small commission at no cost to you.
 Warner Tool 34016 Graining …Shop on Amazon
 Dixie Belle White Lightning…Shop on Amazon
 | Problem Solving Paint Prep for Slick, Slipper Surfaces | Use on Glass, Metal, Laminate | Made In USA") Dixie Belle Paint Company |…Shop on Amazon
Dixie Belle Paint Company |…Shop on Amazon - Matte Light Gray Chic Chalk Mineral DIY Furniture Paint") Dixie Belle Paint Company C…Shop on Amazon
Dixie Belle Paint Company C…Shop on Amazon - Matte Pure White Chic Chalk Mineral DIY Furniture Paint") Dixie Belle Paint Company C…Shop on Amazon
Dixie Belle Paint Company C…Shop on Amazon | Water-Based Paint Glaze | Paint Finish for Stippling and Color Washing | DIY Home Décor Glazes") Dixie Belle Glazes| Whitewa…Shop on Amazon
Dixie Belle Glazes| Whitewa…Shop on Amazon


That’s one awesome way of creating the faux wood effect 🙂 Thanks for the tutorial, Chas!
Thank you so much Kasia, I’m so glad you like it!
I would like to do this to our kitchen table that is 36×48. But I don’t know what sizes of Slick stick, glaze and paint to buy? Any recommendations would be helpful.
Fellow Coloradoan
Steve
Hi Steve – and local friend 🙂 Can you send me a picture of the table? when you get this reply you can just reply to it and it should come to my email.
Love it! Cute way to spruce up something!
Thank you so much Sally 🙂
Wow I’ve never seen a tool like that before, I’m sure it must make it so easy to create the wood grain. Can you believe I thought it was a real wood table?
Thank you so much Mary! It is so fun to use and work with. I need to make some more things with it… and I’m so pleased it looked so realistic to you 🙂
Pretty! Thanks for sharing at the To Grandma’s House We Go DIY, Crafts, Recipes and More Wednesday Link Party! Have a great week and join us again!
Thank you Shari 🙂
UGH, I just hate it when that happens, but the second redo looks amazing Chas. Love the wood grain effect you created. It’s so perfect
Thank you Michelle 🙂
What a great makeover. You would not know that you had created the woodgrain effect yourself. A very clever project
weekendbloghop
Thank you Louisa 🙂
Awesome makeover!
Thank you Virginia 🙂
GM Chas, I’m going to keep this just in case my hubby changes his mind about the look he wants for his dresser. We’ve looked at several different ideas and I really love the idea of the rocker tool, but he’s not so sure. We’ll see what happens when the time comes to actually do it. I love the colors you used this time even more than the first one. Fabulous job!
Thanks Linda – maybe show him the look and the tutorial, maybe it’ll change his mind 😉 Tell him he can pick any color combo he likes (maybe even one of his sports teams – lol)