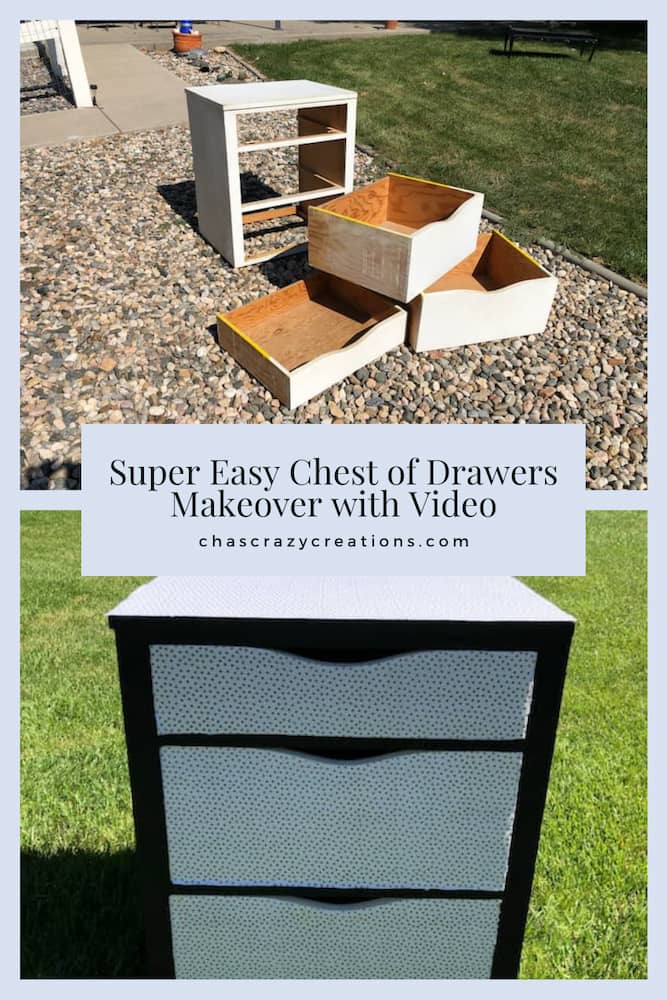
Super Easy Chest of Drawers Makeover with Video
Are you wondering what to do for a chest of drawers makeover? There are tons of ways to update it, and I chose a little paint and fabric.
I love diy projects especially when they involve a makeover of a well-loved piece of furniture. Today I’m going to take an old chest of drawers I found for free on the side of the road and do a furniture flip. Let’s get started!
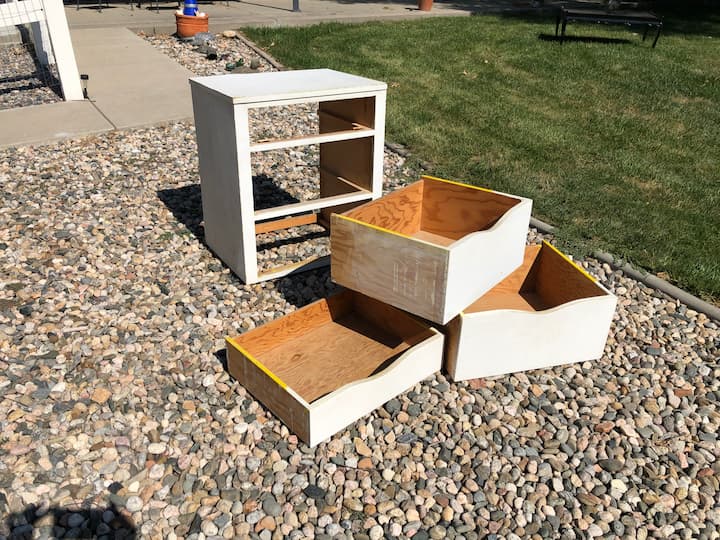
I found this little drawer set on the side of the road for free so it jumped right into my car. It had been painted a couple of times and was in pretty rough shape.
Chest of Drawers Makeover Materials
 FolkArt Home Decor Chalk Fu…Shop on Amazon
 Wagner Spraytech 2425443 Pa…Shop on Amazon
 Mod Podge Gloss Sealer, Glu…Shop on Amazon
 Craftido -25 Options- 100% …Shop on Amazon
Chest of Drawers Makeover Video

Chest of Drawers Makeover instructions
1. Sand The Chest of Drawers
I grabbed my Wagner paint eater and sanded away the old paint. The Wagner paint eater is amazing, it just takes the paint right off. I sanded the front of each drawer as well as the entire base of the unit. The top revealed formica underneath that had a lot of flaws and visible nicks. If you find a piece you want to work on that is a bit worse for wear you can do minor repairs with a little wood glue and wood filler then sand it smooth.
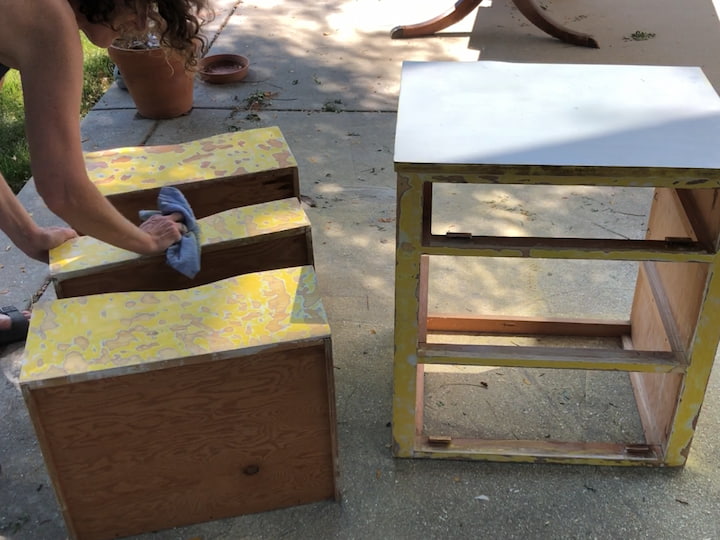
2. Clean the chest of drawers
Once the sanding was complete anded it was time to clean it up. I used Krud Kutter to wipe the whole thing down. I like Krud Kutter because it cleans up all the dirt and grime you may not even see, even sticky residue. Now it was ready to be painted.
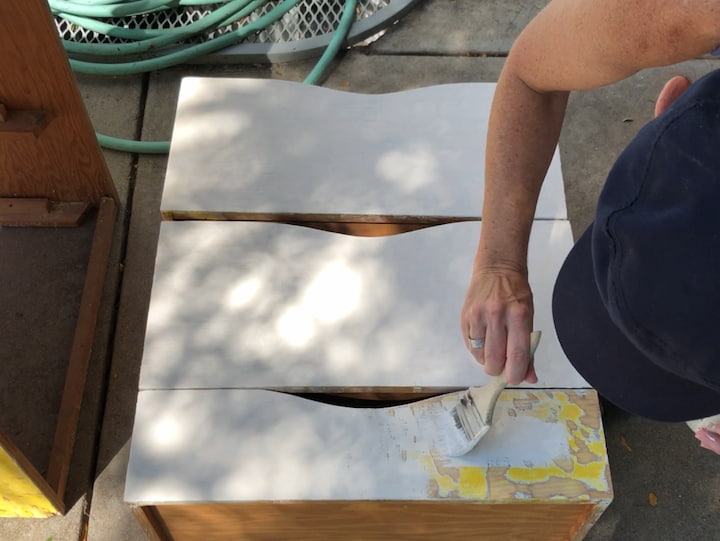
3. Paint the chest of drawers
I used folk art home decor chalk paint in the color sheepskin, and I did not use a primer. I painted the front of all three drawers with a paintbrush and after the first coat decided I wanted to do something more than just a new coat of paint. I also didn’t want the old yellow paint to show through. The sheepskin color just gave me a lighter background to work with.
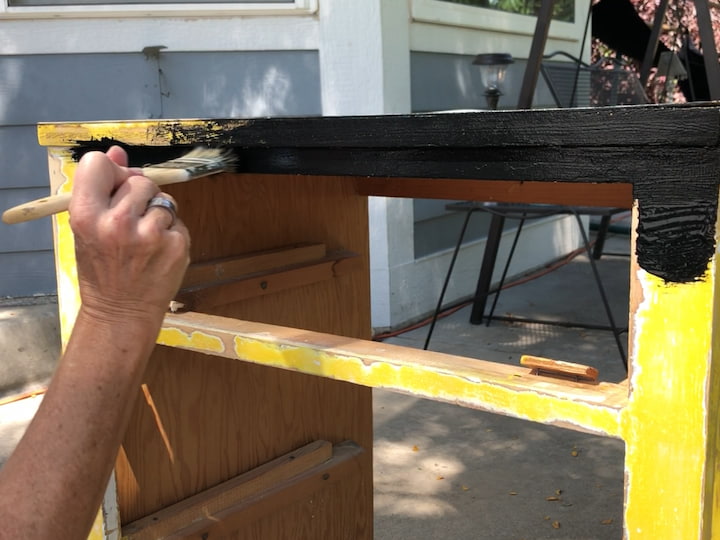
Now it was time to paint the main unit and for this, I wanted to use a dark color. I am using folk art home decor chalk paint in the color black. I like folk art home decor chalk paint because it is water-based so it goes on easily and it cleans up easily. It went on nicely and is also self-leveling which I love. I was able to paint the entire unit with one coat of black paint and that was enough. I didn’t need to paint the back side as it was open and would be against the wall. I let the paint dry completely before moving on to the next step.
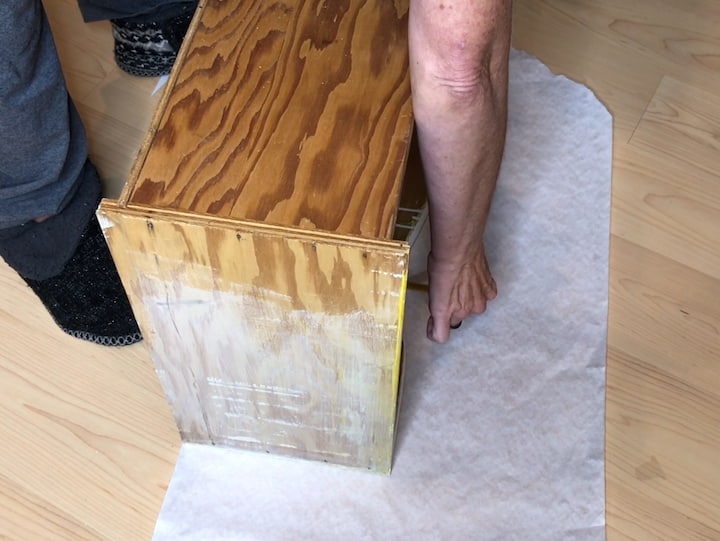
4. Make a template
For the flat fronts of the drawers, I am adding fabric. I found this fabric on clearance for two dollars. I started by putting the drawer face down on a piece of butcher paper and I used a pencil to trace the drawer. This is one of the easiest ways to make a template.
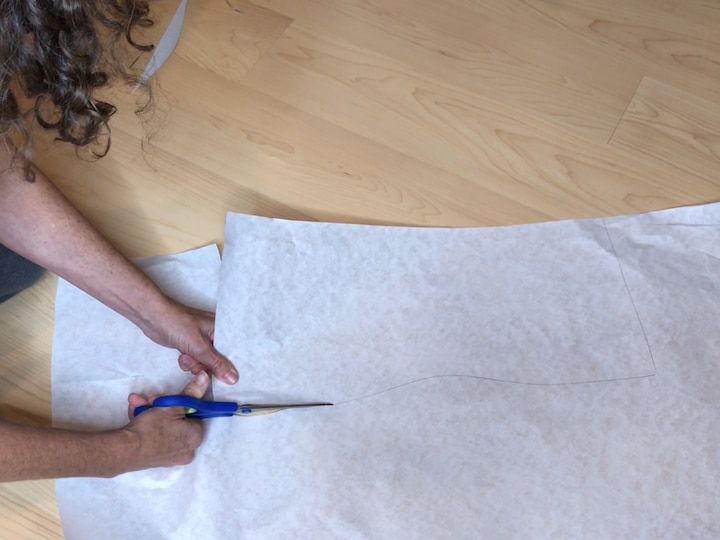
I cut out the template so that I’d be able to use it on the fabric.

I placed my template onto my fabric and I used my fabric scissors to cut it out. I did learn that the fabric moved around a bit while I was cutting so for the other drawers I traced around the template with a pencil and then cut it out.
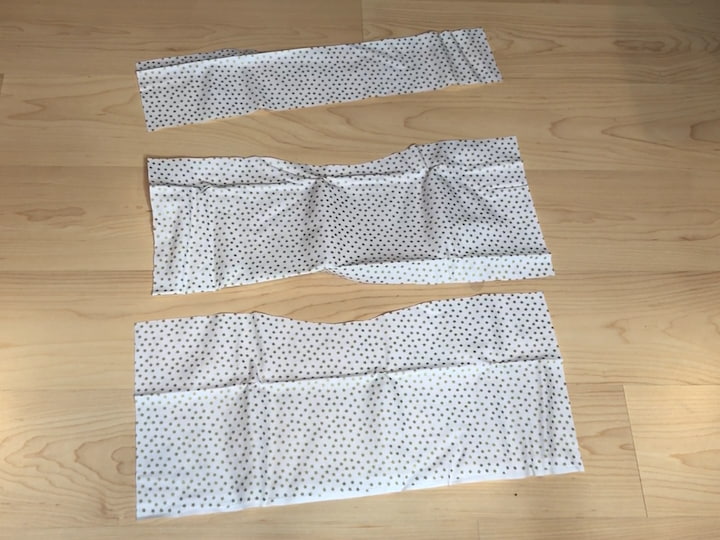
I did this to each drawer so I had three pieces of fabric. I have not tried using wallpaper to adhere to the front of the drawers but I think it would work nicely if you have self-adhesive wallpaper.
5. Adhere the fabric with mod podge to the chest of drawers
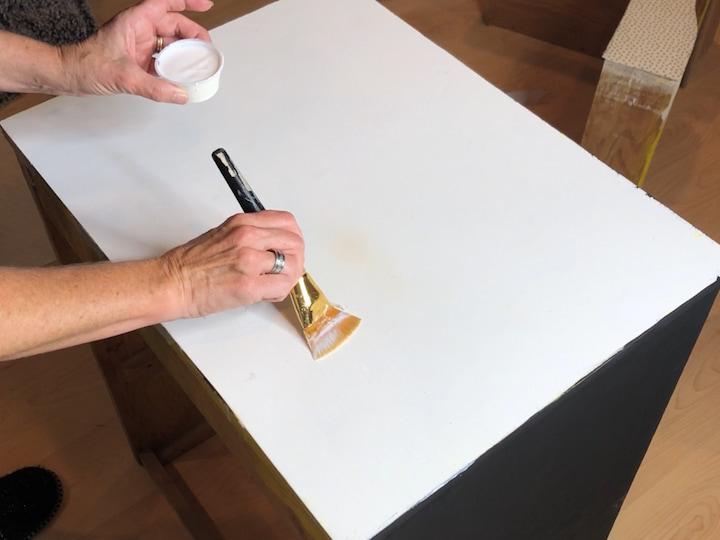
Next, I used Mod Podge which I absolutely love. It’s water-based as well so easy to work with and clean up. I painted the Mod Podge onto the drawer front. It goes on white and dries clear.
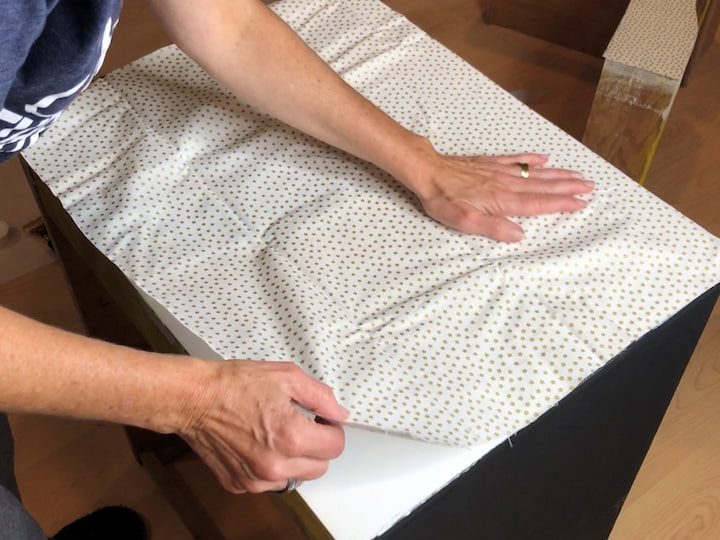
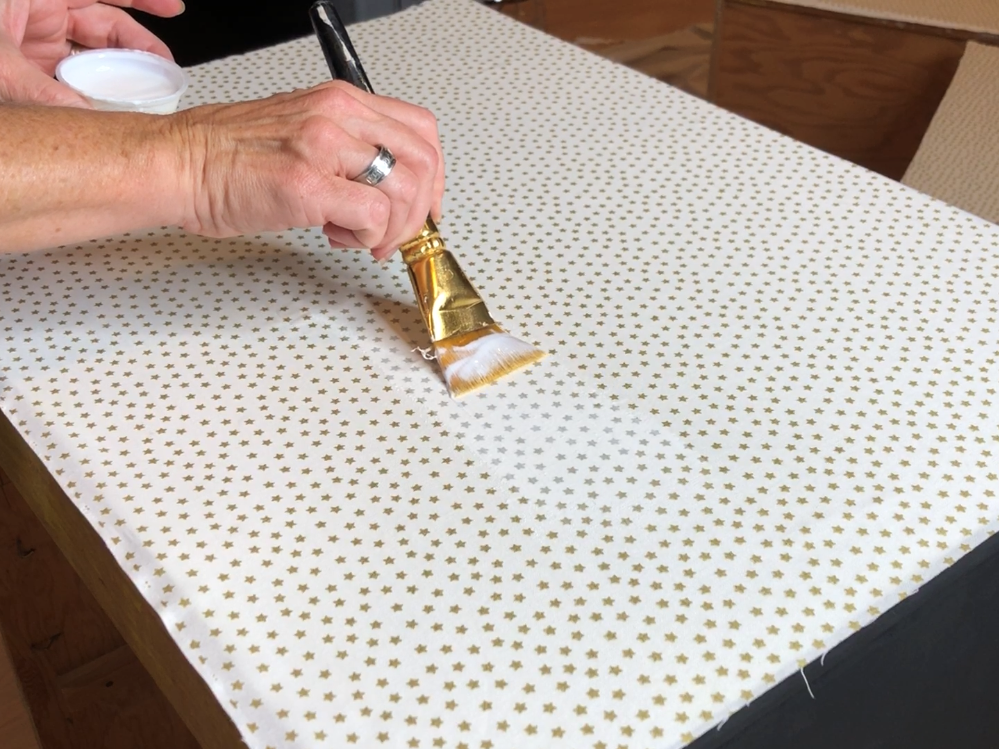
Once the drawer front was done I carefully laid my fabric onto the drawer until I got it lined up the way I wanted and then pressed down onto the mod podge. I made sure I got it nice and flat. I then placed a layer of the Mod Podge on top of the fabric to act as a sealer and provide nice adhesion to the drawer.
This also creates a nice water-resistant coating on the front. I repeated this process for all three of the drawers.
First I placed the Mod Podge onto the drawer front then I laid the fabric on top of the mod podge and then I put the top coat of mod podge onto the fabric.
Once all three drawers were done I let them dry completely before moving on to the next step.
While those were drying I did the same process to the tabletop. The Formica was scratched and really wasn’t salvageable so I painted the Mod Podge on top of the Formica and added the same fabric to the top.
I sealed the top with another layer of mod podge. Now, this is water resistant but if you wanted it to be waterproof you could easily use dishwasher-safe mod podge with multiple coats following the directions. Once everything was dry it was time to put the whole unit back together.
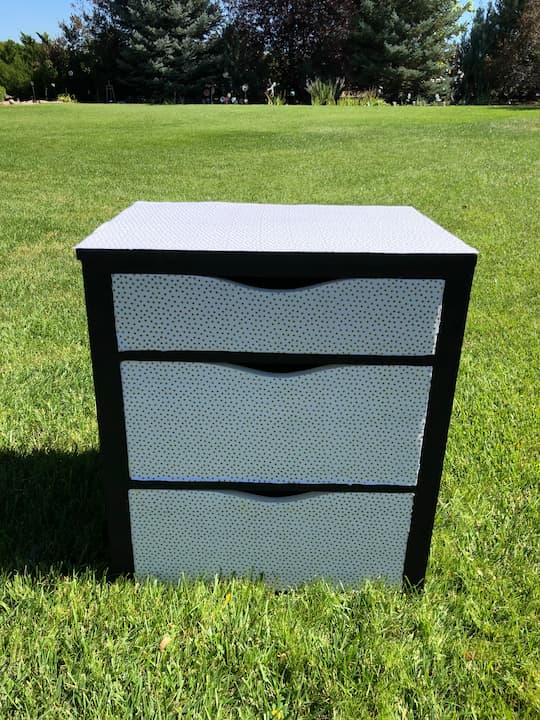
Here it is all finished and I absolutely love how it turned out. Something that was well-loved and falling apart now has new life. I hope this inspires you to take something free and flip it so that it fits your needs in your home.
I’d love it if you’d subscribe to my YouTube channel and my blog and be sure to ring the bell on YouTube so you’ll be notified of future videos. Thanks for watching and I’ll see you in my next video.
Chest of Drawers Makeover Video
Shop any of these stores and I receive a small commission at no cost to you.
 NeuType 65"x22" Arched Full…Shop on Amazon
") Devoko 5 Pieces Patio Furni…Shop on Amazon
Devoko 5 Pieces Patio Furni…Shop on Amazon Amazon Brand – Rivet Revo…Shop on Amazon
 Furinno LUDER Book Shelf, 3…Shop on Amazon
 SEE SPRING 12 Pack Shoe Sto…Shop on Amazon
 FDW | 8 Inch Queen Mattress…Shop on Amazon
More furniture flips
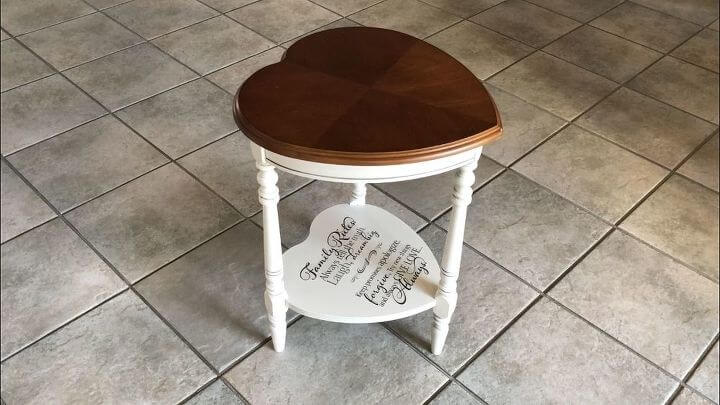
- Beautiful Thrift Store Heart Table Makeover
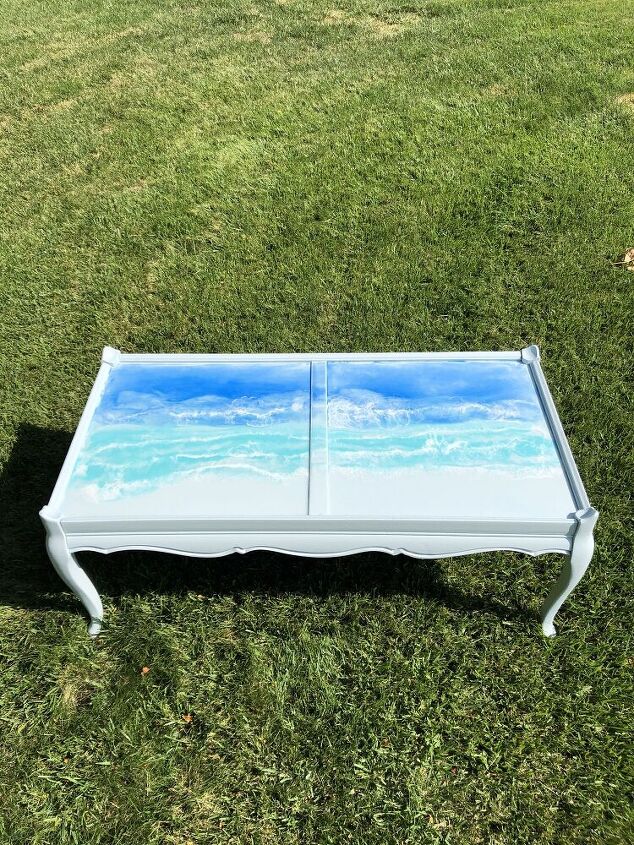
- Easy Coffee Table Makeover
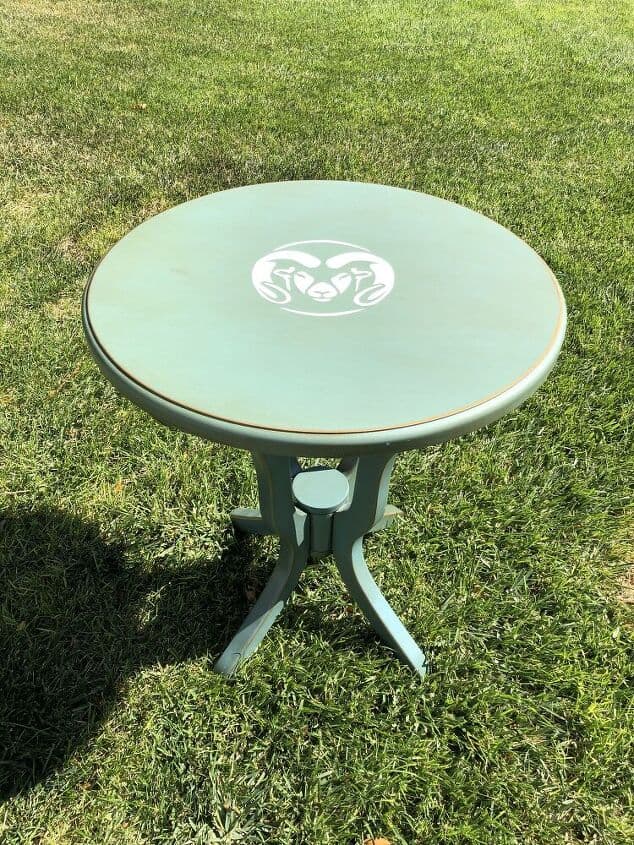
- Chalk Paint Side Table: It’s So Easy and Has Amazing Results
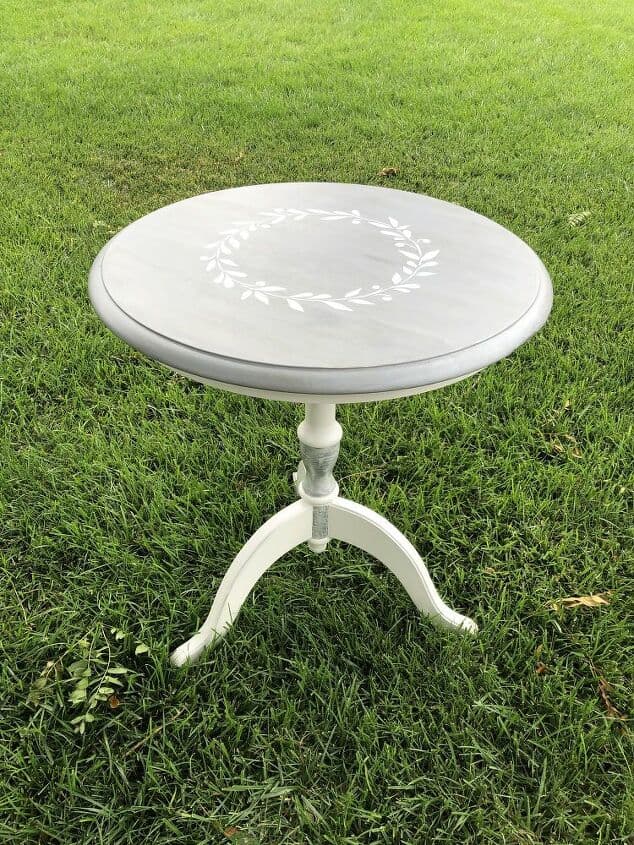
- How To Stencil With A Printable
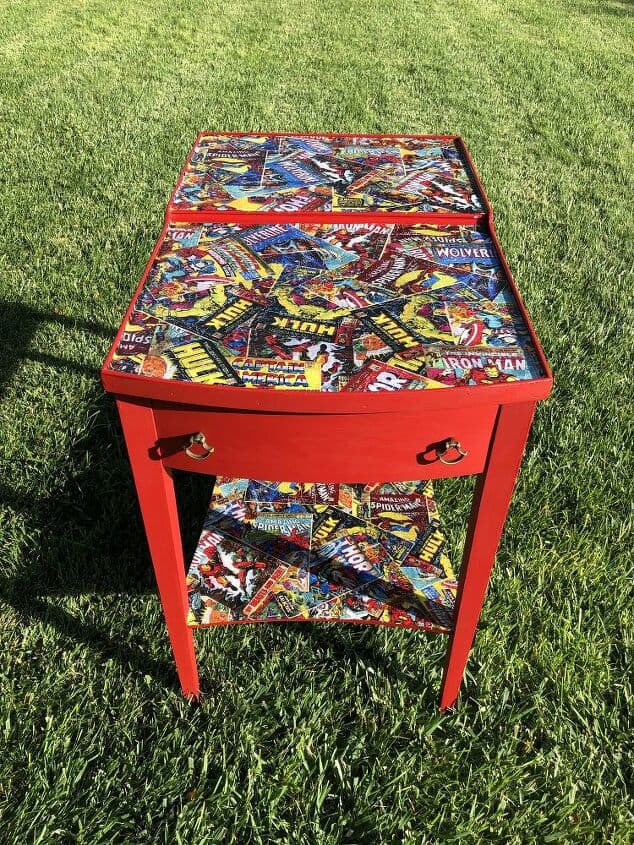
- Quick and Easy DIY Side Table Makeover For Your Home
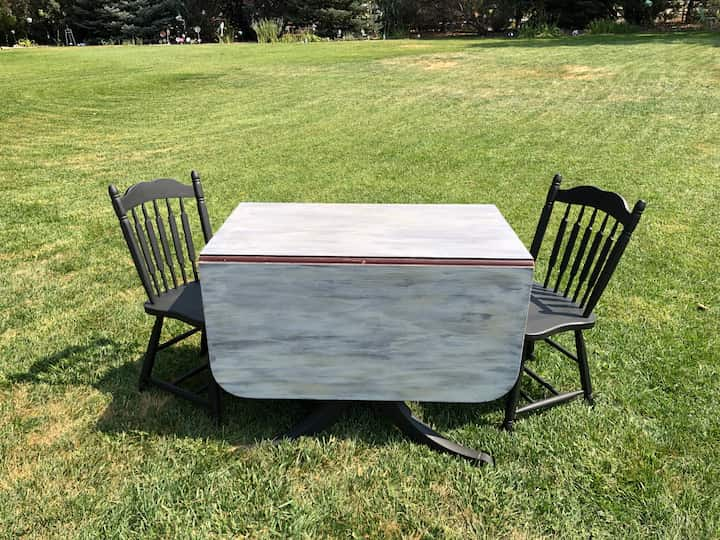
- Reclaimed Wood Dining Table and Chairs Awesome and Easy DIY
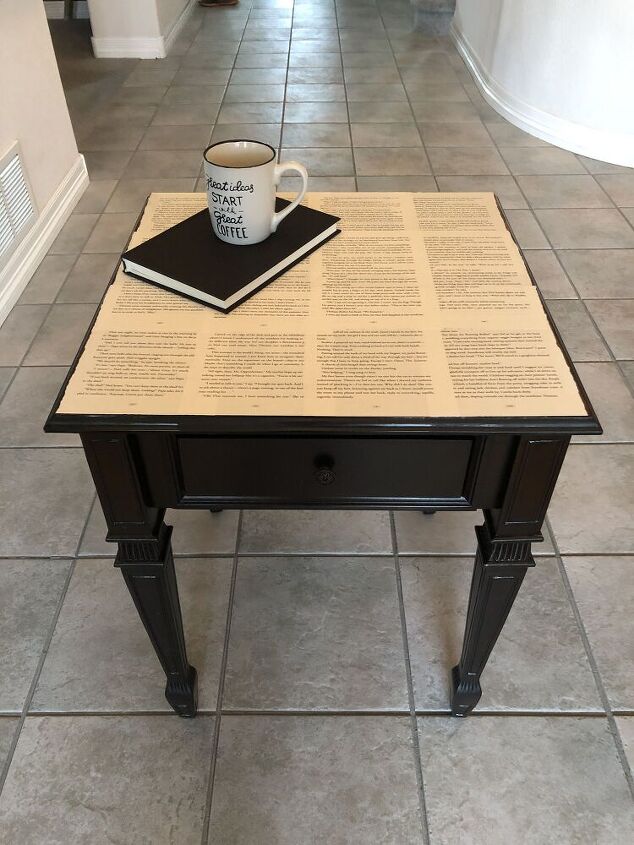
- Updated Side Table
- How To Use A Wood Grain Tool: It’s So Easy
- Beautiful and Easy Painted Side Table with Video