DIY Garden Decor: Epic Yard Art Showdown
Discover a world of creativity with my DIY garden decor pieces! From repurposed treasures to clever skewer creations, join me in transforming ordinary items into stunning garden art. Follow along as I compete head-to-head with another crafter in an exciting challenge of imagination and ingenuity. Get inspired to breathe new life into your outdoor space while enjoying the thrill of friendly competition!Here is another craft challenge. I’m teaming up with Mona from Craft Klatch. We are doing our craft challenge called “Craft or Crap.” You decide! You may also like my Easy Dollar Tree DIY Mushroom Solar Light Decor turning Dollar Tree party items into glowing mushrooms for my garden.
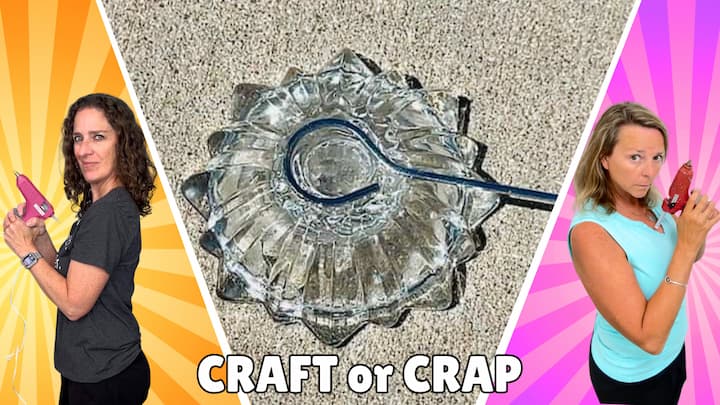
Here are the basic rules and instructions for our DIY projects:
- We have to create DIY yard art or DIY garden art.
- It has to include items that we can reuse or repurpose.
- It needs to include some skewers.
DIY Garden Decor Video
DIY Garden Decor Tutorial
See how I made my craft challenge with items I mainly already had. Here are a few craft supplies you may need.
Here is a materials list:
- solar light
- flower petals
- cool glue gun or superglue
- repurposed materials
- planters
- skewers
- spray paint (optional)
- strong tape
Find Planters
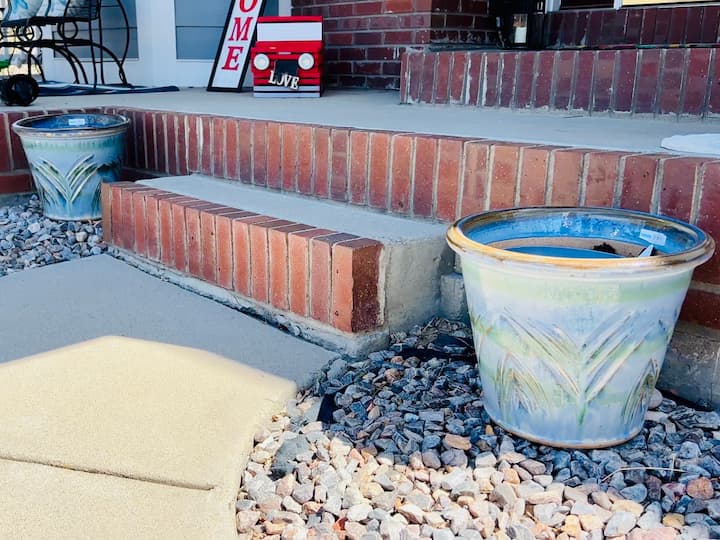
I have some flower pots in my front yard. I decided that I wanted to create garden art or yard art in those.
Glue Petals On Solar Light
I’m going to be starting with the solar light. I had some flower petals from the dollar store.
I warmed up my cool glue gun, and I put a dab of cool glue onto the solar light. Then I placed the petal onto the dab of glue.
I continued doing that around the solar light. It took about four flower petals going all the way around the solar light. Then I went around again.
This time I placed the dab of glue between the first set of flower petals and I placed four more on. I could have stopped here, but I decided to keep going and add a few more petals.
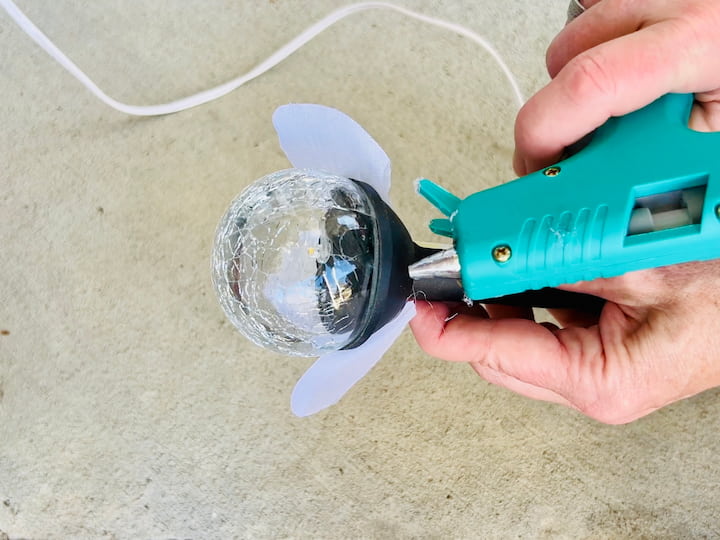
As I mentioned, I used a cool glue hot glue gun. You could use a different adhesive of your choice. Adhesive choice depends on where you’re placing your solar lights and what kind of elements they’ll endure.
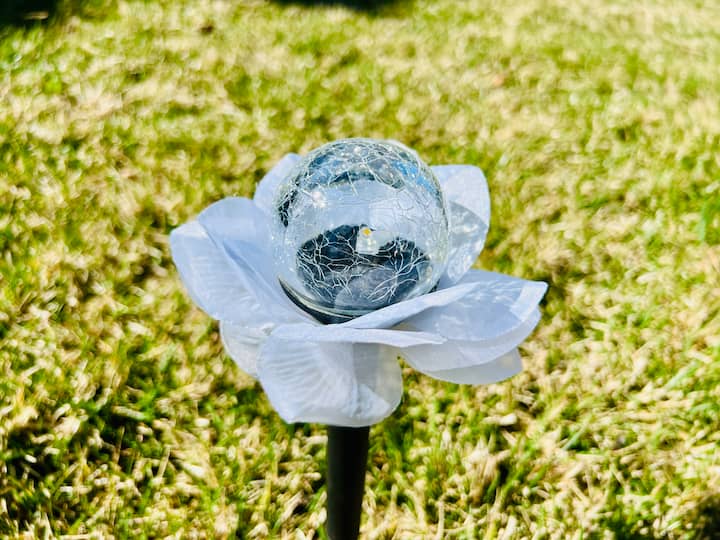
Here’s a quick look. I made two of these. We’ll be coming back to this in a little bit.
Repurpose items
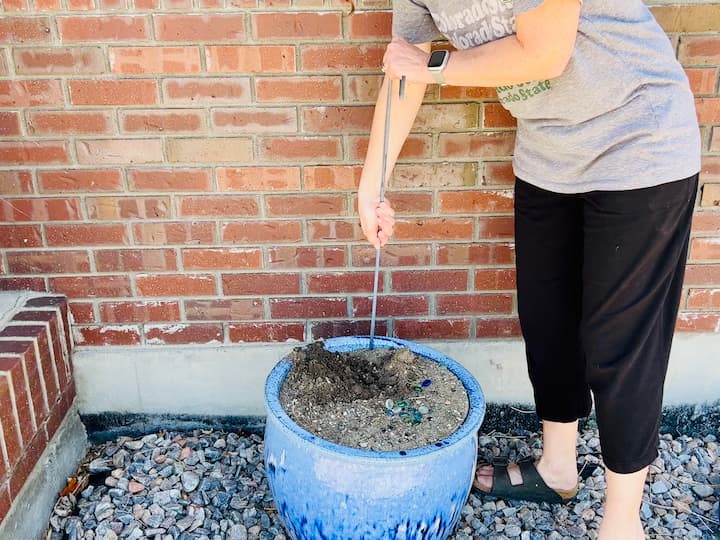
For my large flower pot, I put a shepherd’s hook in it.
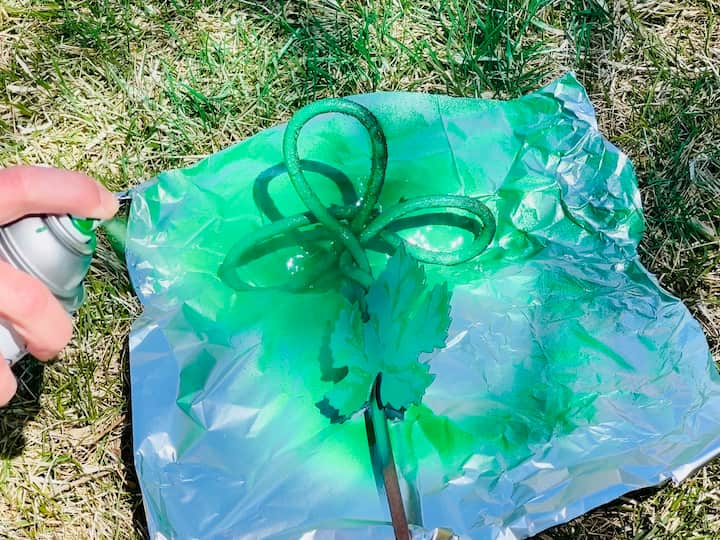
Next, I had an old candle holder and it had been out in the yard that I could repurpose. It just needed a little refresh for a new life. I washed it up and then I added a fresh coat of paint with green Rustoleum spray paint.
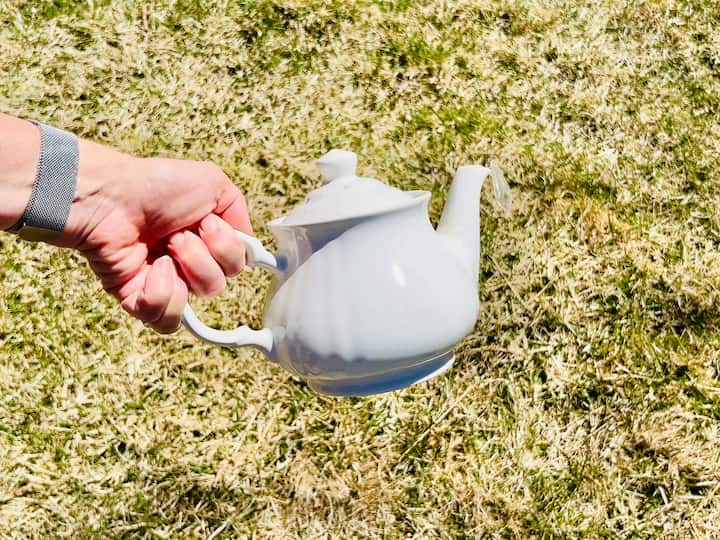
Also, I had an old teapot that had cracked. I put silicone to secure the top. Then I added a dab of silicone to the pouring spout and added a little crystal to it and let that dry so it was nice and solid.
I had this little glass candle holder. Here’s where I used the skewer.
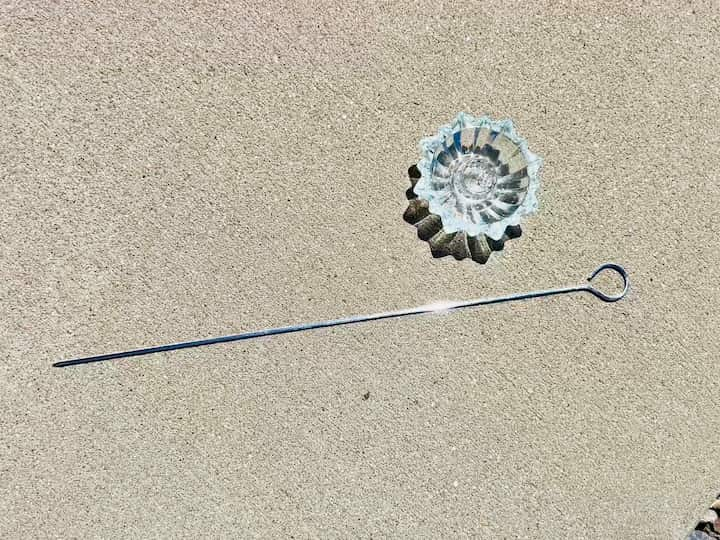
Attach skewer
I placed Fix-All superglue onto the back of the glass candle holder. Then I placed the skewer into the glue and let that set to dry. Usually takes about 24 hours to dry.
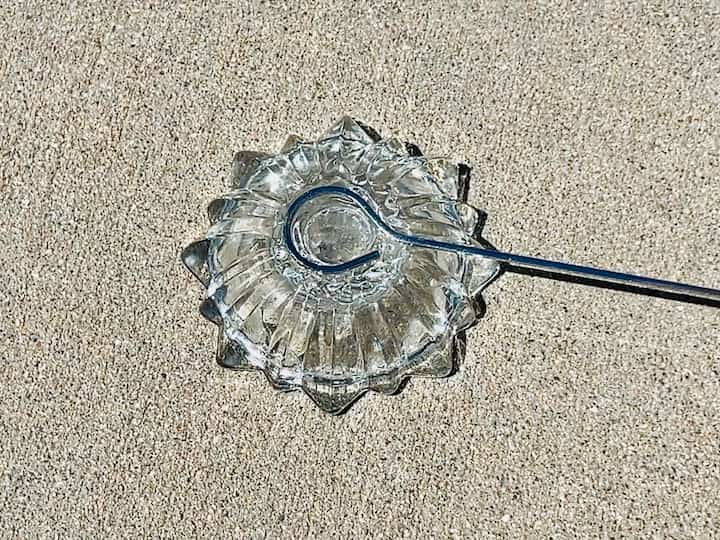
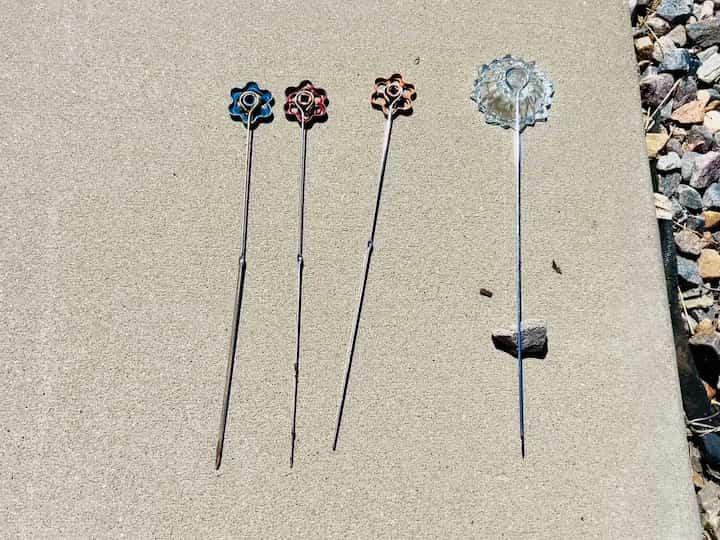
I also repeated this process with faucet handles and skewers as well. While all of those were drying, I started on one of the other pieces of the project.
Make solar light flower from spoons
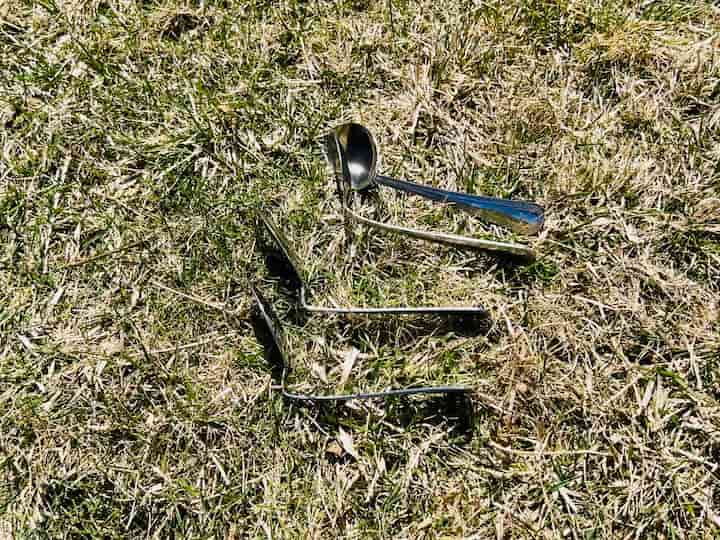
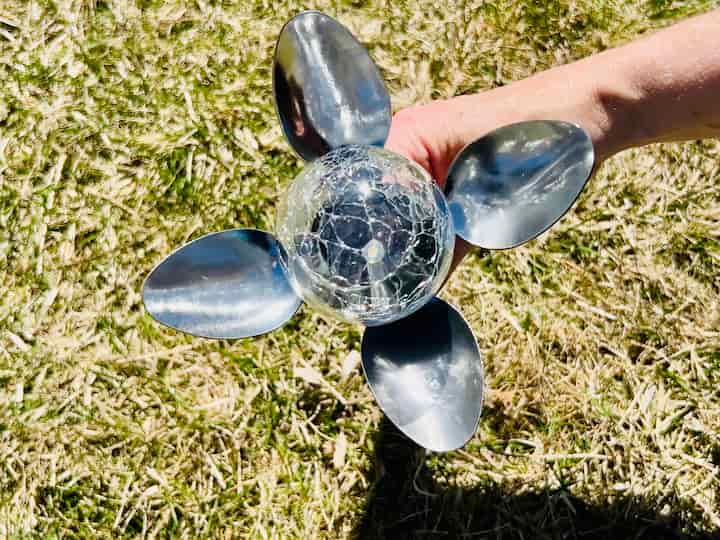
I had some spoons from the dollar store. I took each spoon and I bent the top back at a 90-degree angle. I repeated this process to all of the spoons. I would need a total of four spoons.
I grabbed another solar light and I’ll be using gaffers tape for this next step. I placed one spoon onto the solar light base. I used the gaffers tape to hold it in place. The reason I chose gaffers tape is that I found that silicone and some super glue did not hold the spoons in place. This tape would definitely secure them.
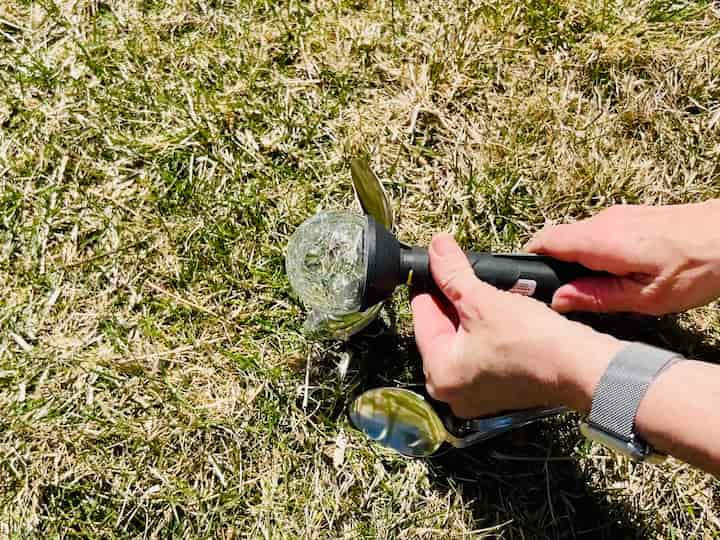
I taped the first spoon in place and then I continued to put all of the other spoons onto the solar light. Then I wrapped the whole thing one more time with the gaffers tape. This solar light flower is complete. You can see more of my spoon flowers at Solar Silverware Flowers
Assemble
Now it was time for me to assemble everything that was going to go into this flower pot.
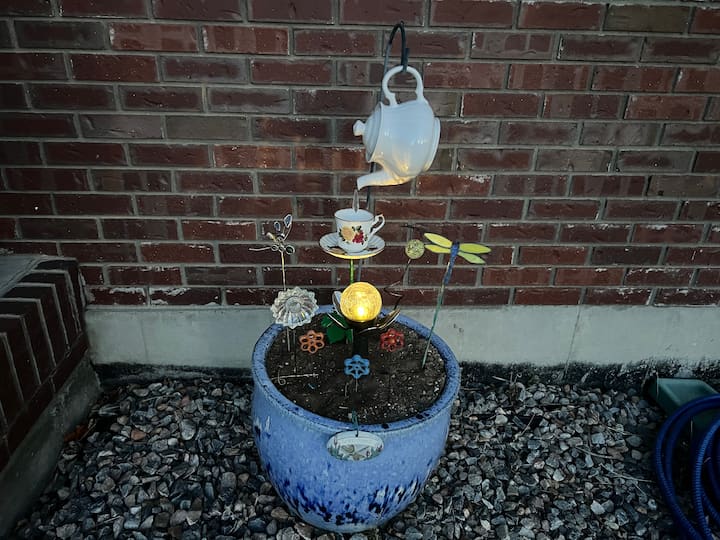
I started by putting the teapot onto the shepherd’s hook. I had a teacup and saucer that wasn’t usable anymore, so I siliconed those together. Then, I siliconed that to that candle holder that I spray painted. I then took it and placed it into the flower pot, burying the base so it’d be nice and solid. Now the teapot drips into the teacup.
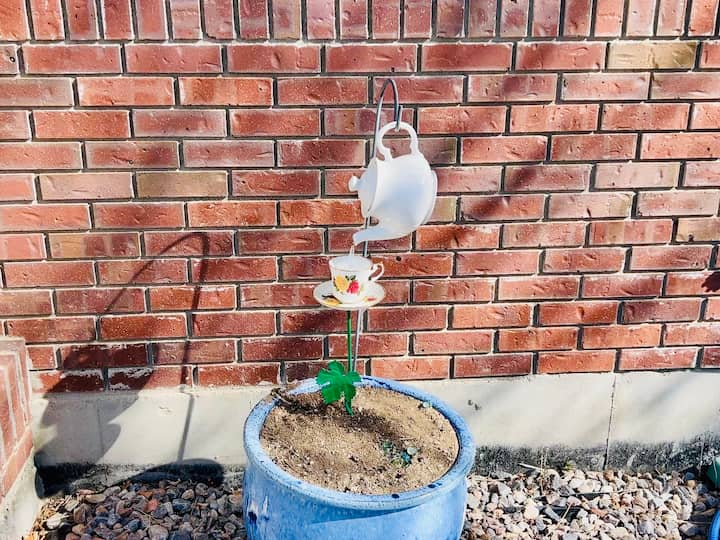
Next, I grabbed my solar flower that was made out of the spoons. I placed it in the center of the flower pot. My goal is so that the light will shine up towards the teapot and the teacup.
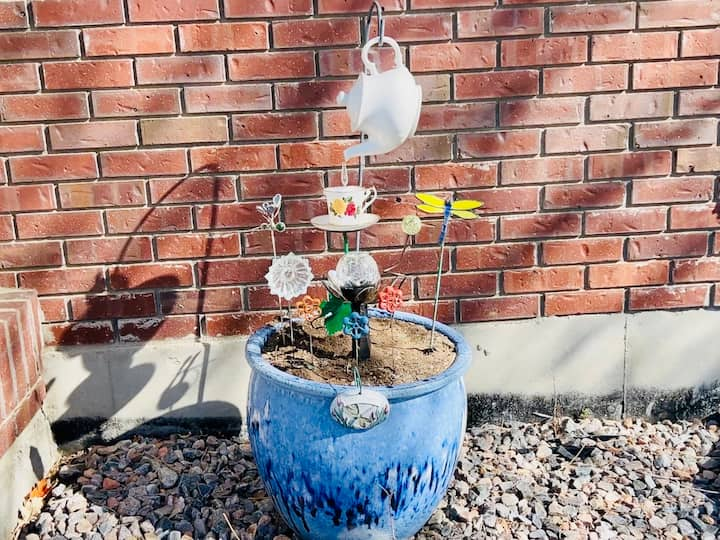
Then I grabbed those spigot heads or faucet heads that I had glued onto the skewers, and I placed those as flowers around the solar light flower. I’m making an eco-friendly flower pot this year.
I had these old dragonfly picks that I’ve had for years and years. I just love them. They’ve been in a variety of my different flower pots over the years or flower gardens. I decided to add them to this display that I was making.
I placed all of my dragonflies and rearranged the flowers until I kind of got the look that I wanted. Lastly, I added that last glass candle holder flower. I think I want a few more of these, so I might have to go to a thrift store and find some more.
So here is my garden display by day. I promise I will show it glowing at night, as well. Let’s move on to those other flower pots.
We’re going to work on those other flower pots. I’ll be using some more skewers for this.
Make skewer flowers
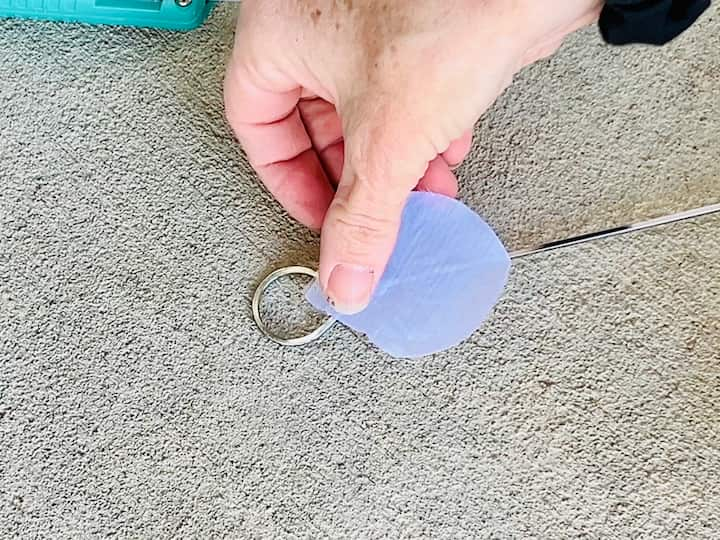
I’ll be using my hot glue again, a cool glue gun. You could use a different adhesive if you want. I started by adding glue to the skewer and then adding one of those little rose petals.
I continued adding the glue around the edge of the skewer and adding more petals as I went.
Again, remember, the kind of glue depends upon where you’re going to be placing craft. Consider if it will be exposed to wind or rain? If so, you may want to change up the kind of glue you’re using for this project. Mine are by my front porch, so they are a little sheltered by the house.
Add flower centers
Once I got all of the flower petals that I wanted, it was time to add something to the center. I grabbed a dollar store glass rock for sparkle. I added a little hot glue to the back of it. I placed it in the center of the flower skewer.
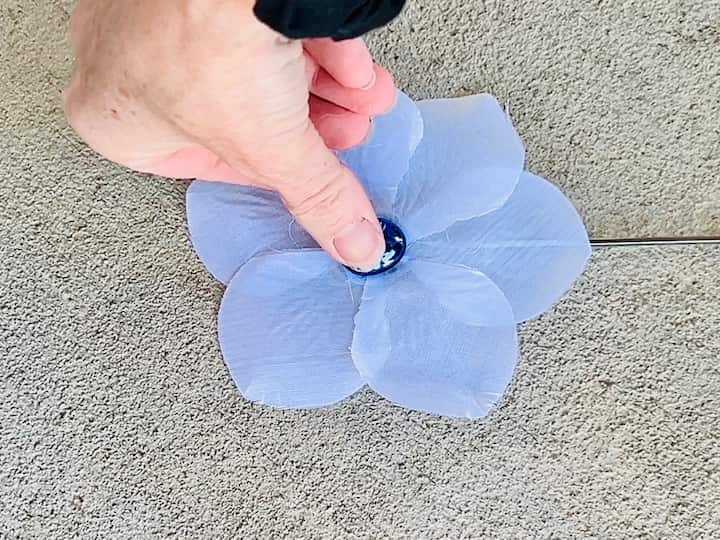
I went ahead and made several more of these flowers. I placed different glass gems in the center of all of them. Now you can use different colored petals if you want, mix and match, or you could even dye these with a little food coloring.
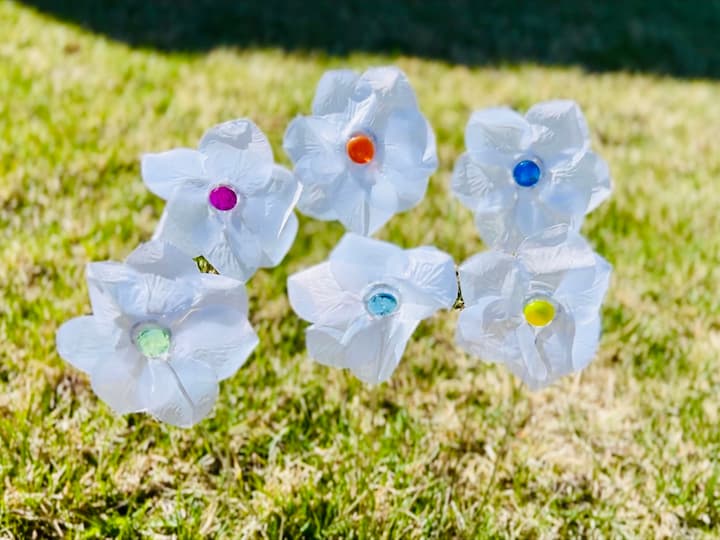
Now we’re going to take that solar flower that I made with the flower petals as well as all of the other flowers and we’re going to add them to the flower pots up front.
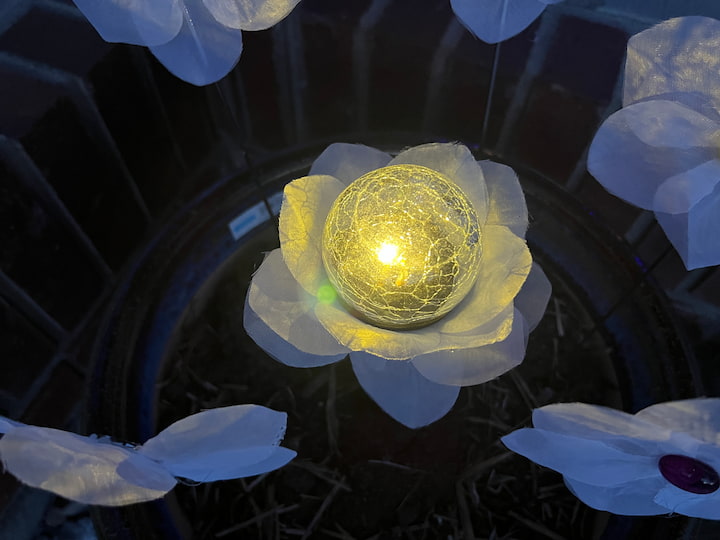
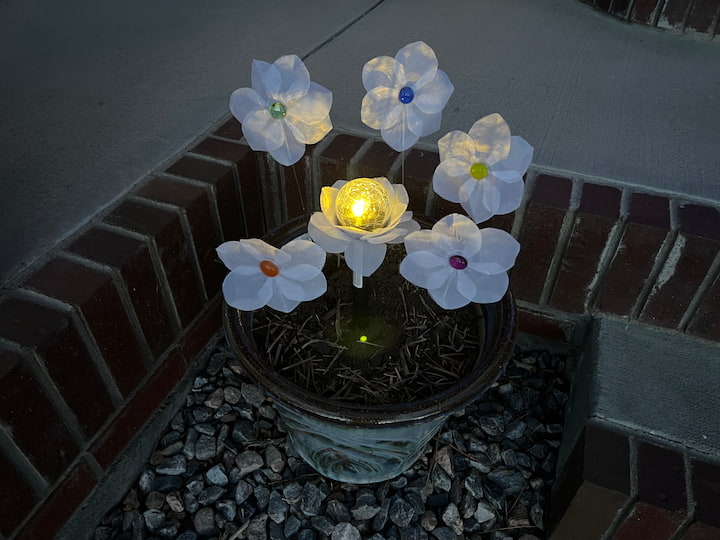
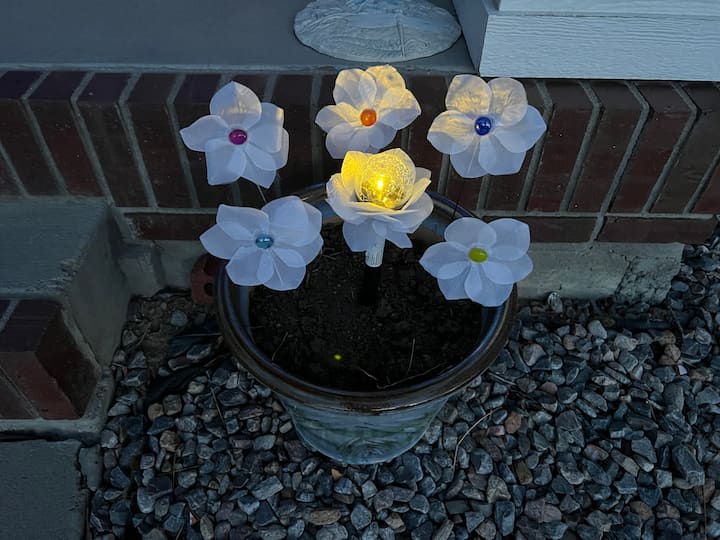
I added the solar flower to the center so that it would light up the other flowers. I placed the other flowers around them. I love how the little stones add bright pops of color. Again, you could dye any of these or use different colored flower petals if you choose.
Now, before we dive into what it looks like by evening, let’s take a look at it one more time by day. All three flower pots on my entryway by my front door. Above is the large flower pot of DIY garden decor. The two smaller flower pots below are on my entryway of DIY yard art. They look great in my outdoor space. You could use these on a patio, deck, or porch, too.
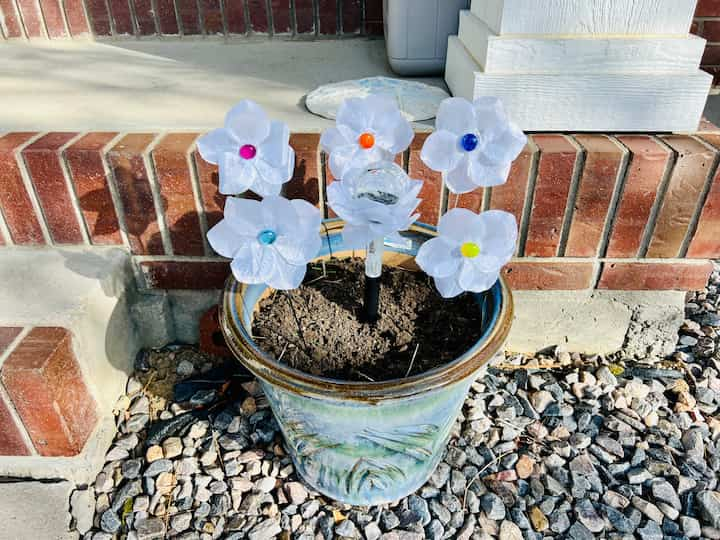
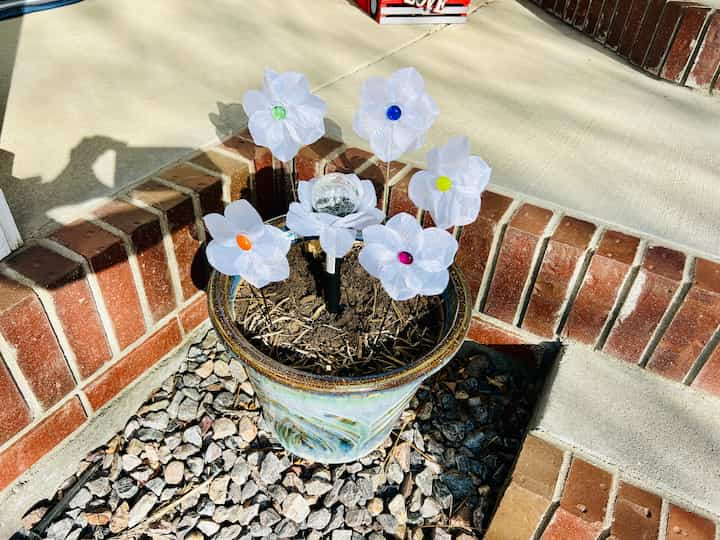
You can still see everything else by day. I would love to know in the comments below what are your favorite projects in these displays.
As we transition into the evening, you can see the solar light reflecting on the teapot and teacup. The crystal looks like a water feature without the fountain.
These little solar light flowers are lighting up all of the other flowers creating that lovely glow and unique touch that I was wanting. I’m so excited about the ambiance these lights create! You could add the solar flowers in flower beds too!
DIY Yard Art Video
Be sure to hop on over to Mona from Craft Klatch’s project. See what her project is and let us know what you think. You get to decide: is it craft or crap? We want to know what you think.

We hope that you will participate in our Craft or Crap Challenge. If you do, we’d love to see your projects.
- So you can share it on Instagram with the hashtag #craftorcrap and tag Craft Klatch or Chas’s Crazy Creations.
- Join and share it in our Facebook group at Craft or Crap.
- Or email us and send in your photos. chas(at)chascrazycreations(dot)com & mona(at)craftklatch(dot)com
More DIY Garden Decor Ideas
Want more garden decor ideas or yard art ideas using solar lights? They are some of my favorite crafts to make with kids and the entire family. Garden art projects are a great addition to flowerbeds, garden bed or on a garden path. See these for your own garden:
DIY Garden Decor Mushrooms
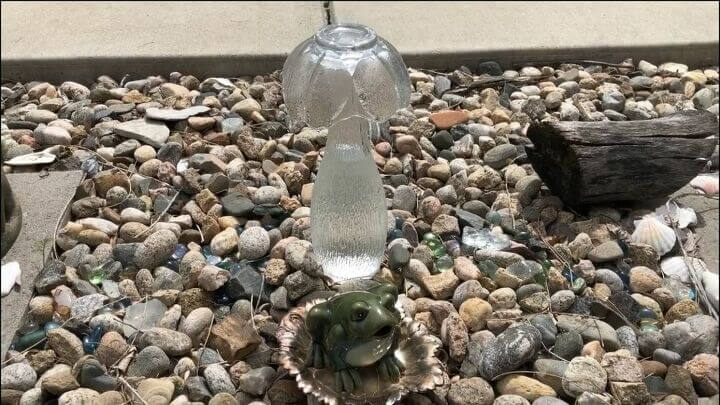
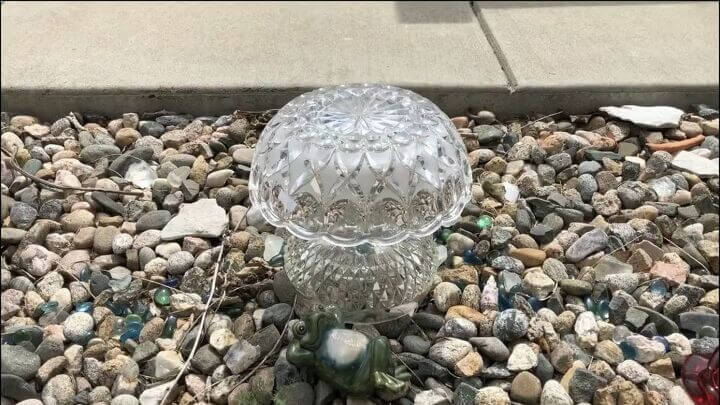
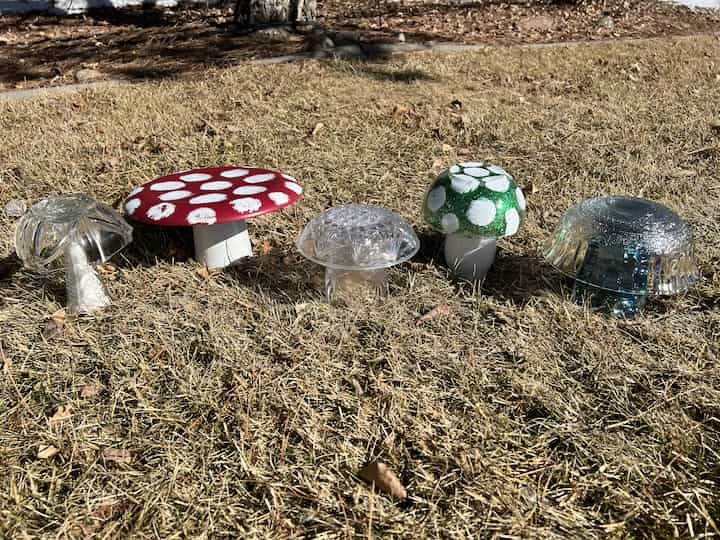
Do you want to make a DIY mushroom for your yard or garden? Look no further! With just a few items from the dollar store, you can create one that glows. You can find the full tutorials at
- Easy Dollar Tree DIY Mushroom Solar Light Decor
- Super Easy DIY Garden Mushrooms on a Budget with Video
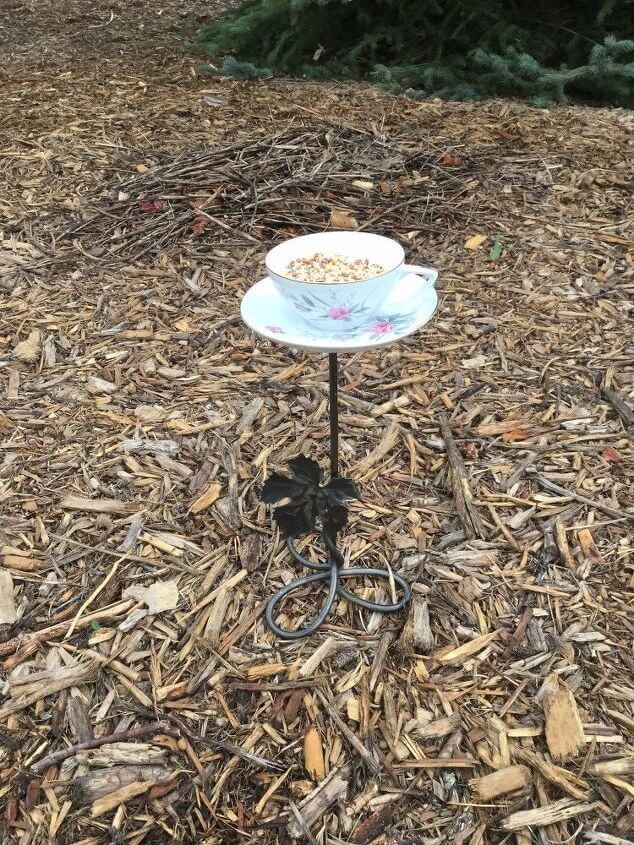
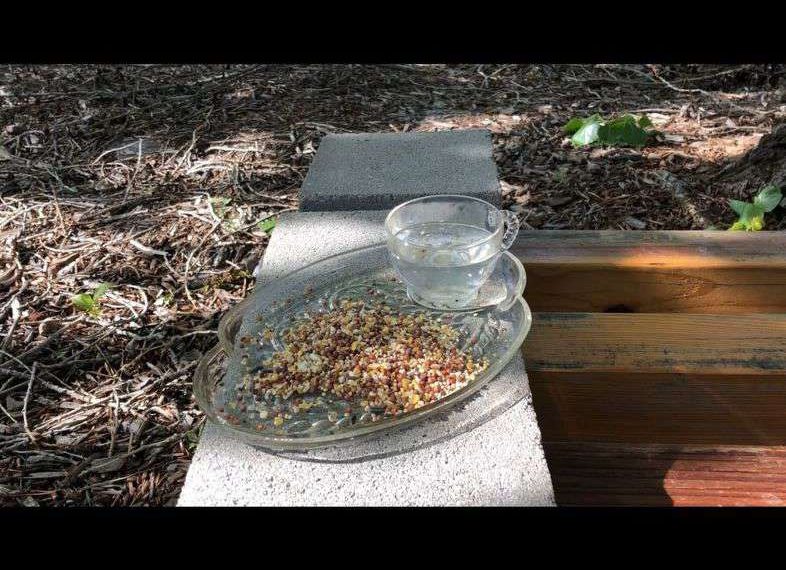
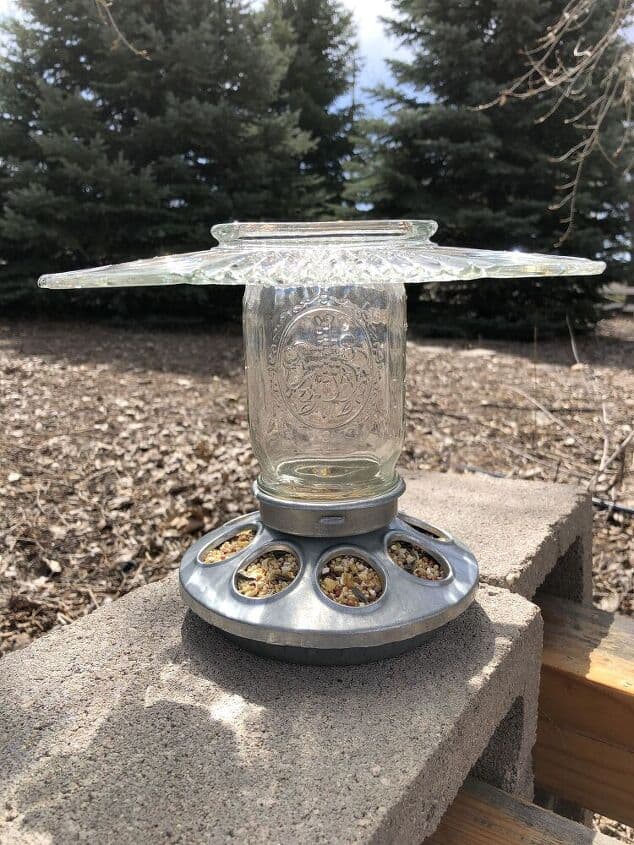
DIY Birdfeeders
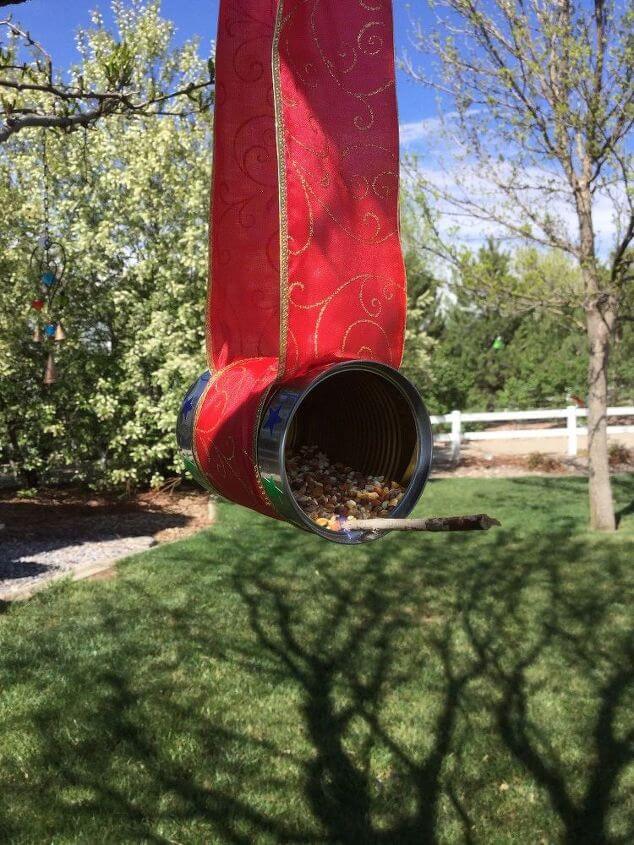
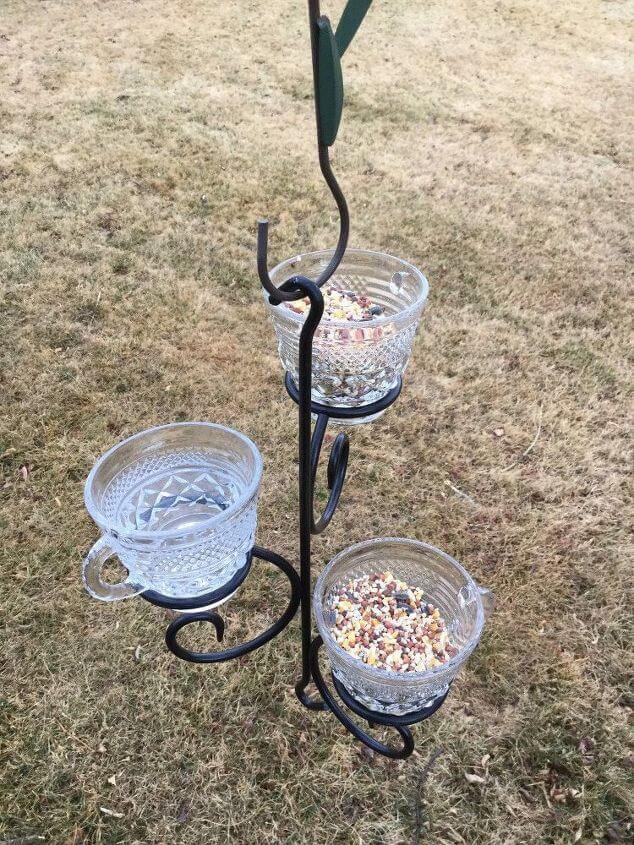
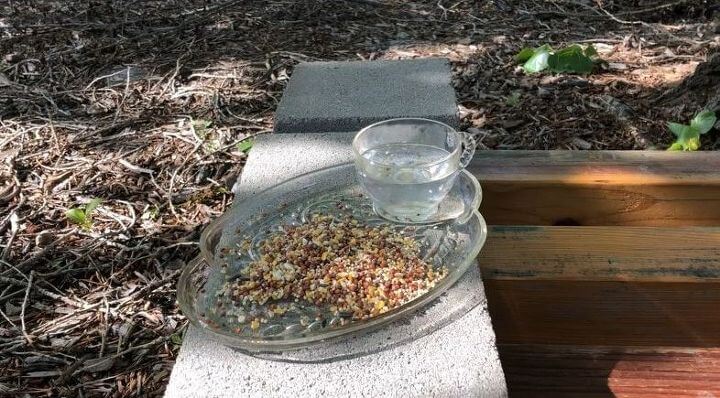
Explore recycled bird feeder creations crafted from upcycled and thrifted materials. Bring sustainability to your backyard while inviting birds to dine in style. You can find the full tutorial at Easy DIY Recycled Bird Feeder Creations
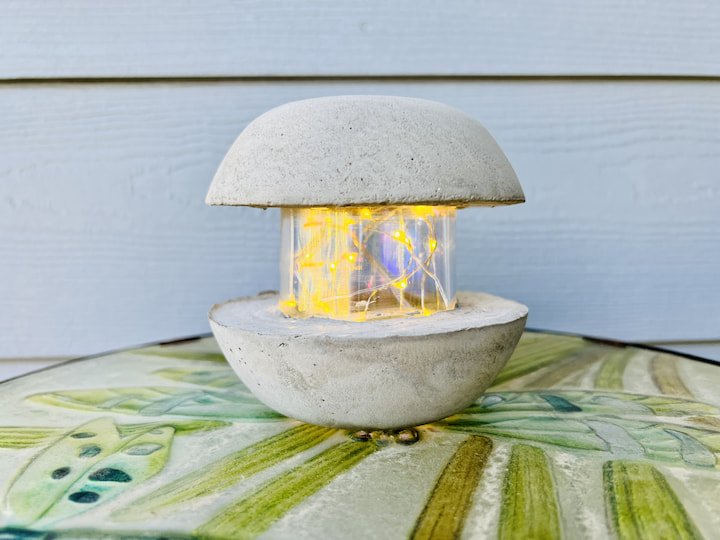
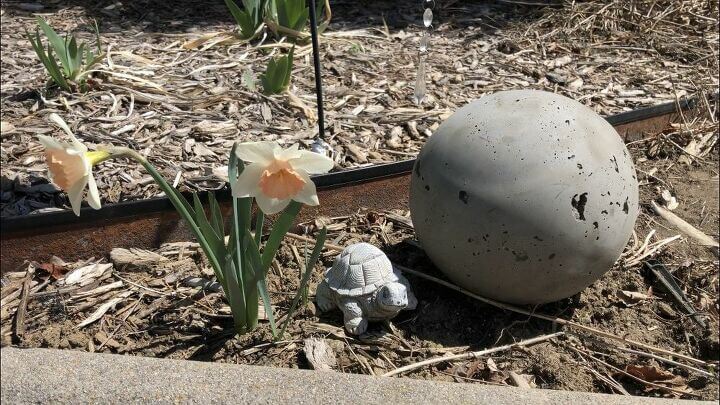
Concrete Garden Lights
Are you looking for a concrete light? You’ll need a few items from Dollar Tree and a bag of Mortar for this easy and super cool DIY. You can find the full tutorial at Super Cool and Easy DIY Dollar Tree Concrete Light
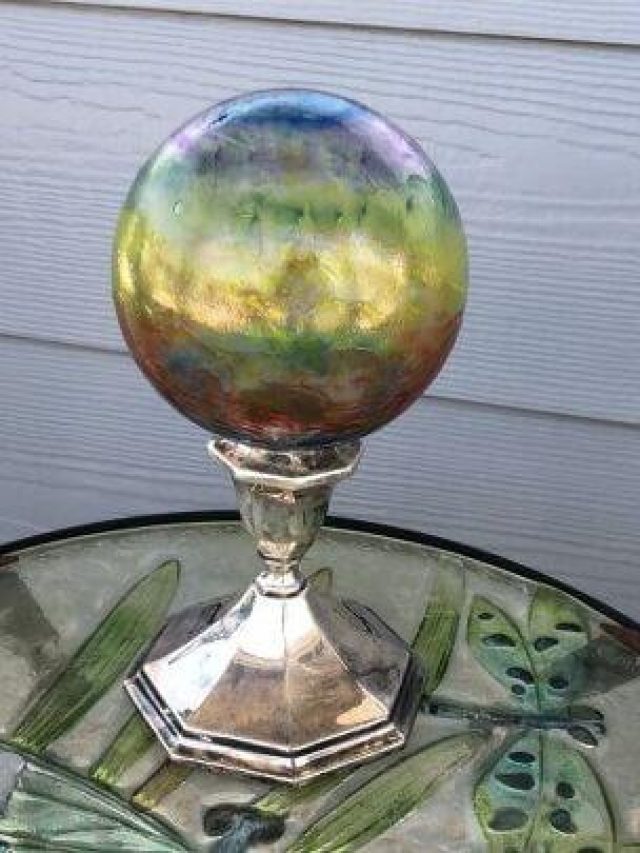
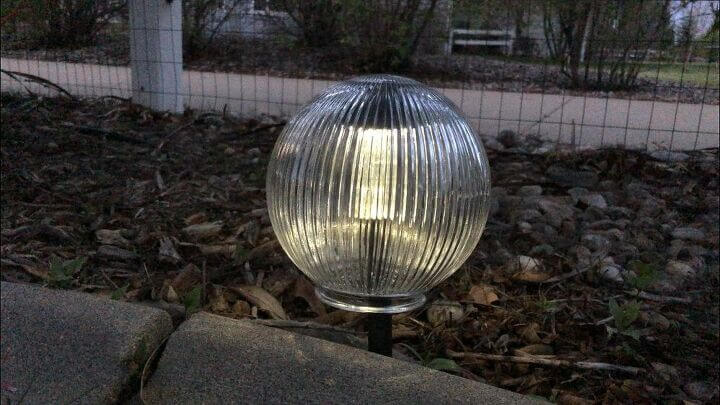
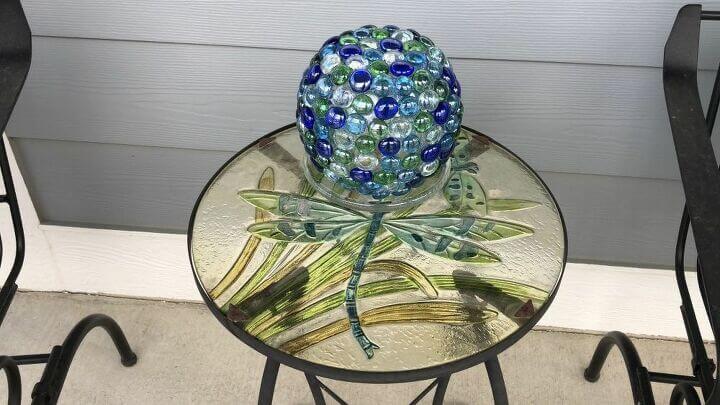
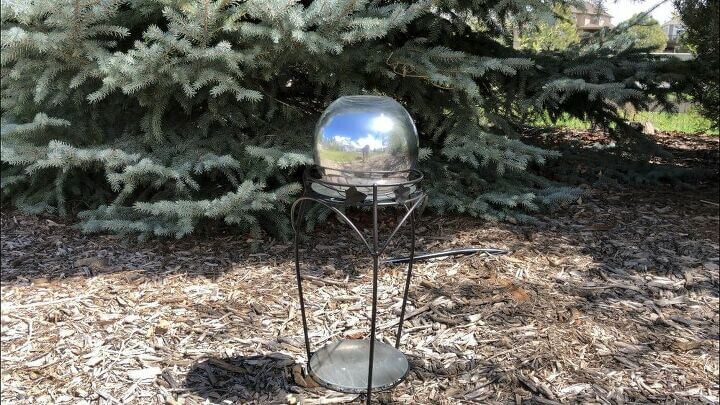
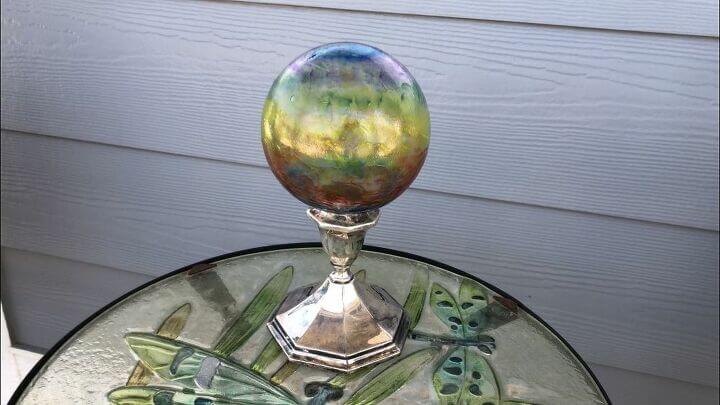
DIY Garden Globes
Do you want a gazing ball? Garden Decor can be expensive, especially those garden globes & gazing balls. Here are 7 I have made for just a couple of dollars. You can find the full tutorials at Easy and Awesome DIY Gazing Ball Garden Globe for your Yard
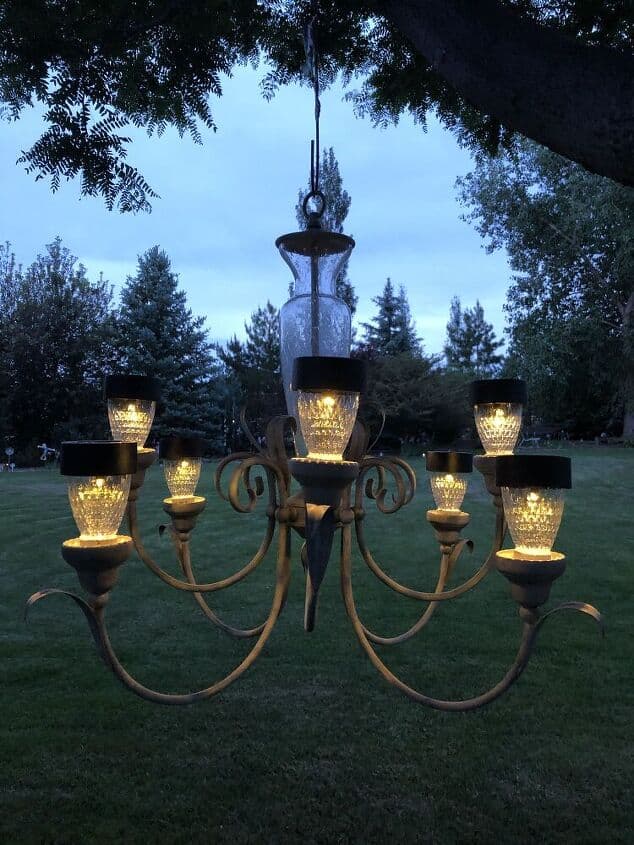
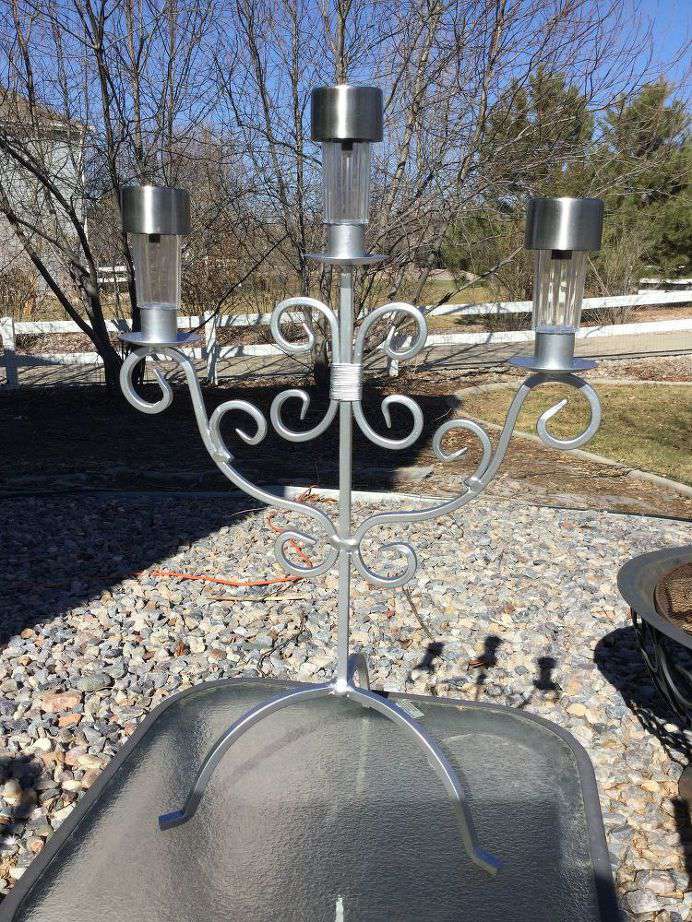
DIY Yard Art Solar Chandelier
Are you looking for an outdoor solar chandelier? Many people know I love thrift stores and solar lights. Put them together and I can create some great things for my outdoor space. You can find the tutorials at:
- How To Make An Awesome and Easy Outdoor Solar Chandelier
- Easy Flower Basket to Solar Chandelier
- Upcycle an Outdated Chandelier to a Solar Chandelier
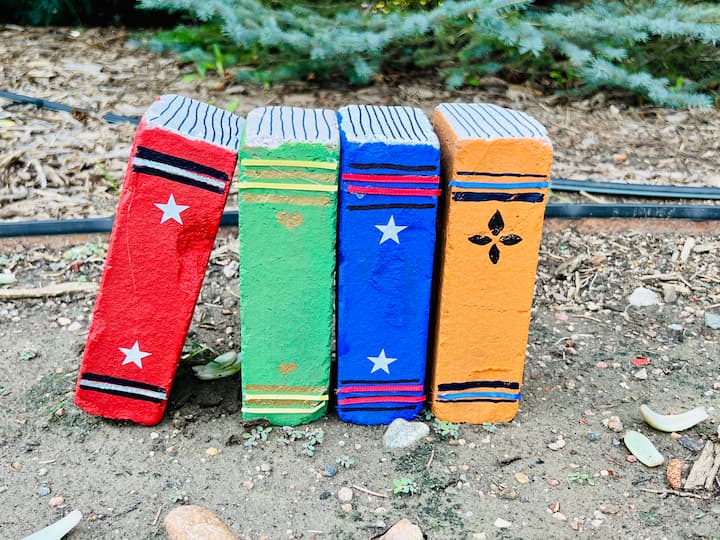
Vibrant Painted Brick Borders DIY Garden Decor
Learn how to transform your garden using painted bricks. Explore step-by-step instructions for painting bricks and creating vibrant brick borders. Add charm and personality to your garden with this budget-friendly DIY project. You can find the full tutorial at Creative Garden Decor Ideas: Transform Your Outdoor Space
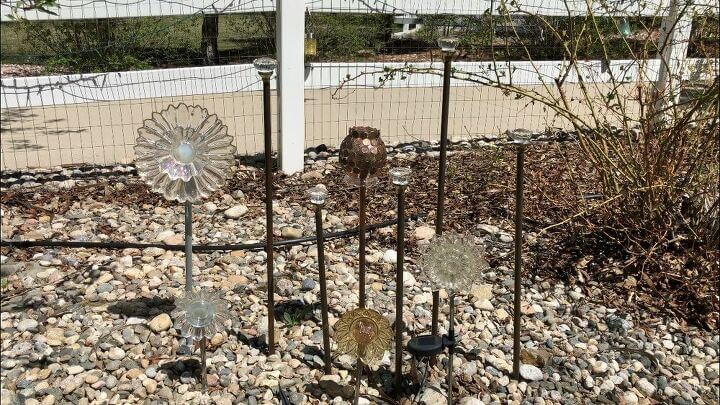
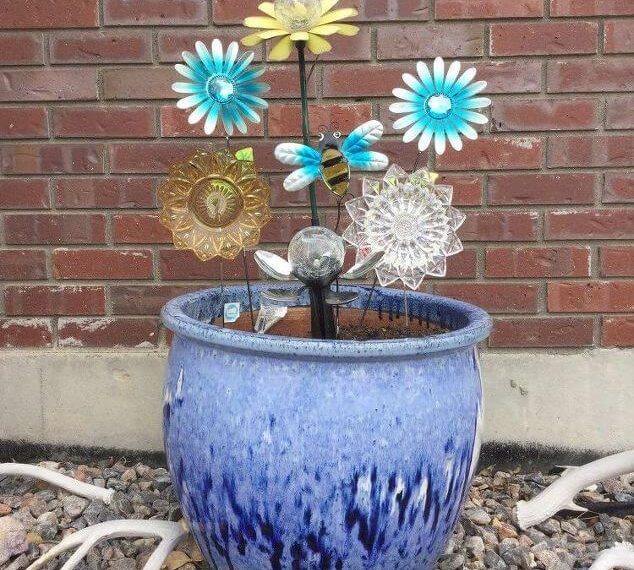
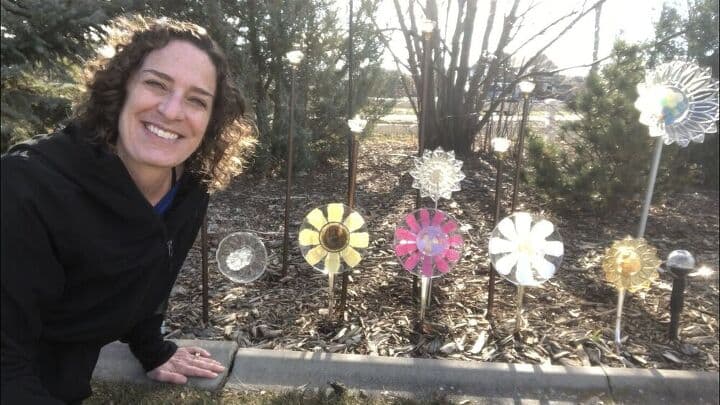
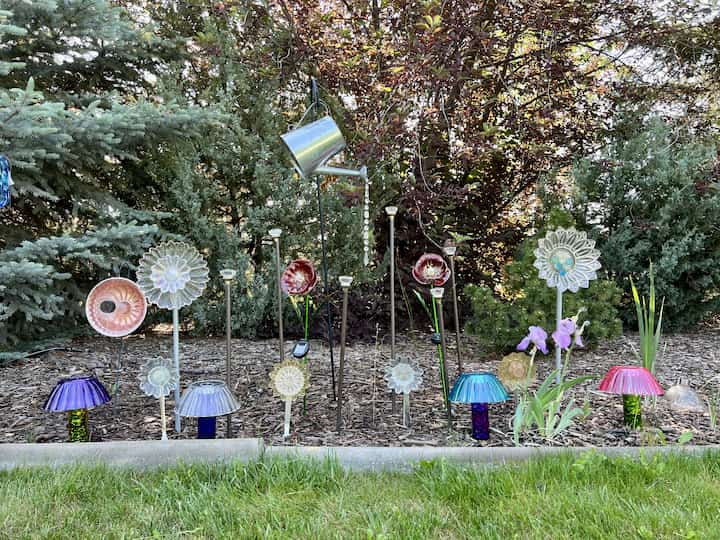
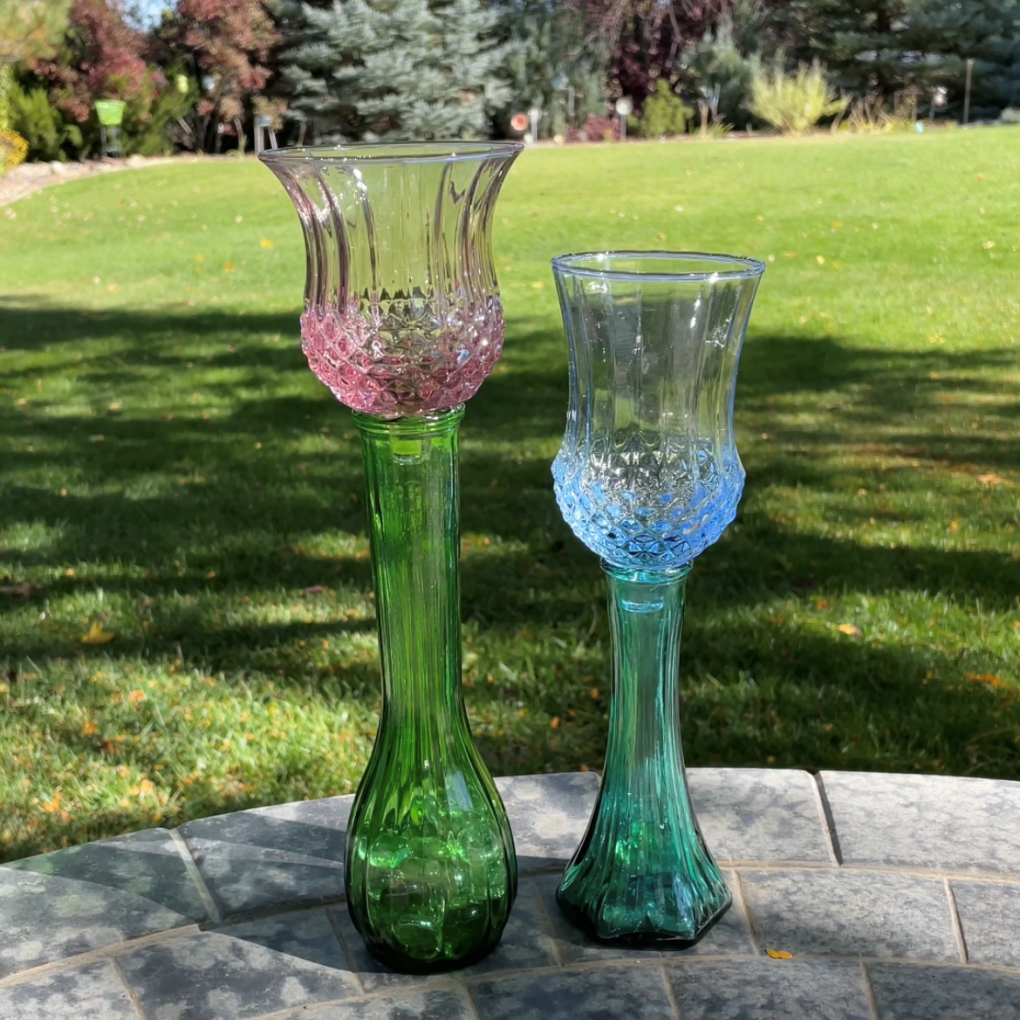
Unique Dish Flowers for Your Garden
With a few dishes from the thrift store, some silicone, and a few items from the dollar store you can make these easy dish garden flowers.
DIY Garden Decor Accents
Discover a range of innovative garden accents to infuse personality into your outdoor space. Explore your creative side with additional garden decor ideas.
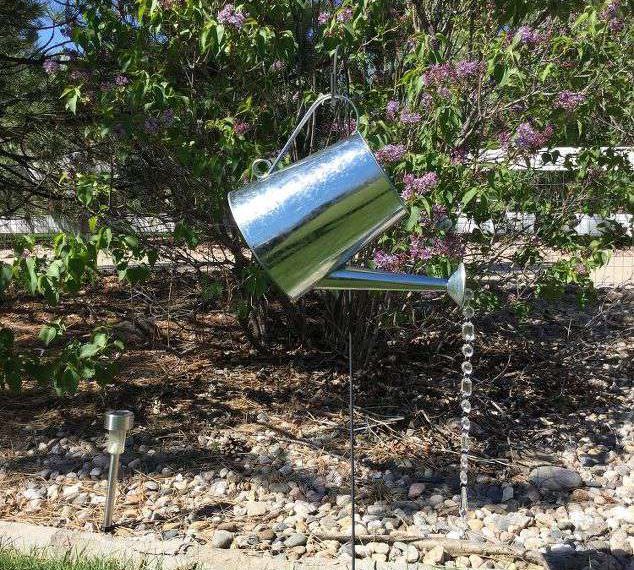
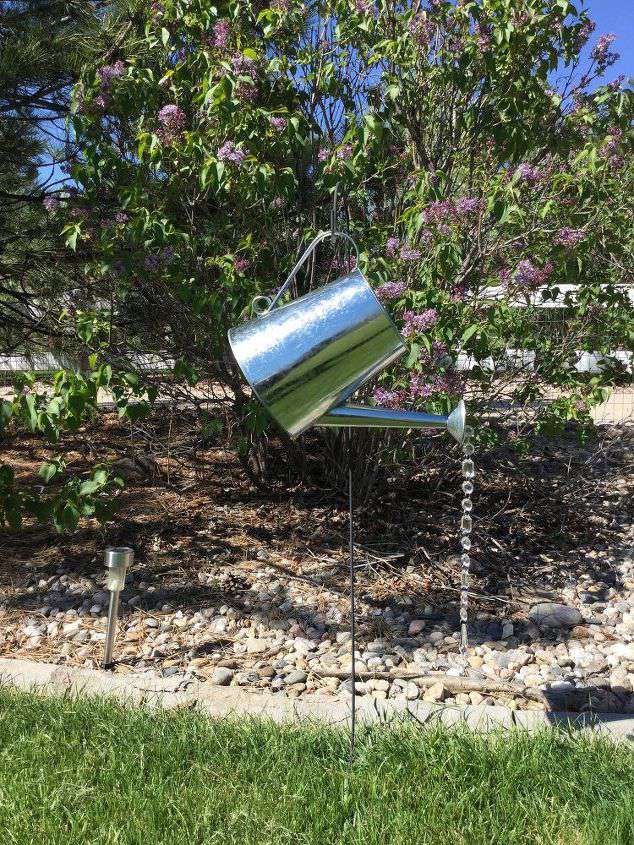
- Watering Can Yard Decor
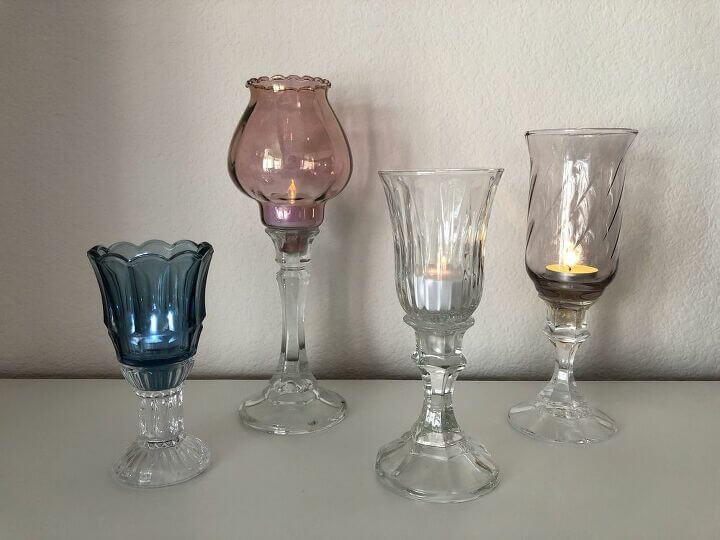
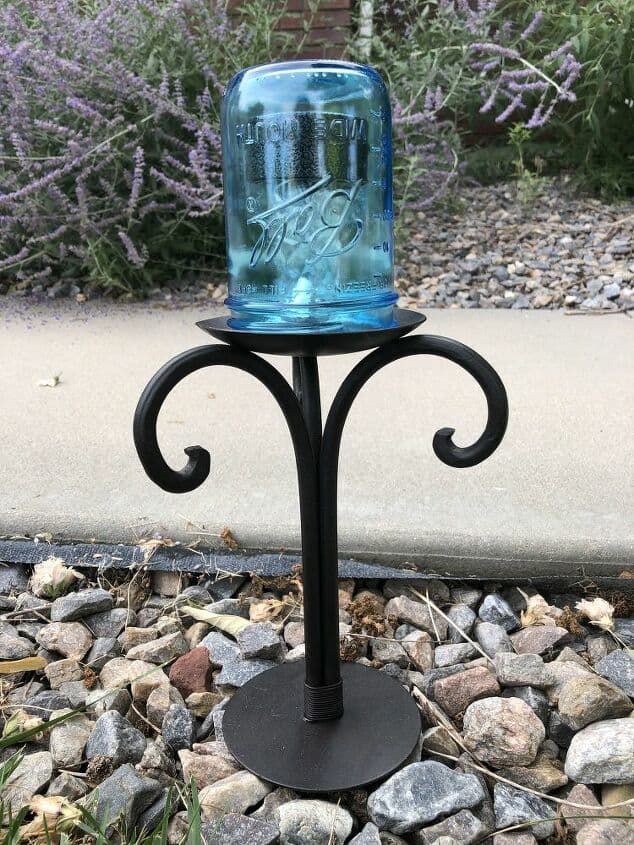
- Upcycled Thrift Store Candle Holders
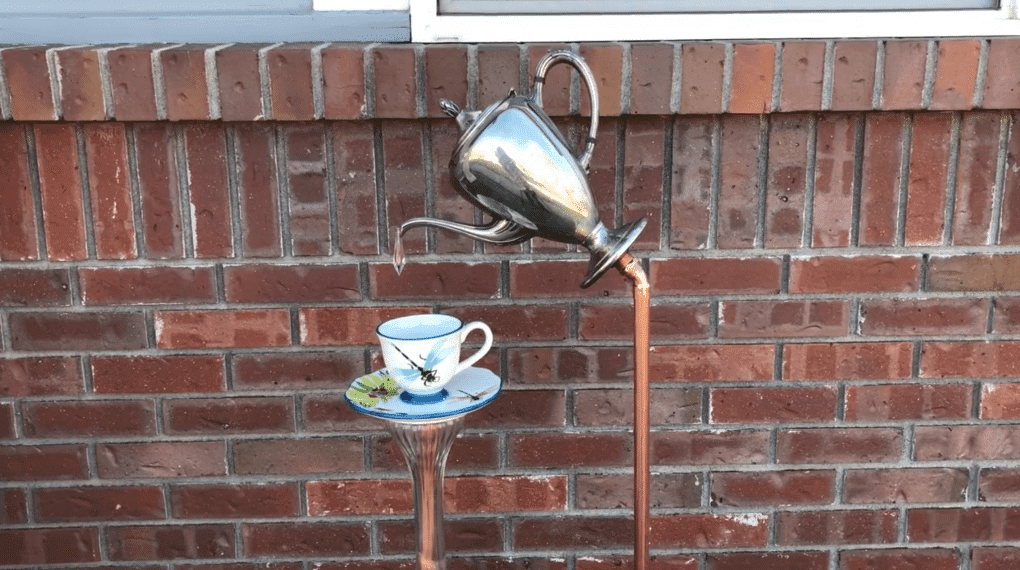
- Pouring Teapot & Tea Cup
- Pouring Tea Pot & Tea Cup Decor
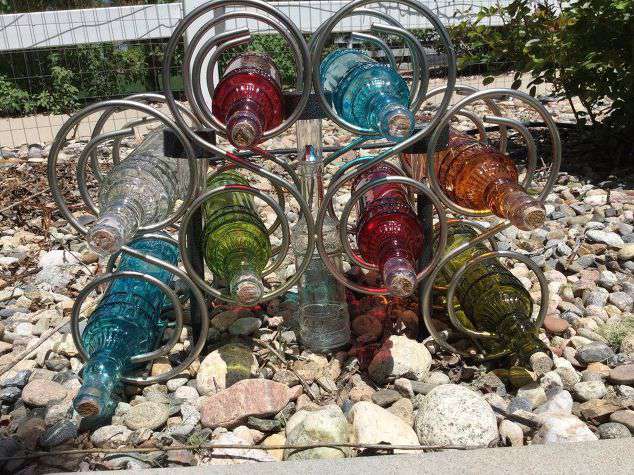
- Re-purposed Wine Rack to Solar Yard Decor
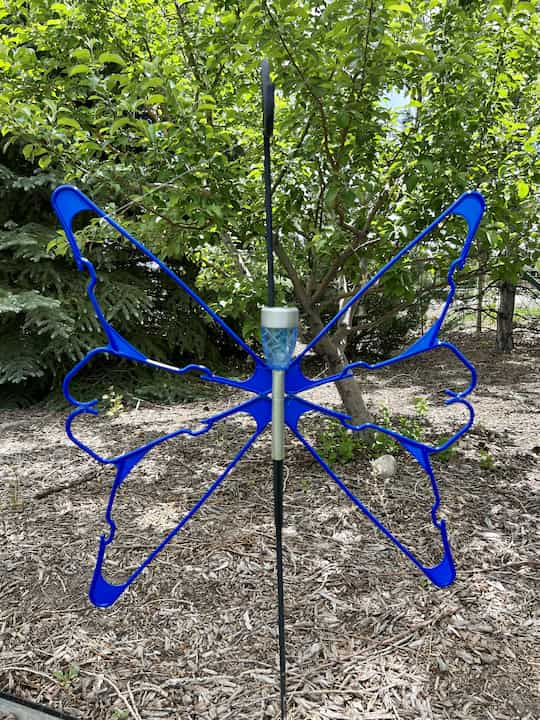
DIY Butterfly Solar Light Garden Decor
Craft DIY butterfly solar light sculptures for an elegant touch in your garden. Gather four hangers and a solar light. Lay the hangers in a butterfly shape, then use adhesive or zip ties to secure the centers and joints together. Attach the solar light to the center of the hangers. Create multiple butterfly sculptures and hang them in different areas of your garden. These beautiful creations will flutter gracefully during the day and illuminate your garden at night.
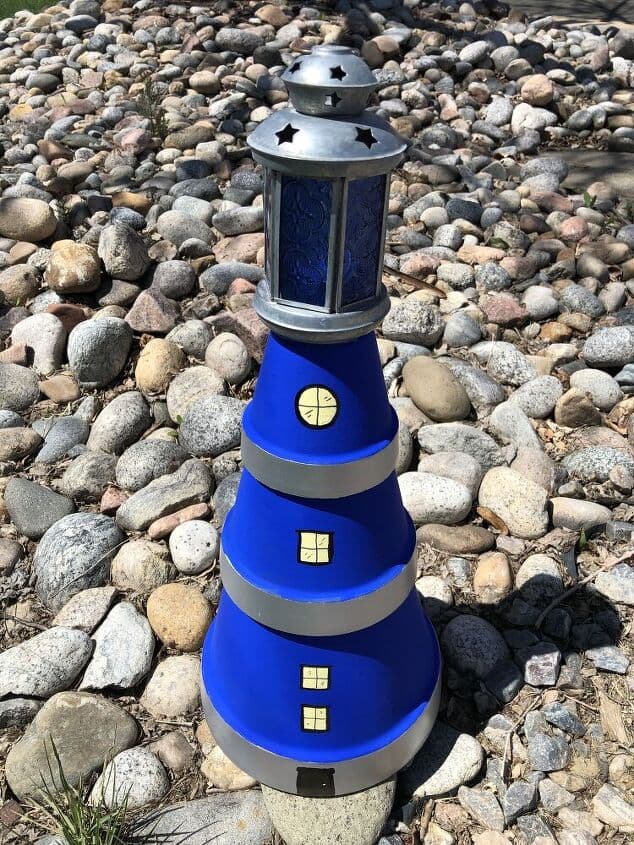
DIY Lighthouse and Terracotta Pots
Bring a touch of magic to your garden with a DIY lighthouse and terracotta pots. Learn how to paint and stack terracotta pots to create a captivating lighthouse. Add a solar light or candle holder to complete the enchanting effect in your garden.
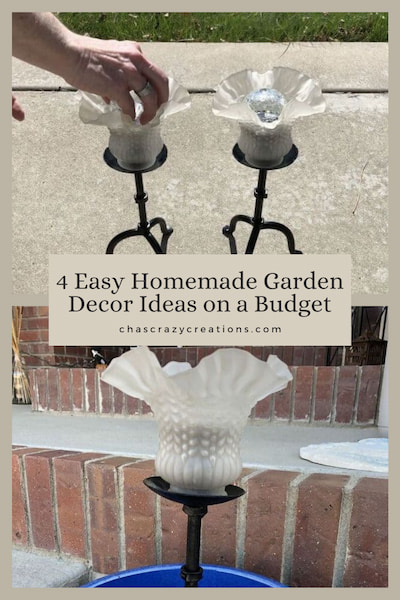
Homemade Garden Decor
Do you want homemade garden decor ideas? I have easy projects for diy garden decor that can be created and adapted, all using items from thrift stores. These garden ornaments can go in the backyard, patio, deck, lawn or blended in with your landscape. You can find the full tutorials at Easy Homemade Garden Decor Ideas on a Budget
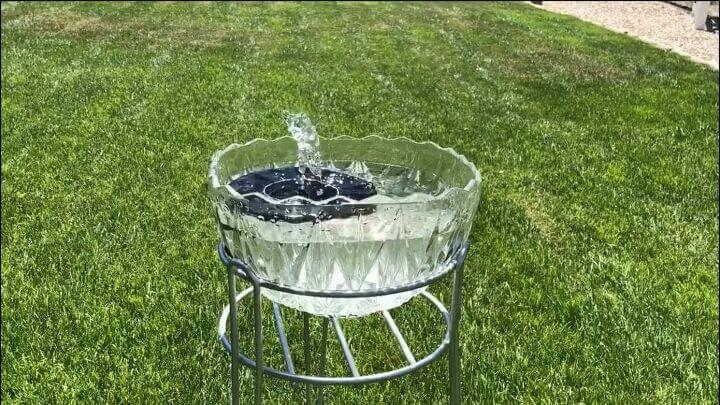
DIY Garden Fountain
Do you want to dress up your yard with a fountain without breaking the bank? Learn how you can make a easy and cheap solar fountain. You can find the full tutorial at Cheap & Easy Do It Yourself Solar Fountain For Your Yard
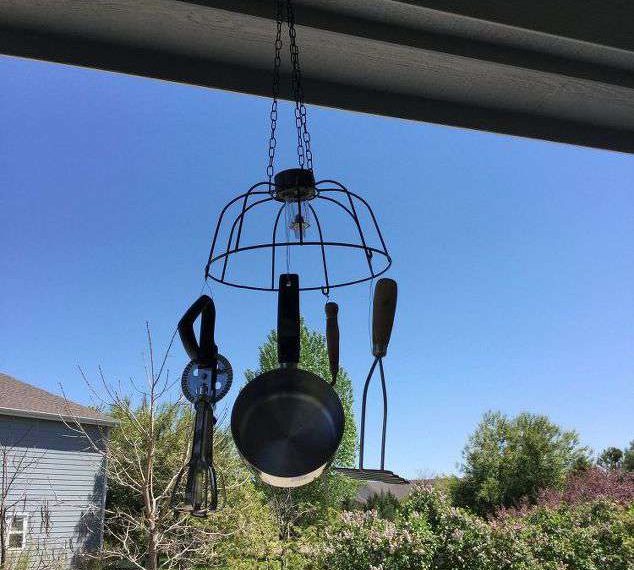
DIY Yard Art Windchime
Do you like wind chimes and wonder how to make them? I had. It’s not as hard as you may think to make DIY wind chimes. You can find the full tutorial at How To Make Super Fun Dollar Tree Wind Chimes
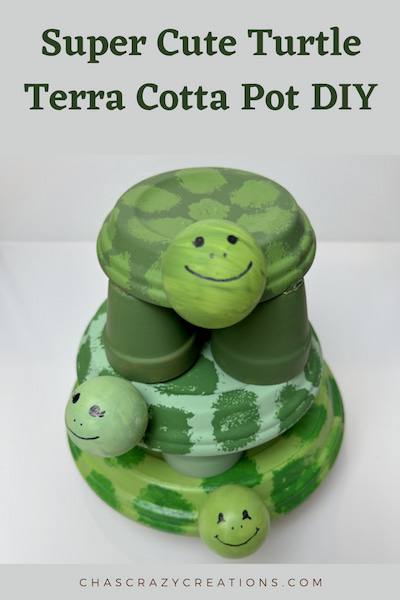
Turtle Terra Cotta Pot Yard Art
Do you like turtles? If so I have a super cute and easy terra cotta pot DIY for you that can be placed in your home or garden. You can find the full tutorial at Super Cute Turtle Terra Cotta Pot DIY For Your Home
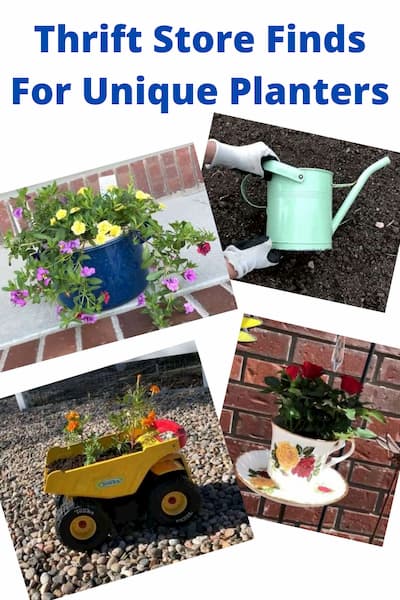
11 Thrift Store Finds For Unique Planters
Do you want unique planters for your home? I love thrift stores, garage sales, flea markets, and repurposing what I have. I recently went digging in my stuff as well as on an adventure to these places to find items I could repurpose into planters for the summer! You can find the full tutorial at 11 Thrift Store Finds For Unique Planters
Further Reading
- DIY Solar Mason Jar Lights
- Easy Dollar Tree DIY Solar Lantern
- Easy Flower Basket to Solar Chandelier
- Super Cool and Easy DIY Dollar Tree Concrete Light
I hope this inspires creativity and for you to create some DIY garden decor or DIY yard art of your own. I’d love it if you’d subscribe to my YouTube channel.
Want 21 sensible home hacks to make you a smarter homeowner? Look for the link below. And guess what? It’s free!
Want to see more craft or crap challenges?
- DIY Tiered Tray: Craft or Crap Challenge
- DIY Snowman Craft from Thrift Store Dishes: Craft or Crap Challenge
- Easy DIY Fall Gnome Craft: Craft or Crap Challenge
- DIY Easter Painting Ideas: Easy And Fun
- Stunning Patriotic Wreath: An Easy and Unexpected DIY
- DIY Garden Decor: Epic Yard Art Showdown
- Easy DIY Sock Snowman Craft: Winter Decor and Gift IdeaHalloween Mantel Ideas: Easy DIY Spooky Decor Practically Free!
- Easy DIY Cardboard Halloween Decorations
- Delightful Easy Flower Crafts with Video
- Super Easy DIY Dollar Tree Valentine Ideas with Video


Chas
I loved both projects. I can’t vote because you both did a fantastic job.
I love all the other ideas you shared too.
Thank you so much Cindy, neither of us are wanting to win over the other, just hope that what we both make is considered craft 🙂