

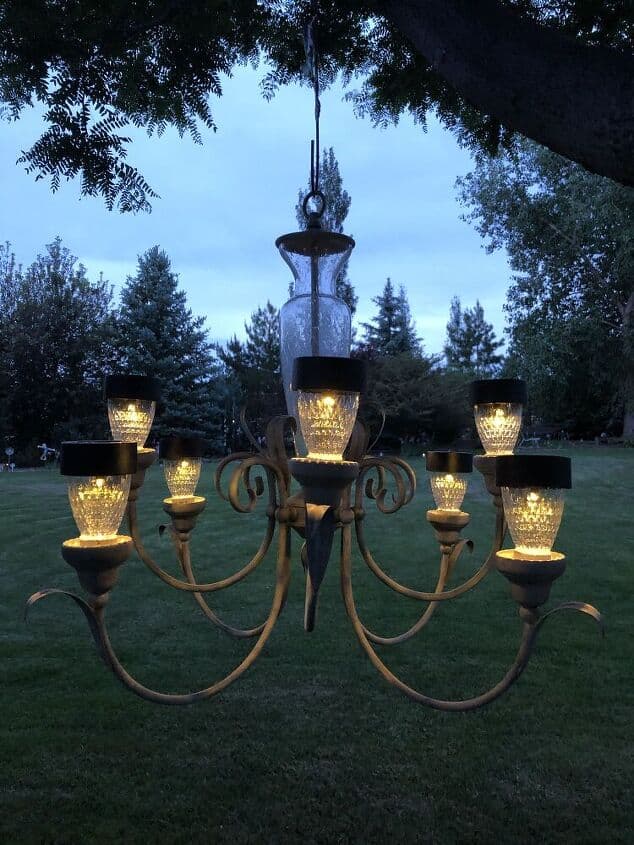
How To Make An Awesome and Easy Outdoor Solar Chandelier
Are you looking for an outdoor solar chandelier? Many people know I love thrift stores and solar lights. Put them together and I can create some great things for my outdoor space.
Do you have an old chandelier you don’t know what to do with? I picked up a few from thrift stores, Facebook Marketplace, and Nextdoor.com and they are the perfect choice for outdoor lighting. I’ll show you How To Make a DIY Solar Chandelier to use outdoors.
How To Make An Outdoor Solar Chandelier Video
What is a Solar Chandelier?
If you’re new to the idea, a solar chandelier is practically a solar-powered light. It’s a portable fixture with LED lamps, rechargeable batteries, and solar panels.
The only difference is that you’re adding some creative touch to it with the chandelier frame as a fixture.

Do you have an old chandelier collecting dust in some dark corner of your home? Repurpose it to an outdoor decor and improve your garden’s aesthetic!
How to Make an Outdoor Solar Chandelier
A DIY solar chandelier is an effortless project to jazz up your outdoor space. It only took me 15 minutes to complete each piece!
The best part? It’s much cheaper to make and use than landscape lighting and pathway lights.
Are you ready to fix that old brass chandelier and make your solar-powered chandelier? Follow the steps below:
Step 1: Gather Your Materials
First, you’ll need a used chandelier.
If you don’t have any, you can easily purchase one online. I’d also recommend asking for used spares from your family and friends.
I picked up the chandeliers I used in this tutorial from thrift stores, Facebook Marketplace, and Nextdoor.com.
You’ll also need the following:
- Solar lights
- Wire cutters
- Industrial glue
- Safety Gloves
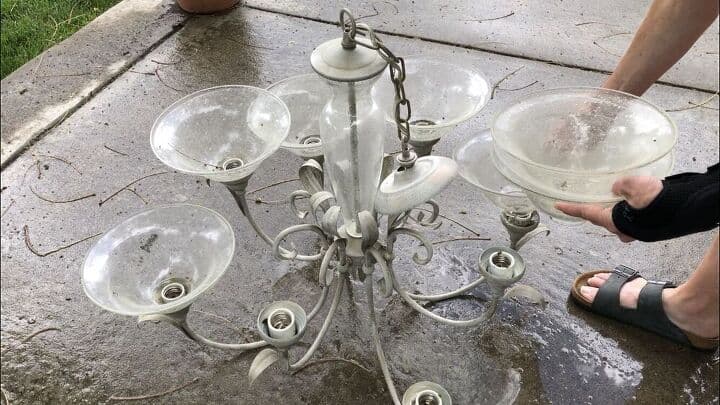
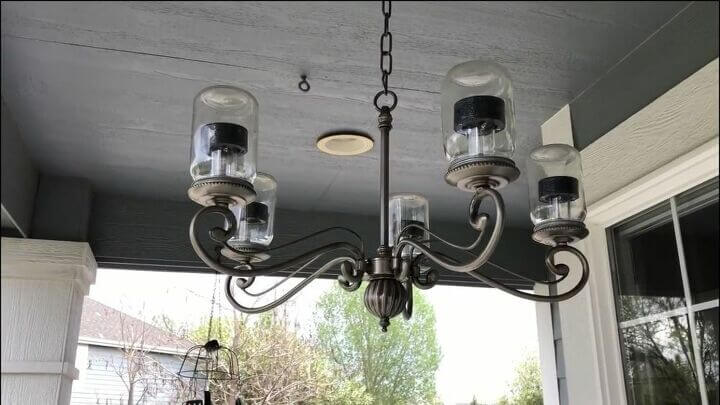
Step 2: Prep Your Chandelier
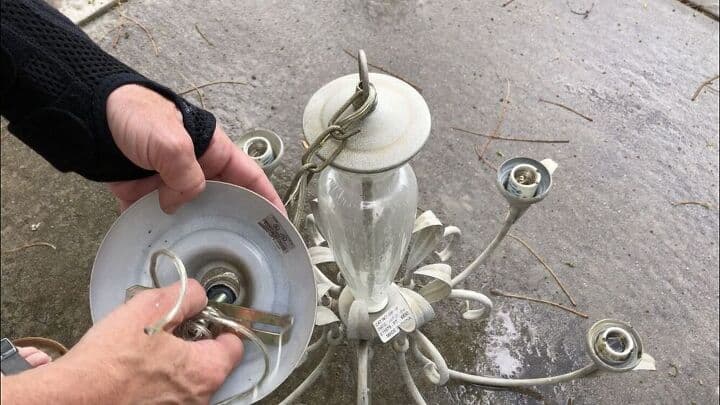
I started by removing the light bulbs and the glass fixture pieces. I then removed all the parts I wouldn’t need, like the metal attachment to the ceiling.
Afterward, I cut the wire off the top and pulled it out.
Chandeliers often come with a chain to attach them to the ceiling. Depending on where you’re putting it, you can decide if you want to keep or take the chain off.
Step 3: Choose Your Lights
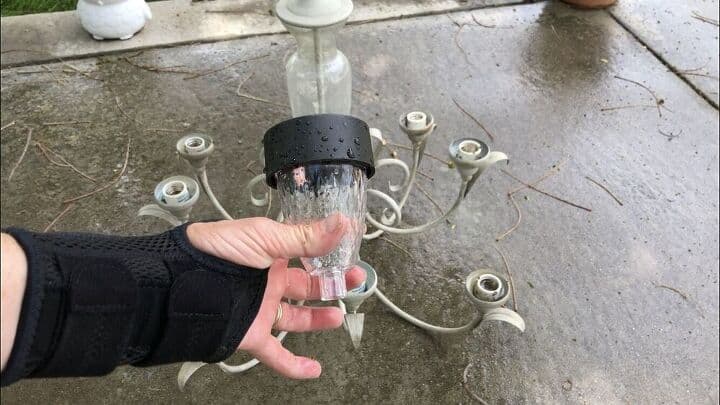
There’s a wide variety of solar lights you can choose from for your chandelier. There’s a plethora of colorful bulbs with varying sizes.
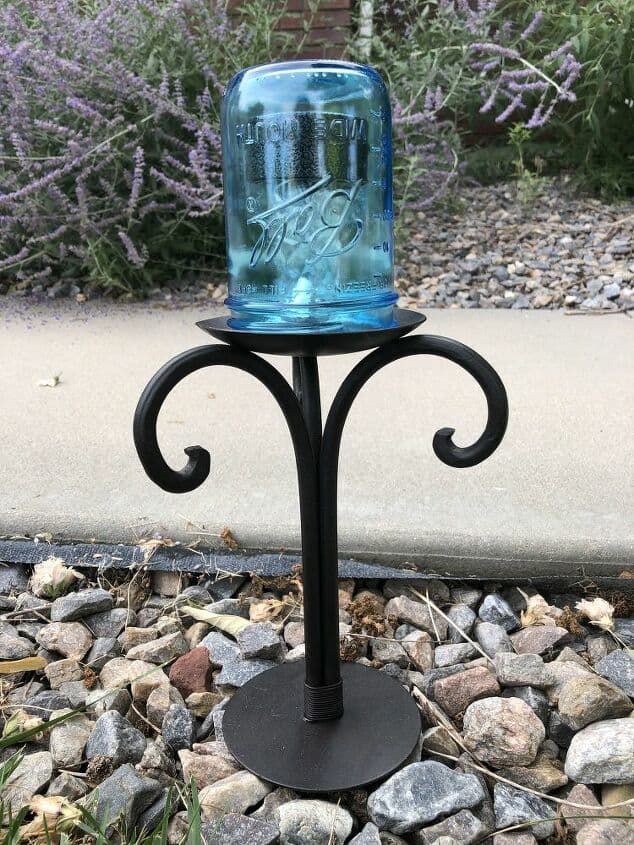
I got eight solar lights from Walmart for my fixture. Then, I pulled off their stems so they could fit on the holder.
Step 4: Add the Adhesive
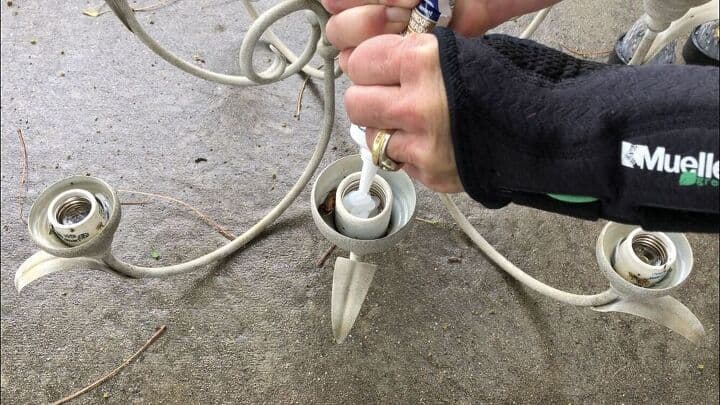
You need a strong adhesive to glue your light heads into the fixture. For this purpose, you can use industrial glues like liquid nails or silicone, which is what I used.
After prepping the solar lights, I squeezed silicone into the light sockets to hold the solar lights in place.
Step 5: Fix the Lights
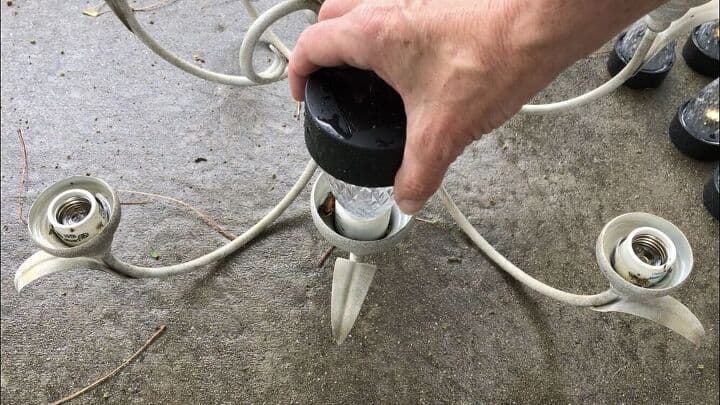
After applying the adhesive, I placed the solar light heads into the light bulb sockets with silicone, ensuring they were straight.
If you use silicone, as I did, apply a fair amount of pressure with your hands to secure a strong bond. Wait for a few minutes before removing the pressure.
Step 6: Leave to Dry
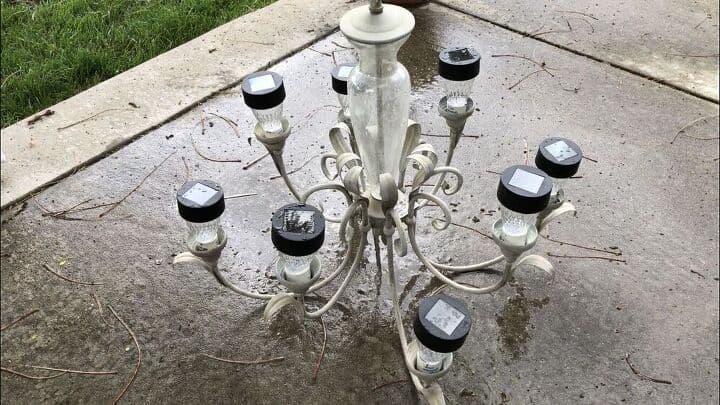
Most adhesives will need ample time to settle and dry. So, allow your freshly glued solar chandelier to dry to prevent the light heads from dislodging.
I kept my chandelier in a secure area to dry properly overnight, and it’s good to go!
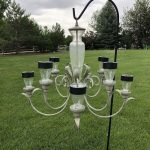
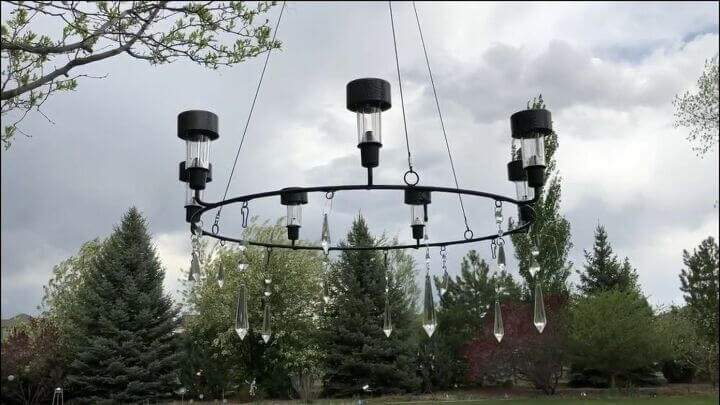
Step 7: Flaunt Your Masterpiece
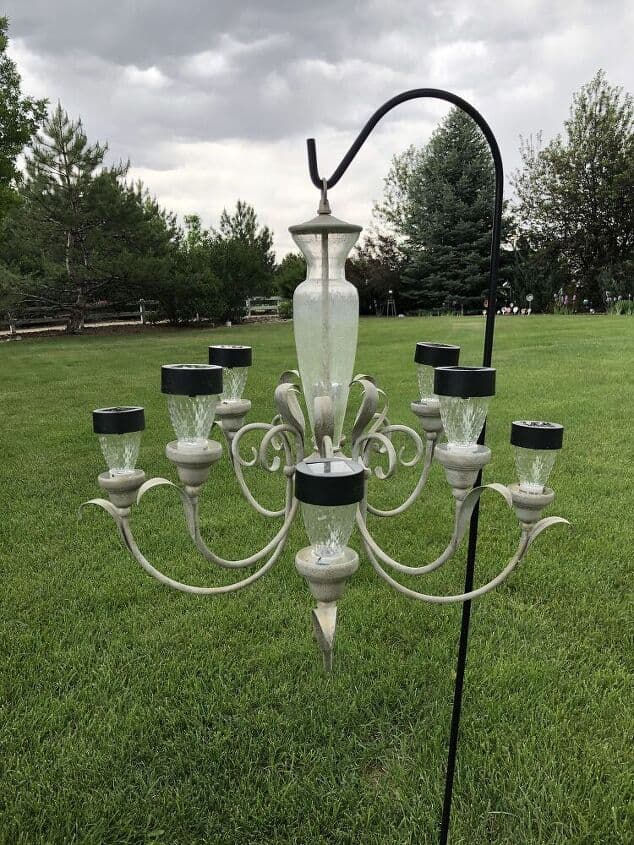
Finally, decide where to place it.
A solar chandelier would be fun to place on a light post at the end of your driveway or place several smaller chandeliers along a walkway.
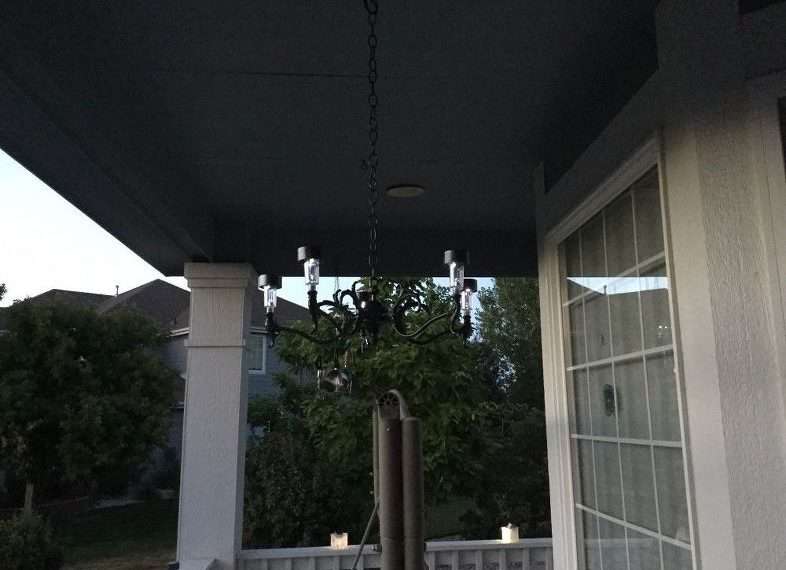
You can even hang several smaller solar chandeliers along the overhang of your porch or patio for an additional nocturnal appeal! Here are some places I have put our solar chandeliers:
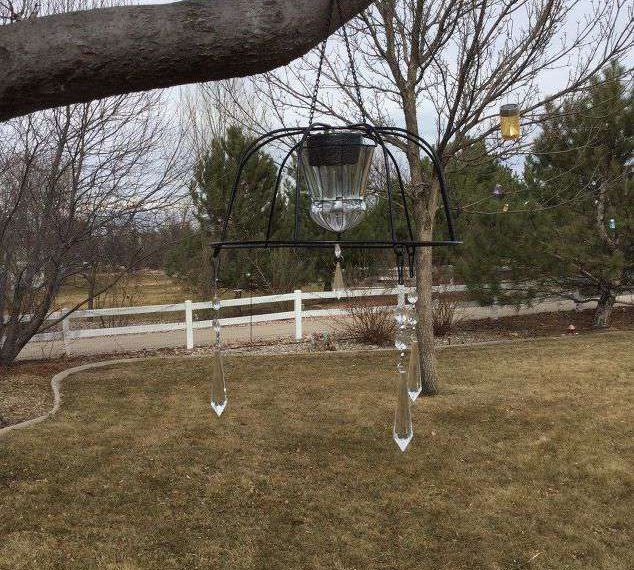
- Hanging from a tree
- Hanging on a Shepard Hook in our garden (keeps pests away)
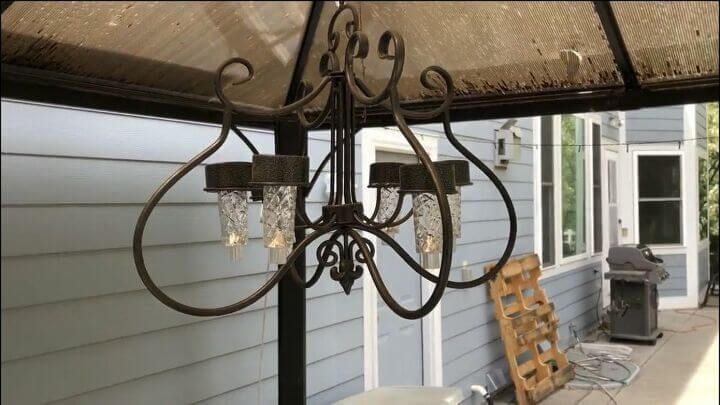
- In our gazebo
- On our front porch
Guess what, they sell outdoor solar lights in different colors too! I love those because they color change.
DIY Solar Chandelier Tips
Here are a few reminders for your DIY solar chandelier:
- The solar chandelier needs the sun. So, I’d recommend hanging your chandeliers in spots where the panels can receive plenty of sunlight.
- Weather conditions will change the way solar lights work. Clouds, winter months, and storms will not provide a full charge of the sun and will run for a shorter time.
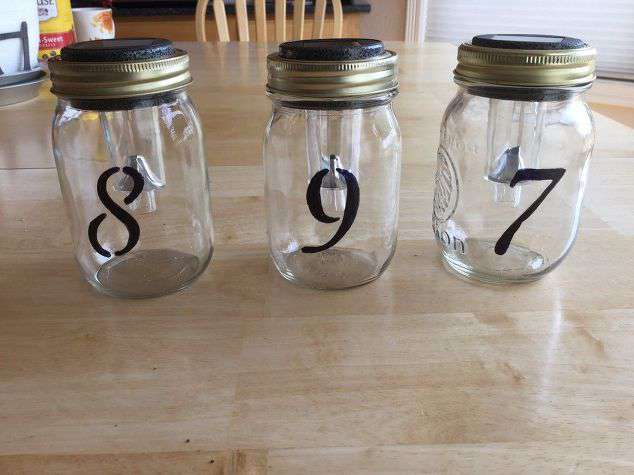
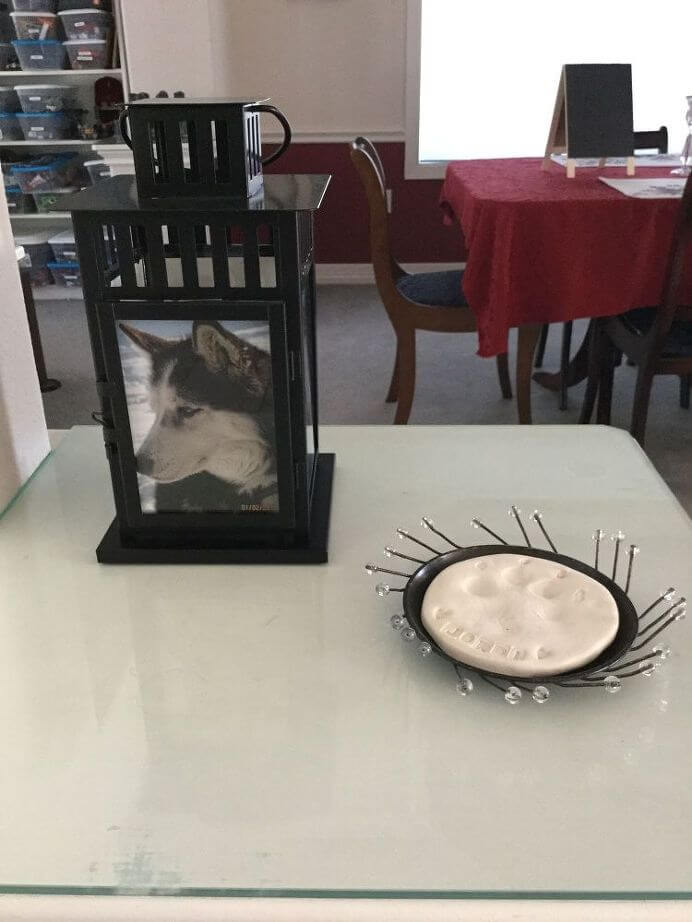
- Solar chandeliers aren’t only for landscaping. I even made solar garden lights to keep the pests out of my garden.
- Be careful in choosing your solar lights. Think about hardware durability, weather resistance, brand reputation, and light output.
How To Make An Outdoor Solar Chandelier Video
Shop any of these stores and I receive a small commission at no cost to you.
 Illuminate Your Gazebo with…Shop on Amazon
 Solar Lights Outdoor, 12Pac…Shop on Amazon
 BEAU JARDIN 8 Pack Solar Pa…Shop on Amazon
Outdoor Solar Chandelier Q&A
Yes, solar lights are worth it to have in your home! These portable devices offer plenty of benefits compared to main-powered bulbs.
They’re cheaper, easier to install, eco-friendlier, and save money on electric bills!
I get mine for as little as one dollar from Dollar Tree or Walmart. You can create a lovely and incredible chandelier with a flower basket from the store as well.
This question can be answered in 2 ways. A solar light needs direct sunlight and the solar cells or panels need the power of the sun to charge. In full sunlight and getting maximum sun exposure, a solar light can run 6-8 hours. A solar light can run on indirect sunlight but it will shorten the length of time it will run.
The lifespan of solar LED outdoor lights can vary significantly depending on various factors, including the quality of the product, the brand, usage patterns, environmental conditions, and maintenance. On average, a well-maintained and high-quality solar LED outdoor light can last anywhere from 2 to 5 years or even longer.
Solar lights can sometimes fail quickly due to several reasons. While solar lights are generally low-maintenance and reliable, they are not immune to issues that can affect their performance.
You can replace the battery from solar lights that go bad, but not just regular batteries will cut it. You’ll need special solar rechargeable batteries. If you put your solar lights in full sun, many of them will have automatic dusk turn on and last until dawn. We put some solar lights with motion sensors on the lights near our back doors, and I love that they run on solar energy.
Things to think about when picking your solar lights:
- included hardware
- durable metal construction
- durability and durability tests
- weather resistance rating
- manufacturer
- dimensions
- ratings
- light output
Solar lights are great to greet guests and make solar path lights to lead their way. Solar lights aren’t just to light walkways. You can have a lot of fun and creativity with them. You can even buy solar fairy lights and create Super Easy Dollar Tree Candle Holders DIY To Light Up Your Life
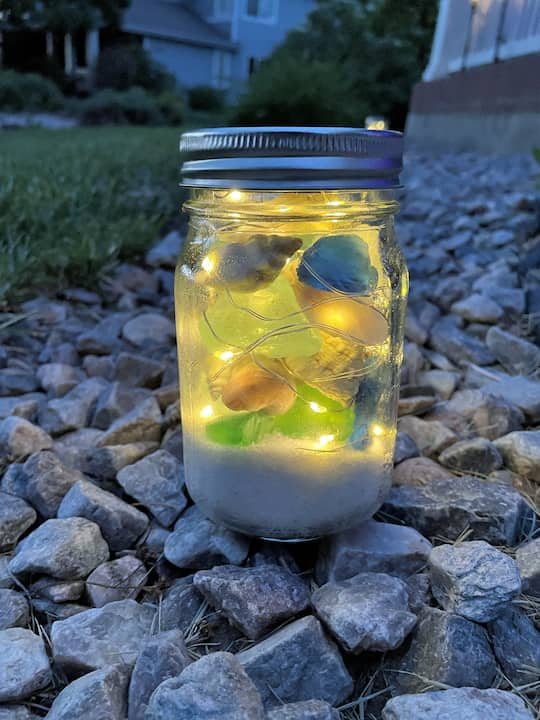

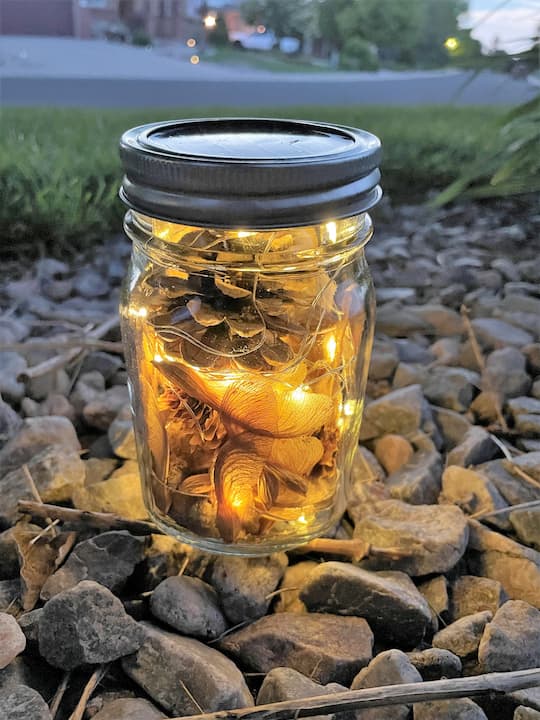
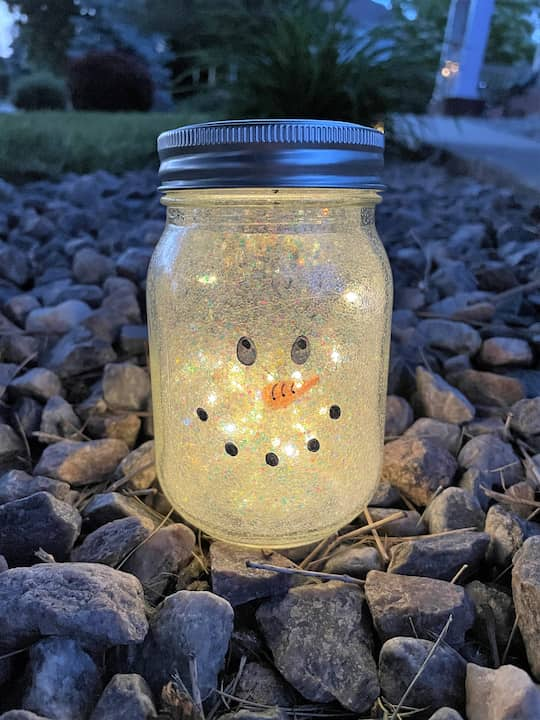
You might also like my solar lanterns that I’ve made. Some of these include a basic solar light and others include solar string lights.
- DIY Solar Mason Jar Lights: Illuminate Your Yard with Creative Ambiance
- Mason Jar Solar Light Sidewalk
More Outdoor Solar Chandelier Posts
Final Thoughts
Solar lights are great to greet guests and make solar path lights lead their way. Plus, you can have a lot of fun and creativity with them.
You’ll surely adore the ambiance and elegance these will create in your space. You can even paint yours and add a pop of color!
Trust me, you’ll love the upgrade as I did!


Since these solar lights might only go 2 seasons, how do you replace when they stop working?
Great question Kathleen. Many of them you can just lift out and replace with a new one. For the one that has silicone pieces in it, you simply buy a new one, twist off the top that has the light in it, and swap it with the old one.
I love this idea and would like to try it. I was wondering about the silicone…. are you able to replace the solar light easily if needed?
Thanks Cathy, and I’m thrilled you want to try it. If you get the lights where the top part is where the battery is and twist off. I just buy a new light when one goes out, leave the base in, twist off the old light/battery part, and put the new part in.
********************************************************
Thank you for sharing at #OverTheMoon. Pinned and shared. Have a lovely week. I hope to see you at next week’s party too! Please stay safe and healthy. Come party with us at Over The Moon! Catapult your content Over The Moon! @marilyn_lesniak @EclecticRedBarn
********************************************************
Thanks Marilyn, I’ll see you at the next party.
This would be amazing at an outdoor wedding! I can see this in my back yard. I am going to be on the hunt for an ugly chandelier and I am going to do this!!! I will report back! #trafficjamweekend
Thank you so much Tracy and I’m thrilled you want to make one too. I have 5 in my yard and can’t stop making them 🙂
This is so awesome, Chas! Thanks for sharing with Creative Compulsions.
Michelle
mybijoulifeonline.com
Thank you so much Michelle, we love it.