
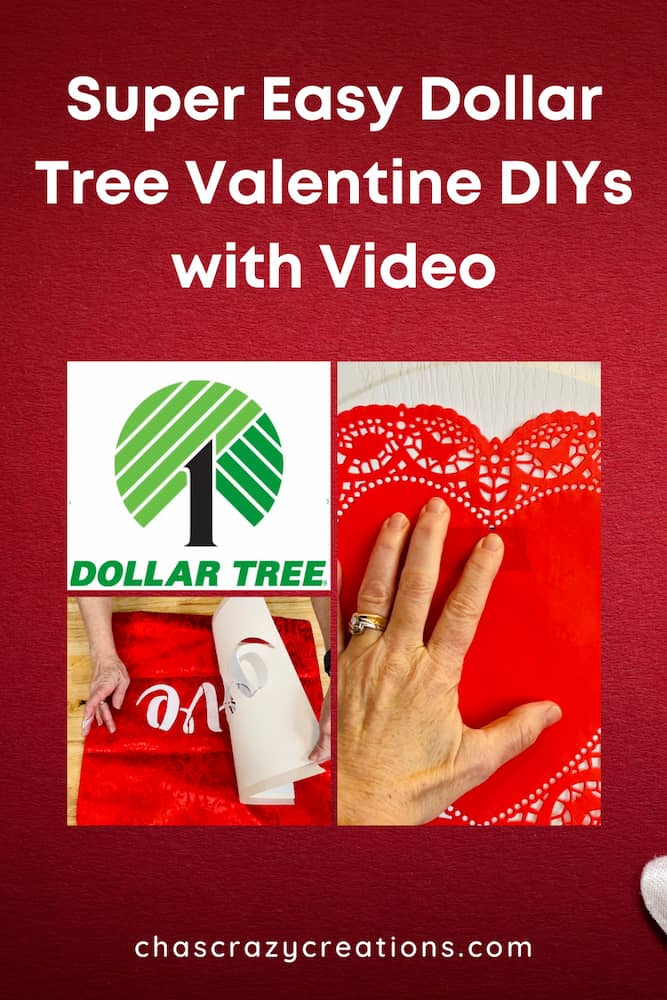
Super Easy DIY Dollar Tree Valentine Ideas with Video

Today I’m sharing some super easy DIY Dollar Tree Valentine Ideas that you won’t want to miss. The best part is I have a video to go with it.
I ran to our local Dollar Tree and grabbed a few supplies to get started on my projects, and here we go on our valentine’s day crafts!

Dollar Tree Valentine Materials
- framed picture
- battery operated lights
- ceramic heart
- rub-on transfers
- pillow cover
- stencils
- stencil brush
- paint
- heart doilies
- Wooden Hearts
- Folk Art Wood Tint
- Folk Art Sign Shop Stencils
- Folk Art Sign Shop Paint
 Faxiasho Yellow Paris Eiffe…Shop on Amazon
") Ariceleo Led Fairy Lights B…Shop on Amazon
Ariceleo Led Fairy Lights B…Shop on Amazon 10 Pieces Sublimation Ornam…Shop on Amazon
") Yexiya 4 Sheet Flowers Rub …Shop on Amazon
Yexiya 4 Sheet Flowers Rub …Shop on Amazon HWY 50 Red Decorative Throw…Shop on Amazon
 FolkArt Holiday Value Stenc…Shop on Amazon
 FolkArt 34970 Perfect Stenc…Shop on Amazon
, PROMOFAHDC") FolkArt Home Décor Chalk F…Shop on Amazon
FolkArt Home Décor Chalk F…Shop on Amazon, 5613 Raspberry Beret Magenta") FolkArt Ultra Dye in Assort…Shop on Amazon
FolkArt Ultra Dye in Assort…Shop on Amazon FolkArt Elegant Alphabet Pe…Shop on Amazon
 Bastex Wood Heart Shape 2 i…Shop on Amazon
 650PCS Paper Heart Doilies …Shop on Amazon
Dollar Tree Valentine Video
What can I make and sell for Valentine’s Day?
Here are several easy Dollar Tree DIY decorations you can make, and they all cost me only $9 in supplies as well as I supplemented it with items I already had on hand.
How to make simple Valentine decorations?
Here are several easy Valentine decorations ideas, and at the end of this post I’ll share even more ideas, and links to other easy Valentine tutorials to help you.

Dollar Tree Valentine Instructions
I’ll be starting with the DIY Valentine’s day tutorials of all the projects I made, and then we’ll do a Dollar Tree Valentines Day decor home tour at the end.
Light Up Canvas Art
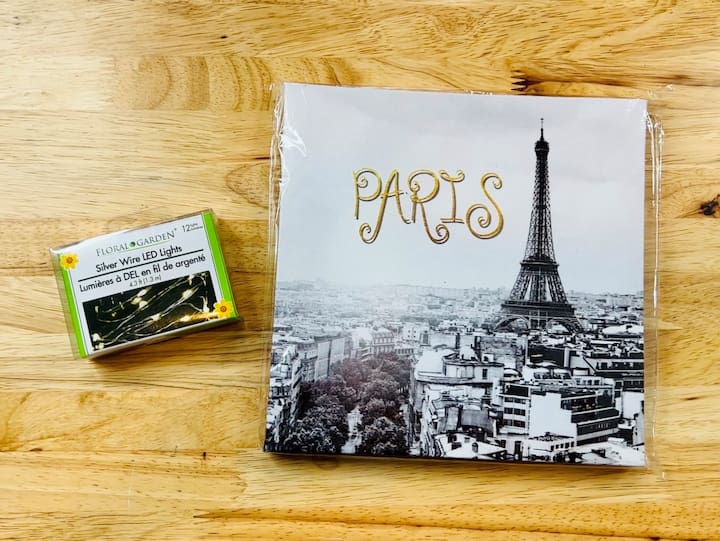
For this first project, I’m using some battery-operated lights and this artwork from Dollar Tree.
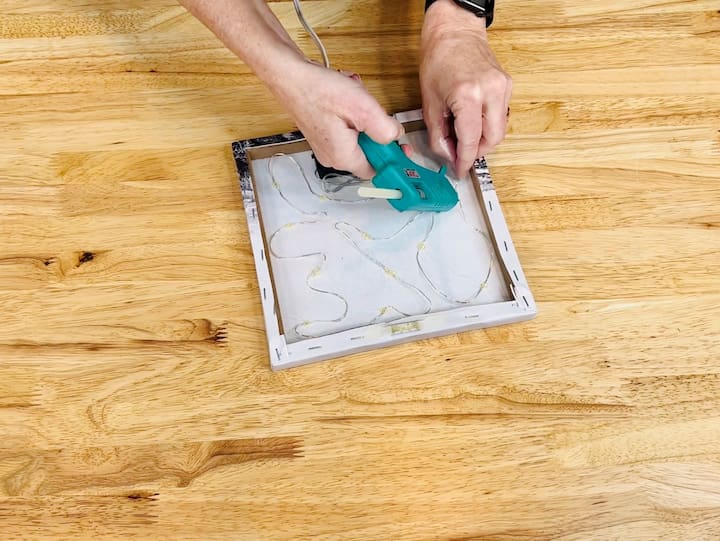
I started by turning the piece of artwork over to the back and then put the batteries into the lights, and placed them onto the back of the artwork. I then hot glued the lights into the place where I wanted them to be.

Now all I have to do is turn them on, and I can place this artwork anywhere I want it to be in my home.
What do you think of this simple DIY? Let me know if the comments below.
Wall Decor and Signs
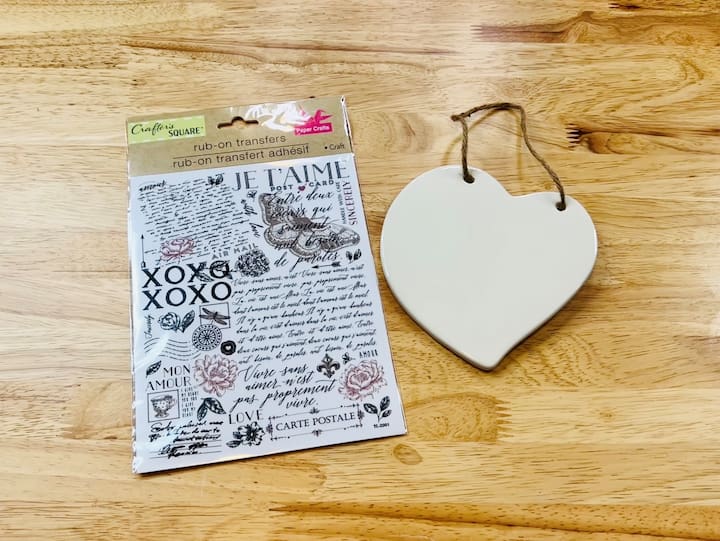
For this project, I’m using rub-on transfers and the ceramic heart shape that I found at Dollar Tree.
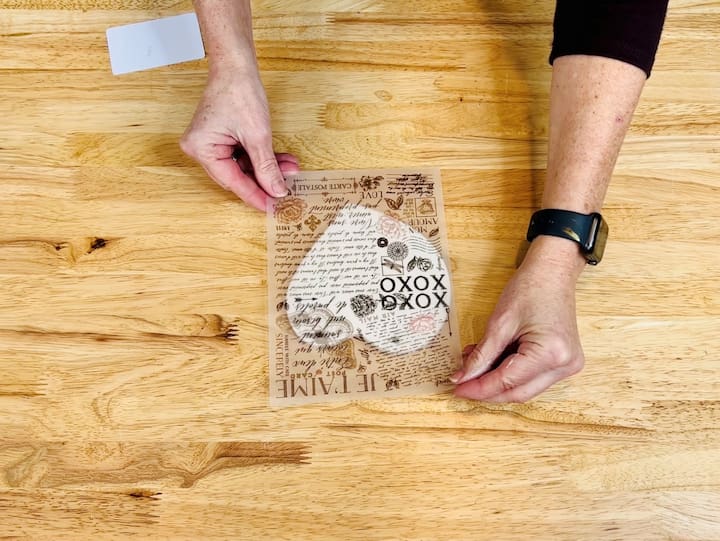
Following the transfer instructions I peeled the backing off and placed it onto the ceramic heart.
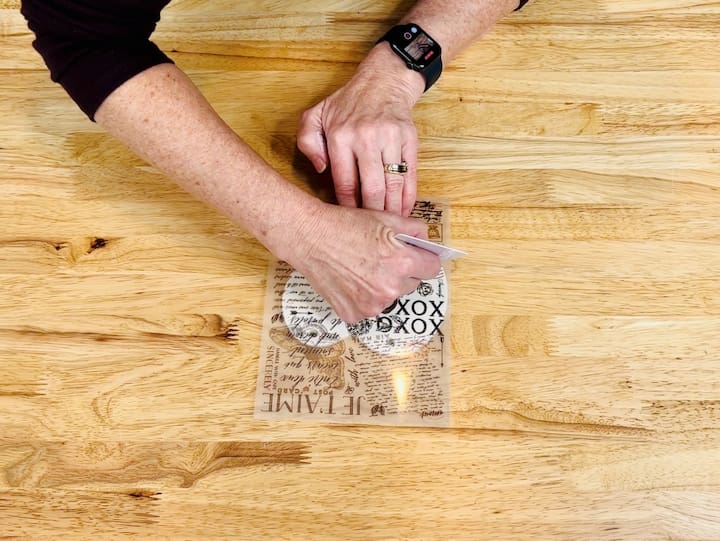
Once I had that in place I went ahead and used a credit card to rub all the transfer onto the ceramic heart.
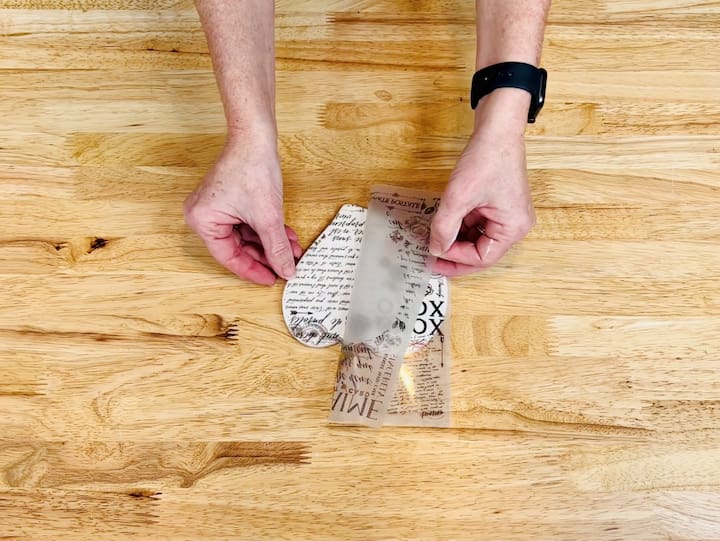
I carefully peeled the backoff this was to make sure that it was definitely transferred. If not I would have put it back down and rubbed some more once it was peeled off this project was done as well.
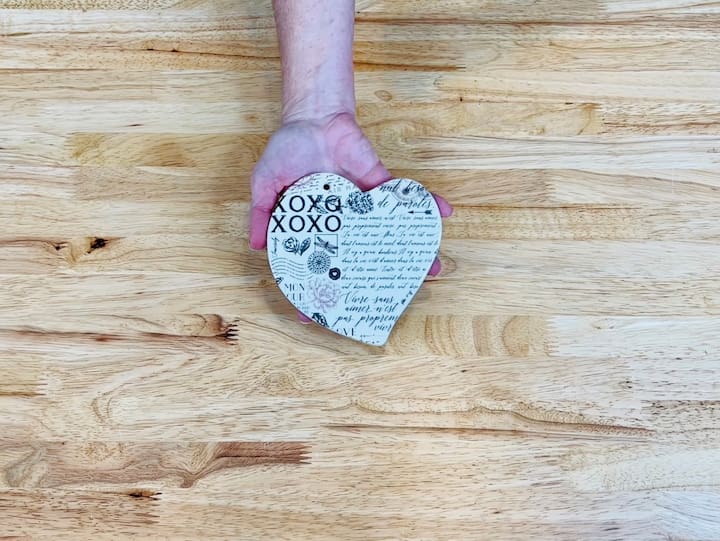
I’ll be adding some twine to this and hanging it up in our home.
This was such an easy project even kids could have fun making them.
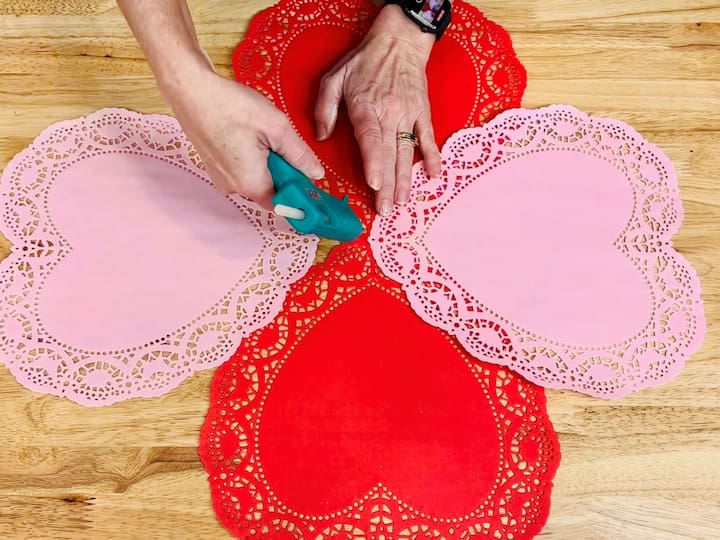
Using Heart Doilies
For this next project, I’m using dollar store doily hearts. I started by taking two of the hearts and hot glue them together.
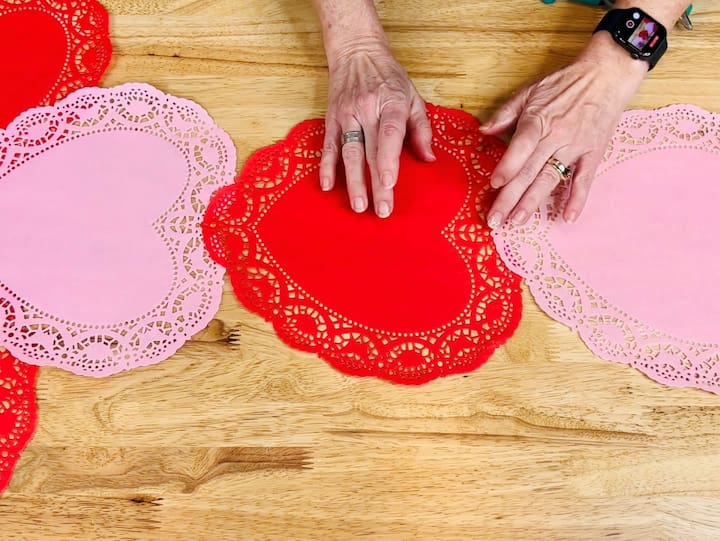
Once I did this I continued to hot glue the hearts together in a shape that I wanted and then ultimately created a table runner. I can’t wait to show you what it looks like on the table.
Are you ready to add this to your tablescapes? All you’ll need is a centerpiece.
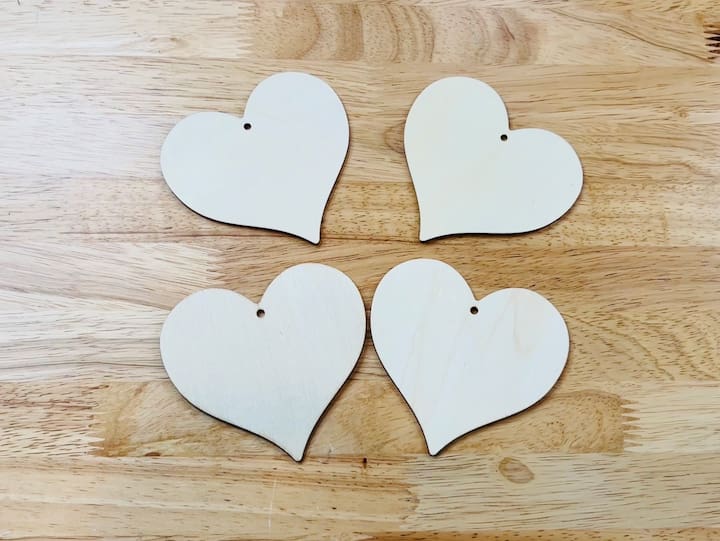
Valentine Garland
For this project, I’m using a package of dollar Store wooden hearts and I found them in the craft supplies at my local dollar store.

I’ll be using Folk Art Ultra Dye and I covered my hands with gloves to protect them from being stained or dyed. I poured a little bit of the dye into a container and then I used a paintbrush to paint it onto the wooden hearts. I went ahead and gave the hearts two coats so they’d be a nice vibrant color and then let them dry completely.
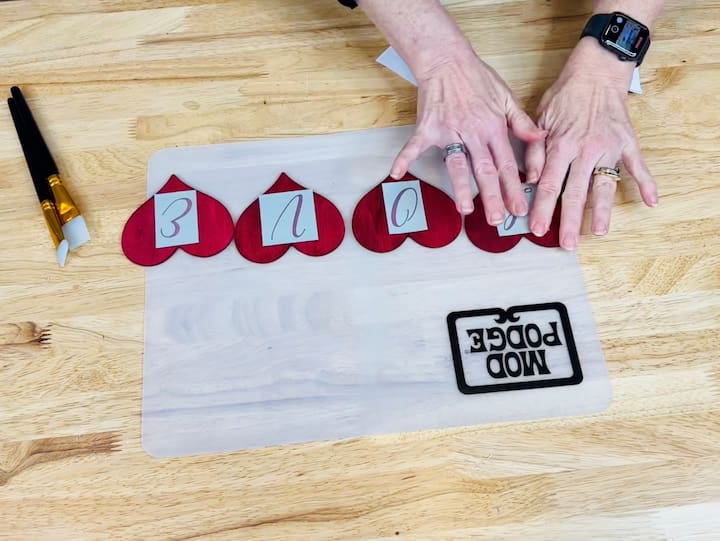
Now I love the ultra dye because it is water-based so it cleans out your brushes nicely and easily. I grabbed some Folk Art stencils that I had and these are wonderful silk screen stencils. I peeled the back off and placed them onto each of the hearts.
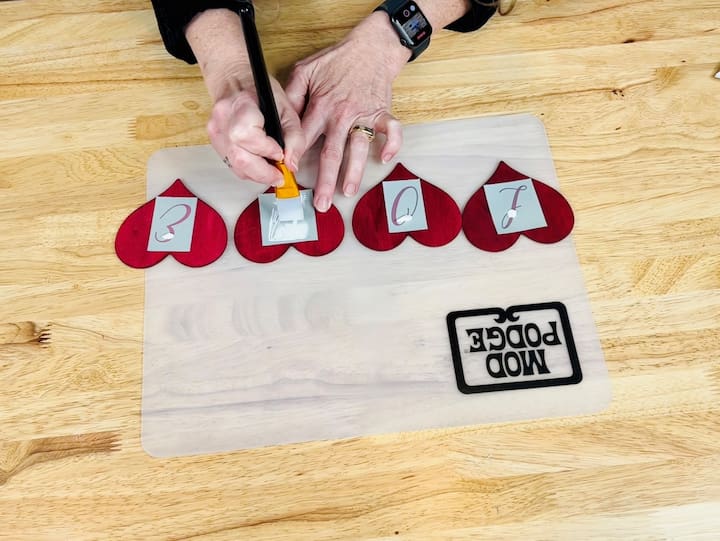
Next, I grabbed my Folk Art Sign Shop white paint and my squeegee brush. I placed the white paint at the top of each stencil and then I used my squeegee brush to press down and make sure the paint went through the silk screen.
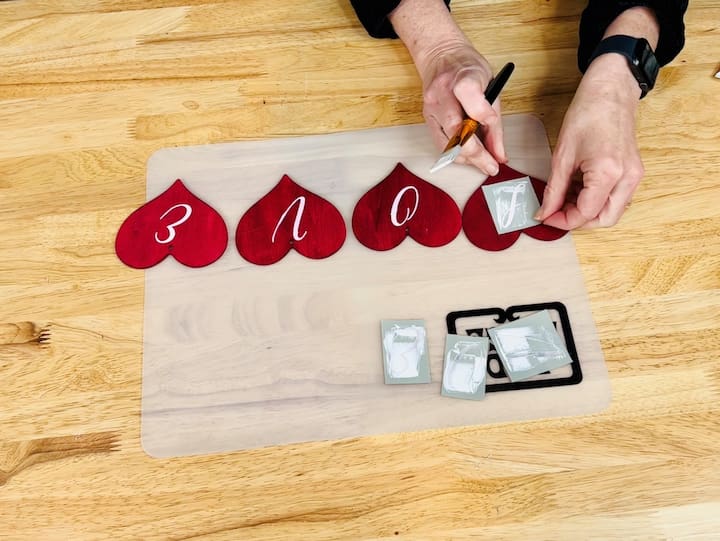
Once the paint was in place I peeled up each of the stencils washed them and cleaned them for future use.
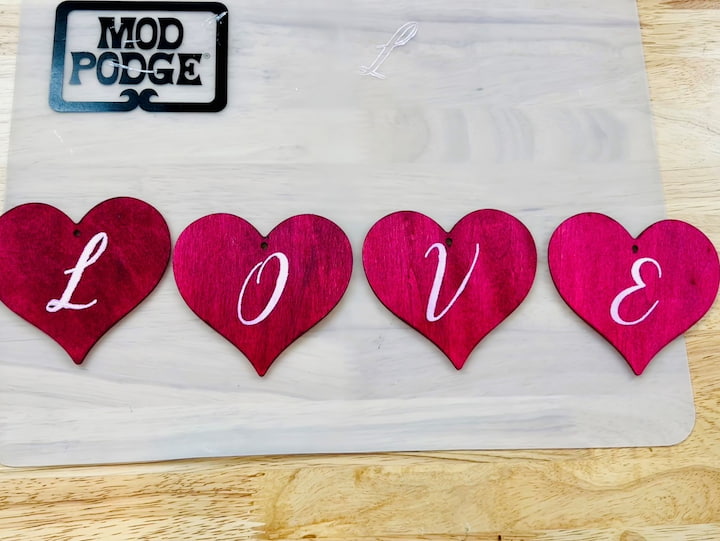
Now the dye did come through the white paint. Instead of it being white it did turn a pink color. I actually like the way it turned out and then I let all of this dry completely.
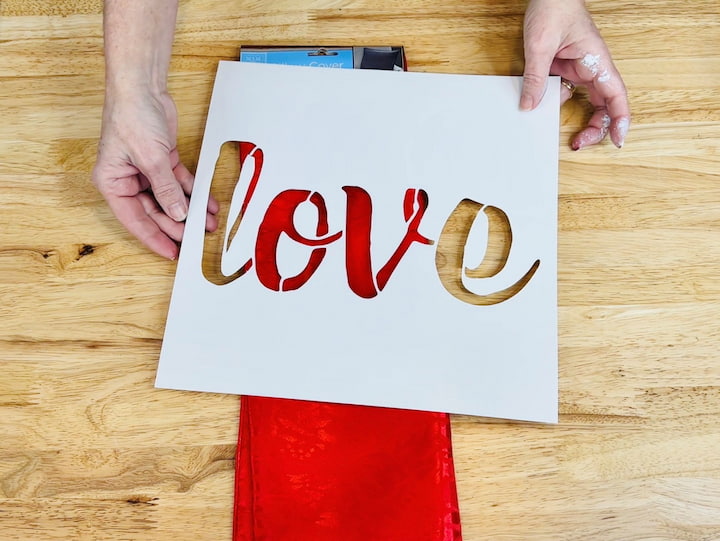
Valentine Pillow Cover
For this project, I’m using a dollar store pillow cover and one of the stencils I had on hand.
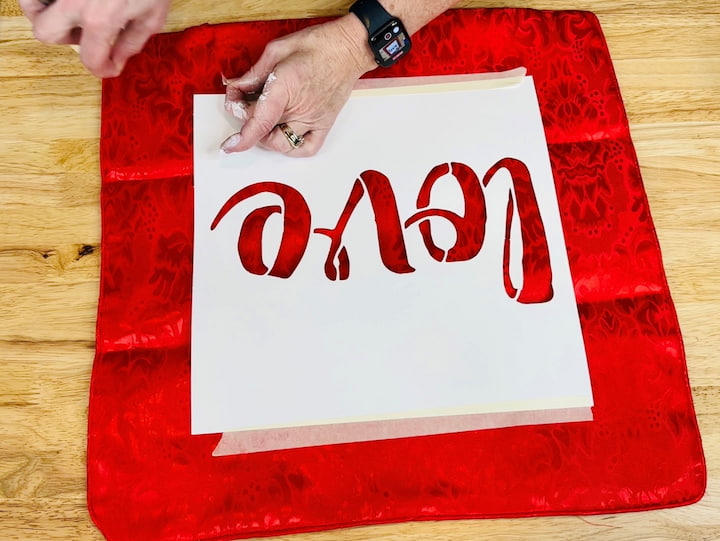
I opened up the pillow cover and placed a piece of wax paper in the center to help prevent bleed-through.
I placed the stencil on top and added some stencil tape on the top and the bottom to hold the stencil into place.
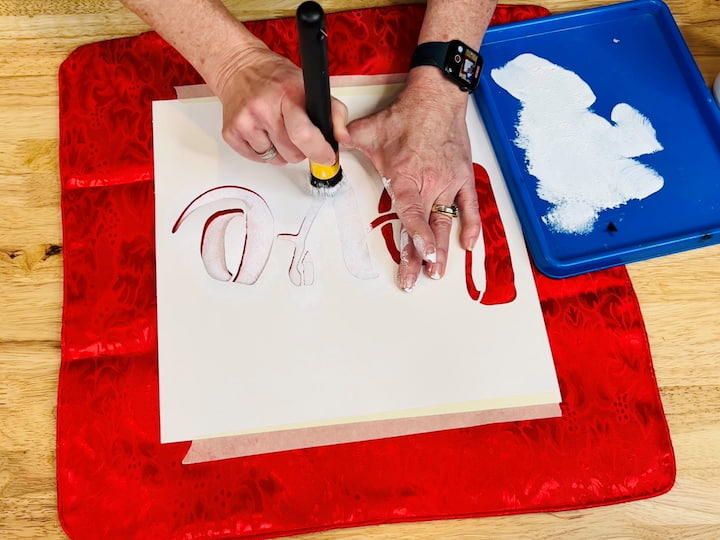
I’ll be using folk art home decor chalk paint in the color white. I dipped my stencil brush into the white paint and then I offloaded all the excess paint onto my blue tray. If you don’t do this step you could end up with paint going underneath a stencil and causing bleeding. Once I had the stencil brush with paint ready I tapped the paintbrush up and down onto the fabric and stencil transferring it onto the pillowcase.
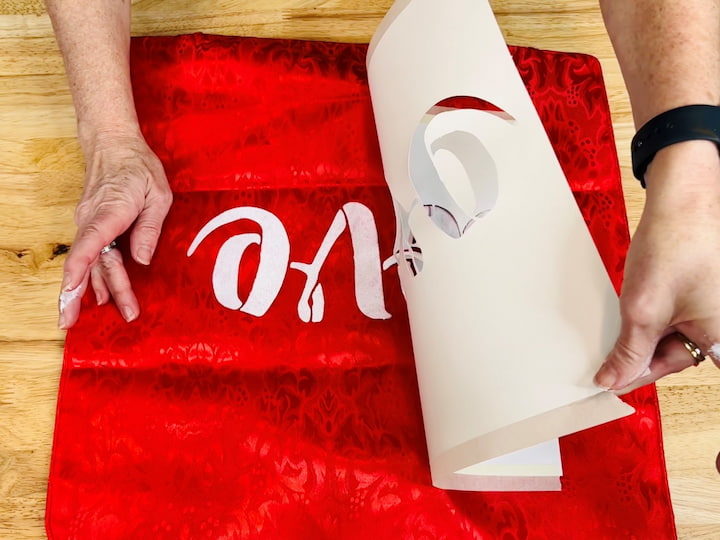
Once the entire stencil was completed I carefully peeled off the stencil to reveal the design.
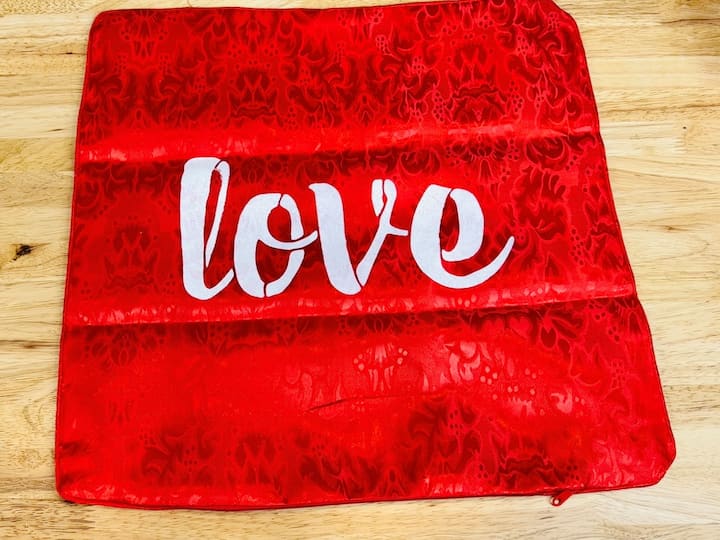
I’ll let that dry completely before putting the pillow insert inside.
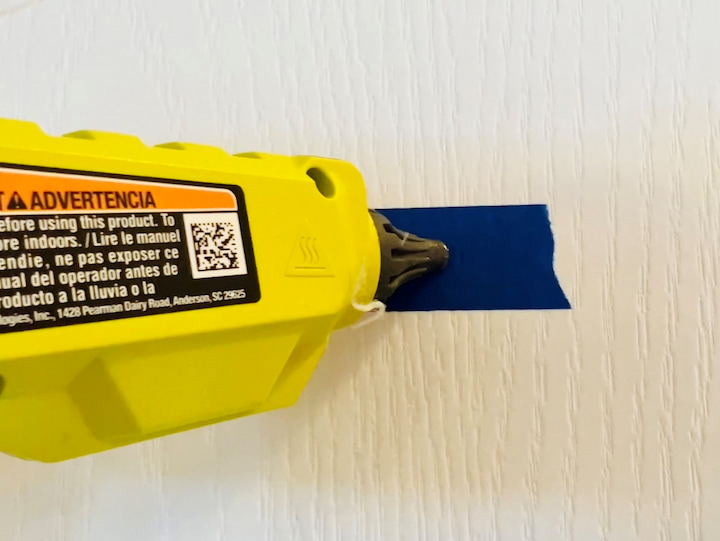
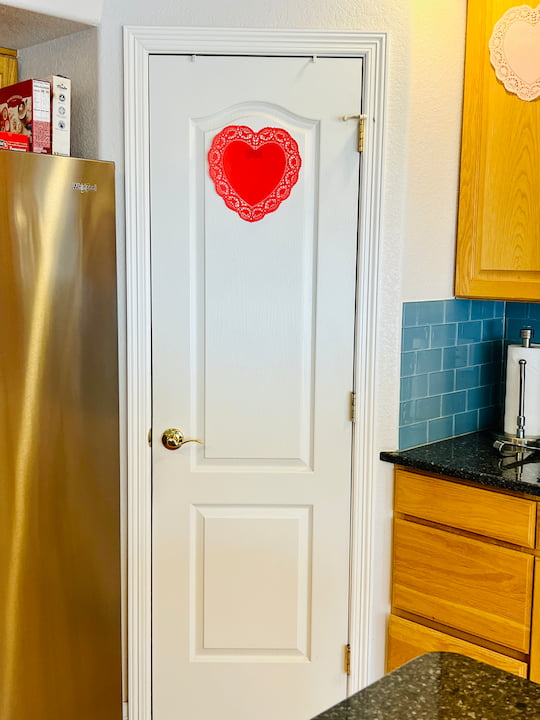
Valentine Kitchen Cabinets
For this next project, I took some painter’s tape and put it on a door. I added a little dab of hot glue onto the painter’s tape.
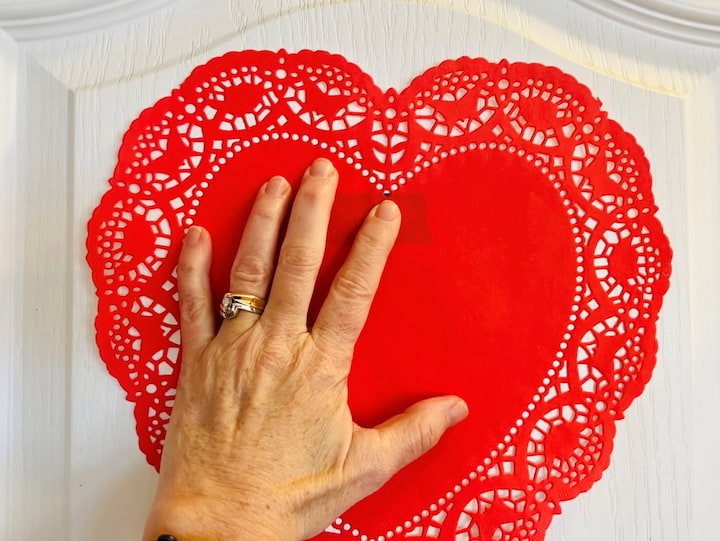
I placed a doily on top of this on my door. This will make it really easy to peel off later and protect my door.
I continued this same process with all of my cabinets: a little bit of painter’s tape, a little bit of glue. and then some of those leftover doilies just decorate my kitchen space.
I didn’t use a ruler for this, I just made a guess.
Dollar Tree Valentine Home Tour
Now that all the projects are done, let’s go check them out on a Valentine’s day diy decor home tour!

We’ll start with the kitchen where you can see all the extra doilies that I had decorating the kitchen space.
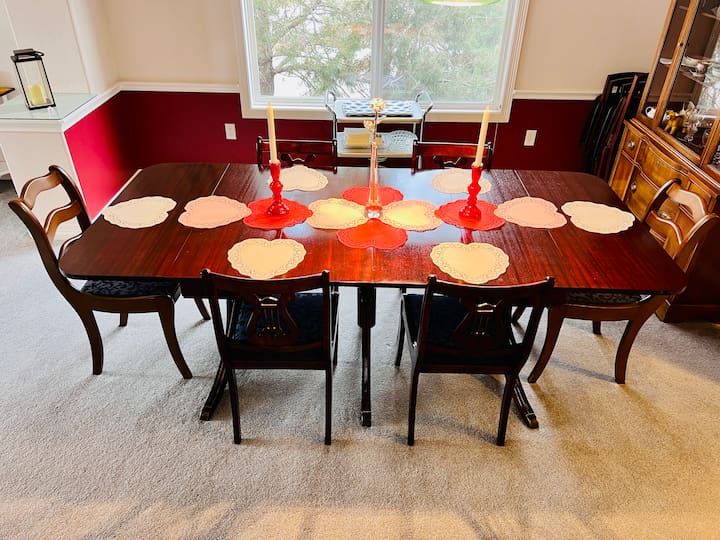
Here you’ll see my doily table runner in addition to that I had some of the extra doilies and I use them as place settings.
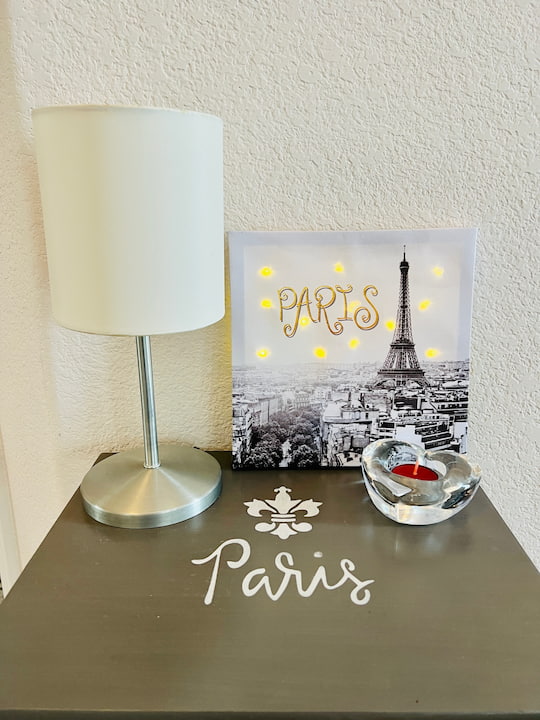
My light-up Paris sign goes nicely by my front door on my little side table that says Paris on it. You can see my tutorial for my table at Quick and Easy Side Table Makeover On A Budget
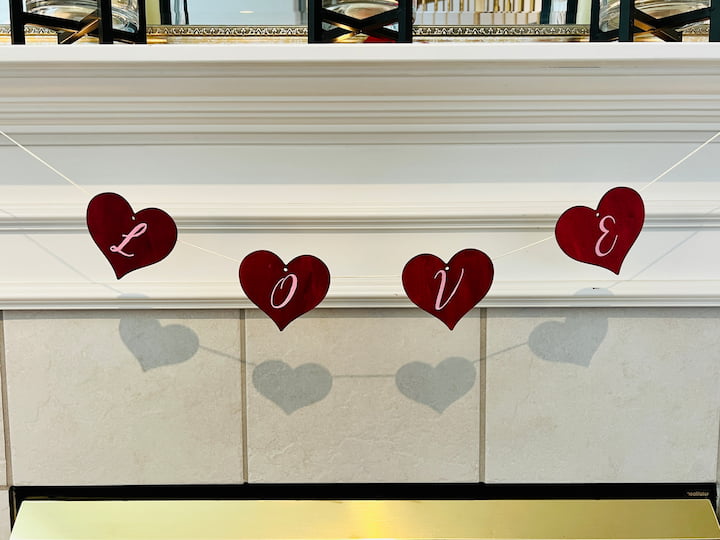
I hot glued all my wooden Hearts to a little kite string and hung this by the mantel.
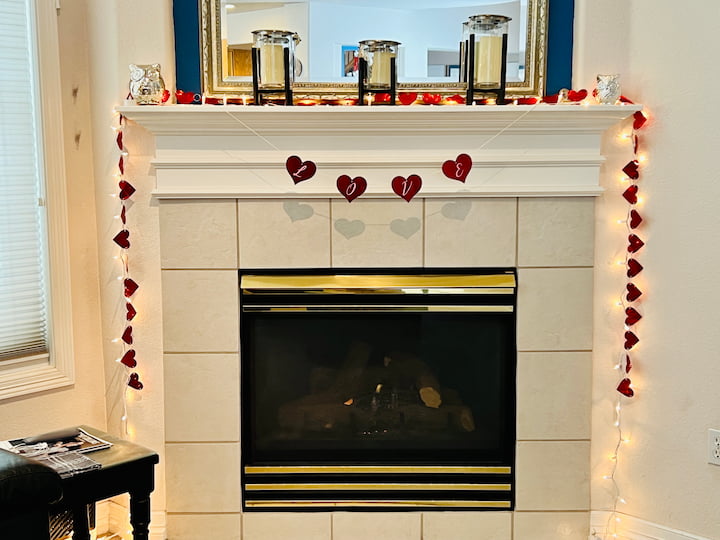
You could use baker’s twine, yarn, ribbon, or another string of your choice.
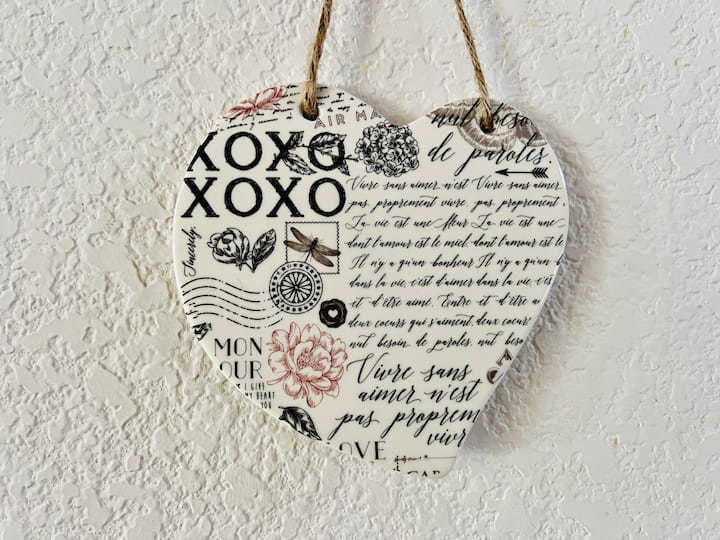
I hung up my little ceramic heart.
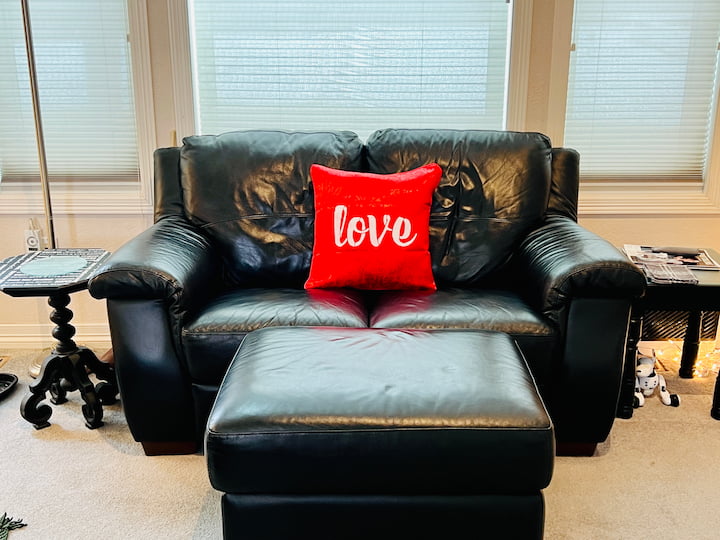
I added the pillow to the pillowcase and placed it on our couch.
My Valentine’s Day DIY total is $9!
Dollar Tree Valentine Decorations and Ideas
- Add window clings to mason jars
- Fill jars with candy, and add a candle to them
- If you don’t want to make your own, Dollar Tree has lots of cute signs and valentine’s day decorations. You can see an example of those in my Dollar Tree Shop with Me video.
- Grab a couple of heart wreath forms and make these – Beautiful Dollar Tree Heart Wreath
- Some like to leave up their Christmas tree and turn it into a Valentine’s Day tree. You can add burlap ribbon, ornaments, and foam hearts, and put fun gift bags, and goodie bags for your family underneath it.
- Classroom Valentine’s Craft – Grab some paper plates, foam stickers, and check out this tutorial
- Create your own banner or garland with baker’s twine, scrapbook paper, Dollar Tree supplies and embellishments.
- Create a fun tiered tray and bake some of those recipes your mom taught you and put them on display for February 14th
- Grab a foam ball and use glue sticks or a hot glue gun and glue kisses to it to make a chocolate-kissing ball to hang up.
- Dip your thumb or fingers in red paint to make a red heart on a tea towel.
Here are some Valentine DIY decor you can make
- 19 Awesome and Easy Dollar Tree Valentine Crafts
- Cheap and Easy DIY Dollar Tree Valentine Gifts
- How To Make A Marquee DIY Love Sign (Step By Step)
- Cheap and Easy DIY Dollar Tree Valentine Gifts
- Easy and Awesome Ways To Reuse Your Valentine Boxes
I hope this inspires you to create some Valentine’s Day DIYs of your own. I’d love it if you’d subscribe to my YouTube channel and my blog. Thanks for watching and I’ll see you in my next video, and don’t forget to like share, and subscribe.
Dollar Tree Valentine Video
Shop any of these stores and I receive a small commission at no cost to you.
 pendali Throw Pillow Covers…Shop on Amazon
 Love – Valentine's Day, Ann…Shop on Amazon
 4Pcs Valentines Day Decorat…Shop on Amazon
 FULLOSUN Eiffel Tower Night…Shop on Amazon
I hope you found inspiration in these Valentine’s Day decor ideas, and maybe you’re ready for a Valentine’s day party. If it’s for kids, check out some of these additional DIYs Kid’s Classroom Valentine’s Day Party
I have some super exciting news I’m teaming up with Mona from Craft Klatch. We are creating Dollar Tree DIYs and the budget was ten dollars. We could supplement it with items we have in our own home already, but we don’t know what each other is making and I’m super excited to share this with you.
Now, hop on over to Mona’s at Craft Klatch and see what Valentine’s Day DIYs she has for you!
Want to see more craft or crap challenges?
- DIY Tiered Tray: Craft or Crap Challenge
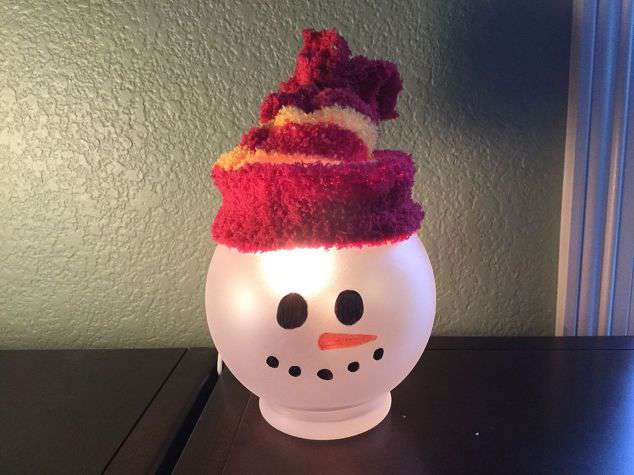
- DIY Snowman Craft from Thrift Store Dishes: Craft or Crap Challenge
- Easy DIY Fall Gnome Craft: Craft or Crap Challenge
- DIY Easter Painting Ideas: Easy And Fun
- Stunning Patriotic Wreath: An Easy and Unexpected DIY
- DIY Garden Decor: Epic Yard Art Showdown
- Easy DIY Sock Snowman Craft: Winter Decor and Gift IdeaHalloween Mantel Ideas: Easy DIY Spooky Decor Practically Free!
- Easy DIY Cardboard Halloween Decorations
- Delightful Easy Flower Crafts with Video
- Super Easy DIY Dollar Tree Valentine Ideas with Video

Chas! This was so much fun! I can’t wait to do it again! Loving all of the projects! ❤️