
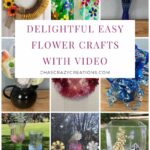
Delightful Easy Flower Crafts with Video
Follow this tutorial where I team up for a craft challenge, making flower crafts from thrift store items. See what I create!
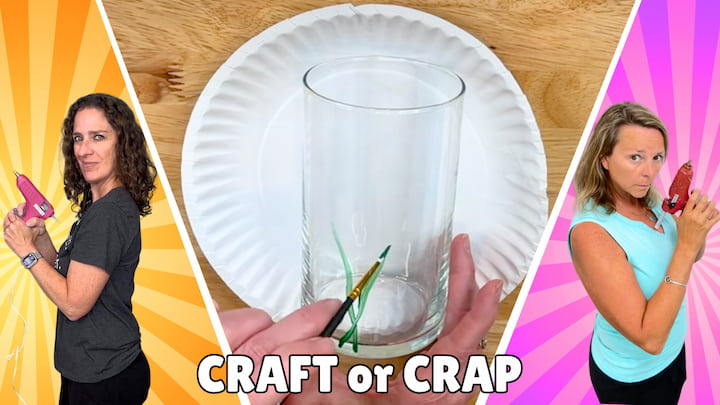
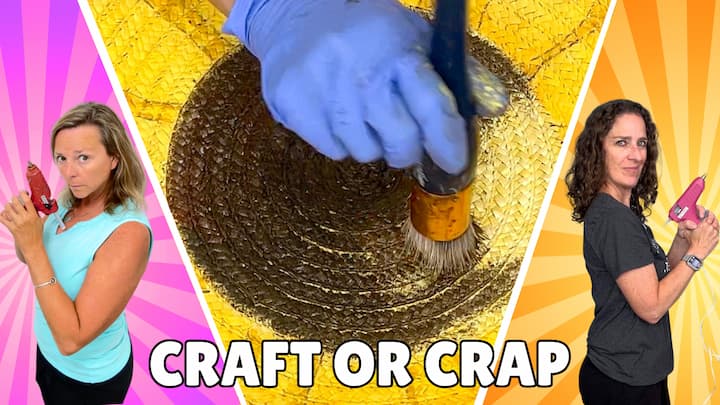
Here is a craft challenge, and I’m teaming up with Mona from Craft Klatch. We are doing our craft challenge called “Craft or Crap? You Decide.”
Be sure to read to the end. There’s a giveaway coming.
Here are the basic rules:
- get item from the thrift store
- use Plaid products
- had to be a flower craft
Flower Crafts Video
What did I pick from the thrift store to upcycle?
The possibilities were endless, and it was hard to decide. I picked something everybody has in their home so anybody can do this project if they’d like.
Flower Crafts

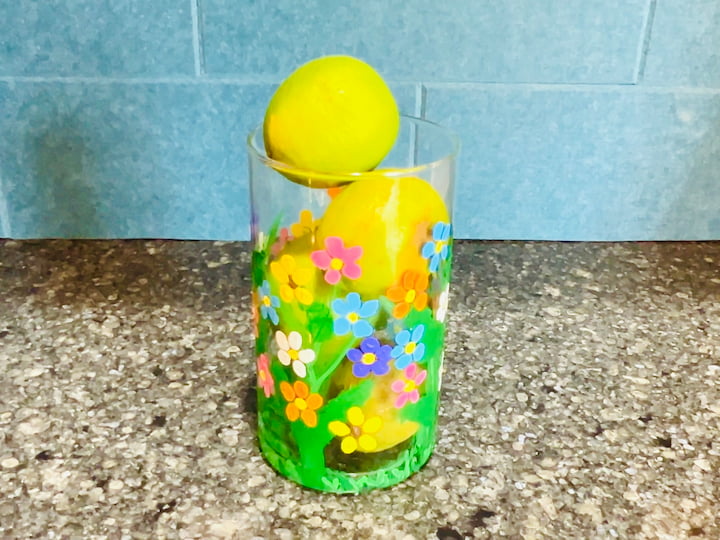
1. Handpainted Flower Craft Vase
I picked a plain boring vase. It was just a standard vase. But, I love these vases because you can do so many different craft projects with them.
Materials List:
- glass vase
- alcohol prep pad
- paper plate
- paint brushes
- Q-tips
- Apple Barrel paint or FolkArt Enamel paint

My Steps to Painting Flower Craft Vase
Step 1: Clean Vase
For this project, we’re going to start off by cleaning the vase. I washed it, removed all the labels, and cleaned it with an alcohol prep pad to remove any debris, oil, anything like that, that’s on the item.
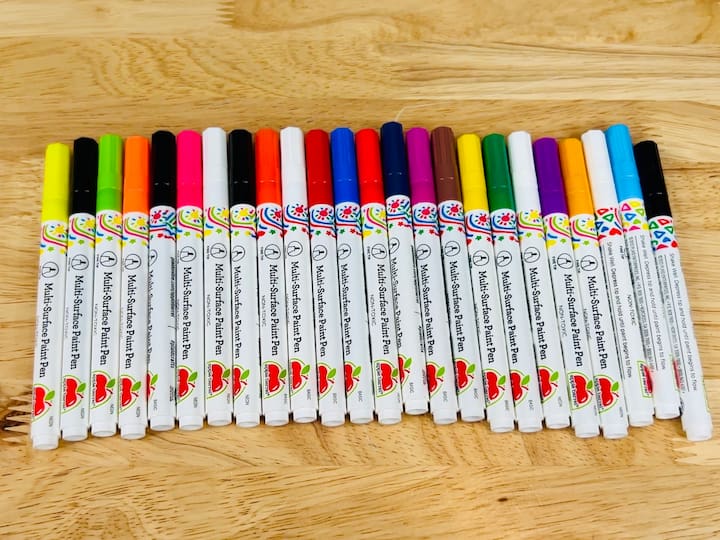
For my Plaid products, I’m using Apple Barrel Multi-Surface Paint. I needed a paint that would stay on glass, and this is it. I’ll be able to paint this on the glass, following the instructions, and have it last.
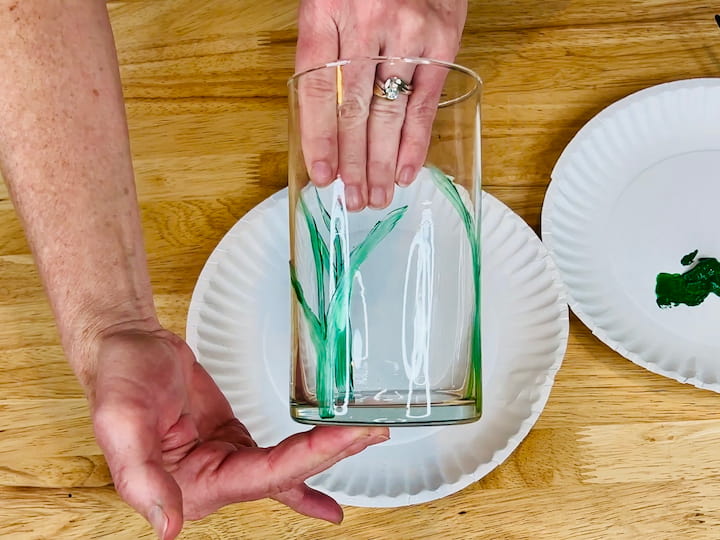
Step 2: Paint Flower Stems
I’m going to start with the color Mountain Forest. It’s a darker green, and I’m creating some stems with the paint. I just had fun with it. I didn’t have anything in mind. I just let the brush go the direction it wanted. I did this around the entire vase.
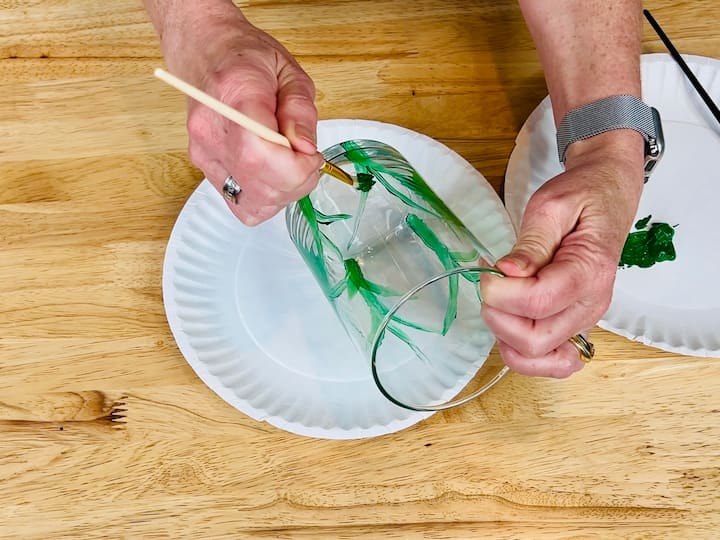
Step 3: Paint Leaves
Then, I grabbed a thicker and more bristly brush. I dipped that in the paint. I just blotted it on over the top of the stems I had created to paint some leaves.
You can be more precise with your leaf shape if you want. I was going for some texture, so I kept blotting around randomly in different places on the stems until I got the look I wanted.
Step 4: Let Flower Stem Paint Dry
I let the stems dry for a little bit. I wanted to make sure it was good and dry before I moved to the next step.

Step 5: Add Dimension and detail
I went back in with some Apple Barrel Multi-Surface True Green and layered that on top of the stem and the leaves. I wanted to give it a little more color and dimension to it. I used a little brush to make extra grass around the bottom and added some accents around the leaves.
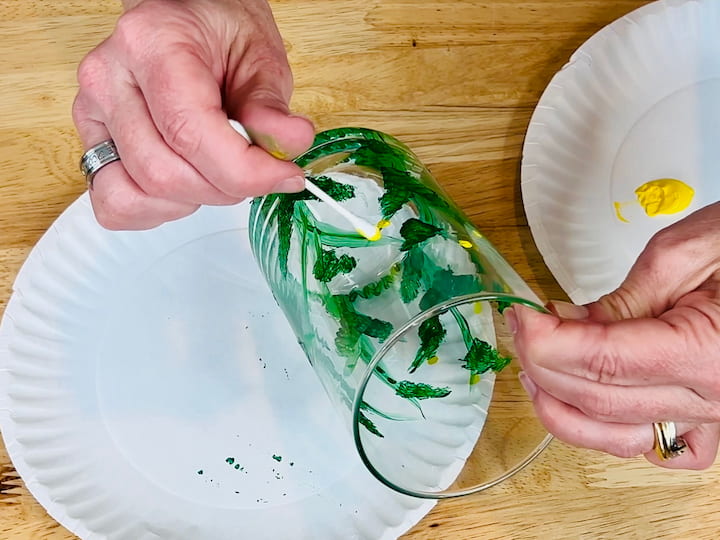
Step 6: Paint Center of Flower
Next, I’m going to use FolkArt Enamel paint, which is also good for glass, in the color Yellow Light.
I grabbed a Q-tip for this step because I wanted to be more precise to create the center of each flower. I dipped the Q-tip into the yellow paint and dabbed it all over in random places on the vase. I could aim where I wanted the flowers to be on this vase.

Here’s a little look at all the yellow dots. I went ahead and let that dry a little bit before I added the petals.
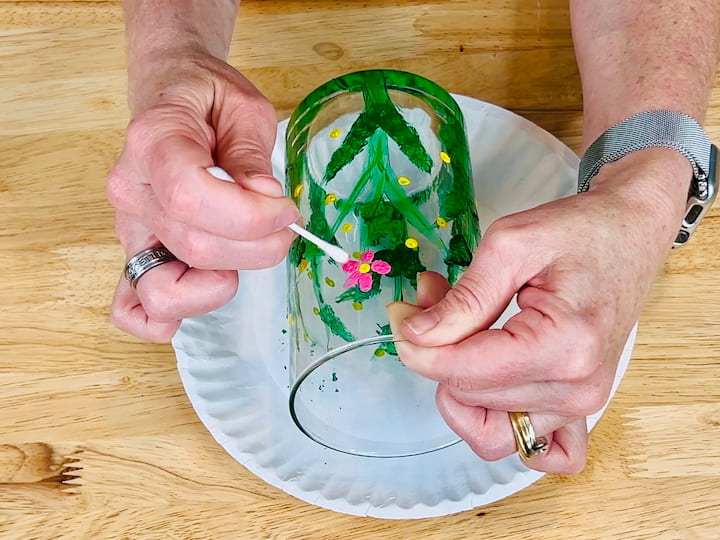
Step 7: Paint Flower Petals in Multiple Colors
I’m going to use Apple Barrel Multi-Surface Paradise Pink paint.
I liked the control I had with a Q-tip. Instead of using a paintbrush, I decided to continue with a Q-tip. I dipped it in the pink paint and then added five little petals around my little yellow dot, which was the center of the flower. Then, I repeated this to create several pink flowers around the entire vase, just going randomly and not in any particular order or design.

Next, I’m using FolkArt Enamel paint again. This time it is the color Perfect Purple. For this one, I did the same thing. I dipped a Q-tip in and then just tapped five little petals around each of the yellow dots, filling in more flowers along the vase.

For the next set of flowers, I’m doing Apple Barrel Multi-Surface paint in the color Electric Blue.
Each time, I started with a clean Q-tip, using both sides so I wasn’t being wasteful. I would make more petals for the flowers with each color. I’m currently making the blue ones in the image, and I’ll go around and randomly put those onto the glass, filling up all of the flower petals.
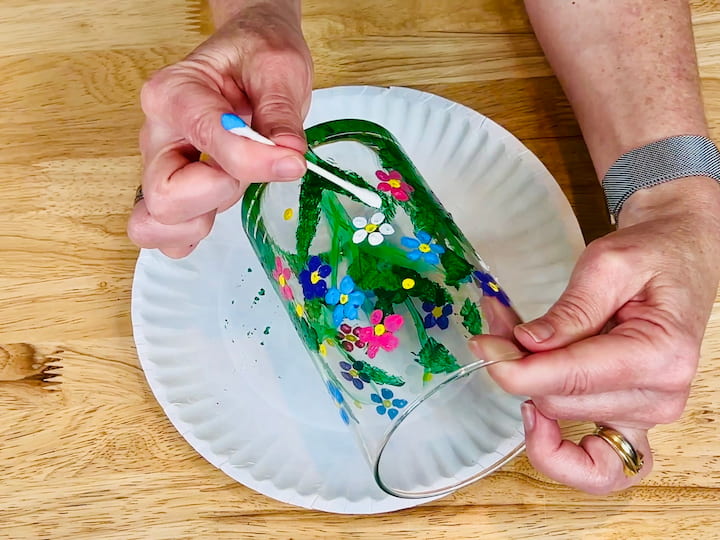
Next, I’m using Apple Barrel Multi-Surface paint in the color White. This one reminds me a little bit of daisies, one of my favorite flowers.
What is your favorite flower? Let me know in the comments below.

While creating, I realized I wanted to do a sunflower look. So, I’m using Apple Barrel Multi-Surface paint in the color Chocolate Sprinkle, and then Apple Barrel Multi-Surface paint in the color Lemon for the next flower.
I went over some of the yellow dots left and painted the brown over the top of them. I wanted the center of the flower to be brown for this one. I did that over just a few of the yellow dots. Then, I added the yellow petals around the brown dots, like sunflowers.
I think this is a great way to show that even if you change your mind about something, you can always fix it. You can always paint over the top of it, or erase and redo. There are a lot of ways to fix something if you aren’t happy with the result.
For this color, I’m using Apple Barrel Multi-Surface Outrageous Orange. This was the last of the colored petals that I added. Last dip into the paint, and five petals around each of the remaining little yellow dots to create that final flower around my vase.
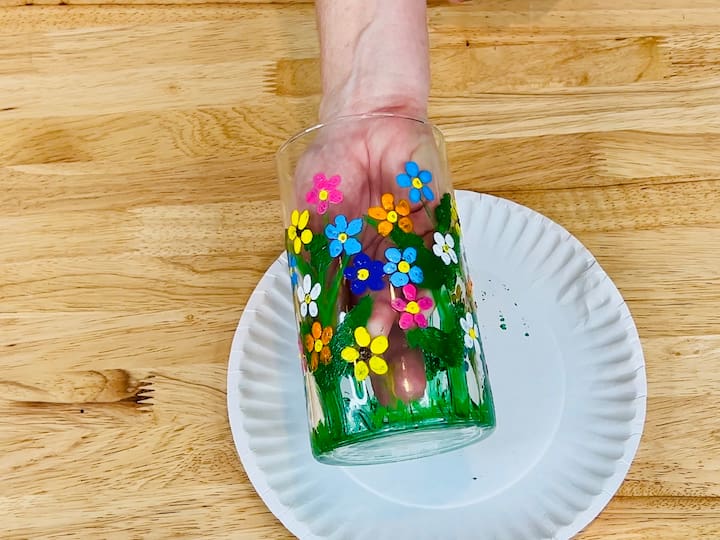
Here it is, all finished.
Step 8: Let Paint Cure
I’m going to go ahead and let this paint dry. You can follow the package instructions and bake it so it cures faster or let it air dry for a set number of days. Your drying method will depend on the paint you use.
I would love to know in the comments what you think. But, I’m not done yet.
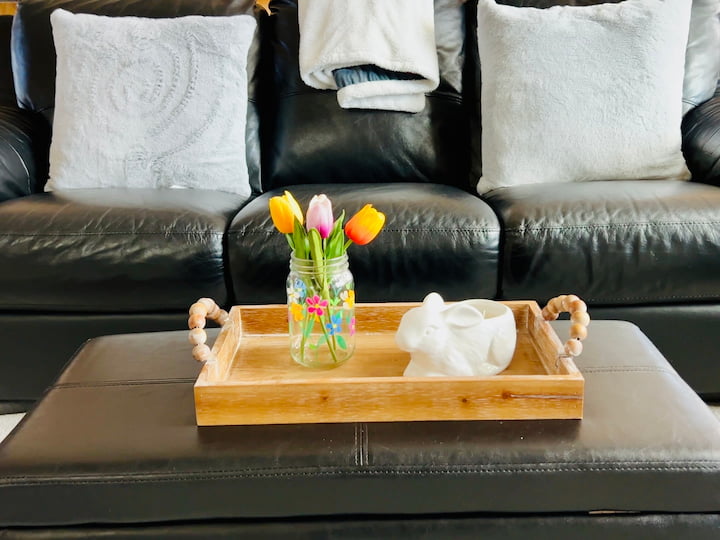
2. Mason Jar Flower Craft using Paint Pens
I have this mason jar that I also picked up at the thrift store, so another option for a vase.
Let’s say hand painting is just a challenge for you, you’re not sure you want to do that. I have an alternative choice for you that might be a little bit easier, and that’s with Apple Barrel Multi-Surface Paint Pens.
Materials List:
- Mason jar
- alcohol prep pad
- Apple Barrel paint pens
Using Paint Pens on Mason Jar
Step 1. Clean Glass
Just like before, I’m going to make sure I’ve cleaned my glass. I washed it and cleaned it off with a rubbing alcohol prep pad. Now, I’m ready to begin.
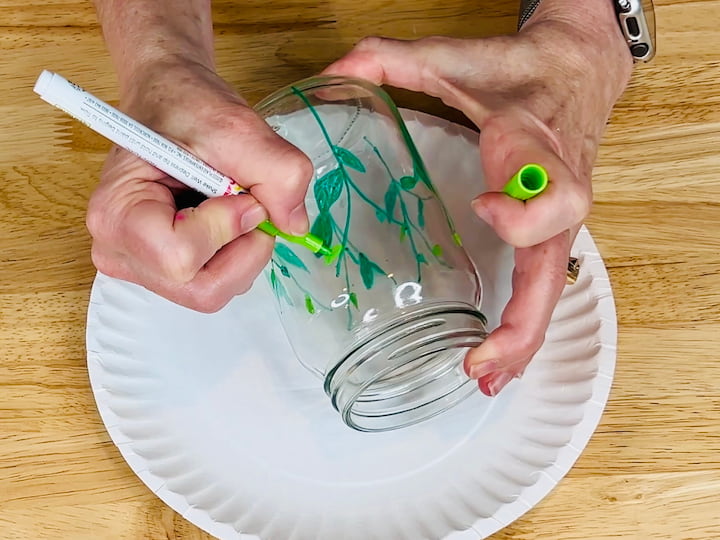
Step 2. Paint Stems
I’m going to give the pen a little shake and then you press it up and down to get the paint flowing into the tip.
I started with the green paint pen and drew some of the random stems, just like before. I had a little more control rather than using a paintbrush with these pens, which I liked. I drew on some leaves. Then I grabbed another lighter shade of green and added some extra leaves onto it as well.

Step 3. Add Flower Centers and Petals
Just like before, I used the yellow paint pen. I made the little dots to be the center of each flower. I used a blue paint pen to make the petals around several of the first set of flowers.

Next, I used the pink paint pen and did the same thing, making several flowers with it. I followed that up with the purple paint pen, making the next set of flowers. I used an orange paint pen to make some more flowers. Lastly, the white paint pen to make my favorite daisy flowers.

Step 4. Let Paint Pens Cure
Now, I’m going to wait for this little mason jar to dry completely. I might put a coat of dishwasher-safe Mod Podge over it to protect it, depending upon where I’ll be using it.
Here’s a look at both vases. Which one is your favorite and why? How would you do it differently?

But wait, I have one more to show you.
3. ThumbPrint Flower Craft Painted Glass
This is actually a glass that I got from the dollar store.

Materials List:
- glass from dollar store
- alcohol prep pad
- paper plate
- paint brushes
- Apple Barrel paint or FolkArt Enamel paint
How to Paint Thumbprint Flower Glass
Step 1. Paint Flower Stem and Leaves
For this flower craft, I painted on a little stem with a paintbrush with the green paint. After that, I used my thumb and made two thumb prints to make the leaves on either side. Therefore, it’s my thumbprint, which I liked.
Step 2. Add Thumbprint Flower Petals
I painted the center with my pinky to make the little yellow center. Then my kids helped make the flowers. My son’s favorite color is red, so he did that part, and my daughter’s favorite color is blue. This is a great project for younger kids, too.
Step 3: Let Paint Dry and Cure
I created a thumbprint flower with them to create this beautiful glass, and then I let it cure. I use it all of the time.

Now, I bet you thought I was done. No, I am not. I have tips on how to use these easy flower crafts around your home for decor and as a useful storage container.


How to Use Easy Flower Crafts
Now, you might be thinking, what can I do with all of these beautiful flower crafts?
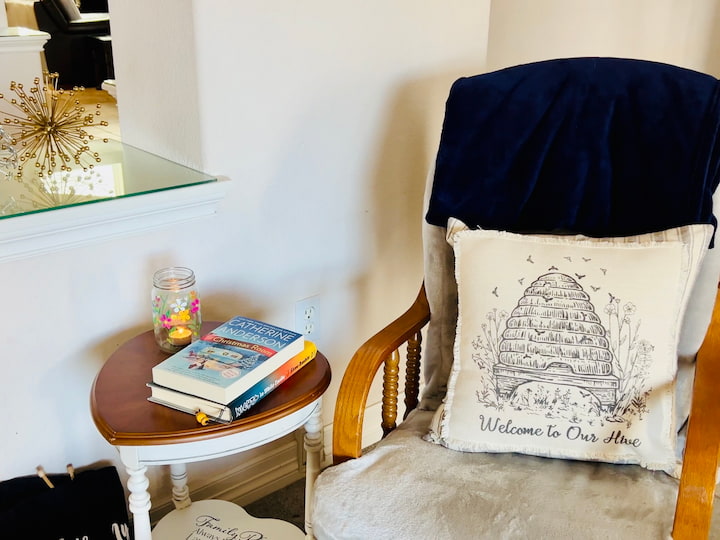
- Use it as a vase and stick your flowers in it, or your faux flowers in it.
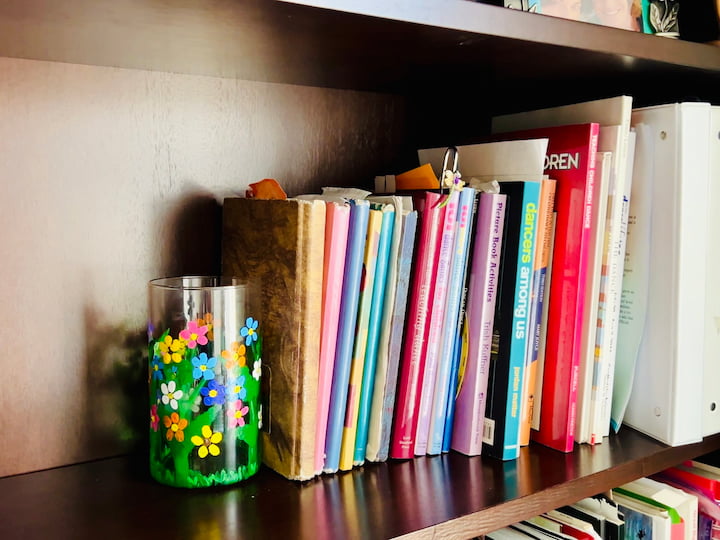
- Place it on a bookshelf and use it as a bookend. (Tip: You might want to weigh it with sand or marbles inside first.)
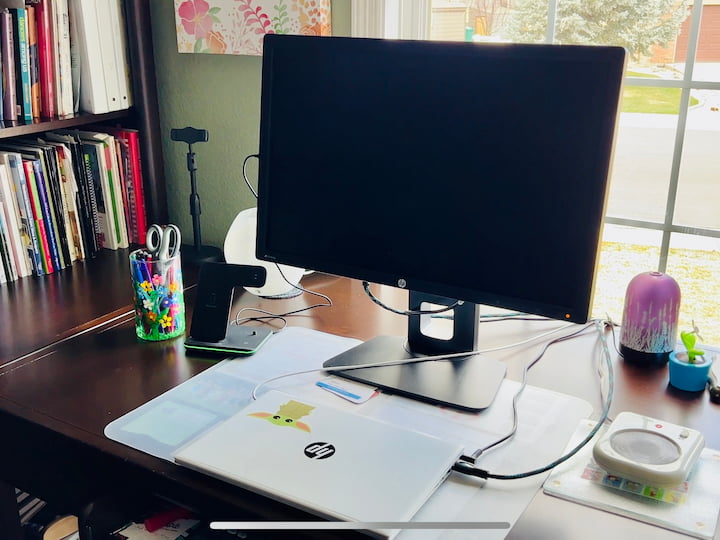
- Use it to hold office supplies like pens, pencils, scissors, and more.
- Place silverware in it, use it to bring silverware outside, or just keep it on your table for easy grab and eat.
- Use your vase to hold fruit or maybe even some grab-and-go snacks.
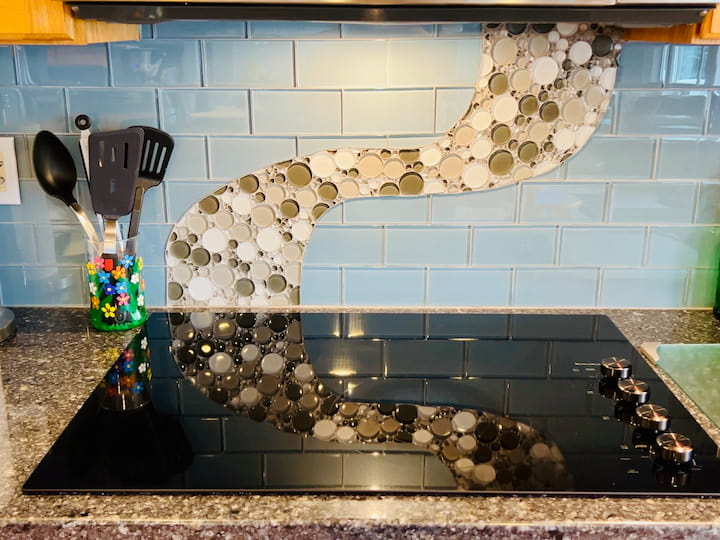
- Use it in the kitchen to hold some of your utensils, leaving it close to grab while cooking and for a pop of color.
- Use it to hold a candle to create some ambiance in your room.
- Use it in your bathroom as well, use it to hold cotton balls or Q-tips.
Flower Crafts Video
Be sure to hop on over to Mona from Craft Klatch’s project and see what her project is. You get to decide: is it craft or crap? We want to know.
@plaidcrafts #plaidcreator #plaidcrafts
And be sure to check out Plaid online and all of their amazing products, and use code CHASS123 for a discount.

We hope that you will participate in our Craft or Crap Challenge. If you do, we’d love to see your projects. You can share it on Instagram with the hashtag #CraftOrCrap and tag Craft Klatch or Chas’s Crazy Creations.
We’d also love for you to join our Facebook group at Craft or Crap. Want to be notified of future Craft or Crap challenges? Sign up Here
More Flower Craft Ideas

Non Flower Bouquets
I created a bunch of these gifts with Mothers Day in mind, but they could be used for Valentine’s Day, birthdays, showers, and anytime of year. For this paper flower craft, use cupcake liners and skewers or straws to make these tissue paper flowers. Need a craft for kindergarten or preschoolers? Put together a bouquet of candy, for the perfect flower craft.
Find the tutorial: Non Flower Bouquets: Easy DIY Gifts on a Budget

Floral Wreath
I created this wreath in honor of breast cancer awareness, and you could adjust it with craft tulips, or other colorful flowers.
Full tutorial at: Beautiful Breast Cancer Awareness Wreath on a Budget
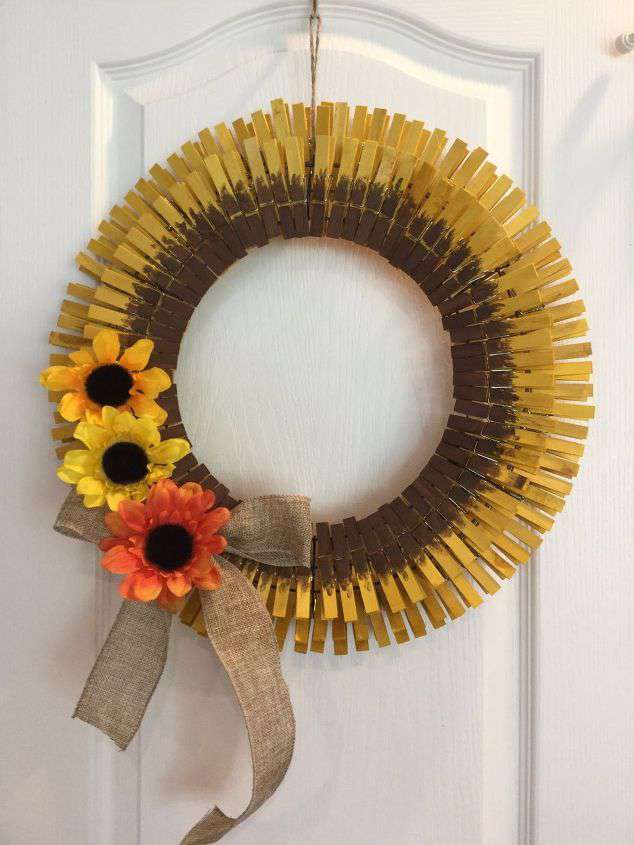
Sunflower Wreath
This lovely craft was so easy, just a little rit dye, clothespins, faux flowers, ad some burlap ribbon and you have yourself sunflower craft that’s easy peasy to make.
Full tutorial at: How To Make An Easy DIY Sunflower Clothespin Wreath
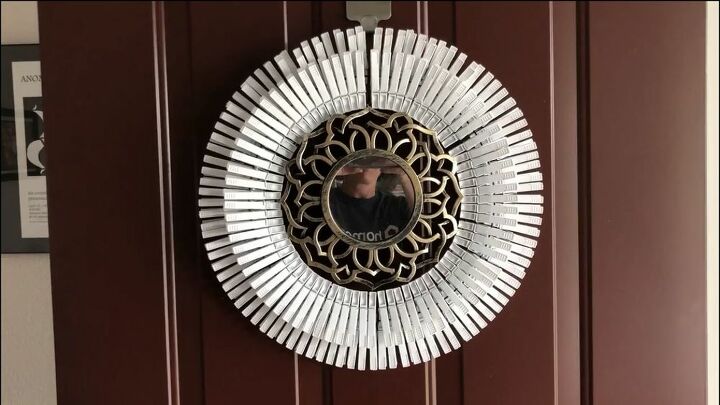
Daisy Wreath
If you like the sunflower wreath you might also like my daisy wreath made out of a few items from the dollar store.
Full tutorial at Easy Tutorial How To Make A Clothespin Wreath
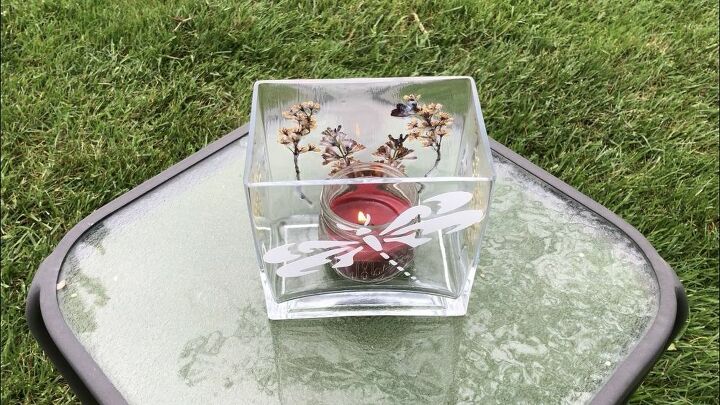
Preserve Fresh Flowers
You can take someone’s favorite flowers, press them, and then seal them with Mod Podge and create a simple craft like this candle holder. It’s a great way to save those beautiful flowers that mom loves.
Full tutorial at How Do You Preserve Flowers (Easy DIY with Video)
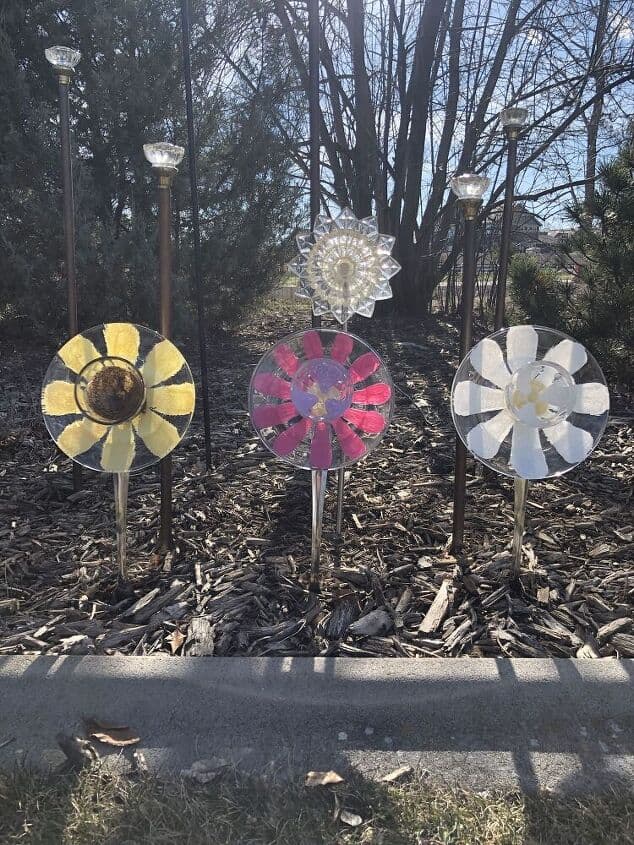
Flower Art
Make beautiful blooms by creating fun dish flowers with vintage dishes. They’re great art projects for older kids to get involved in. This craft project is a fun way to let your creativity blossom by stacking different dishes, paint them or leave them plain.
Full tutorials at:
You might also enjoy these flowers made from vases and other dishes. These are super easy for toddlers, preschoolers, and young children to make.
Full tutorial: Non Flower Bouquets: Easy DIY Gifts on a Budget
More Easy Flower Craft from Pinterest
Craft Paper Daffodil Craft
Delight little ones with this simple and cheerful daffodil craft using craft paper. Perfect for toddlers and preschoolers, this activity fosters creativity and fine motor skills.
Paper Plate Flowers
Transform ordinary paper plates into vibrant and whimsical flowers with just a few simple supplies like paint, pipe cleaners, and craft paper. This craft is suitable for kids of all ages and makes for a colorful springtime decoration.
Coffee Filter Flowers
Dive into the magic of color blending with coffee filter flowers. This easy craft involves painting coffee filters, then shaping them into delicate blossoms. It’s an ideal activity for little kids to explore their creativity and make beautiful floral arrangements.
Crepe Paper Flower Wreath
Craft a stunning wreath bursting with color and charm using crepe paper flowers. Perfect for a spring or Easter-themed decoration, this craft project is simple yet visually impressive. Kids of all ages can enjoy creating their own personalized wreaths to hang proudly on the door.
Egg Carton Flowers
Upcycle egg cartons into adorable flowers with this eco-friendly craft project. Little ones will have a blast painting and decorating the carton cups to resemble flower petals. It’s a fantastic way to teach kids about recycling while having fun creating something beautiful.
Paper Spring Flowers
Welcome the season with vibrant paper spring flowers crafted from strips of paper. This simple yet captivating activity is suitable for kids of all ages, allowing them to explore color combinations and experiment with different flower shapes.
Simple Flower Crafts for Toddlers
Engage toddlers in sensory play and creativity with simple flower crafts tailored to their age and abilities. From finger painting petals to tearing strips of paper for collage to using pipe cleaners, these activities are designed to be mess-free and developmentally appropriate.

I hope this inspires you to create some flower crafts of your own. I’d love it if you’d subscribe to my YouTube channel.
Want to see more craft or crap challenges?
- DIY Tiered Tray: Craft or Crap Challenge
- DIY Snowman Craft from Thrift Store Dishes: Craft or Crap Challenge
- Easy DIY Fall Gnome Craft: Craft or Crap Challenge
- DIY Easter Painting Ideas: Easy And Fun
- Stunning Patriotic Wreath: An Easy and Unexpected DIY
- DIY Garden Decor: Epic Yard Art Showdown
- Easy DIY Sock Snowman Craft: Winter Decor and Gift IdeaHalloween Mantel Ideas: Easy DIY Spooky Decor Practically Free!
- Easy DIY Cardboard Halloween Decorations
- Delightful Easy Flower Crafts with Video
- Super Easy DIY Dollar Tree Valentine Ideas with Video


Chaz, I have been following you for a couple of years now. I have tried a few of your DIY projects. I especially love your organization videos. You just seem like such a sweet person. I wish I lived closer to you so that we could go out for a cup of coffee. 😊. Ann
OH Ann, thank you, and I would love to have a cup of coffee with you someday… maybe we can even do it virtually!
Chas, you are SO clever. You make it so easy to do these cute projects, that even I could do them. Your former Colorado friend, Ruth G
You are so very sweet, thank you so much Ruth 🙂
Chas! I LOVE all of them! Definitely CRAFT! I love how bright and bold the first one is! I love how fine the second one is! I love that the third one is a great memory piece to make with the kids! ❤️ I have a few of those vases floating around…🤔
You’re so sweet, thank you Mona, and I really love your project too. Thanks for doing the challenge with me.