Crafting Love: Creative DIY Valentine Crafts to Spread Love
Are you looking for DIY Valentine Crafts? Here is a huge selection of Valentine’s Day crafts to choose from that are easy and inexpensive to make!
As February approaches, love is in the air, and what better way to express your affection than with a personal touch? This Valentine’s Day, step away from store-bought cards and chocolates and embark on a journey of creativity with our DIY Valentine Crafts. Whether you’re celebrating with a special someone, or your friends, or simply spreading love to yourself, these handmade creations are bound to add a heartfelt touch to the season of love.

In this blog post, we’ll explore a treasure trove of delightful and easy-to-follow DIY Valentine crafts that will not only ignite your artistic spirit but also leave a lasting impression on those you cherish. From charming handmade cards to unique home décor, get ready to infuse your celebrations with a dash of creativity and a whole lot of love. Let’s dive into the world of crafting and discover how simple materials, a pinch of imagination, and a dollop of affection can make this easy Valentine’s day truly unforgettable. (And guess what, many of these make great Valentine’s day gifts too)
DIY Valentine Crafts Video
DIY Valentine Crafts Instructions
Glowing Love: DIY Illuminated Wooden Sign for Valentine’s Day
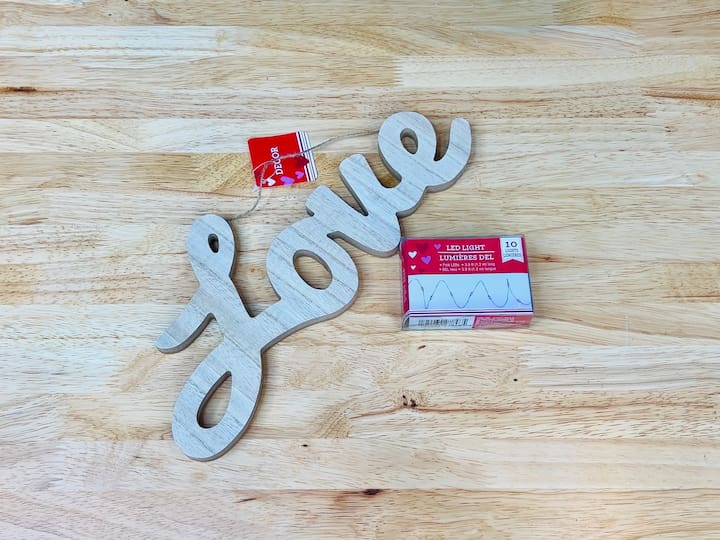
Step 1: Gather Your Materials

For this enchanting Valentine’s Day craft, you’ll need
Decide on your preferred method of using the lights—whether gluing them on the front side, wrapping them around the entire sign, or going around the edges.
Step 2: Choose Your Lighting Style
In my project, I opted to flip the sign over to the back side for a clean finish. I mapped out the desired placement of the LED lights and proceeded to the next step.
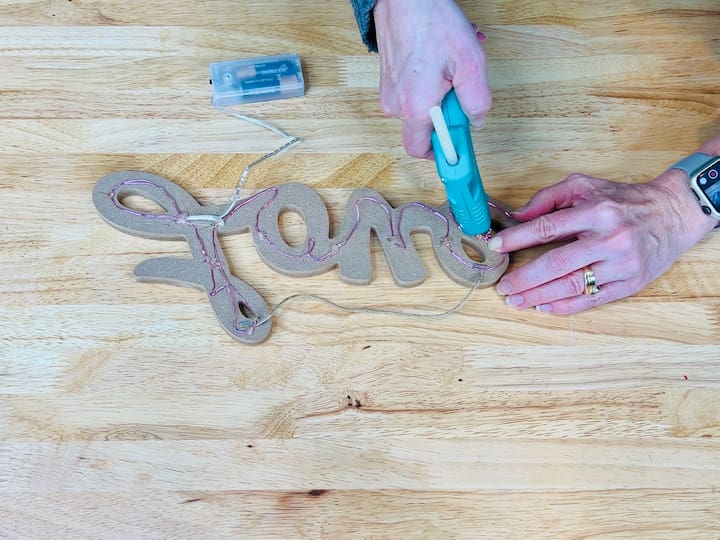
Step 3: Hot Glue the Lights in Place
Using a hot glue gun, secure the LED lights onto the backside of the wooden sign. This ensures that none of the wires will be visible from the front. Take your time and carefully glue the lights along the mapped-out path, ensuring an even and secure attachment.
Continue this process across the entire back of the sign until the entire LED strand is affixed. This step may require a bit of patience, but the end result will be well worth it.
Step 4: Optional – Remove the Top String
If your wooden love sign has a hanging string on top, you can choose to remove it by simply cutting it off. In my case, I didn’t need it for this project, but feel free to leave it if you prefer.
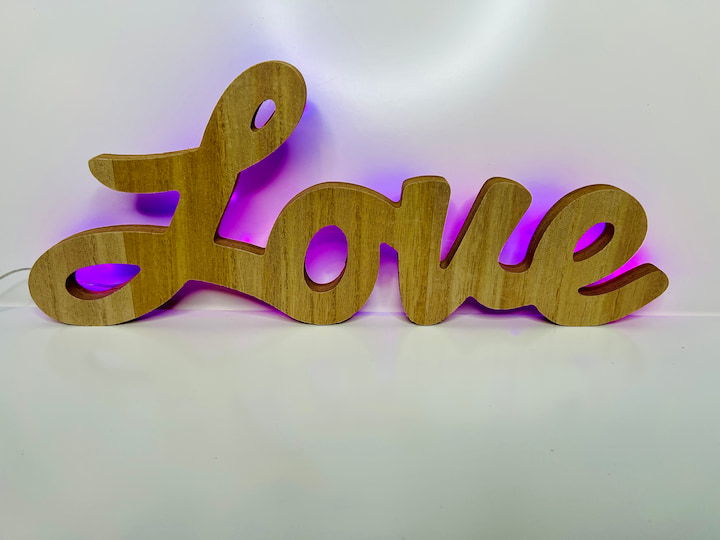
Step 6: Admire Your Handiwork
With the LED lights securely in place, your illuminated wooden love sign is now ready to steal the spotlight. Whether it’s admired during the day or brings a warm glow to your evenings, this DIY Valentine’s Day craft is sure to add a touch of magic to your celebrations.

Step 7: Bask in the Glowing Result
Behold your finished masterpiece! Revel in the beauty of your illuminated creation, perfect for setting a romantic ambiance or adding a cozy touch to your Valentine’s Day festivities. Whether displayed by day or evening, this DIY project is bound to leave hearts glowing with admiration.
Festive Beverage Mug or Glass
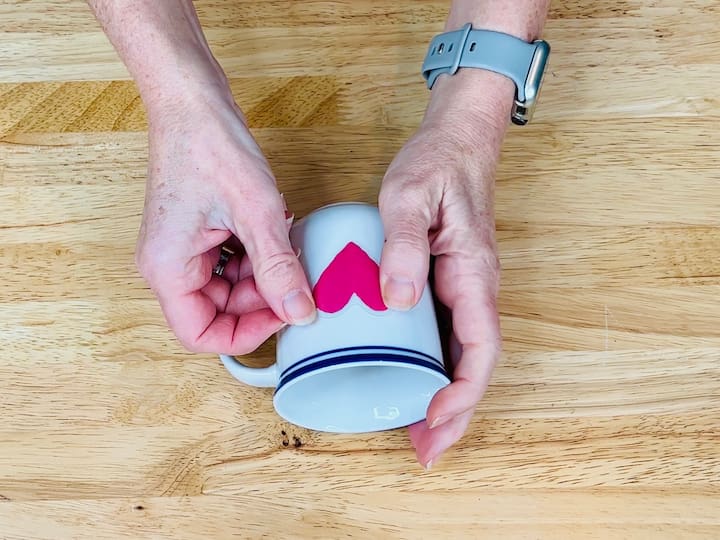
Step 1: Prep the Mug
- Clean the mug thoroughly with a rubbing alcohol prep pad to ensure a smooth surface for the window clings.
Step 2: Apply the Window Clings
- Carefully place the window clings onto the mug. Arrange them creatively to transform a simple mug into a fun and festive beverage glass.
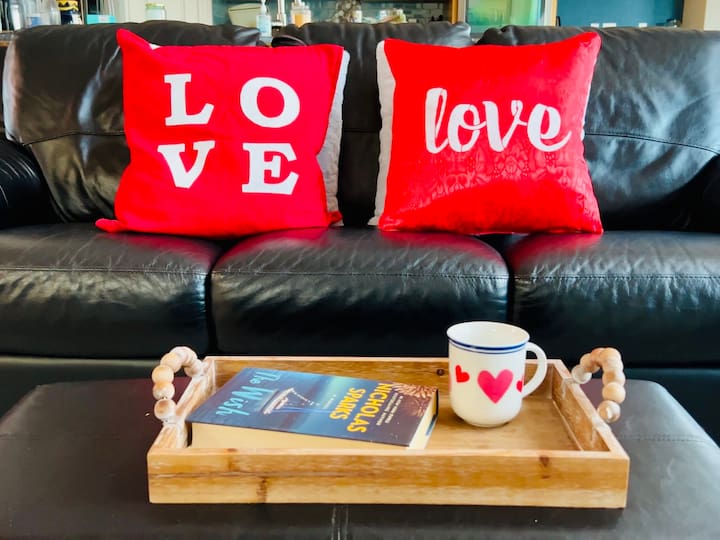
Step 3: Seasonal Rotation
- Enjoy your festive beverage glass throughout the season. When it’s time for a change, simply peel off the window clings, and replace them with new ones or leave it plain.
Alternative Mug with Sharpie
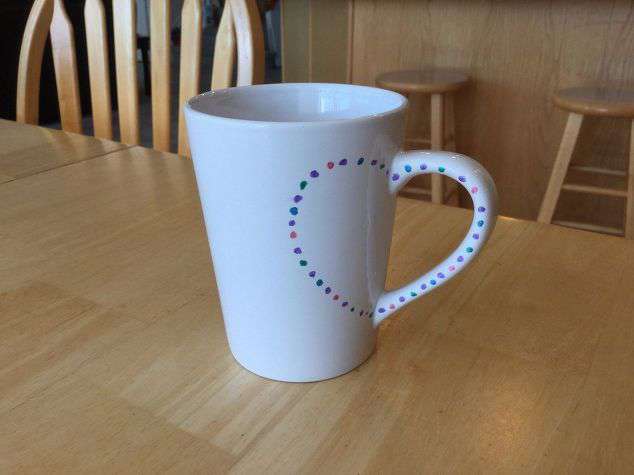
This mug is easy, inexpensive and great for a gift, party favor, or craft night. You can find the full tutorial at Heart Mug
Versatile Jar Candle Holder
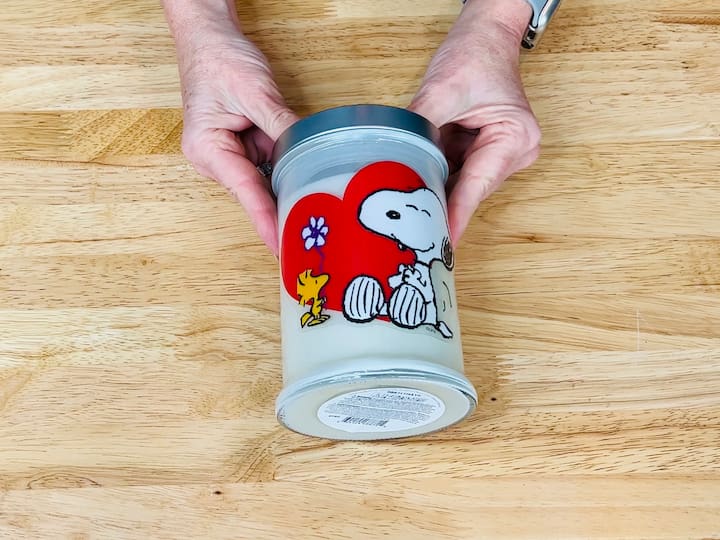
Step 1: Select a Jar Candle
- Choose any size jar candle for this project. Ensure the exterior is clean and free of any residue.
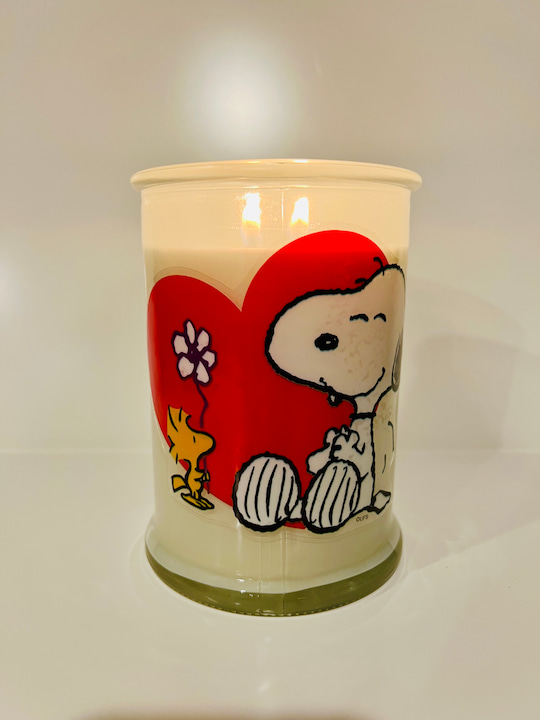
Step 2: Apply Window Cling
- Place a window cling on the outside of the jar candle. Experiment with different designs to suit your taste.
Step 3: Seasonal Adaptations
- At the end of the season, peel off the window cling. Swap it with a new design or leave the jar plain. This technique also works well for candle holders of various sizes.
Step 4: Multifunctional Use
- Your adorned jar candle holder can also be repurposed for snacks, pens, or even as a decorative piece.
Elegant Bathroom Candle Display
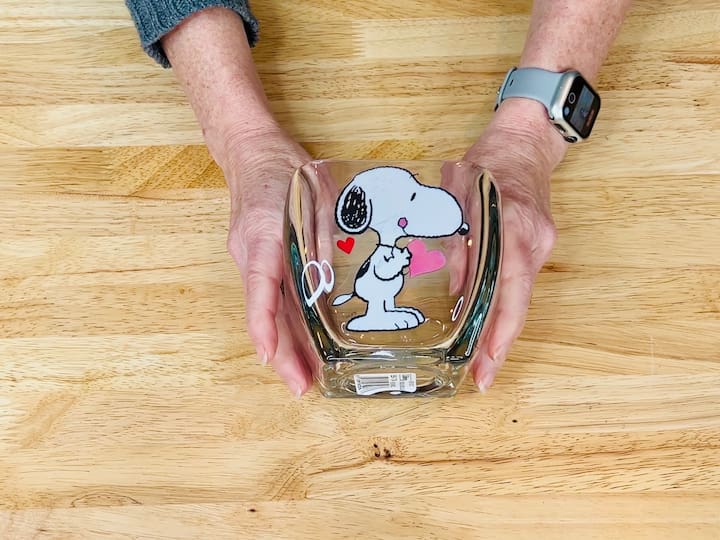
Step 1: Choose a Candle Holder
- Clean off your glass candle holder, ensuring a pristine surface.
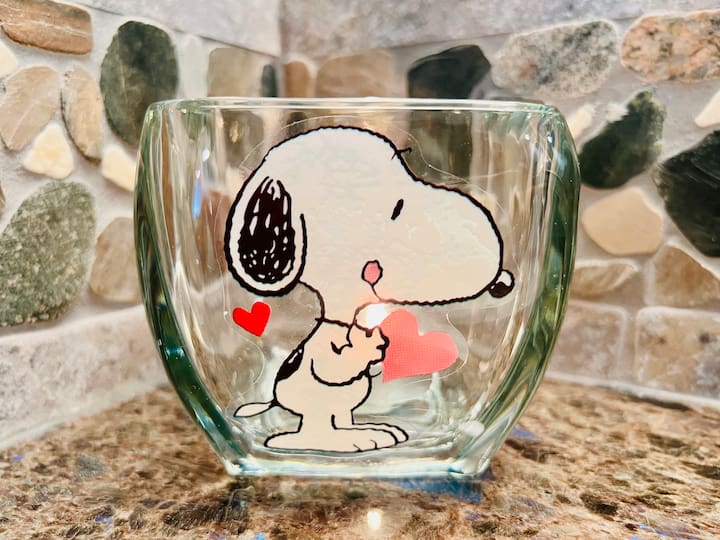
Step 2: Apply Window Cling
- Place a window cling on the glass candle holder, creating an elegant decorative piece.
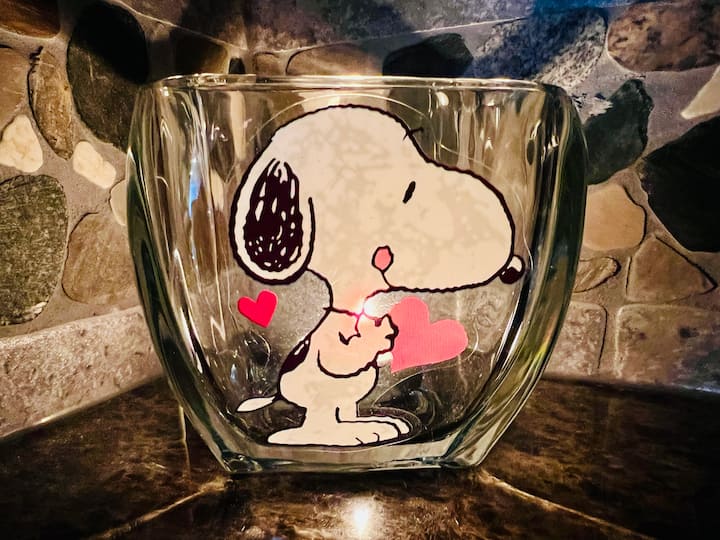
Step 3: Candle Options
- Use real tealights for a charming glow, or opt for battery-operated LED candles as a flameless alternative.
Flameless Elegance – LED Candle Decor

Step 1: Opt for Flameless Alternatives
- If traditional candles aren’t your preference, embrace flameless options. Choose a battery-operated LED candle for a safer and long-lasting alternative.
Step 2: Select Your Setting
- Pick a suitable location for your LED candle display. For instance, in this project, I chose to place it in the bathroom.
Step 3: Utilize a Hanging Candle Holder
- Enhance the visual appeal by using a hanging candle holder. Ensure it is securely placed in your chosen spot, whether it be indoors or outdoors.
Step 4: Apply a Window Cling
- To add a touch of charm, place a window cling on the LED candle. Select a design that complements your decor or the season. The cling is a simple and temporary way to elevate the aesthetic.
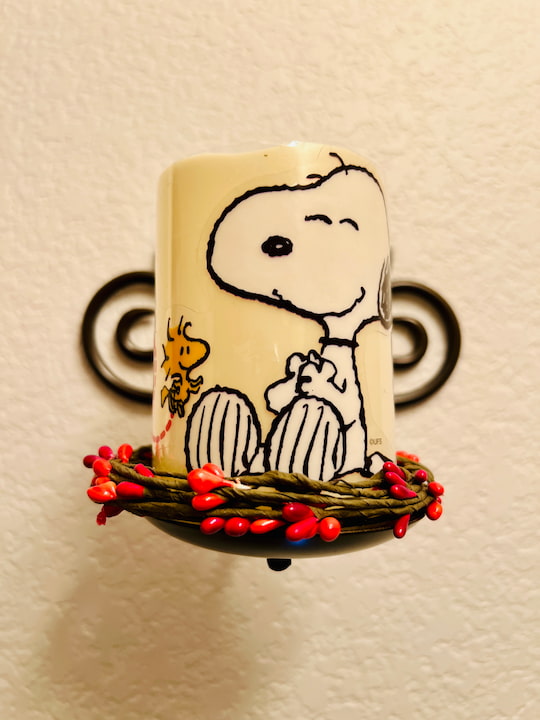
Step 5: Enhance with a Dollar Tree Wreath
- Take a small Dollar Tree wreath or any decorative embellishment of your choice and encircle it around the LED candle. This step adds a festive or elegant touch, depending on your chosen theme.
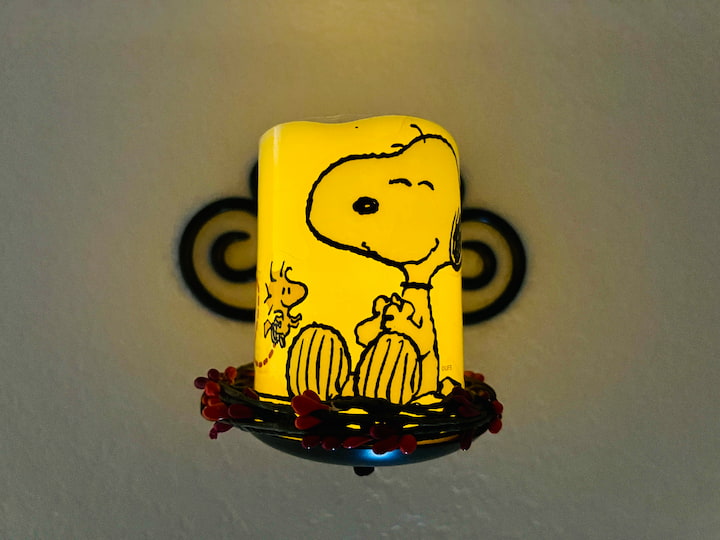
Step 6: Admire the Result
- Step back and appreciate the beauty of your flameless LED candle decor. The combination of the window cling, hanging candle holder, and Dollar Tree wreath creates a captivating and personalized display.
Gift-Ready Vase
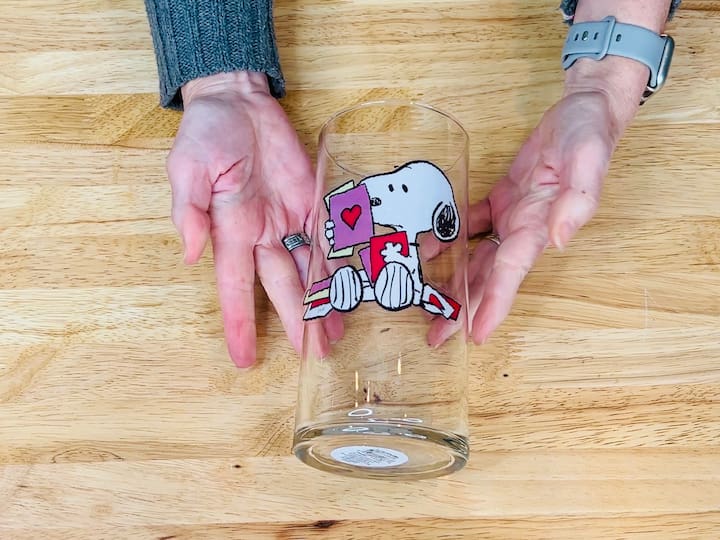
Step 1: Clean and Prep the Vase
- Clean the vase thoroughly and prepare it for the window cling application.
Step 2: Add Window Cling
- Place a window cling onto the vase, transforming it into a festive centerpiece.
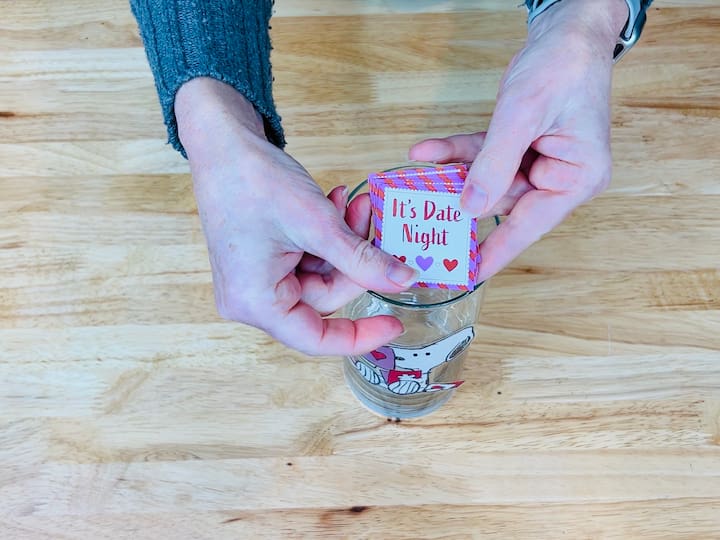
Step 3: Gift Inside
- Instead of flowers, insert thoughtful gifts like date night cards or kid’s coupons. Each card suggests a unique activity for added enjoyment.
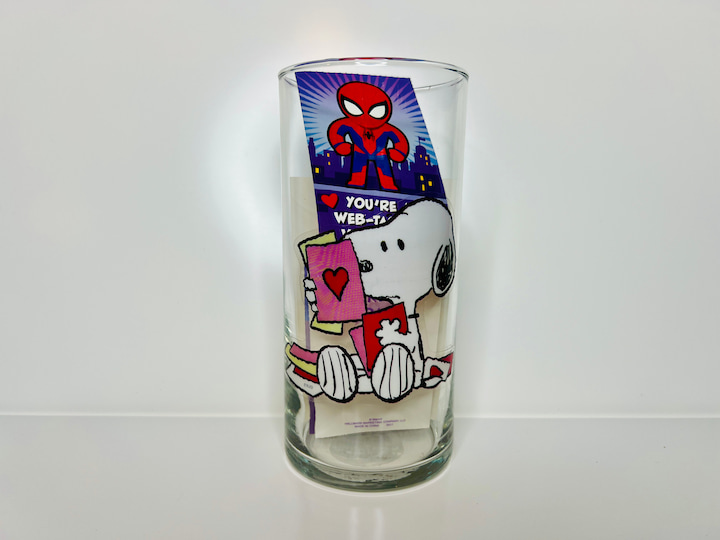
Step 4: Versatile Use
- Use the adorned vase for various purposes, from holding Valentine’s Day cards to accommodating candles or flowers. Other ideas include sweet treats like candy, conversation hearts, paper hearts. Make a recipe of cookies and place them inside, etc.
These versatile and creative window cling projects offer a unique way to celebrate the season and add a personal touch to your home decor. Explore the possibilities and let your imagination run wild!
Valentine’s Day To-Do List Frame
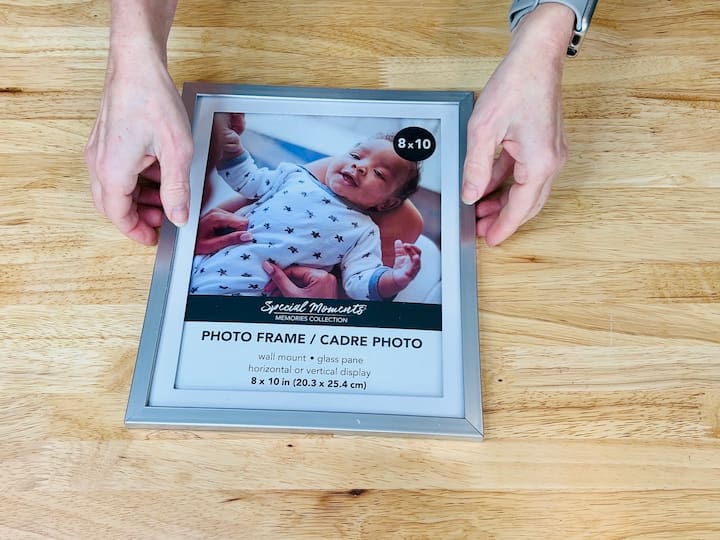
Step 1: Gather Your Materials
- Collect a picture frame of your choice. Ensure it can be easily disassembled.
Step 2: Disassemble the Picture Frame
- Carefully pull apart the picture frame, separating the backing, glass, and frame components.
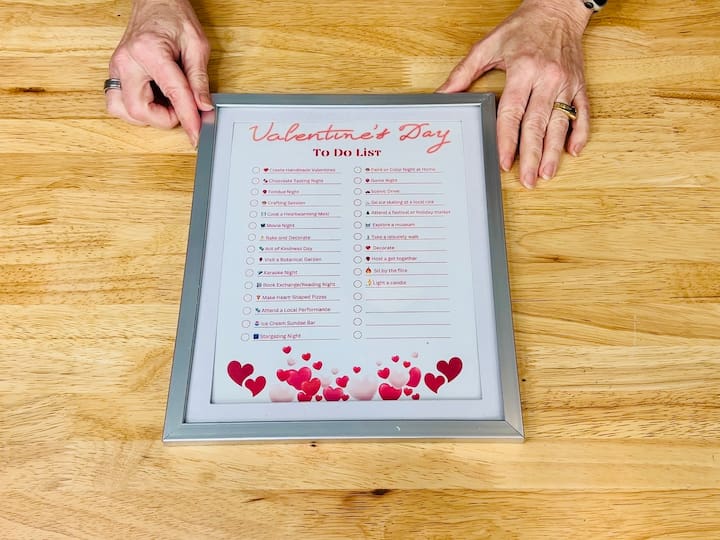
Step 3: Create a Printable To-Do List
- Design and print a Valentine’s Day to-do list. If you prefer, you can use the provided printable from the link in the description.
Step 4: Compile Your To-Do List
- Jot down a list of Valentine’s Day activities or tasks that you want to accomplish. Use the printable as a guide or create your own personalized list.
Want my to do list? BUY IT NOW!
If you want my list, you can purchase it on PayPal for $1.99, with no sign-up needed. Simply pay and you’ll be redirected to your PDF purchase.
Step 5: Reassemble the Frame
- Put the entire picture frame back together, ensuring the printable is securely positioned between the glass and the backing.
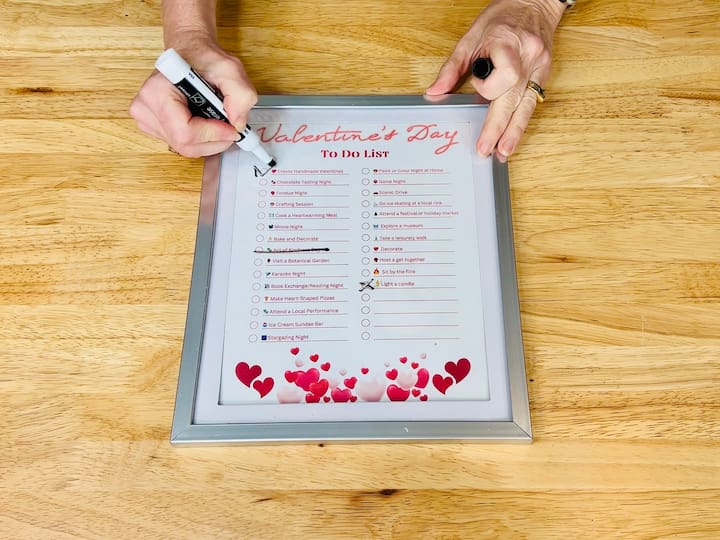
Step 6: Utilize Dry Erase Marker
- With the frame assembled, use a dry erase marker to check off completed tasks or add your own notes to the glass surface.
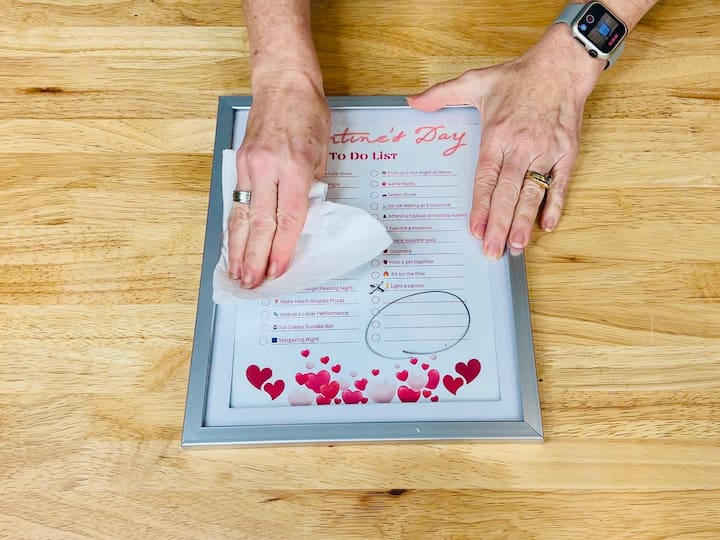
Step 7: Erase and Reuse
- Once the Valentine’s Day season is over, simply erase the markings on the glass using a dry eraser or cloth. Your frame is now ready to be reused for other occasions or the following year.
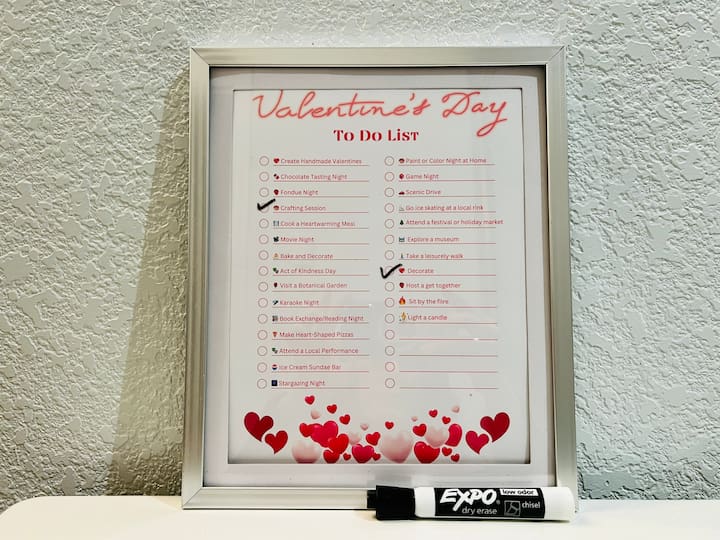
This DIY Valentine’s Day To-Do List Frame not only adds a touch of creativity to your decor but also serves as a practical and interactive way to celebrate the season of love. Customize your checklist, check off tasks, and embrace the joy of erasing and reusing for future festivities.
You might also like my other reusable to do lists:
Parisian Charm Chalkboard Decor
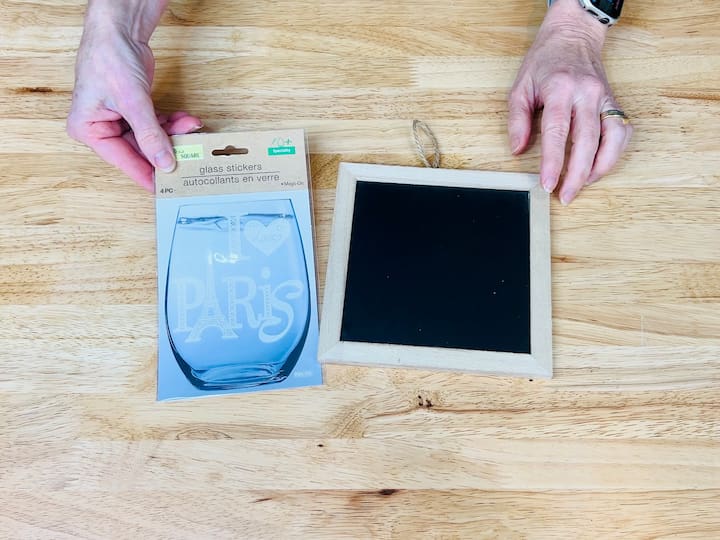
Step 1: Gather Your Materials
- Acquire a chalkboard and select your preferred decals. For this project, I’m using an “I Love Paris” decal found at the dollar store.
Step 2: Peel Off and Prepare Decal
- Carefully peel off the chosen decal from its backing. Take your time to ensure the decal remains intact during the process.
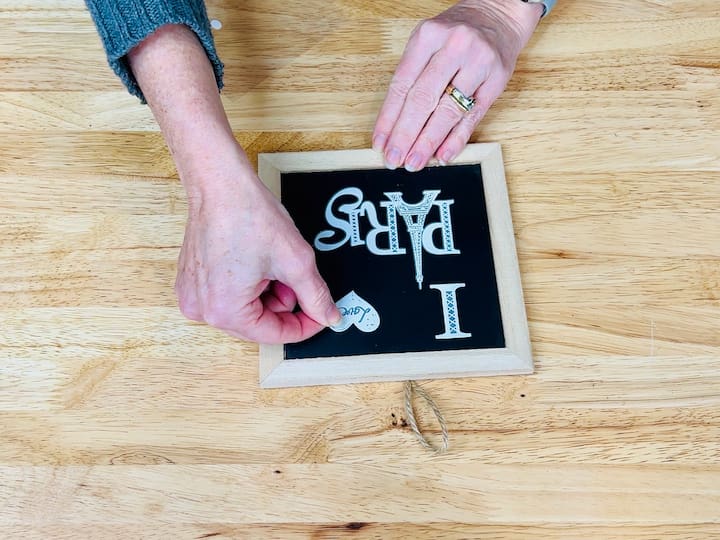
Step 3: Position and Apply the Decal
- Place the decal onto the chalkboard surface, positioning it according to your desired layout. Smooth out any air bubbles or wrinkles to ensure a clean application.
Step 4: Temporary Decor Solution
- Appreciate the versatility of this project. Since the decal serves as a temporary solution, you can effortlessly decorate your chalkboard for Valentine’s Day. Once the season is over, peel off the decal, and if the adhesive is still sticky, save it for future use.
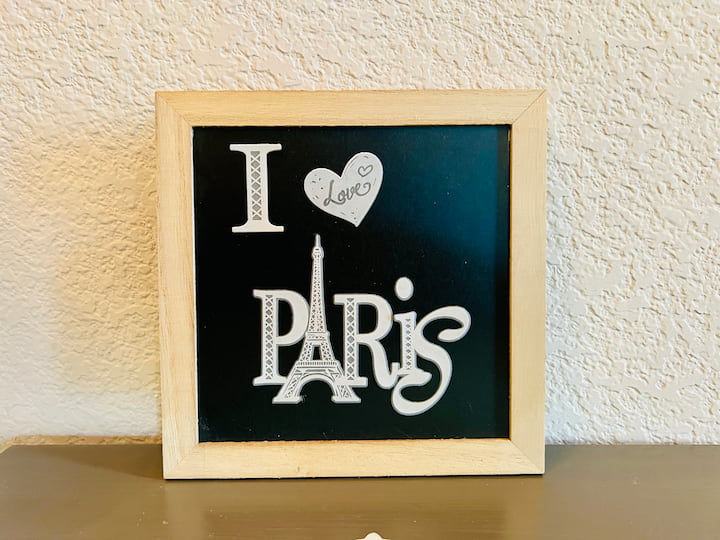
Step 5: Reuse or Redecorate
- Embrace the freedom to create a new design on the chalkboard whenever you desire. Whether it’s for the next holiday or a different theme, your chalkboard is ready to be transformed over and over again.
Step 6: Explore Endless Possibilities
- Get creative with different decals and themes to suit various occasions. The adaptability of this project allows you to personalize your space without a permanent commitment.
Step 7: Save and Store
- If you decide to change the decal but still find the adhesive sticky, save it for the following year or another project. This ensures you make the most out of your decals and get extended use from them.
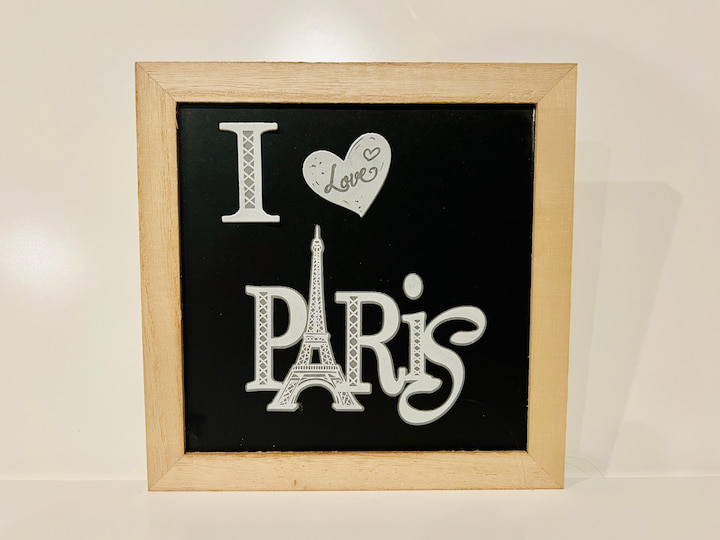
This DIY Parisian Charm Chalkboard Decor is a simple and dynamic way to add a touch of themed elegance to your space. Embrace the flexibility of temporary decals, allowing you to celebrate each season or event with a fresh and unique design. Let your creativity flow and watch your chalkboard transform time and time again.
Doily Design Message Board
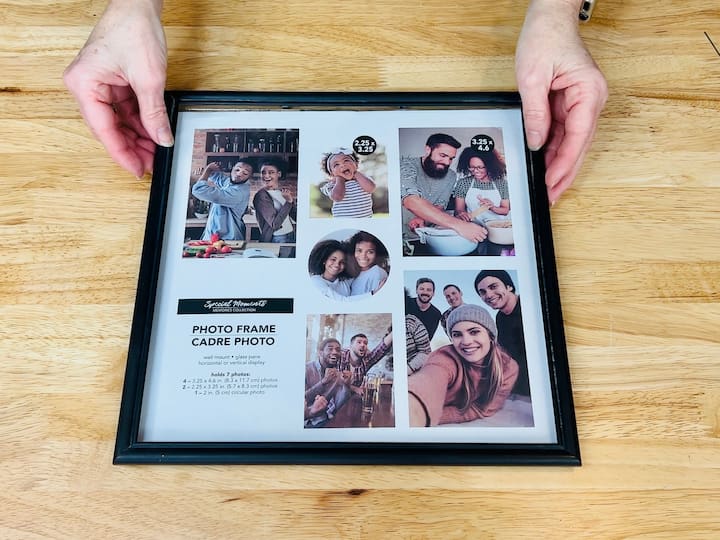
Step 1: Gather Your Materials
- Collect a picture frame of your choice and disassemble it. Ensure you have doilies or alternative materials like napkins, peel-and-stick paper, or craft paper.
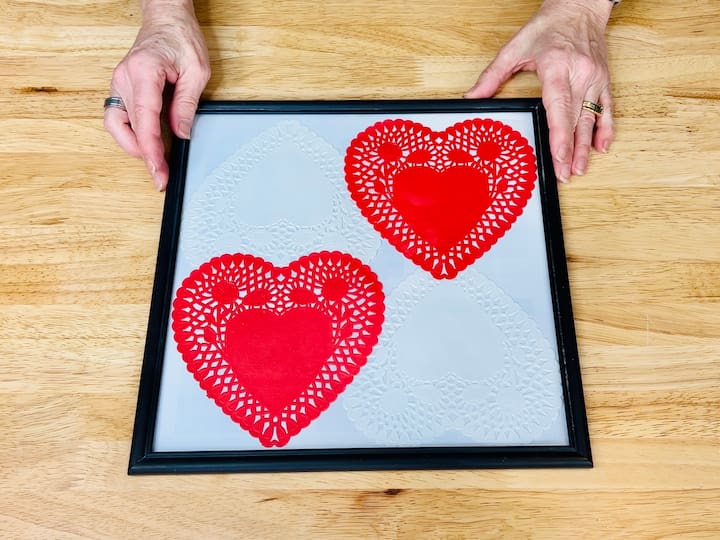
Step 2: Design with Doilies
- Lay out the doilies onto the glass of the picture frame. Get creative and arrange them to form a unique and visually appealing design. Feel free to experiment with various patterns.
Step 3: Choose Your Design Elements
- If doilies don’t suit your taste, explore using napkins, peel-and-stick paper, or craft paper to create a personalized design. The possibilities are endless, so let your imagination guide you.
Step 4: Reassemble the Picture Frame
- Once satisfied with your design, use the back side of the picture frame to hold everything together. Carefully reassemble the frame, ensuring that the design is sandwiched between the glass and the backing.
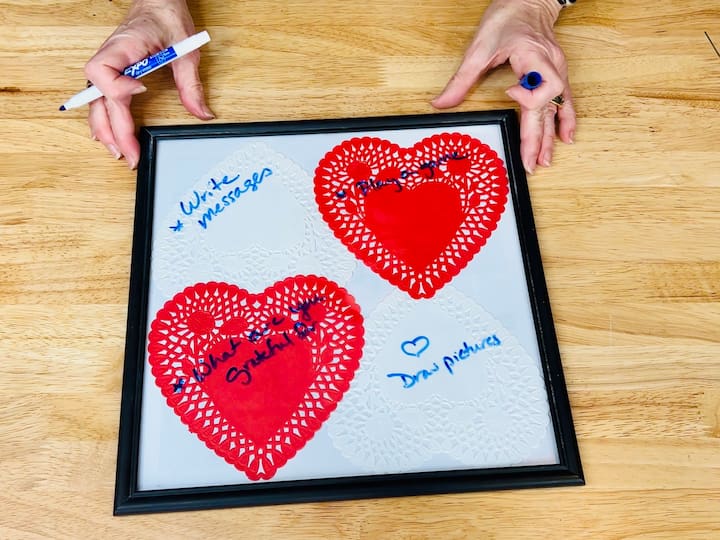
Step 5: Decide on Functionality
- Depending on your artwork, you can leave it as a decorative piece or transform it into a functional message board. With a dry erase marker, you can write messages, play games, jot down things you’re grateful for, or simply draw fun pictures.
Step 6: Embrace Versatility
- The beauty of this project lies in its versatility. Use the message board for various purposes, adapting it to your needs at any given time.
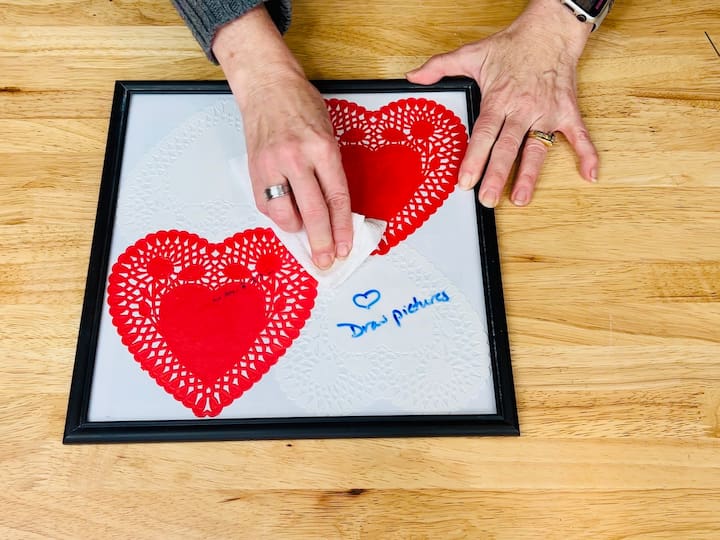
Step 7: Erase and Reuse
- When you’re ready for a change or the season shifts, simply erase the dry erase marker from the glass. This allows you to start anew, redesign, or repurpose your message board for future creativity and enjoyment.
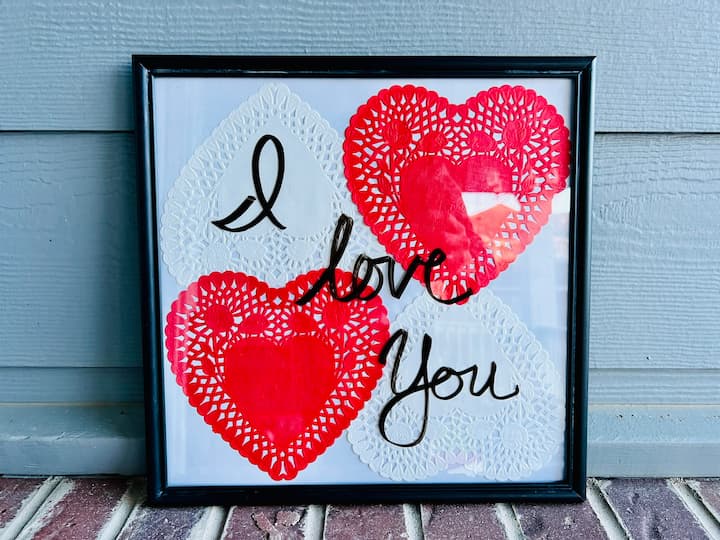
This DIY Doily Design Message Board combines aesthetic charm with practical functionality. Whether you choose to use it as a decorative piece or an interactive message board, the ability to erase and reuse ensures that this project remains a dynamic and ever-changing addition to your home decor. Let your artistic flair shine and infuse your space with a touch of personalized creativity.
Doily-Embellished Heart Lantern
Step 1: Gather Your Materials
- Collect a doily, Mod Podge, an old pickle jar or mason jars, and a color-changing LED light.
- You could alternatively use construction paper
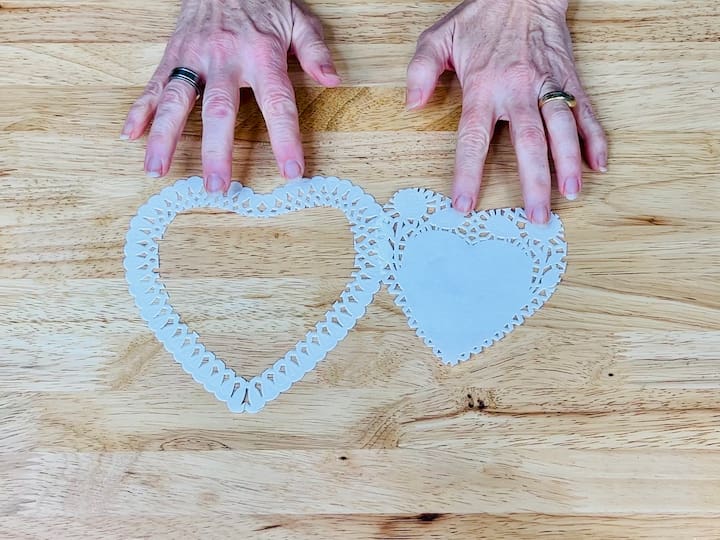
Step 2: Cut Doily into Heart Shape
- Take the doily and carefully cut it into the shape of a heart with a scissors. Ensure that the heart is slightly smaller than the circumference of the pickle jar.
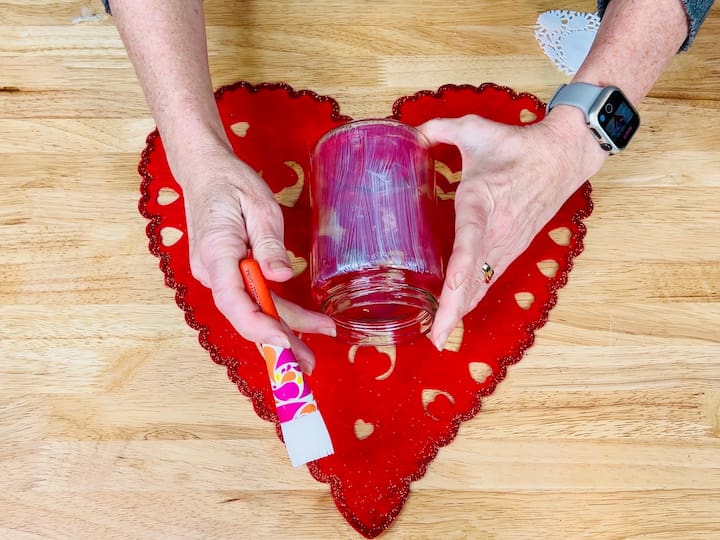
Step 3: Apply Mod Podge to the Jar
- Using a brush or sponge applicator, generously apply Mod Podge to the surface of the pickle jar. Ensure an even and thorough coating.
Step 4: Place Doily on Mod Podge
- Carefully position the heart-shaped doily onto the Mod Podge-covered jar. Press it down gently, ensuring it adheres smoothly to the surface.
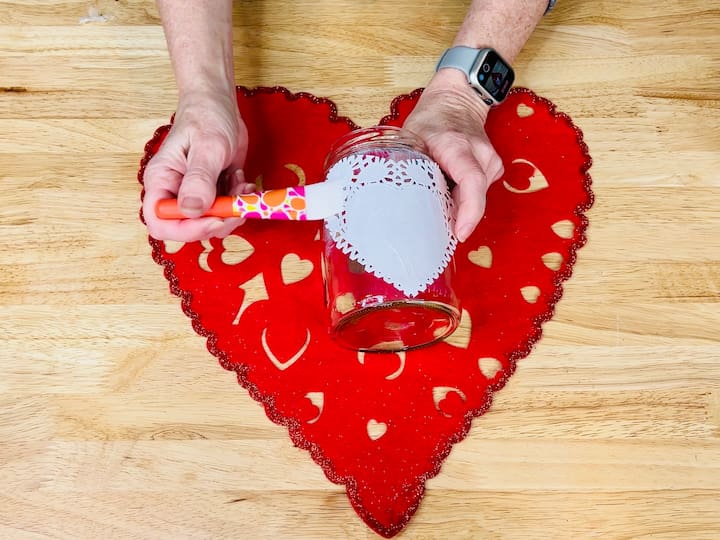
Step 5: Seal with Another Layer of Mod Podge
- Once the doily is in place, seal it by applying another layer of Mod Podge over the top. This not only secures the doily but also gives a protective coating to the jar.
- For fun you could add glitter Mod Podge to this if you prefer.
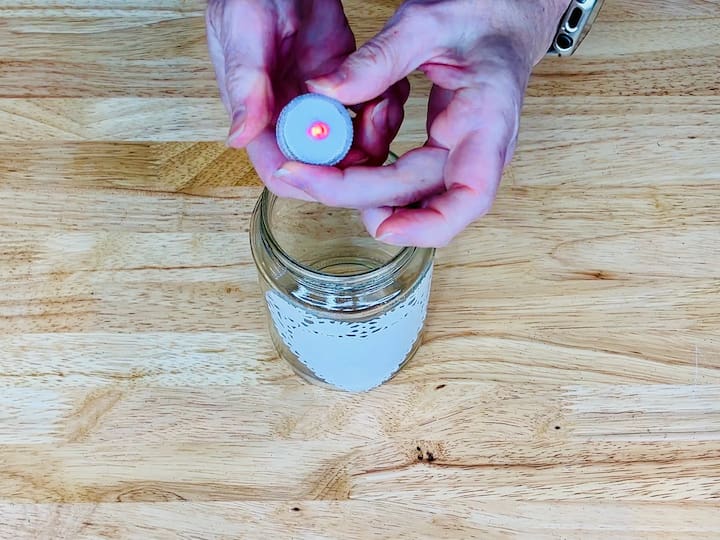
Step 6: Attach Color-Changing LED Light
- Enhance the charm of your lantern by adding a color-changing LED light inside the jar. Ensure the light is secure and positioned centrally for maximum effect.
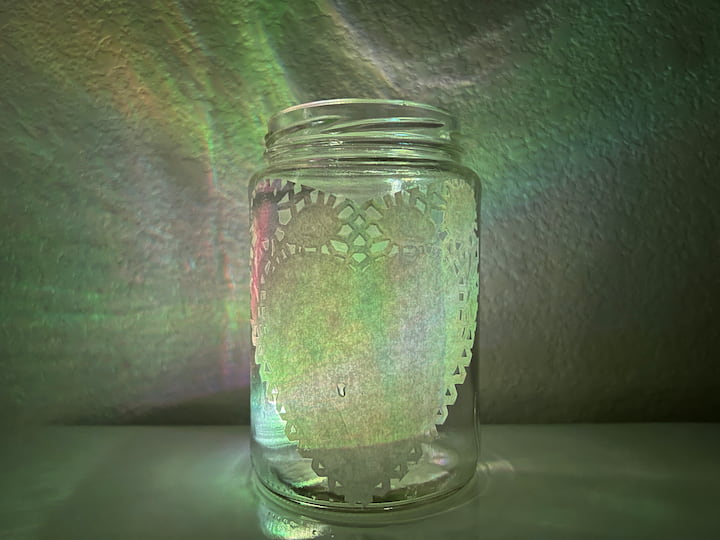
Step 7: Illuminate and Enjoy
- Turn on the LED light to illuminate your doily-embellished heart lantern. Revel in the enchanting play of light and shadow created by the intricate doily design.
Step 8: Display or Gift
- Place your heart lantern on display to add a warm and whimsical touch to any space. Consider gifting it to someone special to spread the glow of handmade love.
This delightful DIY Doily-Embellished Heart Lantern project is a simple yet enchanting way to repurpose an old pickle jar into a beautiful piece of decor. The combination of the heart-shaped doily and the color-changing LED light creates a captivating ambiance, making it a perfect addition to your home or a thoughtful handmade gift.
DIY Valentine Crafts Video:
More DIY Valentine Crafts:
I have made even more decorations, and you can find all of these tutorials on my website. Simply click the links to take you to each DIY
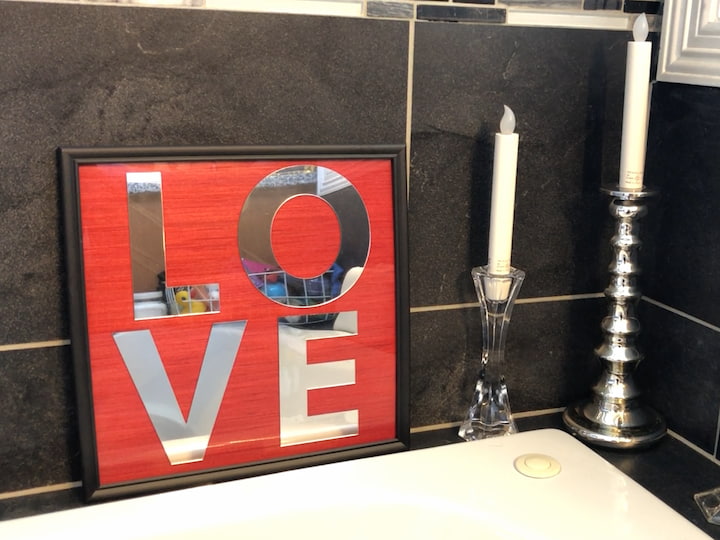
How To Make A Marquee DIY Love Sign (Step By Step)
Are you looking to make a DIY Love Sign? This is such an easy and adjustable project that can me made for so many occasions. You can find this tutorial at How To Make A Marquee DIY Love Sign (Step By Step)
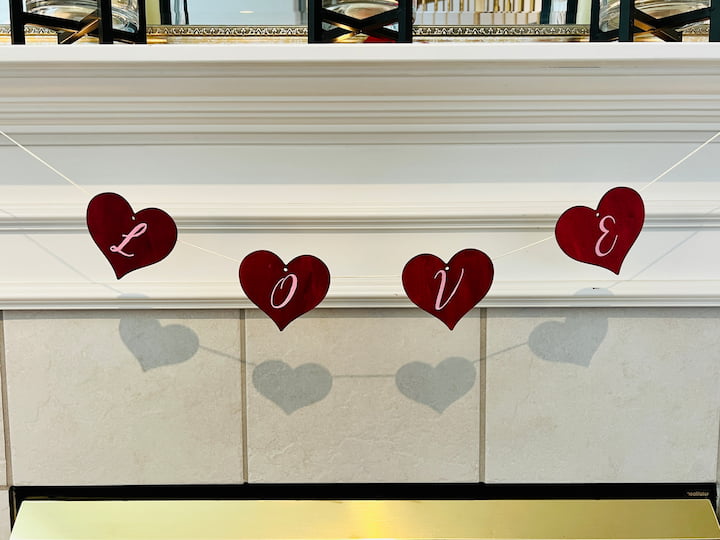
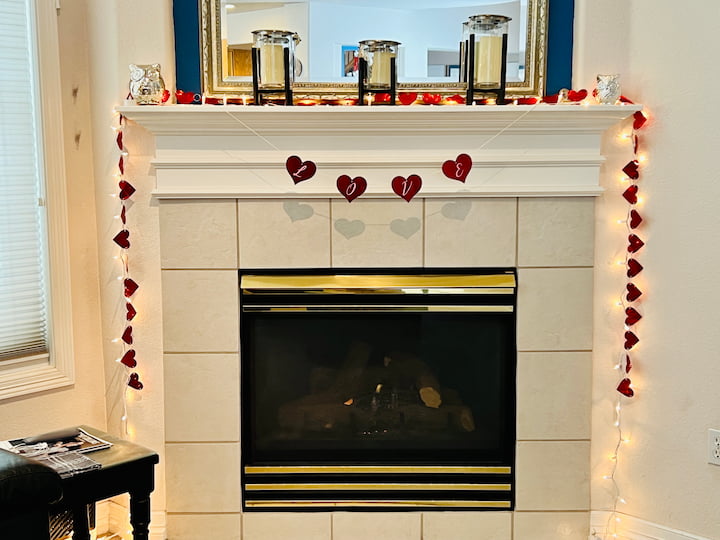
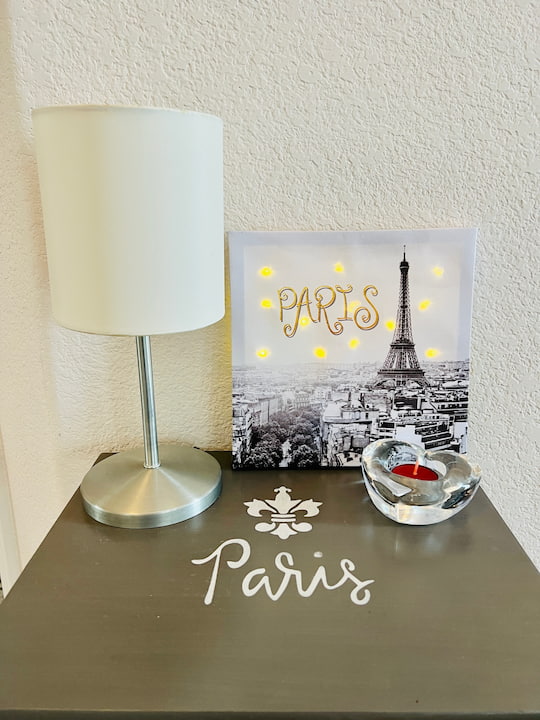
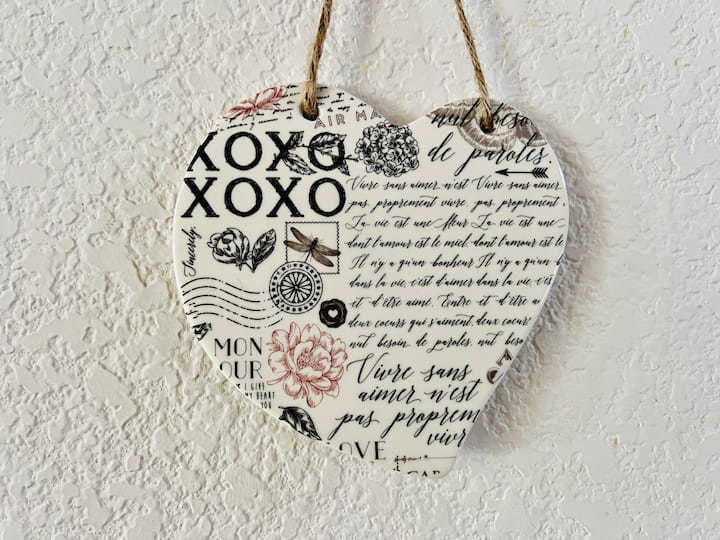
Super Easy Dollar Tree Valentine DIYs with Video
Make these Valentine DIYs easy with some canvas art and LED lights, or try a rub on transfer onto a ceramic heart. Make your own garland with just a few wooden hearts and some string or yarn from the store, and maybe you’d like to add some pom-poms to yours.
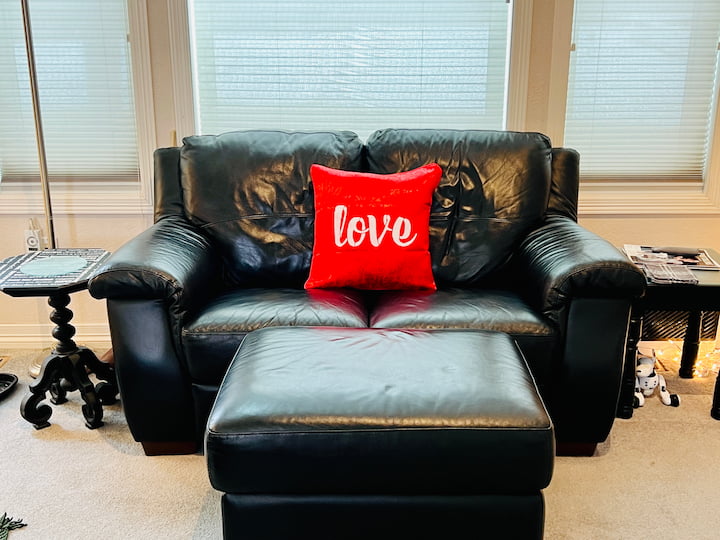
Make your own Valentine pillow cover with some paint and a stencil. No sewing needed for this project.
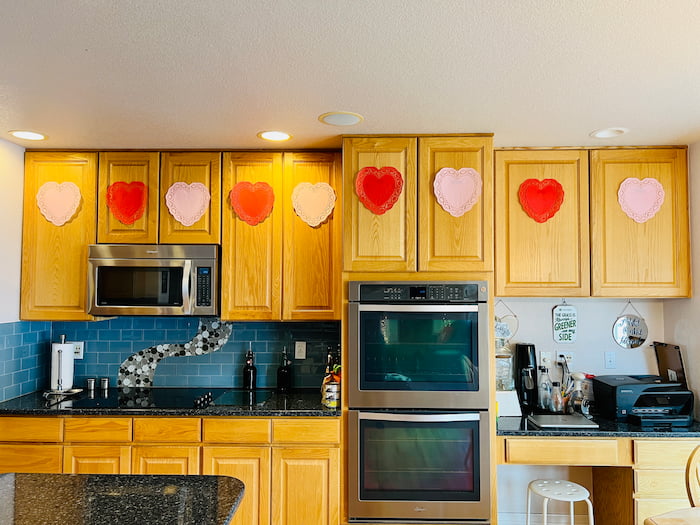
Decorate your kitchen cabinets with some painters tape and doilies.
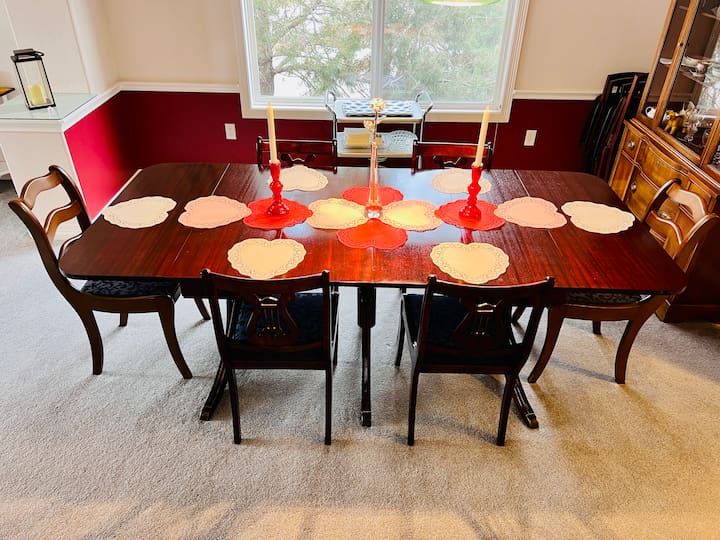
Glue some doilies together for a fantastic table scape.
You can find all of these tutorials above at Super Easy DIY Dollar Tree Valentine Ideas with Video
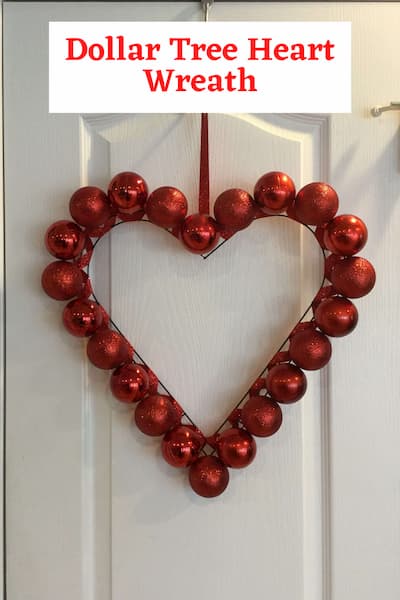
Beautiful Dollar Tree Heart Wreath
If you are interested in making a Valentine’s Day wreath – I have 2 options for you. Both are super easy to make. You’ll need a heart-shaped wreath form and either a scarf or some clearance holiday bulbs to make these fun wreaths. Find the full tutorial at Beautiful Dollar Tree Heart Wreath
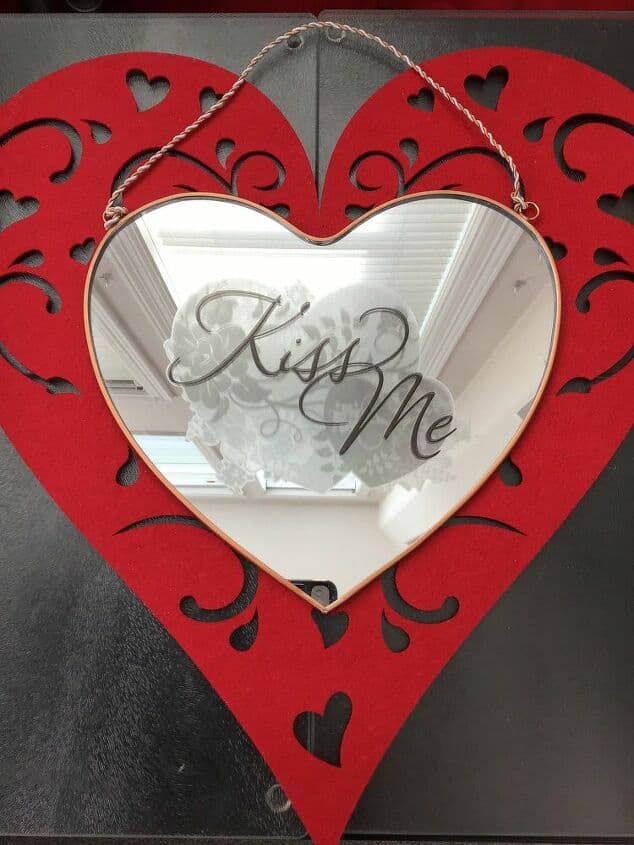
Dollar Store Heart Wall Art
I am a seasonal decorator, and like it when I can leave something up either for months at a time or even year-round. With a heart mirror and some dollar store wall stickers – I made affordable and inexpensive heart wall art for my home. You can find the full tutorial at Dollar Store Heart Wall Art
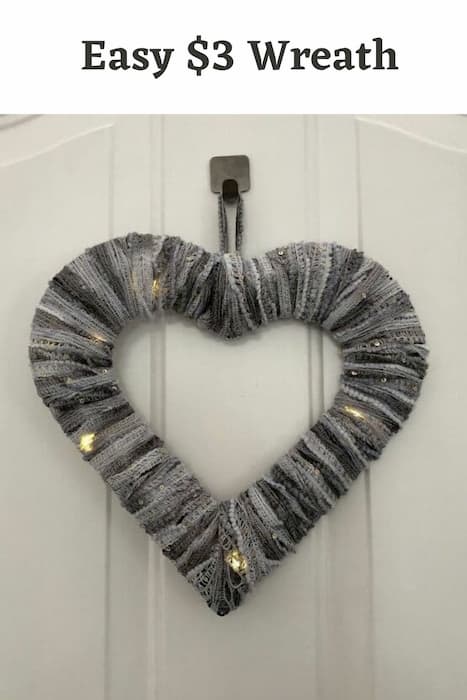
Beautiful 3 Dollar Yarn or Ribbon Wreath
How do you make a yarn or ribbon wreath? Want to make an I found some beautiful yarn from a thrift store for $1. I then ran to Dollar Tree and picked up a heart wreath and a battery-operated strand of LED lights. For $3, I made a heart wreath – great for Valentine’s Day or keep it up all year. You can find the full tutorial at Beautiful 3 Dollar Yarn or Ribbon Wreath
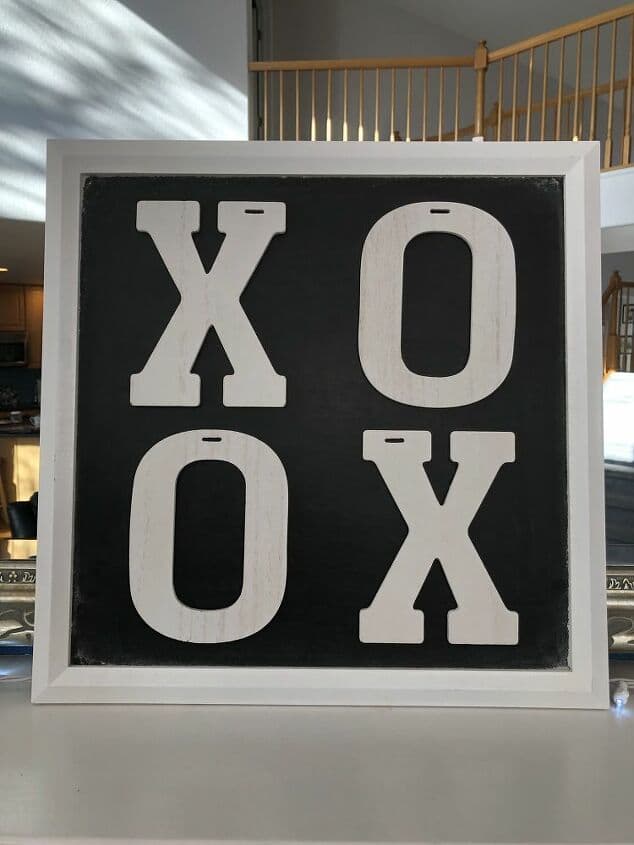
4 Easy Valentine DIYs
I love to decorate for the holidays, and better yet each season so you can leave the decor up for a few months. I wanted to share some easy projects I have been working on with all of you! You’ll find framed art, a suncatcher, and easy decor that you can make in a single day. You can find the full tutorial for all 4 DIYs at 4 Easy Valentine DIYs
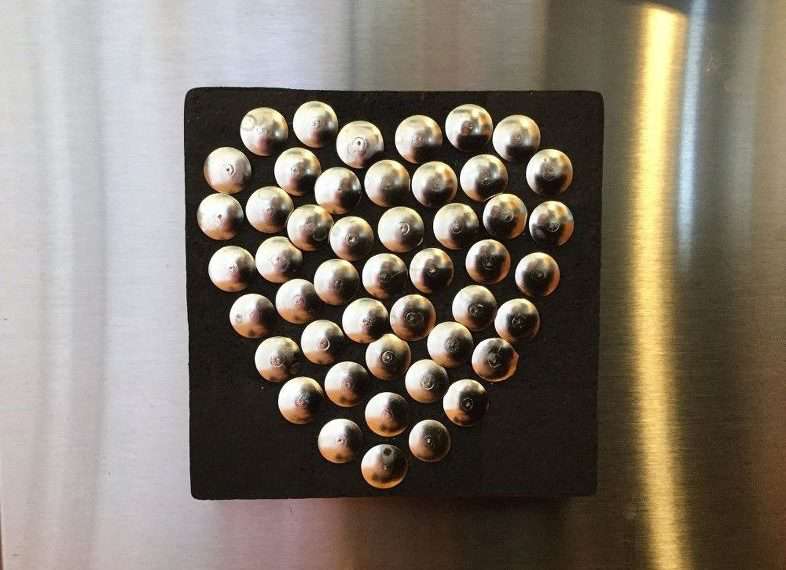
Thumbtack Art
I created this fun thumbtack art on a mini corkboard, and this concept can be created on foam, cork, candles, canvases, and more. You can find the full tutorial at Thumbtack Art
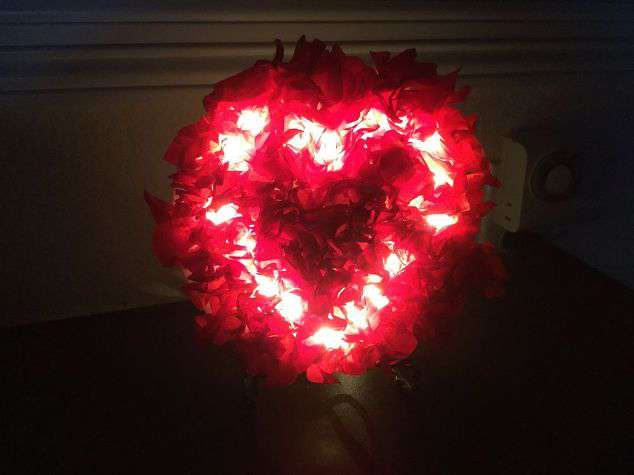
Easy Light Up Valentine Heart
These 2 projects are easy and inexpensive. Great for Valentine’s day, gift, or night light. Make it with your friends for Galentine’s Day! (“Gal”-entine’s Day is a day where girlfriends get together and celebrate Valentine’s Day Friendship.) You’ll need some tissue paper, and wait until you see the craft, it’s a throw back you might remember from your childhood. You can find the full tutorial at Easy Light Up Valentine Heart
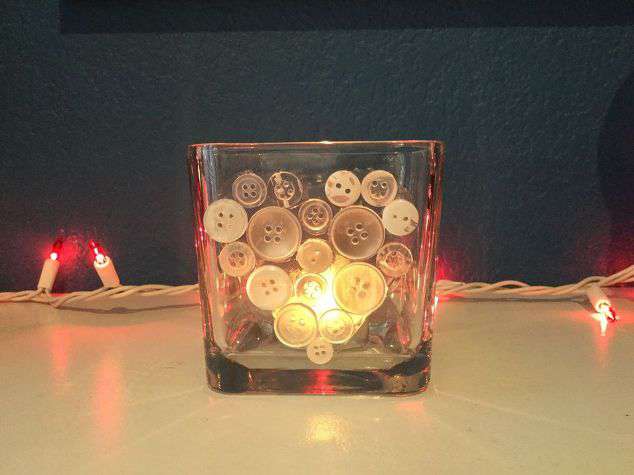
Button Heart Art Candle Holder
I love all the button art there is out there, but I didn’t want to make another piece of framed artwork. I decided to make a button art candle holder for Valentine’s Day instead. You can find the full tutorial at Heart Button Art Candle Holder
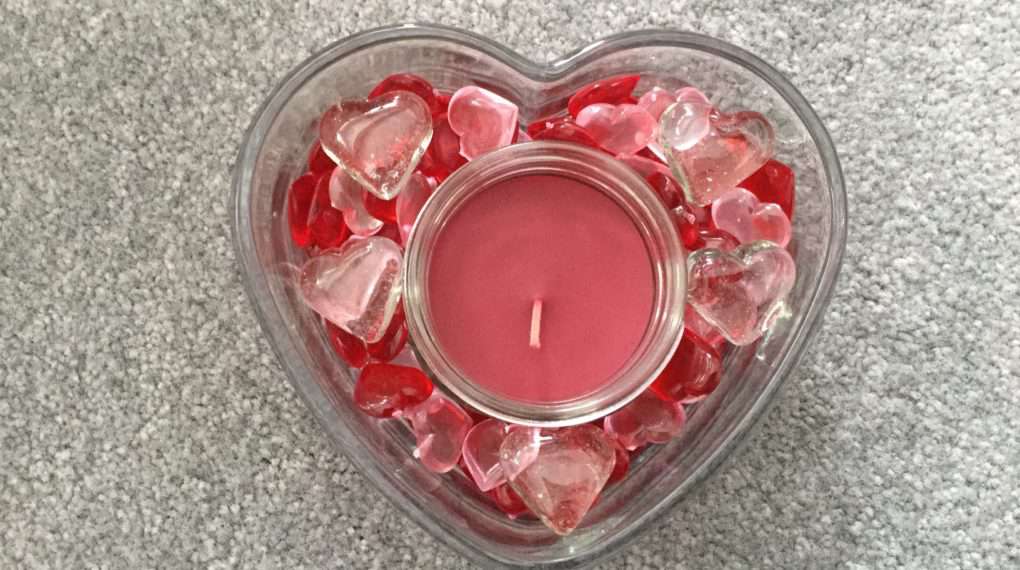
Easy and Inexpensive Valentine Candle Holder
I wanted to share an easy and inexpensive Valentine candle holder you can make. All these items came from Dollar Tree! You can find the full tutorial at Easy and Inexpensive Valentine Candle Holder
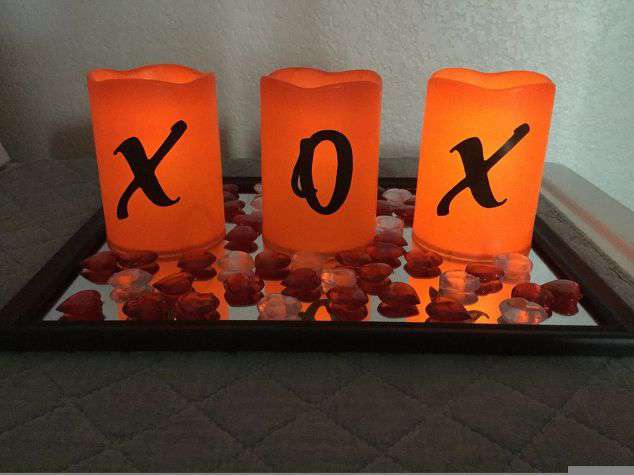
Easy and Beautiful Valentine Candles
How do you make Valentine’s Day decor ideas? This easy LED candle display is inexpensive and easy to make. Just a few candles, a few stickers, a tray with a little table scatter, and your set! Great for your home, gift, or craft night party. You can find the full tutorial at Easy and Beautiful Valentine Candles
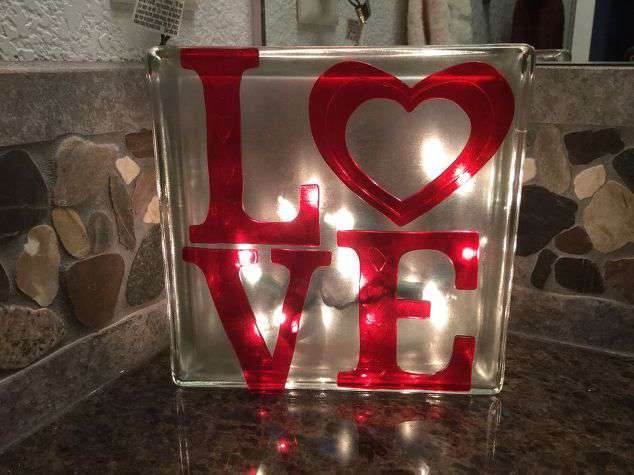
Plain Glass Block to Glowing Valentine Decor
Creating a seasonal look in your home doesn’t have to be hard. Just a few simple items put together can create ambiance in your home. This project is easy, great for decorations, party crafts, or a gift. You can find the full tutorial at Plain Glass Block to Glowing Valentine Decor
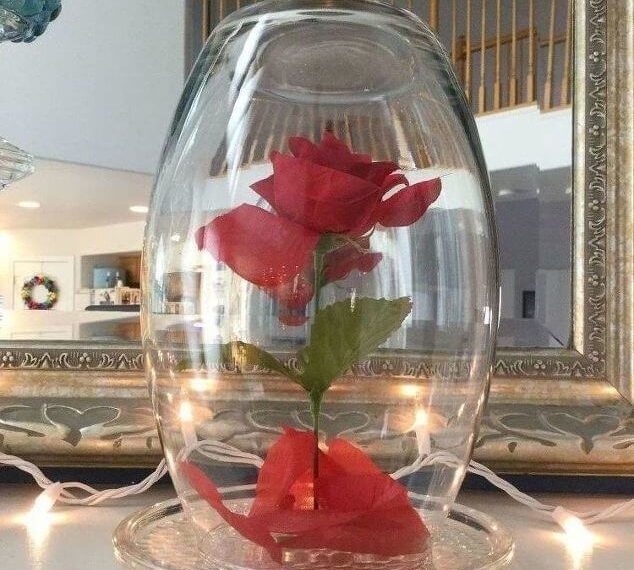
Easy and Stunning Dollar Tree DIY Beauty and the Beast Rose
Do you want a DIY Beauty and the Beast Rose? With just a couple of items from Dollar Tree, you can easily make this for your home. You can find the full tutorial at Easy and Stunning Dollar Tree DIY Beauty and the Beast Rose

Heart Mug
This mug is easy, inexpensive, and great for a gift, party favor, or craft night. You can find the full tutorial at Heart Mug What a simple craft, right?
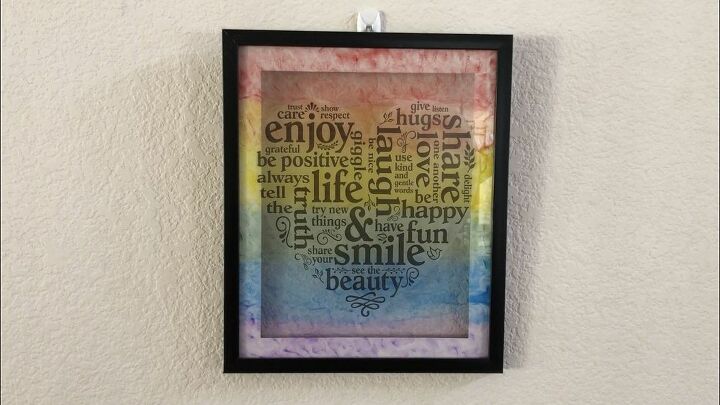
Faux Stain Glass Sun Catcher
With some Gallery Glass, a picture frame, and a wall sticker from Dollar Tree, I was able to create a beautiful faux stain glass suncatcher. I love the rainbow effect it has. You can find the full tutorial at Faux Stain Glass Sun Catcher
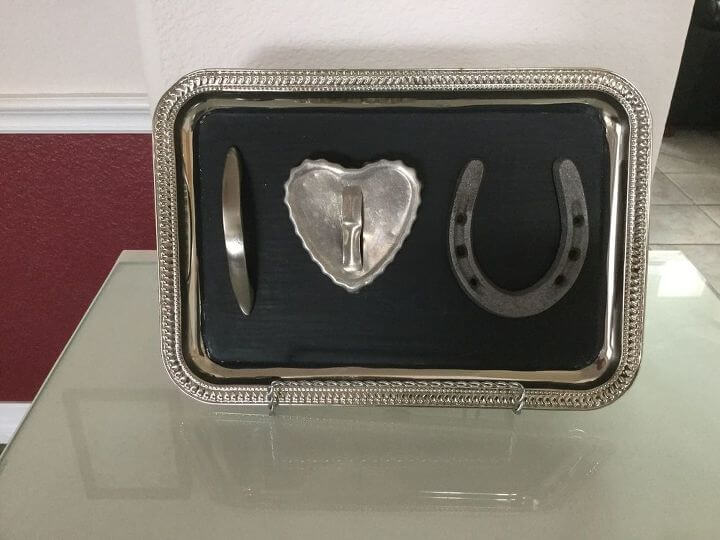
Junk Art Valentine’s Day Sign
I was on one of my adventures through the local charity thrift store and found these few items and just knew they’d make a fun Valentine’s Day sign. You can find the full tutorial at Junk Art Valentine’s Day Sign
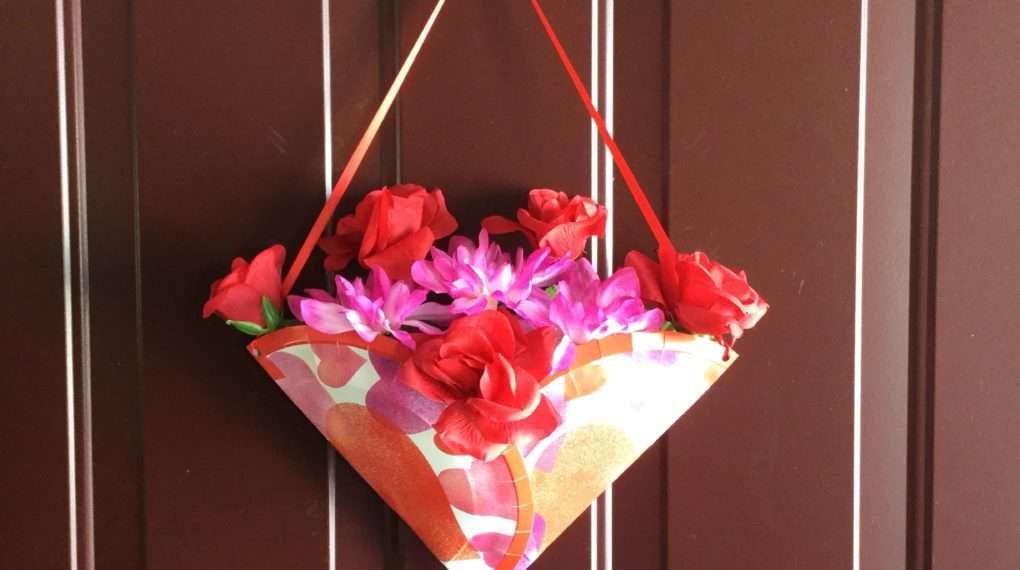
Easy and Unique Dollar Tree Valentine Wreath for Your Door
Do you want a unique Dollar Tree Valentine wreath? I made this fun idea for my front door and it can be adjusted for any holiday or season! This DIY requires a paper plate. You could use cardboard if you prefer. You can find the full tutorial at Easy and Unique Dollar Tree Valentine Wreath for Your Door
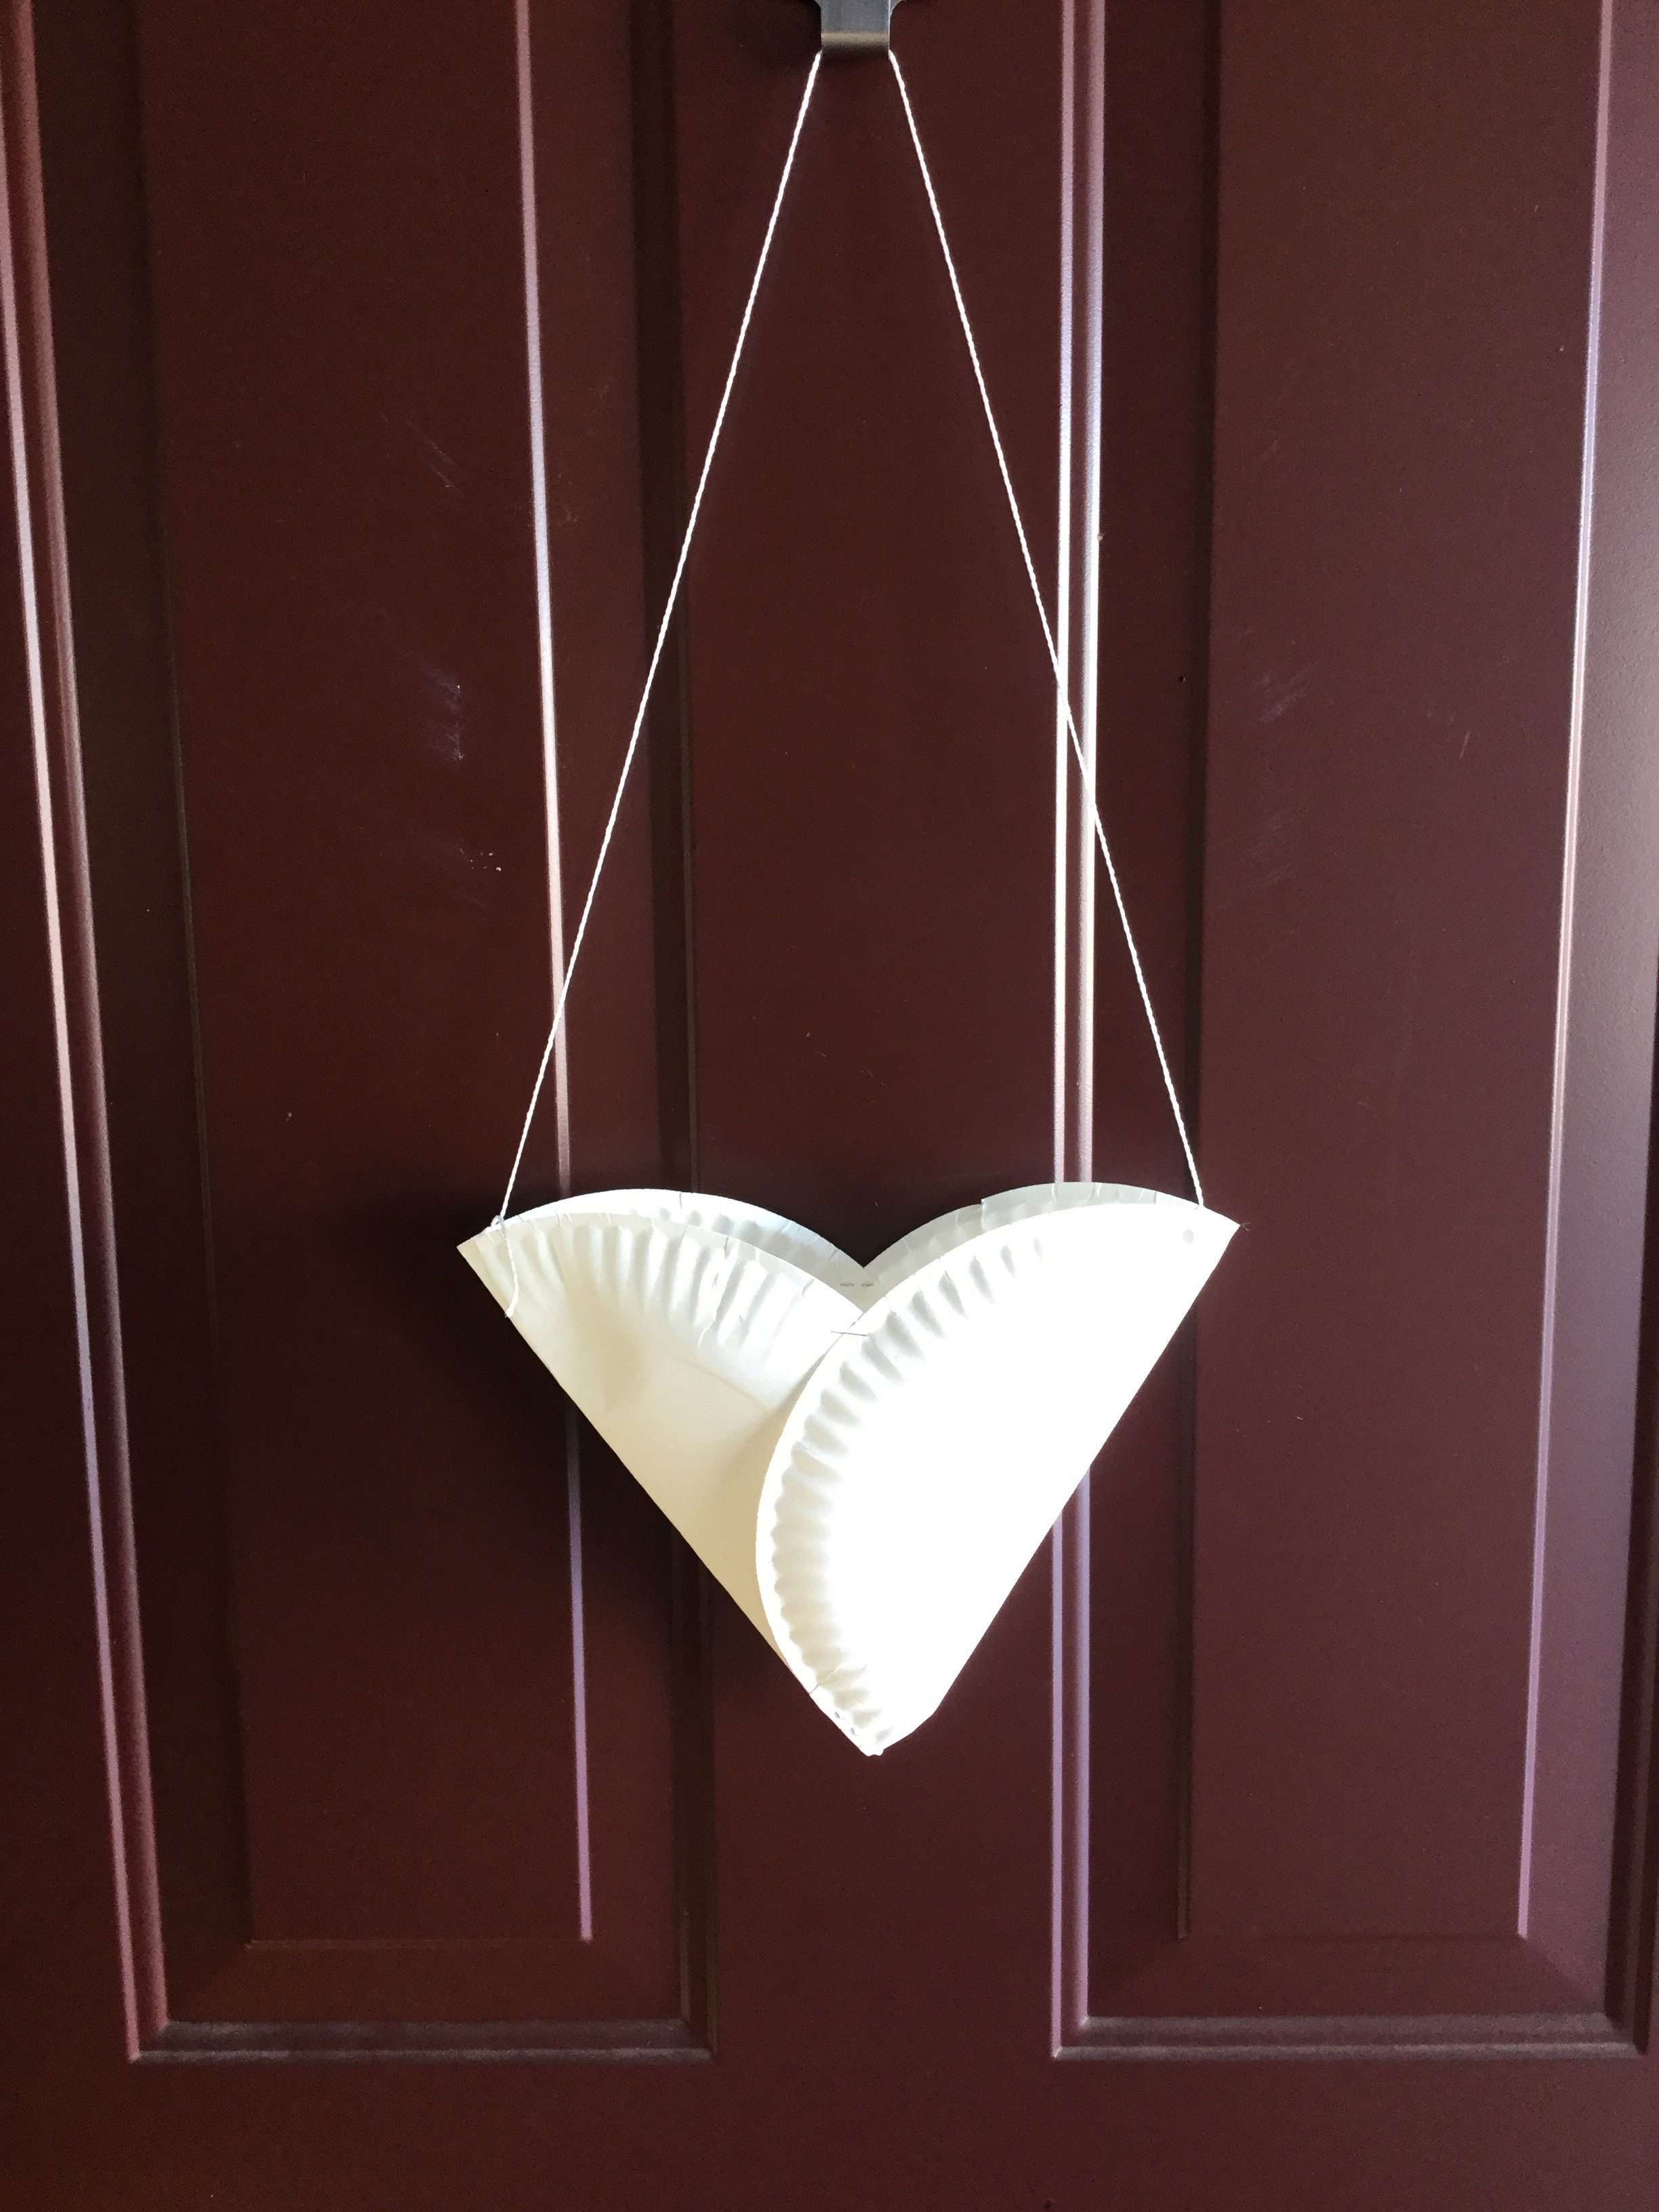
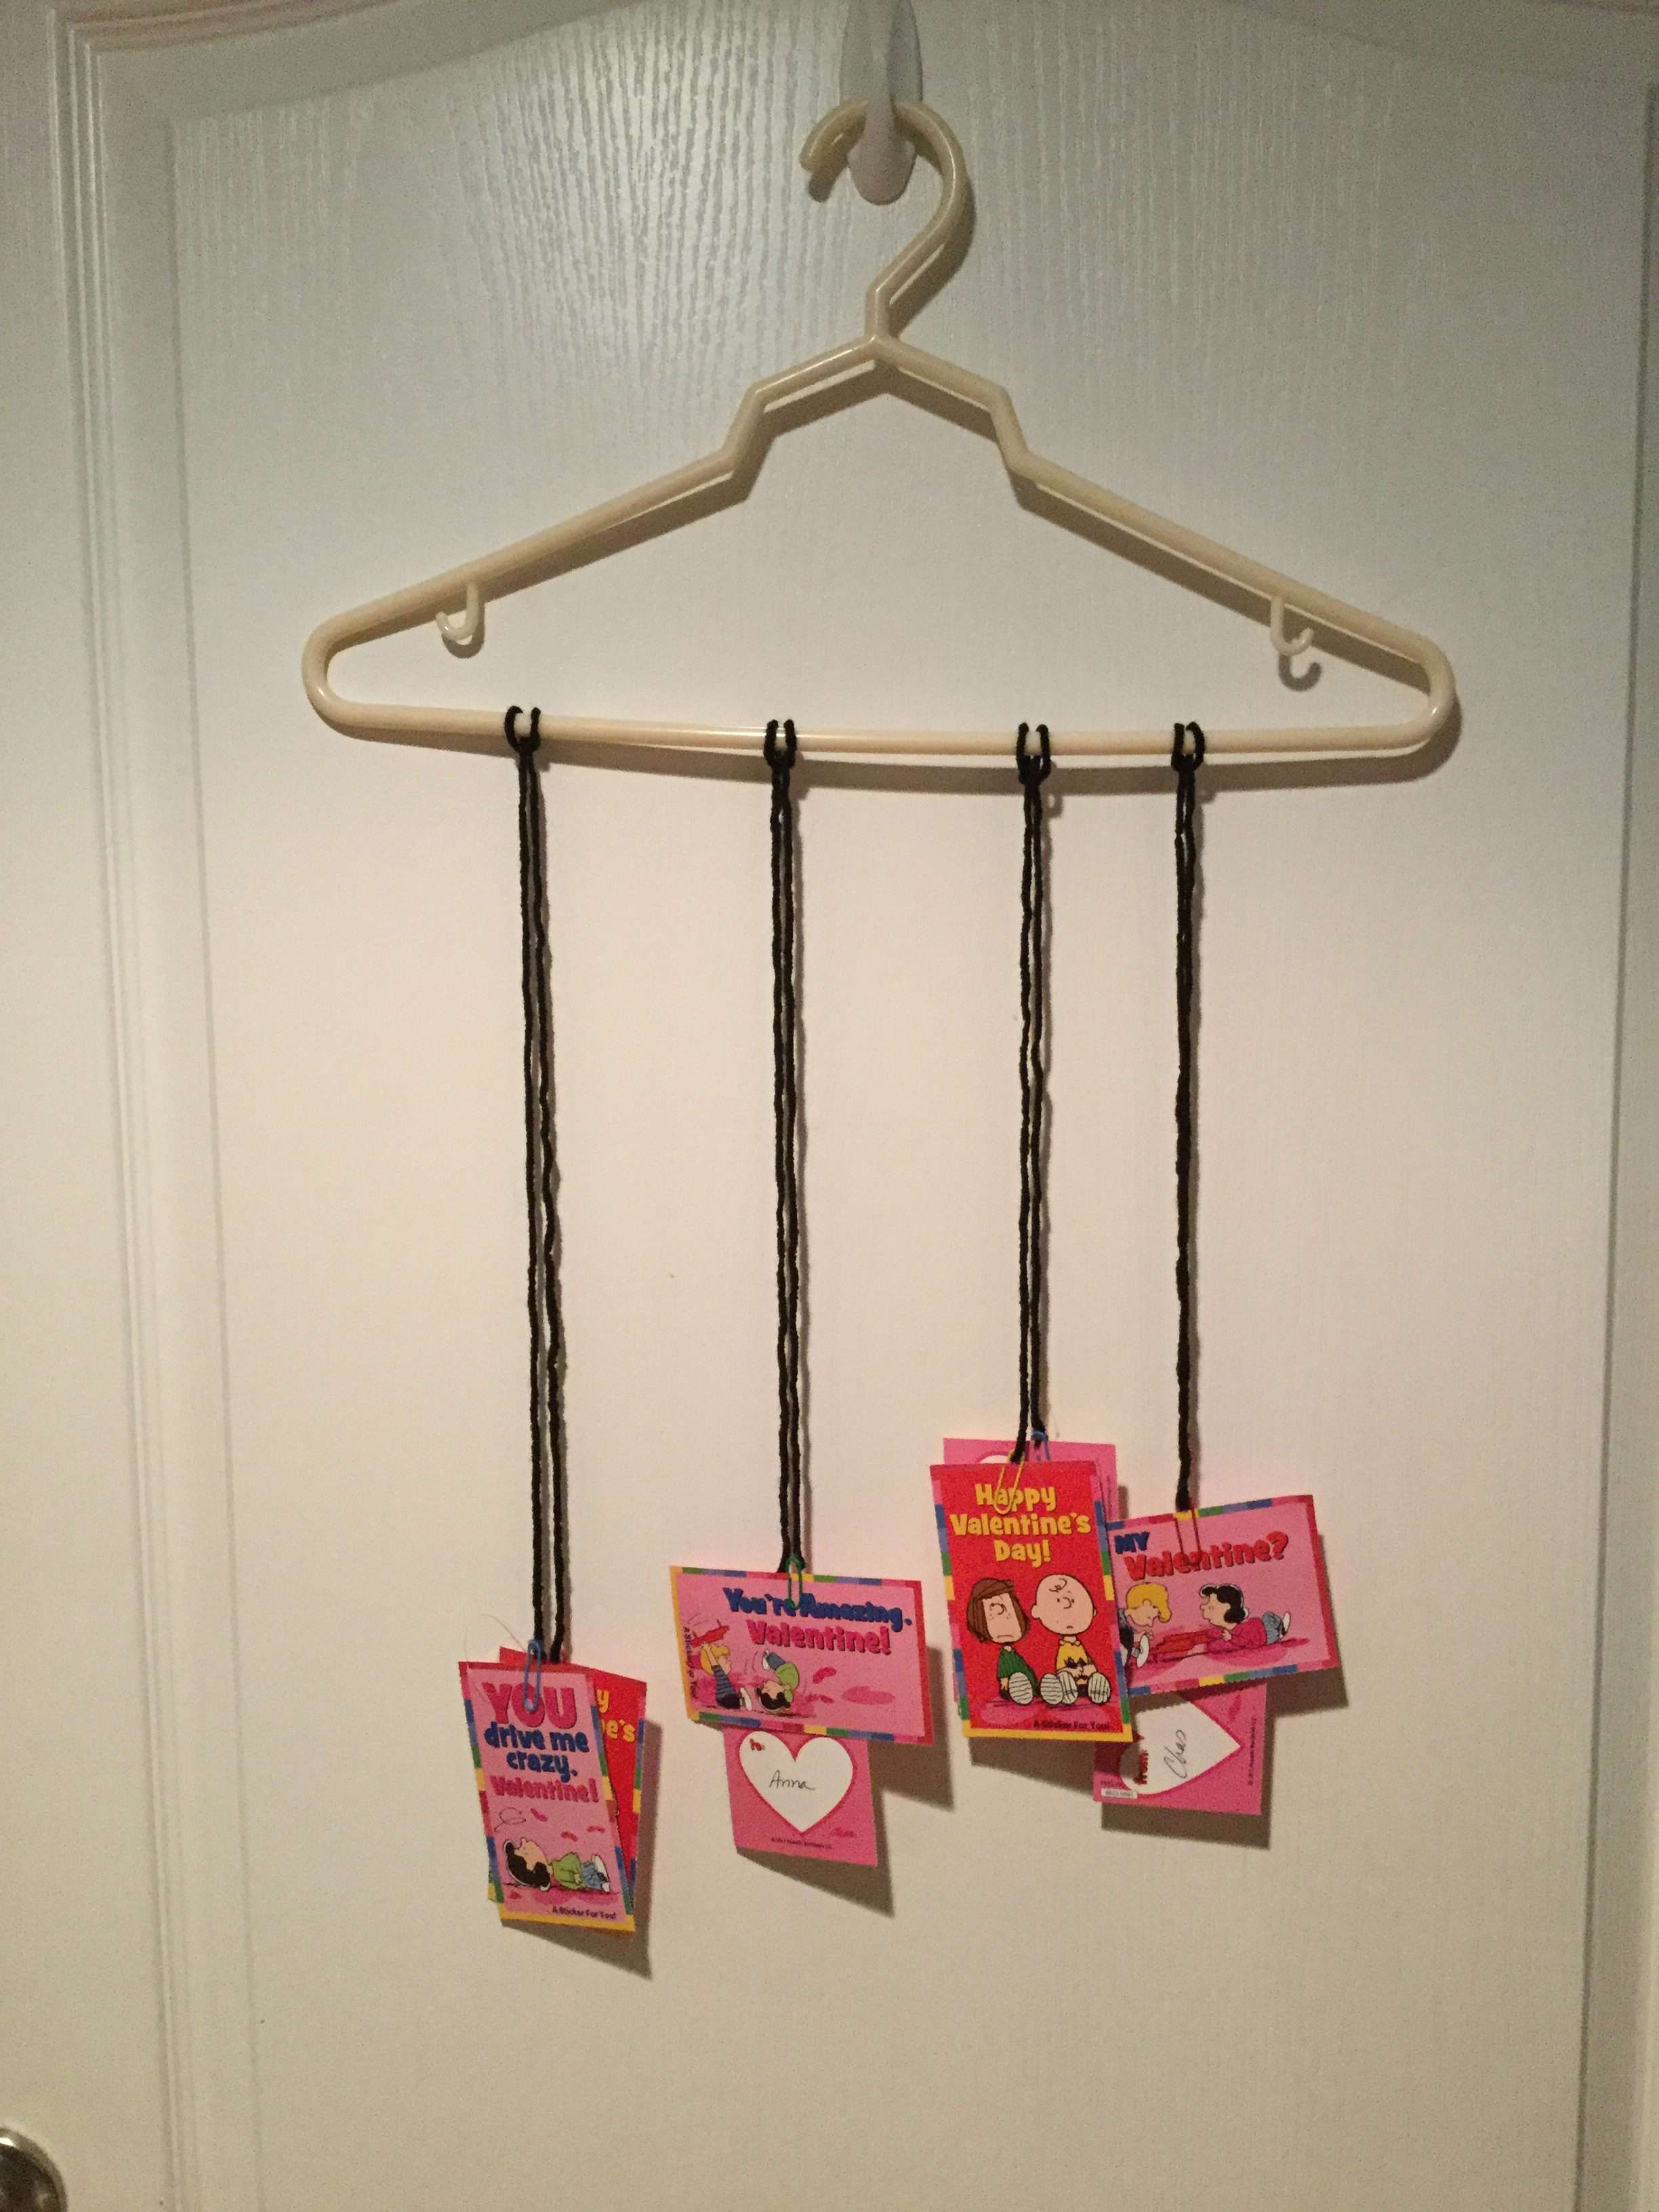
Kid’s Classroom Valentine’s Day Party DIYs
For 10 years I was the room parent in my kid’s classroom that put together the classroom parties. At one point I was recruited onto the PTO as Room Parent Coordinator. Today I’m going to let you in on some secrets that led to some fantastic classroom Valentine’s Day Parties. This will make for an easy valentine’s day, great for kids of all ages, toddlers, preschoolers, older kids, teens, etc. You’ll find games for classmates, how to make a valentine mobile, and more for all of those kiddos. This would be great fun for the whole family on a family fun night. These activities are on a budget and only need a few craft supplies.

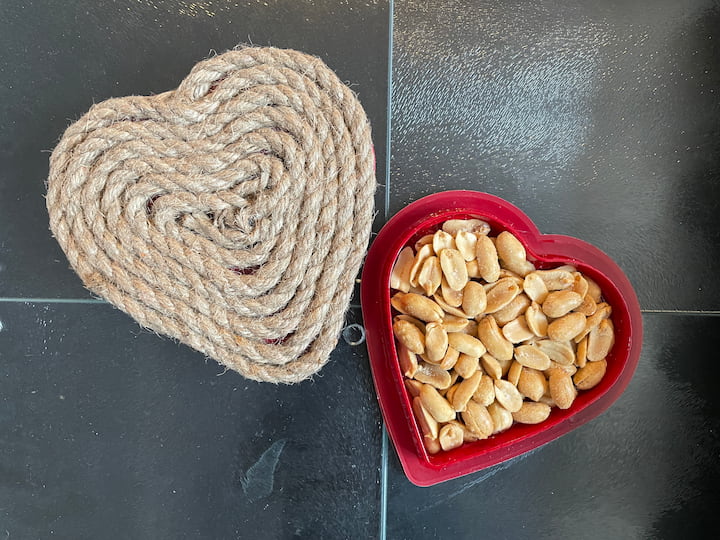
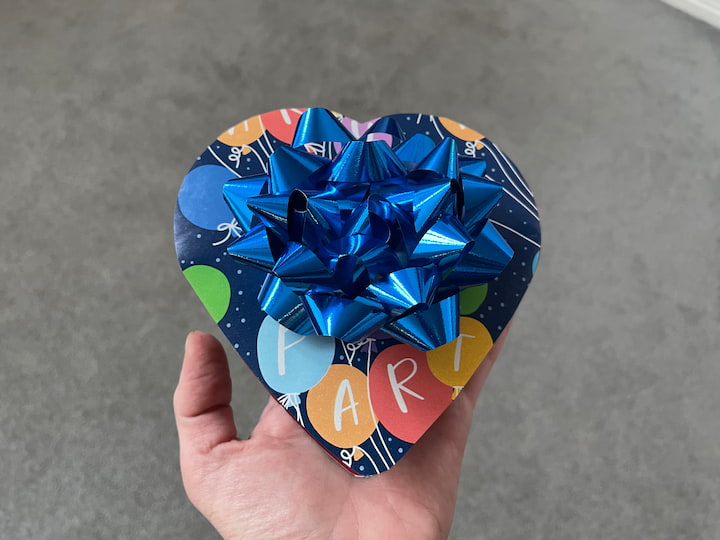
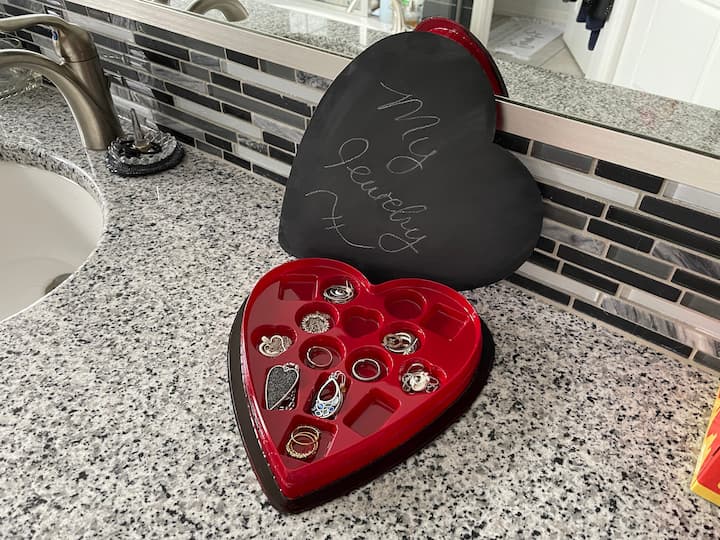
Easy and Awesome Ways To Reuse Your Valentine Boxes
What do you do with Valentine boxes after the holiday is over in February? I have several easy, cute, and cheap ways to reuse them. You can find all of these tutorials at Easy and Awesome Ways To Reuse Your Valentine Boxes
DIY Valentine Crafts Q & A
Certainly! Here are some creative Valentine’s Day craft ideas to inspire your handmade celebrations:
Handmade Valentine’s Day Cards:
Create personalized cards using colored paper, markers, stickers, and embellishments. Add heartfelt messages or incorporate pop-up elements for an extra touch.
Love Coupons:
Craft a booklet of love coupons with promises for special treats, activities, or romantic gestures. Decorate each coupon with illustrations or designs that represent the promised gift or activity.
Heartfelt Garland:
Cut out hearts from colored paper or fabric and string them together to create a charming garland. You can add letters to spell out messages or simply let the hearts speak for themselves.
DIY Love Mugs:
Decorate plain mugs with porcelain markers or paint. Write sweet messages, draw hearts, or even create a puzzle design that comes together when the mugs are placed side by side.
Valentine’s Day Wreath:
Craft a festive wreath using materials like felt, ribbon, or yarn. Attach heart-shaped decorations and personalize it with your favorite Valentine’s Day colors.
Memory Jar:
Decorate a glass jar and fill it with handwritten notes of cherished memories, love quotes, or reasons why you appreciate your partner. It’s a thoughtful and sentimental gift.
Scented Sachets:
Create heart-shaped sachets filled with dried flowers or potpourri. Use pretty fabric and ribbon to enhance their charm, and they can serve as delightful additions to drawers or closets.
Date Night Jar:
Decorate a jar and fill it with popsicle sticks, each containing a different date night idea. It’s a fun way to plan exciting activities throughout the year.
Valentine’s Day Banner:
Craft a festive banner using felt, paper, or fabric. Spell out words like “LOVE” or “XOXO” and hang it as a charming decoration.
Heart-Shaped Dreamcatcher:
Create a dreamcatcher using heart-shaped hoops or embroidery hoops. Decorate it with ribbons, beads, and feathers, and hang it as a symbol of love and positivity.
DIY Candle Holders:
Decorate glass candle holders with heart cutouts, paint, or decoupage. Place flameless candles inside for a cozy and romantic atmosphere.
Couple’s Handprint Art:
Create a piece of art using the handprints of you and your partner. Turn the handprints into animals, hearts, or a unique design that represents your relationship.
Remember to personalize these crafts based on your preferences and the preferences of your loved ones. Enjoy the creative process, and happy crafting!
Kids can have a lot of fun creating special crafts for Valentine’s Day. Here are some kid-friendly ideas:
Heart-Shaped Cards:
Cut out heart shapes from colored paper and let the kids decorate them with markers, stickers, glitter, and other craft supplies. They can write messages or draw pictures inside the hearts.
Paper Plate Love Bugs:
Cut a paper plate in half and let kids paint or color it. Attach googly eyes and pipe cleaners to create adorable love bugs. Add heart-shaped wings using colored paper.
Handprint Flowers:
Trace and cut out the child’s handprints from colored paper to create flowers. Attach them to green pipe cleaners or straws to make a bouquet. Personalize each handprint with a message or drawing.
Valentine’s Day Bookmarks:
Cut out strips of colored paper and have kids decorate them with markers, stickers, and glitter. Add heart-shaped embellishments, and they’ll have cute bookmarks to give as gifts.
Heart Collage:
Provide kids with a variety of materials like colored paper, fabric, buttons, and ribbons. Let them create a heart collage by gluing the materials onto a larger heart-shaped paper or canvas.
Crayon Hearts:
Peel the paper off old crayons, break them into small pieces, and place them in heart-shaped silicone molds. Melt them in the oven to create colorful heart-shaped crayons.
Love Bug Fruit Cups:
Decorate small fruit cups with googly eyes, pipe cleaners, and construction paper to make love bug characters. Fill the cups with fruit for a healthy and festive snack.
Heart Garland:
Cut out numerous hearts from colored paper and string them together to create a festive heart garland. Hang it up as decoration or give it as a gift.
DIY Friendship Bracelets:
Kids can make simple friendship bracelets using red, pink, and white embroidery floss. Add heart-shaped beads for an extra Valentine’s Day touch.
Cookie Decorating:
Bake heart-shaped cookies and let the kids decorate them with icing, sprinkles, and edible glitter. This is a tasty and creative Valentine’s Day activity.
Love Potion Sensory Bottles:
Fill clear plastic bottles with water, glitter, and heart-shaped confetti to create “love potion” sensory bottles. Secure the lids tightly, and kids can shake them for a magical effect.
Valentine’s Day Puppets:
Create paper bag puppets by decorating brown paper bags with hearts, googly eyes, and markers. Kids can use them to put on a Valentine’s Day puppet show.
Encourage kids to be creative and express their personalities through these crafts. These simple and enjoyable projects are sure to bring joy to both the creators and the recipients!

You might also be interested in seeing some of my Valentine’s Day Gift Ideas: Cheap and Easy DIY Dollar Tree Valentine Gifts
What do you think of these art projects and valentine’s day decorations? I’d love to know which of these easy valentines day crafts you’ll do? Let me know in the comments below!


