
Easy Light Up Valentine Heart
This project is easy and inexpensive. Great for Valentine’s day, gift, or night light. Make it with your friends for Galentine’s Day! (“Gal”-entine’s Day is a day where girlfriends get together and celebrate Valentine’s Day Friendship.)

You will need:
Styrofoam circle (mine were a set of 2 from Dollar Tree)
A strand of lights (mine were from Dollar Tree)
School Glue or Hot Glue Tissue
Paper Squares
Pencil
Screwdriver
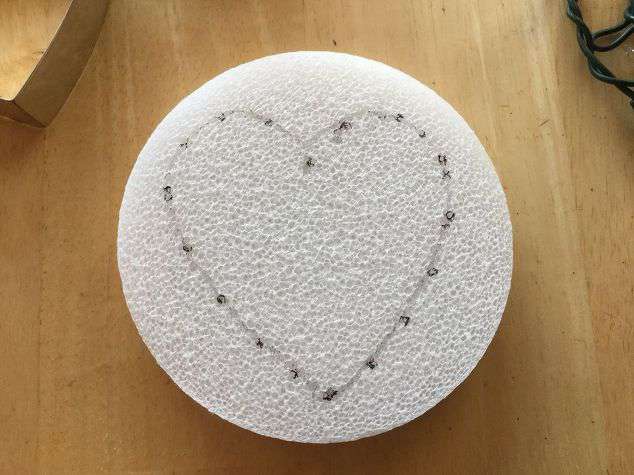
I used a cookie cutter to map out my heart shape and light hole design.
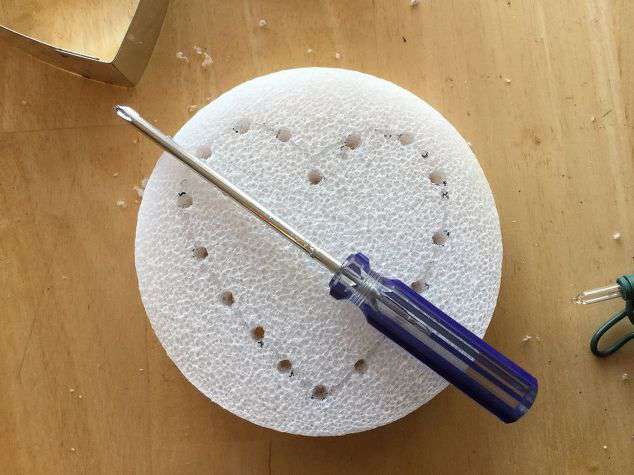
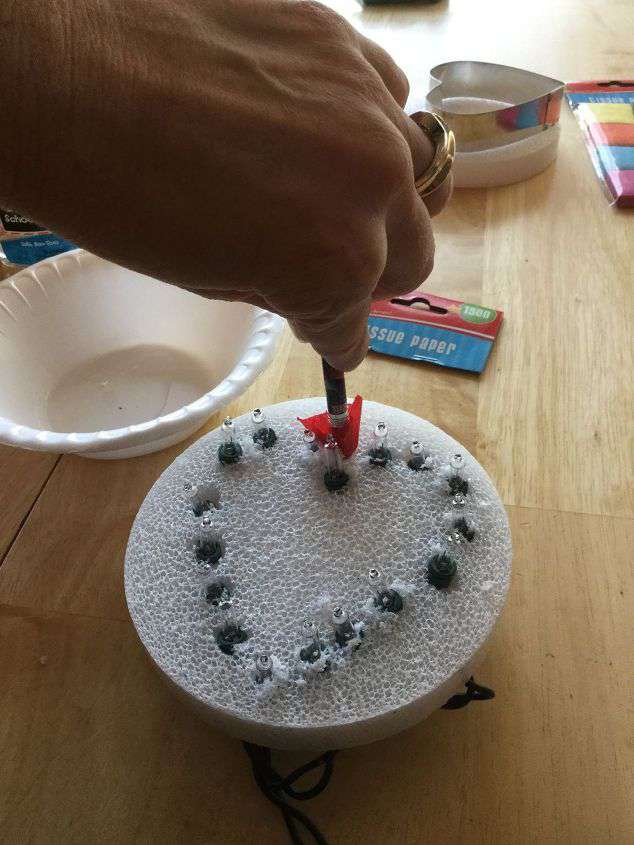
Poke holes through the Styrofoam with the screwdriver.
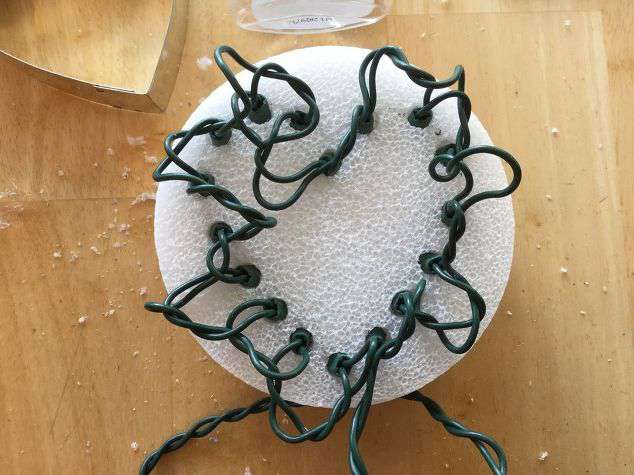
Push your lights through the Styrofoam.
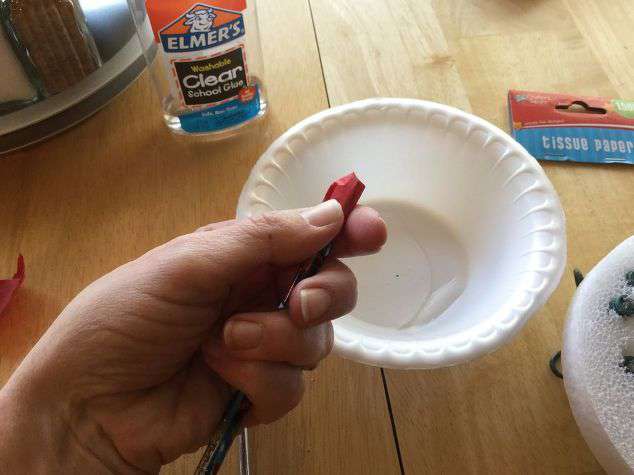
Wrap your tissue paper squares around the end of a pencil. Dip it in the glue and place on the Styrofoam.
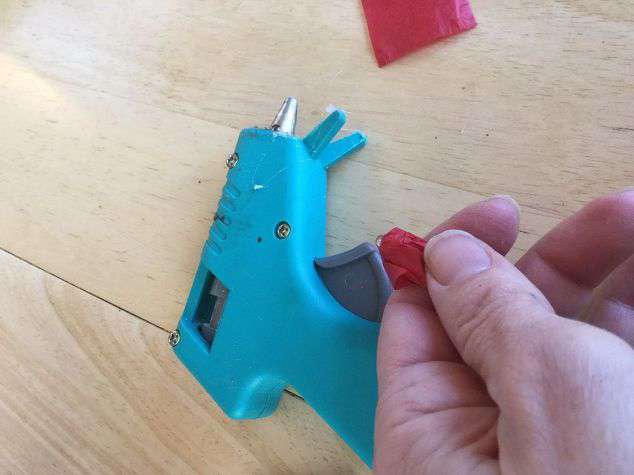
I found that the glue was taking a little too long to hold so I decided to switch to a hot glue gun.
Place your tissue paper with glue onto the Styrofoam.
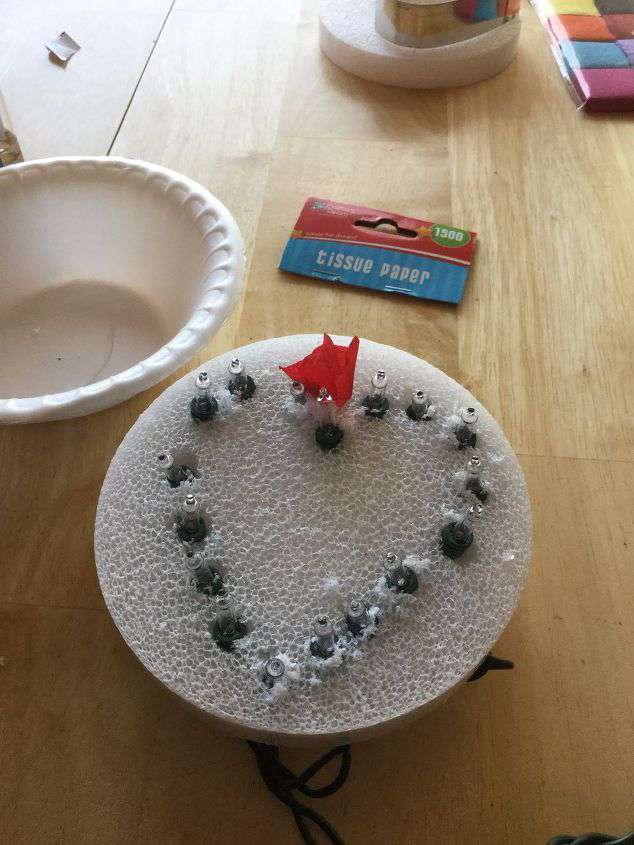
Continue this process until the entire surface of the circle is covered.
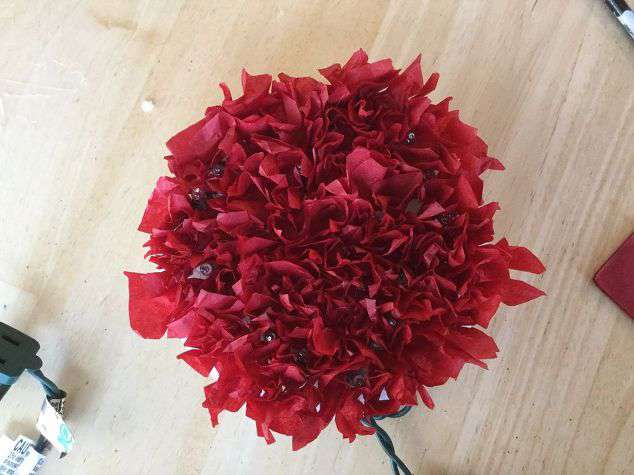
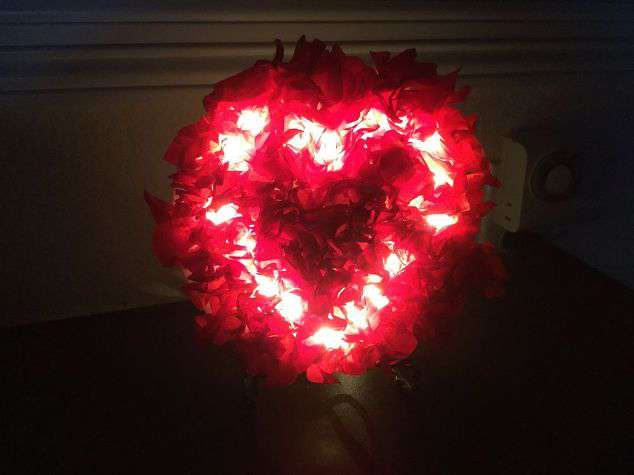
Plug it in and decide how you want to display it.
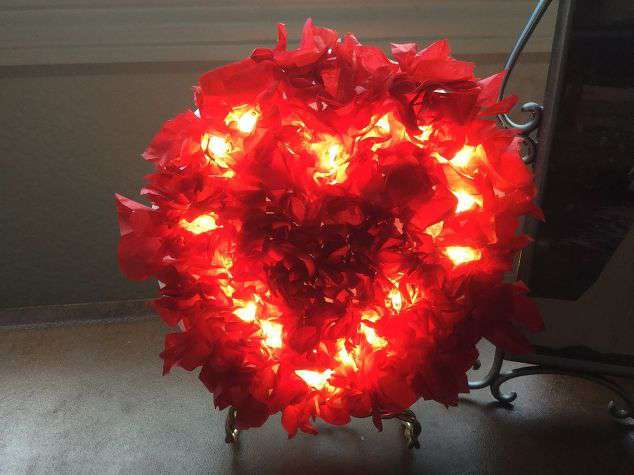
This display is simply the heart balanced on a small picture easel.
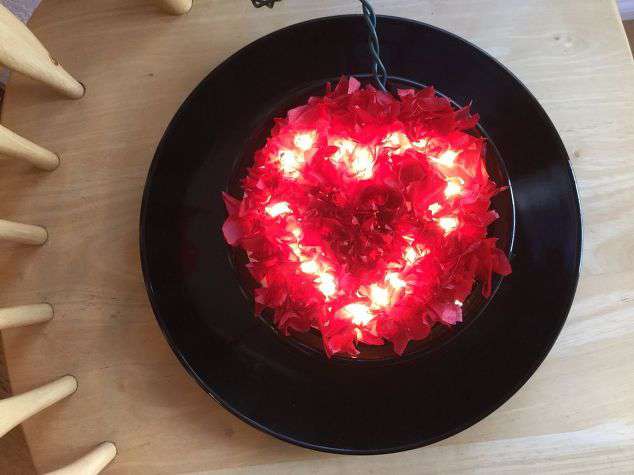
This display, I placed the Styrofoam in a bowl and it reminded me of flowers.
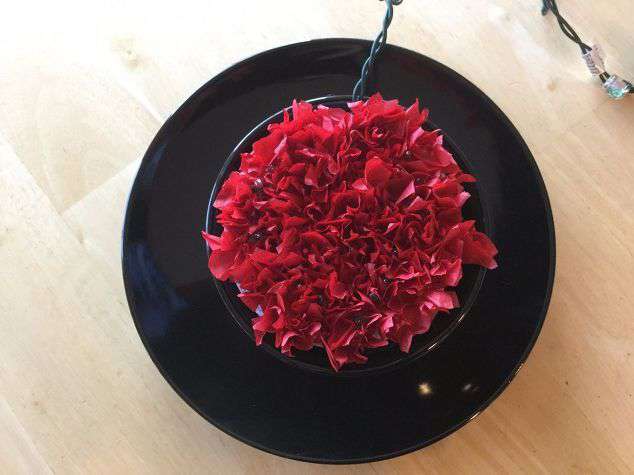
You could use battery operated lights to avoid the cord for this version.
Here is another version I made…
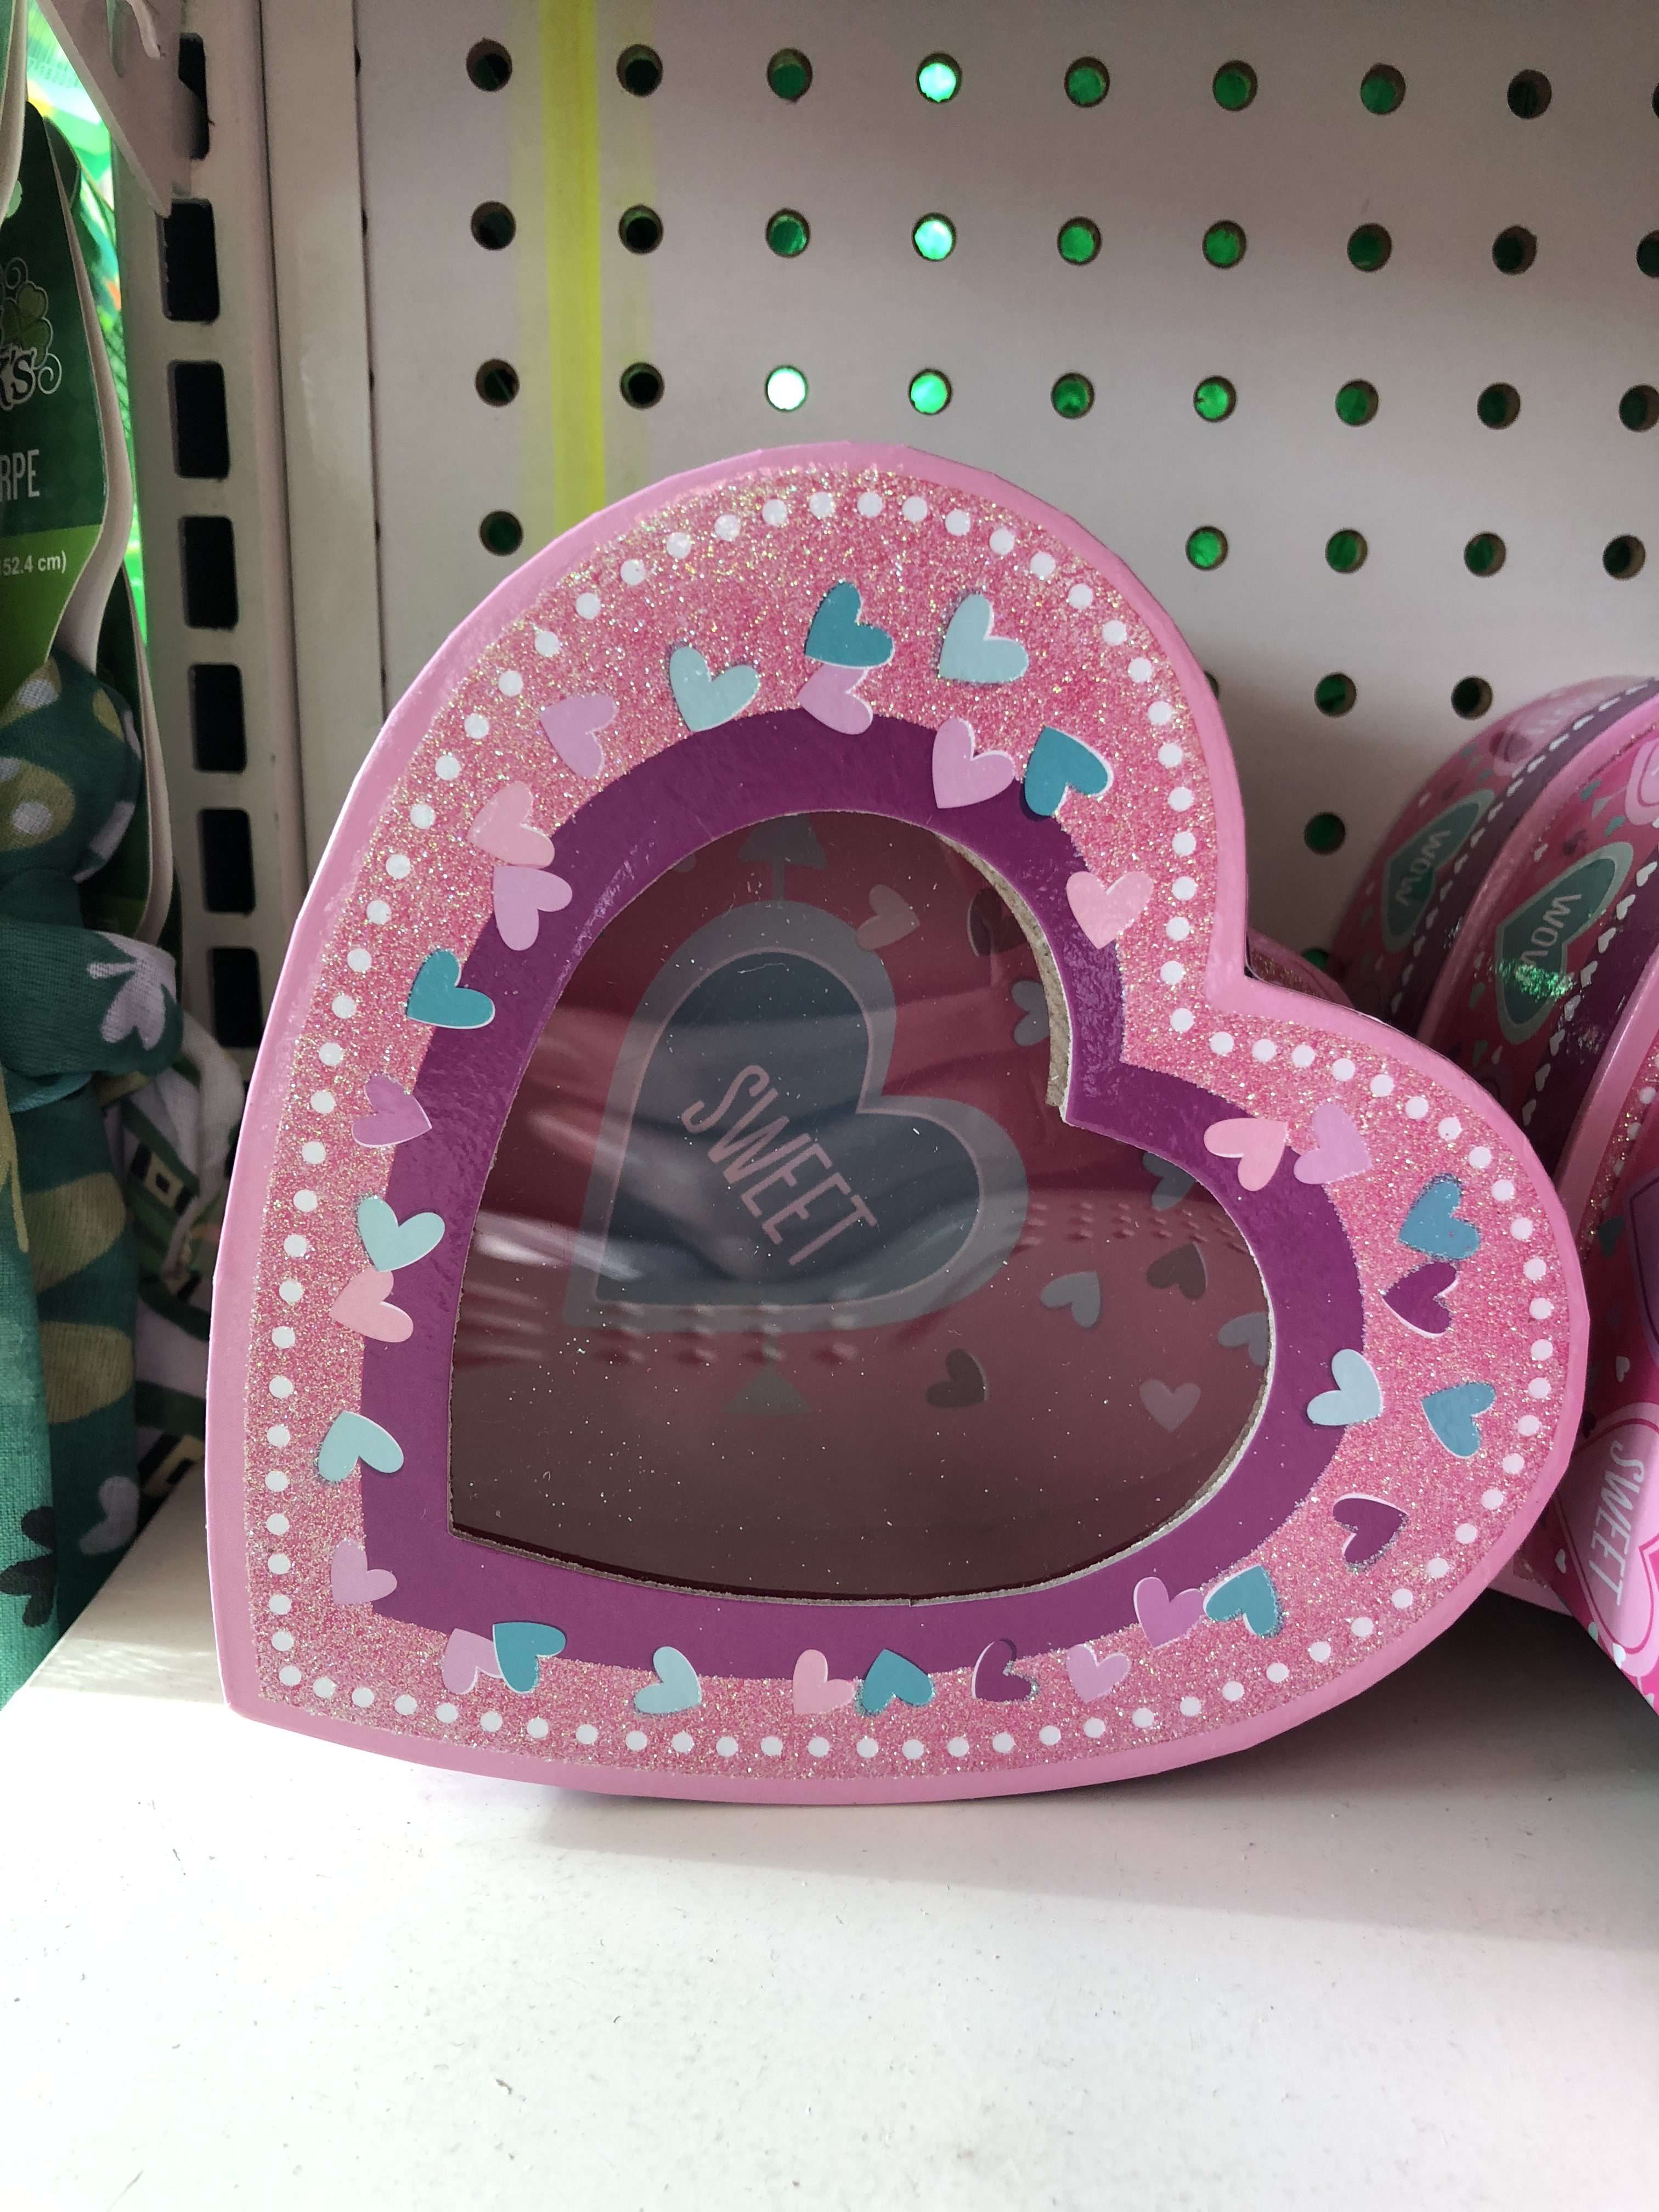
I found these boxes at Dollar Tree.
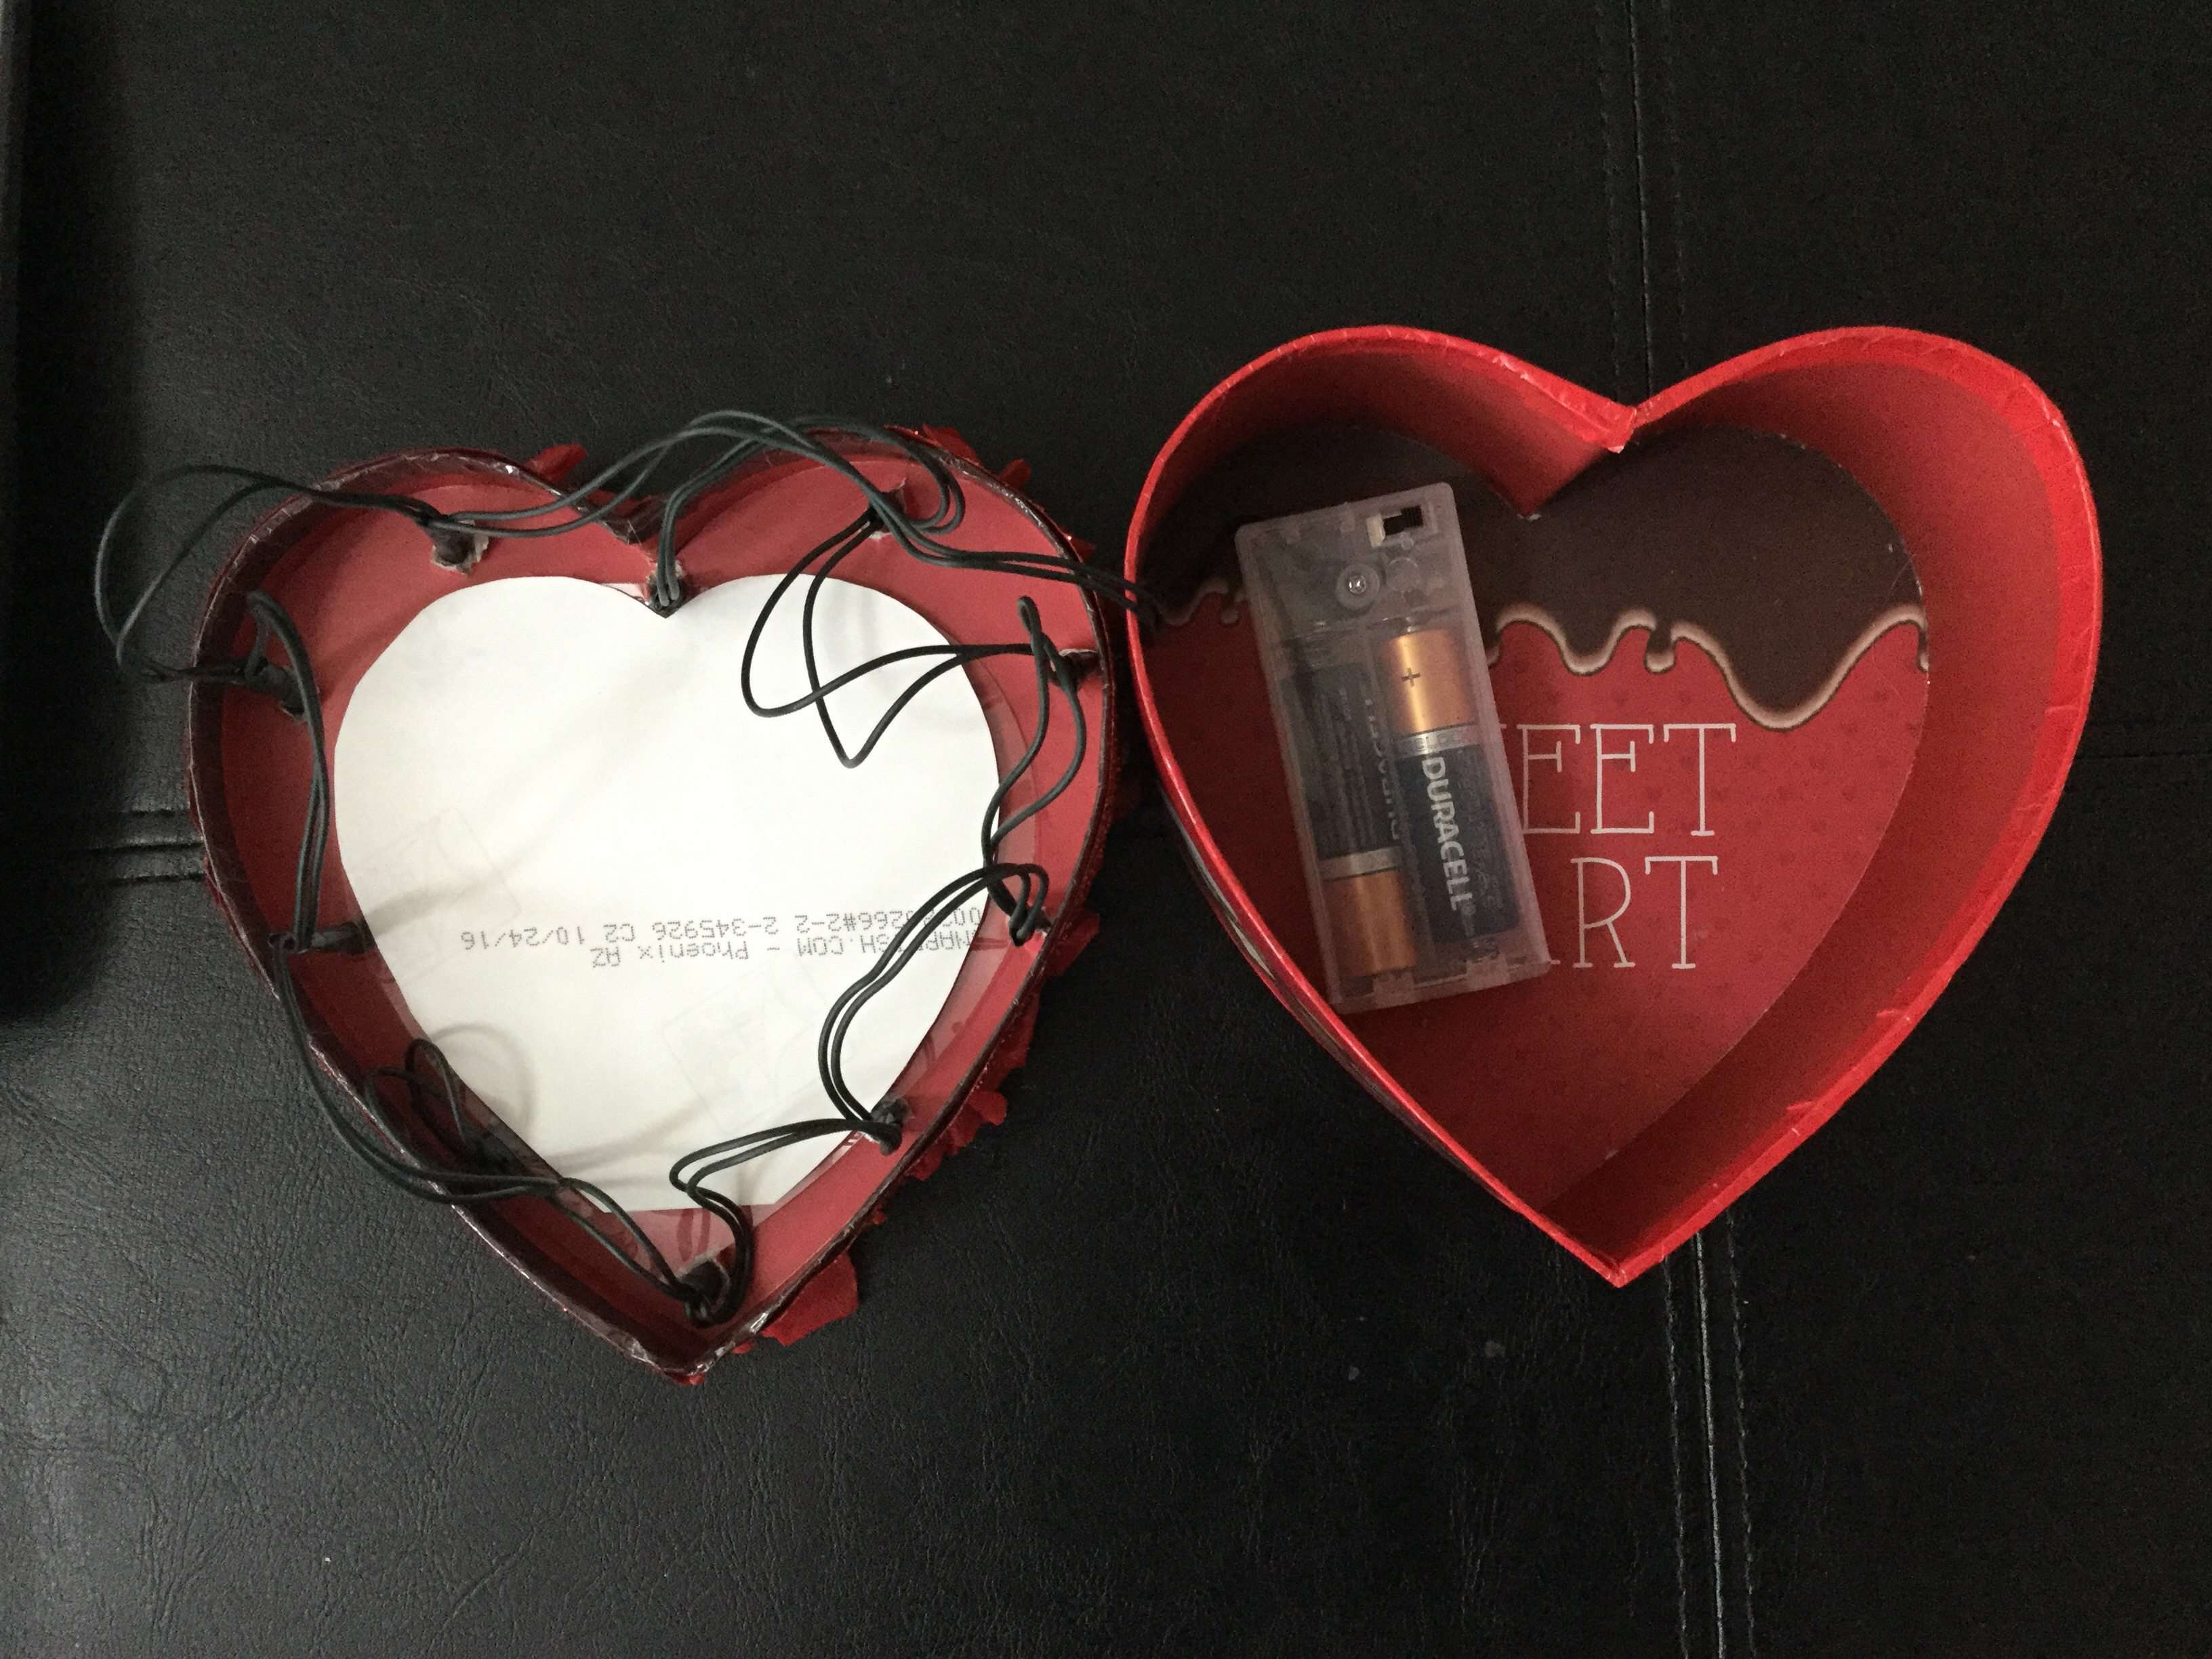
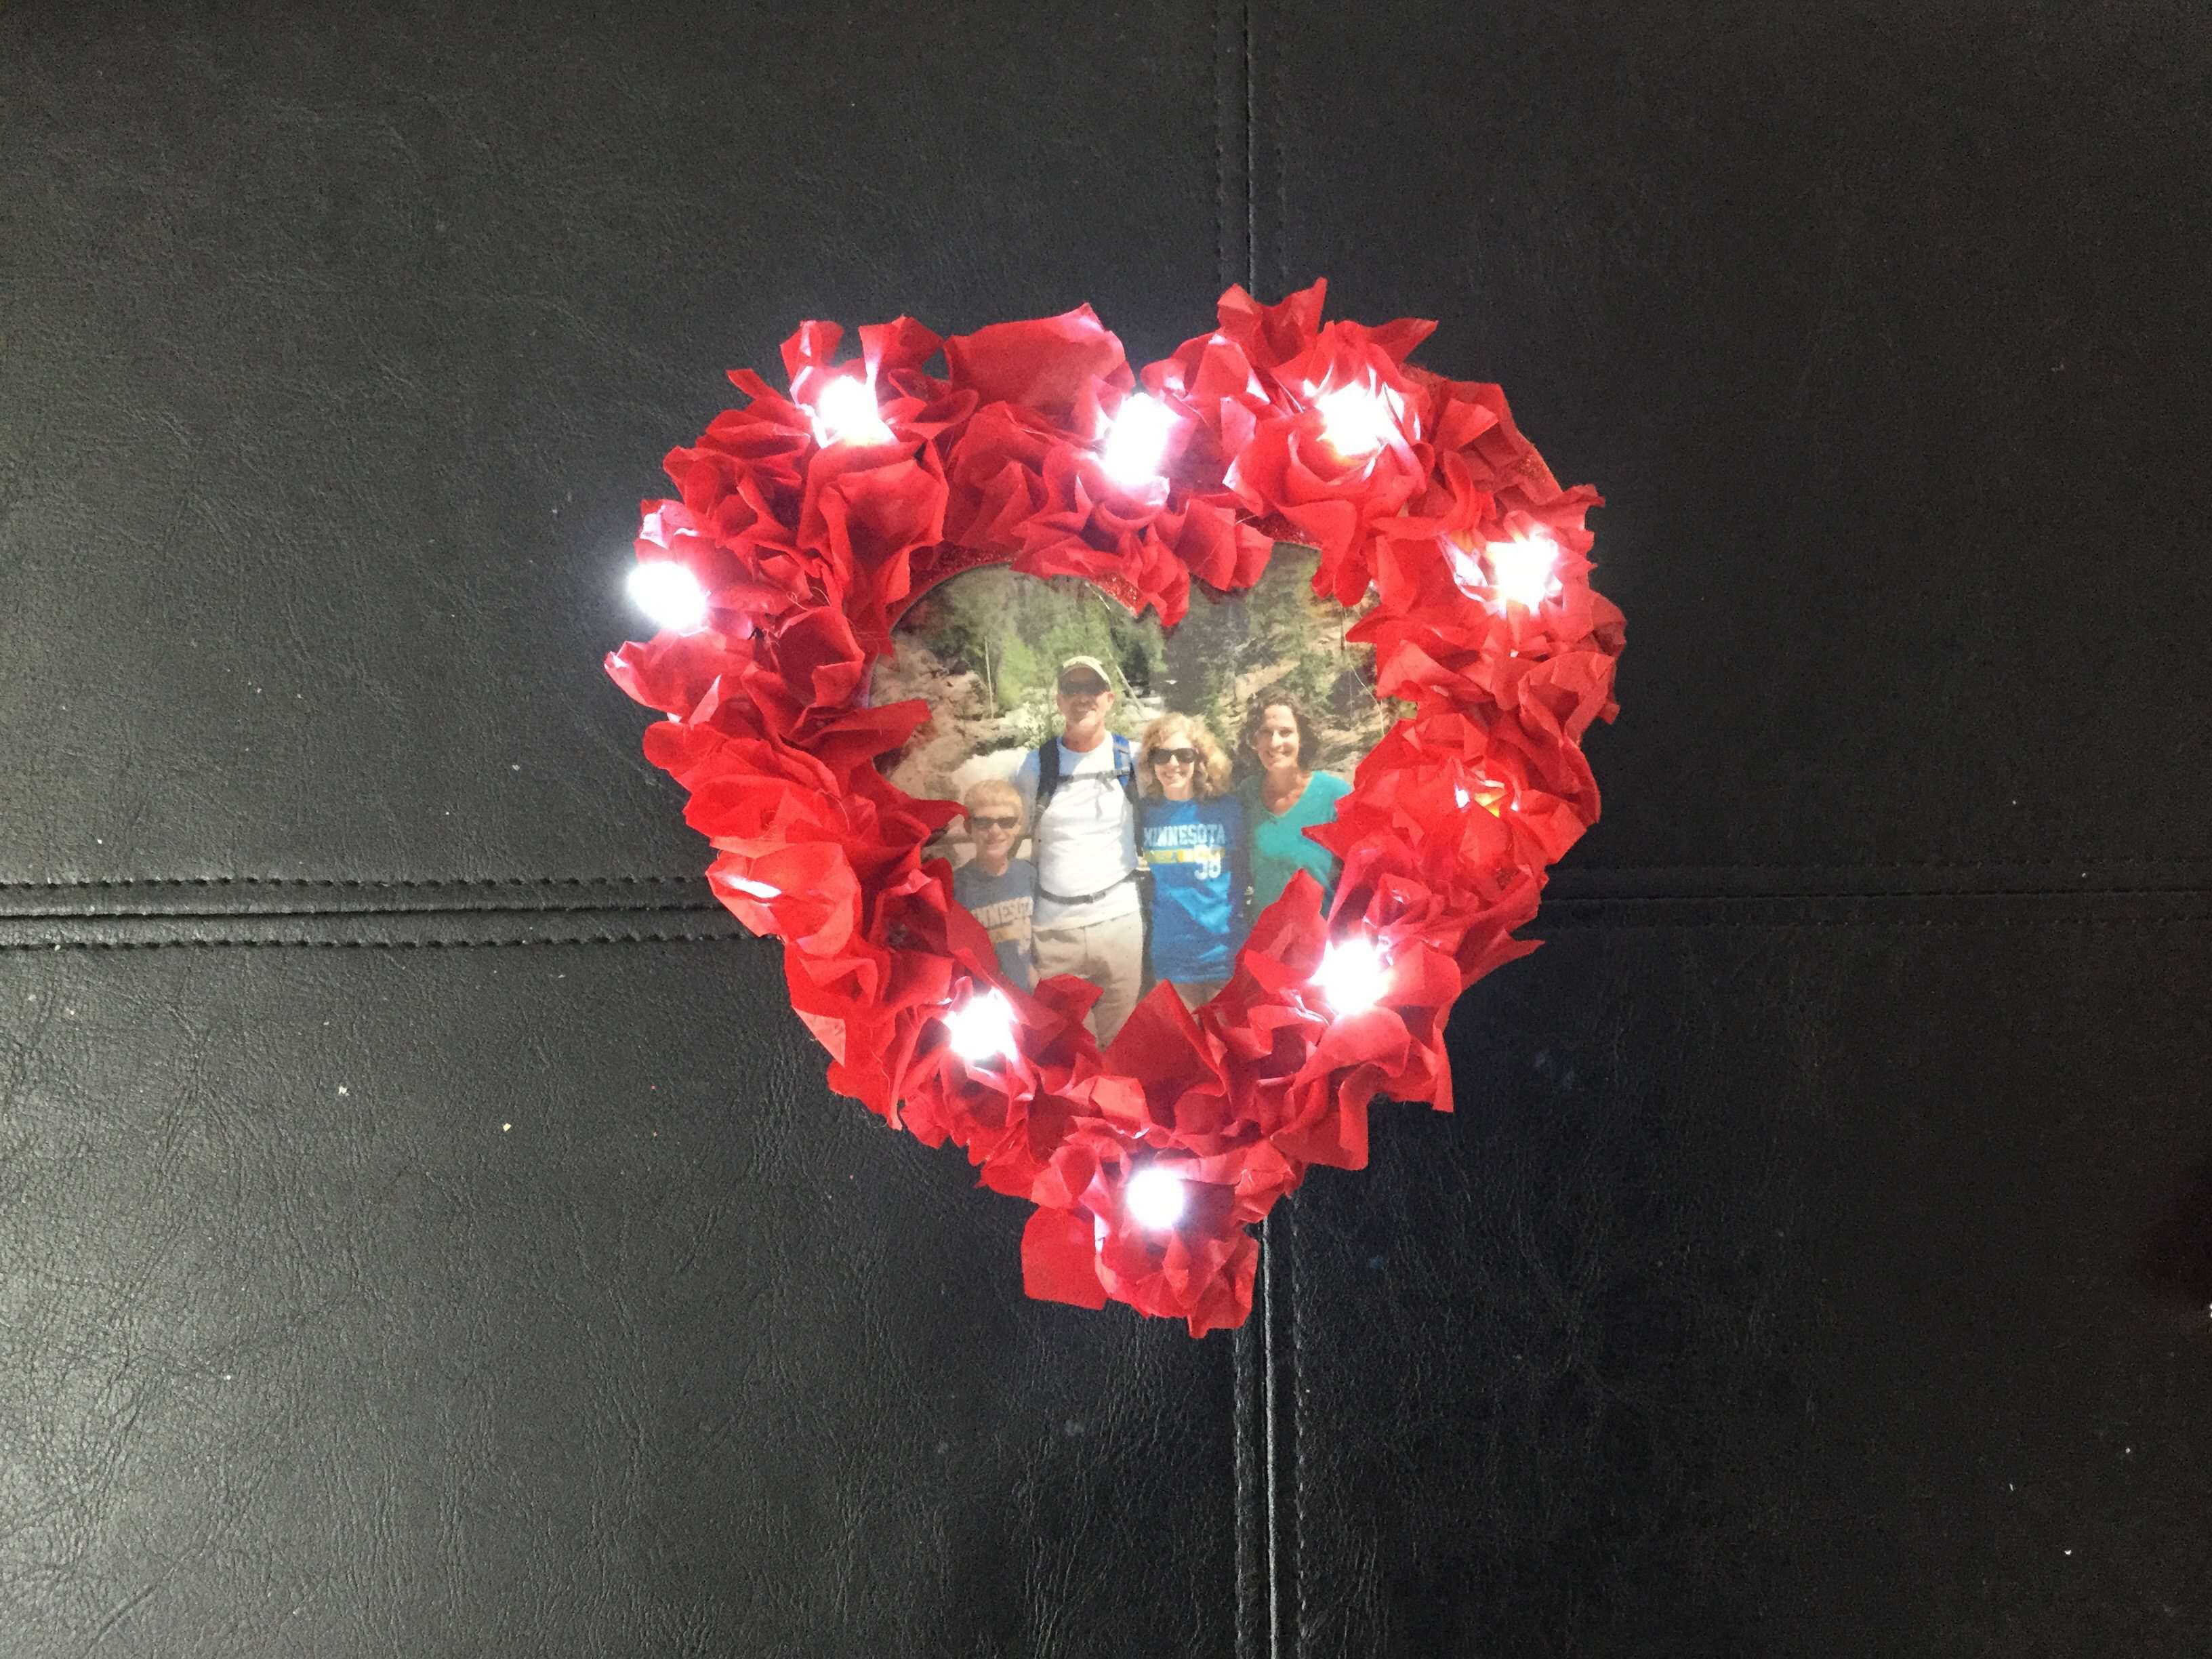
I used a battery light strand I found at Dollar Tree, poked holes through the box where I wanted them to go and left the battery pack inside. I also took a family photo and placed it in the window of the box.

On the top around the photo and lights I adhered the tissue paper as described above.
Subscribe to my blog
and get my crazy creations delivered straight to you inbox.
Never miss a project, update, or latest news!
&
I’d love for you to visit my YouTube Channel and subscribe
Chas’ Crazy Creations YouTube
As seen on Hometalk Live, did you miss it? I save all my Live videos to my Chas’ Crazy Creations Facebook page
 LA Crafts Brand 4×1 Inch Sm…Shop on Amazon
  Darice PS521-X Tissue Paper…Shop on Amazon
 ") COOL WHITE 4 Pack of 20 LED…Shop on Amazon
COOL WHITE 4 Pack of 20 LED…Shop on Amazon


Check out some of my other Valentine’s projects!


What a clever idea! Thanks so much for sharing with Party in Your PJs!
Thank you Lynda
Love how this turned out Chas, so beautiful for Valentine’s day and it’s something I would keep up all year long
Thank you Michelle and I love that you’d keep yours up all year
Thank you Roseann
This looks like it would be a fun project for the kids to help with! Thanks for sharing with us at The Blogger’s Pit Stop! Roseann from http://www.thisautoimmunelife.com
What a beautiful idea. Perfect for Valentines Day 🙂 Thanks for sharing at Welcome To The Weekend Blog Hop hope you’re having a lovely weekend.
Thank you Claire and I hope you have a great weekend too!
how very cute, love the lights and the size. Perfect for my daughters apartment door, so super cute
come see us at https://shopannies.blogspot.com
Thank you Angie, and what a sweet idea to use it for your daughter’s apartment.
You simply amaze me with all of the different things that you do with light! I never would have thought to put it on a picture stand or in a bowl. Your creativity is showing. 🙂
Thank you Linda, you are so kind.