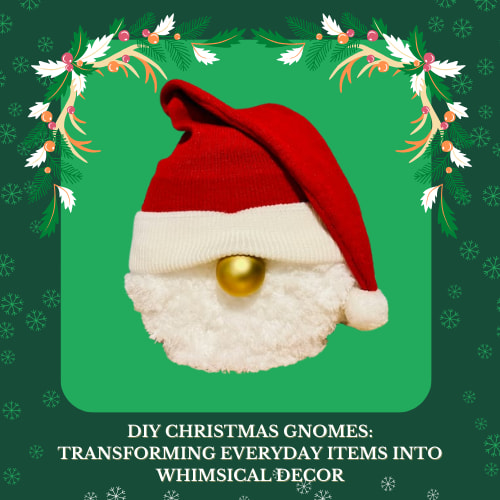
DIY Christmas Gnomes: Transforming Everyday Items into Whimsical Decor

Welcome, craft enthusiasts! Today, we’re diving into the creative world of DIY Christmas gnomes. We’ll explore step-by-step instructions to turn ordinary household items into charming holiday decorations. So, gather your crafting supplies, and let’s get started on these adorable and budget-friendly projects.
DIY Christmas Gnomes:
I have not one gnome tutorial but several to make Christmas decor. No sewing machine is needed! Everyone can make these including kids! Run to the craft store, get your supplies, and let’s dive into several tutorials to give you inspiration to create some of these Christmas Crafts!
DIY Christmas Gnomes Video:
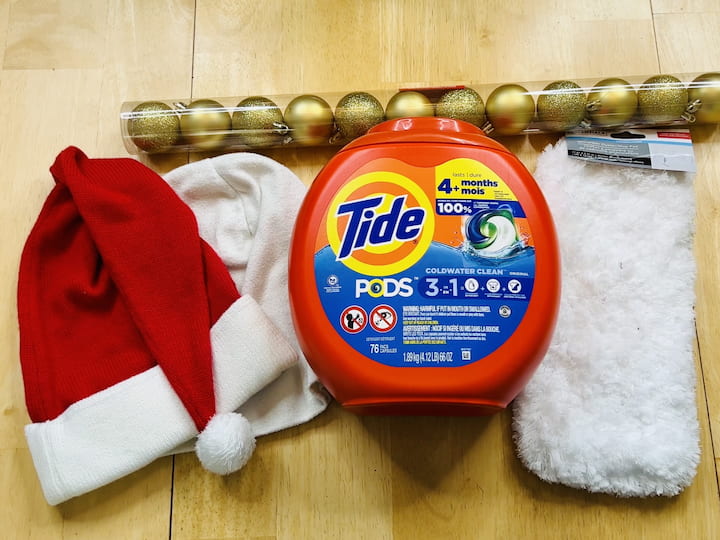
Upcycled Tide Pod Container Gnome
Materials Needed:
- Tide Pod container
- Santa hat
- White hat, or white fabric
- Dust mop attachment
- Bulbs
- Hot glue gun and glue sticks
Instructions:

Prepare Materials:
Save that empty Tide Pod container and head to the Dollar Tree for the necessary supplies – a Santa hat, a white hat, a dust mop attachment, and some bulbs.
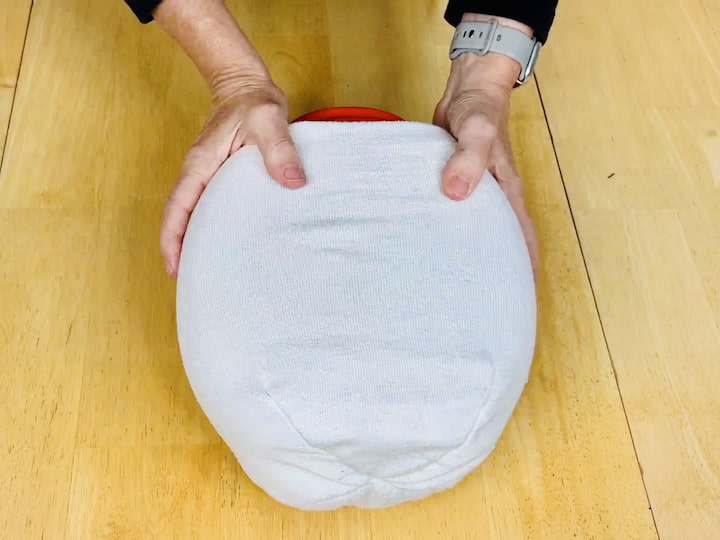
Assemble the Base:
Slide the white hat onto the bottom of the Tide Pod container.
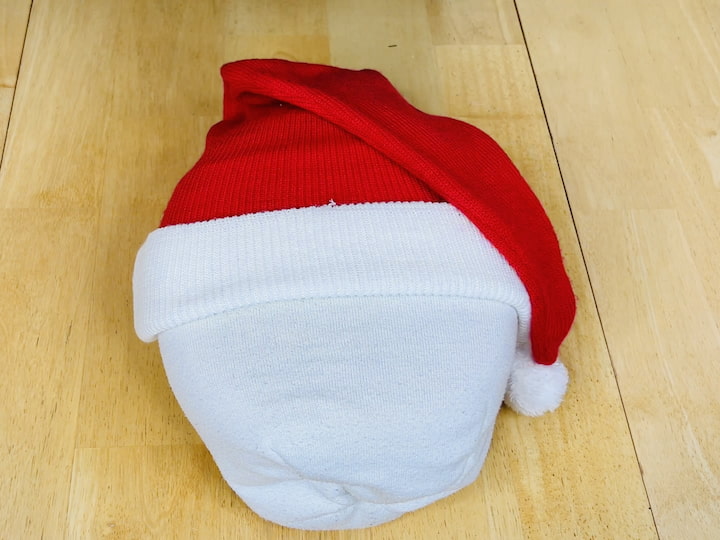
Place the Santa hat over the container, covering the white hat.
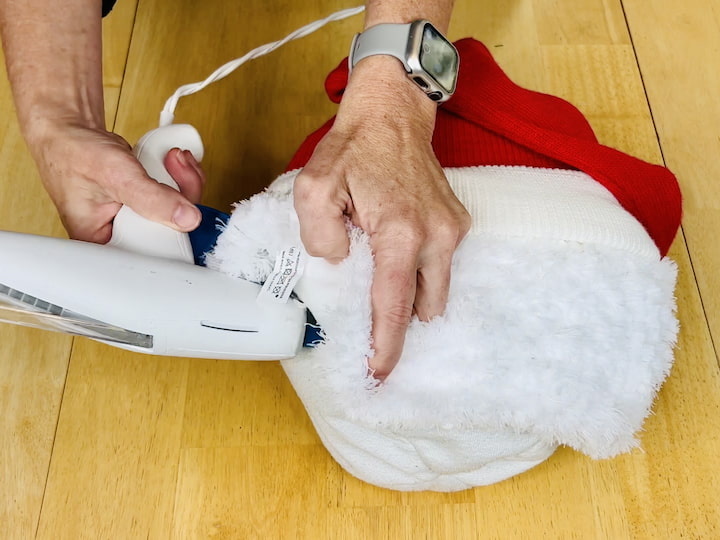
Add the dust mop attachment over the white hat, tucking it underneath the Santa hat to make the white beard.
Secure with Glue:
Use hot glue to secure the layers in place.
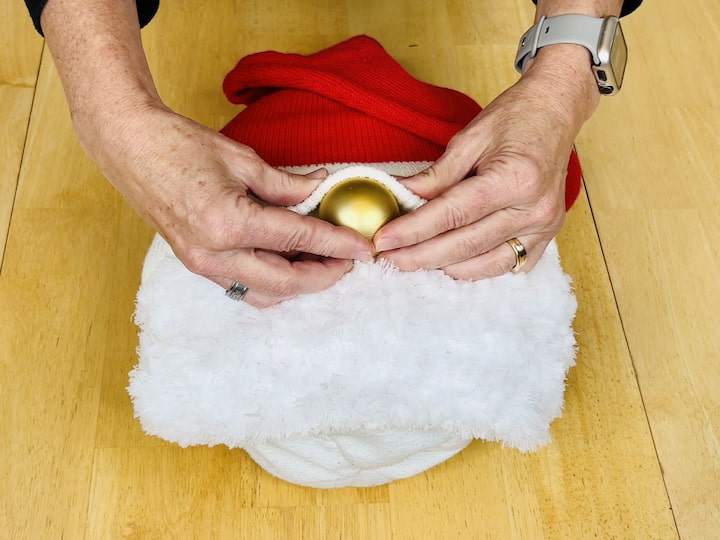
Attach a gold bulb with hot glue under the hat to create the nose.
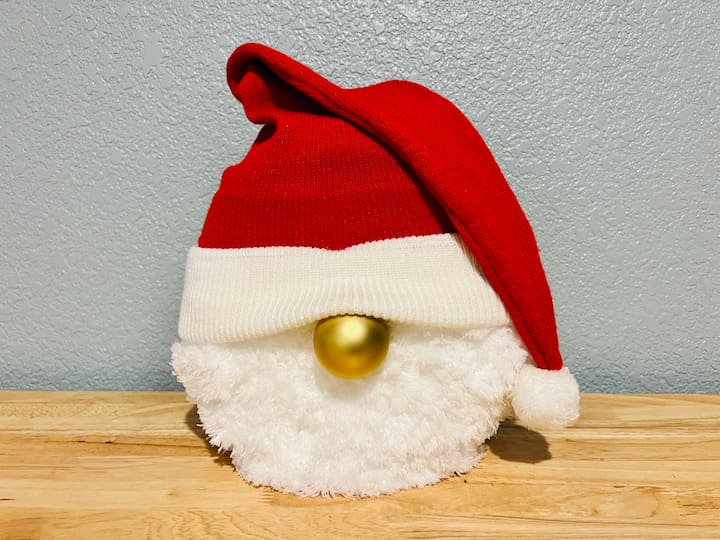
Final Touch:
Your DIY gnome is ready to be displayed!
Consider changing the hat for different seasons.
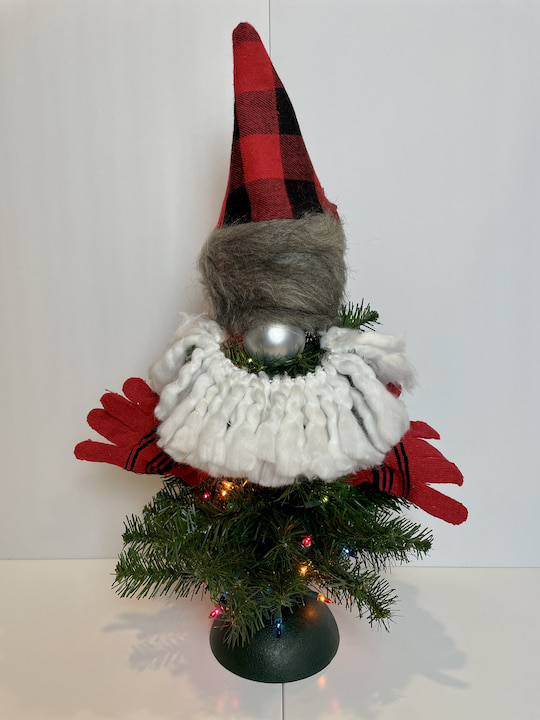
How do you make a tree gnome? Santa Tree Gnome
You can find the full tutorial at Awesome and Easy Gnome Craft Ideas with Video
Materials Needed:
- Small Christmas tree with lights
- neutral ornament
- Gloves
- Coordinating stocking
- Hot glue gun and glue sticks
Instructions:
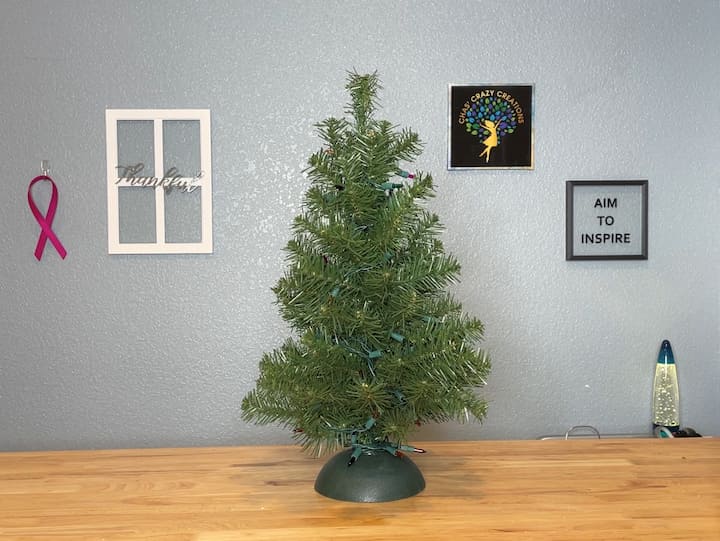
Prepare the Tree:
Wrap the small tree with lights.

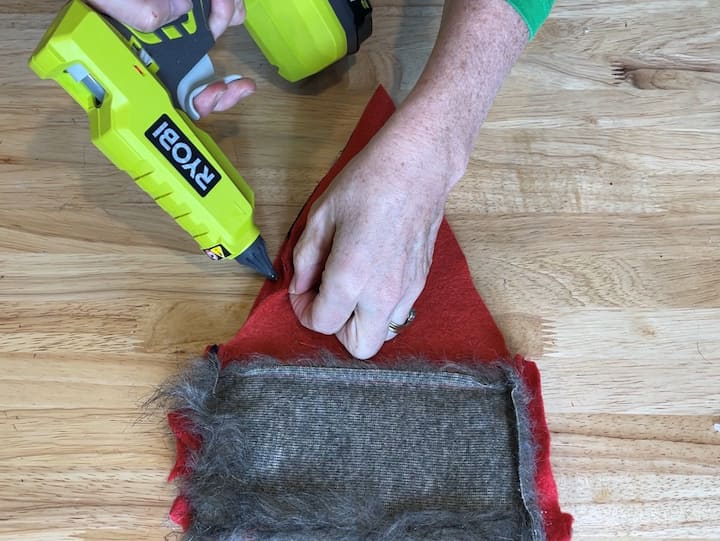
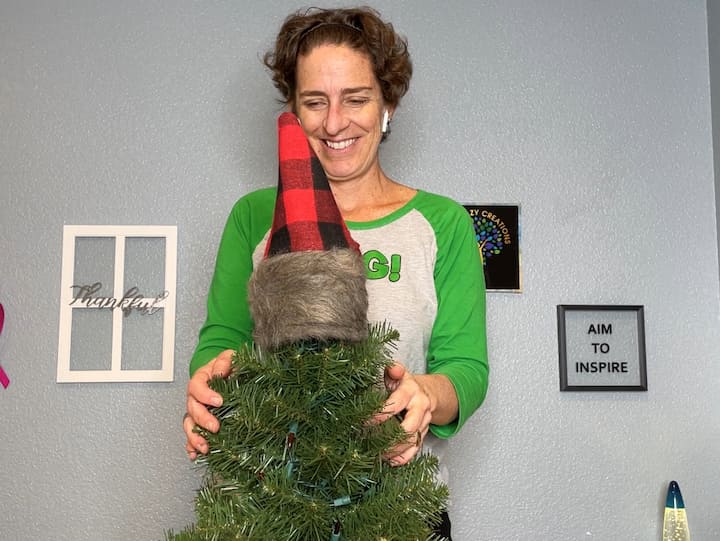
Create the Hat:
- Cut a triangle shape from the coordinating stocking.
- Fold the stocking inside out, hot glue the edges, and flip it right side out to form a hat.
- Place the hat on top of the tree, securing it in place.
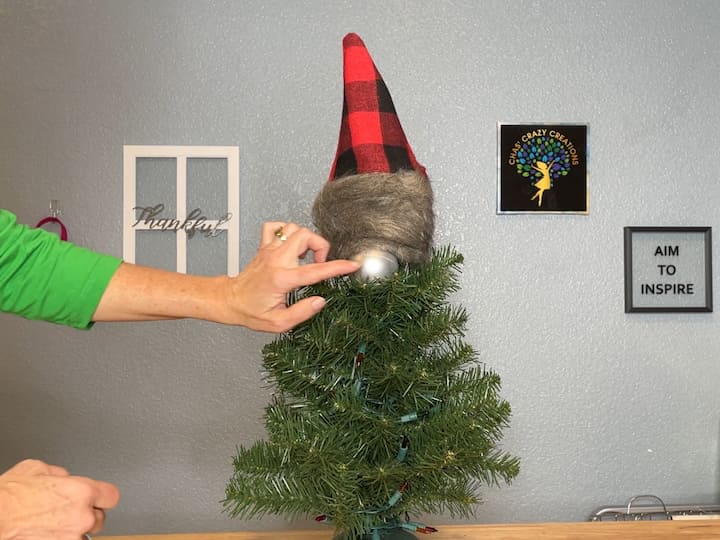
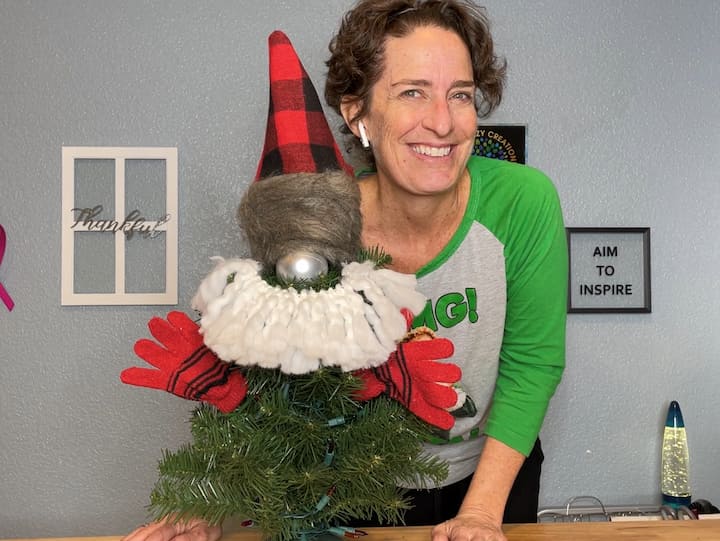
Assemble the Gnome:
- Slide gloves onto branches on either side of the tree.
- Attach a dollar store bulb under the hat for the nose.
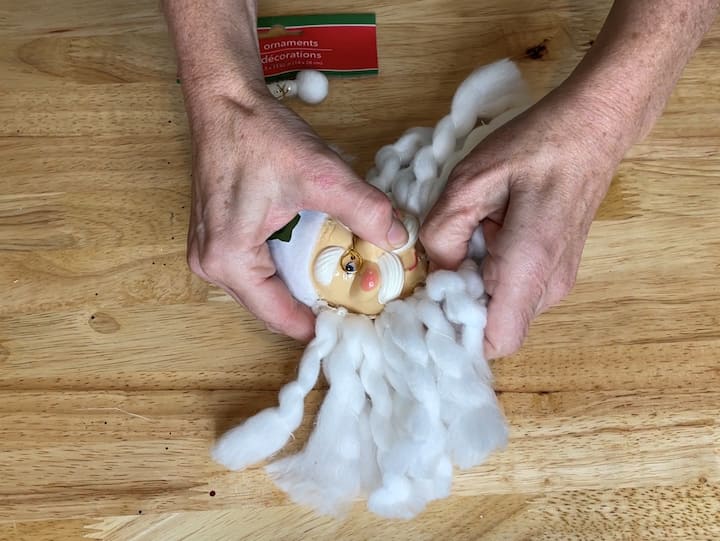
- Lay the Santa ornament beard under the nose and secure it in place.
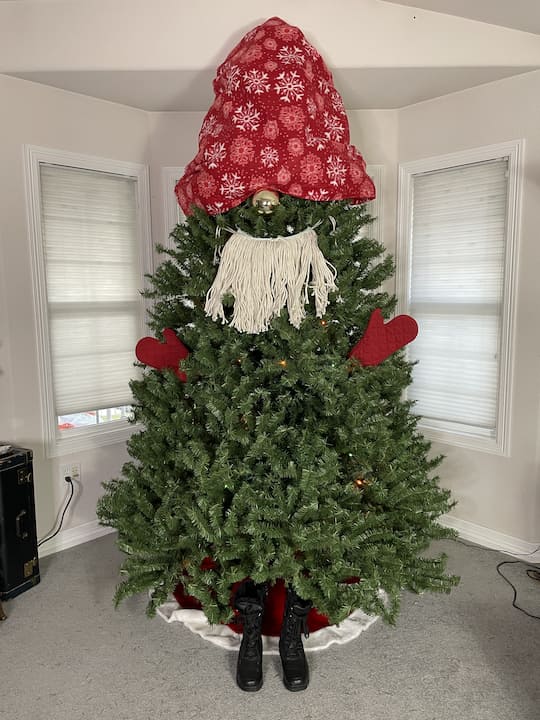
Variation:
Explore different tree sizes and adapt the concept for larger trees using a blanket for the hat, a mop for the beard, a large bulb for the nose, and boots for the base.
DIY Gnome Bottle Topper
For this whimsical gnome project, you’ll be crafting an adorable bottle topper using simple household items. Let’s dive into the step-by-step instructions:
You can find the full tutorial at Toilet Paper Roll Christmas Crafts, Easy and Creative DIYs
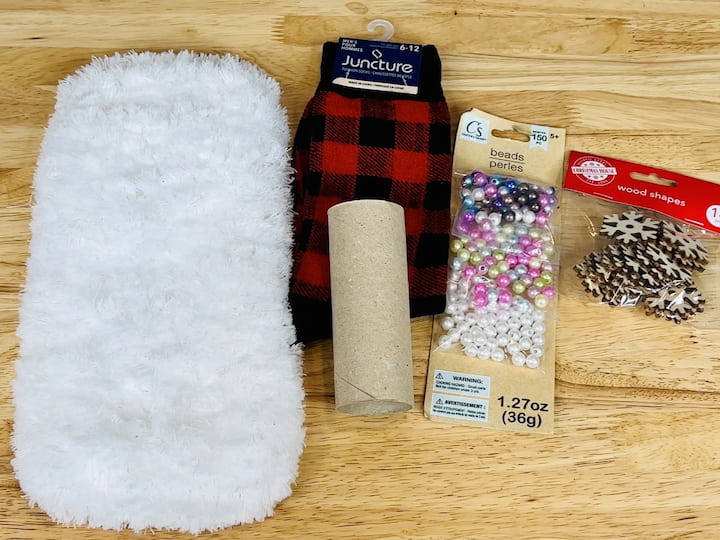
Materials Needed:
- Socks
- Toilet paper or paper towel tube
- Wood Bead or pom pom
- Wooden snowflakes
- Mop or yarn
- Hot glue gun and glue sticks
- Scissors
- Rubber band
- Rocks or rice (optional)
Instructions:
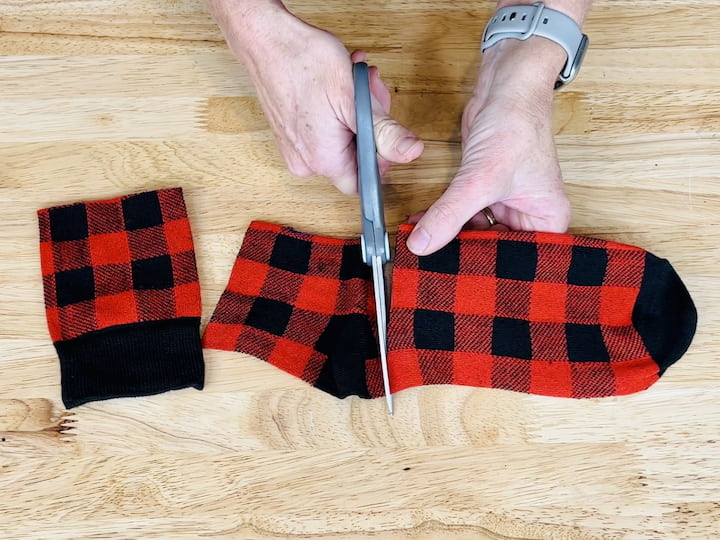
Prepare the Base:
- Cut the top section off the sock and then cut the bottom section off as well.
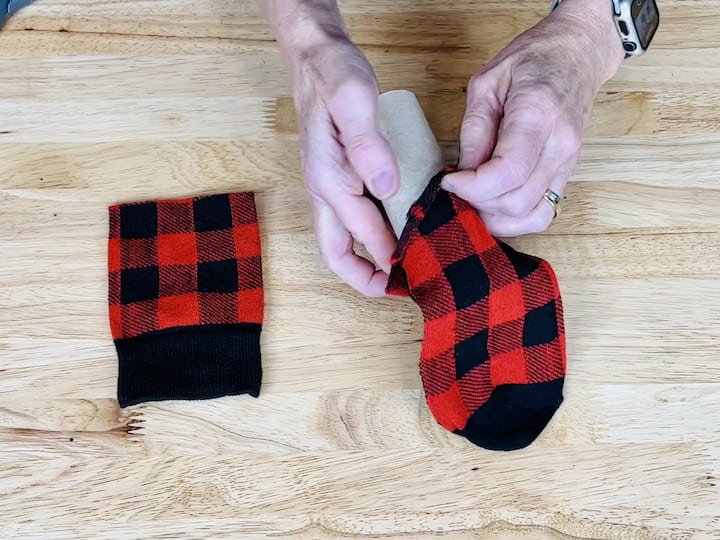
- Stuff the toilet paper or paper towel tube into the bottom of the sock, tucking the excess into the center of the roll.
- Fold up the cuff of the other end of the sock.
Optional Weight:
- Optionally, add rocks to the tube to give it some weight. This step is beneficial if you plan to use the gnome for a different project.
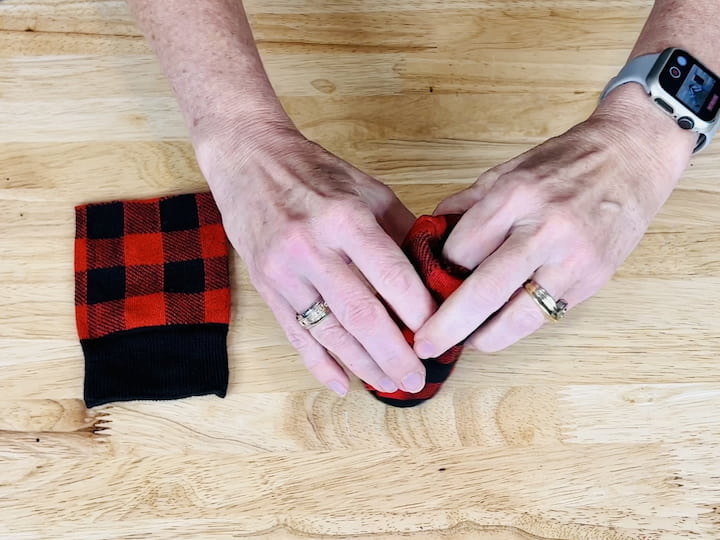
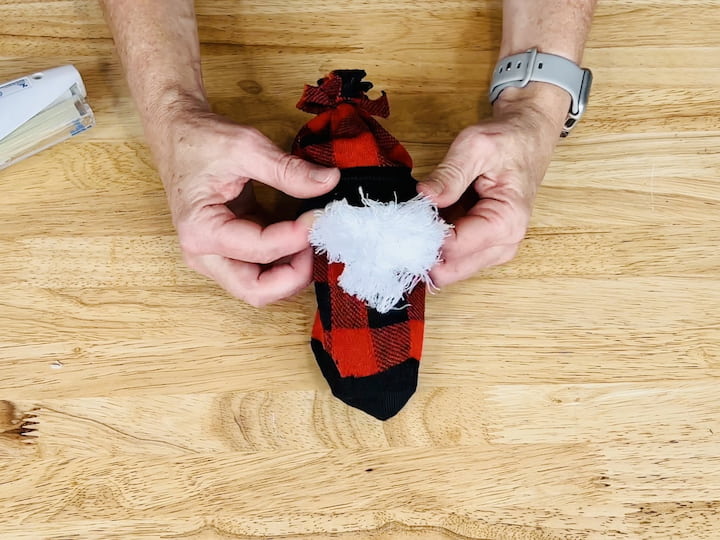
Create the Hat:
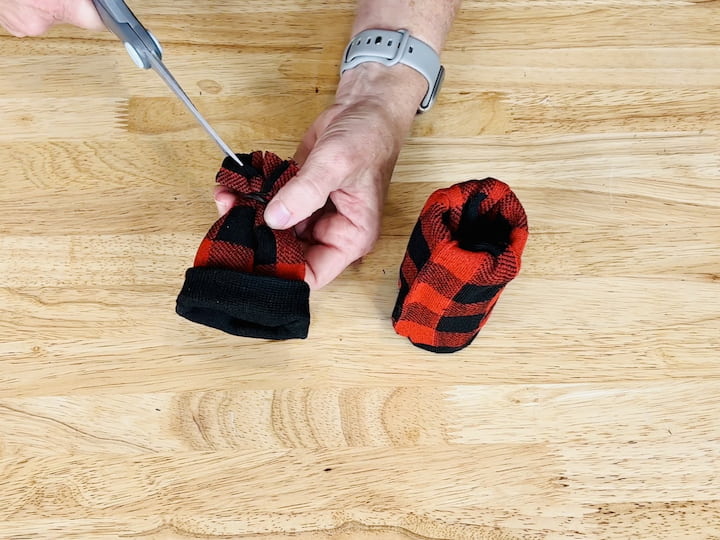
- With the cuff at the other end, grab a little rubber band and wrap it around the top.
- Use your scissors to cut little slits to create a little poof ball and hat.

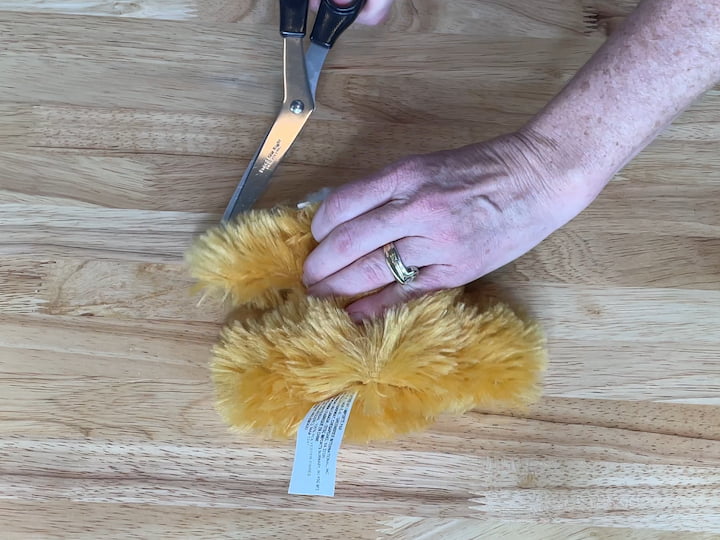
Prepare the Beard:
- Cut off a section of your mop and then trim it down to size.
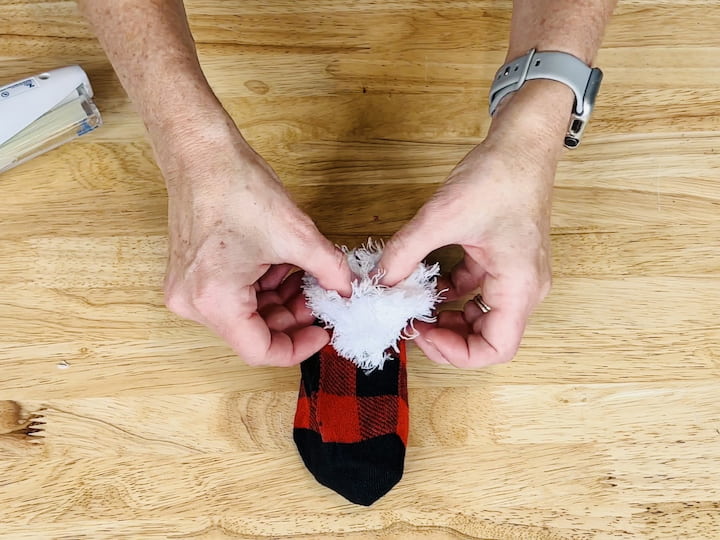
Assemble:
- Hot glue the little mop to the cardboard end covered with the sock, creating the gnome’s beard.
- Place the hat on top of the cardboard tube.
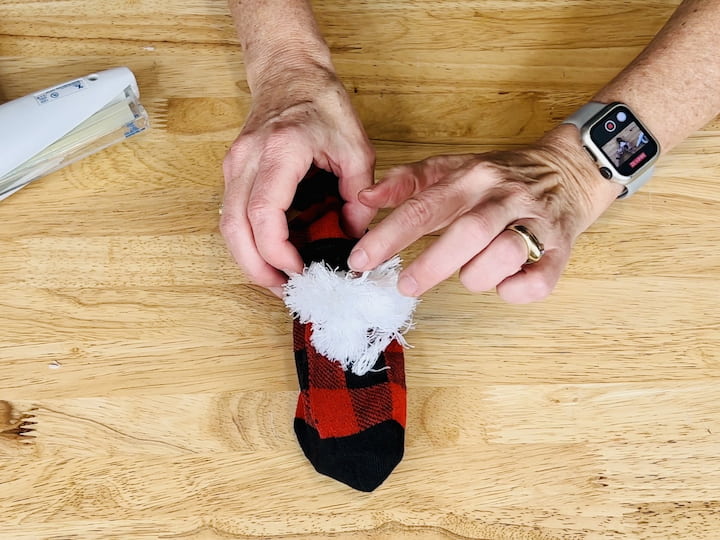
Add Nose:
- Apply hot glue to a bead and place it on top of the beard but below the hat to form the gnome’s nose.
Final Touch:
- Your DIY gnome is now complete! Use it in various ways, whether as an ornament, a gift topper, or a cute bottle accessory.
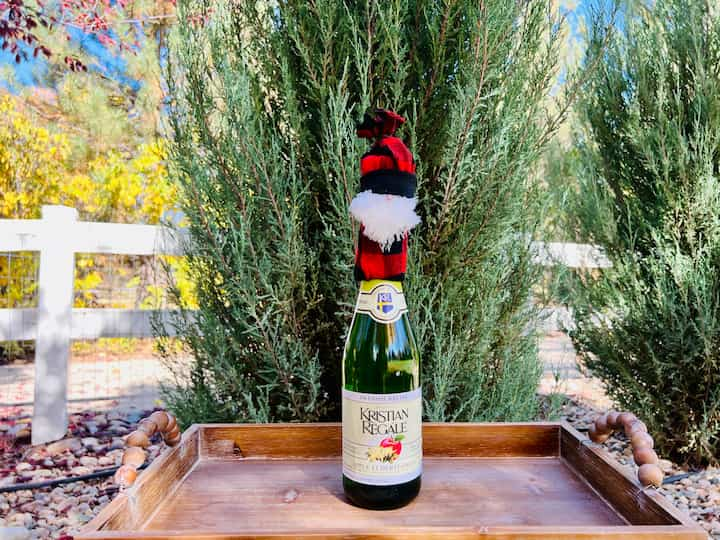
Bottle Topper Variation:
If you’d like to use it as a bottle topper, cut a small slit in the bottom of the gnome’s sock and place it on top of a bottle for a charming and festive touch.
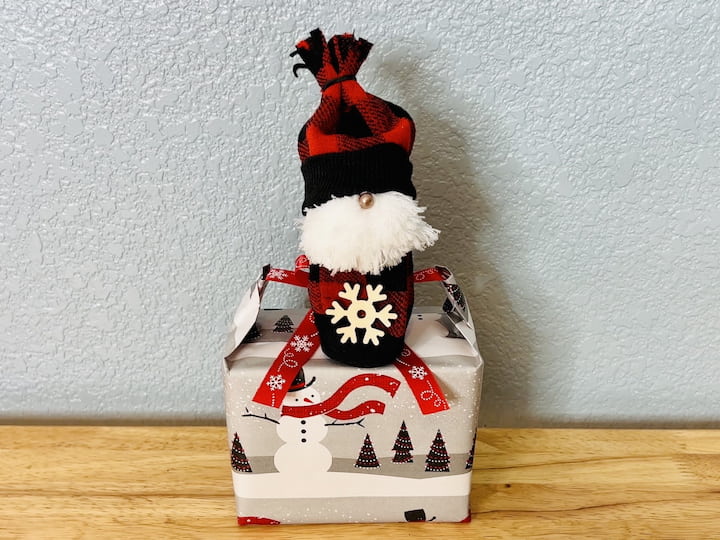
Gift Presentation:
Consider adding this delightful gnome on top of a gift for a cute and personalized giveaway. Here’s a quick look at what it would resemble on top of a gift.
Get creative with colors and embellishments to match your holiday theme. This versatile gnome can add a touch of charm to various occasions. Enjoy crafting!
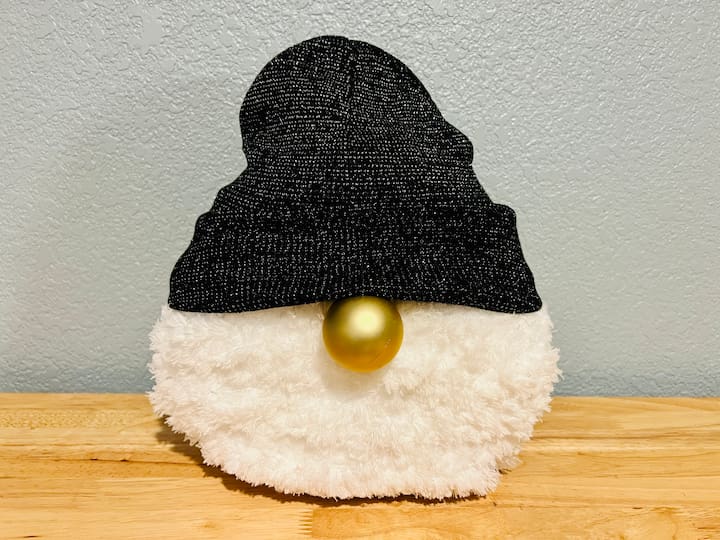
Are gnomes for Christmas only?
No, here I have made a Gnome out of a bottle and you can adjust it for any season, and create one to leave up all year long.
DIY Sock Gnomes Using A Recycled Bottle
You can find the full tutorial at Awesome and Easy Gnome Craft Ideas with Video
Materials Needed:
- Bottle of your choice
- Socks
- Dollar store bear or faux fur
- Green felt
- Gold and Black ribbon
- Wooden Bead
- Hot glue gun and glue sticks
Instructions:
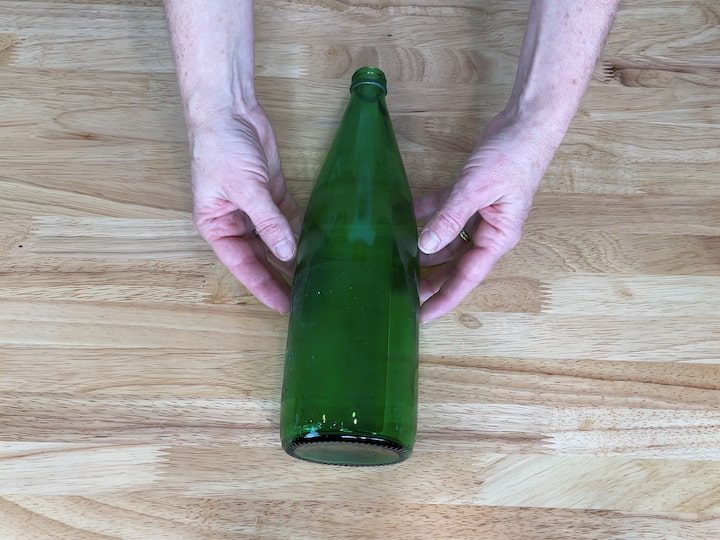
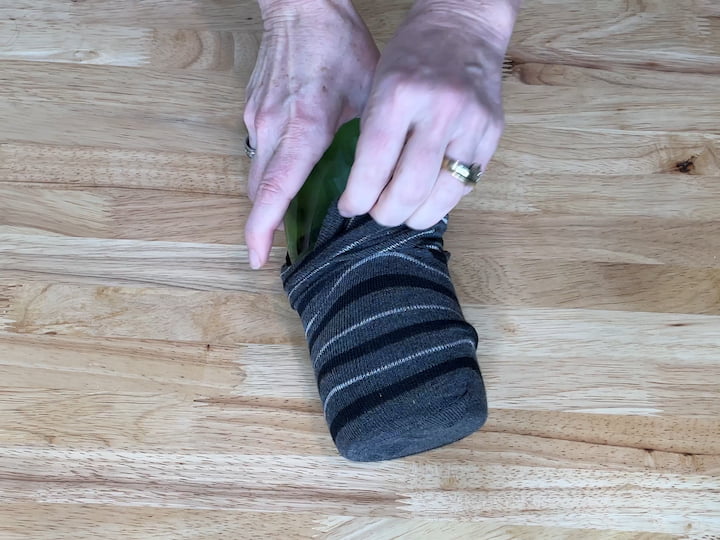
Prepare the Bottle:
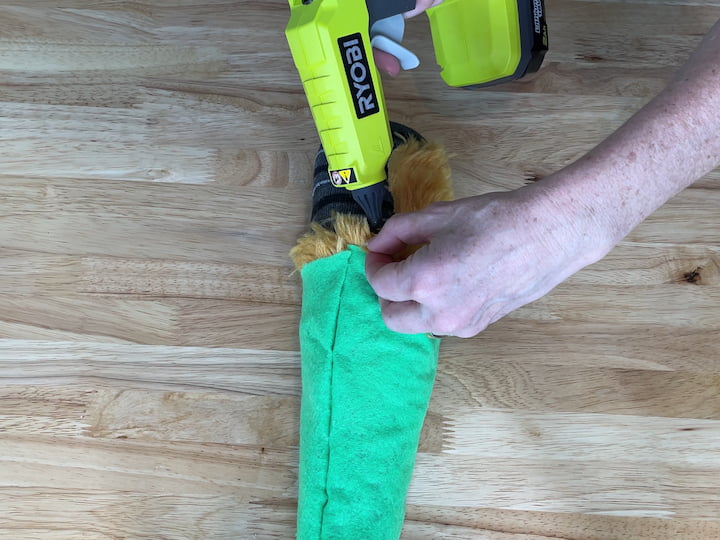
- Slide a single sock over the top of the bottle to make the gnome body. You can choose any sock, even fuzzy socks are great! You could add rice to the bottle to give it some weight.
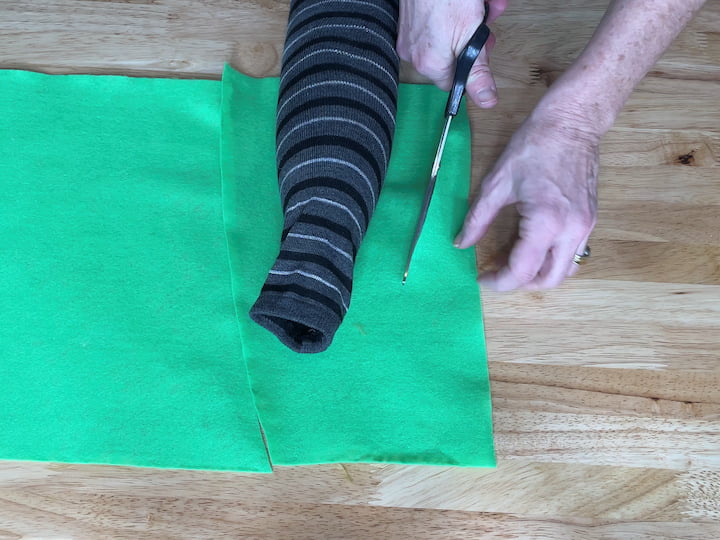

Create the Hat and Beard:
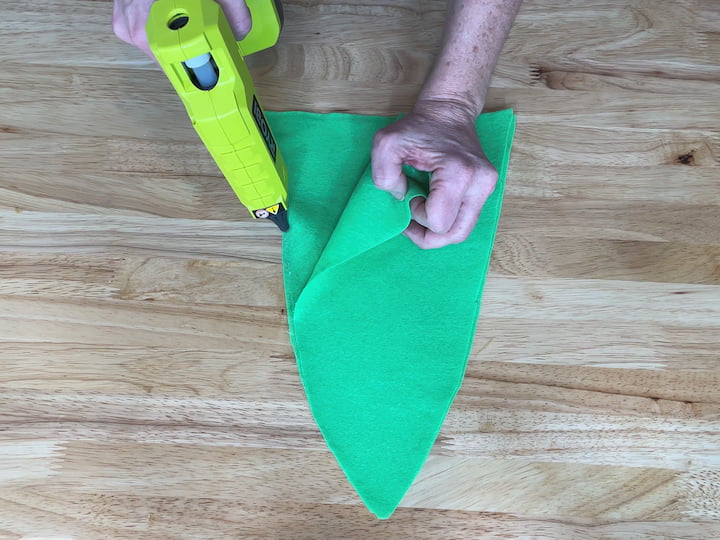
- Cut a triangle shape from the felt to form the hat.
- Hot glue the hat onto the bottle, covering the top of the sock.
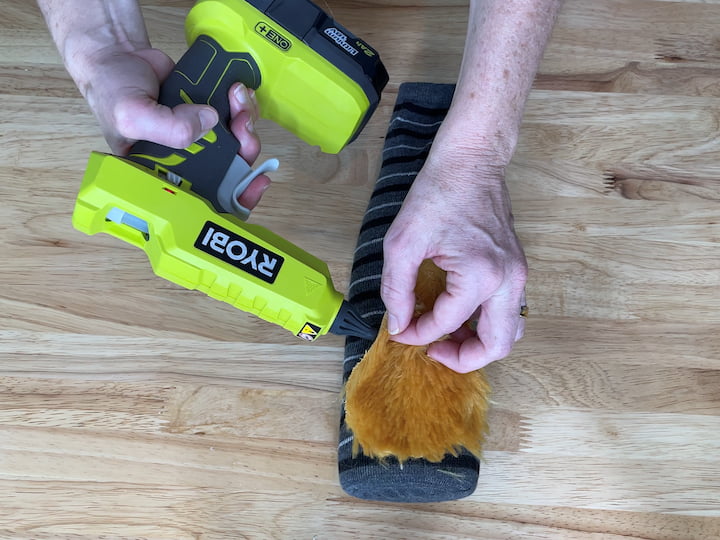
- Attach the beard (cut from the bear) under the hat.
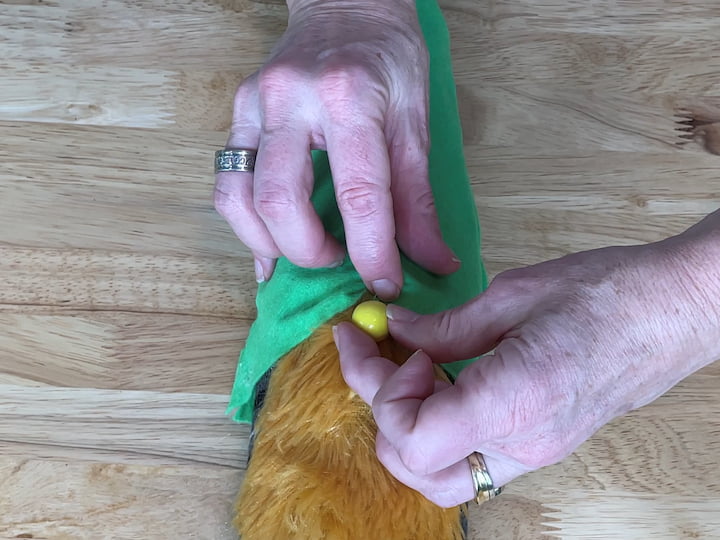
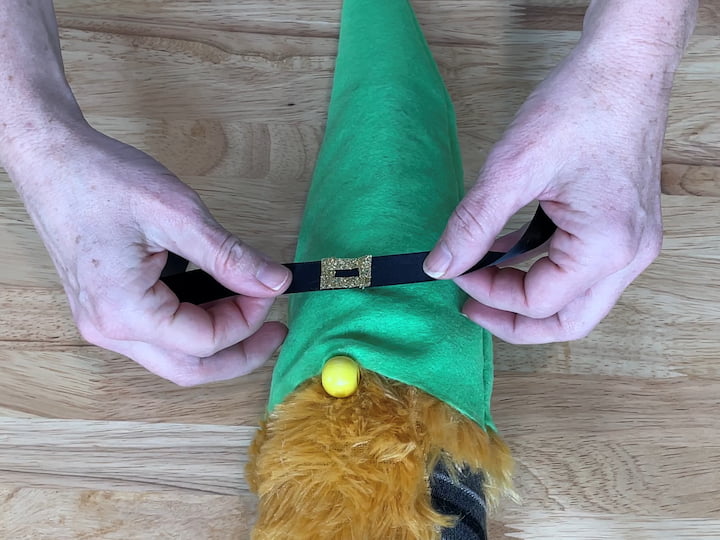
Add Nose and Embellishments:
- Hot glue a bead under the hat for the nose.
- Attach a gold ribbon buckle to a black ribbon and glue it onto the hat.
- Add additional embellishments like flowers on top.
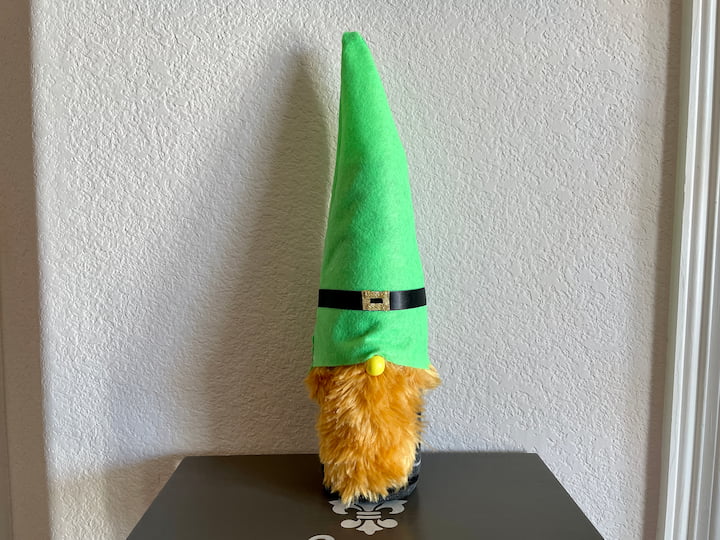
Final Touch:
Your DIY Sock gnome is ready to add a festive touch to your decor. You can place this anywhere and some ideas include on a shelf or mantel.
Pool Noodle Gnome
You can find the full tutorial at Awesome and Easy Autumn DIY Gnome with Video
Materials Needed:
- Pool noodle
- Baby Onesie
- Toddler pants
- Rope and Twine
- Stuffed bear or craft fur
- Dollar store bear or faux fur
- Old jeans for a hat
- Flowers
- Acorn
- Straw
- Hot glue gun and glue sticks
Instructions:
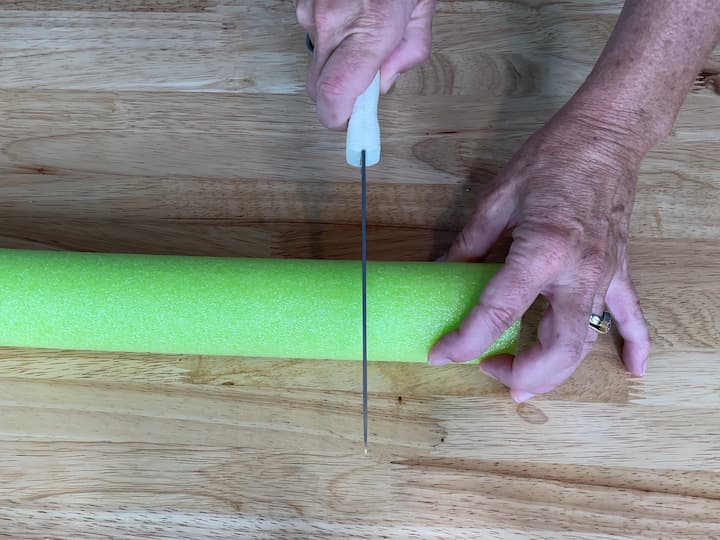
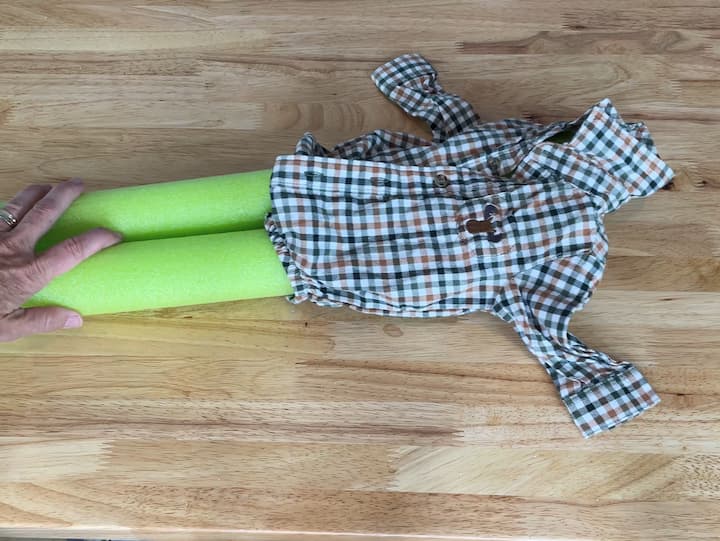
Prepare the Base:
- Cut the pool noodles into two equal lengths.
- Insert the pool noodles into a baby onesie to create the body.
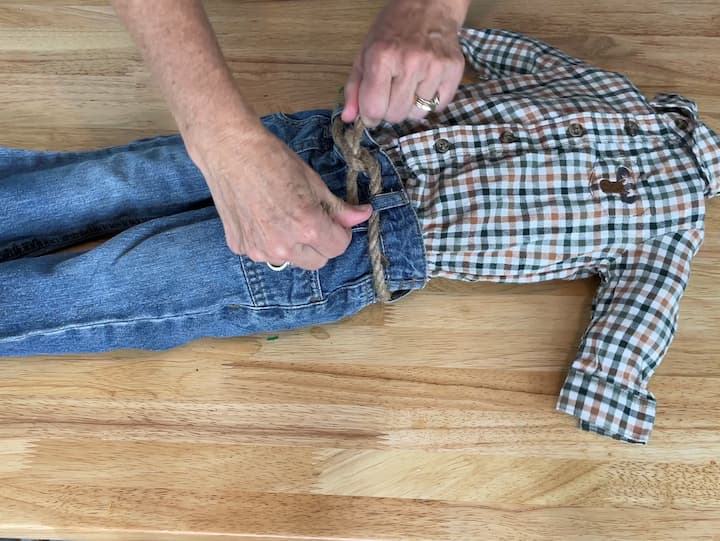
Add Legs and Belt:
- Slide thrift store toddler pants onto the pool noodles.
- Cut and tie a rope around the pants to create a belt.
- You’ve now created the body of the gnome
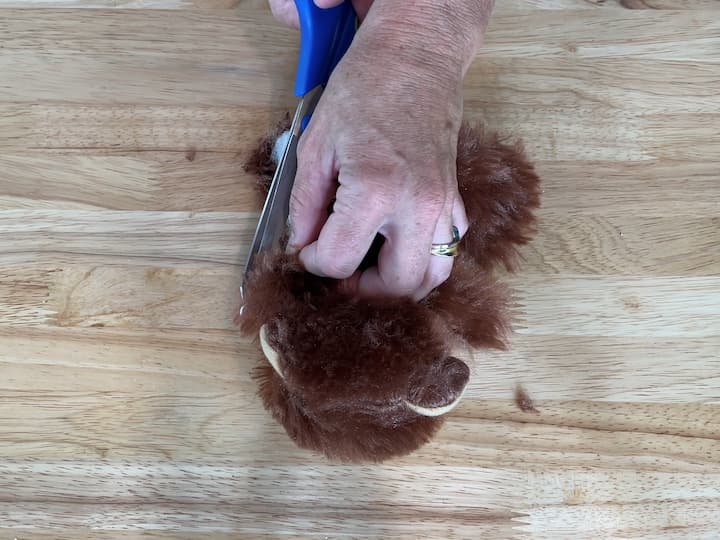
Create the Beard:
- Cut a shape from the stuffed bear to form the beard.
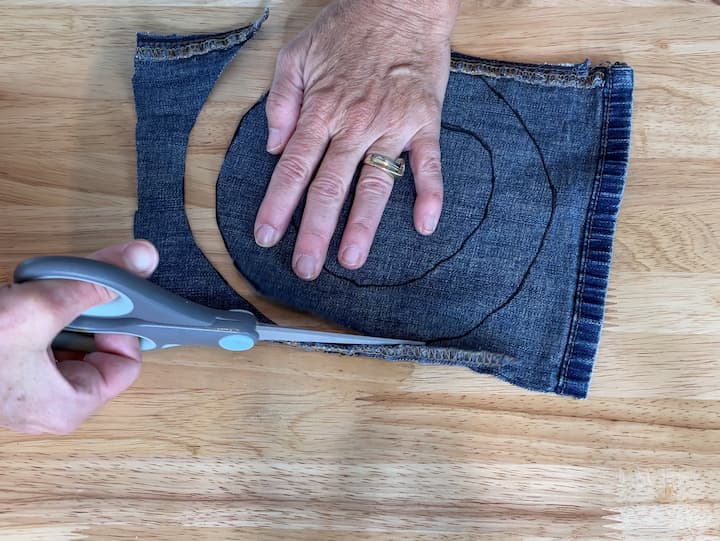

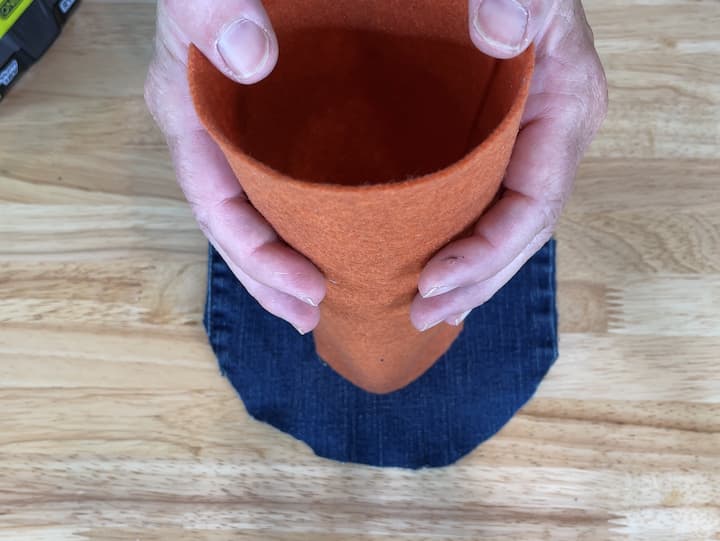
Make the Hat:
- Cut a triangle from a piece of felt and fold it into a cone to create the hat.
- Cut a circle from old jeans and glue it to the bottom of the felt hat.
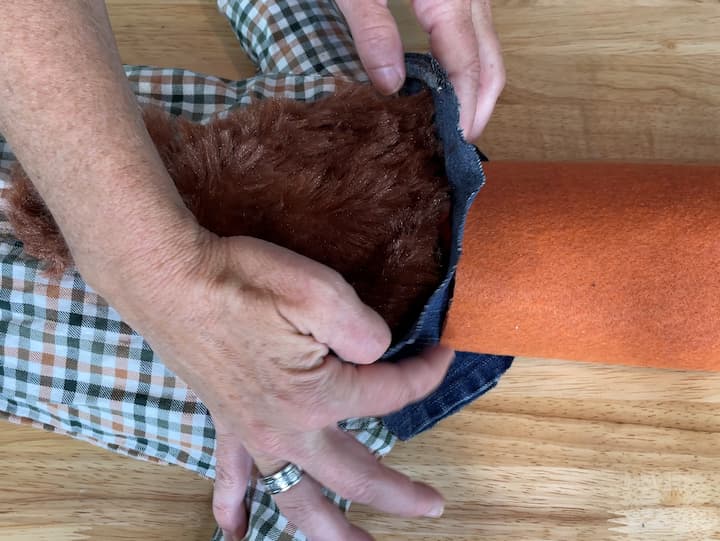

Assemble and Embellish:
- Glue the beard to the front of the onesie.
- Attach the hat over the beard and secure it in place.
- Glue flowers to the top of the hat for added flair.
- Glue an acorn under the hat to serve as the nose.
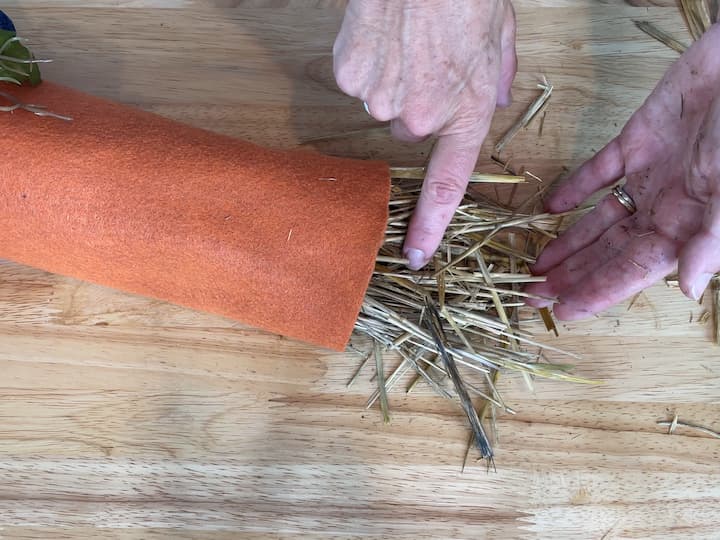
- Place straw into the top of the hat and tie with twine for a finishing touch.
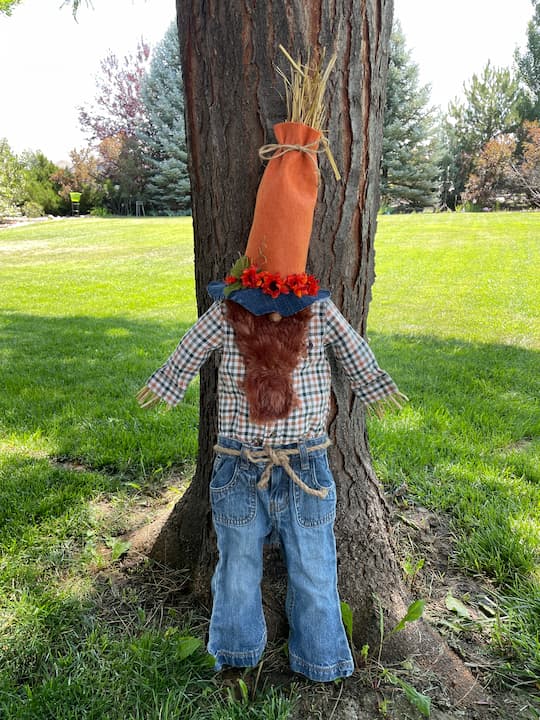
Final Touch:
Your pool noodle gnome is complete, ready to add a whimsical touch to your holiday decor.
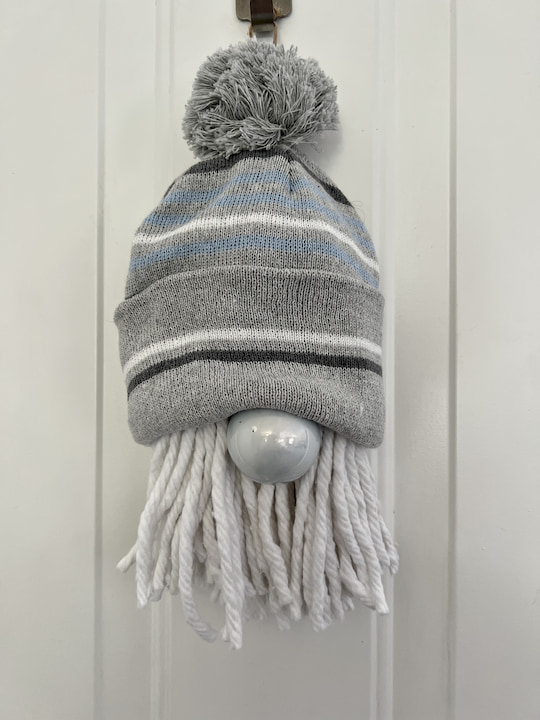
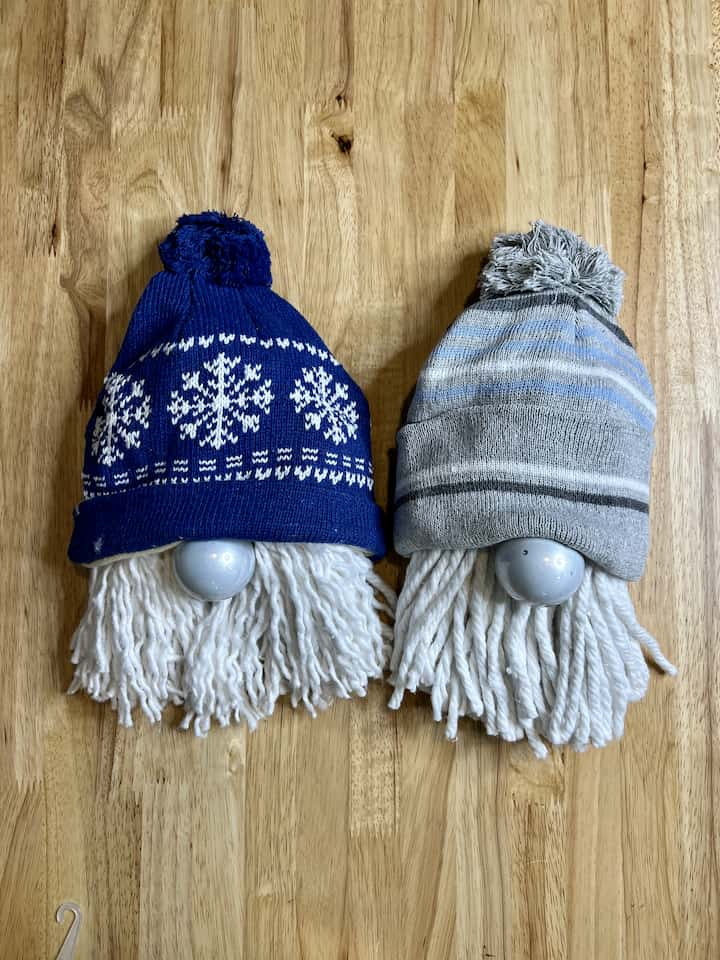
How to make a dollar tree gnome? Winter Gnomes
You can find the full tutorial at Winter Gnomes: Easy and Cute Dollar Tree DIY with Video
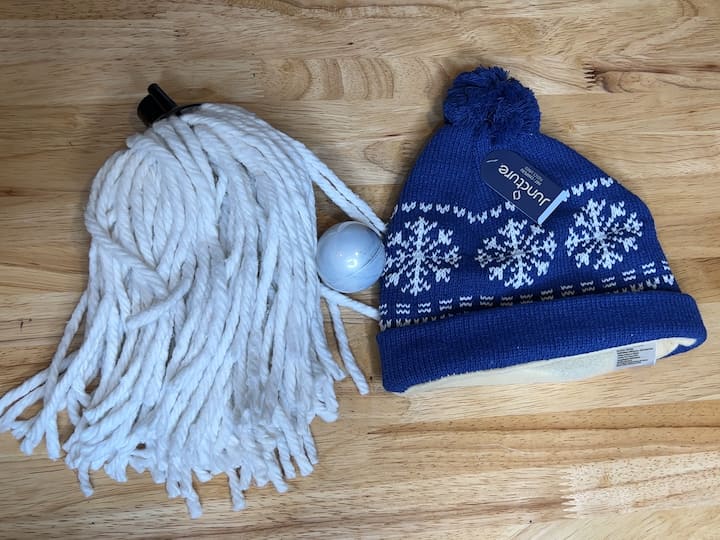
Materials Needed:
- Stocking Hat
- Mop
- Christmas Bulb
- String or ribbon
- Door hanger hook
Instructions:
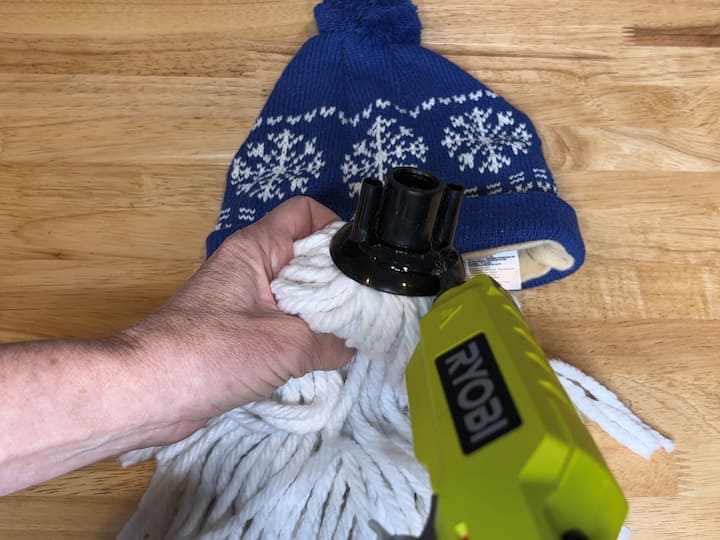
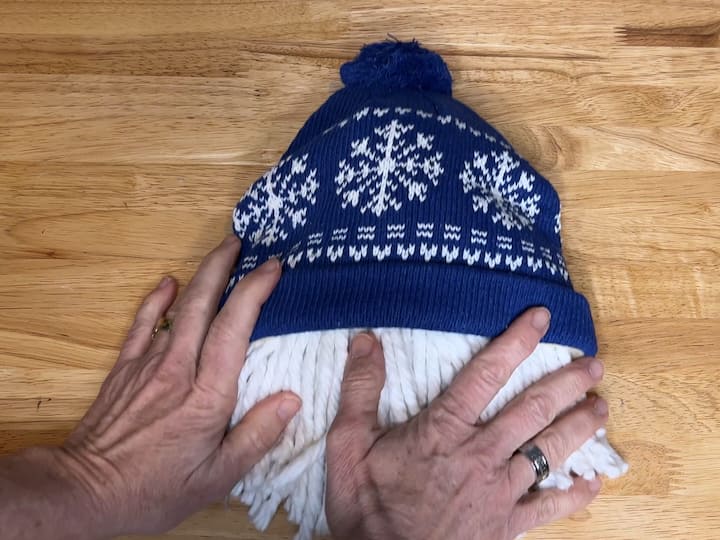
Assemble the Gnome
- Hot glue the mop into the hat
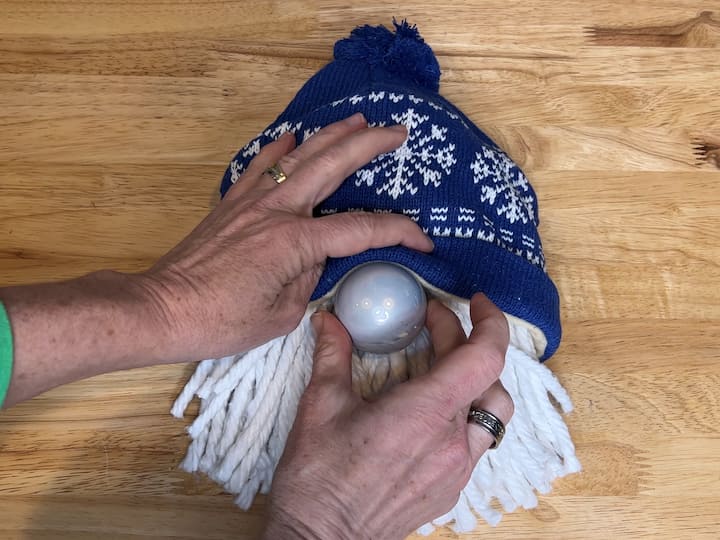
- Hot glue the bulb under the hat slightly and onto the mop.
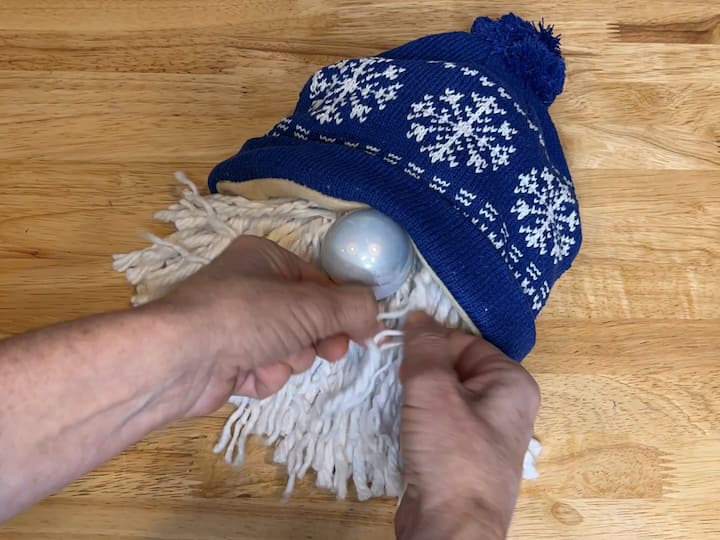
- Optionally you can unwind the mop strings for a different look.
Attach String to Hat:
- Tie a string or ribbon to the top of the gnome’s hat.
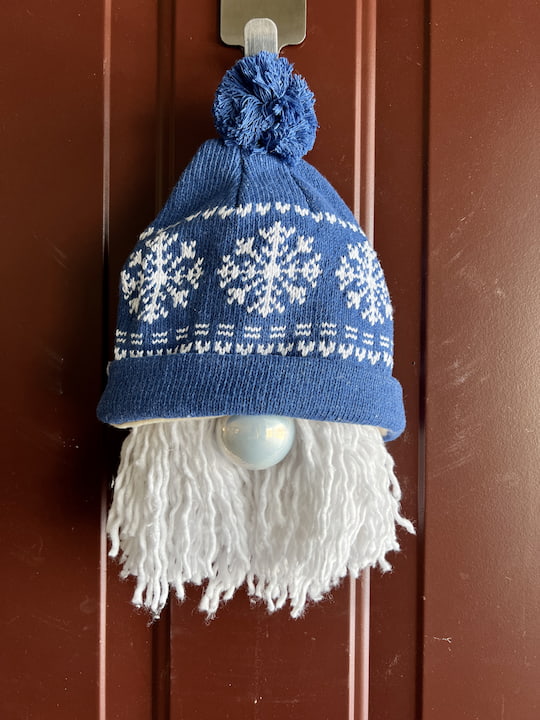
Hang on Door:
- Use the string to hang the gnome on your door, creating a unique and charming door hanger.
- Ensure the gnome is securely attached to welcome guests with a touch of holiday cheer.
Additional Tip: Sparkling Wine Gnome Topper
- Slip a sock over the top of the sparkling wine or grape juice bottle.
- Slide the gnome, created from the earlier projects, onto the top of the bottle.
- Position the gnome securely to enhance the festive look of your beverage.
- Place your gnome-topped bottle on a serving tray or table for a whimsical and festive presentation.
DIY Christmas Gnomes Video
Shop any of these stores and I receive a small commission at no cost to you.
") Lincia 8 Pairs Gnome Earrin…Shop on Amazon
Lincia 8 Pairs Gnome Earrin…Shop on Amazon Hodao Gnome Decor Set of 2 …Shop on Amazon
 USILAND Christmas Gnome wit…Shop on Amazon
 Aesto Christmas Gnomes Plus…Shop on Amazon
") CYNOSA Interchangeable Seas…Shop on Amazon
CYNOSA Interchangeable Seas…Shop on Amazon") Hanging with My Gnomies Chr…Shop on Amazon
Hanging with My Gnomies Chr…Shop on Amazon") Cozy Bliss Gnome Throw Blan…Shop on Amazon
Cozy Bliss Gnome Throw Blan…Shop on Amazon USILAND Christmas Gnomes Pa…Shop on Amazon
 BWFY 3pcs New Christmas Dec…Shop on Amazon
") D-FantiX Christmas Gnomes D…Shop on Amazon
D-FantiX Christmas Gnomes D…Shop on Amazon") Vaukki Indoor Doormat, Non …Shop on Amazon
Vaukki Indoor Doormat, Non …Shop on Amazon

Further Reading
- 50+ Easy Christmas Crafts To Make and Sell
- Super Easy DIY Snowman Crafts You Can Make In One Day
- 5 Beautiful Dollar Tree Christmas Crafts For Under $1

Conclusion
Congratulations on completing these fantastic DIY Christmas gnome projects! Are you ready to create your holiday gnomes? Which one is your favorite, let me know in the comments below! Get creative and turn any of these into girl gnomes if you wish as well. From festive bottle toppers to door hangers, these charming creations add a delightful touch to your holiday decor this Christmas season. Get ready to impress friends and family with your crafting skills. If you enjoyed these projects, don’t forget to like, share, and subscribe to Chas’ Crazy Creations for more inspiring DIY ideas. Wishing you a joyful and craft-filled holiday season!