Easy DIY Dollar Tree Halloween Crafts
Do you love Dollar Tree? Me too! I’m sharing amazing and easy Dollar Tree Halloween Crafts with you!
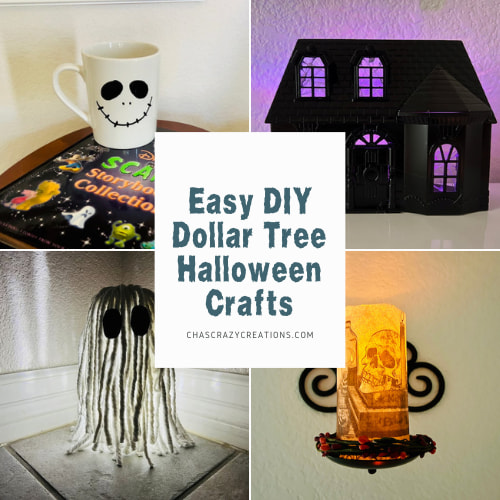
Dollar Tree Halloween Crafts Video
DIY Dollar Tree Halloween Crafts
Let’s get started with all of these amazing and easy craft ideas!
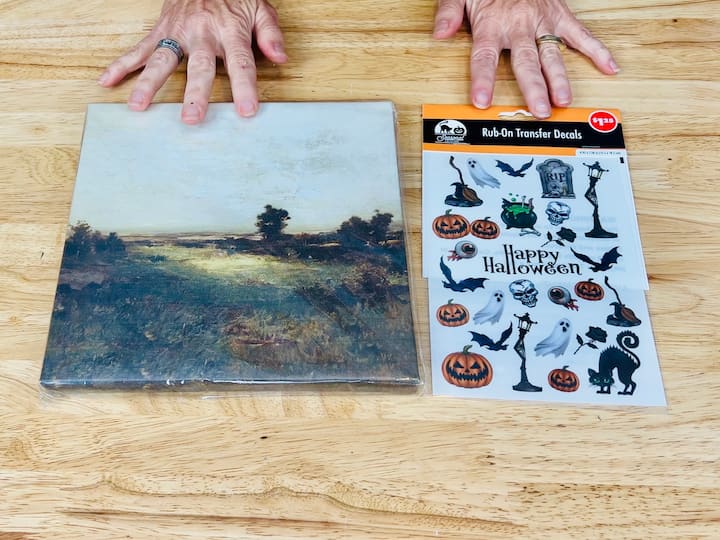
Ghostly Canvas Art – Ghost Painting
I’m going to show you something that went viral last year (ghost paintings). Thrifted ghost painting was all the rage last Halloween. Everyone was running out and picking up old paintings or artwork from the thrift store, and some acrylic paint. They were taking the old artwork, and using some white paint and gray paint to paint the ghost (the gray was for the shading), then added black paint for the eyes of the Halloween Spirit on the landscape of these old vintage masterpieces. This thrifted ghost painting trend and craft has become something that people are now purchasing and adding to their Halloween decorations.
We’re going to do it with dollar store materials. So grab a picture from Dollar Tree.

Materials needed:
- Dollar Tree canvas
- Rub-on transfers or paint
- LED lights
- Tape
Now you can use paint, but I’m going to use these rub on transfers.
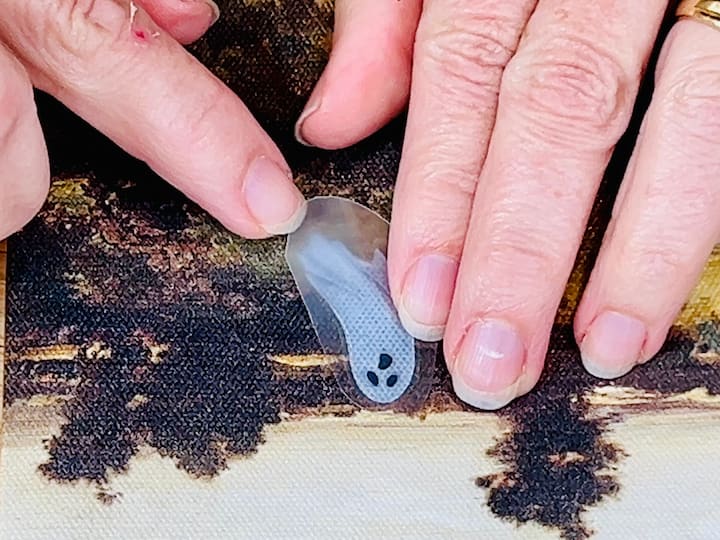
I cut out a little ghost from the rub on transfers. I’m going to peel off the back and place the ghost onto the canvas and then I’m going to scratch over the top.
Once I feel like I’ve got the ghost transferred, I carefully peel off the front. Now, you can add more transfers if you want. I’m going to leave it just with the ghost as is.
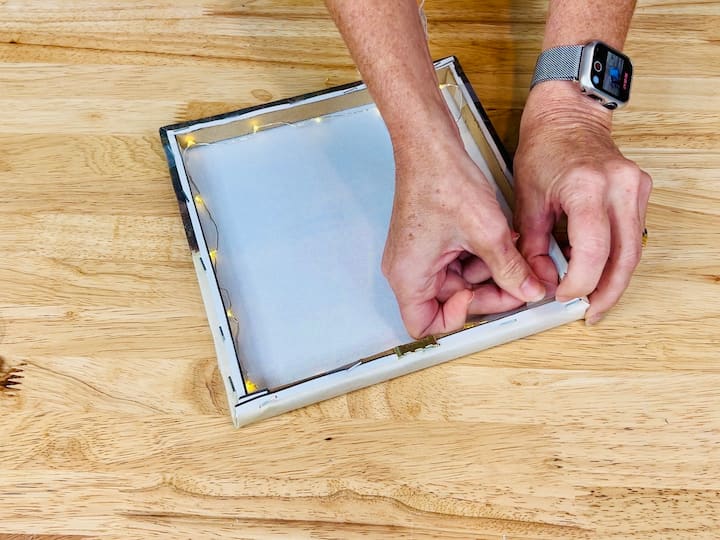
I grabbed some of these white LED lights, and I’m going to tape them to the back of the picture.
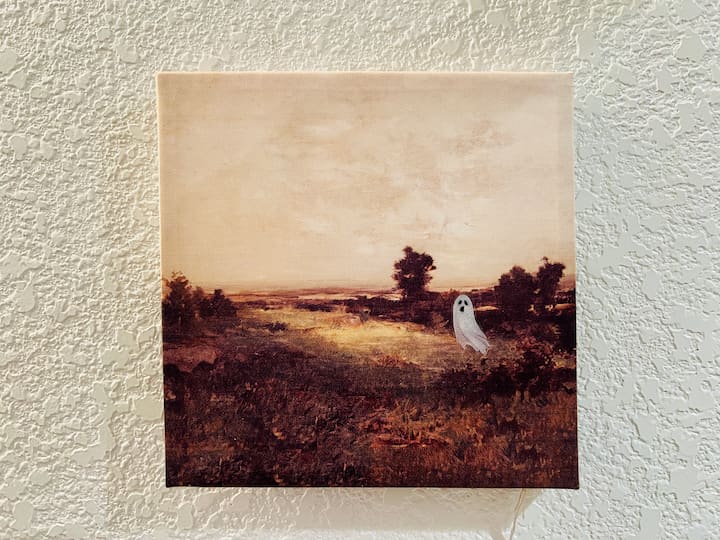
Here you can see it with the lights off
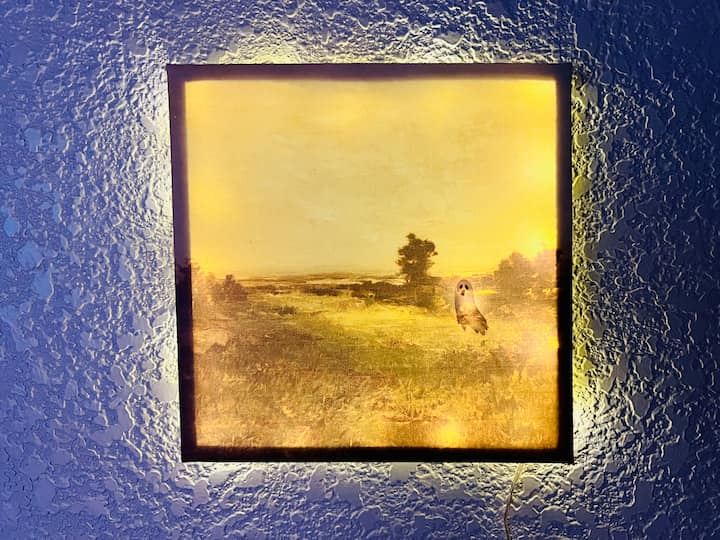
Here you can see it with the lights on. I love how high end this spooky Halloween decor looks. What do you think of the end result?
Are you ready to get in on the TikTok ghost painting challenge? Which way would you create your easy ghost drawing? You can find some more DIY ghost crafts and tutorials at
- Easy Awesome and DIY Spooky Halloween Ghosts on a Budget
- Easy Spooky Glowing DIY Halloween Ghosts for Indoor or Outdoor
- Easy and Awesome Halloween Ghost Craft with Video
- Candle Holder to Etched Glowing Ghost
- Easy Halloween Candle & Ghost Mug Craft
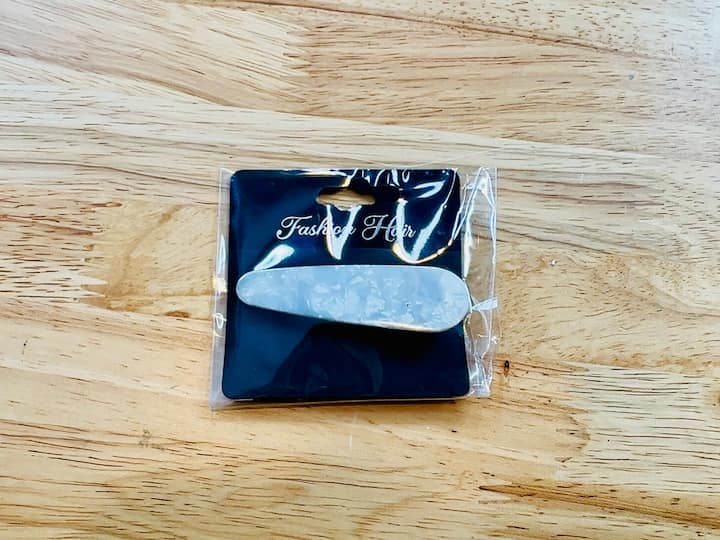
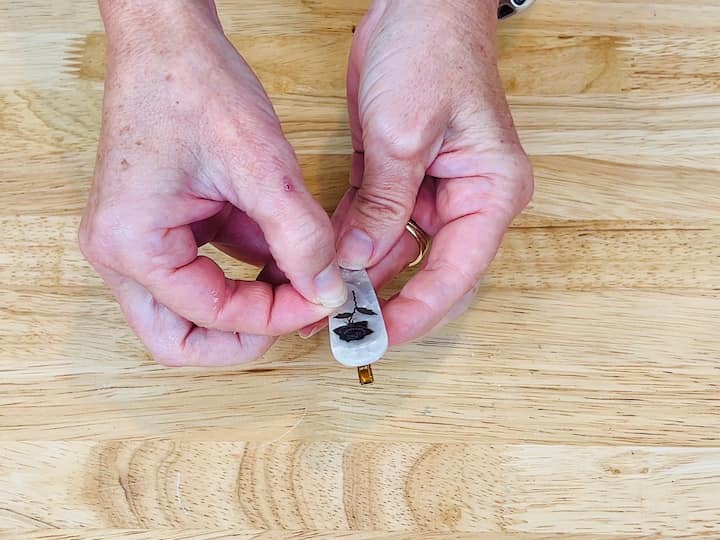
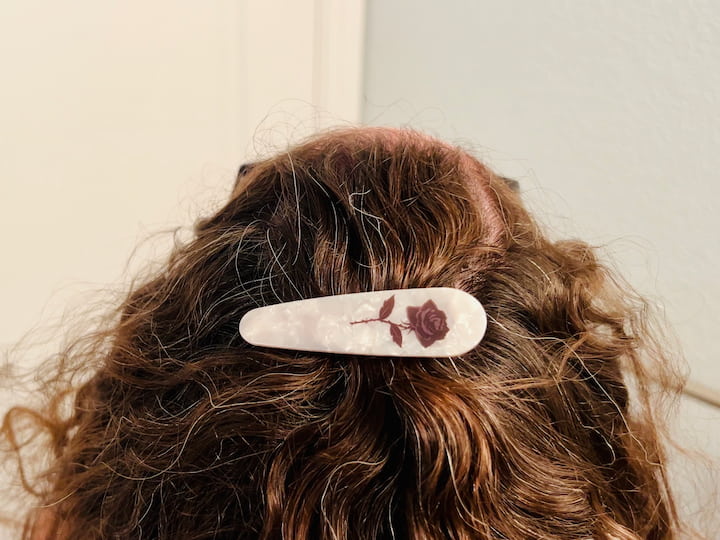
Spooky Barrette
For this next dollar tree Halloween DIY you’ll need some of the following items.
Materials:
- Barrette
- Rub-on transfers
Steps:
- Cut out small designs from the rub-on transfers.
- Peel off the back and place the design onto the barrette.
- Rub the front of the transfer and peel it off.
- Voila! You’ve got a cute, Halloween-themed barrette.
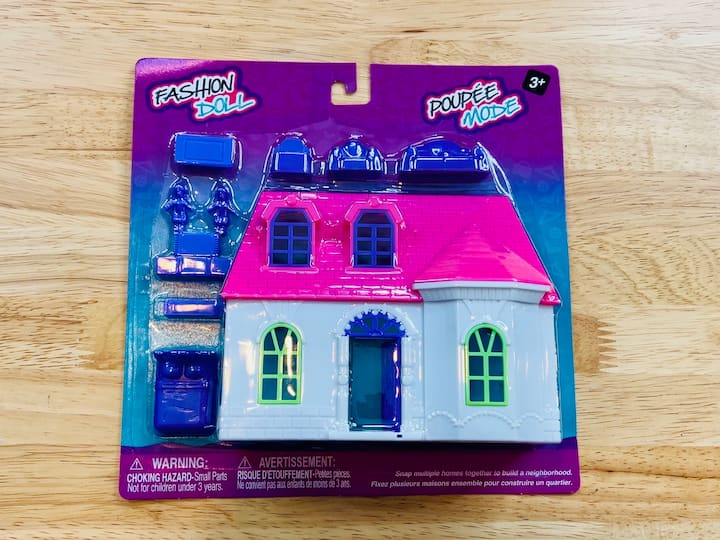
Haunted House Night Light
Head to the toy section and grab one of these houses for the next DIY. This haunted house DIY is another viral hack!
Materials:
- Toy house from Dollar Tree
- Black spray paint
- Hot glue gun
- LED color-changing light or fairy lights
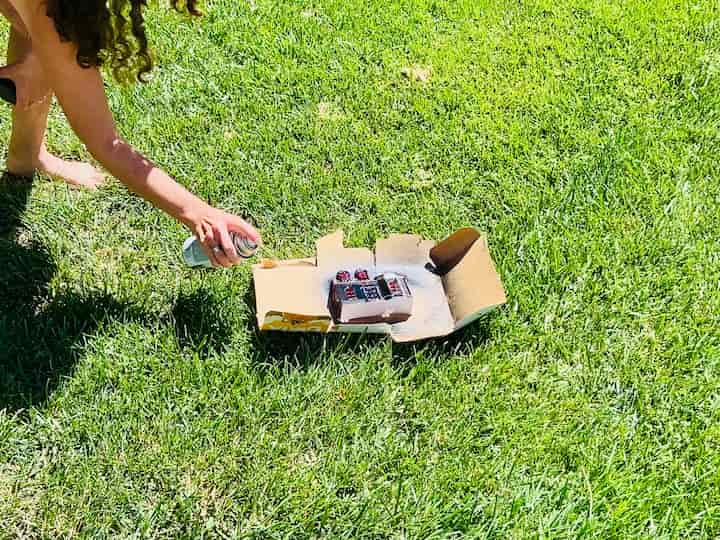
I spray painted the house with black spray paint.
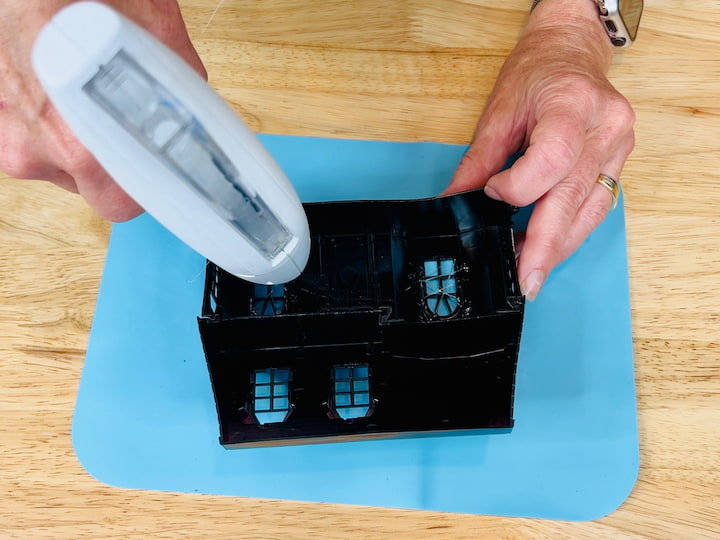
I took my hot glue gun and I made glue cobwebs on the back of all the windows.
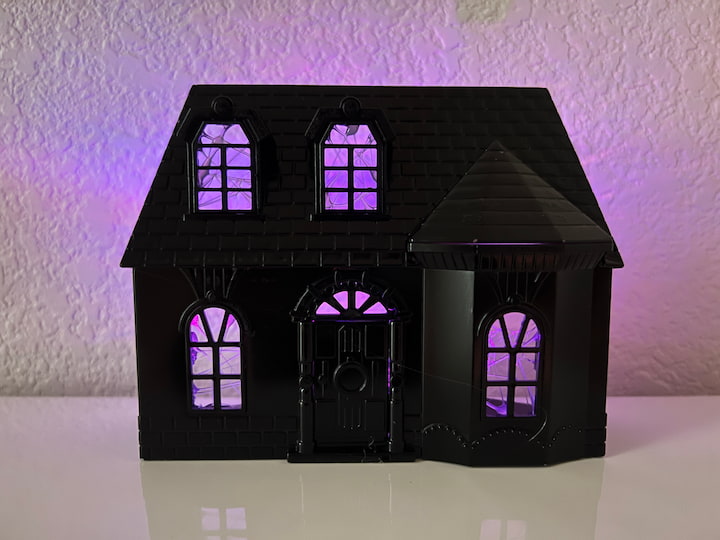
I tried this with two different kinds of lights. One was an LED color changing light from the dollar store.
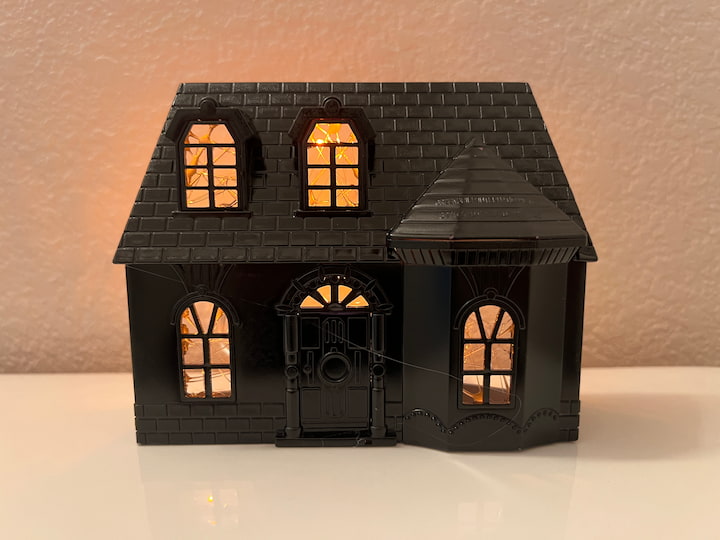
The other one was a little strip of fairy lights. First, we’re going to take a look at the color changing LED light in my haunted house. And next we’ll look at the fairy lights. Which one is your favorite? Let me know in the comments below.
Mop Ghost
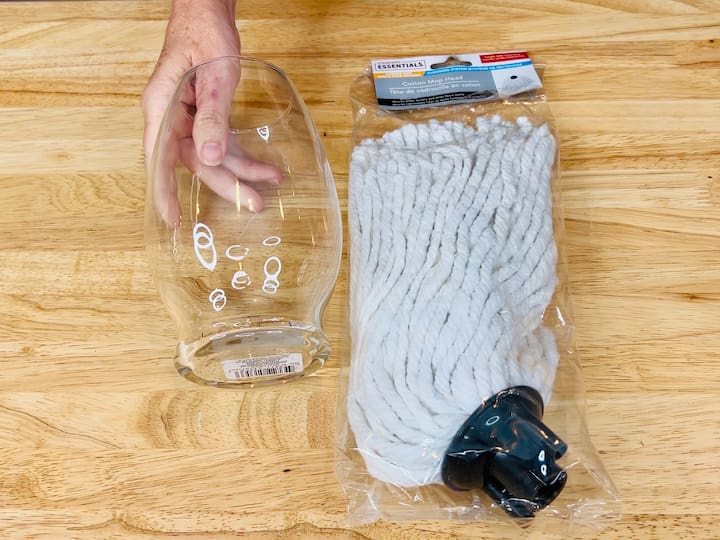
For this project, you’re going to need a vase and a mop.
Materials:
- Vase
- Mop
- Hot glue gun
- Construction paper
- Puck light
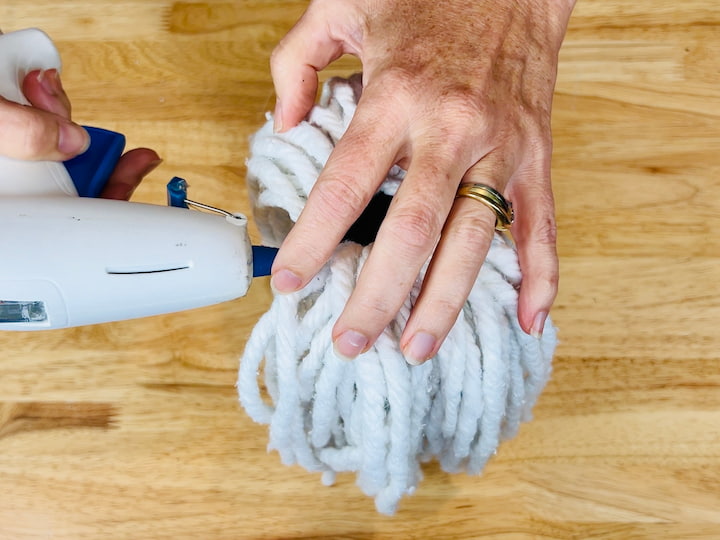
I turned the vase upside down and then I took the mop and turned it inside out and placed it on top of the upside down vase. I hot glued the mop to the vase.
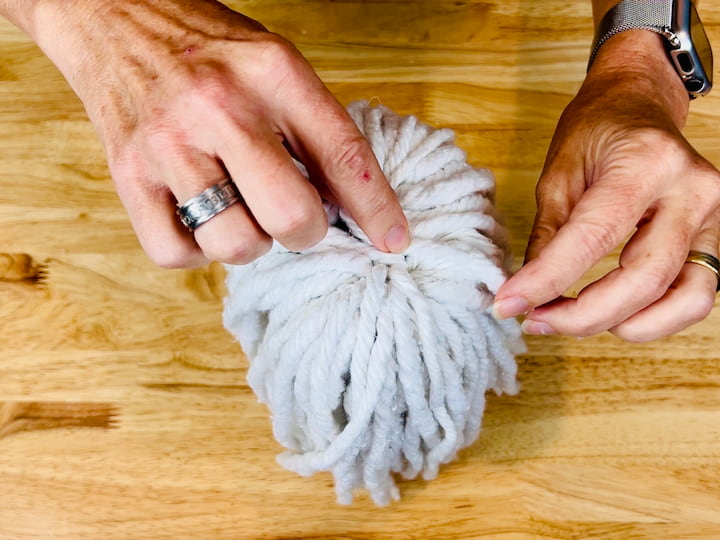
I added a little hot glue to the top where the black plastic was and added some mop to that to cover it up.
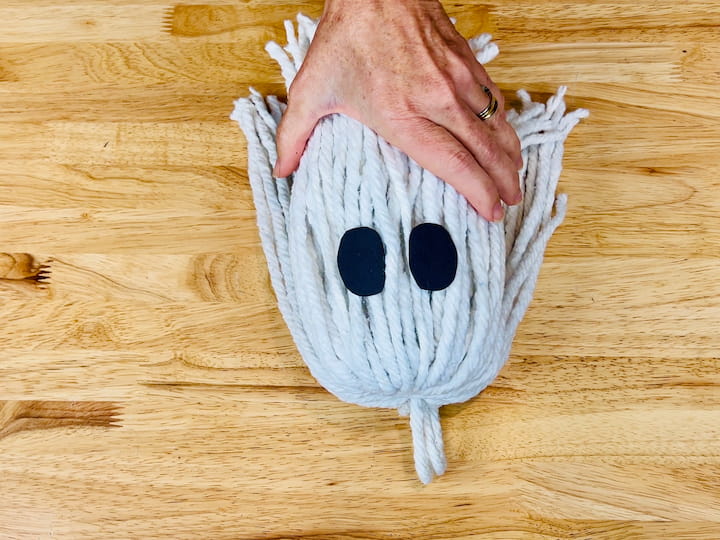
I cut up some construction paper and I made two eyes. And then I hot glued the eyes onto the mop.
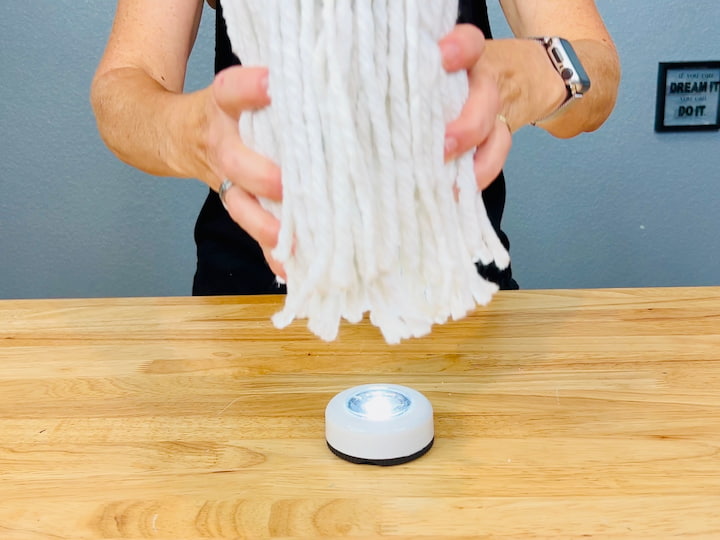
I grabbed one of these puck lights from the dollar store and I placed it underneath the ghost.
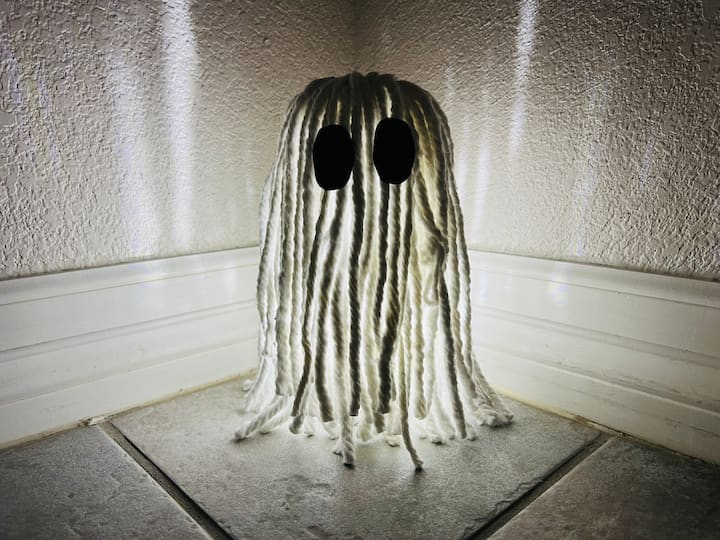
I placed him in my bathroom. I think this will make a great nightlight. Let me know what you think in the comments below.
Spooky LED Candles
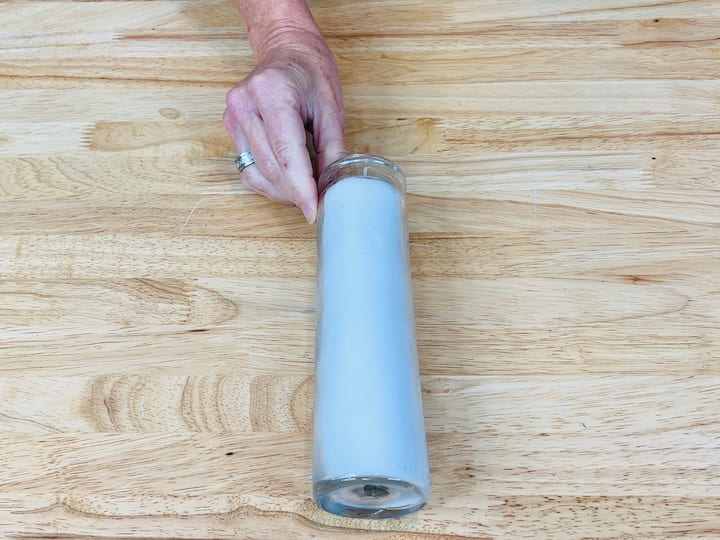
I know you’ve seen these candles and there are so many DIYs you can do with them. Now, some ideas would be to mod podge a napkin over the top.
Materials:
- Dollar Tree LED candles
- Permanent marker or paint marker
- Dry erase markers (optional)
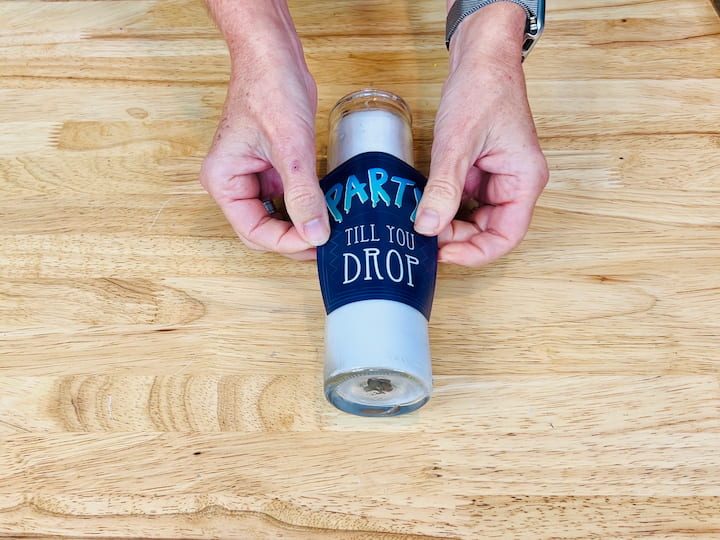
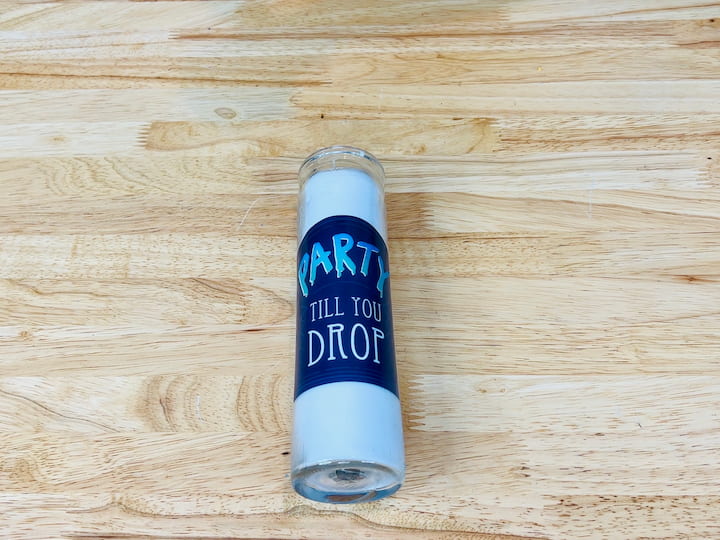
You can also add some rub on transfers, or you can even add a window cling to them
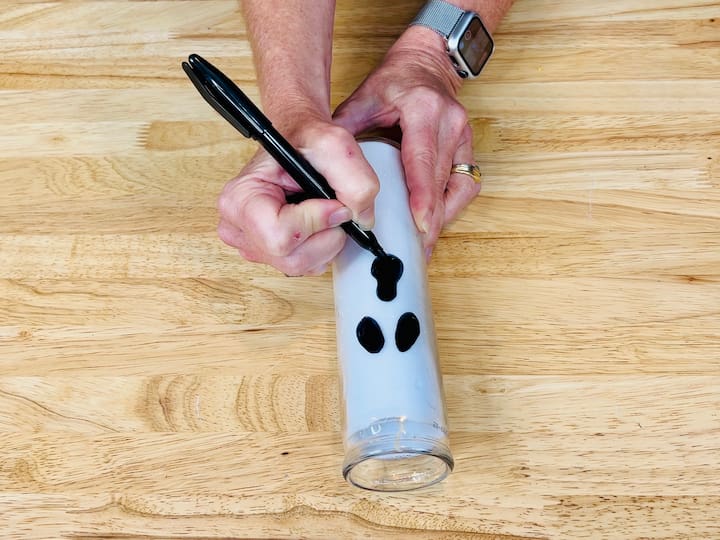
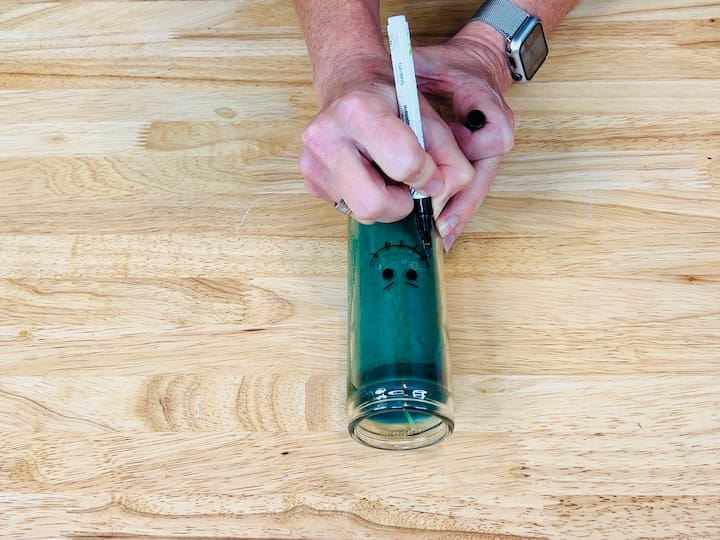
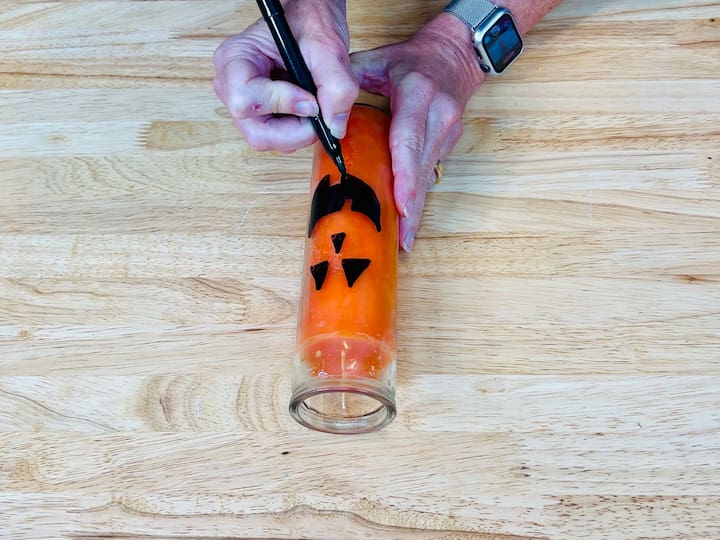
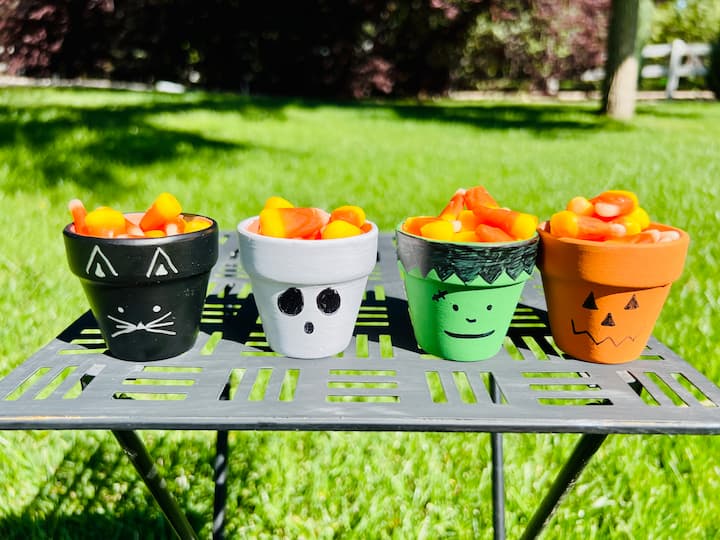
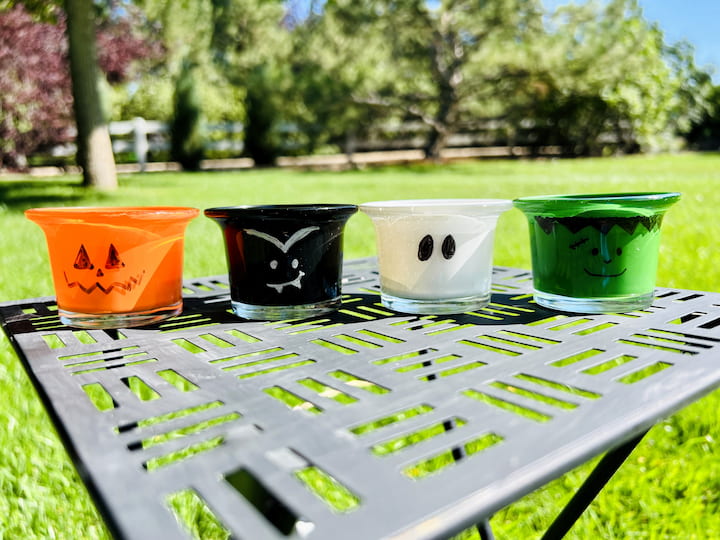
I’m going to grab this black marker from Dollar Tree and make two eyes and mouth to make this super cute ghost. The green one came wrapped in a wrapper, so I went ahead and removed that. I think you could maybe leave it on, but I thought I’d just take it off to be safe. Then I used my apple barrel paint marker to make a Frankenstein monster face. And for my orange candle, I drew on a jack o lantern face.
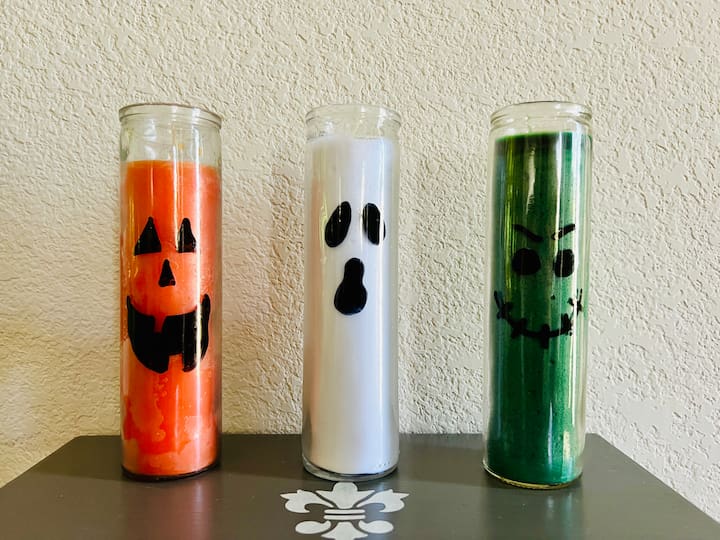
The great thing about these is that kids could get in on the fun too. Very inexpensive, dollar craft. You can also use dry erase markers so you don’t have to use permanent markers or paint if you don’t want.
What would you make? Let me know in the comments below.
Napkin Decoupage Candle
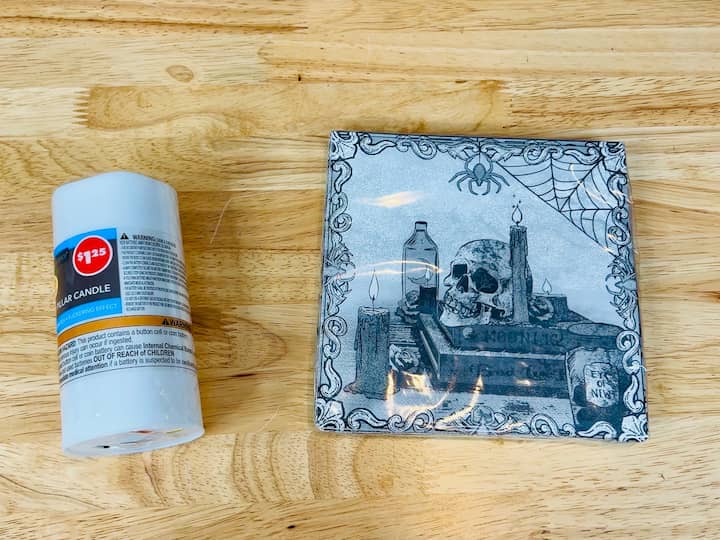
For this next DIY, you’re going to need a dollar store candle and some napkins.
Materials:
- Heat gun or blow dryer
- Dollar store candle
- Halloween-themed napkins
- Wax paper
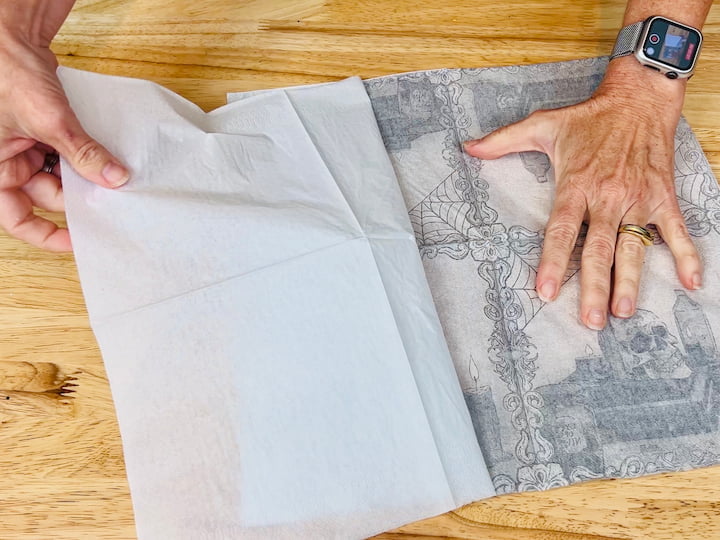
I started by opening up the napkin and I peeled off the inner layer.
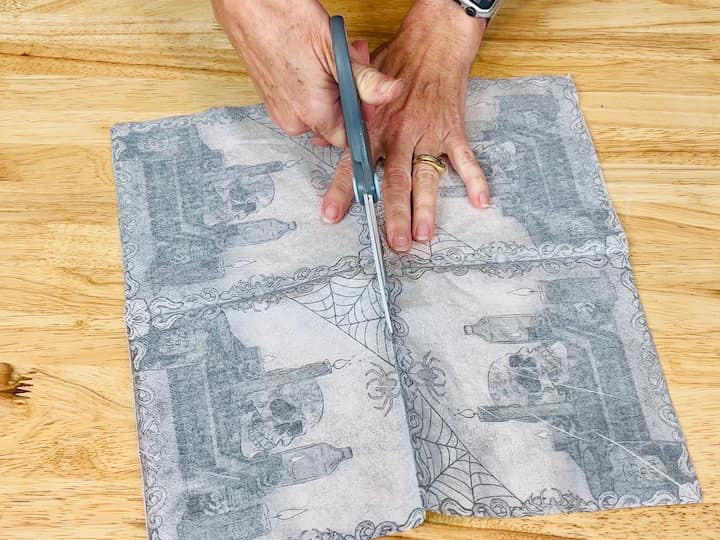
Then I cut the napkin. to the size of the candle.
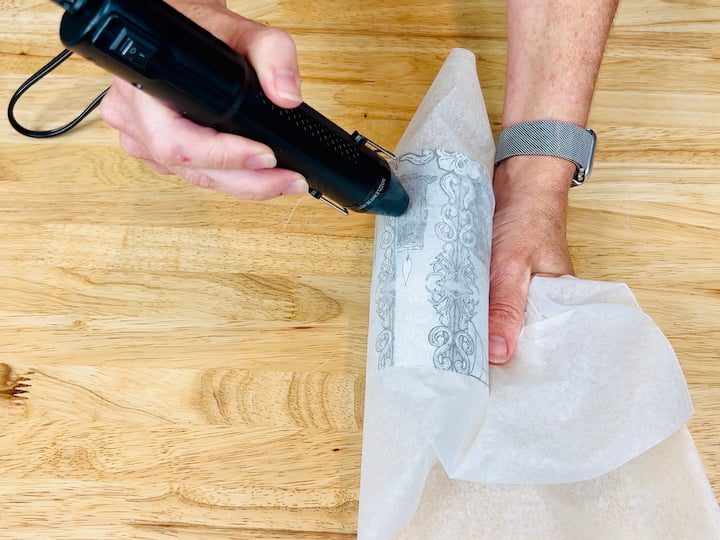
I wasn’t sure how hot this was going to get so I wrapped the whole candle and napkin with some wax paper from Dollar Tree.
This would give me something to hold on to. Then I turned on my plaid heat gun and I started to melt the wax so it went through and onto the napkin making it become one with the candle. For me, this was not too hot to the touch, so I was able to do it without the wax paper in the end. You could try using a blow dryer if you wish.
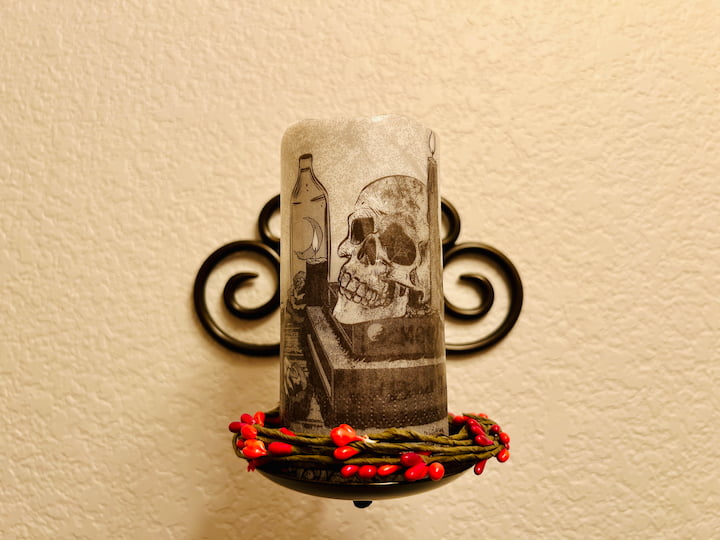
I turned it on and now I’m placing it on a candle holder. You can see it here while the lights are on.
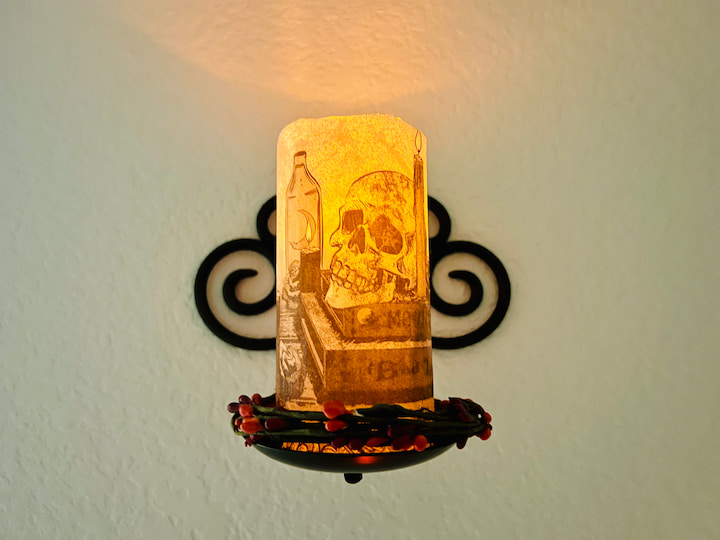
Here it is when the lights are off. I love how this turned out.
Bug-Infested Soap Dispenser
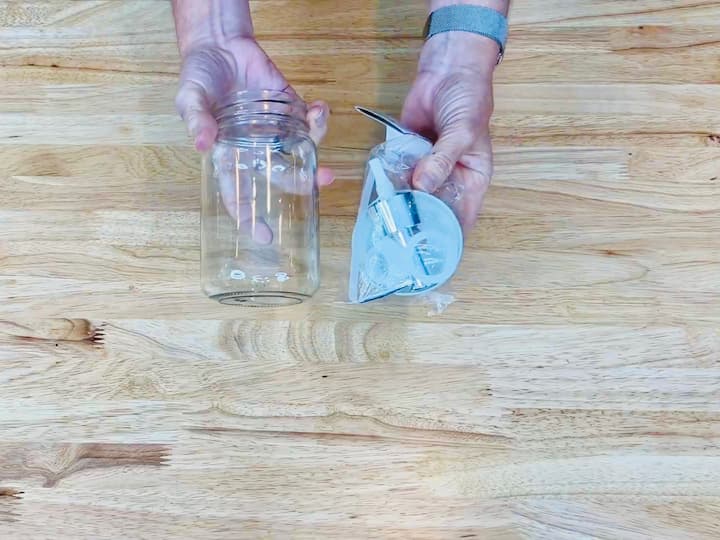
Head to the toy department and grab some of these bugs for this next DIY. I’m also using a recycled jar (or mason jar) and one of the soap dispenser kits from Dollar Tree.
Materials:
- Halloween-themed soap
- Recycled jar
- Dollar Tree soap dispenser kit
- Plastic bugs, spiders, scorpions, etc
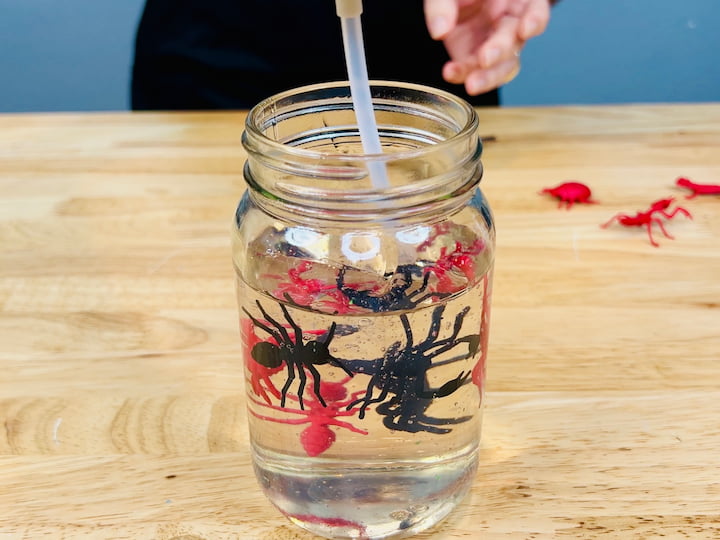
I started by putting the soap dispenser kit together. I found this pumpkin spice soap at Dollar Tree. I poured the soap into the recycle jar. I picked out some of the bugs that I wanted to use, and then I placed them in the jar, and I used the soap dispenser to push them down into the soap.
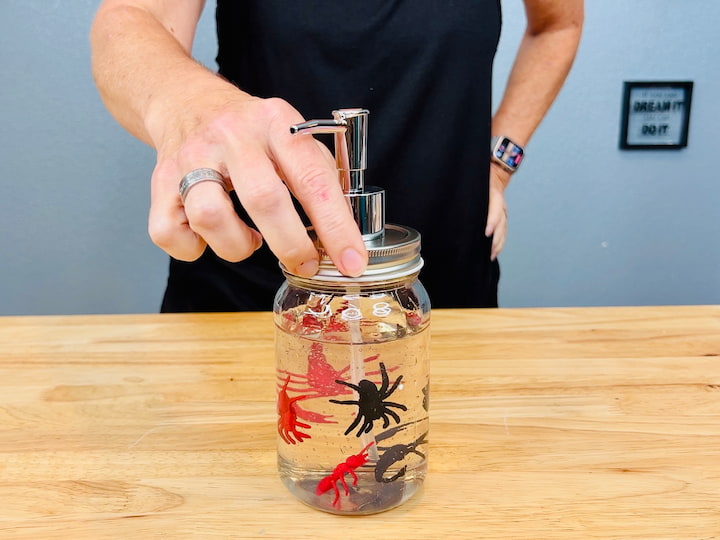
I placed the lid on top.
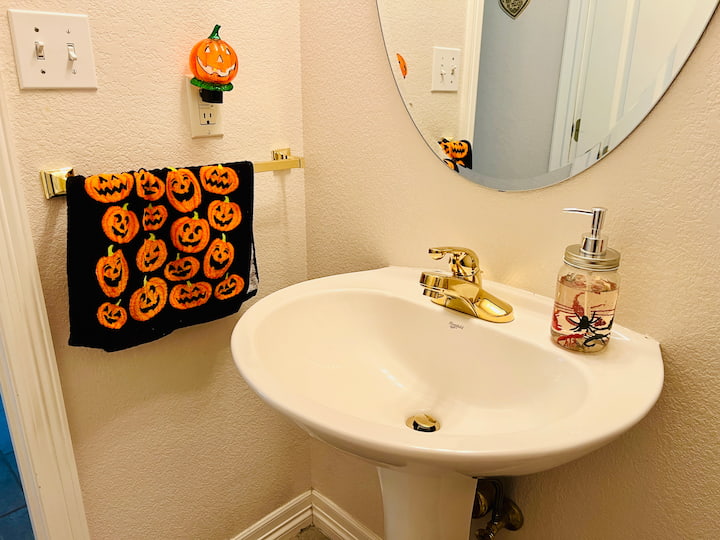
I’ve decided to place mine in the bathroom.
Halloween Mugs
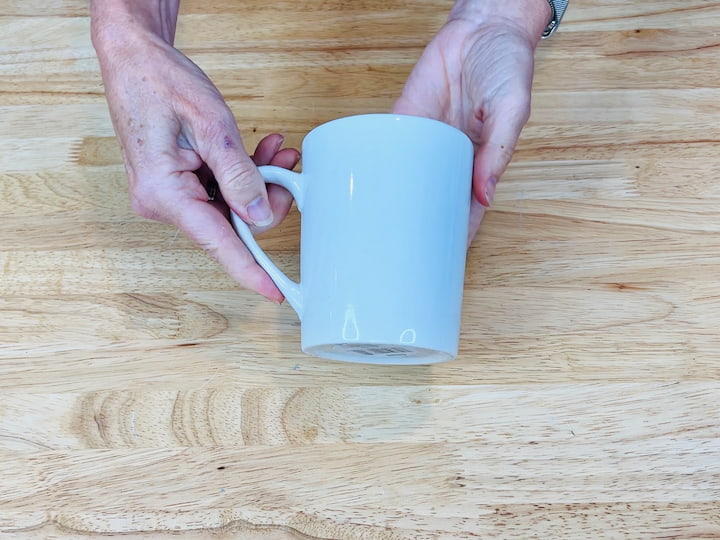
You can find these white mugs at Dollar Tree for just a 1. 25. And I’m going to show you a project that you can make with these.
Materials:
- Dishwasher-safe Mod Podge (optional)
- White mugs from Dollar Tree
- Permanent marker
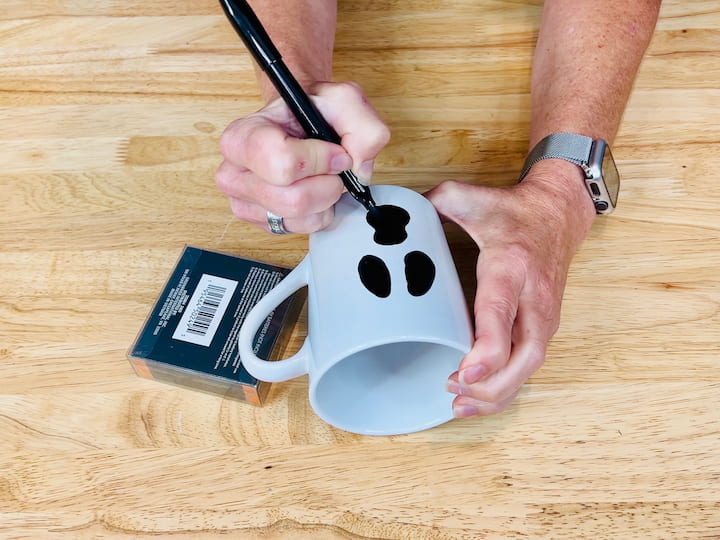
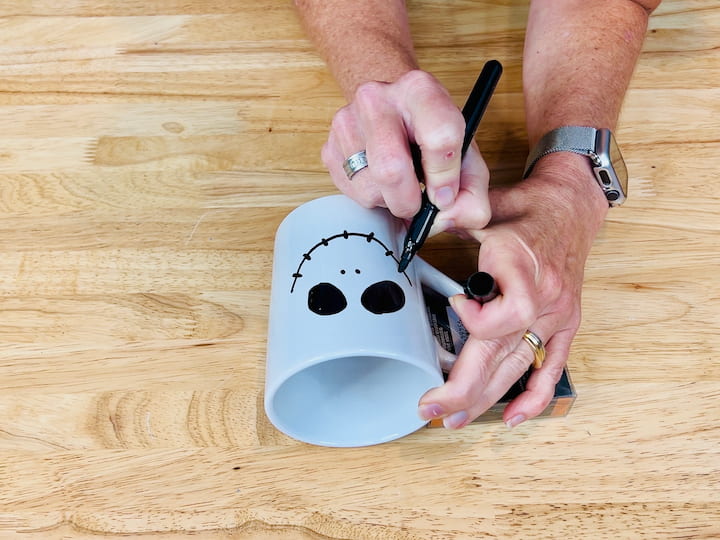
You’ll also need a permanent marker from Dollar Tree. I use this to draw on a ghost face. Another option is to draw a skeleton face.
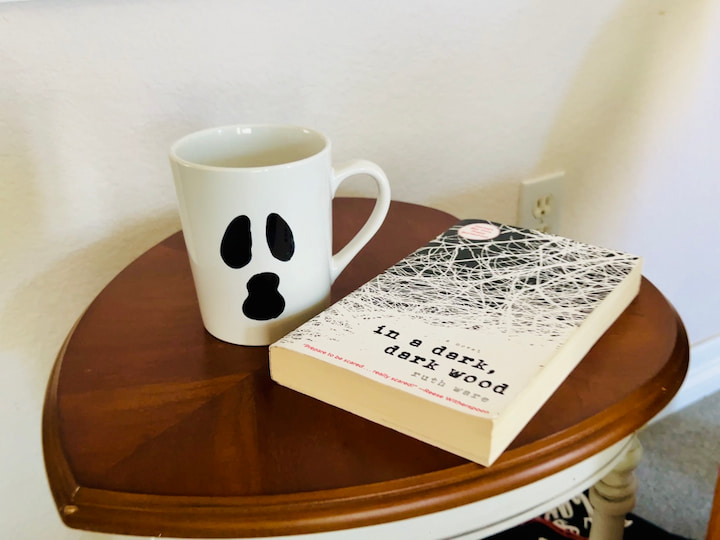
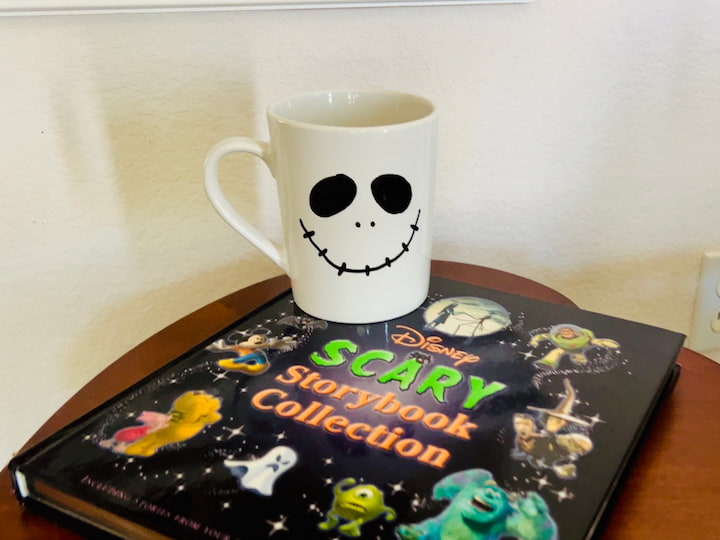
Now you can put dishwasher safe Mod Podge over this to preserve it. Or you could use a paint or marker that will stay on permanently. And look for a future episode where I tell you how to transition these into winter.
Halloween Crafts Video
More Halloween Crafts
Fun and Easy Halloween Crafts
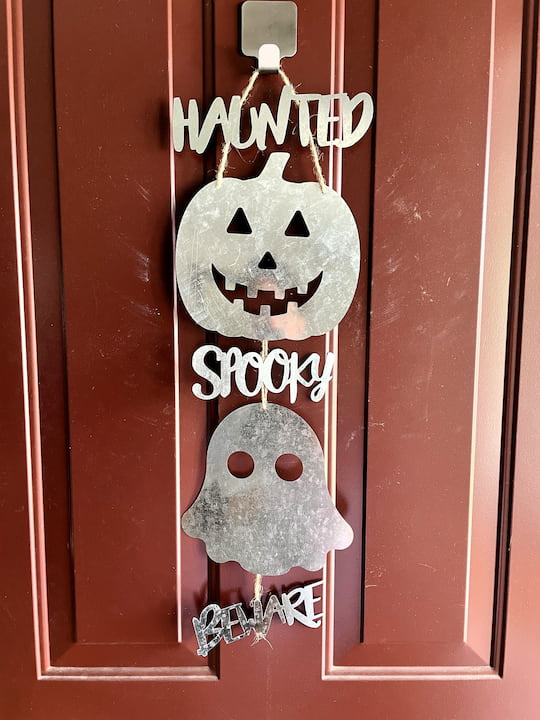
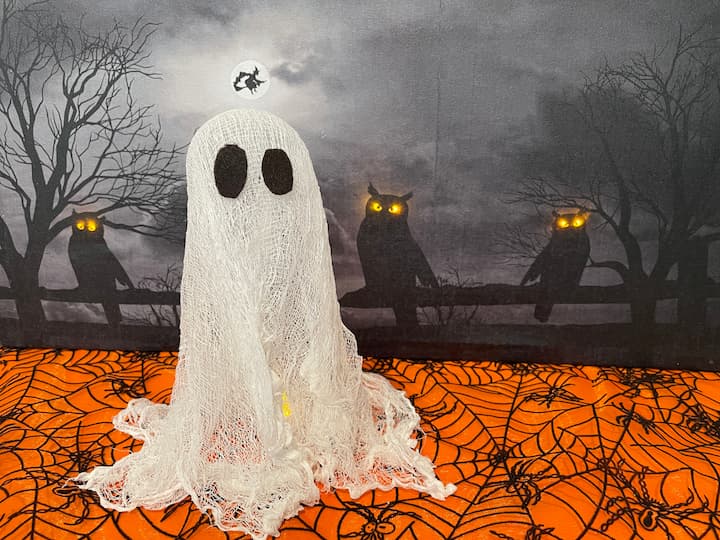
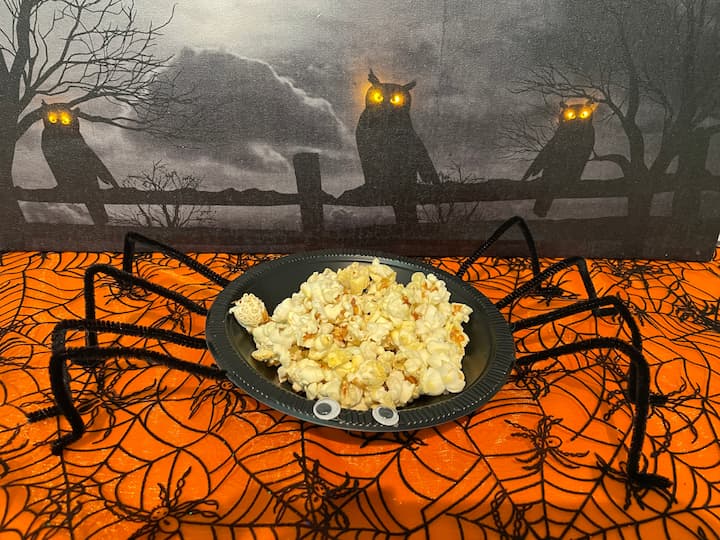
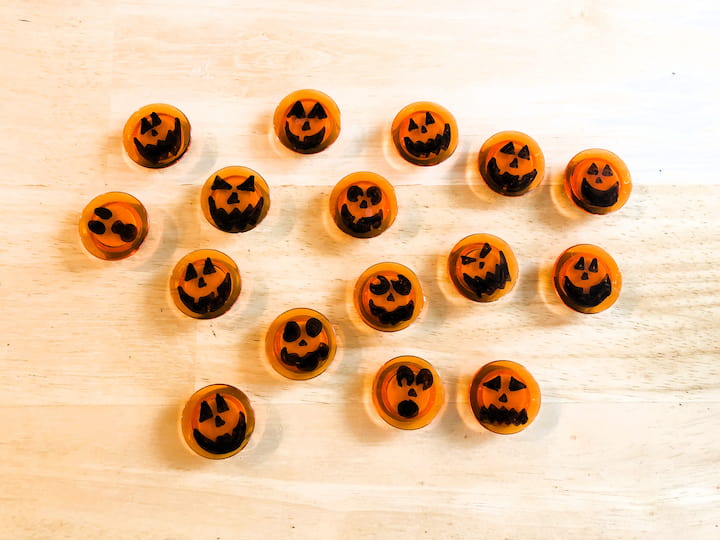
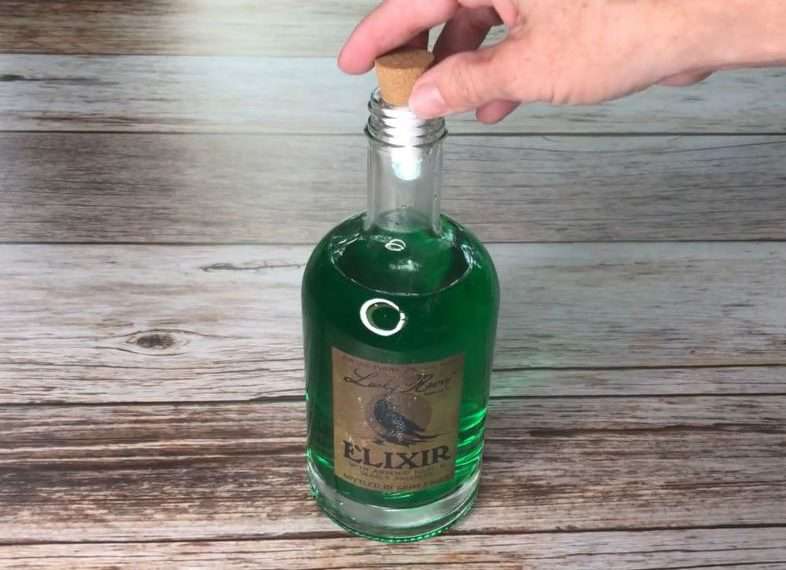
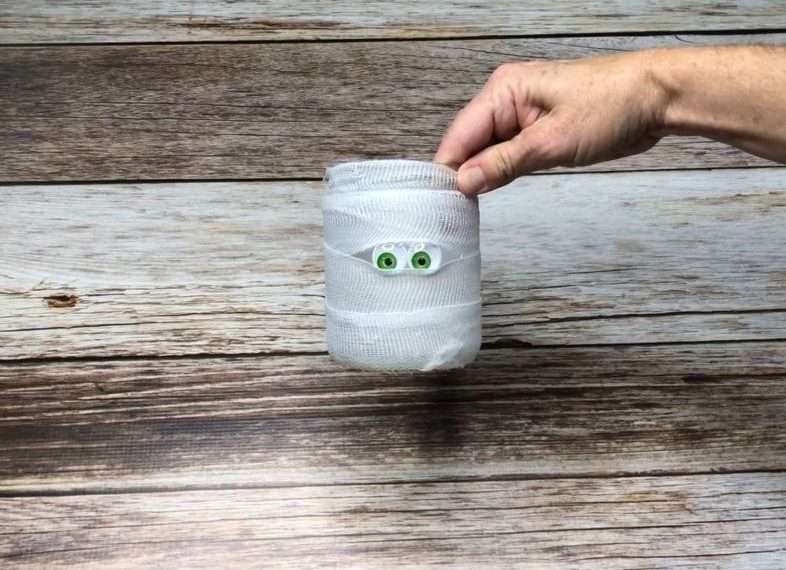
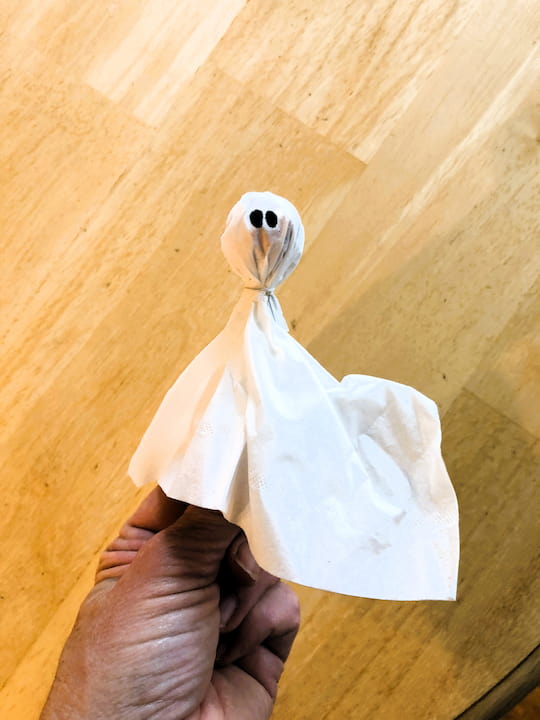
Here are just a few other Halloween crafts I made, a potion bottle, mummy candle, ghost lollipop, pumpkin magnets, galvanized sign, candle holders, snack holders, and more. You’ll just need some recycled items, pipe cleaners, creepy cloth, etc. You might enjoy seeing my tutorials here in this post about Halloween Crafts
How Many Days Till Halloween Easy Dollar Tree Craft
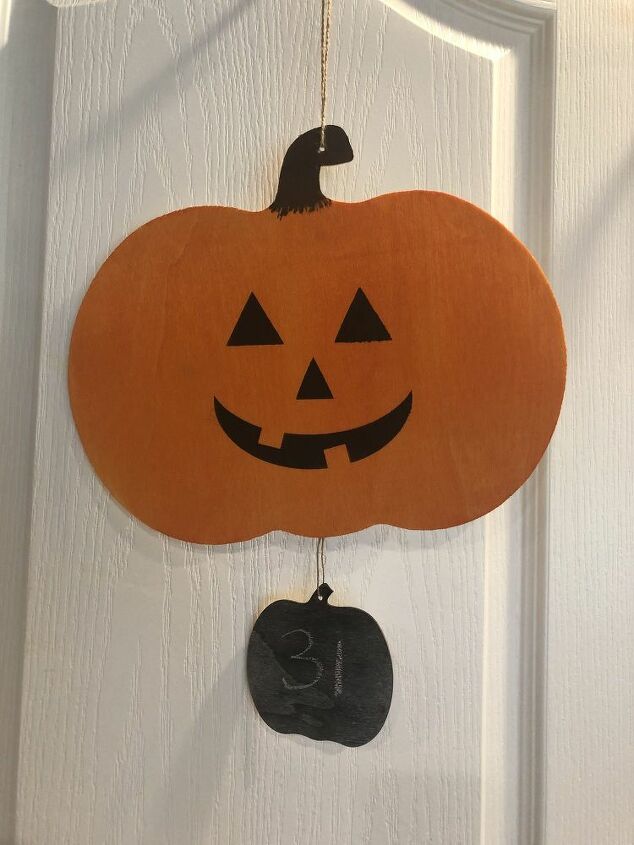
How many days till Halloween? With a little dye and paint, I created a fun Halloween Countdown Calendar with items from Dollar Tree. You can find the full tutorial at How Many Days Till Halloween Easy Dollar Tree Craft
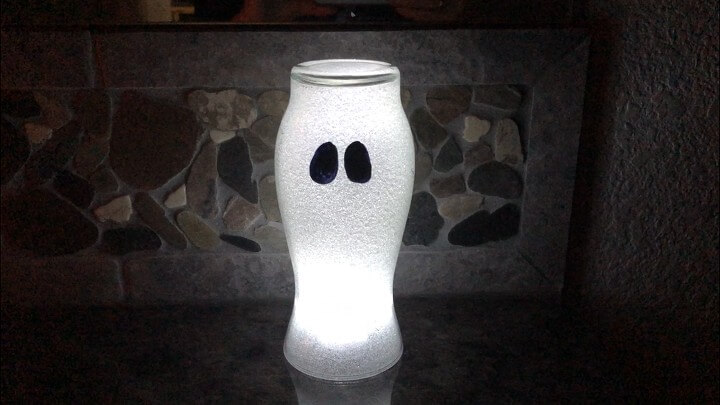
Dollar Store Vase to Glittery Glowing Ghost
I was at the Dollar Store and saw a vase. I knew I could turn it into a glittery and glowing ghost with just a few supplies. You can find the full tutorial at Dollar Store Vase to Glittery Glowing Ghost
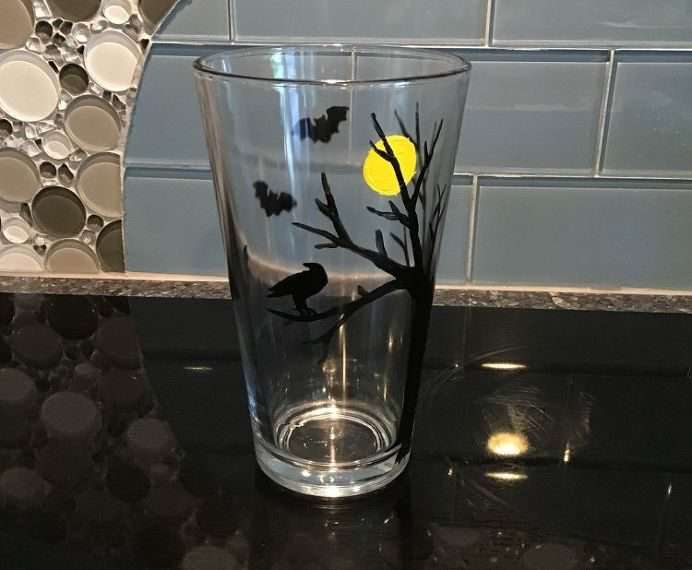
Painting Glasses With Glass Paint
Customize your Dollar Tree glasses with a little paint! With a little creativity, this is an easy way to spice up a Halloween party or just supplement your fall decor. You can easily use stencils to help you if that makes you more comfortable with this project. I used both in this project and you can see the full tutorial at Painting Glasses With Glass Paint
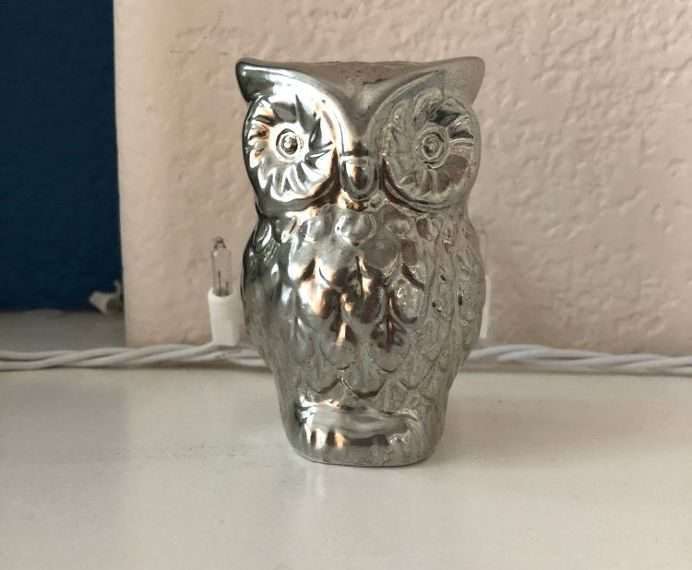
Upcycled Dollar Store Owls
I have been wanting some silver owls for my home, but some places sell them for a lot of money!!! I ran across these owl salt and pepper shakers at Dollar Tree (love that place) and knew with a little spray paint I could upcycle them to those expensive ones I wanted for a lot less money. You can find the full tutorial at Upcycled Dollar Store Owls
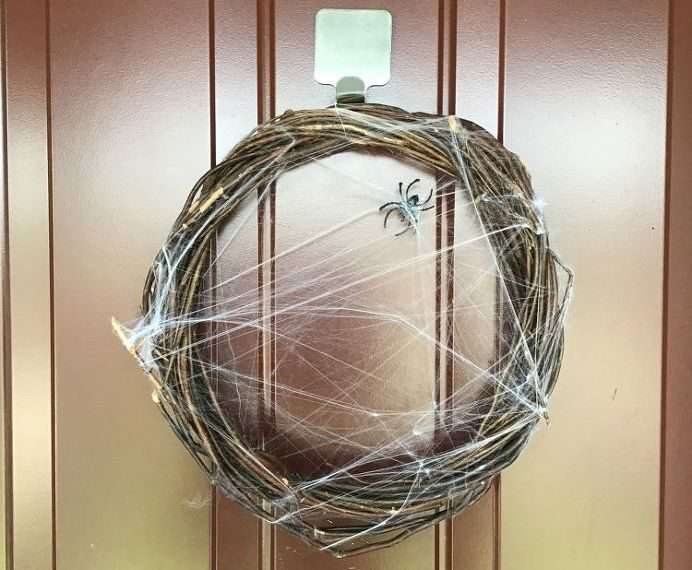
Easy Dollar Store Halloween Wreath
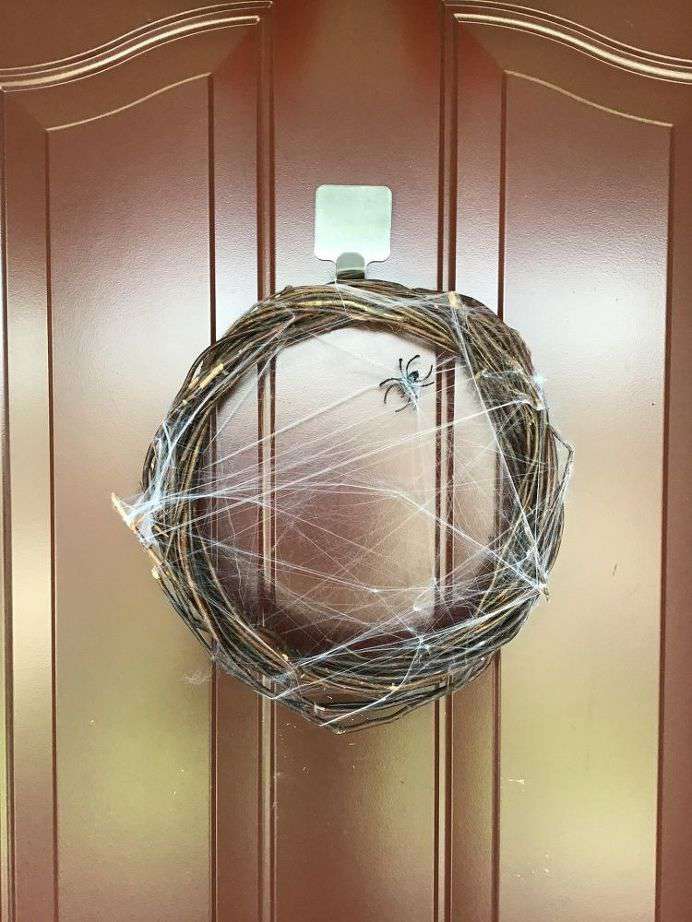
It’s my favorite time of year and I love creating decor for it. I had a bunch of kids and teenagers over for a Halloween get-together and we made spooky Halloween wreaths. It was easy, and inexpensive, and everyone had a great time pulling webs and adding the plastic spider. You can find the full tutorial at Easy Halloween Wreath

Make A Mummy Jar
Using a recycled jar, 2 google eyes, and gauze to the jar, I was able to create a mummy for Halloween. Add a battery-operated tea light or glow sticks, and he’s ready to glow. If you use a bigger jar or bowl this could easily be a fun Halloween candy jar.
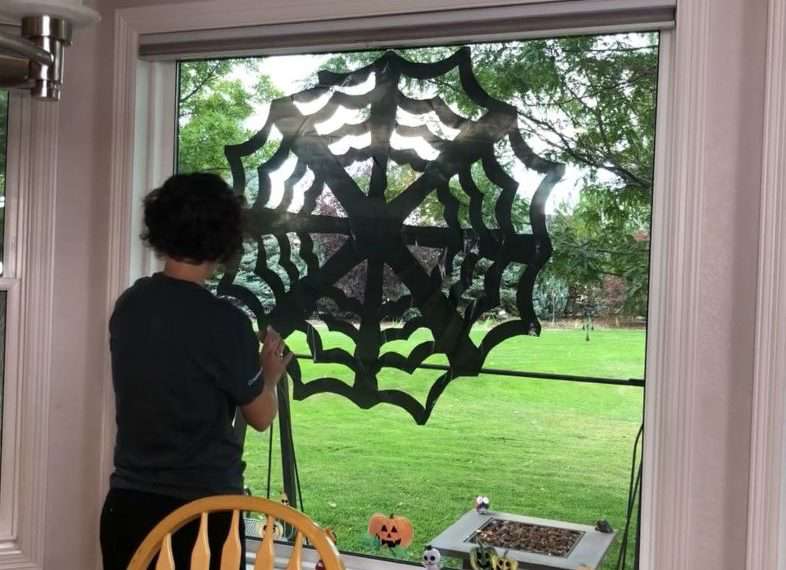
Make A Trash Bag Cobweb
Fold some trash bags up and use scissors to cut them. They’ll hang on your windows with static cling.
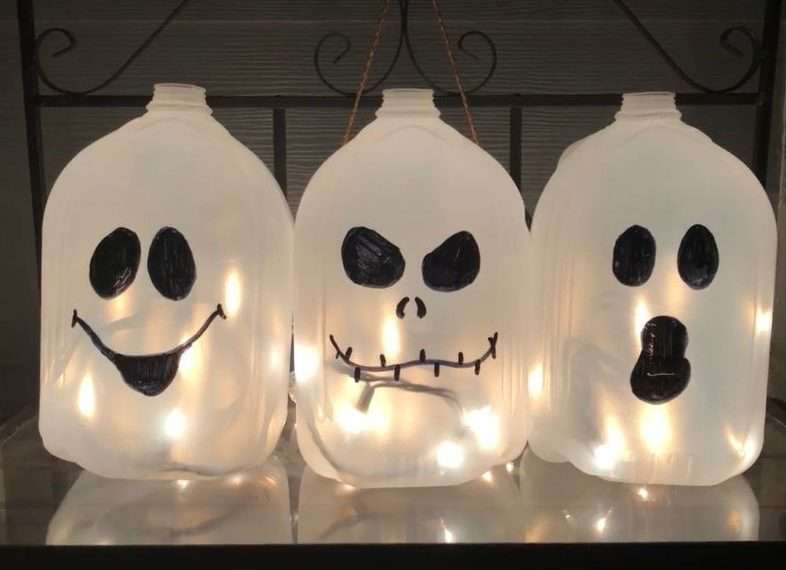
Recycled Milk Jug Ghosts
Draw faces on one side or your recycled jug with a permanent marker. Kids will really have fun doing this too. *Dry erase markers work great for younger kids with this project!
You can find these 3 of these tutorials at Super Easy Halloween Decor
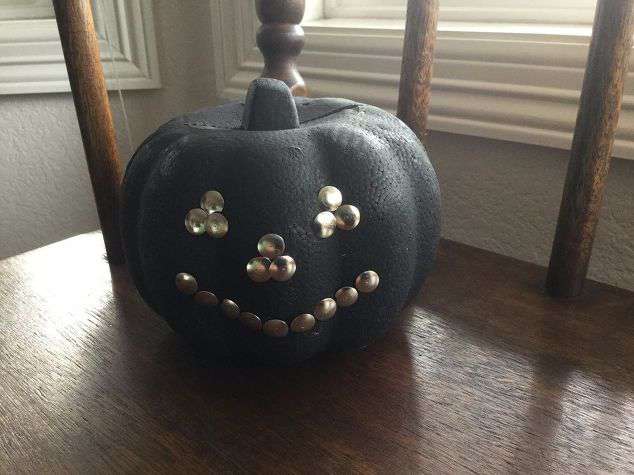
3 Ways to Have Fun with a Dollar Tree Pumpkin Crafts
All you need is one foam pumpkin and there are so many ways to have fun with it! This is an easy project and you can probably use craft supplies you have around the house. It is great for kids, girl’s night out, Halloween parties, party favors, etc. Could easily be amended for a simple fall or Thanksgiving decoration as well. To find these fun and easy tutorials hop on over to 3 Ways to Have Fun with a Dollar Tree pumpkin crafts
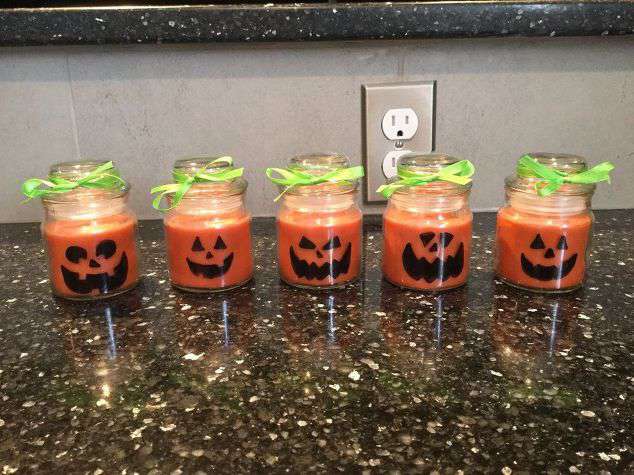
Easy Pumpkin Candle Craft
Make these super easy Halloween craft candles. It’s easy and inexpensive! Great for kids and adults, parties, party favors, etc. Make them and sell them to earn a little extra cash before the holidays. You could also try making ghost candles. Find the full tutorial at Easy pumpkin Candle craft
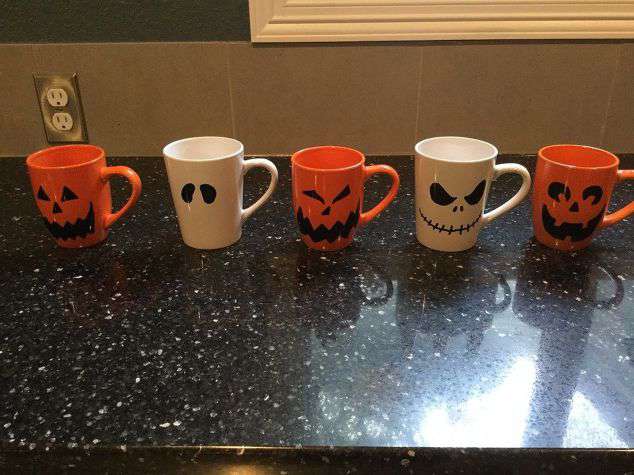
Easy Pumpkin Mug Craft
You’ll need a mug – can be a re-purposed mug or a new one from Dollar Tree, Walmart, etc. These cost $1 to make and they are great for classroom parties with kids, party favors, or make them and sell them! There are so many different ways you can decorate them. Find the full tutorial at Easy Pumpkin Mug Craft
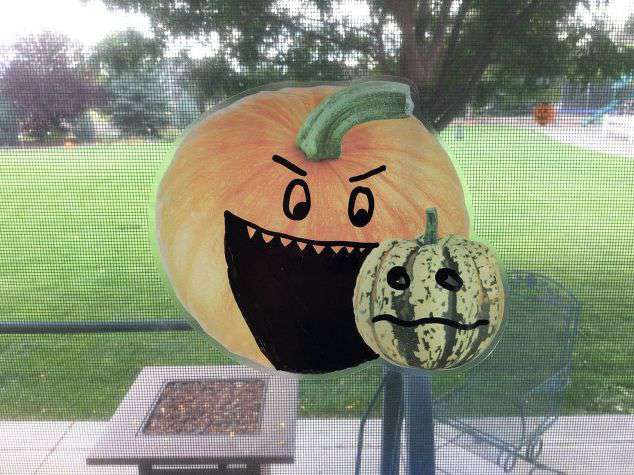
Window Cling Pumpkin Crafts
Something we had done every year for fun, I decided to share it with the world. Fun for the whole family, have fun with some basic window clings. My kids LOVE this activity. Now that they’re older they giggle and laugh when we get them out and put them up at home. Find the full tutorial at Window Cling Pumpkin Crafts
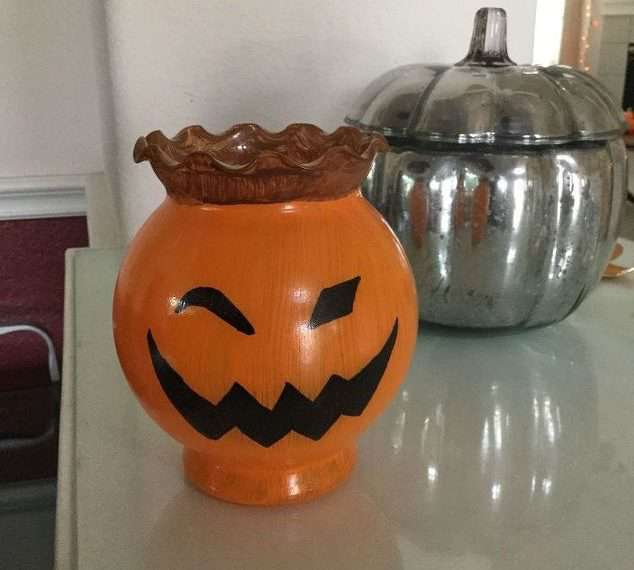
Bud Vase Pumpkins
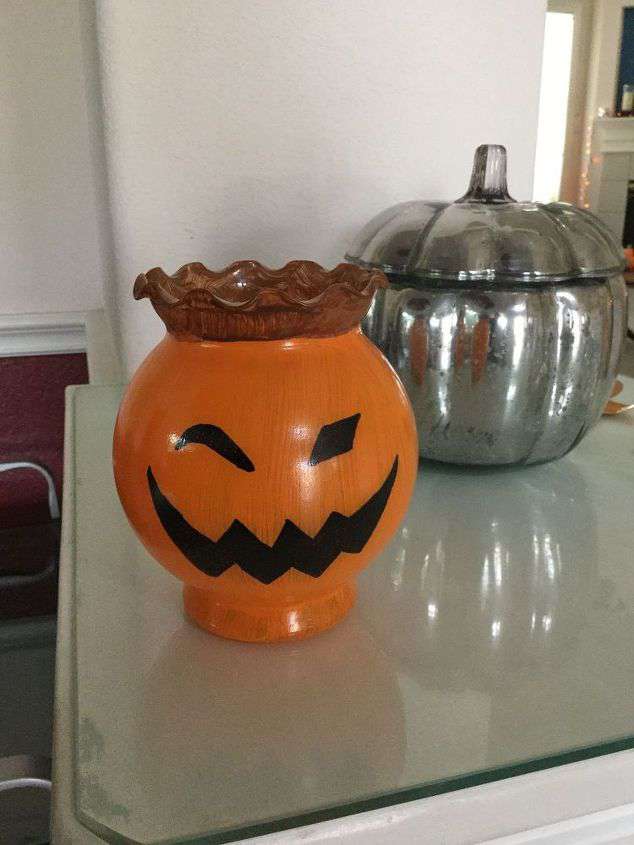
This is a great example of re-purposing things you have around the house for fun Halloween projects. Change a simple bud vase into a jack-o-lantern or ghost. An easy project for kids too! All you need is a little paint and some markers. This costs so little to make and everyone has so much fun with it. Find the full tutorial at Bud Vase Pumpkins
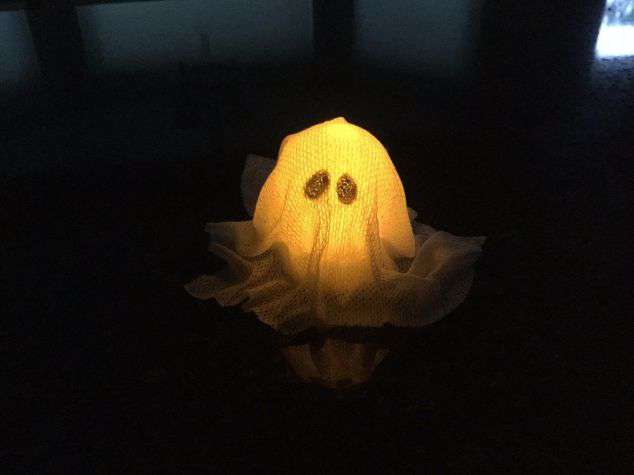
Easy Halloween Light Up Ghost Craft! (2 Options)
Make this super easy light-up ghost craft for Halloween. It’s easy and inexpensive! Great for kids and adults, parties, party favors, etc. You can find the full tutorial at Easy Halloween Light Up Ghost Craft! (2 Options)
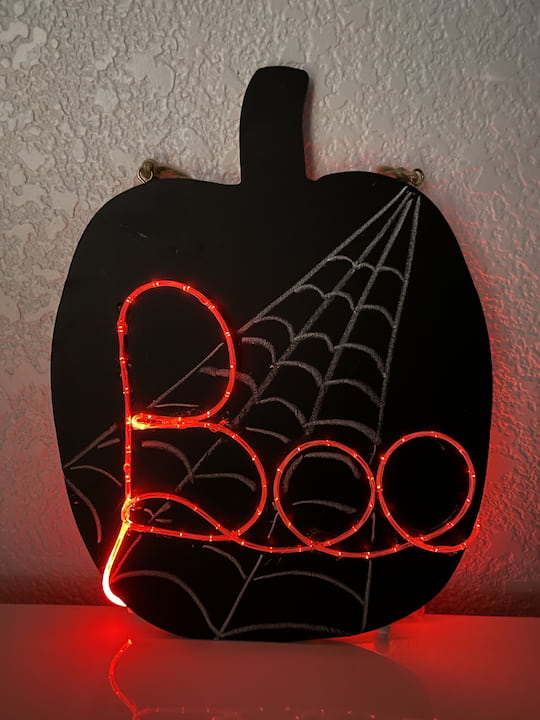
Easy and Spooky DIY Wood Halloween Decorations with Video
Are you looking for DIY wood Halloween crafts? With just a few items you can create some super easy decor on a budget. You can find the tutorial at Easy and Spooky DIY Wood Halloween Decorations with Video
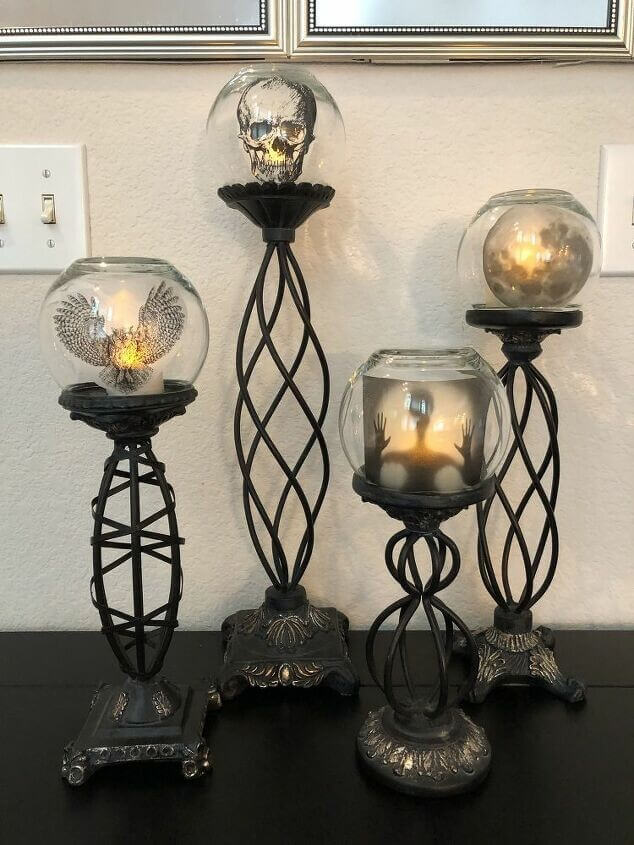
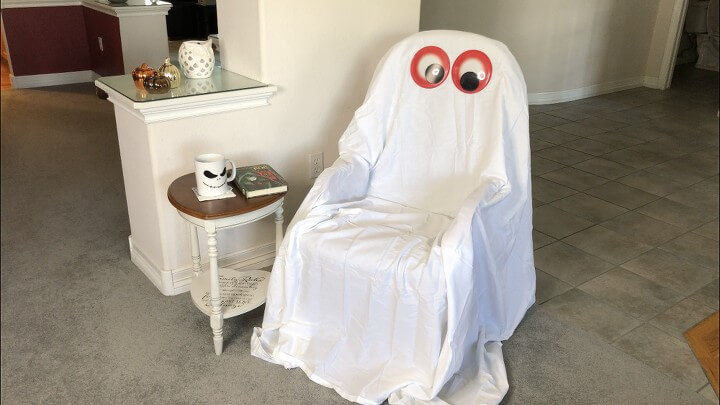
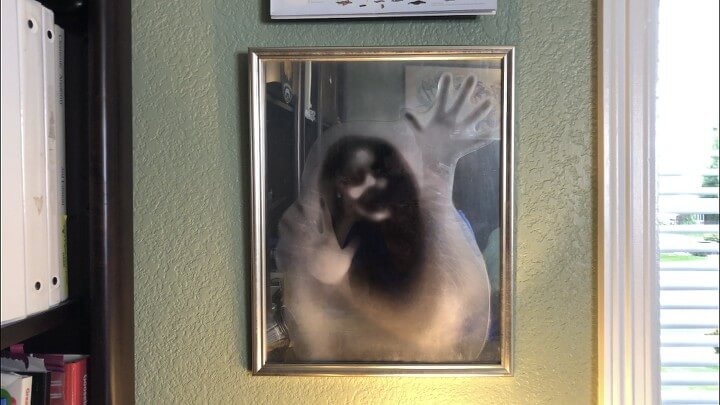
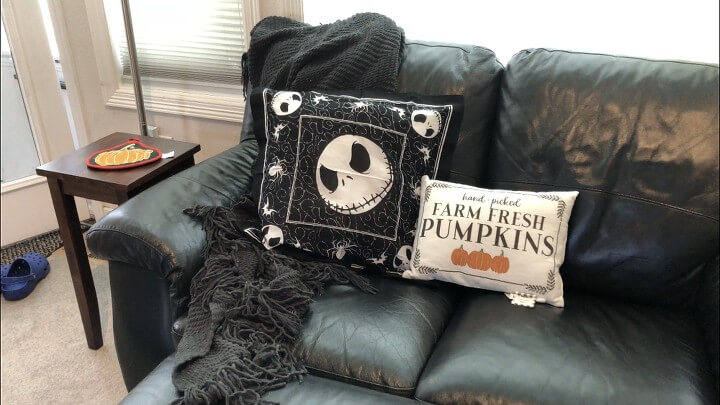
Easy and Awesome DIY Halloween Decorations & Crafts Indoor on a Budget
I wanted to share some spooky DIY Halloween decorations I have been working on with all of you! These are sure to get you in the holiday spirit and are perfect for this spooky season. These were so much fun to make and are the perfect Halloween crafts to add to a haunted house or Halloween party to greet your party guests. Grab some googly eyes, sheets, bandanas, window clings and more. You can find all of these tutorials at Easy and Awesome DIY Halloween Decorations Indoor on a Budget
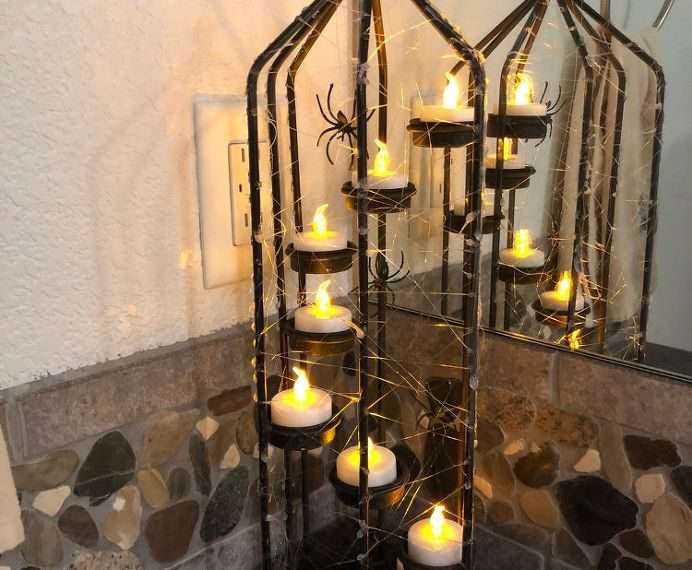
Awesome Halloween Spider Web Lantern
I am so excited to share with you all – I’m upcycling a lantern that I found for .75 at a garage sale into a spooky lantern for Halloween. The secret to great cobwebs…. hot glue! You can find this tutorial at Awesome Halloween Cobweb Lantern
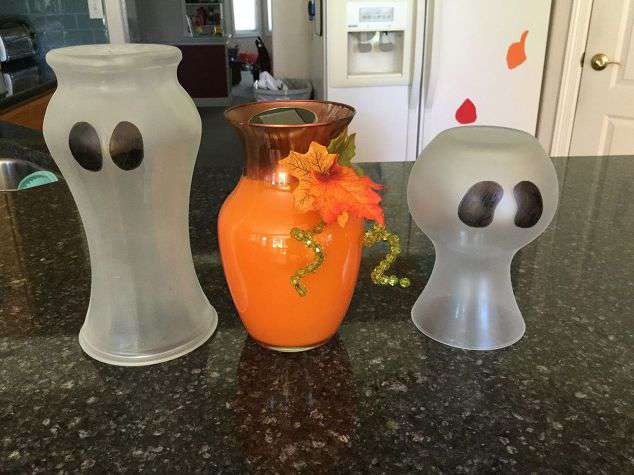
Halloween Vase Ideas: Easy DIY Makeovers
Do you have a bunch of vases on hand? If not, you can find some at your local craft store or Dollar Tree and make these Halloween crafts. Try these couple of repurposed ideas – ghost & pumpkin vases. Now let’s get started on some of these Halloween decoration ideas! You can find these tutorials at Halloween Vase Ideas: Easy DIY Makeovers

Here are some easy Dollar Tree Halloween decorations you can make in addition to the above:
- Halloween Frames and add spooky pictures or old photographs that you print out.
- Make metallic Skull Door Knocker
- Use candle Holders and white candles around your home
- Use Dollar Tree Skeletons to create a skeleton garland
- Use plastic Skulls and a wreath form or foam wreath to make a skull wreath
- Black Bats – hang them around the house for creepy decor
- Make a spider vase by using a hot glue gun and add glue strings all around the vase.
- Add glow sticks to a plastic pumpkin for a light up walkway on Halloween night.
- Use black paint on a Christmas village ceramic house to make a haunted house.
- Add a creepy cloth over a lampshade
Learn more about “Creating Seasonal Decor for Your Home” to create seasonal decor that doesn’t cost an arm and a leg.
Shop any of these stores and I receive a small commission at no cost to you.



Now check out these amazing Halloween posts from my friends!
- 20 Amazing and Easy Dollar Tree Halloween Crafts from Chas’ Crazy Creations
- Making Halloween Cupcakes Is Like Riding a Broom Stick from Life at Bella Terra
- DIY Jack O’Lantern Using A Lantern from Design Morsels
- Setting a Fun Halloween Party Table from Celebrate and Decorate
- A Quick and Simple Fall Patio from A Life Unfolding
- Easy Halloween Dog Toys with your Cricut from Betsy at Happily Ever After Etc.
Learn more about “Creating Seasonal Decor for Your Home” to create seasonal decor that doesn’t cost an arm and a leg.




These are such cute Halloween decor ideas! Not too spooky haha. My kids have been begging me to get the Halloween decorations out but I have been trying to hold off until after we have our carpets cleaned this week. Maybe we can start with some of these once that is done. Thanks again for sharing!
I Chas I’m trying to make a Halloween archway like yours. But I don’t know what the white tube stuff is or called and size. Can u please help me? Thanks
Now I’m in the spirit to make a few Halloween crafts! I love the trash bag cobwebs!
These ideas are CUTE! Love the mummy glass.
So many great ideas! I love the milk jugs AND the mugs are adorable too. I like the mummy jar too! I think I’m going to try making those as glasses for a party. Thanks Chas!
Chas, oh! There are SO many good ideas here. I love the ghost water jugs and that skeleton in 2 baskets is just so creative. I would imagine Halloween at your house is quite the event! Thanks for sharing all the fun tips.