
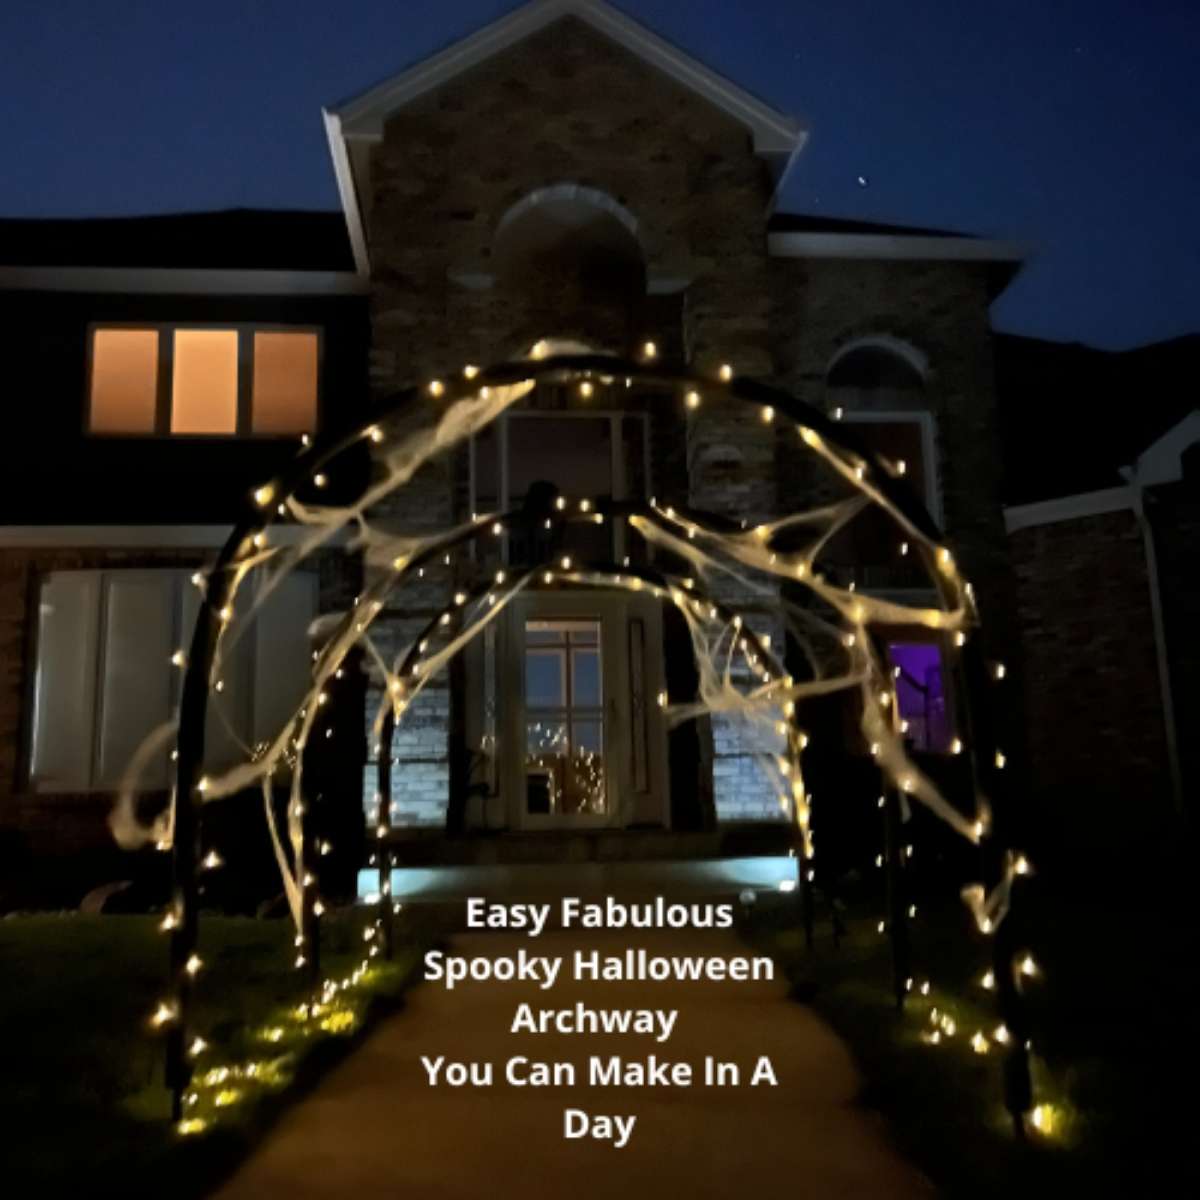
Easy DIY Halloween Archway (Made with Pool Noodles!)

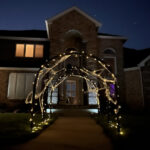
Want a spooky entrance for your trick-or-treaters? Here is how to make a DIY Halloween Archway using pool noodles and PVC pipe in just one day. If you love this idea but want something less ‘spooky’ for a wedding or garden party, I also have a tutorial for a [Stunning and Easy Lighted Archway] that is customizable for any occasion!
Quick Answer: How do you make a cheap Halloween arch?
You can build a lightweight archway in 4 simple steps:
- The Base: Hammer broom handles or garden stakes into the ground on either side of your path.
- The Arch: Thread PEX pipe or PVC tubing through hollow pool noodles to create a flexible, curved shape.
- Connect: Slide the ends of the PEX pipe over the ground stakes to secure the arch.
- Decorate: Spray paint the noodles black or stone-colored, then wrap with spider webs and lights.
Halloween Archway Video
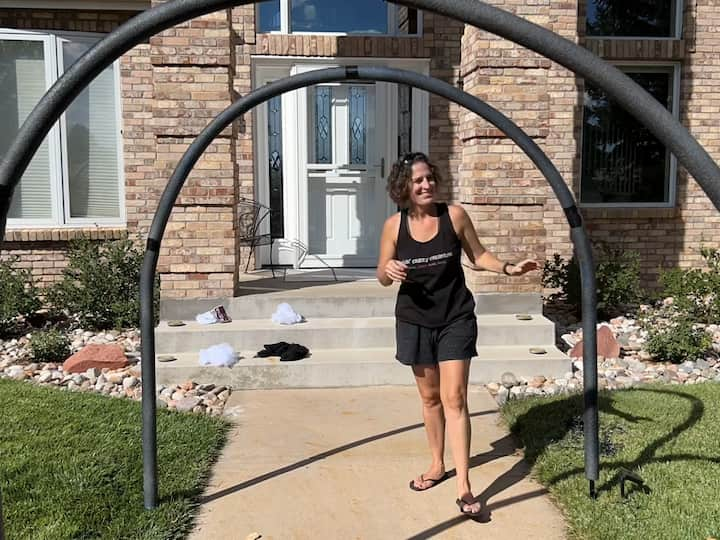
Are you wanting to create a dramatic Halloween Archway? I created this one in a single day at my parents’ house, and it was so easy to make with spooky and fabulous results.
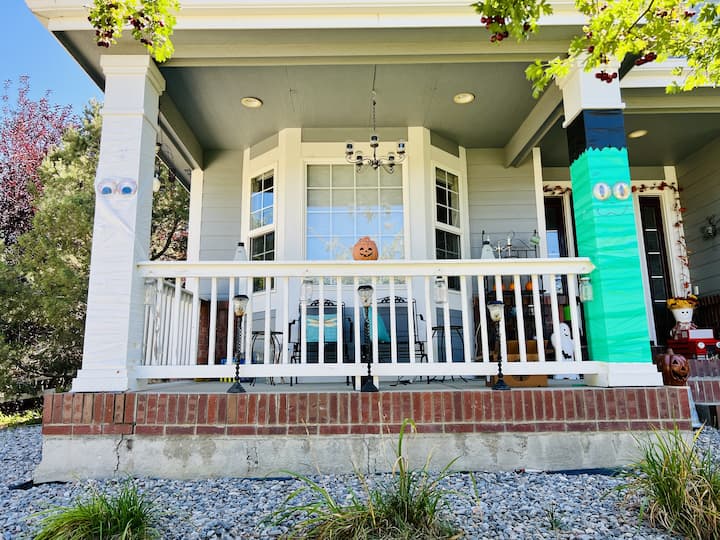
If you want to improve the first impressions of your home during this spooky season, creating an arch for your front lawn or porch is the way to do it. It works perfectly as an entrance to a haunted house or just to greet trick-or-treaters.
The best part? This DIY outdoor project uses very simple, affordable materials like pool noodles and broom handles. You can have so much fun customizing it with different colors and lights!

If you love outdoor decorating, be sure to check out my [Easy and Fun DIY Outdoor Halloween Decor] guide for more budget-friendly ideas.

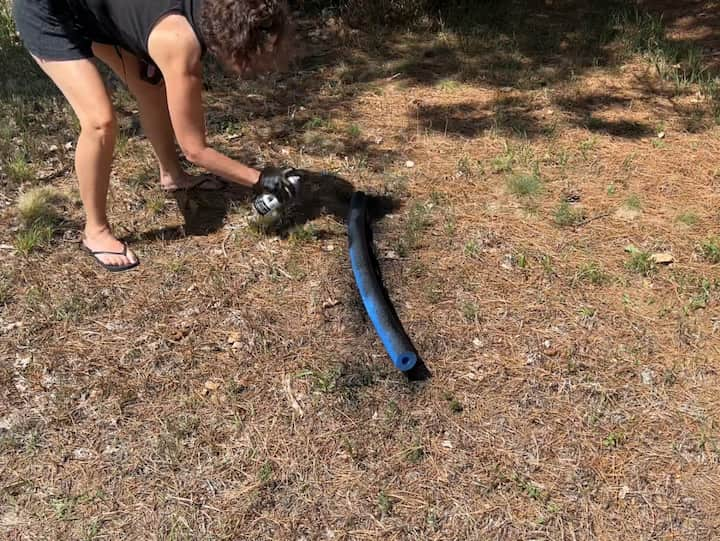
I’m here at my parents’ house, and this is their walkway. I will be creating some outdoor decorations for this Halloween season, and today I will be showing you how to make a Halloween archway.
Materials Needed
- Pool Noodles: I used 4 noodles per arch (12 total for a triple archway). Look for black ones, or paint them!
- Broom Handles or Garden Stakes: You need 2 per arch to anchor it into the ground.
- PEX Pipe (or PVC): This goes inside the pool noodles to keep them stiff but flexible.
- Spray Paint:
- Black Spray Paint: For the base color.
- Stone Texture Spray: To give it a creepy, aged look.
- Duct Tape: To hold the noodles together.Decorations: Solar string lights, fake spider webs, or plastic chains.
How to Make a Halloween Archway
Step 1: Set the Ground Stakes
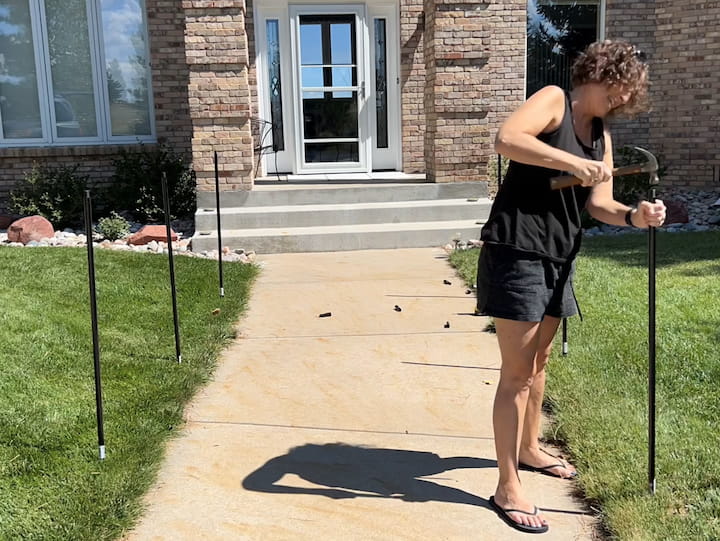
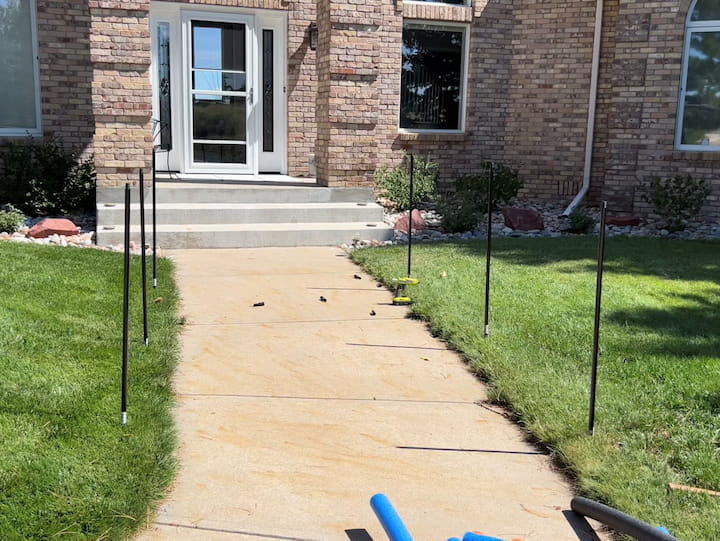
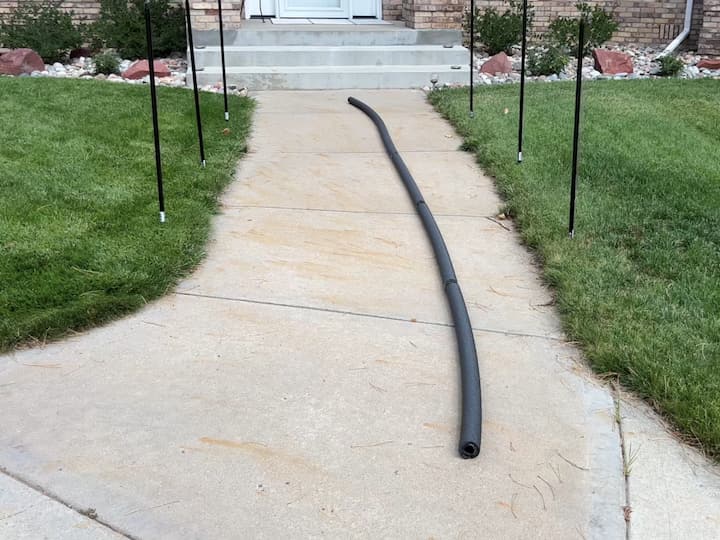
- Start by mapping out where you want your archway to go.
- Hammer your broom handles (or garden stakes) into the ground on either side of your walkway.
- Pro Tip: If you are using wooden handles and want them to blend in with the night, you can spray paint them black, or learn [How To Dye Wood] for a lasting, deep color that won’t chip off in the dirt.
Step 2: Prepare the “Stone” Noodles
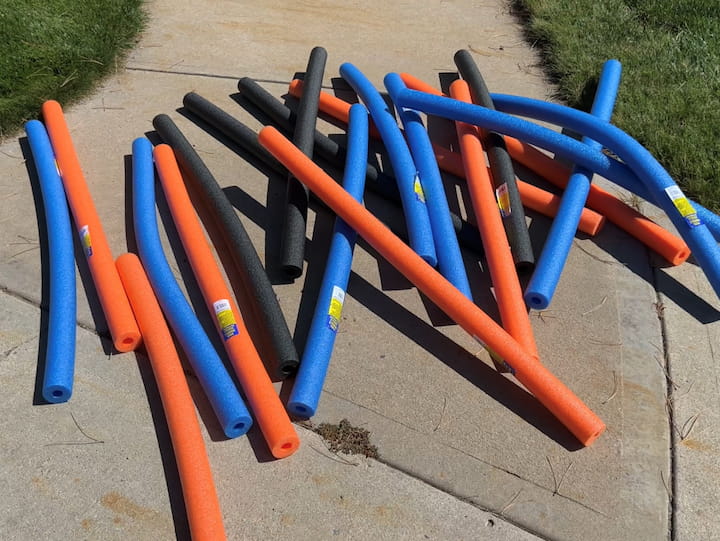
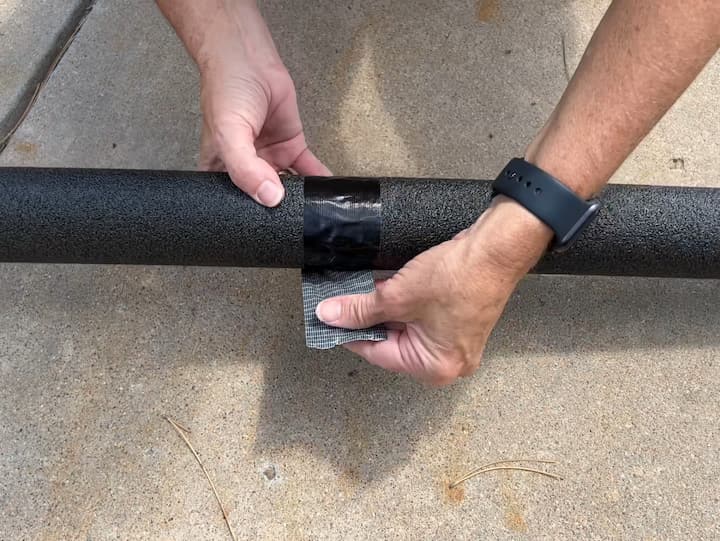
- Connect: Tape your pool noodles together end-to-end to make one long tube. (I tried hot glue first, but it melted the foam! Duct tape works much better).
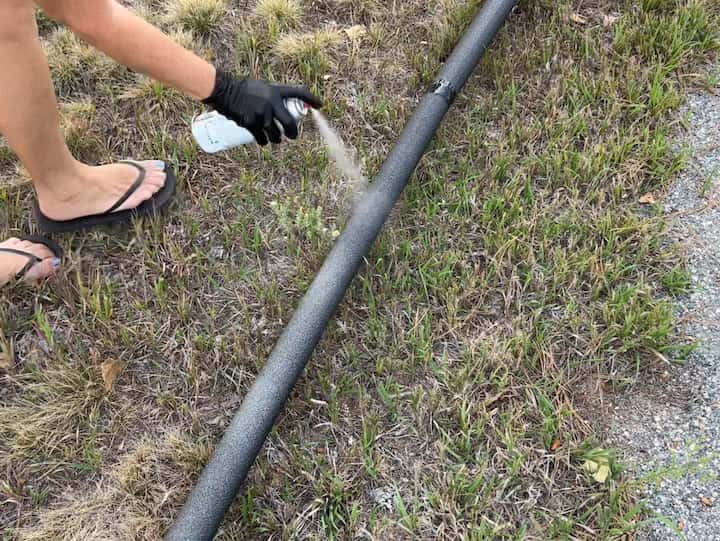
- Paint: If you couldn’t find black noodles, spray paint them black first.
- Texture: Once the black is dry, lightly spray them with Stone Texture Spray. This gives them a cool, gargoyle-like finish that looks great at night.
You might enjoy some of my other [Pool Noodle Hacks]
Step 3: Build the Arch Structure
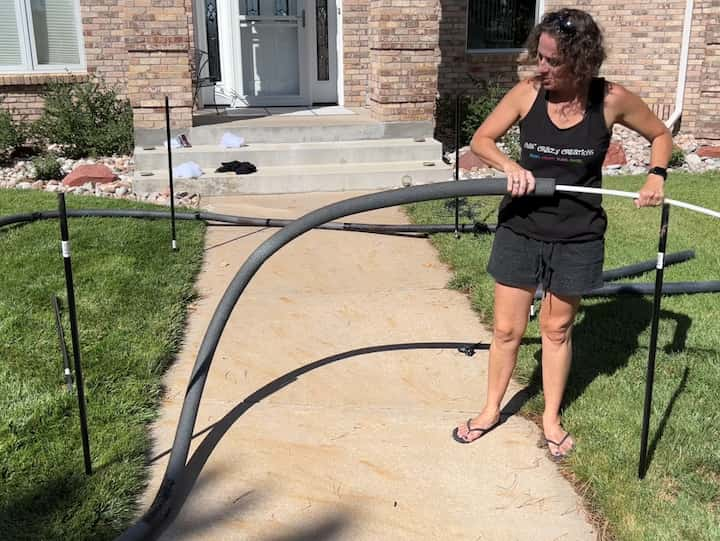
- Feed your PEX pipe all the way through the hollow center of your taped pool noodles.
- Why PEX? It is flexible enough to bend into an arch but strong enough to keep the noodles from flopping over.
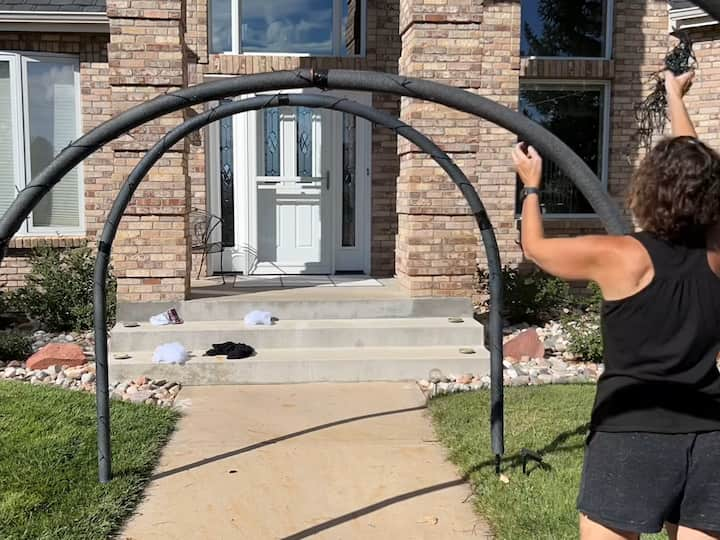
Step 4: Assemble the Archway
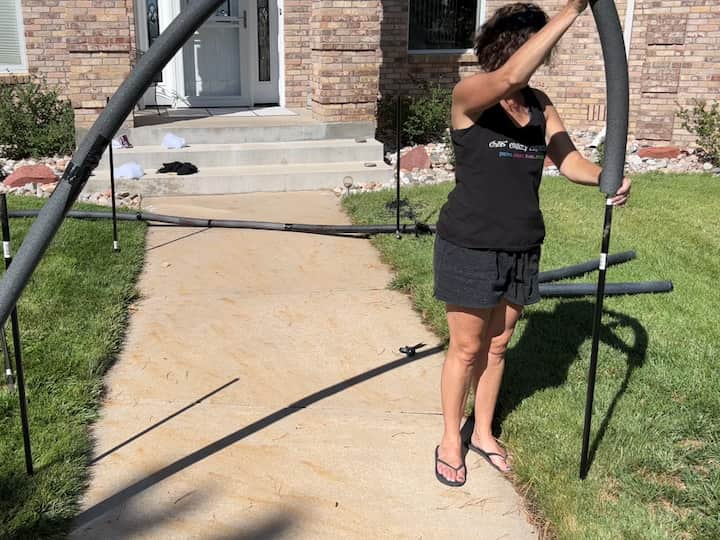
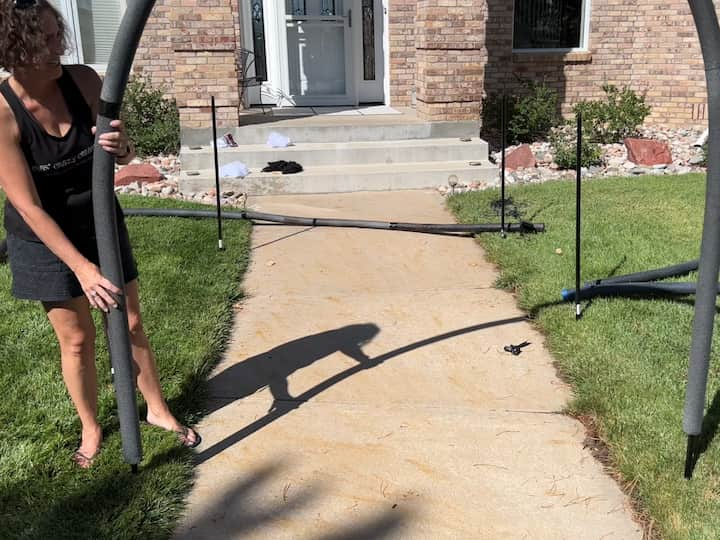
- Take one end of your PEX pipe (sticking out of the noodle) and slide it over (or zip-tie it to) the broom handle stake on the left side.
- Bend the entire noodle structure over the walkway to create the arch.
- Secure the other end to the broom handle on the right side.
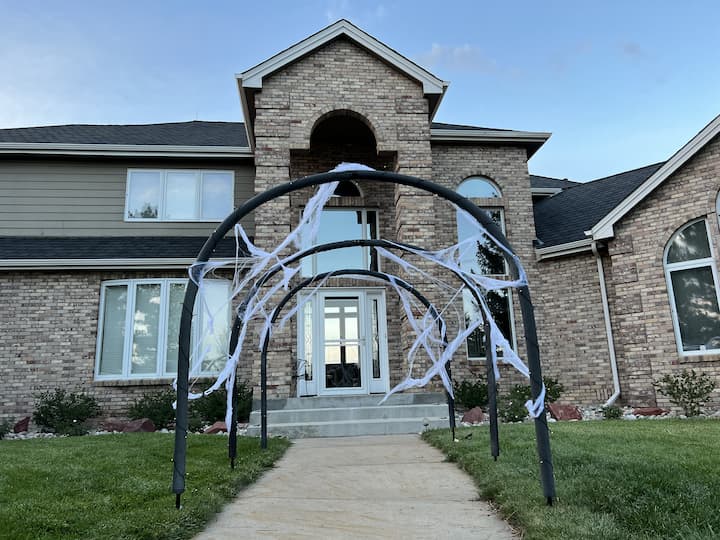
- Repeat this process if you are making multiple arches for a tunnel effect!
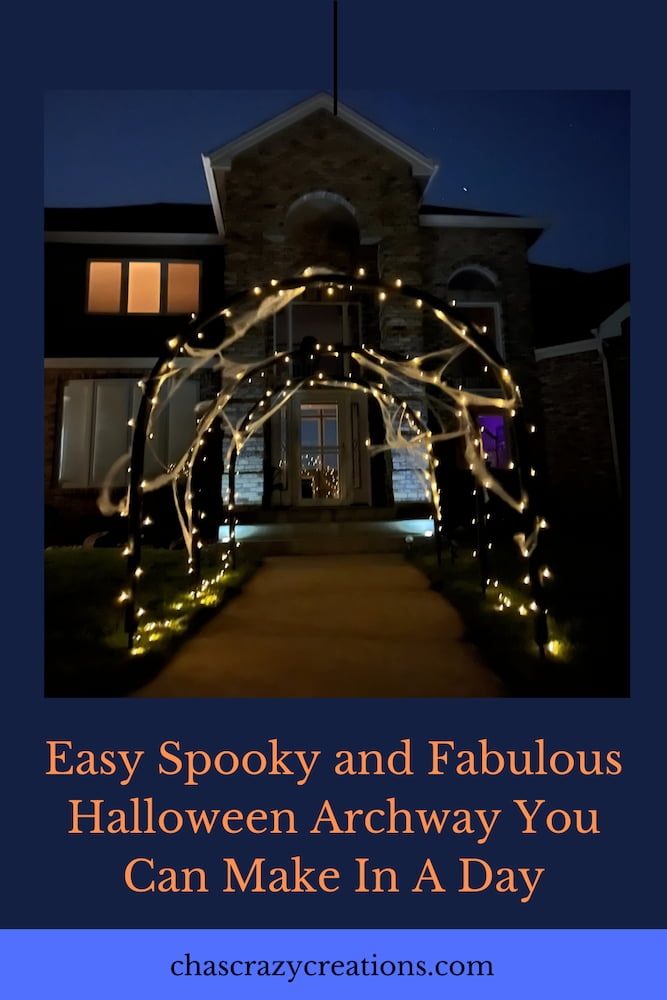
Step 5: Add Spooky Lighting
- I staked a solar panel into the ground where it would get full sun.
- Then, I wound solar string lights around the pool noodles. This ensures the archway glows at night without needing extension cords running across the lawn.
Step 6: Embellish!
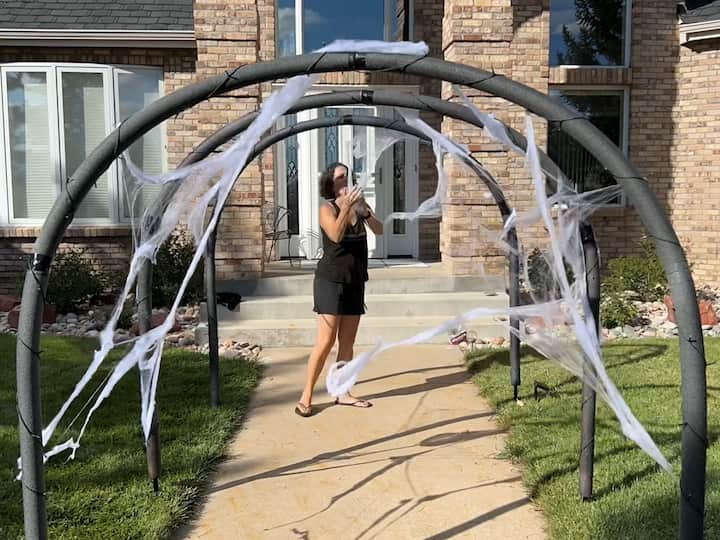

- You could leave the archway as is, but I love adding texture.
- Drape fake spider webs over the arches to catch the wind.
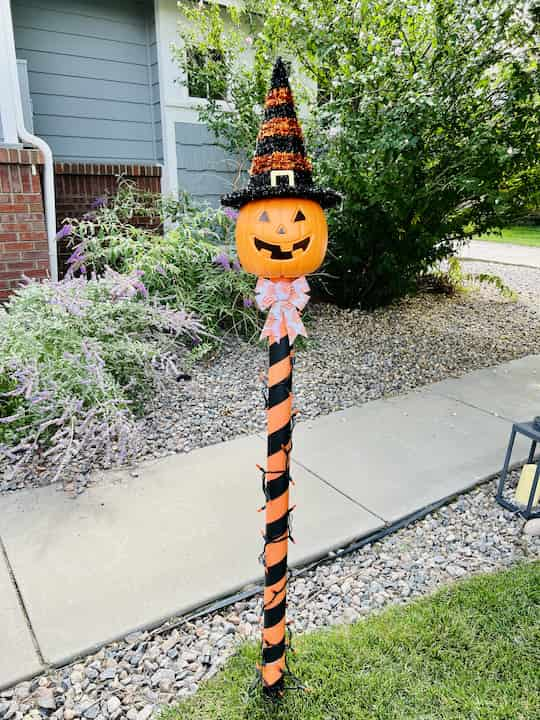
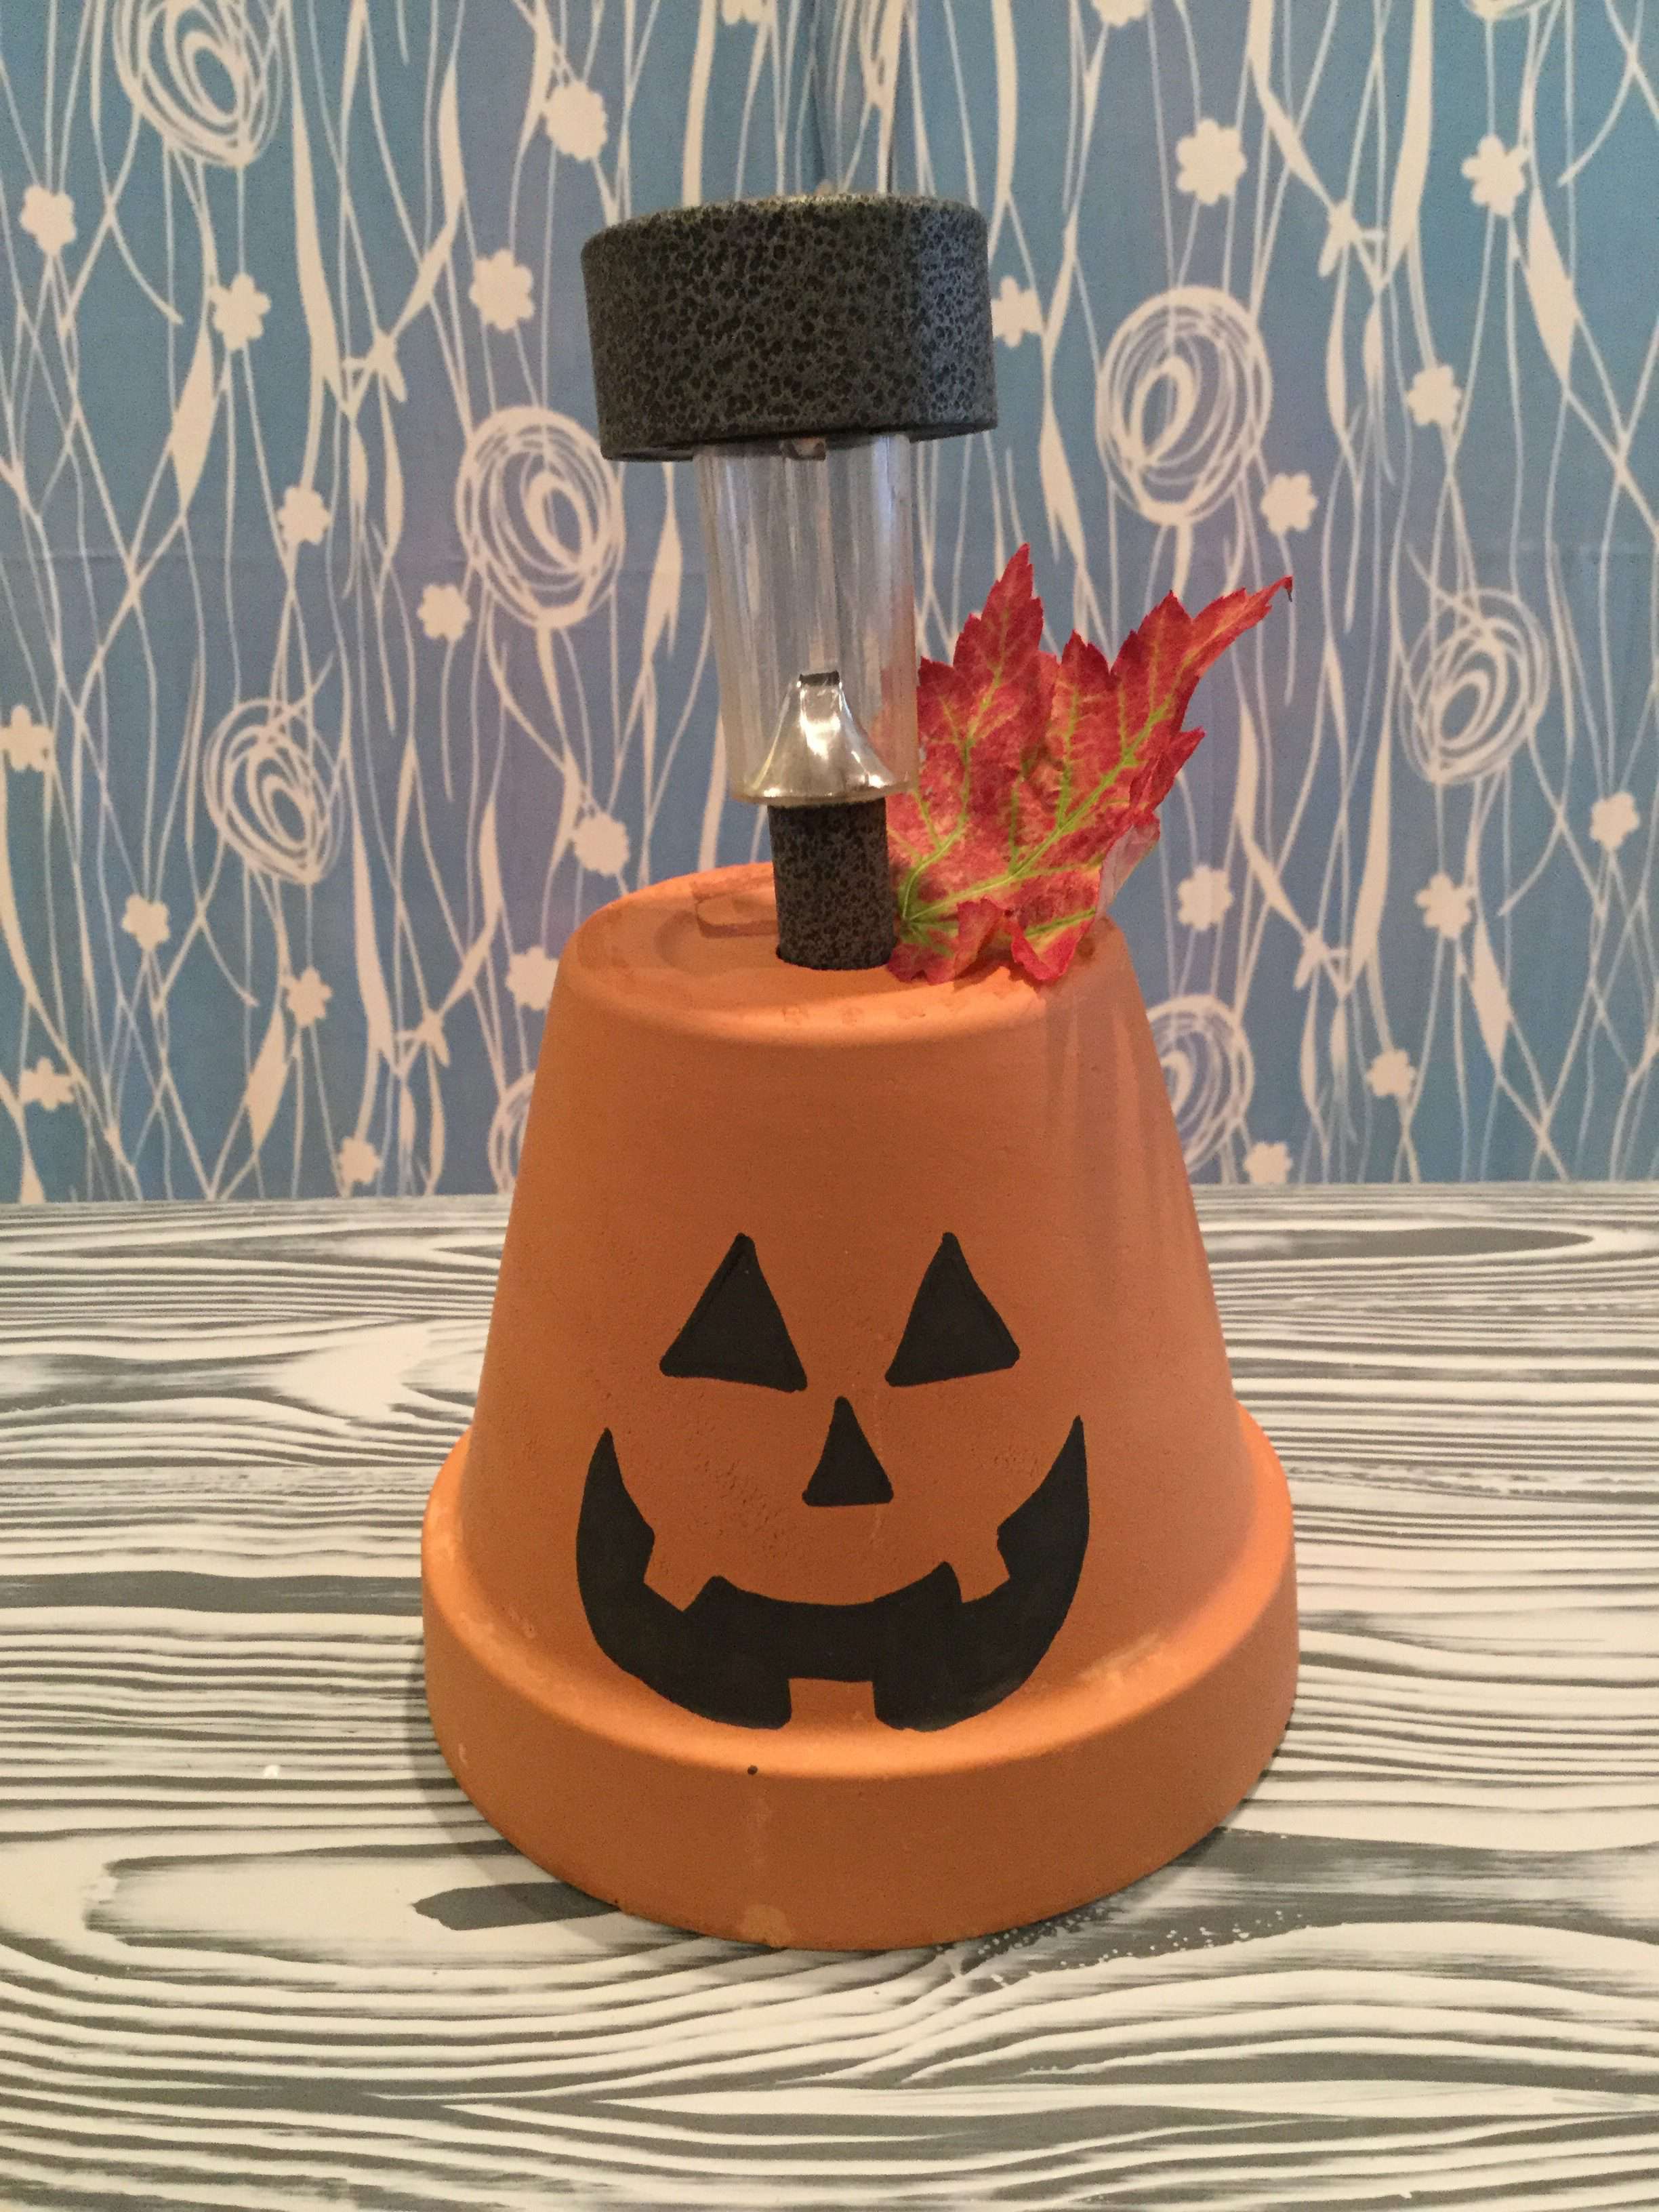
- You could also attach plastic jack-o-lanterns or ghosts. (If you love pumpkins, check out my list of [25 Super Amazing Pumpkin Crafts]!).

Halloween Archway Video
Frequently Asked Questions
If the PEX pipe isn’t rigid enough, try using 1/2 inch PVC pipe instead. It is slightly stiffer. Also, ensure your ground stakes (broom handles) are hammered at least 6-10 inches into the ground for stability.
If you are putting this on a concrete porch, you can use 5-gallon buckets filled with concrete or sand as your base. Stick the PVC pipe directly into the bucket to hold the arch upright.
The best part about this project is that it breaks down easily! Slide the PEX pipe off the stakes, untape the pool noodles, and store them in a bundle. They take up very little space in the garage
Shop any of these stores and I receive a small commission at no cost to you.
DIY Pool Noodle Halloween Arch
Materials
- 4 Pool Noodles
- 2 Broom Handles Dollar Store
- 1 Length of PEX Pipe approx 10-12 ft
- Black & Stone Spray Paint
- Solar Lights
Instructions
- Stake: Hammer two broom handles into the ground on opposite sides of the path.
- Prep Noodles: Tape 4 pool noodles together to form a long tube. Paint them black and textured stone.
- Thread: Slide the PEX pipe through the center of the noodles.
- Bend: Slide one end of the PEX pipe over the first stake, bend it into an arch, and secure it to the second stake.
- Decorate: Wrap with lights and spider webs!
More Outdoor DIY Projects
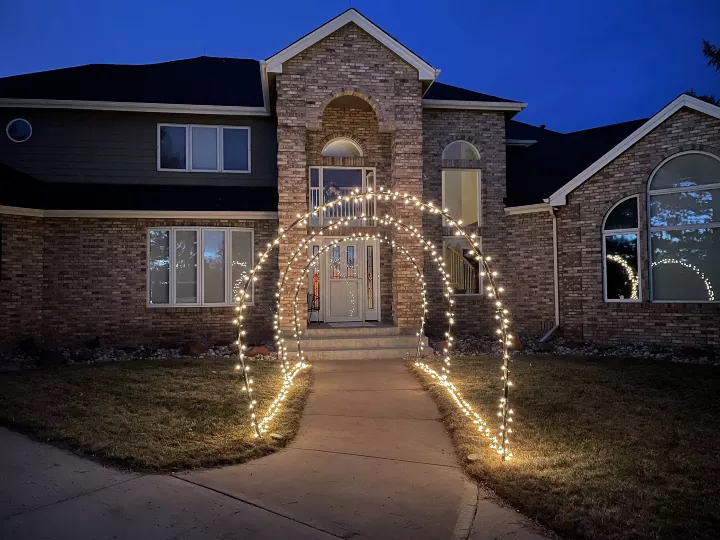
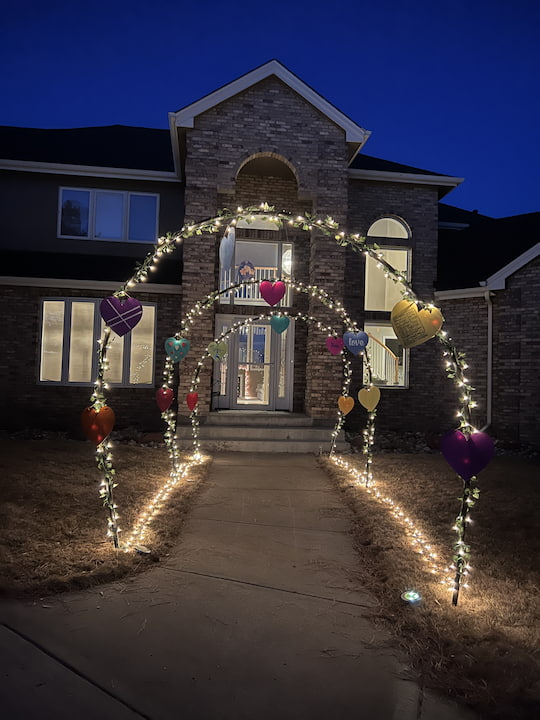
- [Stunning and Easy Lighted Archway]: A beautiful, customizable version perfect for weddings or parties.
- [How To Dye Wood]: Learn how to customize the wooden stakes for your archways or other garden projects.
Check out some of my other Halloween decor!


WOW WHAT A WONDERFUL IDEA!!! Thanks super very much!!
Thank you, glad you like it
I’m hosting a halloween party for my teenager next week and kind of want to go all out with the decor. You make this look so easy!!
What a great idea Chas! Can you tell me how many pool noodles you used for each arch? 😊
Thanks Elizabeth. I used 4 per arch, and you might be able to adjust that.
This is a cool archway idea! I tried it over the weekend, but the pex/pool noodles didn’t stay upright very well. How did you attach your pex pipe to the broom handle? I feel I have to reinforce it somehow, but if i put it outside the broom handle to zip tie or duct tape it, then the pool noodle wont fit on that part. I kept shortening the pex/pool noodle, but that didn’t help much and now it is a much shorter arch and still falls over. I used 1/2 inch wide pex. maybe I should have used wider, but that’s what fit inside the noodles.
(BTW, I ended up wrapping the pool noodles in a black vinyl table cloth from the $1.25 Store and zip tying so that I didn’t have to worry about painting or flaking paint.)
Thank you for sharing and if you’re having trouble getting your archway to stay up, you might like using PVC pipe which is a little more solid instead.
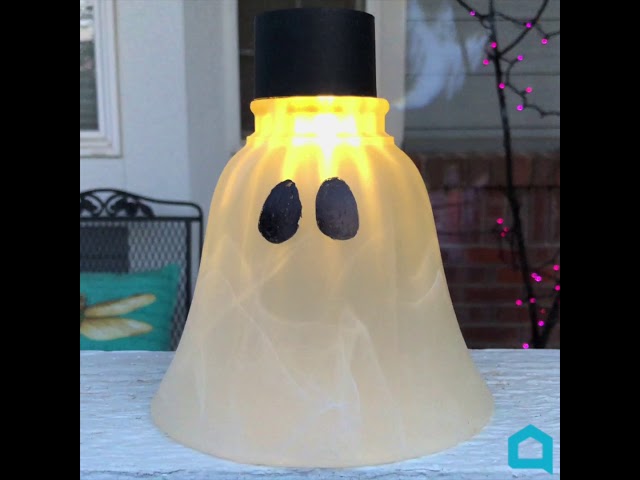
Hi Chas! LOVE, LOVE, LOVE, your spooky archway! I’m in the process of making a pumpkin and I hope to be finished with it soon so I can try your archway too! Keep creating and have a safe and Happy Halloween!!
This is such a cute idea for Halloween Chas. It’s amazing what you can do with a swimming pool noodle!
Thank you so much Kim
This is such a great idea Chas! So perfect for Halloween – or any celebration. Another fabulous use for pool noodles! 🙂 Thanks as always for the inspiration!
You are so sweet, thank you so much Barbara 🙂
how many feet are the arches?