
Easy and Cute Halloween DIY Frankenstein Candy Holder
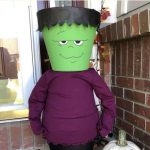
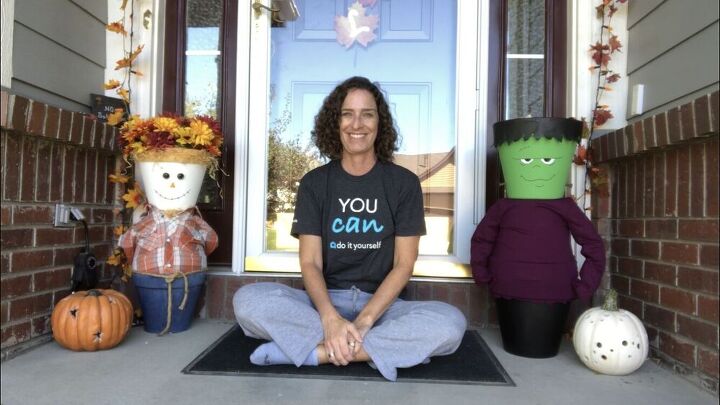
Do you want to know how to make Halloween Decorations? Many of you have seen my flower pot creations, my scarecrow, snowman, Santa, & Uncle Sam. I’m at it again creating a flower pot DIY Frankenstein (or Frankenstein planter). Today I’m sharing how I made my Halloween cute Frankenstein Candy Holder.
DIY Frankenstein Instructions
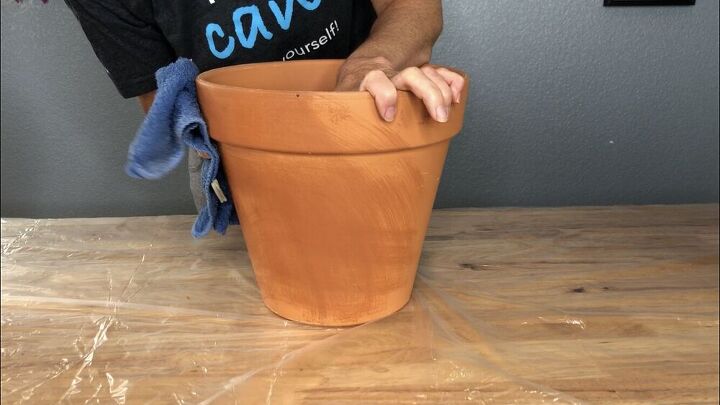
Prep the Flower Pots
I’m using 10″ terra cotta flower pots. Make sure to remove the labels from the flower pots.
Then wipe them down with a wet towel to remove any dirt or debris on them.
This is important because if they are dirty the paint won’t stick properly.

Let them dry completely before you start painting.
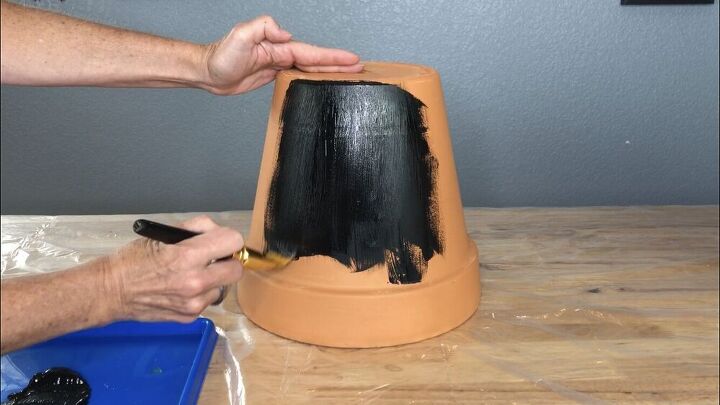
Paint the flower pots
The type of paint you choose depends on where your flower pot Frankenstein is going to live.
If it’s going to be inside, then you can simply use acrylic paint.
However, if it is going to live outside then you need to use paint that can withstand the elements.
I painted this first flower pot with Folk Art Chalkboard Paint.

I painted the next flower pot with Folk Art Home Decor Chalk Paint in the color Irish.
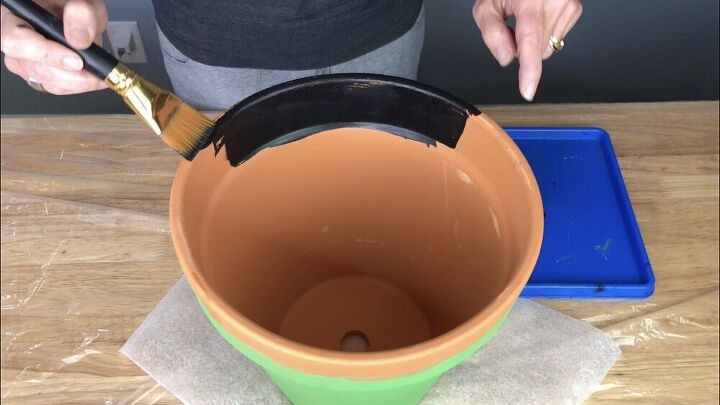
I painted the inside rim and top of the green flower pot with black chalkboard paint.
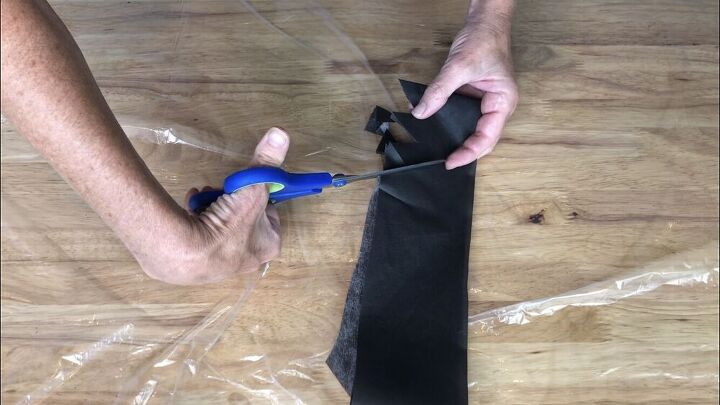
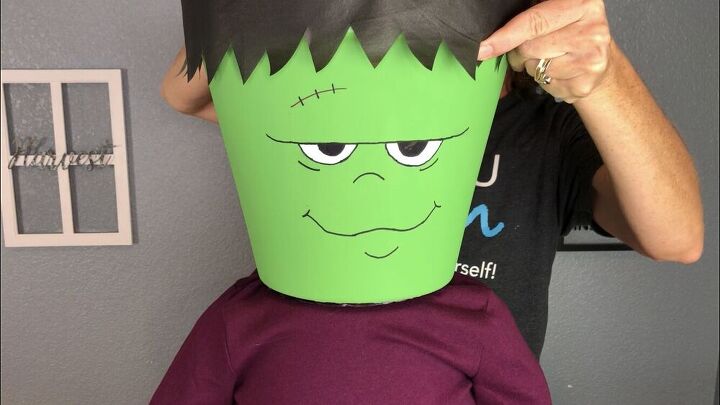
Add the hair
I cut a strip of dollar store tablecloth. I folded it up and cut little triangles on one side.
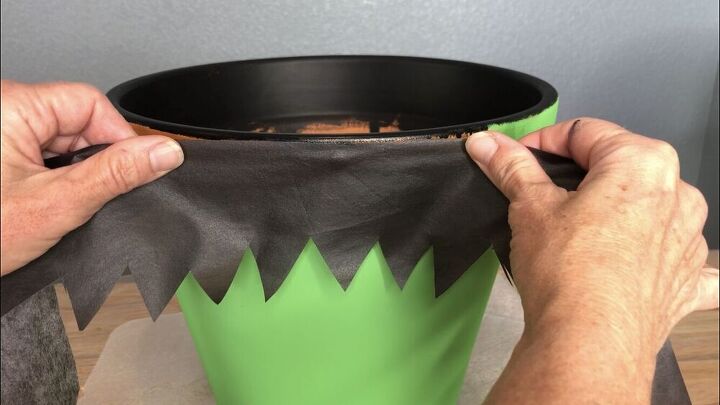
I used my hot glue gun and glued the hair into place on the top rim of the green flower pot.
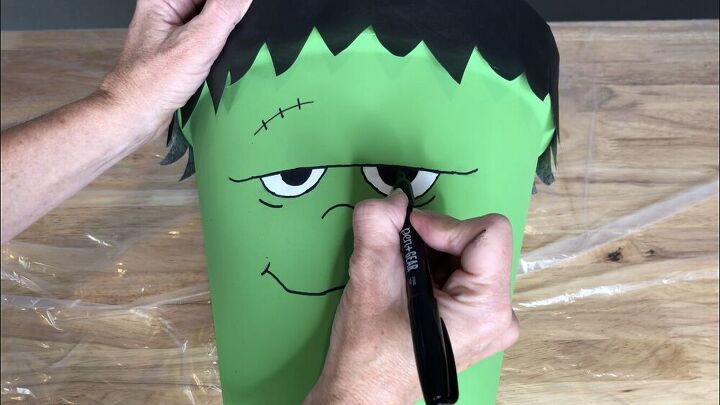
Add A Face
I drew a face on with pencil first. Next I used a combination of paint and markers to trace the face. Don’t forget the classic frankenstein’s monster stitch mark and of course the neck bolts!
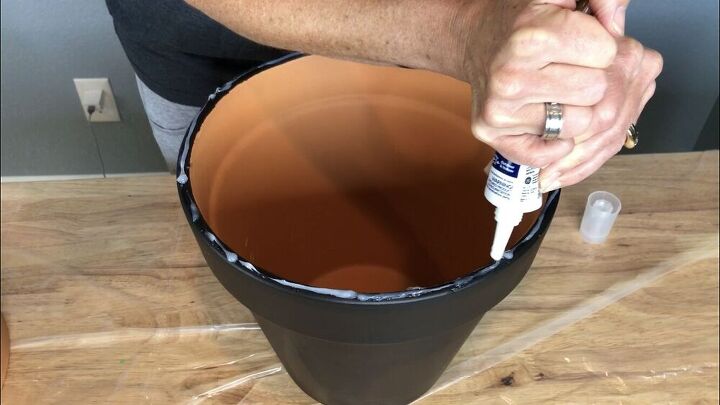
Connect the Flower Pots to make your DIY Frankenstein
I added silicone to the top of the flower pot.
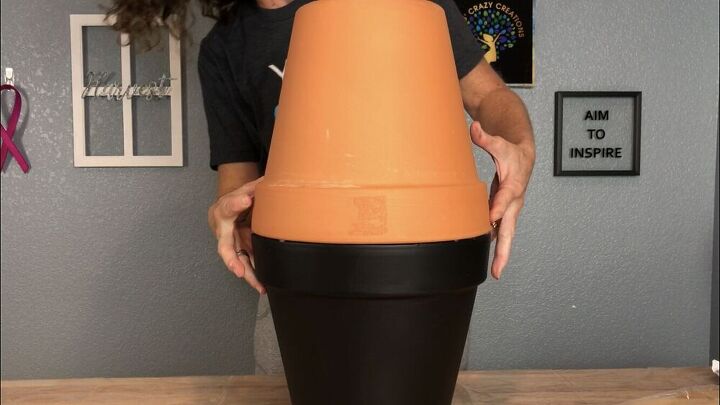
I placed the plain pot on top of the black flower pot.
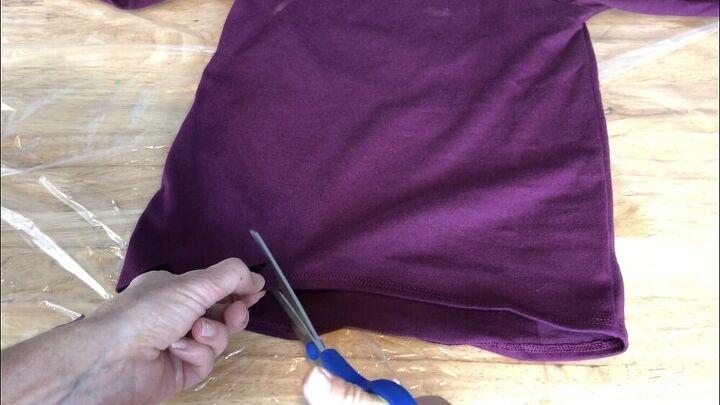
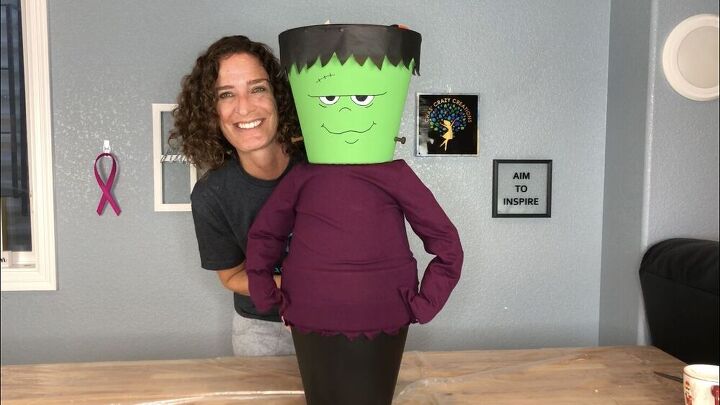
Add the shirt
I bought a 5T purple long sleeve shirt from Walmart. You could get something similar at the thrift store. I cut zig zags on the bottom of the shirt.
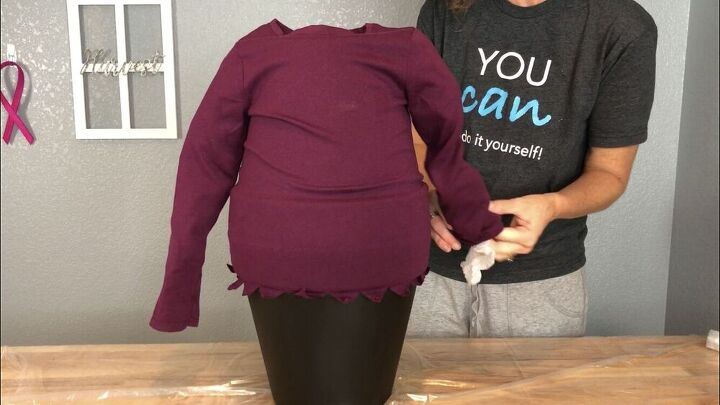
I slid the shirt onto the plain flower pot and then stuffed the sleeves with a couple of grocery bags.
I hot glued the hands to look like he was putting his hands in his pockets.
I added silicone to the top of the shirt flower pot and placed the head on top.
Options for Your DIY Frankenstein head
There are so many fun ways to decorate Frankensteins head. You can place a hat on his head, plant fall flowers, add faux flowers, or perhaps some branches.
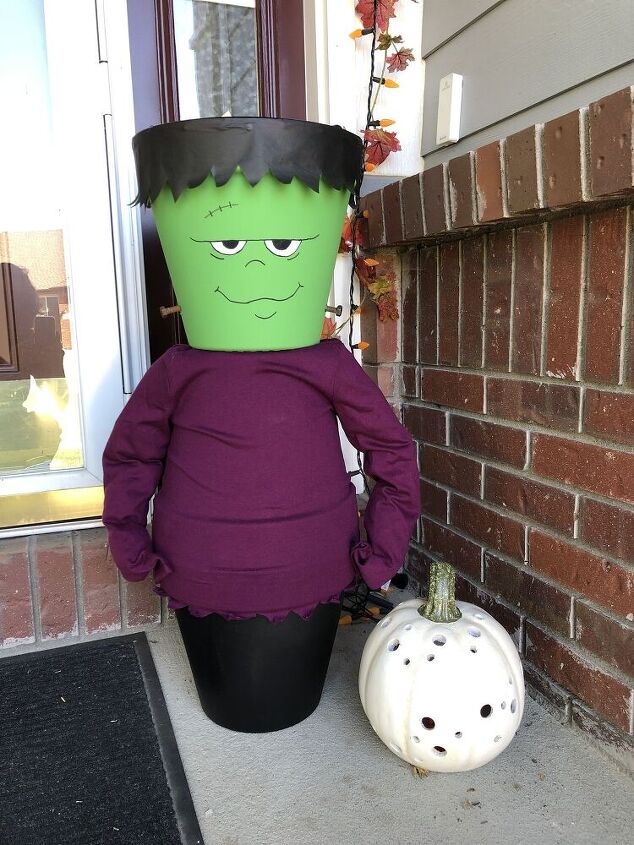
I’ll place him on my porch for everyone to enjoy. This would be a great addition to any Halloween party and if you are really ambitious you could make several Frankenstein monsters including the bride of Frankenstein.
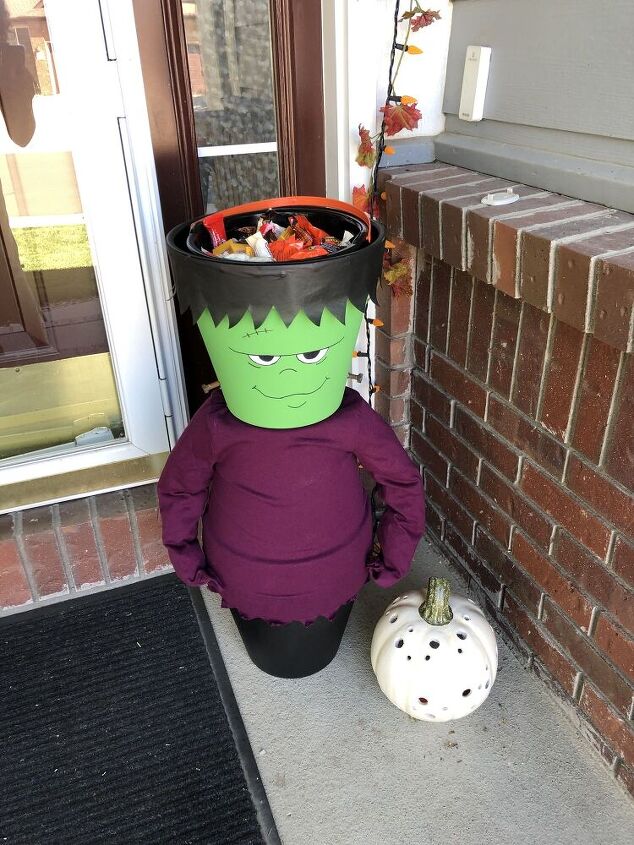
On Halloween, he’ll be a Halloween Frankenstein Candy Holder once I put the candy in his head.
You can learn more about the history of Frankenstein here.
Halloween DIY Frankenstein Candy Holder Video
Coming SoonShop any of these stores and I receive a small commission at no cost to you.
Click on the images to shop this post for supplies

Learn more about “Creating Seasonal Decor for Your Home” to create seasonal decor that doesn’t cost an arm and a leg.
Check out some of my other Halloween decor!


This is such a great project. I need to add it to my decor!
Thank you so much Brittnee, I’m so pleased you like it and want to add it to your home too.
Chas,
OMG, he is just tooo cute for words. You are so great with those flower pots. Congratulations, you are being featured at Over The Moon Linky Party. I hope you stop by. eclecticredbarn.com/2020/10/over-moon-linky-party_11.html
Hugs,
Bev
Thank you so much Beverly! You are just so sweet. Thanks for the feature and I’ll see you at the next party.
********************************************************
Thank you for sharing at #OverTheMoon. Pinned and shared. Have a lovely week. I hope to see you at next week’s party too! Please stay safe and healthy. Come party with us at Over The Moon! Catapult your content Over The Moon! @marilyn_lesniak @EclecticRedBarn
********************************************************
Thank you so much Marilyn, I hope you have a great week.
Too cute! Great idea this year for keeping social distancing rules. Thanks so much for the inspiration. Always amazing Chas!
Thank you so much Denise, I’m so glad you think so too.
Such a cute project and using a kids shirt is BRILLIANT!! I’d love for you to share over at our weekly Wednesday Crafts Linky Party
creativelybeth.com/creative-crafts-linky-party-9-join-in-the-fun/
Have a great week!
Creatively, Beth
Thank you so much Beth, and thanks for the invite 🙂
I love your flower pot creations. I inherited a lot of flower pots from my mother and I love all of the ideas that you have given me on how to use them (besides planting flowers). This Halloween Frankenstein Candy Holder is so cute. This may be a great idea to just put out on the porch with Covid. That way, if trick-or-treaters come, they can just take the candy. Thank you for sharing.
Thank you so much Amy, and I totally agree. I had thought about even putting a bottle of hand sanitizer by it too 🙂
Too stink’n cute Chaz and a great idea, especially for this crazy Halloween 2020 year of social distancing!
Thank you so much Marie, I really appreciate it. Halloween is one of my favorites and I want to keep the fun alive for all the neighborhood kids 🙂