
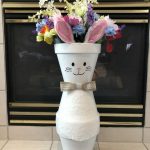
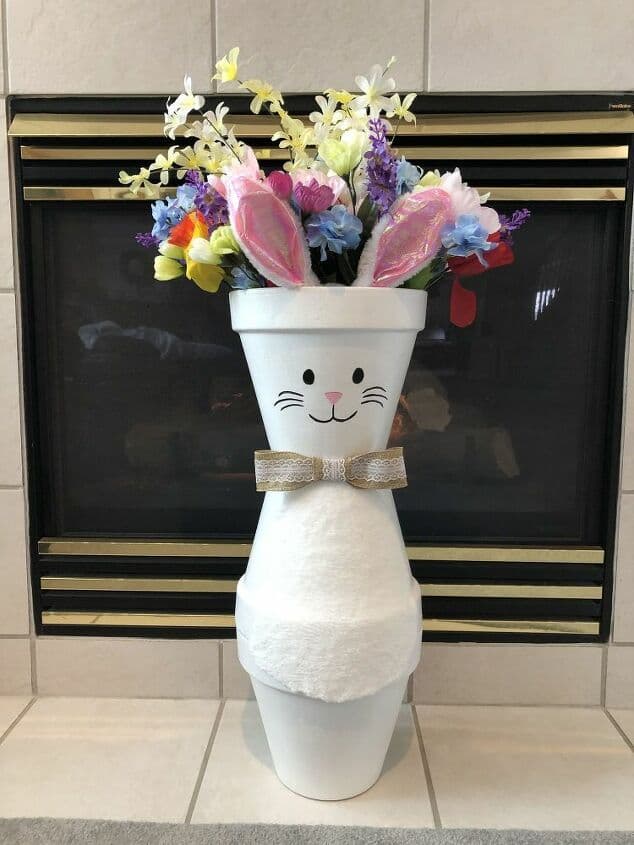
Easy and Awesome DIY Bunny Craft
Want an easy bunny craft? I’m at it again making more seasonal decor with terra cotta flower pots! It is starting to feel like the spring season and I was looking for the perfect Easter craft. This time… cute bunny crafts with a flower pot bunny! This simple craft would be great for an Easter party and is especially suited for older kids. All you need is a few simple materials and a little imagination and you can have a lot of fun making this simple Easter craft.
Bunny Craft step-by-step tutorial
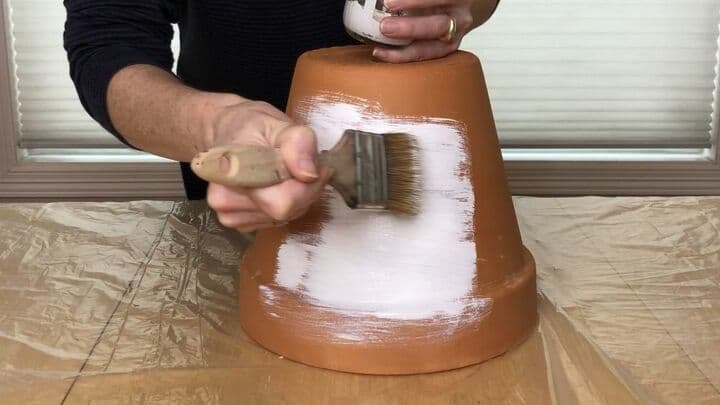
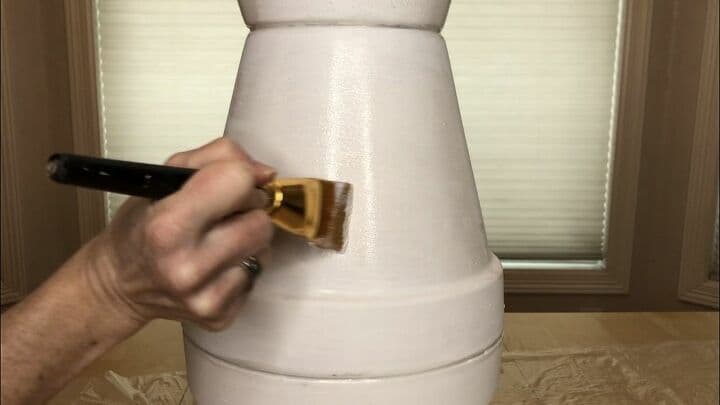
1. PAINT 3 FLOWER POTS OF THE SAME SIZE
I painted 3 10″ terra cotta flower pots with Folk Art Home Decor Chalk Paint in the color white.
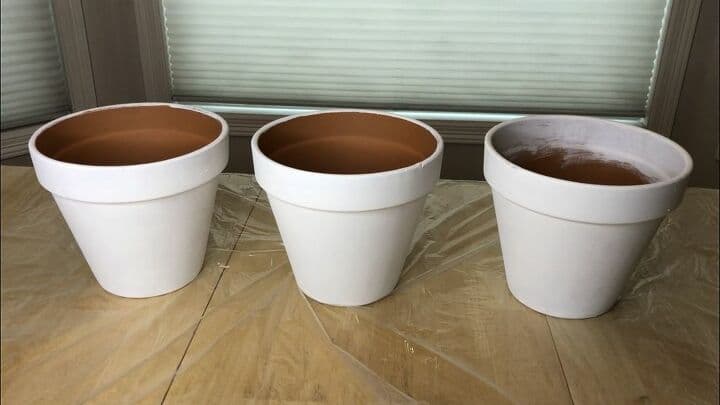
It took 2 coats of paint and I let it dry between each coat. I painted the inside rim of one of the flower pots as this would be the top.
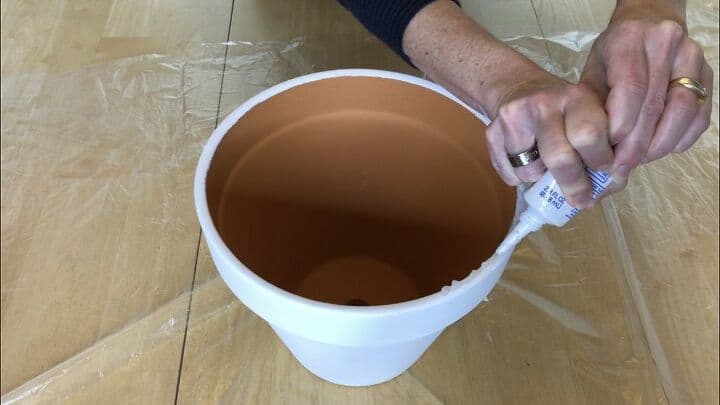
2. Add adhesive of your choice and assemble the pots
I used silicone and added it to the edges of the flower pots and …
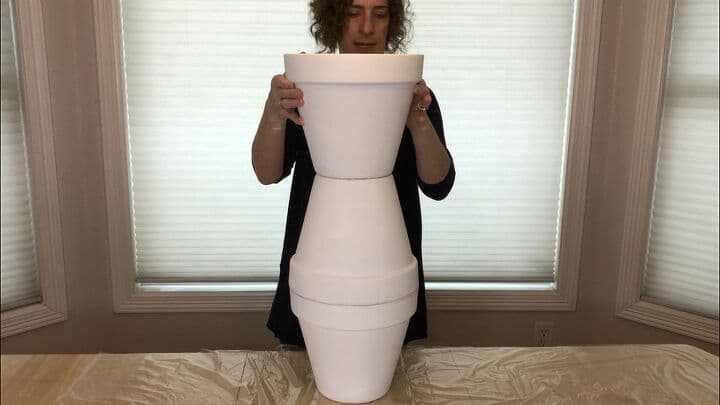
assembled the pots like this and let them dry.
3. Add a coat of Sparkle Mod Podge (optional)
I added a coat of sparkle Mod Podge to give the bunny a little shimmer and to seal the flower pot.
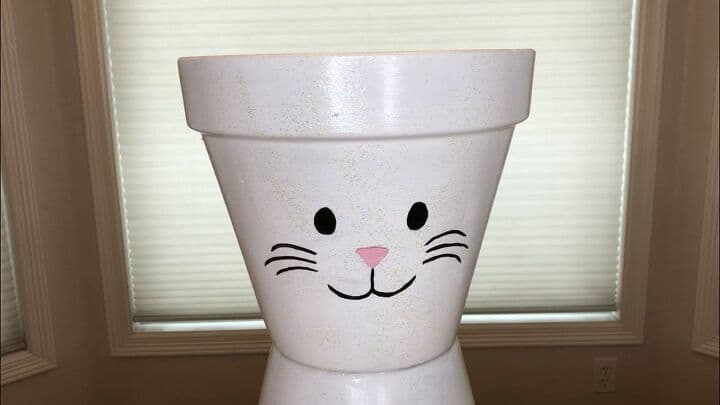
4. ADD A BUNNY FACE
I used both permanent markers and acrylic paint to create my bunny’s face. You can make your cute bunnies with any expression you like, this is a fun way to let your creativity shine. You could also use hot glue to adhere pipe cleaners for the bunny whiskers and add googly eyes if you prefer.
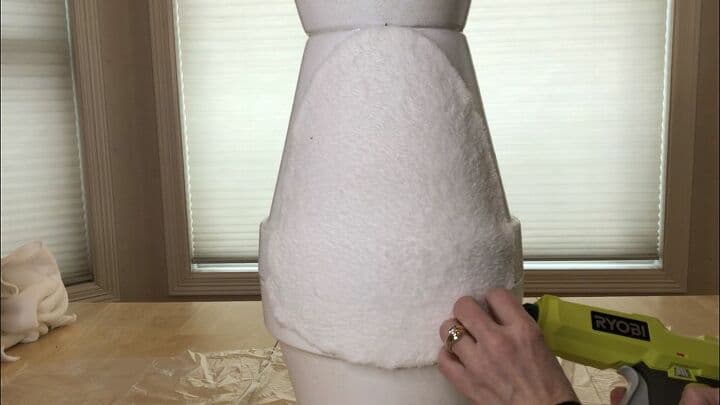
5. ADD A FURRY CHEST (OPTIONAL)
Using a fuzzy towel from the dollar store to create a fluffy bunny. I cut the towel into an oval shape and hot glued it onto my bunny with my Ryobi hot glue gun.
You could paint on your chest if you’re going to put it outside in the elements.
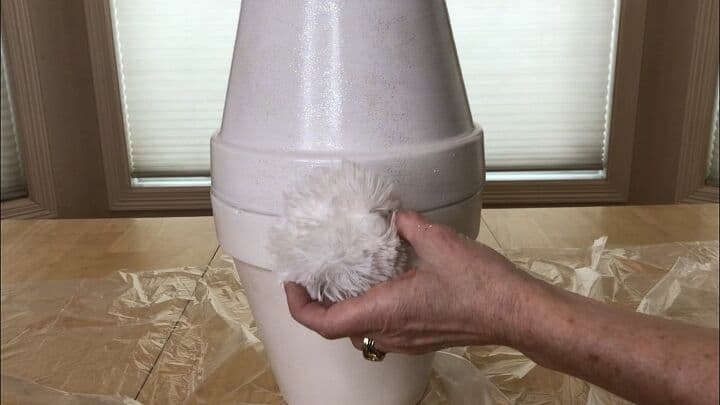
6. ADD A TAIL (OPTIONAL)
I hot glued a bunny tail onto the back of my flower pot bunny. Sometimes you can find tails in the store ready-made. I took this off a stuffed animal and refashioned it to create a bunny tail. You could also use pom poms or cotton balls to form a tail.
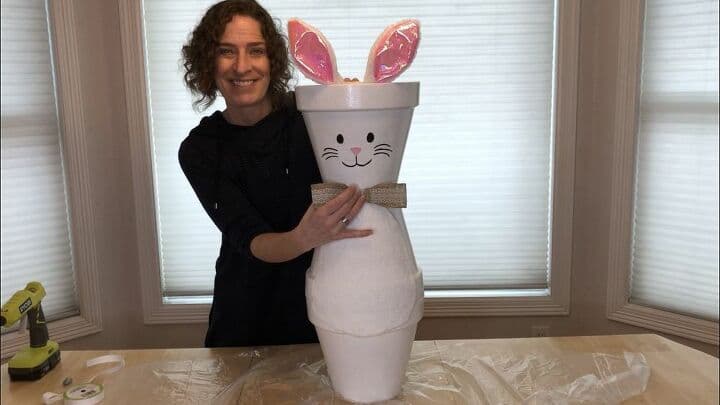
7. ADD BUNNY EARS AND OPTIONAL BOW TIE
I hot glued a bunny ears headband to the inside of my top flower pot. You could cut off the ears from the headband if you like. You may prefer a bunny with long ears. You could easily make these out of felt. I also decided to add a bow tie to hide the neck seam.
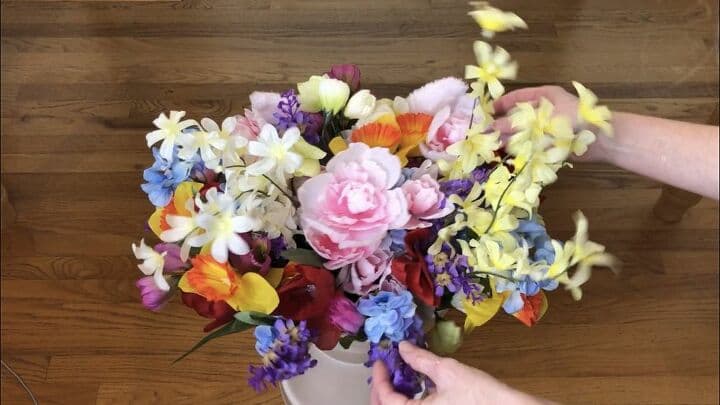
8. FILL THE TOP
It was still cold outside when I created my bunny so I opted for faux flowers for now. You could fill your bunny’s head with a plant, plastic Easter eggs, etc. Have fun with it
Your simple Easter bunny craft is ready to be displayed! I love how it turned out.
Flower Pot Bunny Craft DIY Video
Shop any of these stores and I receive a small commission at no cost to you.
 Bloem Ariana 8" Round Self-…Shop on Amazon
") FolkArt Home Decor Ultra Ma…Shop on Amazon
FolkArt Home Decor Ultra Ma…Shop on Amazon GE Sealants & Adhesives Adv…Shop on Amazon
 Jacobson Hat Company White …Shop on Amazon
") Barcelonetta | Faux Fur Fab…Shop on Amazon
Barcelonetta | Faux Fur Fab…Shop on Amazon Ryobi Glue Gun P305 with Ch…Shop on Amazon
, Colors may vary, 24") FolkArt PROMO830 Multi Sati…Shop on Amazon
FolkArt PROMO830 Multi Sati…Shop on Amazon Mandy's White Artificial Tu…Shop on Amazon
 - Assorted Colors of Tulip Bulbs by Willard & May") Mixed Triumph Tulips (25 Bu…Shop on Amazon
Mixed Triumph Tulips (25 Bu…Shop on Amazon


You might be interested in more adorable bunny crafts and Easter decorations:
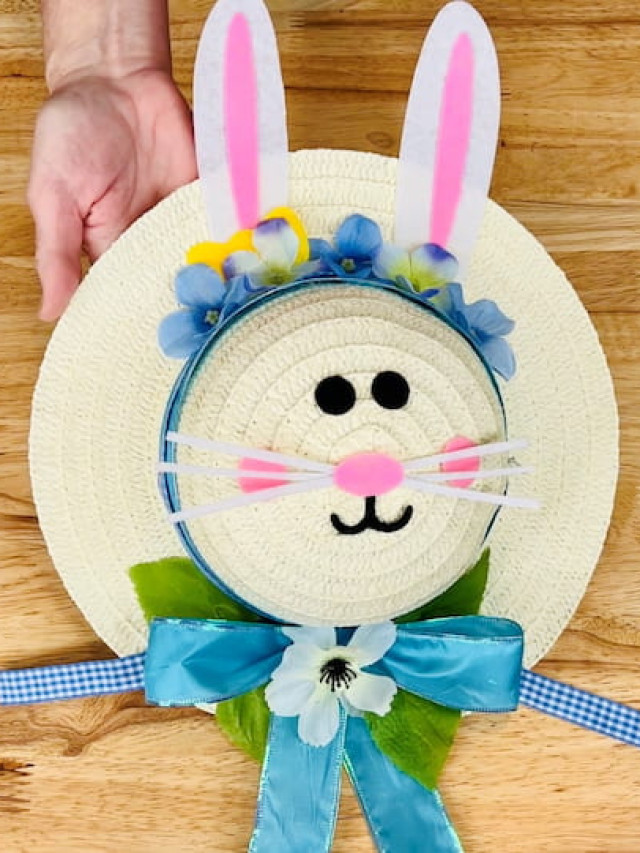
- Easy and Awesome Bunny Wreath with Video
- Super Cute and Easy Dollar Tree Bunny DIY with Video
- Easy and Cute Easter Bunny Stop Here Sign with Video
- How To Paint A Bunny the Easy Way with Video
- Cute and Easy Easter Sock Bunny Hack Anyone Can Make
- How To Make A Super Cute Boo Boo Bunny Easily
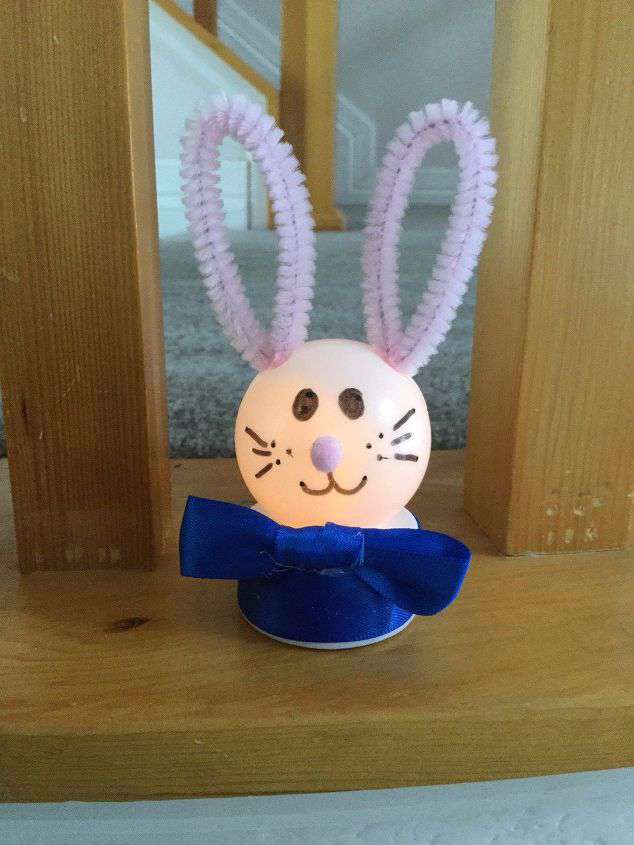
- Easy and Amazing Easter Bunny Craft Nightlight
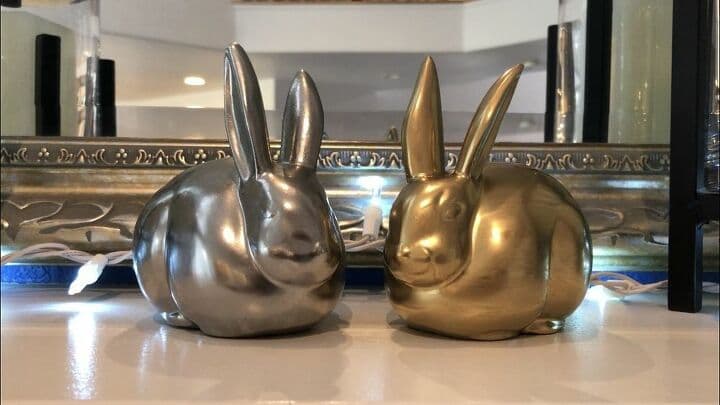
- How To Paint On Ceramics, Easy and Beautiful Upcycled Thrift Store Bunny
- Easy and Awesome Spring Bunny Craft
- Super Cute and Easy $4 Bunny Dollar Tree Easter Wreath
- Easy and Awesome DIY Peep Bunny Plush
- Make Your Own Bunny – Fun for the Whole Family.
- Awesome and Easy Easter Yard Decor with Video
- paper plate bunny craft or other paper plate crafts
- Easter cards
- bunny puppets or bunny hand puppets
- pom-pom bunnies
- popsicle stick Easter bunny craft
Other supplies that you can create some fun Easter crafts with:
- construction paper
- glue stick
- white cardstock or white paper
- colored cardstock
Are you ready to have some Easter fun? Do you know what is great about this easy craft? You can make it with any size pot, making it easy for young children with little hands to create.
Learn more about “Creating Seasonal Decor for Your Home” to create seasonal decor that doesn’t cost an arm and a leg.


I love the bunny planter such a cool project!
Thank you very much Marcella
Thank you for sharing at #OverTheMoon. We appreciate your shares. They have been Tweeted Pinned. Have a lovely week. I hope to see you at next week’s party too! Please stay safe and healthy. Come party with us at Over The Moon! Catapult your content Over The Moon! @marilyn_lesniak @EclecticRedBarn
Thank you very much Marilyn
The things you can do with flower pots my friend!! You never cease to amaze me! Isn’t this the cutest thing? Thanks for the clear and fun tutorial! Happy Monday!
Thank you so very much Barbara for your kind words.
This is so cute!
Thank you so much Michele
Chas, this is just too cute. You really need to write a book on flower pot decor. Perfect for Easter!
Thanks Mary, and thank you for the giggle. You are so right, at this point, I totally could create a book about that!
This bunny is so darn cute! You are so creative with these adorable flower pot creations! I am always anxious to see what you will come up with next! I can’t wait to give you a hug in person!!
Thank you so very much, Chloe, I really appreciate all your support and YES to hugs in person!!! Can’t wait friend.
Oh I love the bunny just like Santa and Uncle Sam and the toy soldier. You are so so talented. Just moved into my apartment finally and not a lot of room but my twin 2 year old boy and girl grand children will love the bunny.
Thank you so much, Jody, and congrats on moving into your new place. Love that you get to spend time with your grandchildren. Great memories being built 🙂
Love this so much Chas! He’s so dimensional with his furry chest and bunny tail. We have so much snow on the way right now that I have been searching for spring projects to keep me busy. This one is just the cutest!
Thank you so much Denise, I’m thrilled you like him.
Your bunny is adorable! So creative and fun. 🙂
Thank you so much Linda, I’m really happy with how he turned out.
So cute Chas
Thank you Faith 🙂