
Flower Pot Hanging Star Lamp
I took a dollar store flower pot, flipped it upside down, added a dollar store light, drilled some holes in it, and turned it into a hanging star light!
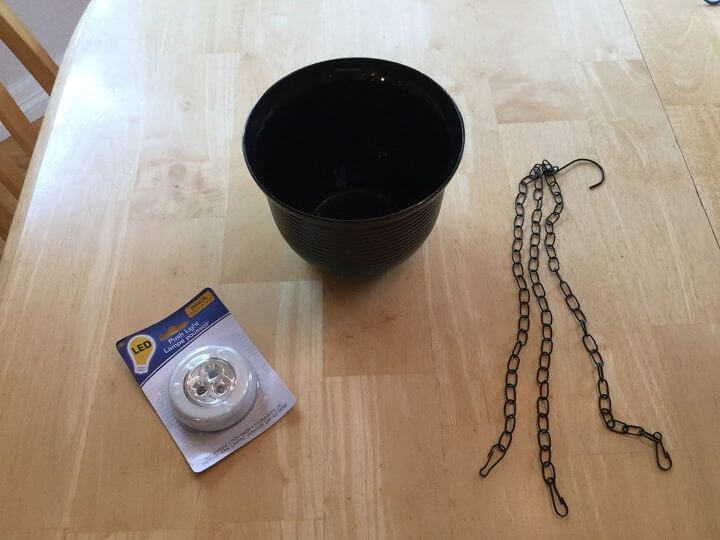
You’ll need a flower pot, a battery operated LED light, and a chain or something to hang your lamp up when you are finished. I’ll be giving you other options and ideas along the way.
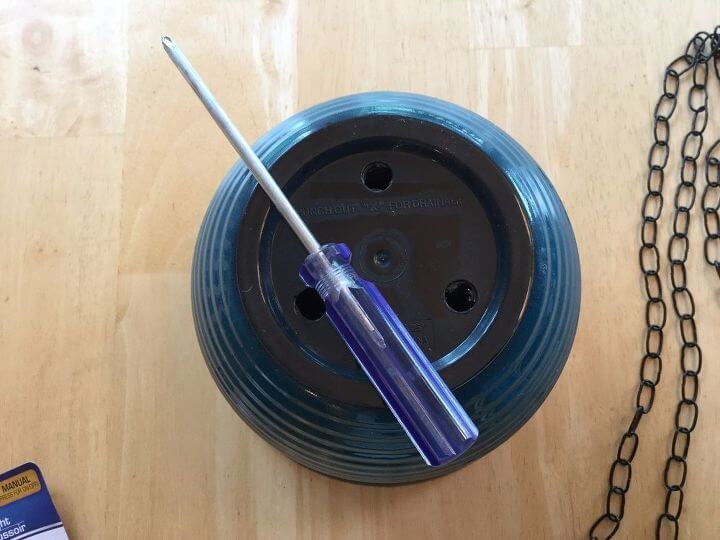
Pick a flower pot you like, and if you want personalize it by painting it, Mod Podge pictures on it, add stickers, etc. I found this blue black flower pot at Dollar Tree. Punch out the pre-fabricated holes in the bottom of the flower pot. If your flower pot doesn’t have holes, simply drill some. Depending on what you are using to hang your light – you might be able to get away with less holes as well.
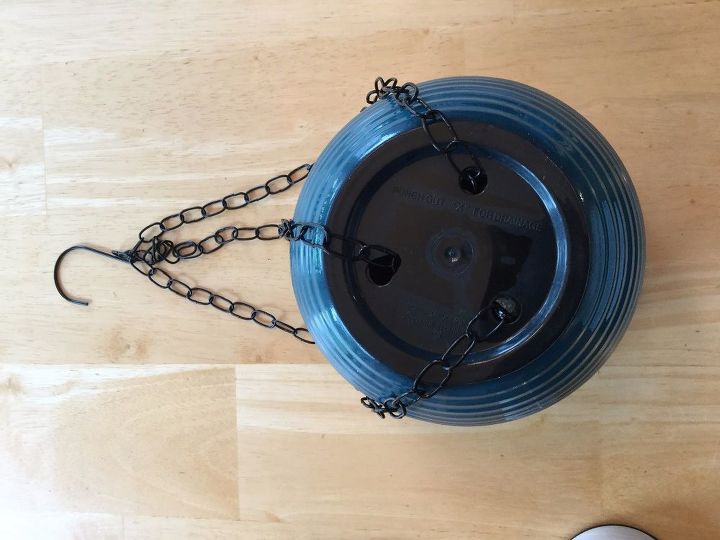
I used a chain that I had from a flower hanging basket (Dollar Tree). You could also use rope or string.
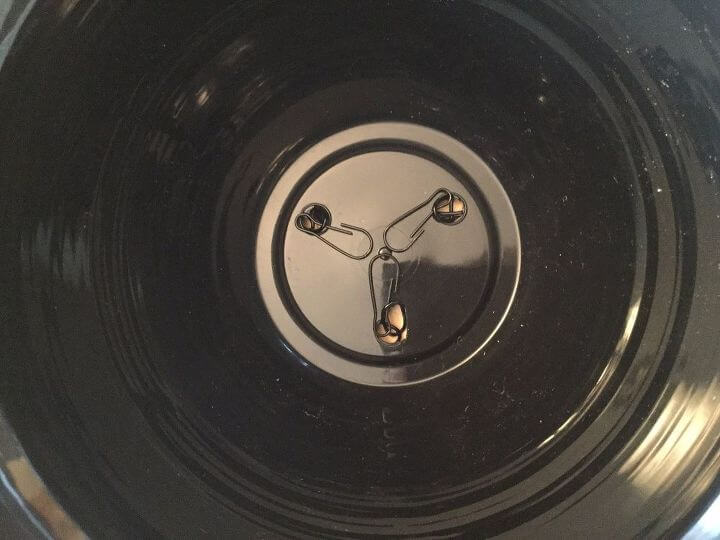
I took the hooks from my flower basket and laid them inside the basket like this. You will need the surface area to be flat so you can adhere the light inside.
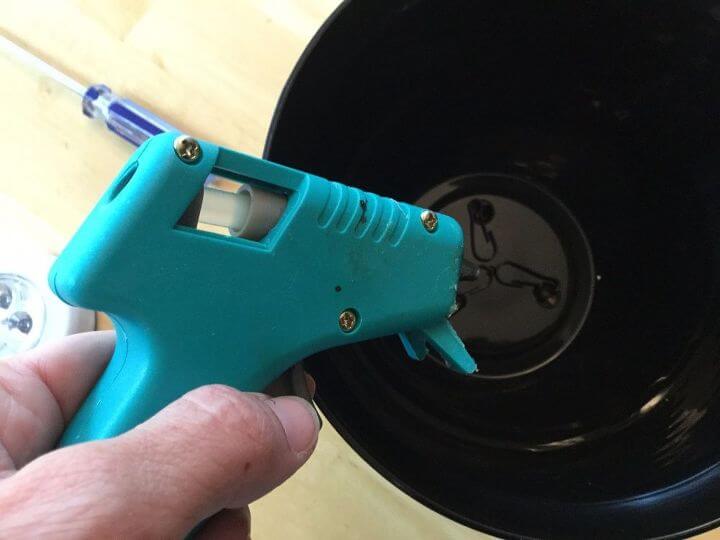
You can hot glue the hooks into place, use a glue of your choice, or ….
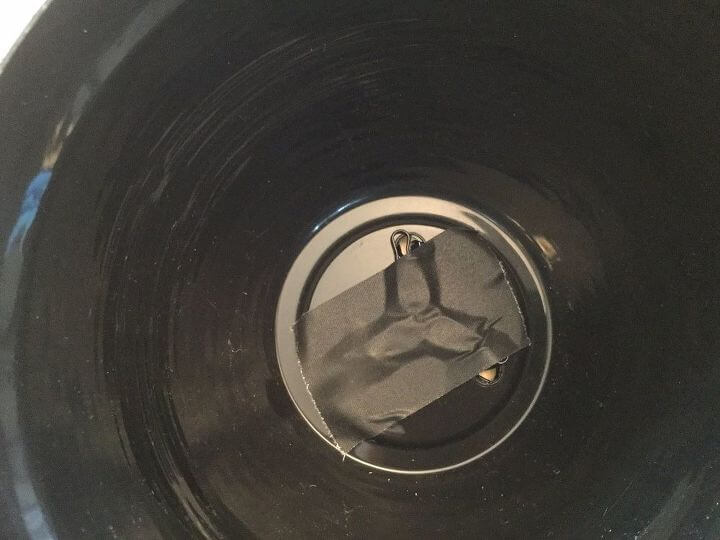
use gaffers tape to hold them into place.
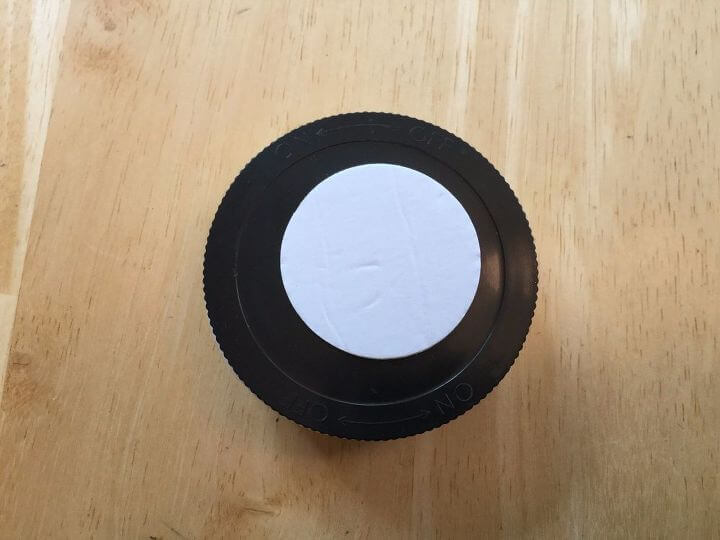
This light came from Dollar Tree and had a self adhesive back on it. Add your batteries, and stick the back on. If you want it to be a little more secure, you can glue the back to the bottom of the flower pot.
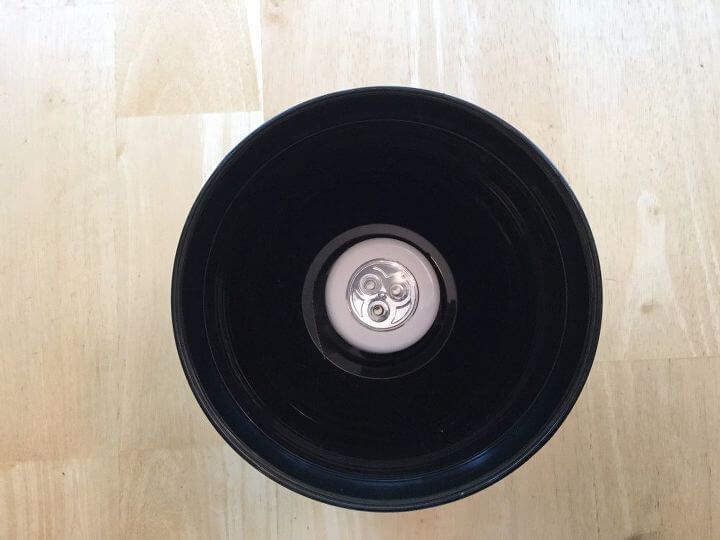
Stick your light onto the bottom of the flower pot.

This light is a touch light, meaning you simply put the light button and it turns on and off. To get to the batteries later it is no problem as this unit twists off from the back leaving it in place while you pull the unit out to replace the batteries.
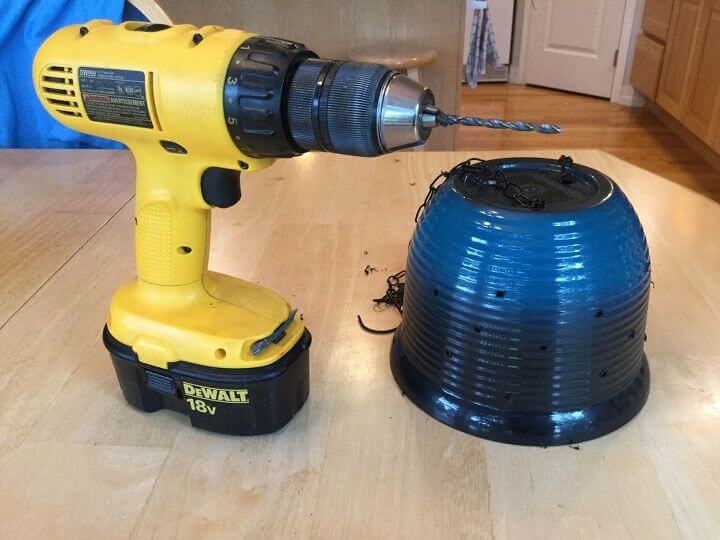
You could stop here and leave the lamp as is, I’m turning this one into a star lamp. Use a drill to drill holes in any size of your choice or a variety of sizes in random places around your lamp.
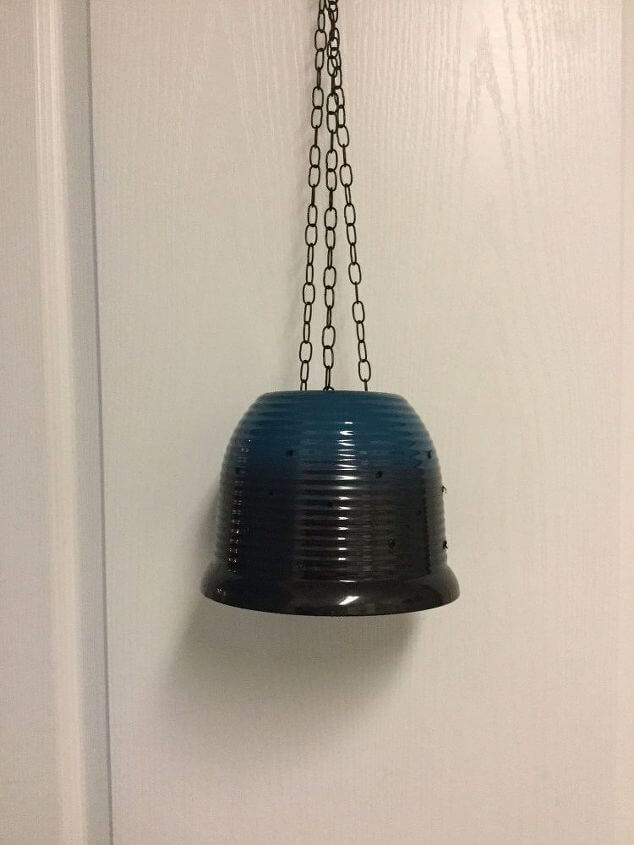
Your lamp is ready!
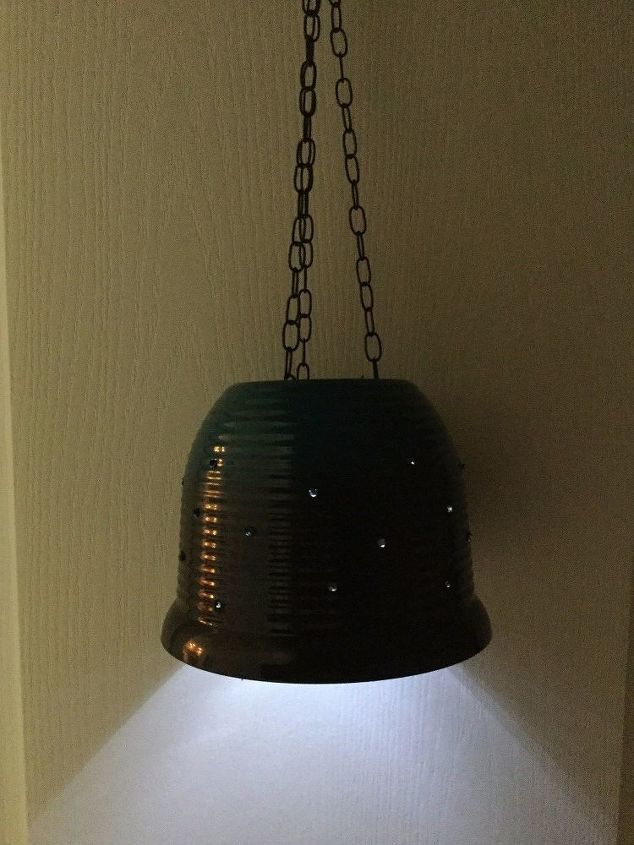
Hang it up where ever you want and turn it on. The stars are a little hard to see in the photos but they are really cool in person.

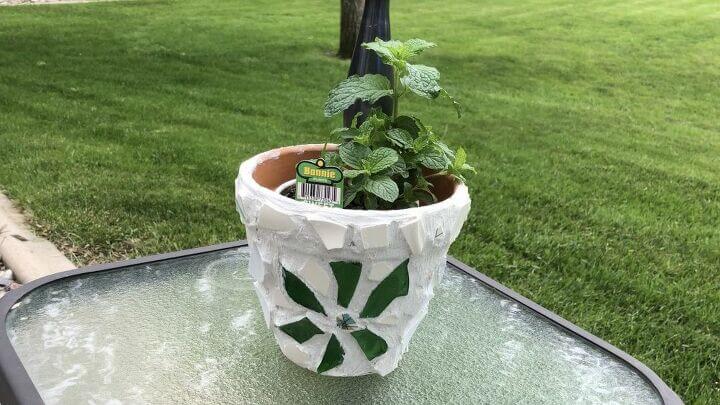
Check out some of my other flower pot posts!
- Super Cute Turtle Terra Cotta Pot DIY For Your Home
- Mosaic Terra Cotta Flower Pots
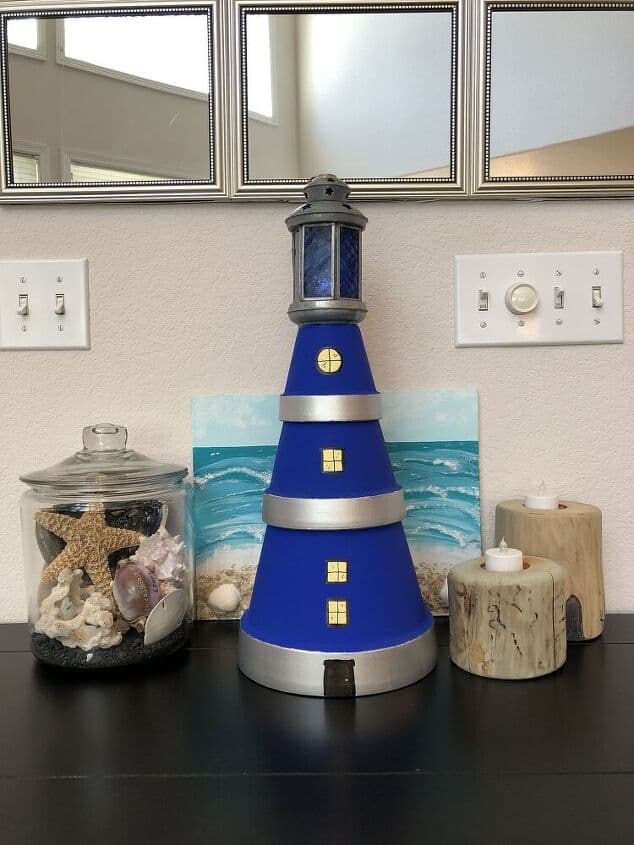
- How To Make A Flower Pot Lighthouse
") Classic Home and Garden Hon…Shop on Amazon
Classic Home and Garden Hon…Shop on Amazon") LED Tap Lights Stick On Pus…Shop on Amazon
LED Tap Lights Stick On Pus…Shop on Amazon Gaffer Power Proudly Made i…Shop on AmazonShop on Amazon
") DEWALT 20V Max Cordless Dri…Shop on Amazon
DEWALT 20V Max Cordless Dri…Shop on Amazon


Thank you for sharing at #OverTheMoon. Pinned and shared
Thank you so much Marilyn my friend, I appreciate it 🙂
Thank you for sharing at #ThursdayFavoriteThings. Pinned and shared.
Thank you so much my friend 🙂
What a clever idea – I could use some of these on my back patio! Thanks for sharing with us at The Blogger’s Pit Stop!
Thank you Roseann and I’m thrilled you love this idea for your back patio. Thanks for a great party and see you next week.
You are so creative, I would have never thought of that. Thank you for sharing on the Classy Flamingos Blog Party this week. poinsettiadr.com
Thank you so much Linda and thanks for a great party.
I’m at Dollar Tree ALL the time and never would have thought to make something like this from their garden items. Super creative!
Thank you so much Audra. I just love the Dollar Tree and how easy it is to create so many fun things and you can’t beat the price.
What a great idea, Chas. This could work anywhere indoors or out – anywhere extra light is needed. 🙂
Thank you Linda and you are so right, it’s so versatile since it doesn’t need to be plugged in. The possibilities are endless.
What a fabulous idea!! Love how the diffused light comes out of the little stars! Perfect for a front porch!
Thank you so much Sam. It was so hard to show in pictures and I’m glad you could see them. Love the porch idea, so many places where a little light like this can go.
This is such a cool idea & I love the look of a hanging lamp. So creative!
Thank you so much Michelle and I love that it can be used in so many different places 🙂
Chas, I’m stashing this one in my future project saves. One day when I have my screened in porch this would make the perfect chandelier!
Thank you so much Tarah – I’m absolutely thrilled you’d consider making something like this for your porch. I’m hoping you and I will get to sit together and enjoy it too 🙂
This is a great idea for inside closets!! I love that its not wired and with a chain you could have the light lower down in the closet. We have not one but two storage areas in our basement that would benefit from a couple of these.
Thank you so much Leanna 🙂 Those are great ideas of places that I hadn’t thought of where this could be helpful. Thanks for sharing.