Super Easy DIY Bunny Craft with Video
Are you looking for an easy bunny craft? Here is one that is so easy and cute. Everyone will want to get in on the fun!
I love making seasonal decorations and now I have turned my attention to Easter crafts to use as Easter decorations. Are you looking for cute bunny craft ideas? This easy craft is perfect for an Easter party or to have next to your Easter baskets. Today I am going to show you how to make an easy diy Easter bunny craft so that you can make your own adorable bunnies.
Bunny Craft Materials
- Boxes
- Table Cover or Butcher Paper
- Felt
- Yarn
- Google Eyes
- Scarf
- Buttons
- Hot Glue Gun
- Stickers
- Bead
- Bunny Ears
 - Best Food Service Wrapping Paper for Smoking Meats, Crawfish Boil, or Table Runner | Uncoated & Unwaxed | | Made in USA") White Kraft Butcher Paper R…Shop on Amazon
White Kraft Butcher Paper R…Shop on Amazon ARTEZA Craft Felt Sheets, 8…Shop on Amazon
 CRAFTISS 30 of 20g/0.7Oz Ac…Shop on Amazon
") 6 Pieces Googly Google Eyes…Shop on Amazon
6 Pieces Googly Google Eyes…Shop on Amazon Scarfs for Women Lightweigh…Shop on Amazon
 Greentime 1500 pcs Round Re…Shop on Amazon
") Chandler Tool Full Size Hot…Shop on Amazon
Chandler Tool Full Size Hot…Shop on Amazon
Bunny Craft Video
Bunny Craft instructions
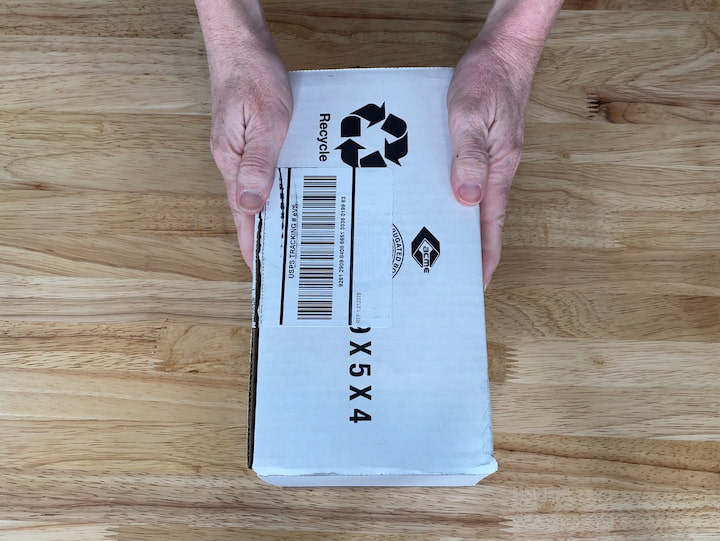
1. Wrap the Boxes with White paper
To start this project I used four boxes that I saved from things that have been shipped to our home. I am using boxes in 3 different sizes; shoe box sized, medium, and large. You can use any size boxes you like.
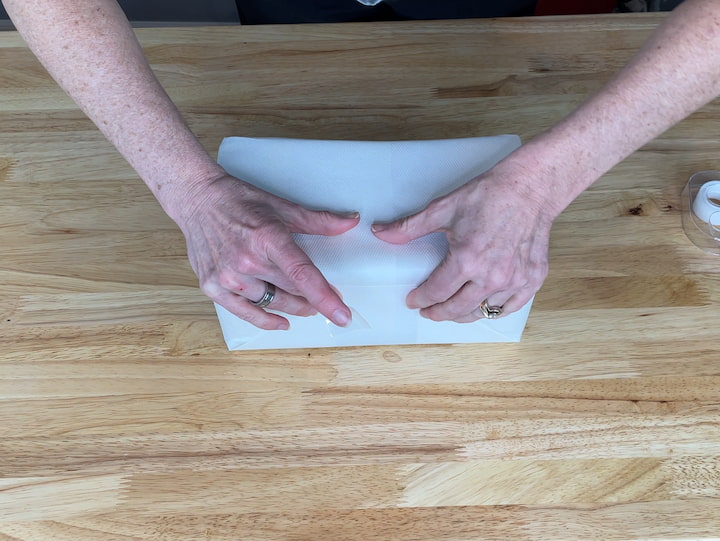
I’ve wrapped them all with a paper tablecloth but you could use butcher paper, cardstock, or white wrapping paper. So start by wrapping the four boxes so you have a nice white surface to work with.

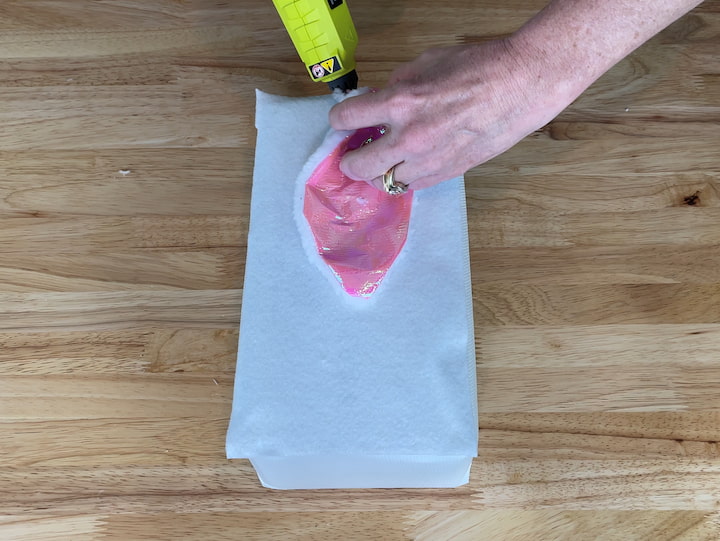
2. Cut and Glue white Felt onto all of the boxes
I have some felt from Dollar Tree and I measured the boxes and I used my scissors to cut a strip of fabric for the front of each box and used glue to secure it in place. This just adds a little texture to the box.
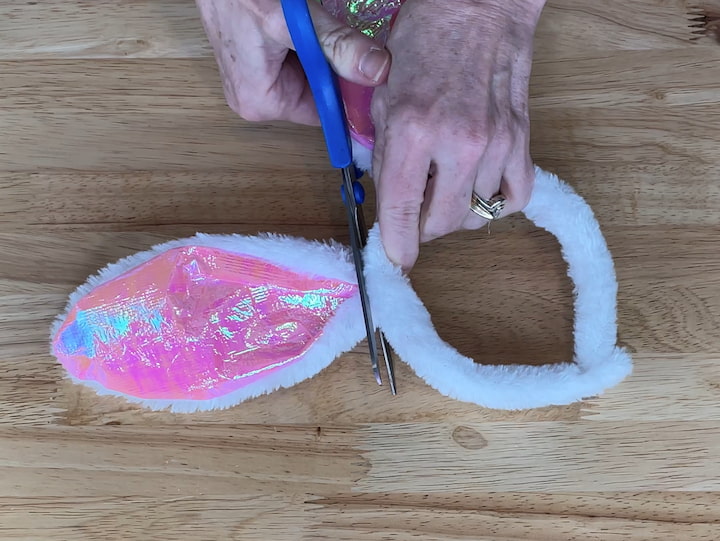
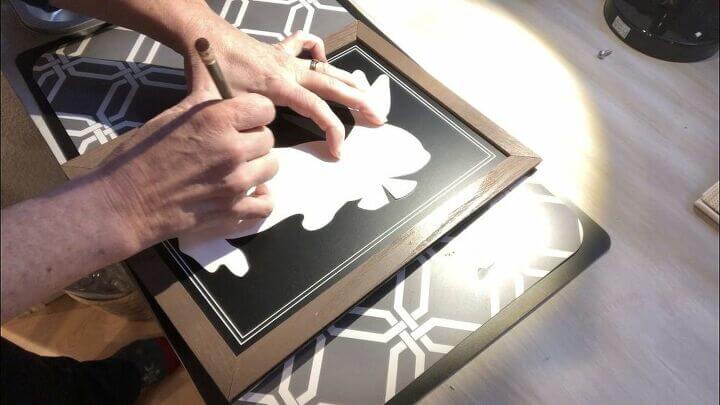
3. Cut Bunny Ears and Glue onto Boxes
I bought a bunny rabbit headband with bunny ears at the dollar store and I simply cut the ears off the headband. I have done the same thing to make several adorable bunny crafts.
I glued one ear onto the front of each of the small boxes. Here’s a quick look at both ears on the boxes.
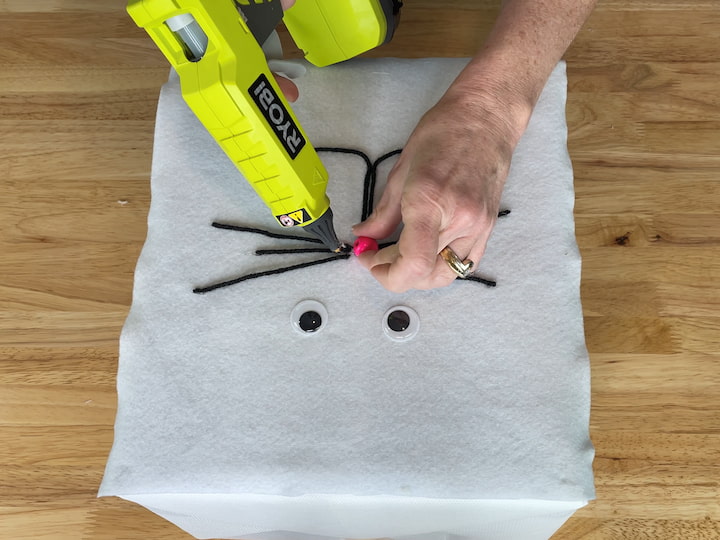
4. Add a Bunny Face to the Middle Box
The middle-size box will become the bunny face. After covering the front of the box with white felt I placed googly eyes and some yarn with a little bead for the bunny nose then hot glued all that in place. You could also use pipe cleaners with cotton balls or pom poms to create a face. I used a scarf to make a little bow for his neck. It is all very simple and you can use your imagination and creativity to make your bunny face unique.
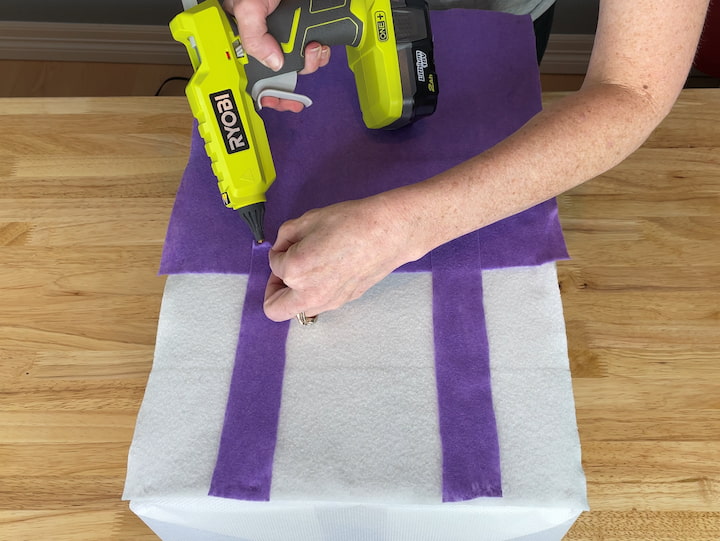
5. Make the clothes for the large box
Next, we will work on the biggest box. I covered the top portion of the front of the box with white felt. Now I am going to make some overalls. I used purple felt to make some bib overalls. I cut a square large enough to cover the bottom half of the front of the back and glued it into place overlapping a bit of the white felt.

I cut two small strips of purple felt for suspenders and glued them into place then added some buttons.
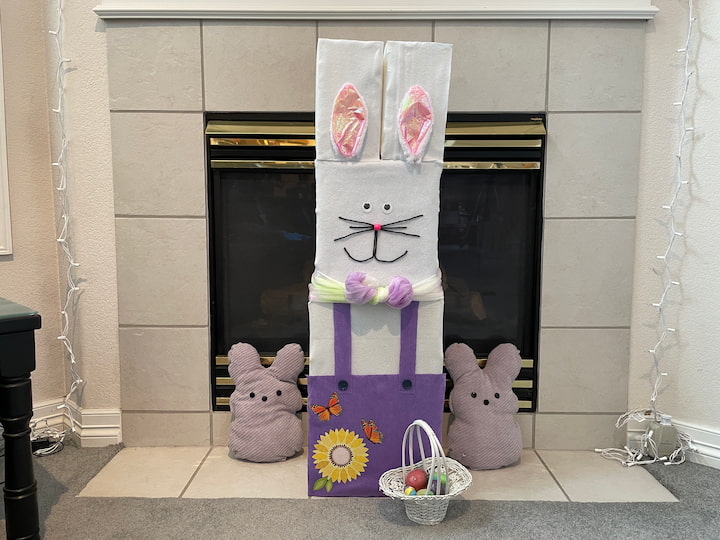
6. Add embellishments to your bunny craft
I had some stickers that reminded me of spring so I just added those to the overalls as well.
You can add a tail on the back it just depends if his backside will be seen. You can add a lot of embellishments if you want with this design. Now we’re going to go ahead and put him together. Starting with the large box on the bottom next we’re going to add the head or the medium-sized box followed by the ears on top of the small boxes.
One of my favorite things about this simple craft is that young children, and especially toddlers can have fun making it and putting it together. It is like a big puzzle. They can take it apart and put it back together all season long. I know my kids would have totally loved that. Because the boxes are covered with felt you can cut the face pieces out of felt, felt eyes, a felt nose, felt whiskers, and a felt mouth. You can cut out a variety of different faces then just stick them onto the felt without needing glue. Kids can make their own faces, so you can make happy faces and surprise faces that can mix and match.
Bunny Craft Video
You might be interested in more rabbit crafts
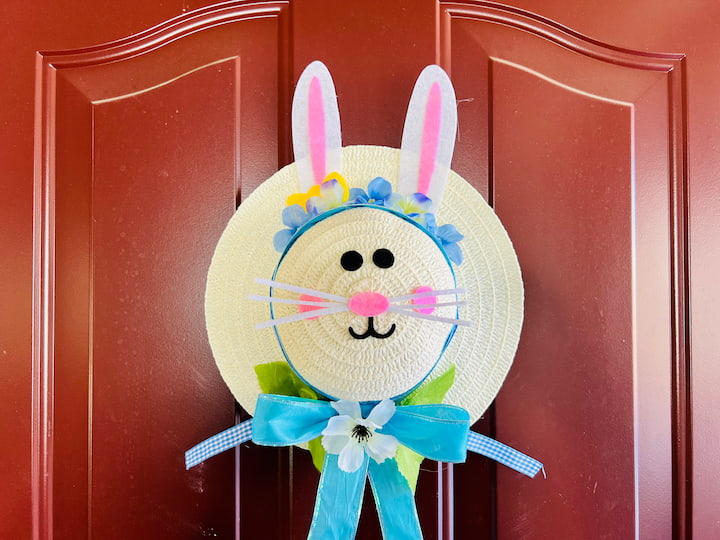


- Easy and Awesome Bunny Wreath with Video
- Super Cute and Easy Dollar Tree Bunny DIY with Video
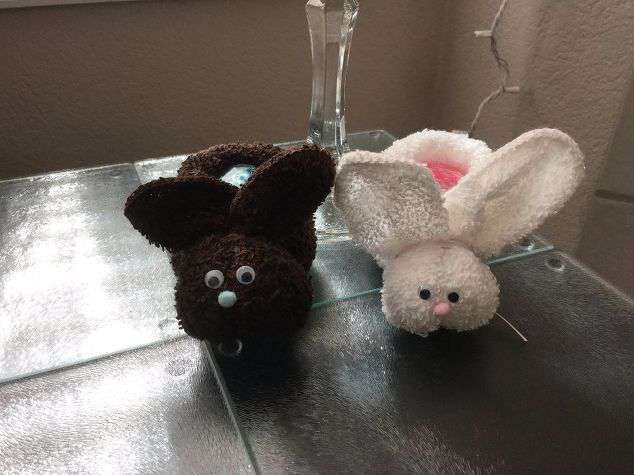
- Cute and Easy Easter Sock Bunny Hack Anyone Can Make
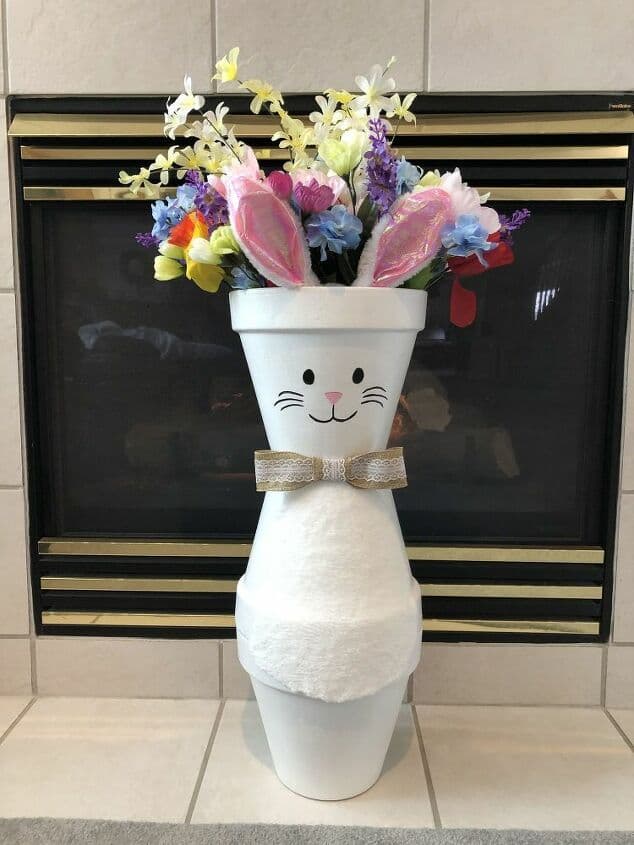
- Flower Pot Bunny Craft DIY
- How To Paint On Ceramics, Easy and Beautiful Upcycled Thrift Store Bunny
- An Easy and Awesome Way To Paint Ceramics And Upcycle Thrift Store Decor
- How To Make A Super Cute Boo Boo Bunny Easily
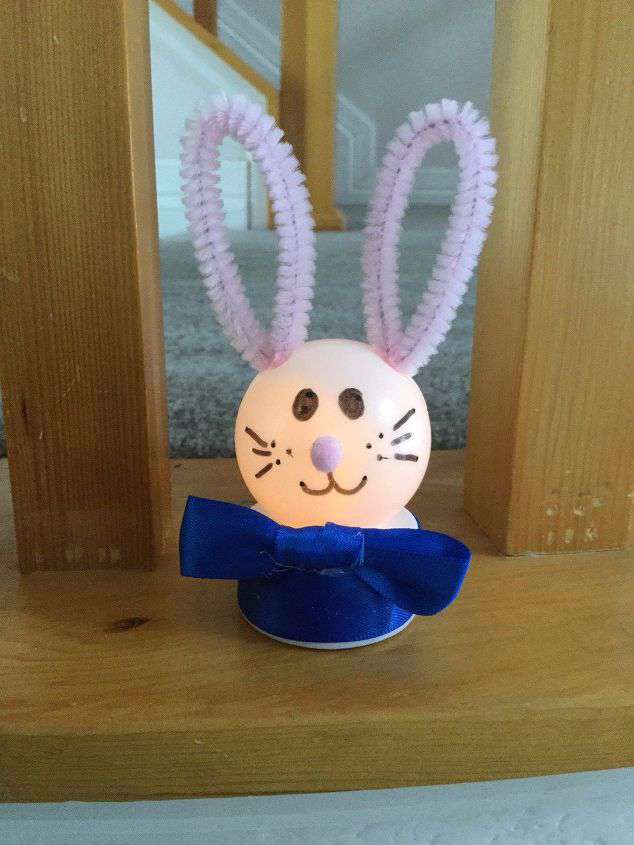
- Easy Spring Bunny Nightlight Craft
- How To Paint A Bunny the Easy Way with Video
Shop any of these stores and I receive a small commission at no cost to you.
 Cllayees Set of 2 Easter Bu…Shop on Amazon
 Kitticcino 3Pcs Easter Tier…Shop on Amazon
 SY Super Bang Hop SignShop on Amazon
 Gift Boutique 4 Easter Bunn…Shop on Amazon
 Nacome Solar Garden Outdoor…Shop on Amazon
I hope this inspires you to make some fun easter bunny crafts and spring decor for your home. I’d love it if you’d subscribe to my blog at chascrazycreations.com and my YouTube channel. Thanks for watching and don’t forget to like, share and subscribe and I’ll see you in my next video