
Super Cute and Easy Dollar Tree Bunny DIY with Video
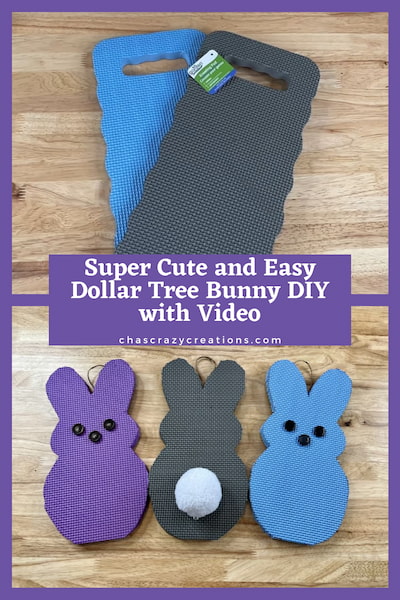
Do you want to make a Dollar Tree Easter Bunny? I love using dollar store items to make DIY projects. Soon it will be time for Easter decorations so I want to share one of my favorite projects made from dollar tree supplies. I took garden kneeling pads from the dollar store and turned them into cute Easter bunnies.
Dollar Tree Cute Bunny Material List:
Dollar Tree Bunny Materials Video
Dollar Store Bunny Instructions
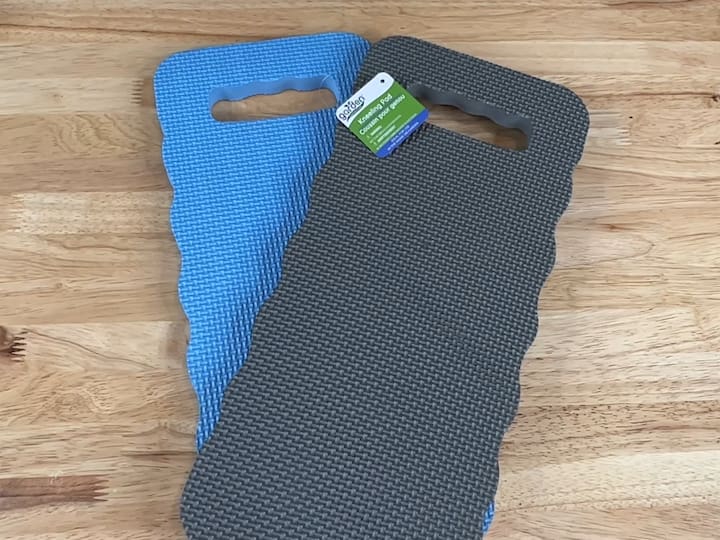
I purchased a few garden kneeling pads from my local Dollar Store.
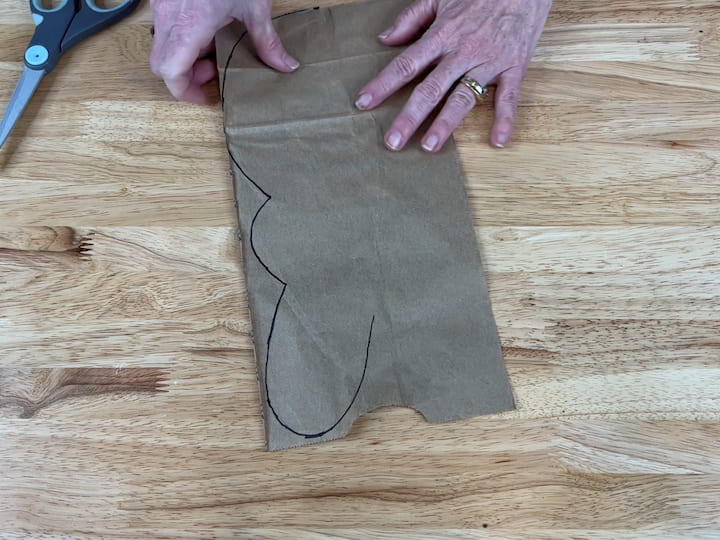
1. Make a Bunny Template
I used a recycled Paperback and drew half of a bunny design on it. You could alternatively use a blank piece of paper, cardstock, or recycled paper.
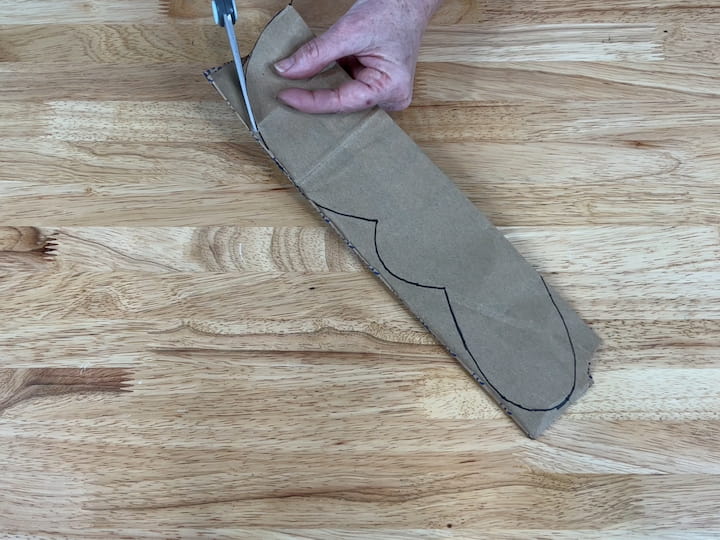
I folded the paper bag in half and cut out the bunny shape. I folded the paper in half so each side would be the same. This step is similar to when you fold a piece of paper to cut a heart shape out.
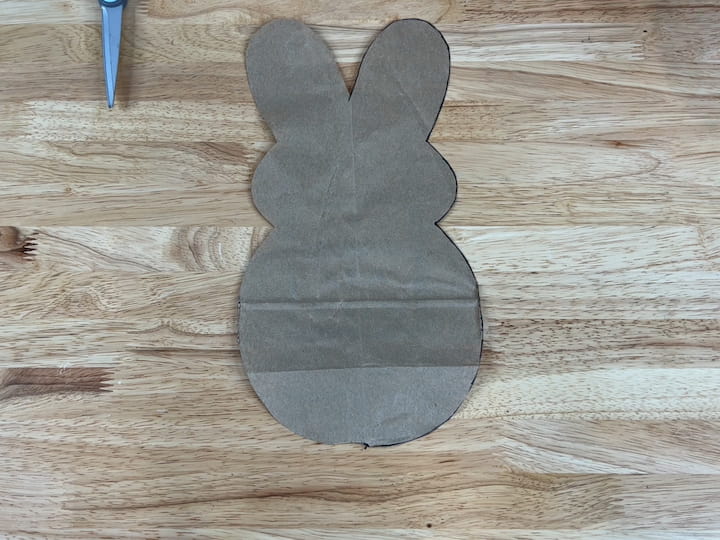
I unfolded the paper bag and my template was ready to create my DIY bunny.
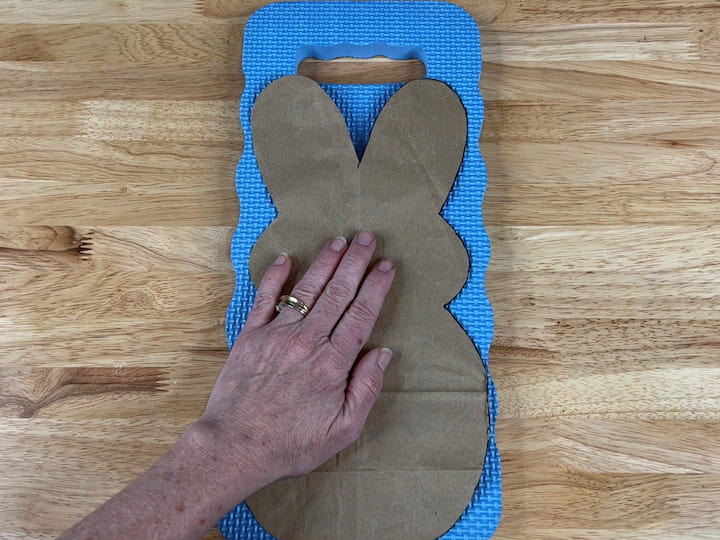
2. Trace the Bunny on the Pad
I placed my template onto the garden pad. The secret to help hold the template in place is to tape the template onto the pad.
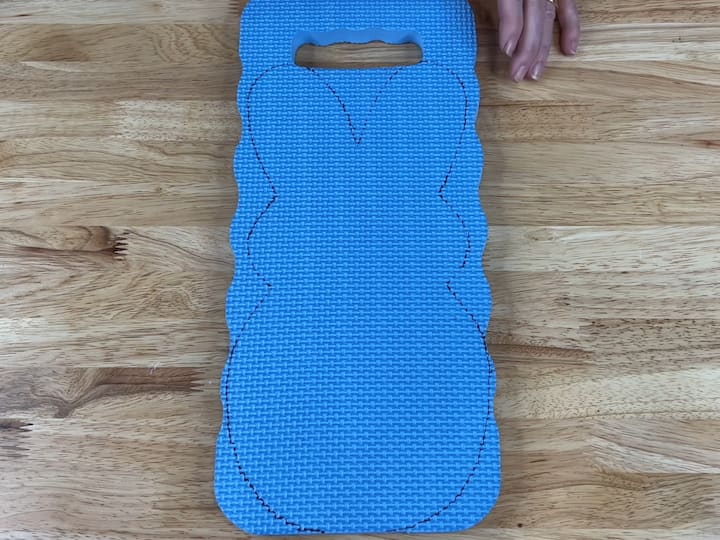
I traced around the template onto the foam garden pad with a sharpie marker. You could also use a dry erase marker, pen, pencil, etc.
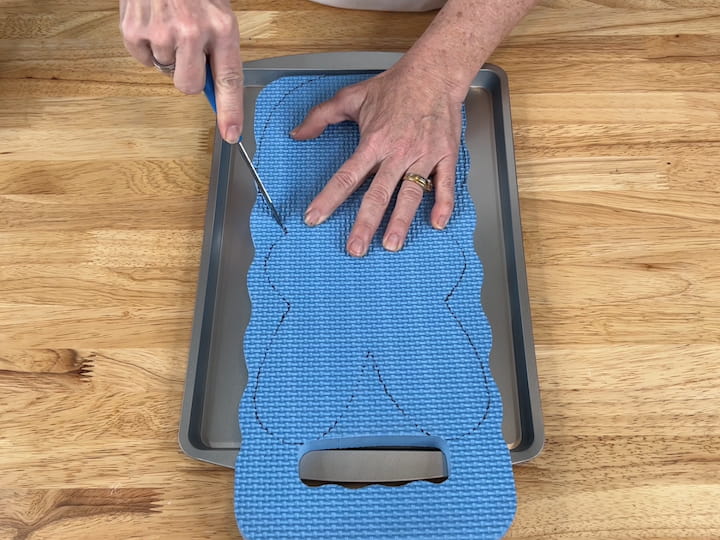
3. Cut Out the Bunny
I placed my foam garden pad onto a cookie sheet to protect my tabletop. I used a serrated knife that I purchased for crafting to cut out the bunny shape. You could also use scissors, heat knives, or a razor blade if you’d rather.

4. Add a Face
I hot glued on some buttons for the eyes and nose of my bunny.
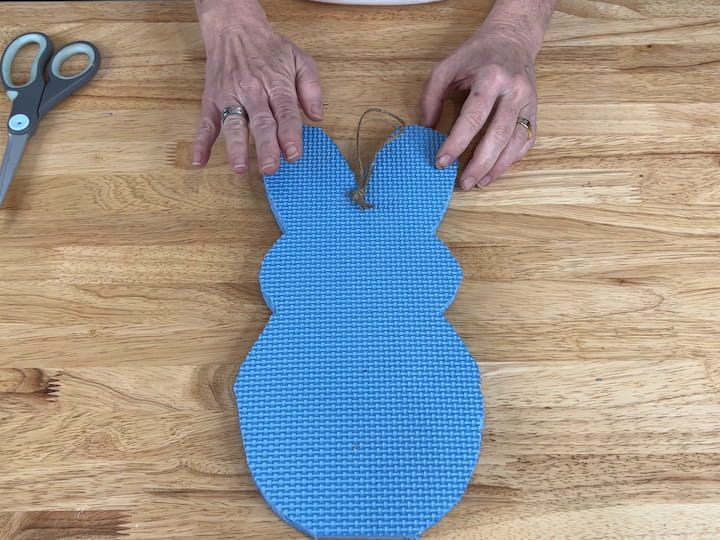
5. Add your Display Method
I made a little loop and knot with some twine and hot glued it onto the back so that I could hang my dollar store bunny. You could alternatively use different things in the bottom so that you could place the bunny in a centerpiece on your easter table or stake it into the ground along a walkway, etc. I’ve used a skewer and also a wooden craft stick that I had around the house to use as a stake.
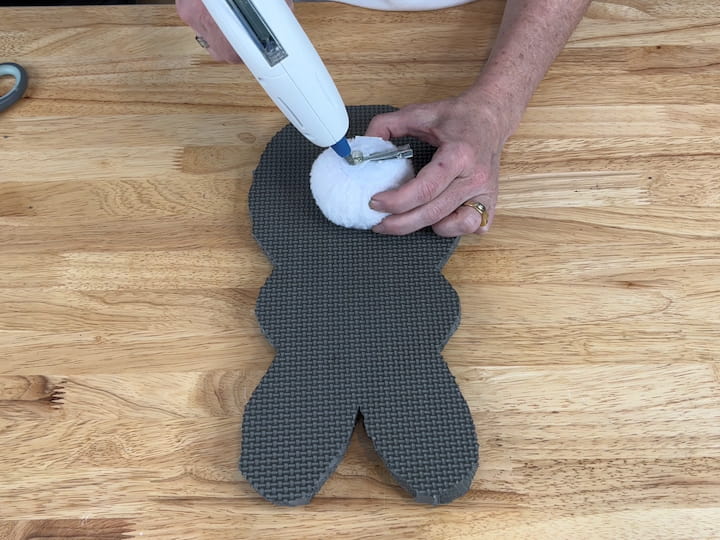
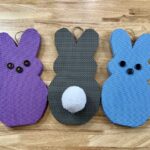
I cut out a second bunny and for this one, I hot glued on a tail for the back of the bunny instead of the button eyes on the front of the bunny.

Here are the 3 bunnies that I made.
You can have fun with these adorable bunnies by decorating them in different ways. Here are some fun ideas:
- Embelish the bunny ears with glitter
- Add a bow tie
- Add a little bow between the ears
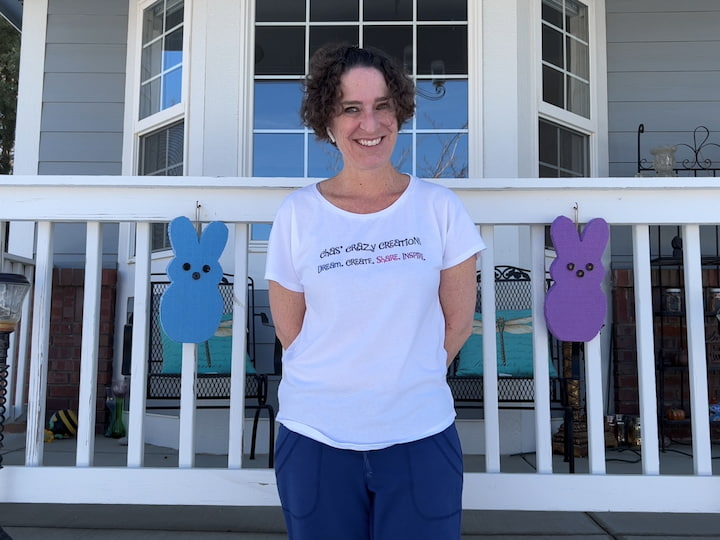
I hung 2 of the bunnies on my porch.

I hung the other bunny on my front door.
What other bunnies can you make with dollar tree items?
- Grab a bunny wreath form and braid it with nautical rope
- Grab 2 wreath forms, bunny ears, and some burlap ribbon to make this cute wreath.
- Make a bunny banner or Easter banner with foam, wood, or burlap bunny cutouts glued to twine and hang it on your fireplace mantel
- Grab some dollar store terra cotta pots and make this cute terra cotta bunny
- Grab a cutting board and some ribbon to make these dollar tree carrots
More DIY Easter Decor From Your Local Dollar Tree Store:
Grab these inexpensive items from your local dollar store. This is my favorite time of year and I look forward to celebrating springtime and Easter. Have these craft supplies on hand to create seasonal crafts. You can stock your spring craft supplies with just a few purchases from the dollar store. I have a lot of tutorials on my blog for you to make spring crafts.
- window clings
- stickers
- fairy lights
- round glass vases or cups to decorate
- bunny coasters
- items to build your own tiered tray
- Easter baskets and plastic Easter eggs
I hope this tutorial is an inspiration for you to make your own dollar tree Easter crafts. Happy Crafting!
Super Cute and Easy Dollar Tree Bunny DIY Video tutorial
Shop any of these stores and I receive a small commission at no cost to you.
") Smart Value Set of 3 Foam K…Shop on Amazon
Smart Value Set of 3 Foam K…Shop on Amazon Perfect Stix – Brown Bag 4-…Shop on Amazon
 Amazon Basics Retractable P…Shop on Amazon
 Scissors, iBayam 8" All Pur…Shop on Amazon
 Victorinox 4 Inch Swiss Cla…Shop on Amazon
 Greentime 1500 pcs Round Re…Shop on Amazon
") NOVELTY GIANT WWW.NOVELTYGI…Shop on Amazon
NOVELTY GIANT WWW.NOVELTYGI…Shop on Amazon - Dual Temp, Precision Nozzle, and Easy Squeeze Trigger") Gorilla Mini Hot Glue Gun K…Shop on Amazon
Gorilla Mini Hot Glue Gun K…Shop on Amazon
Super Cute and Easy Dollar Tree Bunny DIY with Video
Equipment
- Hot Glue Gun
- knife
- Scissors
Materials
- Garden kneeling pad
- Paper
- Marker
- Buttons or bunny tail
Instructions
- MAKE A BUNNY TEMPLATE – I used a recycled Paperback and drew half of a bunny design on it. You could alternatively use a blank piece of paper or recycled paper. I folded the paper bag in half and cut the bunny shape out. I folded the paper in half so that each side would be the same. Similar to when you fold a piece of paper out and cut a heart shape out. I unfolded the paper bag and my template is ready to create my DIY bunny.
- TRACE THE BUNNY ON THE PAD – I placed my template onto the garden pad. You can tape the template onto the pad to help hold it into place. I traced around the template onto the foam garden pad with a sharpie marker. You could also use a dry erase marker, pen, pencil, etc.
- CUT THE BUNNY OUT – I placed my foam garden pad onto a cookie sheet to protect my tabletop. I used a serrated knife that I purchased for crafting to cut out the bunny shape. You could also use scissors, heat knives, or a razor blade if you’d rather.
- ADD A FACE – I hot glued on some buttons for the eyes and nose of my bunny.
- ADD YOUR DISPLAY METHOD – I made a little loop and knot with some twine and hot glue it onto the back so that I could hang my dollar store bunny up. You could alternatively use a skewer in the bottom so that you can place the bunny in a centerpiece, stake it into the ground along a walkway, etc.
Video
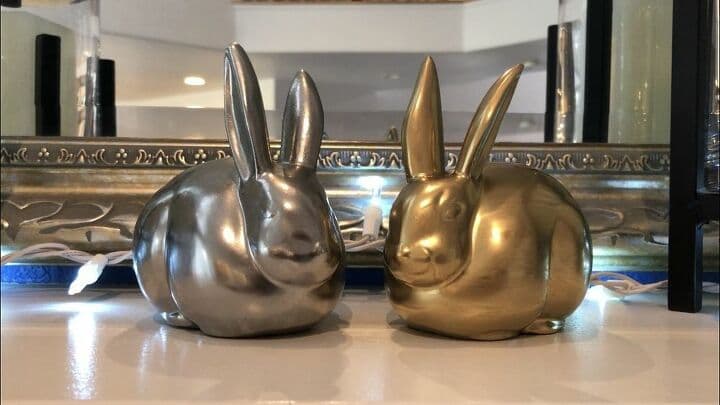
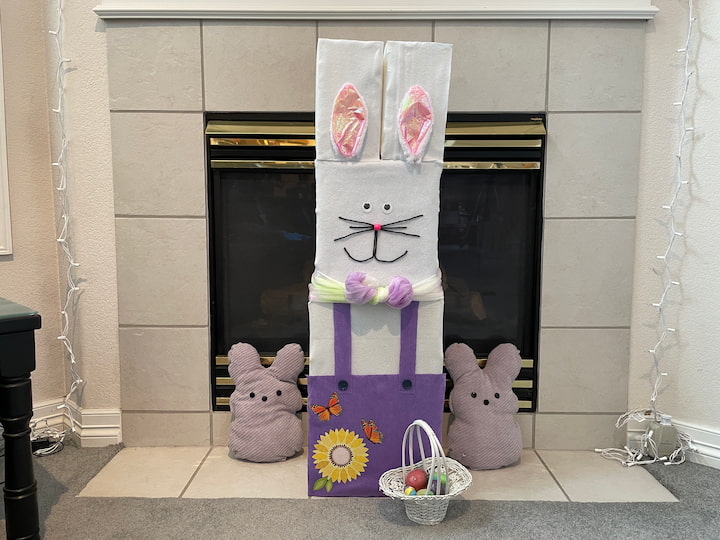
Check out some of my other bunny creations!
These are just so cute! You never cease to amaze me!
Thank you so much Chloe 🙂
Oh so cute!! Thanks for the easy tutorial!
Thank you so much Barbara