
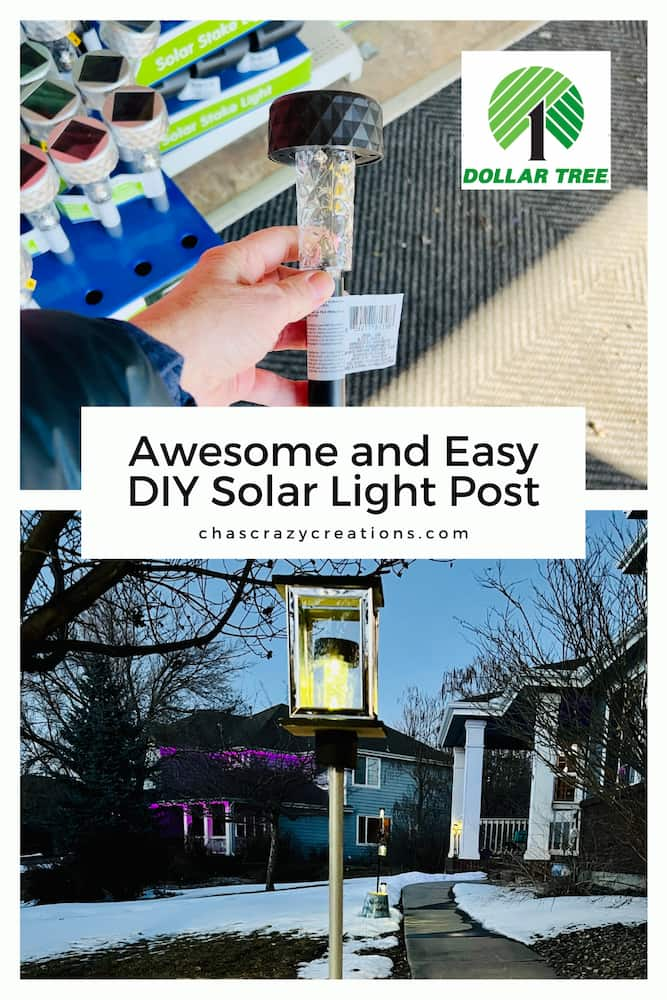
Awesome and Easy DIY Solar Light Post
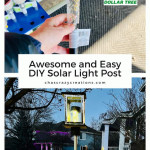
Do you want a DIY solar light post? With just a few inexpensive materials you can make your own and save tons of money!
I ran the Dollar Tree and grabbed a couple of familiar items. You can also pick up most of these items at any thrift store. Today we are going to have fun with these diy solar light projects. This is an easy project and an inexpensive way to add outdoor lighting to your landscaping, deck, porch, patio, or pathways. You could even place them around a pool deck. So let’s get started with our step-by-step instructions. You might also enjoy my post Creative Solar Light Ideas for Summer Nights (14+ DIY Projects).
Today I’m not only going to make one but two solar light post options for you!
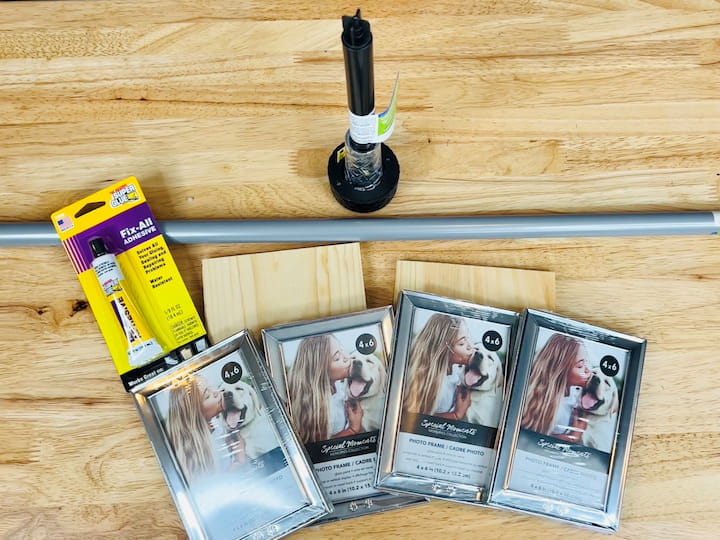
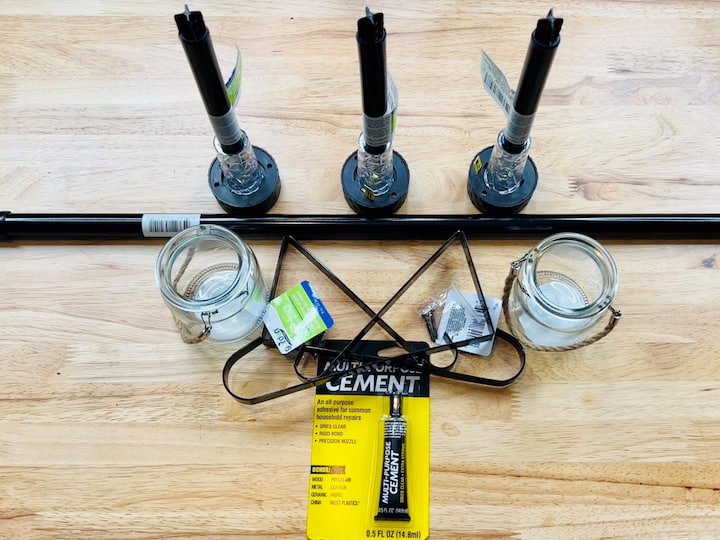
DIY Solar Light Post Materials
- broom handle
- 4 photo frames
- solar lights
- 2 pieces square scrap wood
- paint
- mod podge
- pool noodle
- hot glue gun
- gaffers tape
- plant hangers
- Fix All, or Adhesive of your choice
 Quickie Replacement Wood Ha…Shop on Amazon
 Giverny 4×6 Picture Frames …Shop on Amazon
 Solar Lights Outdoor, 12Pac…Shop on Amazon
, Colors, 32 Fl Oz, 16 Piece") Apple Barrel Multi-Surface …Shop on Amazon
Apple Barrel Multi-Surface …Shop on Amazon, CS11220 Clear Finish") Mod Podge Waterbase Sealer,…Shop on Amazon
Mod Podge Waterbase Sealer,…Shop on Amazon Oodles of Noodles Deluxe Fo…Shop on Amazon
") Chandler Tool Full Size Hot…Shop on Amazon
Chandler Tool Full Size Hot…Shop on Amazon Gaffer Power Proudly Made i…Shop on Amazon
 Fix-All Adhesive – Multi-…Shop on Amazon
DIY Solar Light Post Video
DIY Solar Light Post instructions
Solar Light Lamp Post Option One
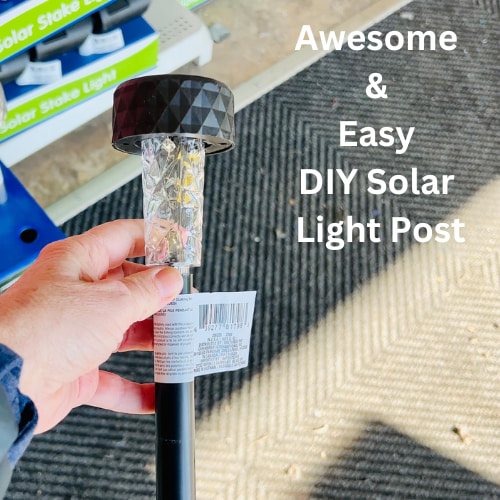
My first diy solar lamp post uses a dollar store broom handle, four picture frames, two pieces of scrap wood, fix all, and a solar light.
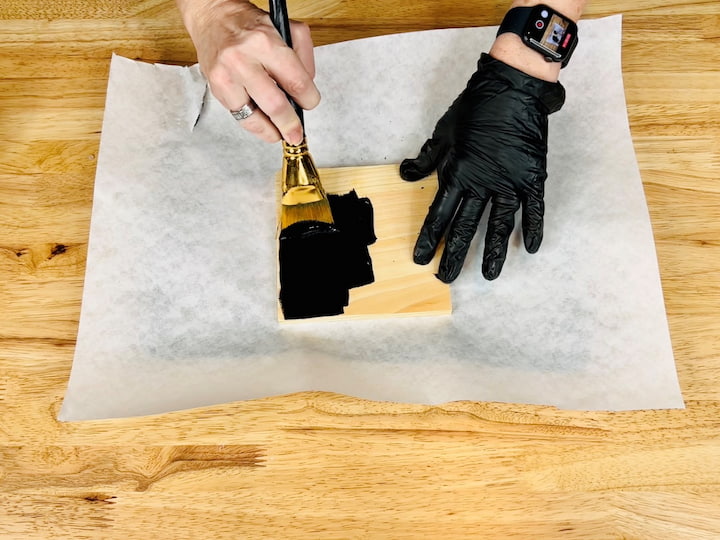
1. Paint the wood scraps for the light post
I’m going to start with some Apple Barrel multi-surface paint in the color black. I squirt a little onto the wood and then just smooth it on with a paintbrush. I paint the top and the sides and while the first one dries I will paint the second one. Now I will let these two pieces dry completely.
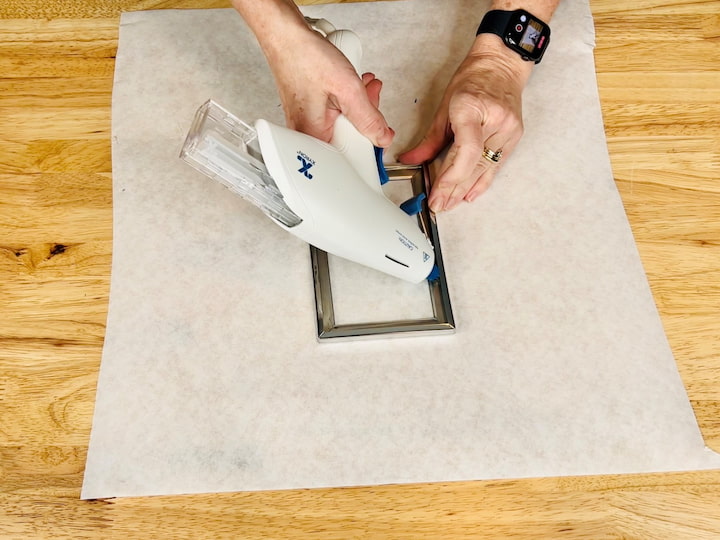
2. Glue the glass inside the photo frame
I’m going to open all the picture frames and remove the plastic on the back and the inserts so that all I have is the frame and the glass. I’m going to use my Xyron self loading glue gun to glue the glass to the frame so that it all stays in place. I repeated this process for all four frames.
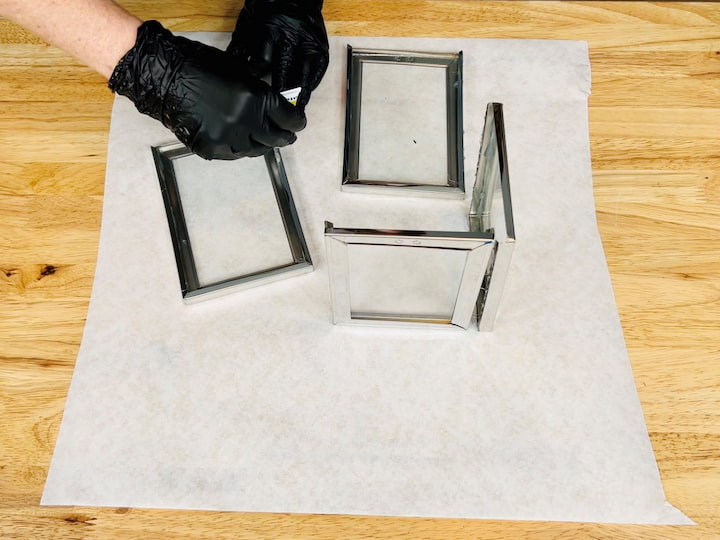
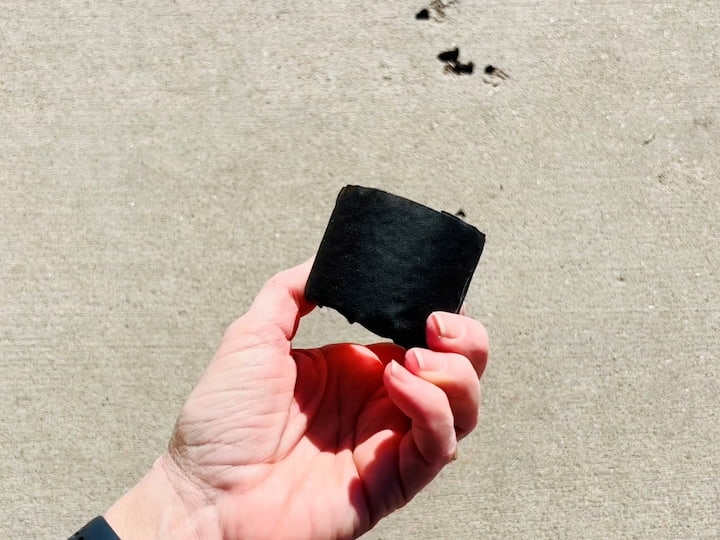
3. Glue the frames together for the lamp post
I’m going to be using fix-all adhesive to glue all the frames together. I’m going to place them on end and add some glue and adhere them together. It’ll take about 24 hours for this to set. Once they’re all set I’m ready to move on to the next step.
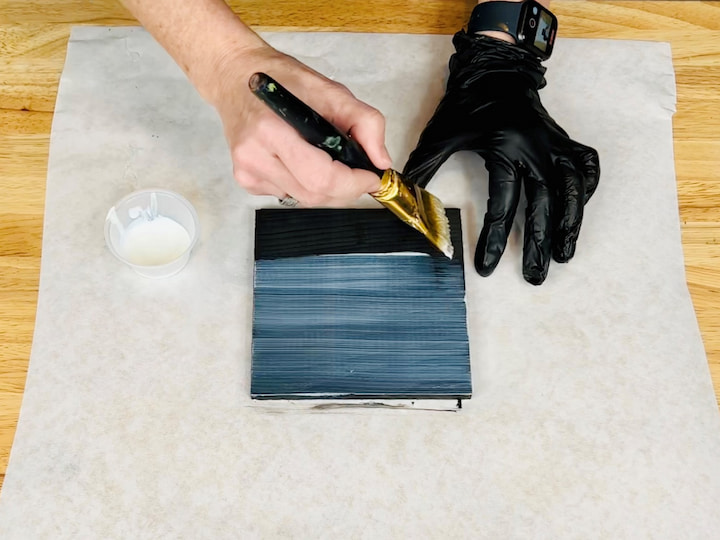
4. Coat the wood with outdoor safe ModPodge to seal the wood
I’m going to clean all of the glass with rubbing alcohol. I’ve got some outdoor mod podge and I’m going to paint that onto both of the black pieces of wood to seal and protect them from the elements. It goes on white and dries clear.
5. Glue one of the wood pieces to the bottom of the frames
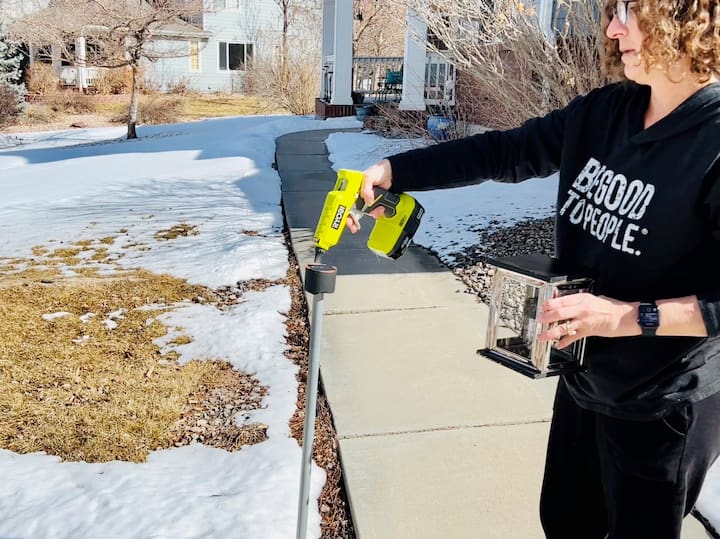
While that’s drying I’m going to pull the end off of this broom handle and remove the label. This will become my solar light post. I’m going to add some fix-all onto the picture frame and then put that onto one piece of wood.
6. Remove the base from the solar light
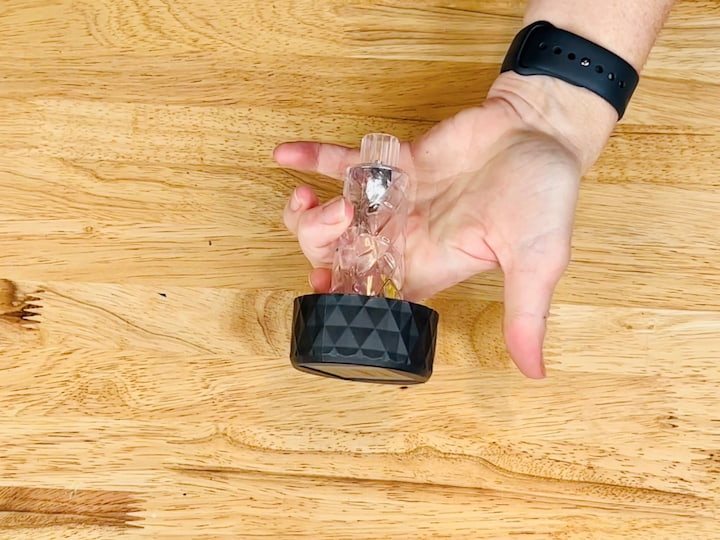
I’m going to remove the base from a solar light and discard that because I don’t need it, I only need the top.
7. Glue the solar light into the center of the frames for the solar post
I’m going to add some hot glue to the bottom of the solar light. You could also use fix-all or silicone. I’m going to stick the solar light onto the wood in the center of the picture frames.
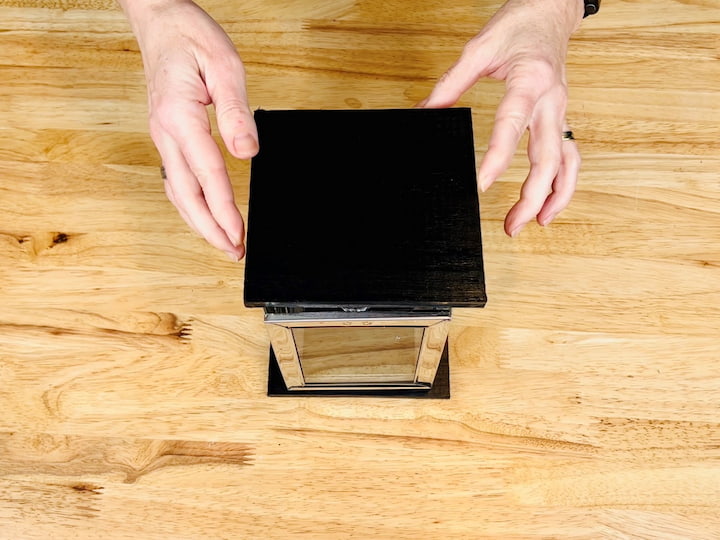
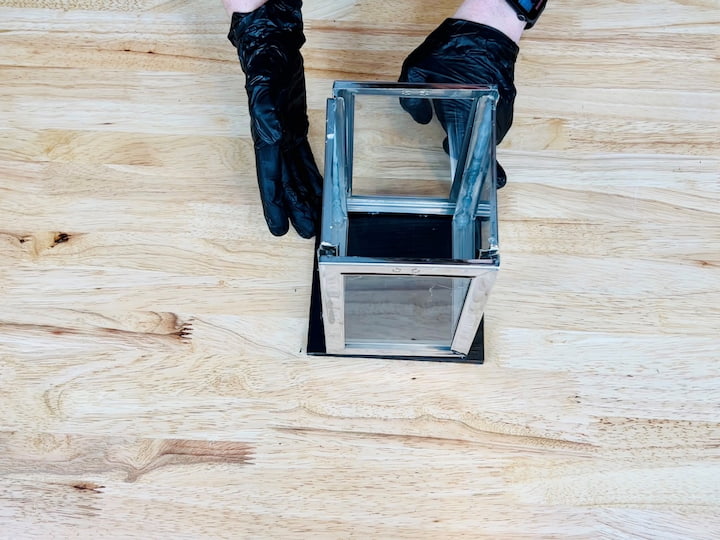
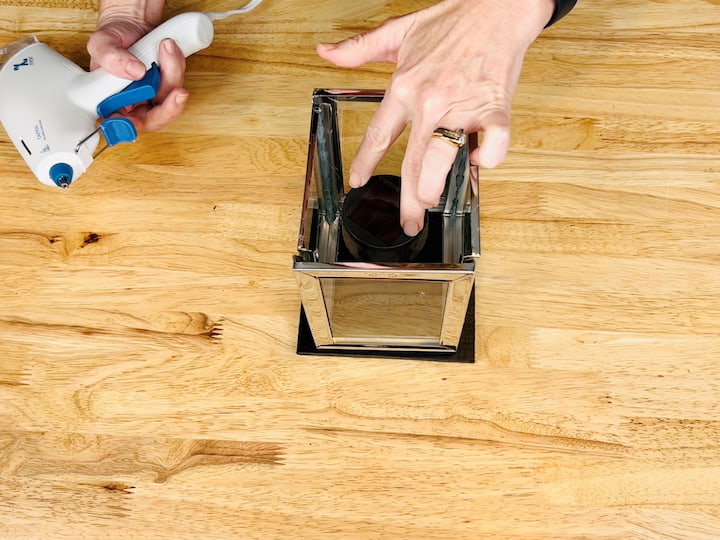
8. Glue the second piece of wood on top of the picture frames
I’m going to add fix-all glue to the top part of the picture frames and adhere the second piece of wood on top to make a box.
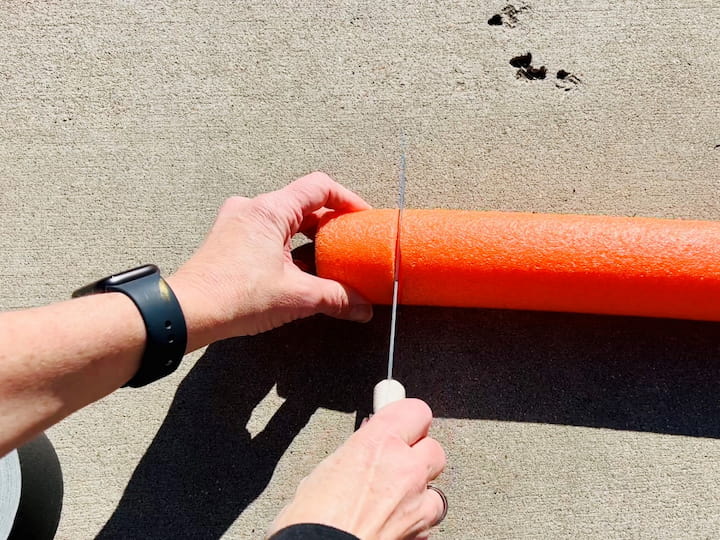
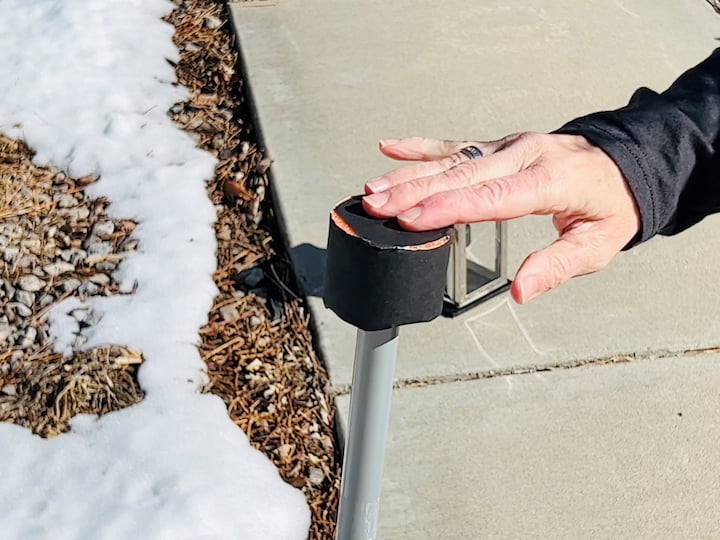
9. Cut and prep a pool noodle for added stability for your DIY solar light post
While all of that’s drying I’m going to measure my Gaffers tape against a pool noodle. I will cut the pool noodle to that size and wrap the piece in Gaffers tape. I also put a little piece on the top as well.
10. Put the DIY solar post together
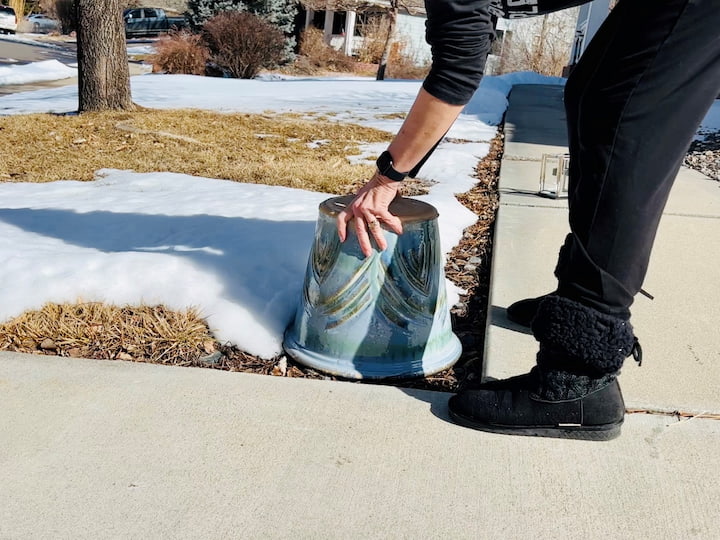
Now it’s time for the lantern installation. I flipped a flower pot upside down. Later I’ll be using this for flowers, but for now, it’s winter.
I’m placing the broom handle into the flower pot and then I placed my pool noodle onto the top of the broom handle.
I added some hot glue to the top of the pool noodle and the gaffer’s tape and I used a hefty amount. You could alternatively use silicone.
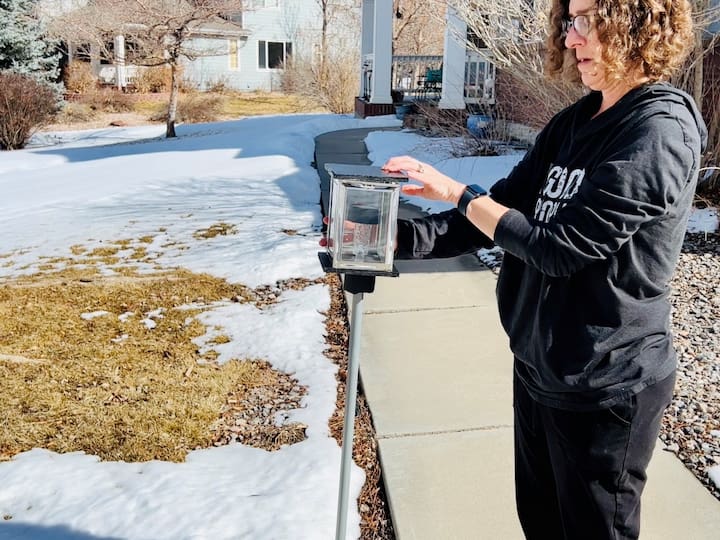
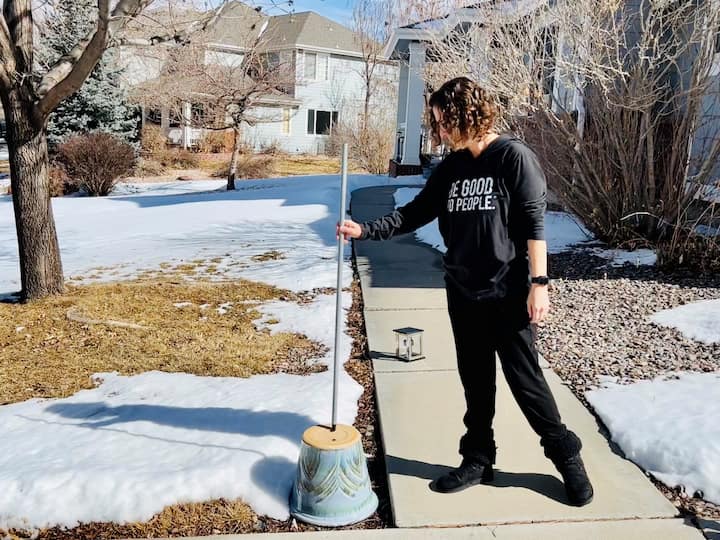
I placed my box with the solar light on top of the pool noodle and held it in place until it cooled.
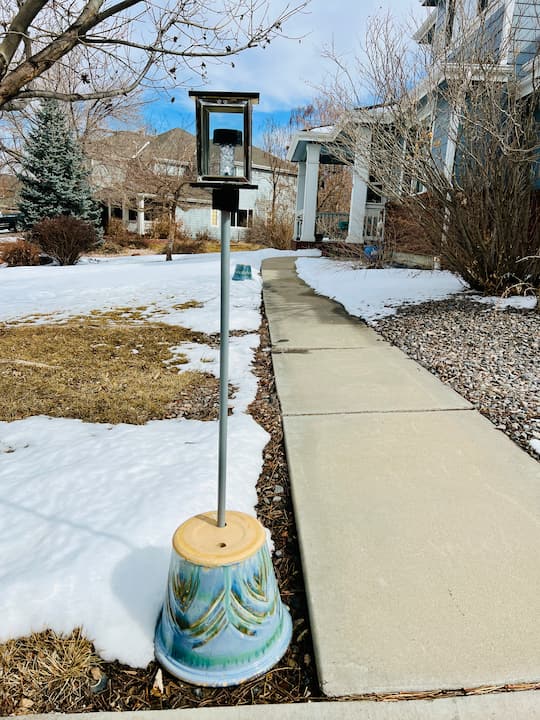
Here’s a quick look at my single lamp post.
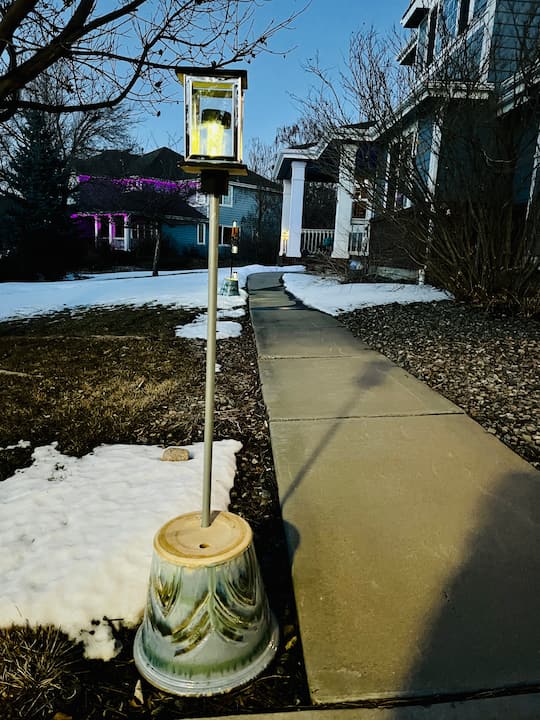
It looks great in the evening!
Solar Light Post Option Two
Now let’s move on to the next inexpensive diy small solar light. . This will be another outdoor lamp post, but instead, I am making a glass jar solar lamp. You’re going to need a dollar store broom handle, three solar lights, three plant hangers, and two hanging candle holders.
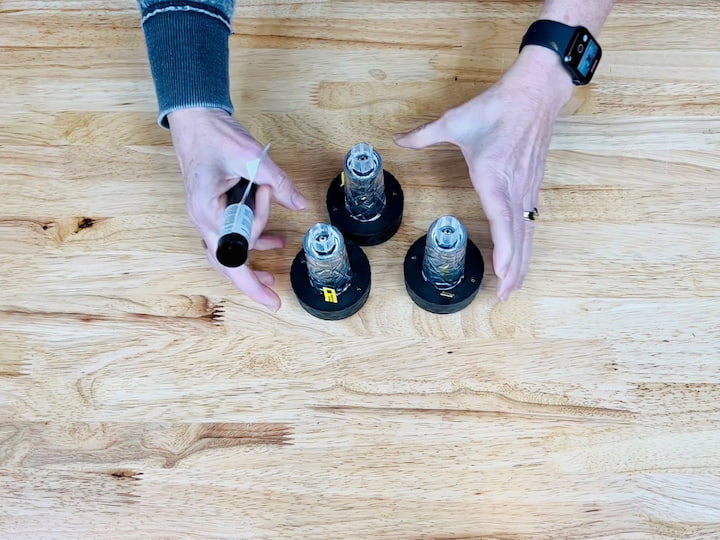
1. Remove the bases from the solar lights
I’m going to remove the bases from all three of the solar lights and discard them, I won’t be needing those.
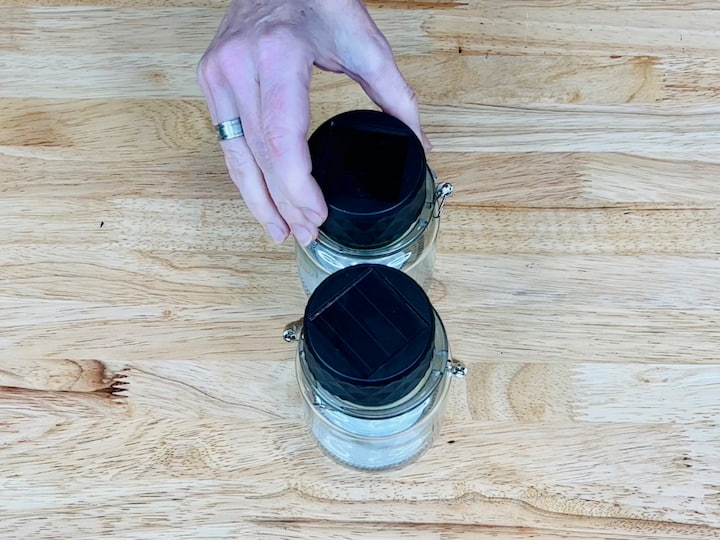
2. Put 2 of the solar lights into the candle holders
I’m going to place one solar light bulb into each of the candle holders. You could put a little hot glue or another adhesive to hold those in place.
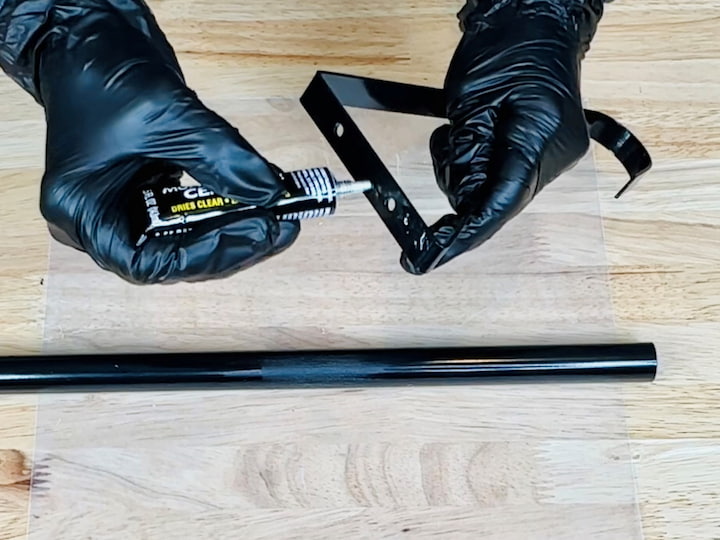
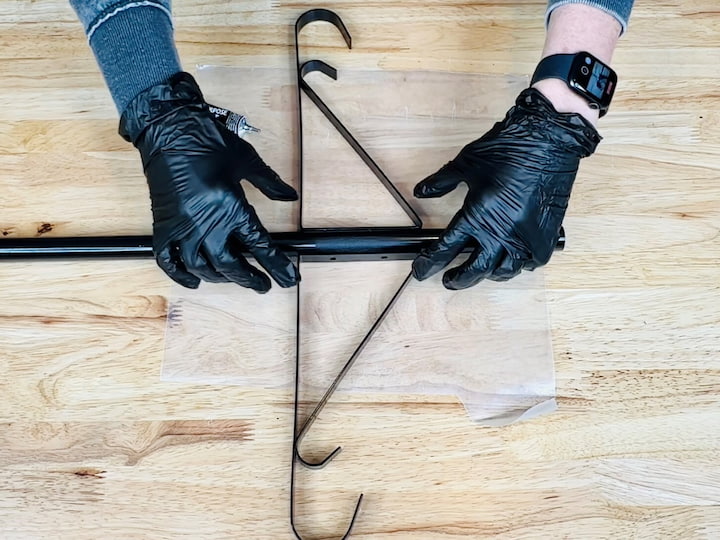
3. Glue the plant hooks to the broom handle
I’m going to remove the end of the broom handle and again this will become the lamp post. I’m going to be using multi-purpose cement for this next step. I’m going to place the liquid cement onto one of the plant hooks and place it on one side of the broom handle. Then I’m going to repeat this with the other one and let that dry for 24 hours.
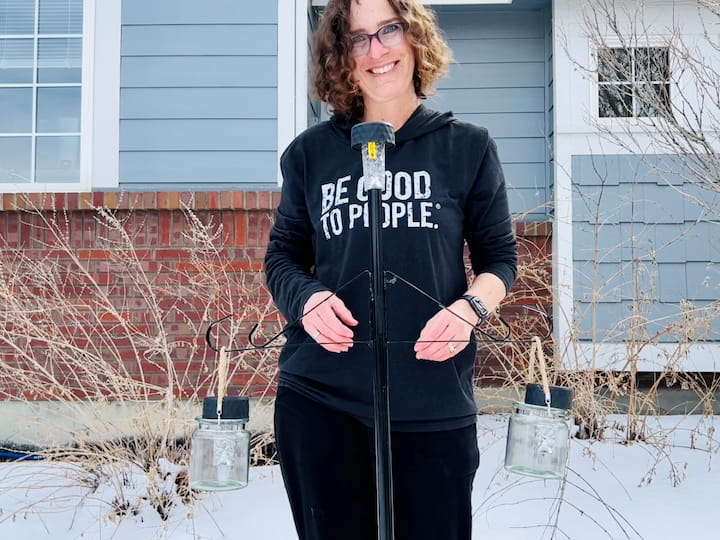
4. Assemble the DIY solar lamp post
I have another upside-down flower pot to place the broom handle in. I’m going to take the candle holders and stick them on either side of the pole hanging them on the plant hangers. I’m going to take the last solar light and stick it on top of the broom handle. I’ll hot glue or silicone this into place.
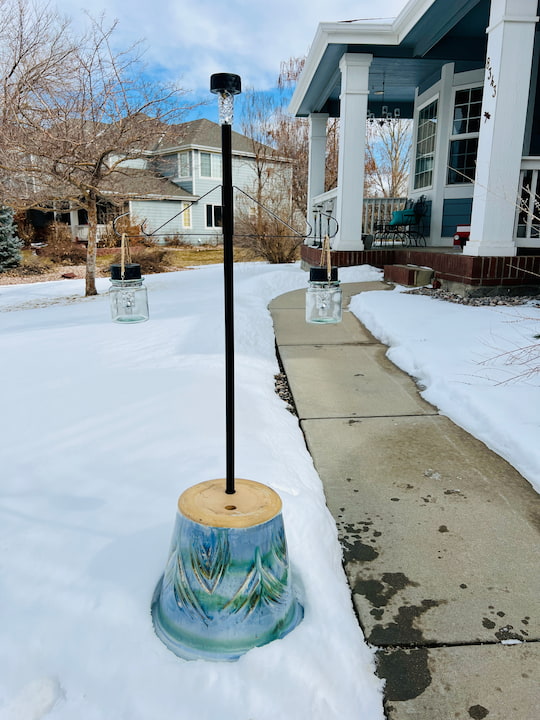
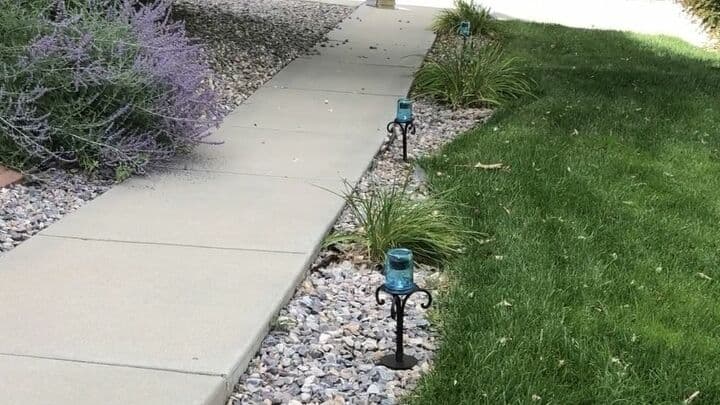
Here’s my next solar light lamp post all finished and I love how it turned out.
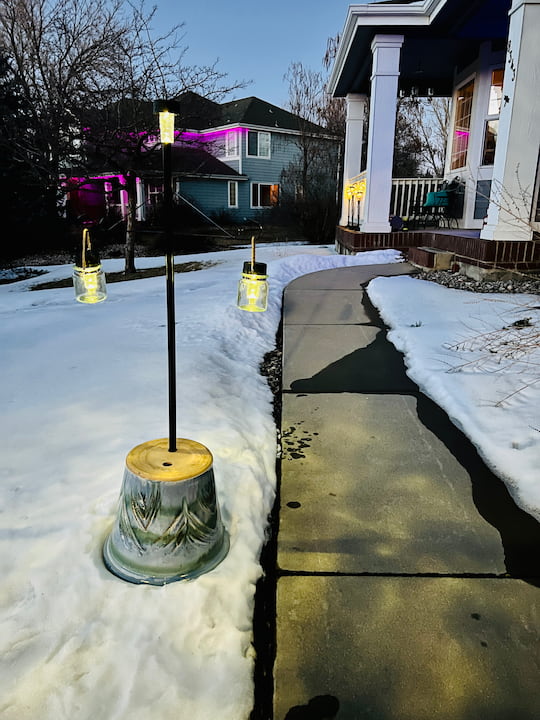
Here you can see the beautiful solar light in the evening. They are the perfect path lights for your outdoor areas leading the way as you walk up to my front door. Here’s a quick look in the daytime and another look in the evening
DIY Solar Light Post Video
Shop any of these stores and I receive a small commission at no cost to you.
 63" Solar Lamp Post Lights …Shop on Amazon
 72" Solar Lamp Post Lights,…Shop on Amazon
") Greluna 67" Solar Lamp Post…Shop on Amazon
Greluna 67" Solar Lamp Post…Shop on Amazon Outdoor Solar Lamp Post Lig…Shop on Amazon
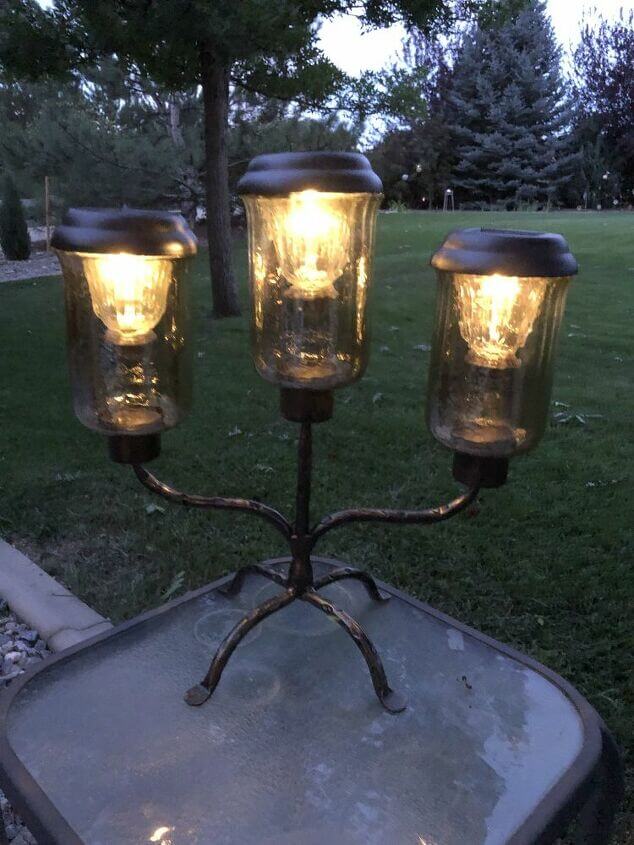
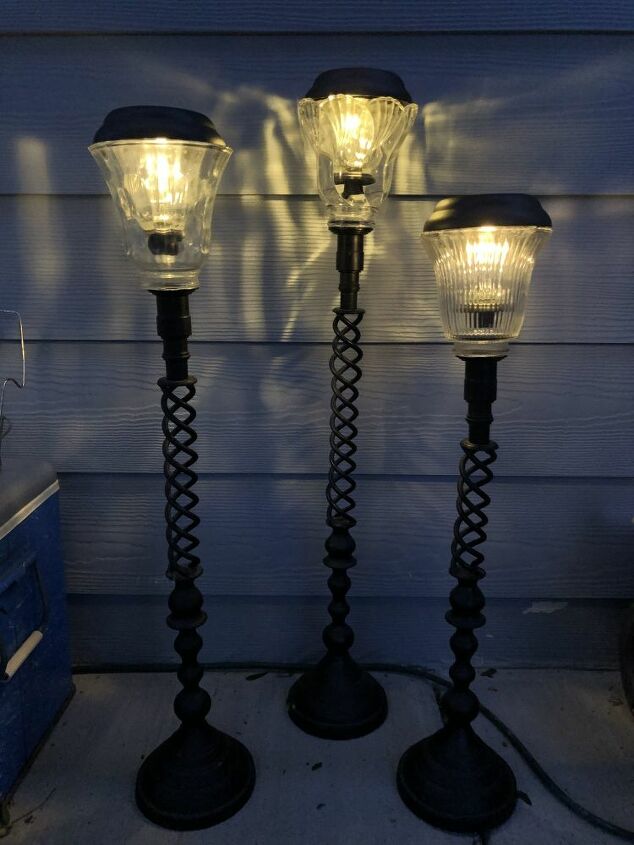
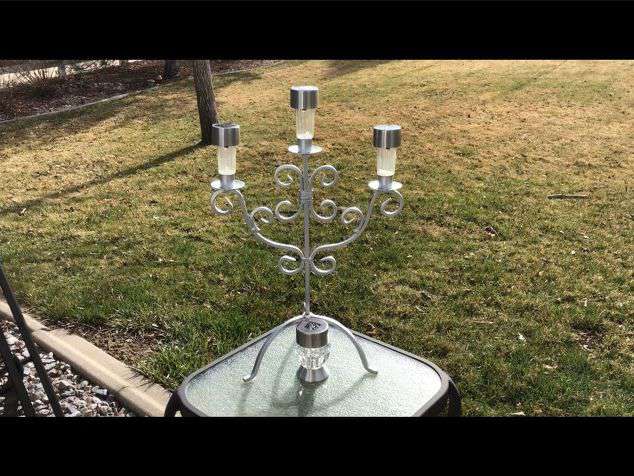
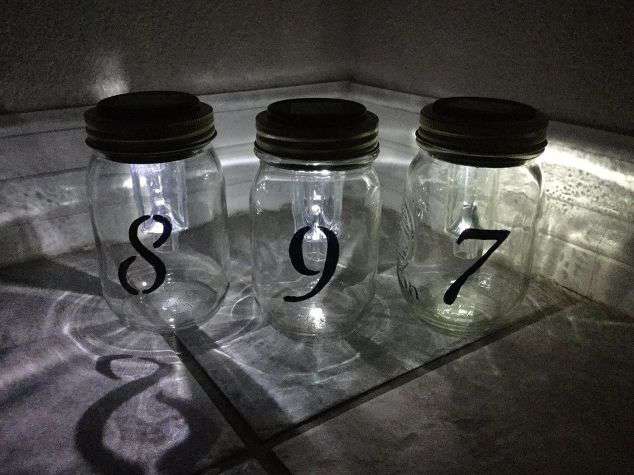
You might enjoy some of my other DIY solar Light Projects
- Easy Dollar Tree DIY Mushroom Solar Light Decor with Video
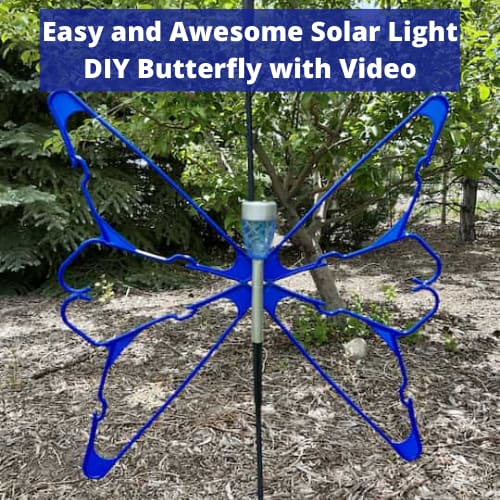
- Easy and Awesome Solar Light DIY Butterfly with Video
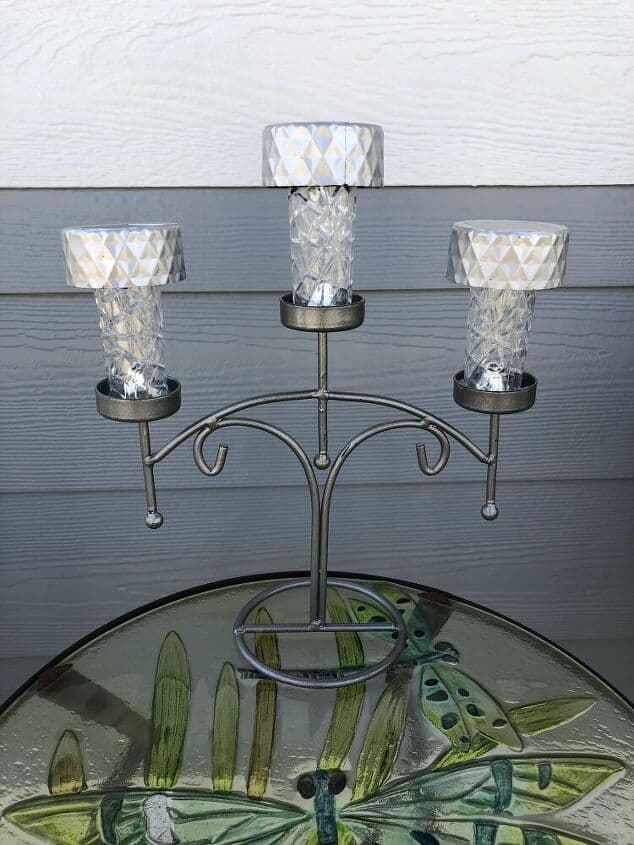
- DIY Candle Holder Solar Light Decor
- Easy Flower Basket to Solar Chandelier
- 3 Ways to Use Solar Lights Outside
- How To Make Solar Light House Numbers
- Top 14 Ways To Use Solar Lights In Your Home
- How To Make An Awesome and Easy Outdoor Solar Chandelier
- Mason Jar Solar Light Sidewalk
- From Candle Holder to Solarabra!
These are great projects for the outdoors and backyard to make your outdoor space amazing. You can add other items like solar string lights, solar lids with fairy lights to mason jars, (kids love these), solar lanterns, upcycle more items around your yard with solar lights, add solar lights to your shed, create a solar powered fairy house, add solar lights to your garden decor, make walkway lights with a simple clay pot for a jack-o-lantern during Halloween, I have even made a DIY tin can solar lantern. So many whimsy and fun options. You can also check out my lighthouse. Make a pumpkin solar bottle light with ease.
I hope you enjoy these solar light project ideas and that this inspires you to try this easy diy project and make your own beautiful lighting. I’d love it if you subscribe to my YouTube channel and my blog. Thanks for watching and I’ll see you in my next video and don’t forget to like, share and subscribe.


Our thoughts and prayers are with you and
your family. We are so sorry for your loss.
Please take care of yourself.
Such a shock to hear about your brother. I am so sorry you have to suffer the awful pain of losing him. Your own health concerns have been enough for you to go through. Even though you are doing fine yourself, thank heavens, losing a loved one can really give you cause to despair. Stay strong. Your followers all love you and your family.
Cynthia
You are so very sweet, thank you for your kind words, my family appreciates it.
So sorry to hear about the loss of your brother, Chaz. Stay strong. It’s so hard to lose a family member. Hugs and stay safe. xoxoxo Sandra P.
Thank you so much, my family appreciates it.