
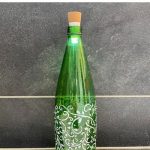
Easy and Beautiful Bottle Painting
What can you do with glass bottles? Upcycle them with bottle painting and there are so many ways to use the bottle.
Here are the materials you’ll need
- Rubbing Alcohol
- Paint
- Stencil
- Stencil Brush
- Light – optional
Easy and Beautiful Bottle Painting Video
Here are the instructions for this simple bottle painting idea:
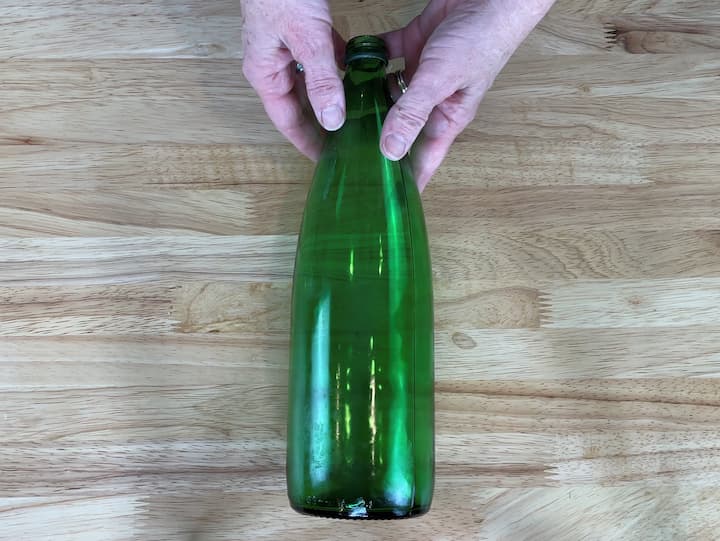
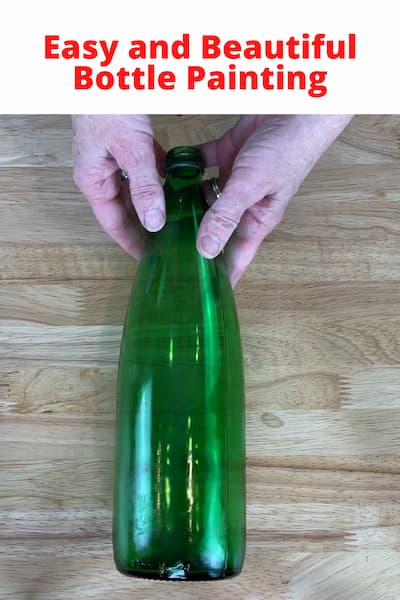
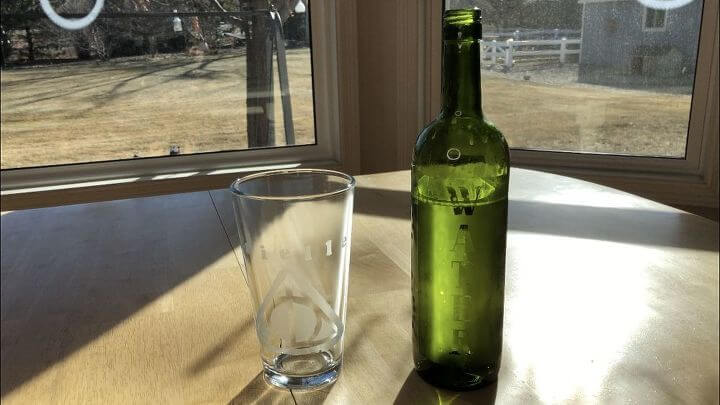
1. Prep the Bottle
Start with an empty glass bottle. I washed my bottle and then removed the label. After the bottle was dry, I used rubbing alcohol to clean the glass surface to make sure there wouldn’t be any oil, dirt, or debris on it.
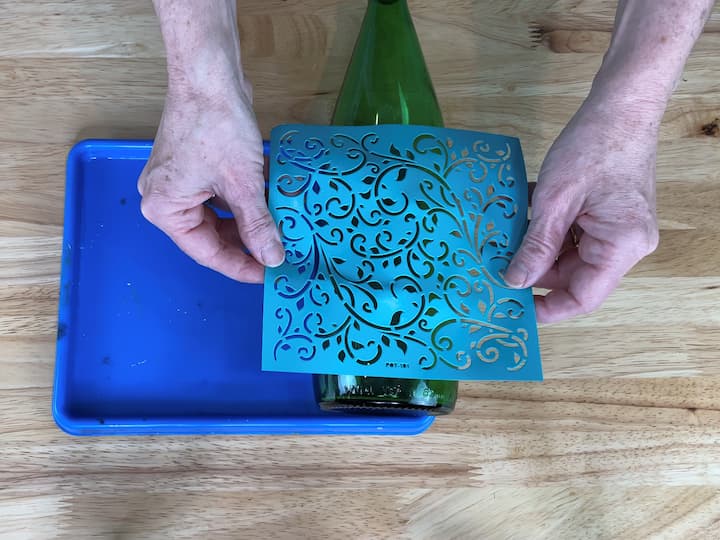
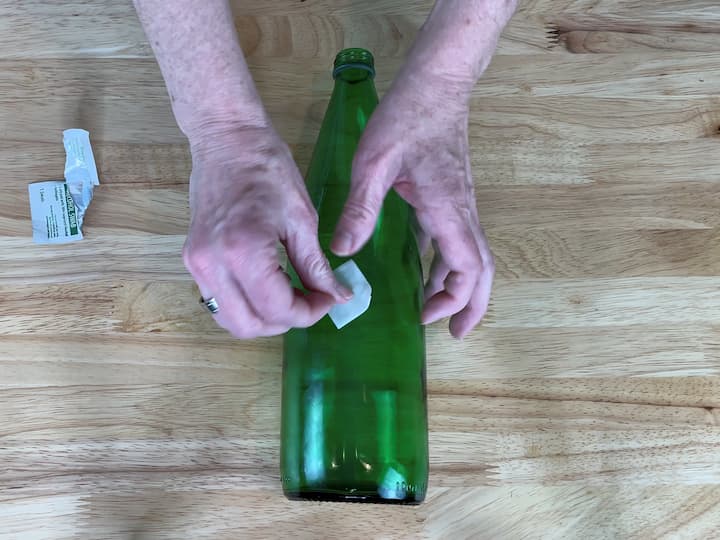
2. Add A Stencil
I used an adhesive stencil and placed it on the bottle. Most stencils only cover half the bottle, so you’ll do half the project, and wait for it to dry. Then repeat the project.
Make sure to press the stencil onto the bottle as this stops paint from bleeding under the stencil.
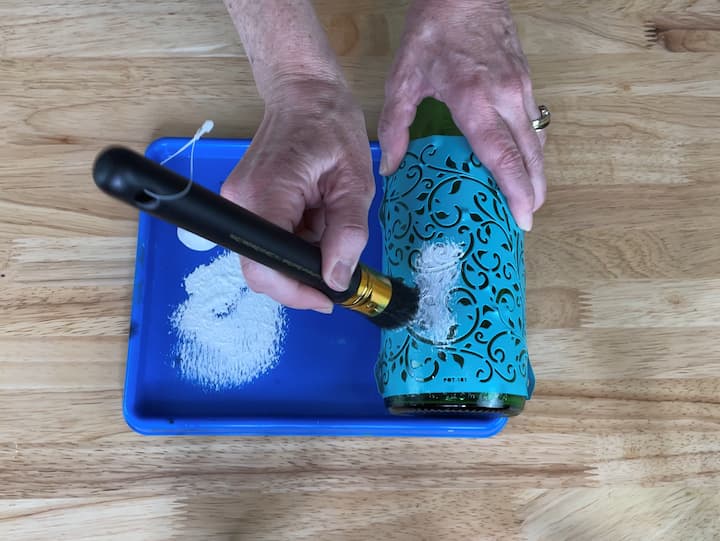
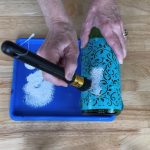
3. Paint the Bottle
When picking the paint for a glass project, look at the back of the paint to ensure it’s good for glass or it’ll sluff or wash off the glassware.
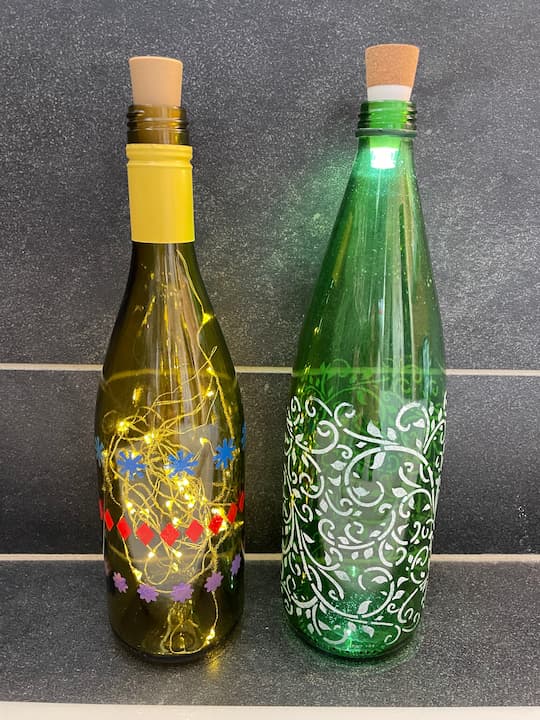
I’m using White Apple Barrel Multi-Surface Paint (acrylic glass paints). Your shade of paint will depend on the color of bottle you are painting and the look you want to achieve. I’ve seen some pretty pastel colors on clear bottles, but I wanted to stick with white paint on the green bottle.
I placed the paint onto a tray. I loaded my stencil brush with paint, then tapped the brush in another spot to remove as much paint as possible. This “off loading” technique stops the paint from bleeding underneath the stencil with a thick layer of paint. I tapped the brush up and down onto the stencil and painting onto the bottle. Tapping up and down rather than wiping back and forth also helps stop the paint from bleeding under the stencil. Continue painting the bottle until the entire stencil is covered.

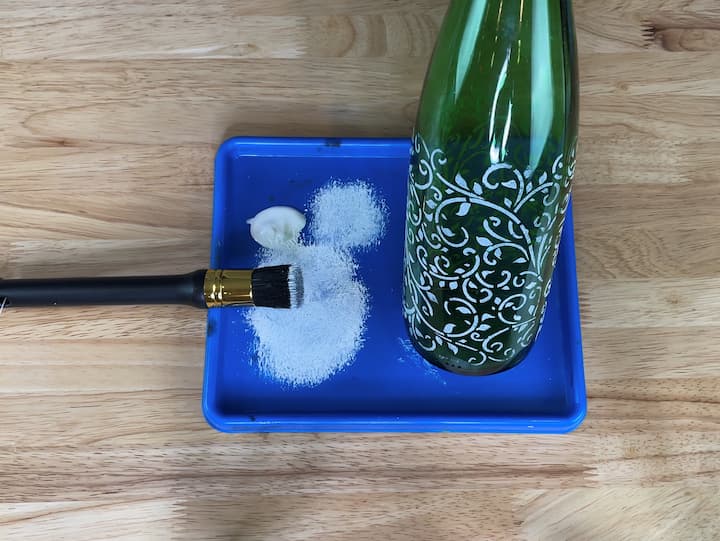
4. Remove the Stencil
While the paint is still wet, carefully remove the stencil from the bottle. It’s important to remove the stencil right away so that the paint doesn’t stick to the stencil and peel off the bottle when lifting.
If your stencil only covered half the bottle, remove the stencil and let the bottle dry. Then repeat the process on the other side of the bottle.
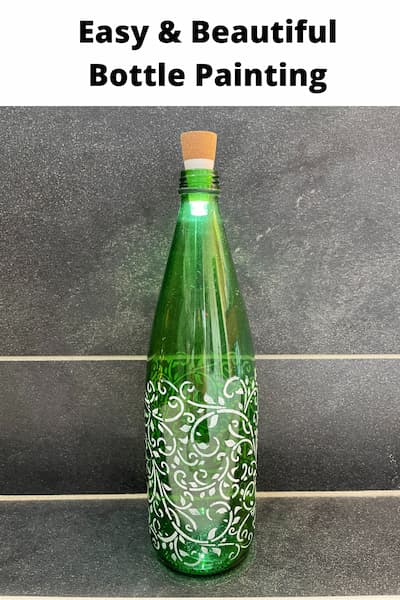
5. Let the Paint Dry Completely
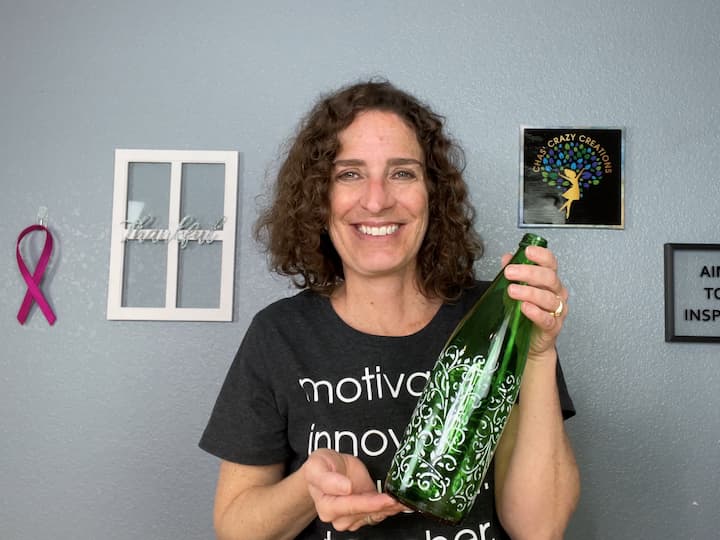
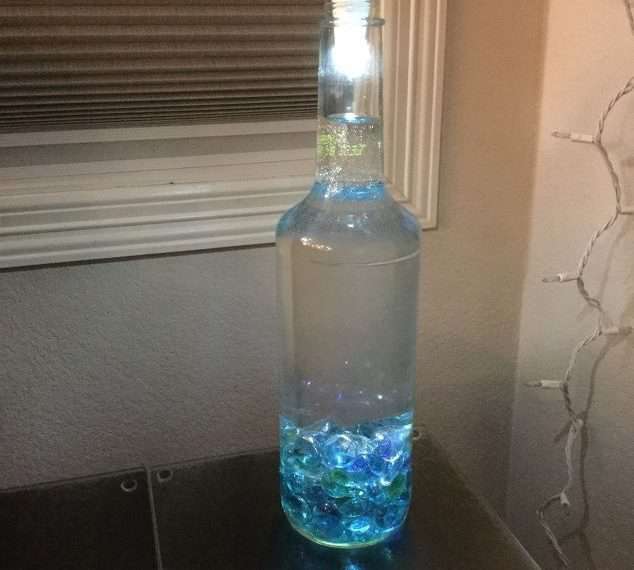
I stopped decorating my bottle after I painted my stencil on both sides because that was the look I wanted. You can add more sparkle if you would like. I like to use fairy lights, but you could add glitter or beads for added sparkle.
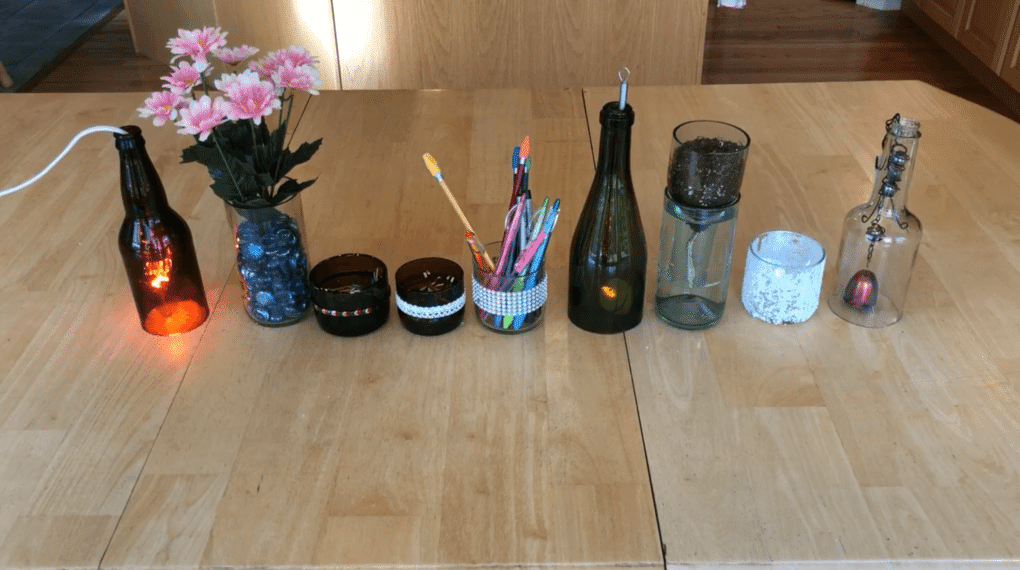
What can you do with a painted bottle?
- Use it to serve water at your table
- Use it as a vase
- Give it as a gift
- Use it as a candle holder
- Turn it into a solar light
- Turn it into a lamp
- Use it as a memorial message in a bottle
- Use it for seasonal decor
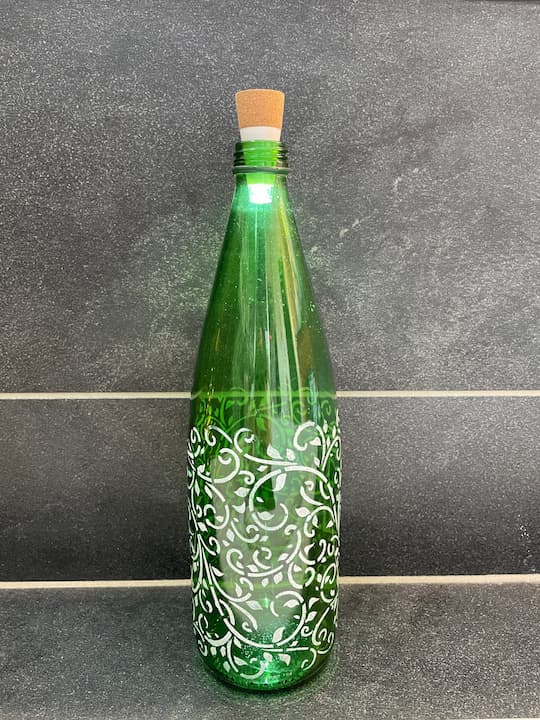
I added an USB charging LED bottle light to create ambiance in my bathroom. You could use fairy lights instead.
Here is another painted bottle that I did for Hometalk TV using Folk Art Multi Surface Paint and stencils. I added bottle fairly lights to that bottle.
Fill the sink with soapy water and let the bottle soak for 10-15 minutes. Most of the labels should peel right off. If you have any trouble you can use a scraper to get any of the residue left off. If there is a sticky residue left on the bottle after removing the label that is really stubborn, spread coconut oil over the residue and let it sit for 10 minutes. Use a scraper to remove the rest of the residue, then wash the bottle.
You can use many different kinds of paint – acrylic, chalk, etc. Just read the back and make sure it says it’s okay for glass.
An easy beginner project is to clean the bottle, add an adhesive stencil, paint on the stencil, and remove the stencil. Let the bottle dry
Make sure your chalk paint is okay for glass or it will just sluff off. Next just paint on the first layer of chalk paint and let it dry, then paint on a second coat if needed.
Yes, just make sure it’s multi-surface paint, and says it’s okay for glass on the back of the bottle.
You can paint a bottle with any paint that is okay for glass, or you can mix food color and Mod Podge and paint glass then let it dry.
Easy and Beautiful Bottle Painting Video
Shop any of these stores and I receive a small commission at no cost to you.
 FolkArt 39268 Flexible Adhe…Shop on Amazon
 FolkArt Long Handle Stencil…Shop on Amazon
 FolkArt Color, 10 Bottle Mu…Shop on Amazon
 Goswot Pack of 4 USB Rechar…Shop on AmazonShop on Amazon
More Bottle Painting Ideas

Anthropologie Dupe Bottle Painting
I’m at it again! I have been checking out a couple vases at Anthropologie but the price range on them is $38-148 for the 2 I’m looking at! Holy cow! I knew I could DIY them and get similar vibes without the hefty price tag. So here are my Anthropologie dupes at a fraction of the price! They were a simple design, making it easy to DIY.
You can see the tutorial: Anthropologie Vase Hacks
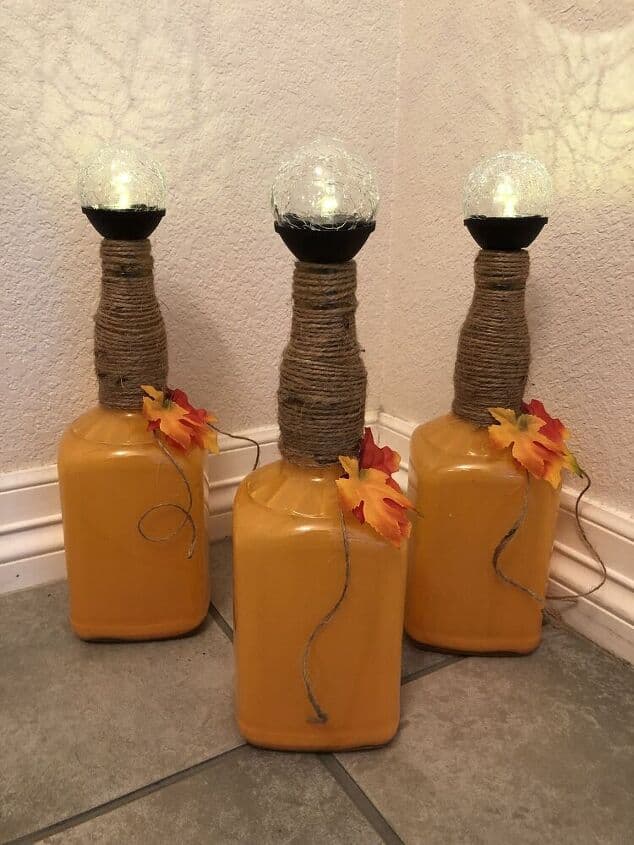
Painted Bottle Pumpkins
I had some empty bottles that I had been saving for a project. With fall coming it’s the perfect time to create DIY pumpkin decor for your home. If you don’t have bottles lying around, don’t worry. For this project, I use paint inside of the bottle instead of outside of the bottle. It creates a different effect with textures.
You can see the tutorial at DIY Pumpkin Decor Using A Glass Bottle
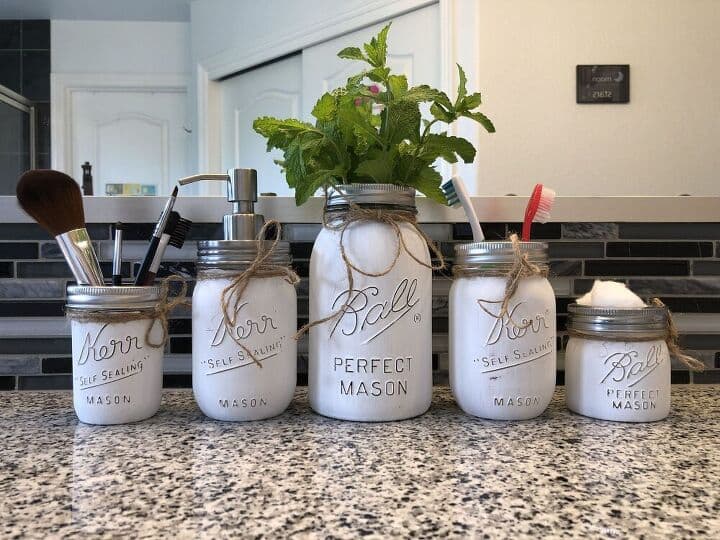
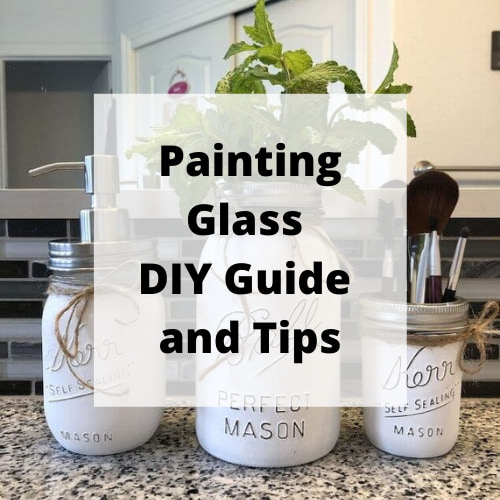
Paint and Distress Bottles
Have you seen those farmhouse mason jars? You can buy them online for $40 or more! Painting mason jars and other bottles is easy! I’m going to show you how to paint and distress a mason or recycled jar to give it that rustic vintage look for a fraction of the cost! This is one of my favorite DIY projects.
You can see the tutorial at Painting Mason Jars and Distress Them Easily with Video
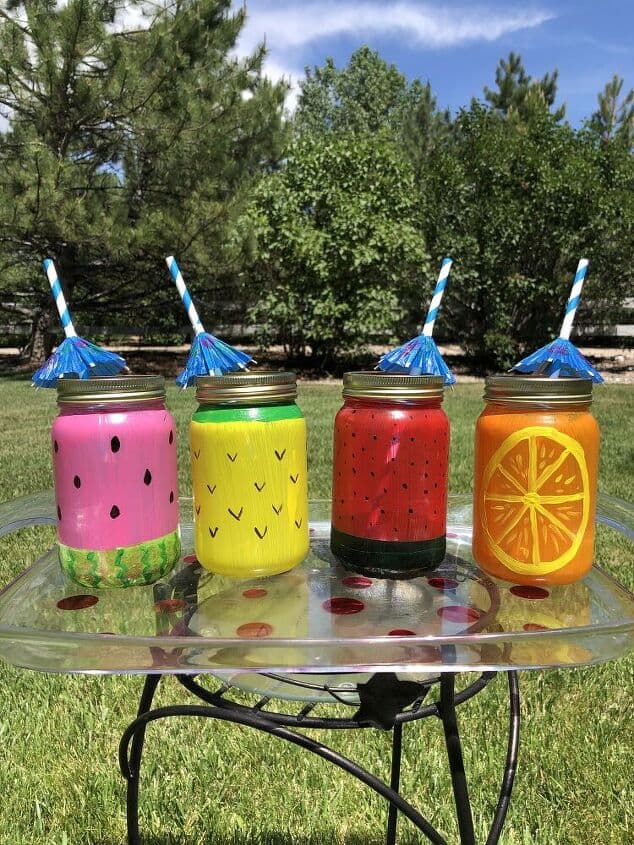
Fruit Glass Bottle Painting Designs
It’s summertime, and my family enjoys being outside and having dinners on the patio. I used glass mason jars to create fun fruit mason jar glasses to serve our drinks and celebrate the wonderful season with a little flair. These are great for iced tea or all types of cold beverages.
You can see the full tutorial at How To Make Fruit Mason Jar Glasses with Video
Bottle Painting Techniques
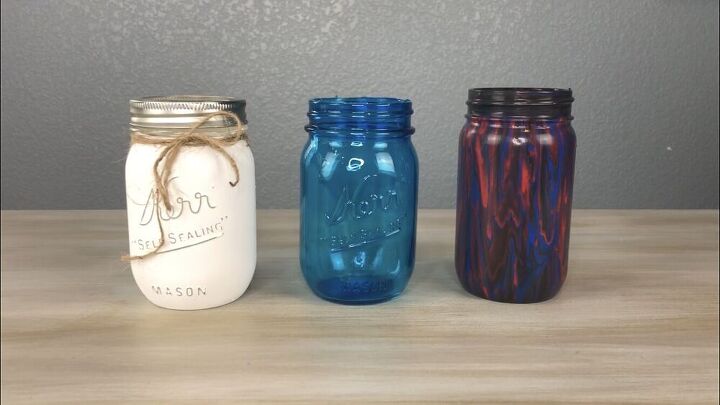
You can paint and distress a bottle, you can also do some other techniques like make a faux stain glass with some Mod Podge and food coloring, and you can paint pour to create a variety of painted bottles and jars. I turned these 3 jars into soap dispensers and gave them as gifts.
You can see the full tutorial: DIY Hand Soap Dispenser
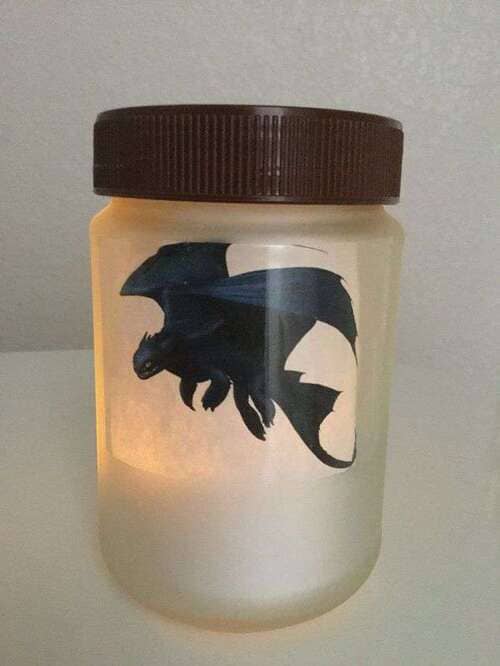
Bottle Painting with Spray Paint
Up-cycle a glass jar or bottle into a kid’s luminary. This project is inexpensive and you can personalize with artwork. Involve the kids or make it as a gift. You can also use decals. I used frosted glass spray paint for this bottle painting technique.
You can see the full tutorial at Easy Personalizable Kid’s Luminary
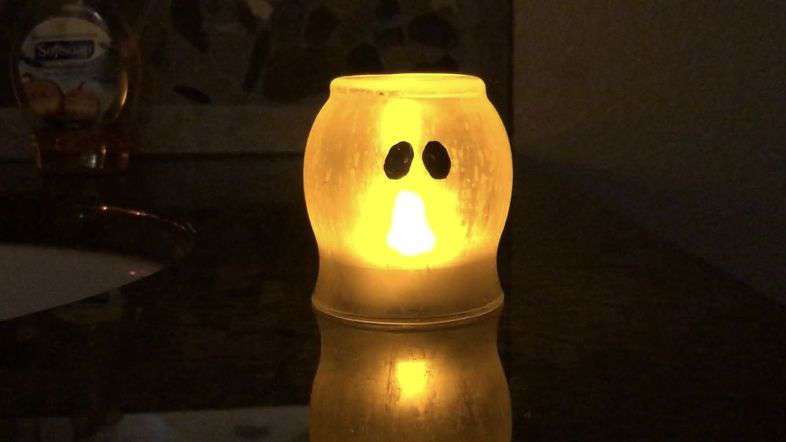
Etched Glass Bottle Painting
I just love Halloween and I also love to repurpose and upcycle. So when I found this little bottle that had been sitting around I thought what better way to put the two of those things together than turn a bottle into a etched ghost for Halloween?
You can see the full tutorial at Etched Glowing Ghost
You might also be interested in learning more about painting glass. You can see these tutorials at
- Painting Glass Made Easy, Answers to The Most Common Questions
- How to Paint Glass Windows: A Fun and Easy DIY Project
Now check out these other amazing craft projects! Start with My Hubbard Home and her amazing Mother’s Day craft (she’s the one underneath the bold which is mine 🙂
- DIY Abstract Art
- Needle Felted Duck
- Creating a Customized Pillow Cover With the Cricut
- Creations Flowering Tea Cup Centerpiece
- Easy and Beautiful Bottle Painting
- Wood Art Gift Cards For Mother’s Day
- Upcycled Spring Door Basket
- Repurposed Old Table
- DIY Mother’s Day Plaque
- DIY Bee Happy Wreath
- Making a Tissue Paper Garland with Tassels
- Painting a Vintage Hutch
- Pottery Barn Inspired Faux Textured Clay Vase DIY
You might be interested in this post 29 Ways To Upcycle Your Glass Jars and Bottles
Find out “What Exactly Does It Mean To Repurpose Or Upcycle“, save money, and create the most amazing things.
Easy and Beautiful Bottle Painting
Equipment
- None
Materials
- Rubbing Alcohol
- Paint
- Stencil
- Stencil Brush
Instructions
- PREP THE BOTTLE
- ADD A STENCIL
- PAINT THE BOTTLE
- REMOVE THE STENCIL
- LET THE PAINT DRY COMPLETELY
Video
Check out some of my other bottle crafts!


Chas, I love the idea of stenciling anything. What a great way to reuse a glass bottle and make it pretty. I’ve used Ceramic Paint from A Makers’ Studio for glass and ceramics and it works beautifully and stays.
Thank you so much Carol 🙂
Very pretty bottle recycle idea, Chas! I could see a few of these lined up on a patio for ambient lighting while entertaining outdoors during the summer and on a window sill indoors during the winter.
Thank you so much Marie 🙂 Love all of those ideas.
Chas, I love how you took an ordinary bottle and made it extraordinary! This is such a wonderful DIY and I can’t wait to give it a try! It was so much fun to hop with you. Pinned!
Thank you so much Lynne!
Chas, I love how you’ve turned an ordinary glass bottle into something special! It looks so whimsical with the fairy lights. I’d love to make some of these for our outdoor summer patio. They would look amazing at night! Thanks for sharing! It’s always fun to craft with you, my friend!
Thank you so much Rebecca, and I would love to see a picture of that if you do decide to make them. Always great crafting with you as well.
Chas, wow, you took a plain bottle and turned it into a beautiful piece of art! That is a lovely stencil and transformed that bottle. I could see a collection of these down the center of the table with the fairy lights in them lighting up a romantic table setting. Now, I just need to learn how to do this without letting the paint seep under the stencil! Perhaps this is a hands on lesson you will have to teach me!
Thank so much Chloe and yes, I’d love to do this project with you 🙂 See you soon
Love how your pretty bottle turned out and the addition of lights! Happy to be hopping with you again!
Thank you so much Mary
Such an easy way to customize a glass bottle. I hope you have a good weekend!
Thank you so much Liberty
How creative, Chas! I love how this turned out–pinned! Blessings, Cecilia @My Thrift Store Addiction
Thank you so much Cecilia
This is my kind of craft. Doable and I can think of so many things to do with it. It would be such a cute centerpiece. Thanks so much for the great tutorial.
Thank you so much Andrea, and I love the idea of a centerpiece.
Chas, the inspiration you bring to these hops is fabulous! I’ve got a few bottles that have been cleaned and just waiting to have the right décor touch. This idea is perfect.
Oh my gosh Rachelle, thank you so much. You made my day!
I love the finished look of your green bottle! Great idea to add lights inside the bottles.
Thank you so much Allyson
Very pretty Chas! I love to upcycle bottles, and always save interesting wine and liquor bottles to paint or decoupage, I must try stenciling! I love the mini lights inside too, so fun!
Thank you so much Jenna
So pretty Chas and there are a ton of uses for these decorative bottles!
Thank you so much Sara
What a fun way to upcycle and decorate a bottle! Your tutorial is perfect for Earth Day!
Thank you so much Gail