
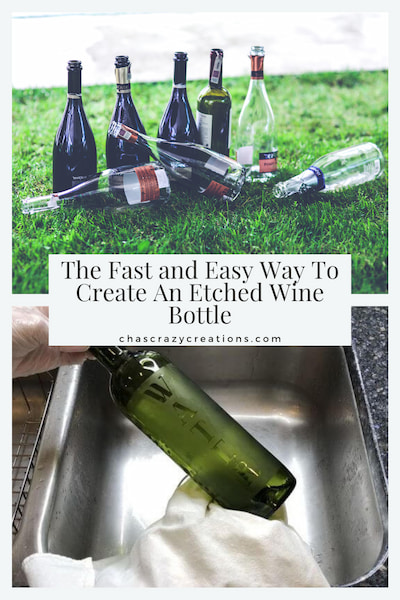
The Fast and Easy Way To Create An Etched Wine Bottle
Do you want to create an etched wine bottle? Etching cream is so wonderful and easy to work with. I took a recycled wine bottle, added a little etching cream, and turned it into a decorative bottle that we’ll use again and again.
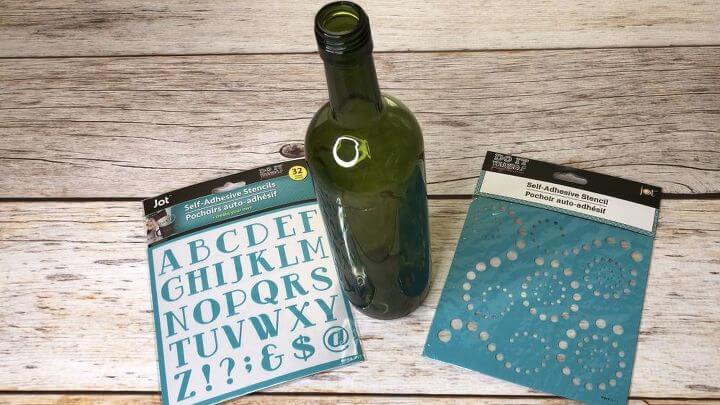
Materials needed for an etched wine bottle
- A recycled bottle with the labels removed
- Self-adhesive stencils of your choice
- Etching Cream (I used Armor Etch)
- A paintbrush
- Rubber gloves
Here are the instructions for an etched wine bottle
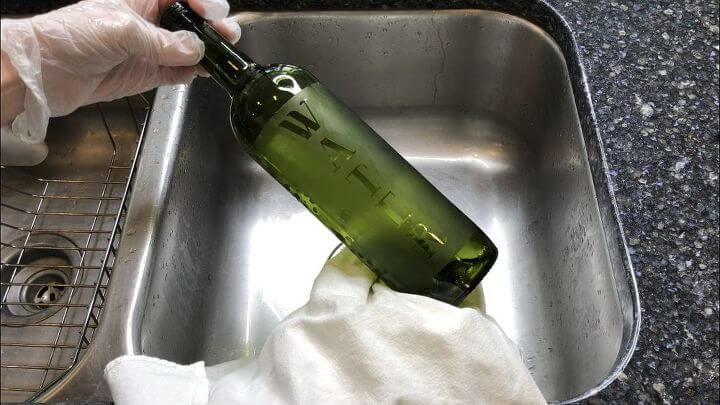
1. Clean the wine bottle
Start by washing the wine bottle and removing the label. I like to soak the wine bottle in some dish soap for 10 minutes. Most of the time, the label will come right off. Next wipe the bottle down with an alcohol prep pad to free it from all oil, dirt, and debris.

2. Apply your stencil
Remove the backing off your stencil and save it as you can reuse most adhesive stencils. Place the stencil onto the bottle, and be sure to press firmly to seal the stencil to the bottle. This will prevent the etching cream from bleeding under the stencil. The stencil I chose went 3/4 of the way around the bottle. You can pick stencils that will wrap all the way around, pick 2 of the same stencil, or repeat the process twice.
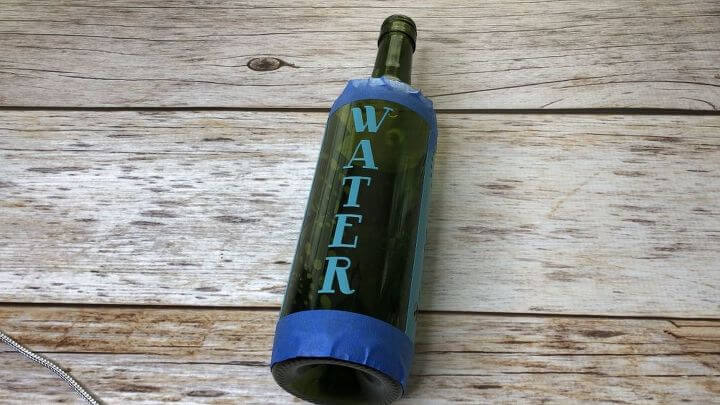
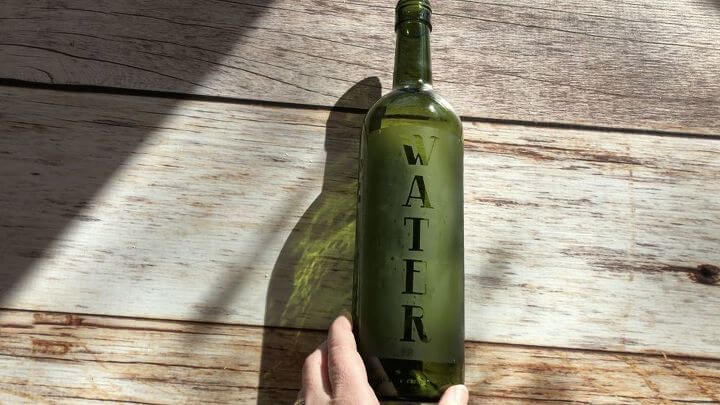
On the part that remained, I placed self-adhesive stencil letters and I taped off the edges with painter’s tape.

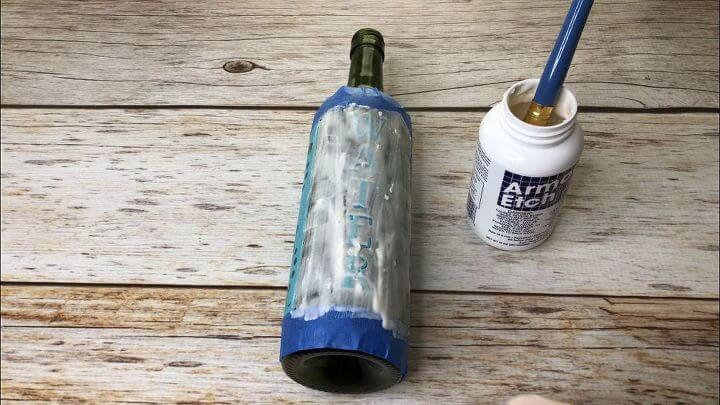
3. Paint on the etching cream
I put on rubber gloves to protect my hands and I coated the “water” side with the etching cream. Brushstrokes will matter, so I like to put it on think to remove the risk of them showing.
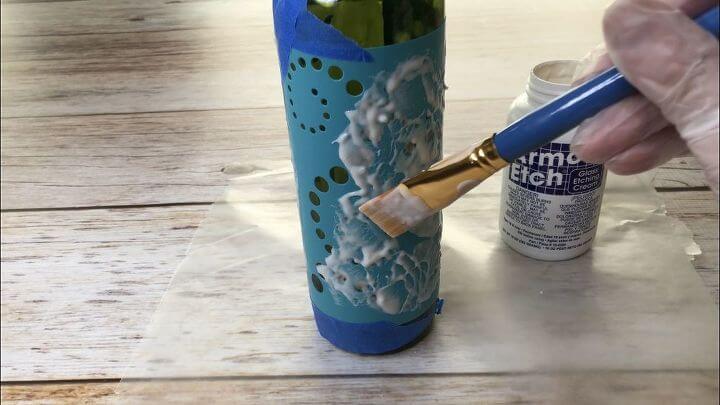
I then coated the other stencil design with the etching cream.
4. Let sit based on etching cream instructions
I let it sit for 10 minutes as per the bottle’s instructions.
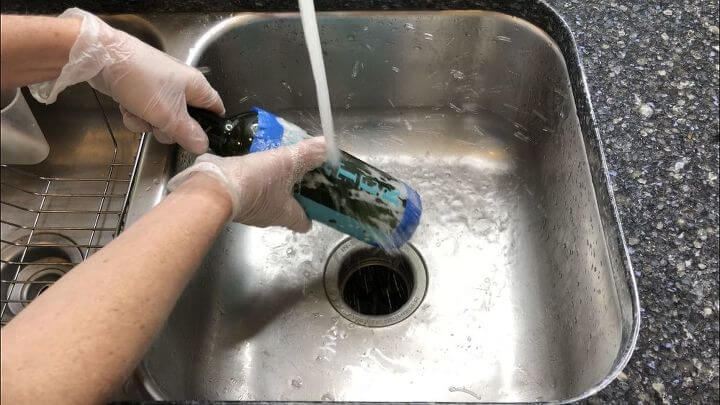
5. Rinse off the etching cream
I rinsed off the etching cream rubbing at it lightly under the faucet.
I then carefully peeled up the stencils and washed the bottle again.
You can rinse off your stencils and place them back in their container as many of them are re-usable.
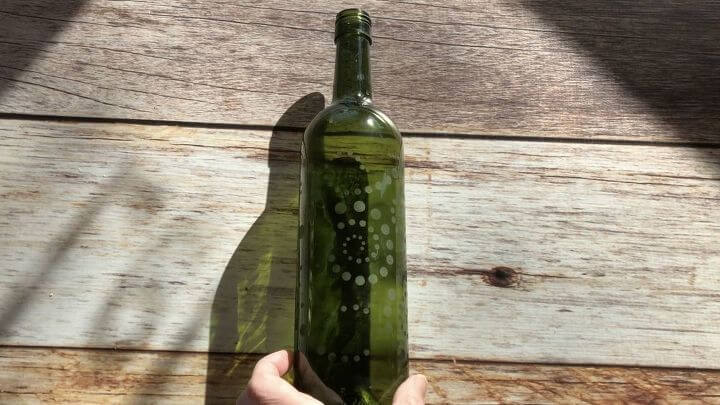
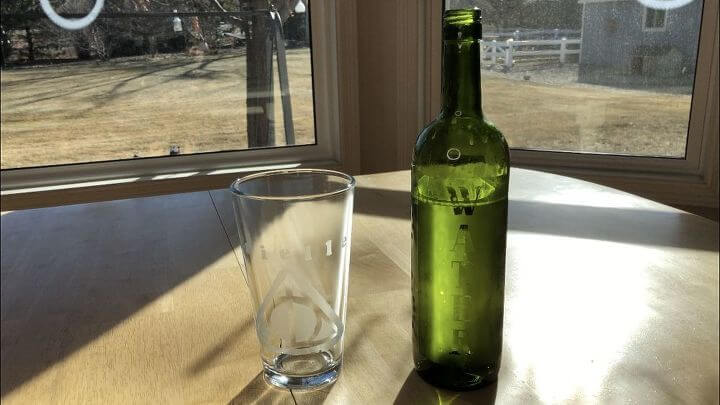
I dried it and you can see the design on both sides.
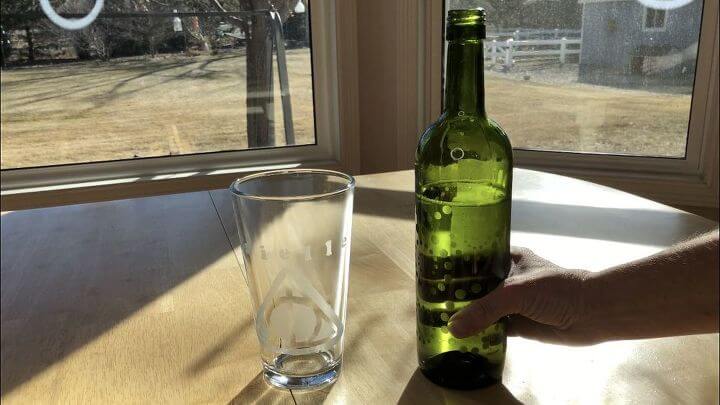
I love how this turned out and am excited for all we can use it for.
Not only for serving ourselves and guests water but also in our plants as self-watering bottles.
The glass is truly etched, so it’s safe to put in the dishwasher too!
I also think this would make a great gift idea!
Find out “What Exactly Does It Mean To Repurpose Or Upcycle“, save money, and create the most amazing things.
Shop any of these stores and I receive a small commission at no cost to you.
 Armour Etch Glass Etching C…Shop on Amazon
 Artlicious Paint Brushes – …Shop on Amazon
 X3 Industrial Blue Nitrile …Shop on Amazon
 Mikasa Cheers White Wine Gl…Shop on Amazon
 Integrity Bottles Tribal Se…Shop on Amazon
 Mikasa Cheers Stemless Etch…Shop on Amazon
The Fast and Easy Way To Create An Etched Wine Bottle
Equipment
- Paint Brush
Materials
- A recycled bottle with the labels removed
- Self-adhesive stencils of your choice
- Etching Cream I used Armor Etch
- A paintbrush
- Rubber gloves
Instructions
- CLEAN THE WINE BOTTLE
- APPLY YOUR STENCIL
- PAINT ON THE ETCHING CREAM
LET SIT BASED ON ETCHING CREAM INSTRUCTIONS - RINSE OFF THE ETCHING CREAM
Check out some of my other bottle projects!
Don’t forget to link to ThriveCart – Book
Very cool! I love how this turned out. I am wondering if I would have trouble with the etching cream slipping under the stencil, since that is the issue I always seem to have when I try and paint things with a stencil. I have never etched anything, but you certainly have shown me a new craft I might need to try! Thanks for hopping with us again!
Thank you so much Chloe, the adhesive stencils really help with the bleed under. Etching cream is so easy to work with and starting with a recycled bottle is a great way to practice.
This is such a great idea. I can put some of my empty wine bottles to use 😉
Thank you Denise and I hope you have as much fun as I do etching things.
Love the water bottle idea and want to try it. I wondered if the etching cream damaged your sink and was safe to wash down the drain.
Thanks Sue and I haven’t had any trouble with it damaging my sink. I rinse it off and down right away. I haven’t had any trouble with the drain either. I just followed the directions it came with 🙂
Wow, this is amazing I had no idea that etching glass was that easy. Your water bottle turned out perfect. Happy Crafting, Kippi #kippiathome
Thank you so much Kippi and I hope you’ll give it a try – it’s so easy and quite addicting once you start 🙂
I love the results you got here, Chas! Your bottles are beautiful, and what a great sustainable craft. Shared on the Hearth and Soul Facebook page. Thank you for sharing, and for being a part of the Hearth and Soul Link Party. I hope you are having a lovely week!
Thank you so much April, I’m so glad you like it. When I made it I knew we’d use it but I have actually used it in more ways than I thought. Thank you so much for sharing on your Facebook page. Love that blackberry apple cake you posted recently! Happy Valentine’s Day!
Such a perfect transformation and re-purpose. My faves practical and pretty! Featuring when my link party opens tonight.
Thank you so much Carol and thank you for the feature. I’m so pleased how it turned out and can’t wait to make more. See you at the party tonight 🙂
Chas, this looks great! You’re a smart cookie. What a fun idea for your own home or for a gift!
Thanks so much for joining the Grace at Home party at Imparting Grace. I’m featuring you this week!
Thank you so much Richella, and thank you so very much for the feature. We have been enjoying the bottle. It has come in handy even more than we thought it would. See you at the next party
Hi Just popped over from Esme’s Senior Salon. I love what you have done with the bottles they look really good and would as you say make a lovely gift with something homemade inside 🙂
Thank you so much Carol and I love where you are going with that idea! Thanks for stopping by.
So easy and so fun! …at least you make it looks easy! Thanks for sharing at Celebrate Your Story!
Thank you so much Chloe, and thanks for the great party.
Awesome . I need to try this, I have some things to say ….on a bottle. Thanks for posting at Funtastic Friday
Thank you Michele and I’m so excited you want to give this a try. It is a ton of fun and thanks for stopping by.
Another crafty thing to make … you are a crafty lady no question. I often look but never really enjoy doing more than the odd one, as if , once mastered and gift made the interest has flown. But I appreciate yours and have spotted a couple I may even try. Thanks for sharing your skills. Have a lovely week.
Thank you so much Ellen and I’m thrilled you might try a couple. I totally understand what you are saying and I too find posts that I may not feel are up my alley – but I totally appreciate and admire seeing what people out there do and often that inspires me.
Very pretty, I’ve been wanting to try glass etching, but I haven’t yet. Thanks for sharing at Merry Monday, see you next week!
Thank you Jenny and I hope you’ll give it a try. It’s so easy and addicting.
I haven’t done any etching in a long time. Found you on Bloggers Pit Stop Link Party
Thank you Candy and I hope this inspires you to start etching again 🙂