Easy Dollar Tree DIY Solar Lantern with Video
Are you ready to make a DIY solar lantern? I ran to Dollar Tree, grabbed a few items, and made a couple of different solar lights.
I love solar lights and I love to upcycle items. You’ll find a ton of more solar light creations at the bottom. Let’s get started with this DIY project
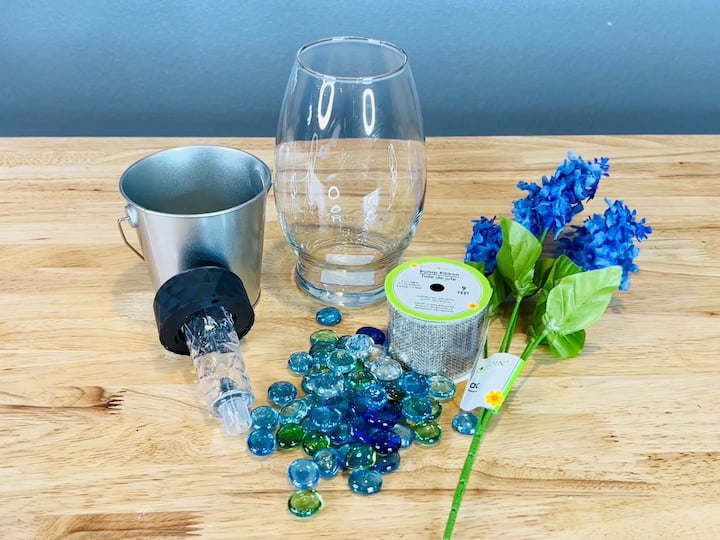
DIY Solar Lantern Materials
- Dollar store bucket
- Dollar store rocks in any color you prefer
- A glass vase
- Faux flowers
- Ribbon (I chose burlap ribbon)
- Solar light
 Juvale Metal Bucket 3-Pack ...Shop on Amazon
 FUTUREPLUSX 0.97 pounds, Fl...Shop on Amazon
 CYS Excel Clear Glass Cylin...Shop on Amazon
 Mandy's Artificial Tulips 2...Shop on Amazon
 Ribbli Burlap Wired Edge Ri...Shop on Amazon
 MAGGIFT 12 Pcs Solar Lights...Shop on Amazon
DIY Solar Lantern Video
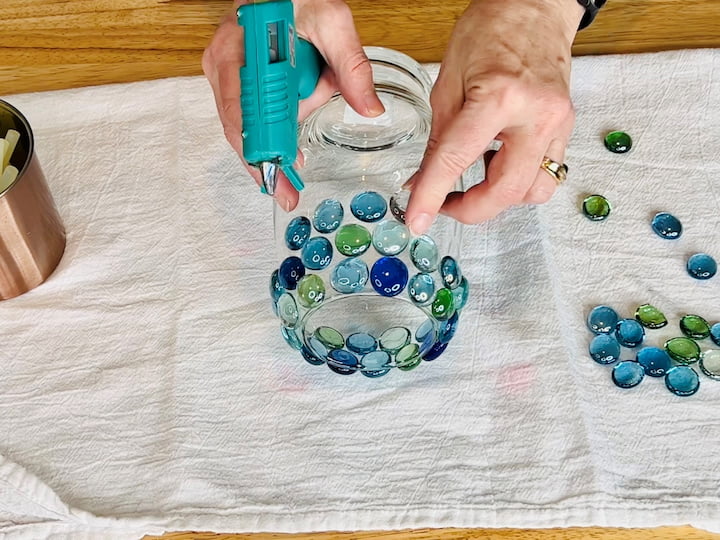
DIY Solar Lantern Tutorial
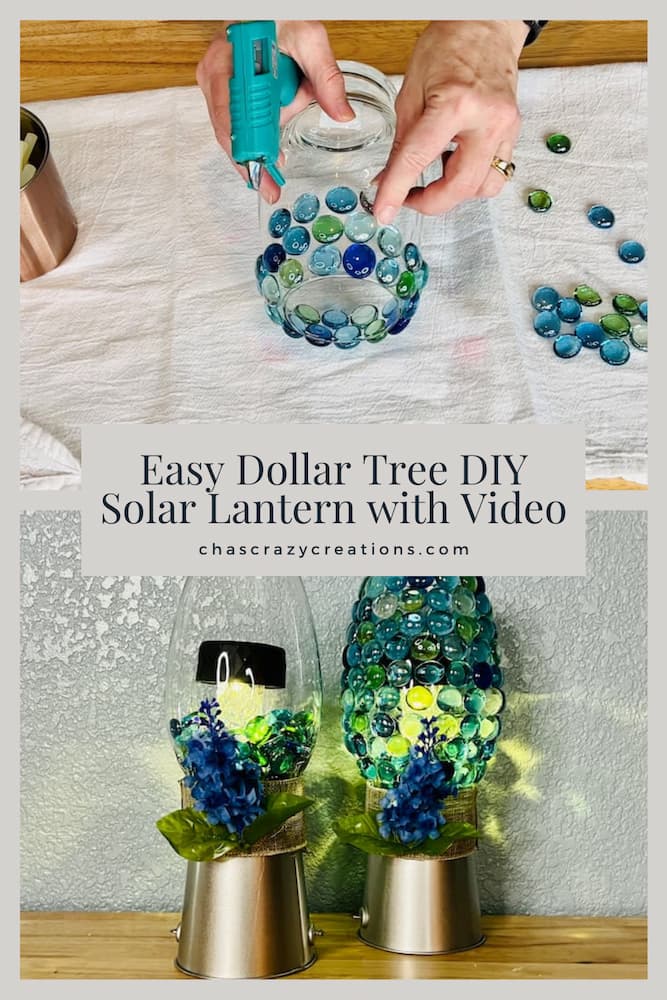
1. Glue the rocks to the vase
For this project, you could use the adhesive of your choice. I’m using hot glue, but where you place this item will determine what kind of adhesive you should use. I start by adding a little bit of hot glue to the back of each of the dollar store rocks and placing them on the glass vase. I am starting at the top of the vase and working my down. You can place the rocks in a pattern or just adhere them randomly.
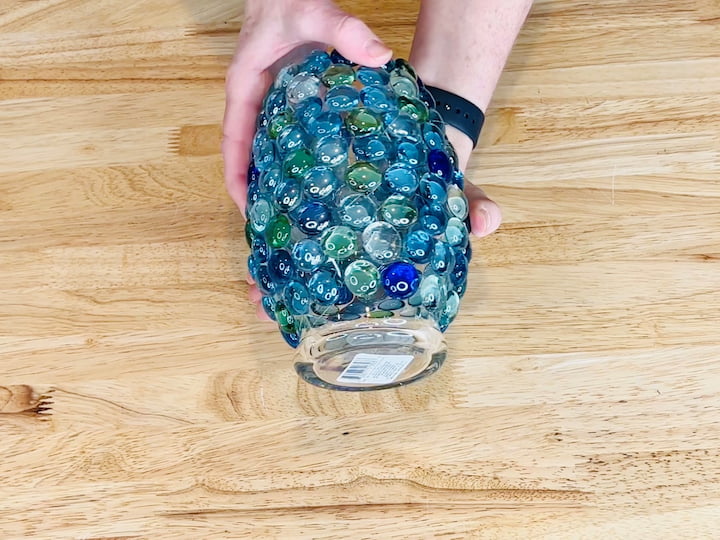
Here’s a quick look at the finished vase and I’m thrilled with how it turned out. Now we’re ready to move on to the next step.
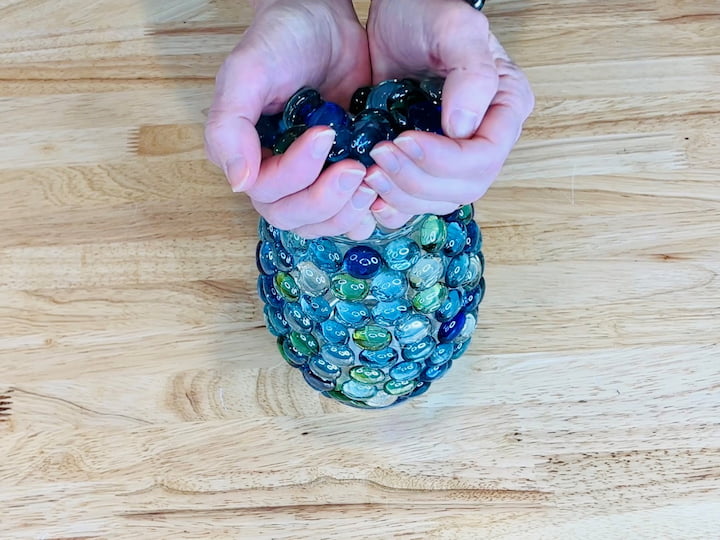
2. Place some rocks inside the vase
I’m grabbing a couple of handfuls of the dollar store rocks and placing them into the bottom of the vase.
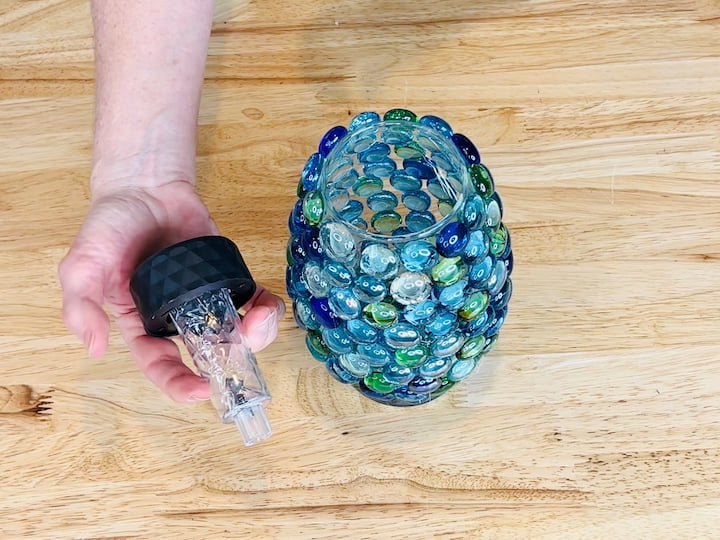
3. REmove the solar light base and push into the rocks in the vase to make the solar light lantern
I’ve got a dollar store solar light and I have separated it from the base. I’m placing that in the vase and pushing it down into the rocks so that it stands upright.
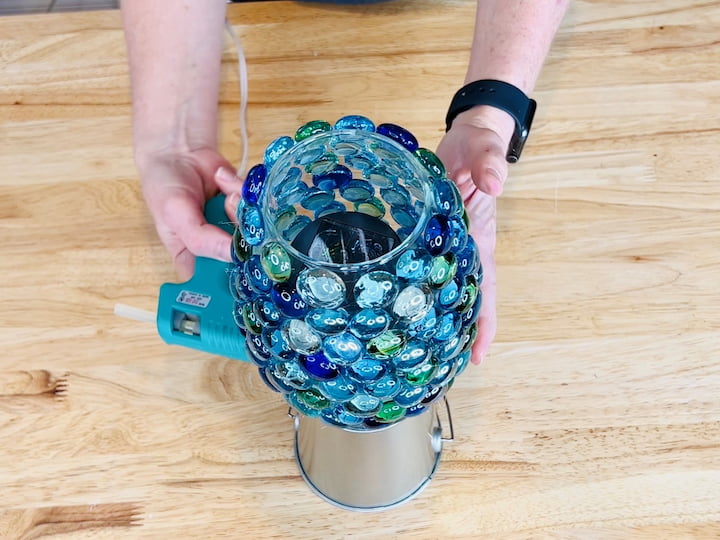
4. Glue the vase to the upside bucket
Next, I will take the dollar store bucket and turn it upside down. I am placing the vase on top of the overturned bucket and I will glue it into place to make sure it is secure.

5. Make a ribbon accent to wrap on the DIY Solar Lantern
I will be using the faux flowers for the next step. I’m going to remove a couple of the flowers and leaves from the stems. I cut a piece of burlap ribbon and laid it flat. I added a dab of hot glue to the leaves and placed them on the ribbon then did the same with the flowers.

6. Glue the ribbon to the DIY Solar Lantern
I will wrap the ribbon around where the vase and the bucket come together then hot glue that into place, holding it until it cools.
DIY Solar Lantern: 2nd option
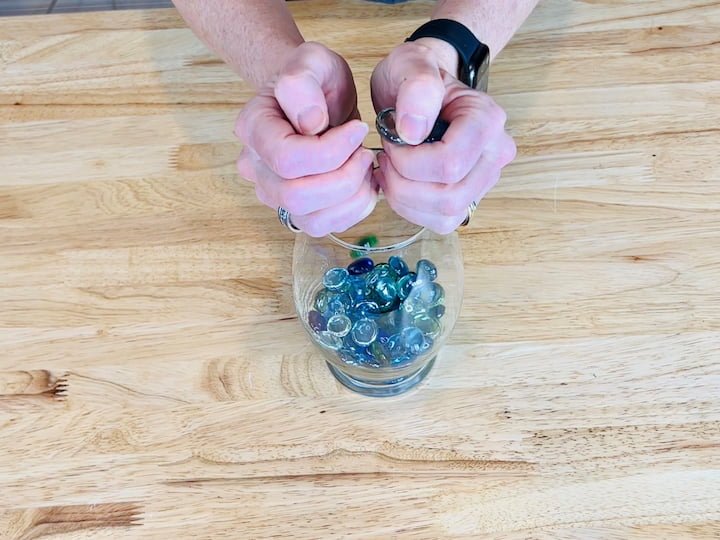
1. Fill the vase with rocks
I have a second vase so I will make another lantern. I will leave this vase clear but I’m going to take a couple of handfuls of the dollar store rocks and place those inside.
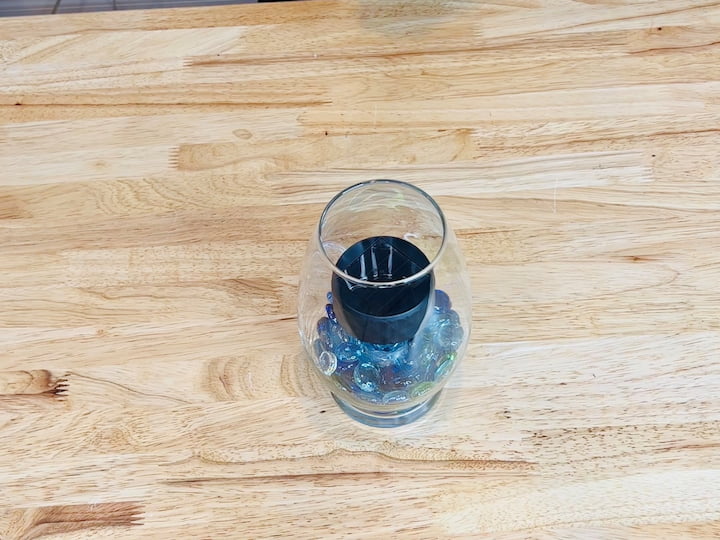
2. Add the solar light
Just like before I’m going to place the solar light down into the vase and then push it into the rocks so it stands up.
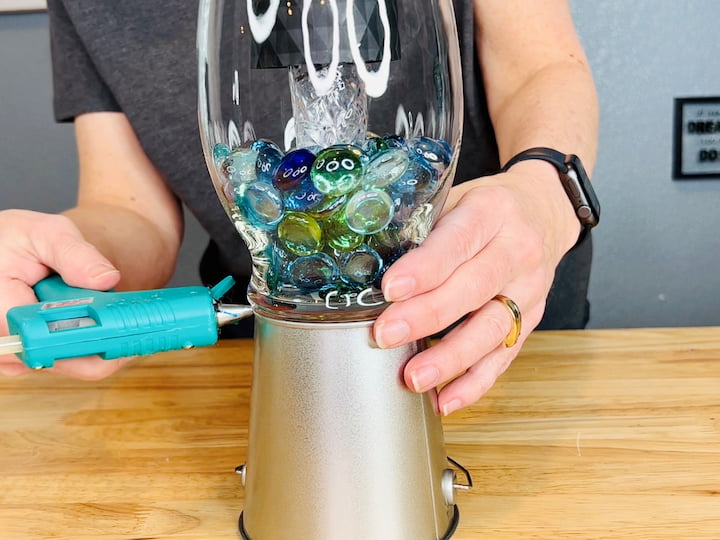
3. Glue the Vase to the upside down bucket
I’m going to place the clear vase onto another upturned bucket and hot glue that into place as well.
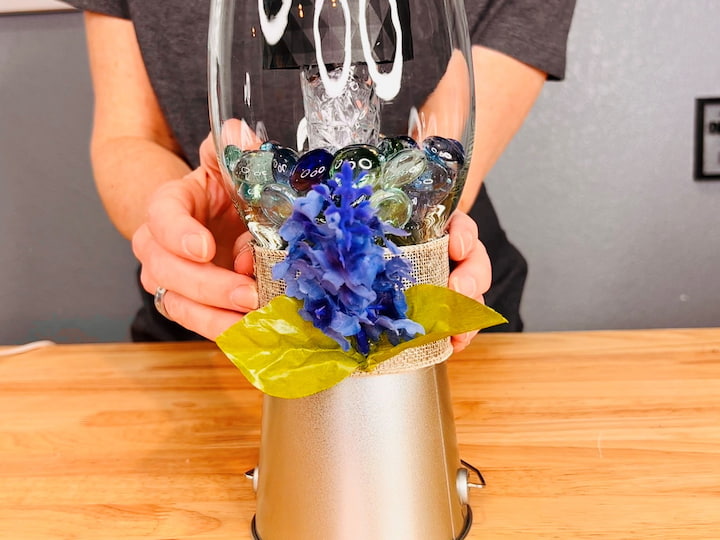
4. Add the ribbon embellishment
I’m going to take the ribbon just like before and wrap it around the vase and the bucket and hot glue that into place.


Here are both of my completed DIY solar lanterns. Which one do you like best, the one with the rocks or the clear one? Let me know in the comments. I’m gearing up for spring here in Colorado but we always end up with snow and warmth in the months of March and April.
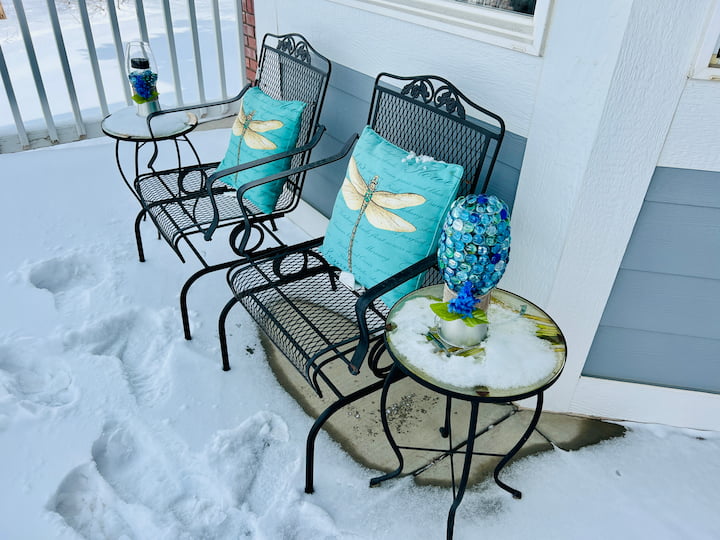
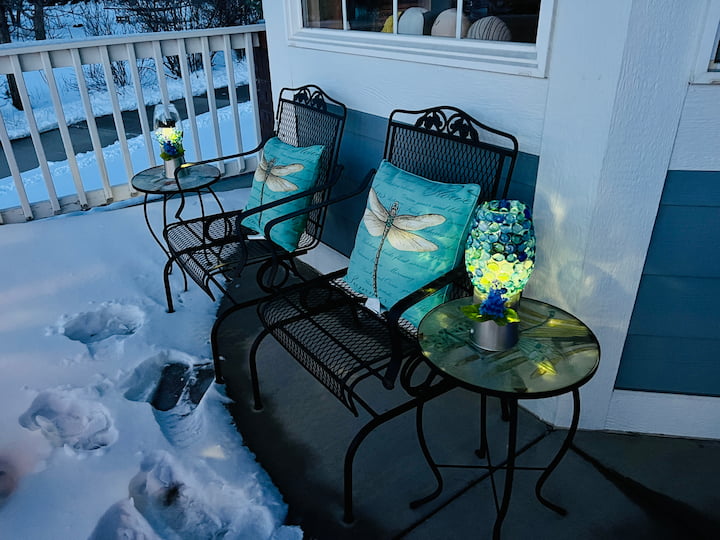
DIY Solar Lantern Video
Shop any of these stores and I receive a small commission at no cost to you.
 Mlambert 4 Pack Solar Hangi...Shop on Amazon
 TomCare Solar Lights Metal ...Shop on Amazon
 SUNWIND Hanging Solar Light...Shop on Amazon
 SHYMERY Solar Lantern,Outdo...Shop on Amazon
DIY Solar Lantern Q&A Section
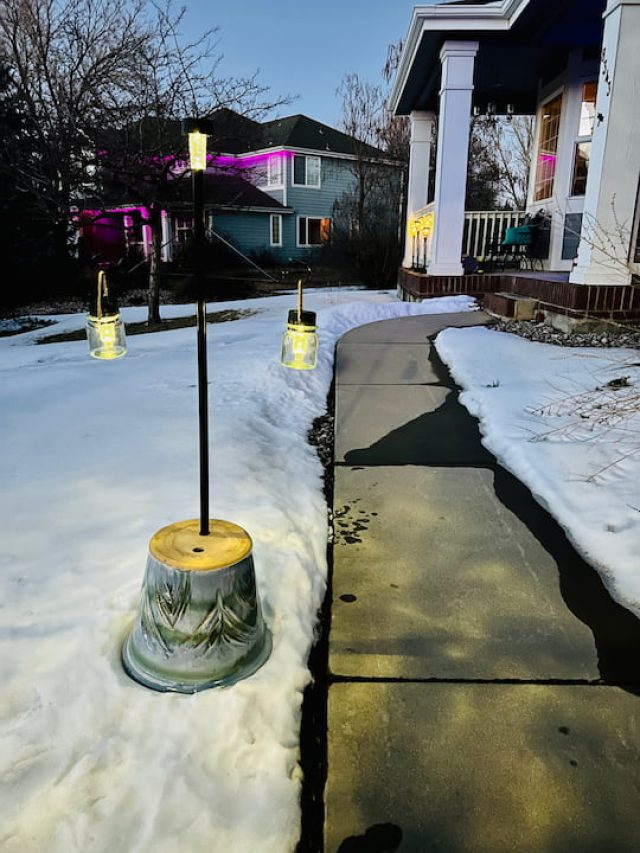
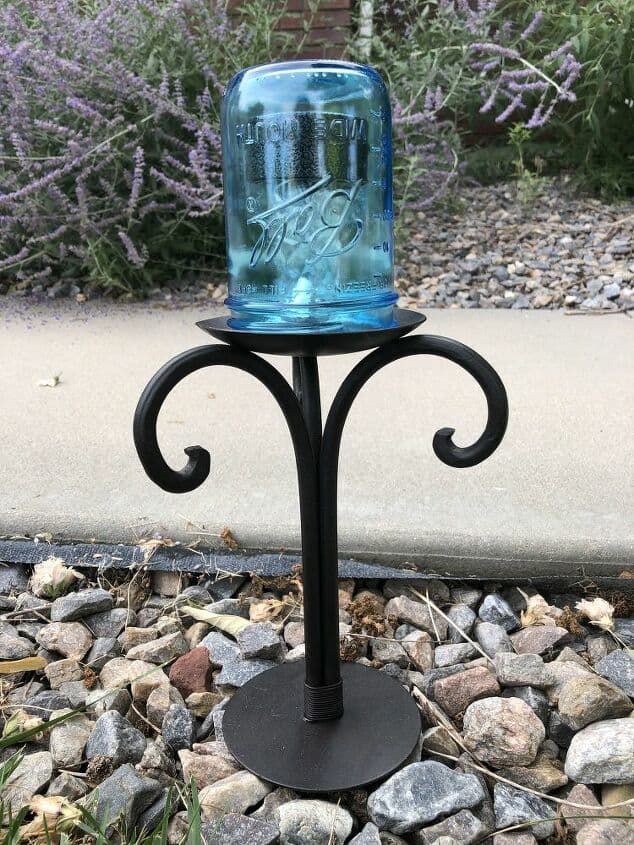
Remove the lids from mason jars and add a solar lid with fairy lights to each of them for a beautiful firefly or fairies effect
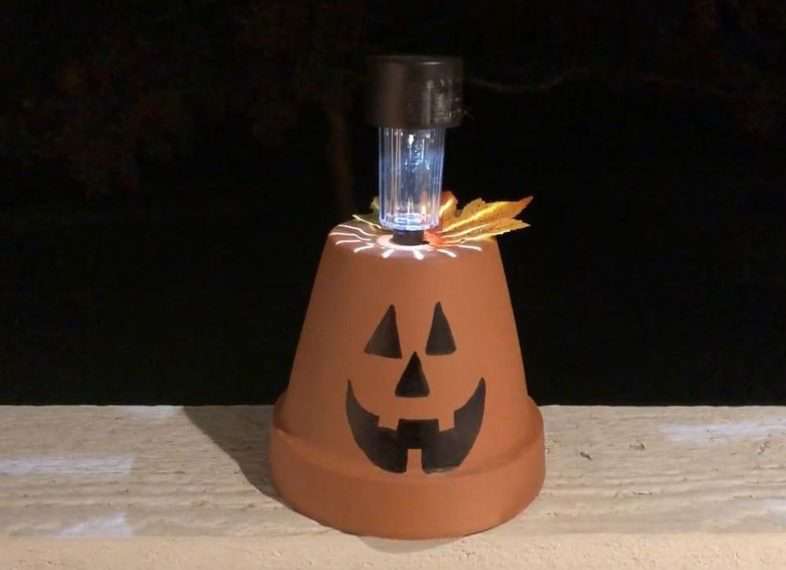
Use clay pots and a solar path light and make a jack-o-lantern during Halloween to light the pathway
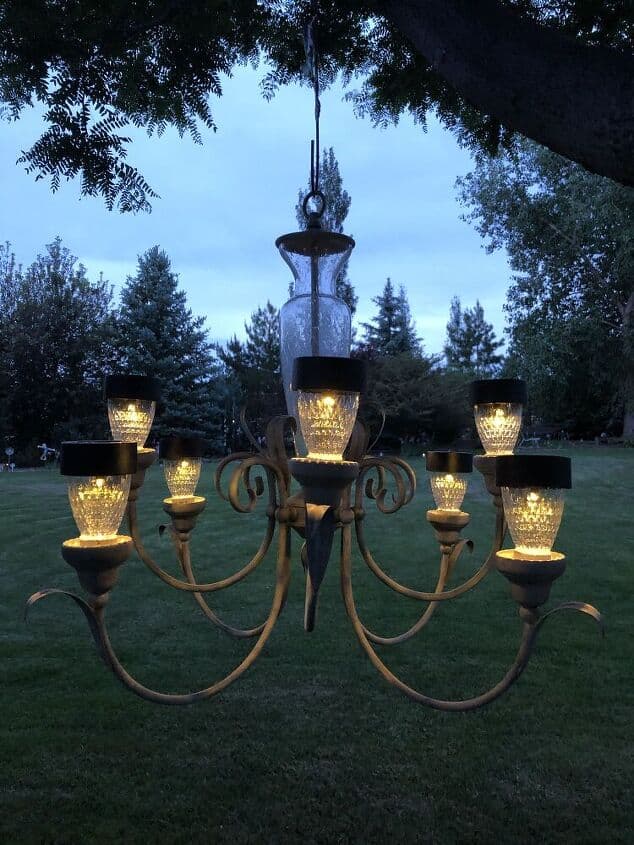
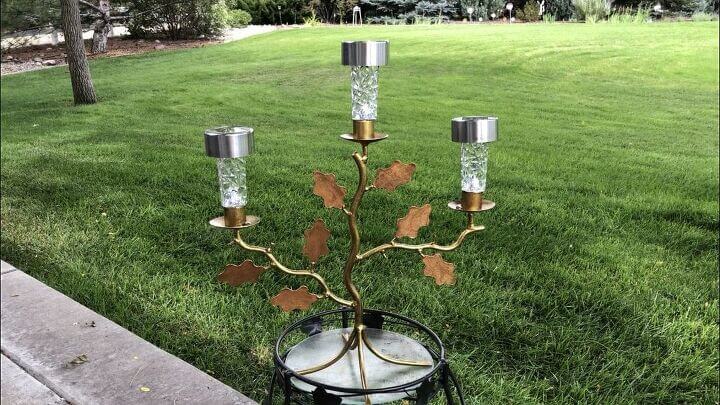
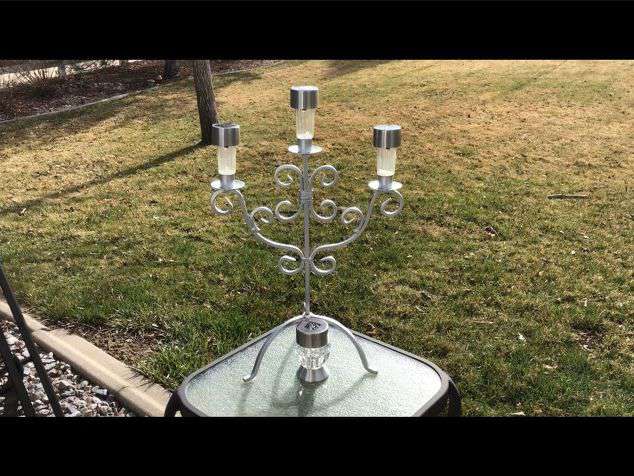
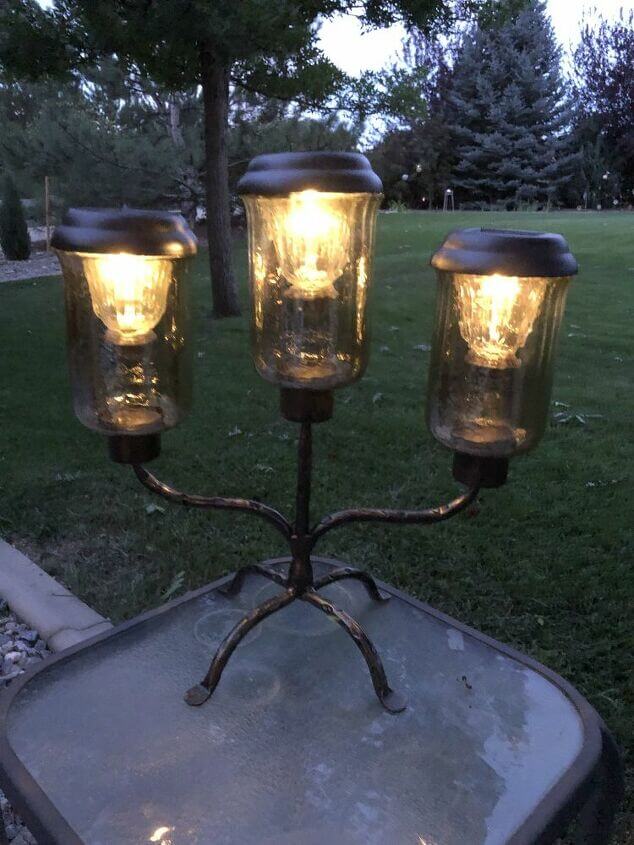
Make a DIY solar light chandelier
Add solar candles to your lanterns
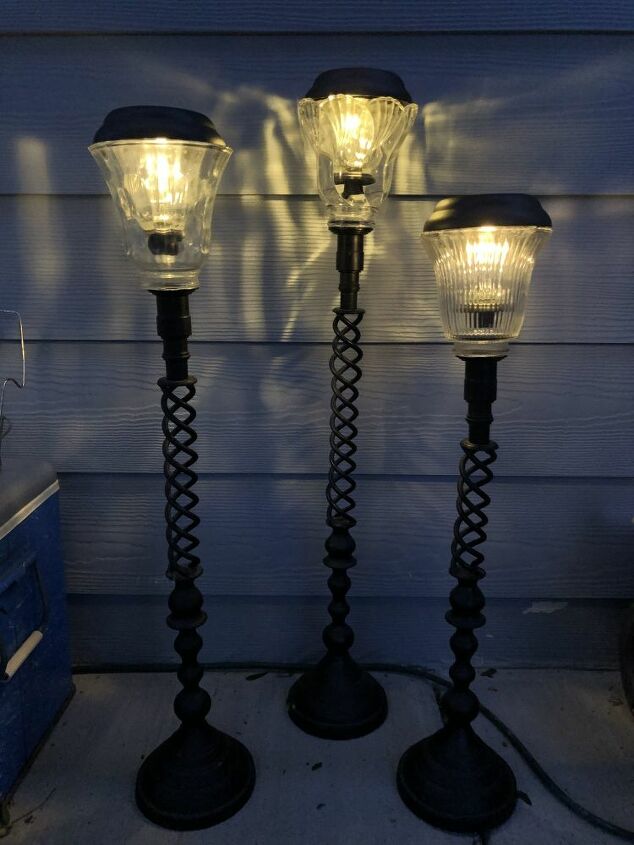
Make solar lamps to put around your seating area
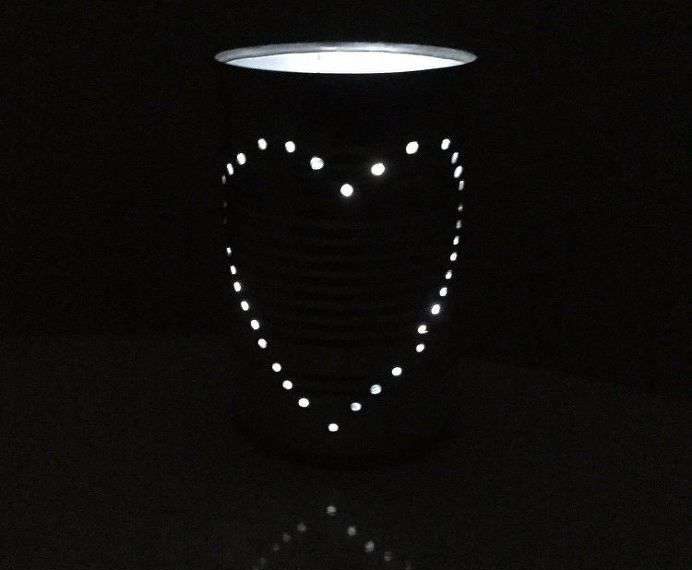
Save your tin cans and make solar lanterns
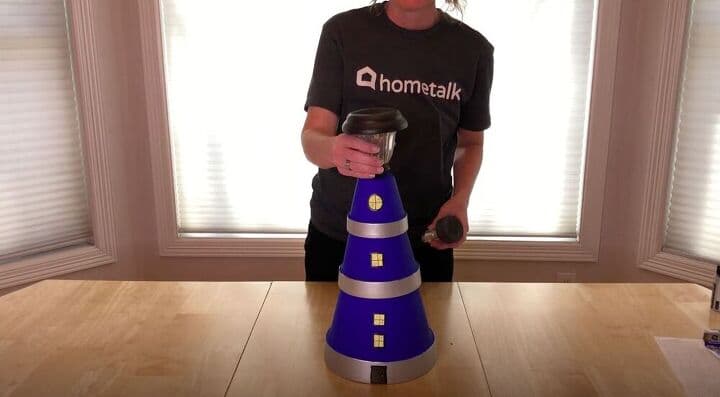
Make a lighthouse
on your patio
pathway lights
add a solar light bulb to light fixture
above your house number ( or purchase a solar address sign)
the top of fence poles
on your deck
It is best to keep your solar lights so they get plenty of sunlight. The more sunlight they get the longer they’ll run.

More Solar Light Projects
- Top 14 Ways To Use Solar Lights In Your Home
- Awesome and Easy DIY Solar Light Lamp Post
- Easy Dollar Tree DIY Mushroom Solar Light Decor with Video
- Easy and Awesome Solar Light DIY Butterfly with Video
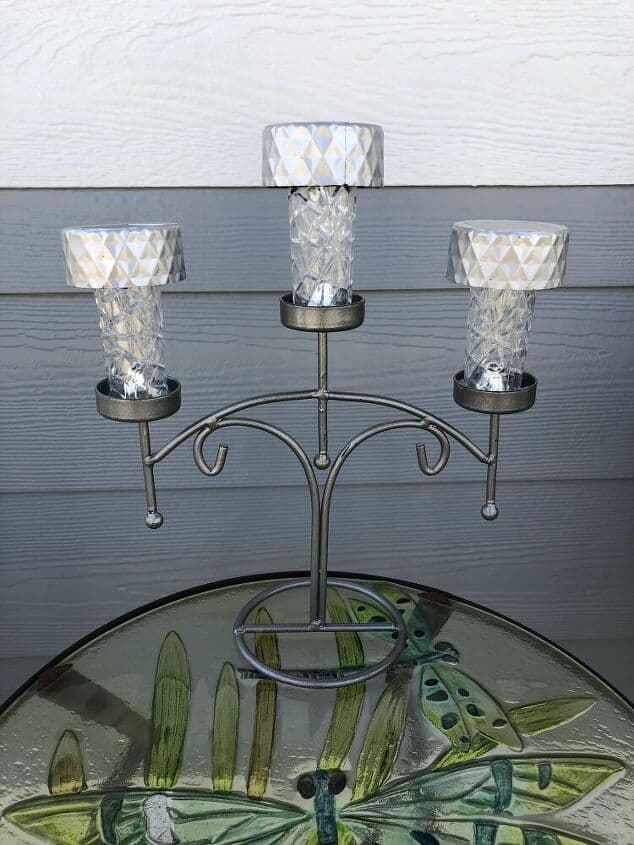
- DIY Candle Holder Solar Light Decor
- 3 Ways to Use Solar Lights Outside
- Mason Jar Solar Light Sidewalk
- And many many more
I hope this inspires you to create some of these fun DIY solar lanterns of your own. I’d love it if you’d subscribe to my YouTube channel and my blog at chascrazycreations.com. Thanks for watching and I’ll see you in my next video. Don’t forget to like, share and subscribe.



Hi, Chas! I’m kinda partial to the one covered in the jewels! But, because I’m sorta on the lazy side, I’d probably do the clear one!! Lol!! Just being honest here! Love following you and your great ideas for being on a budget and still getting great looks! Thanks so much for sharing…
Thank you so much for sharing, and I appreciate your honesty. I can totally relate.