
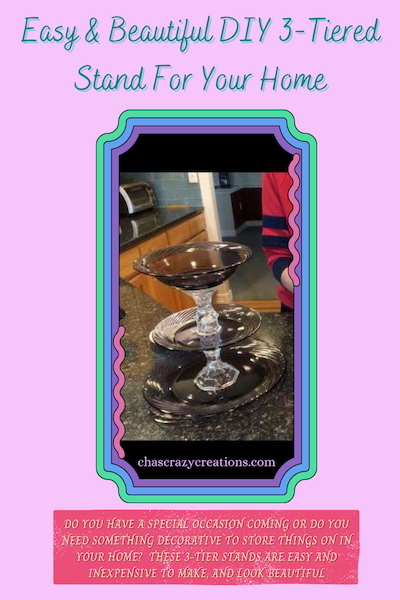
Easy and Beautiful DIY 3 Tiered Stand For Your Home
Do you have a special occasion coming or do you need something decorative to store things on in your home? A 3 tiered stand is easy and inexpensive to make, and looks beautiful!
Materials for an easy & beautiful DIY 3 Tiered Stand:
- 3 Dishes or Bowls
- 2 Candle Holders or Vases or Jars
- Adhesive (Permanent E6000)
- or (Temporary Museum Wax or Hot Glue)
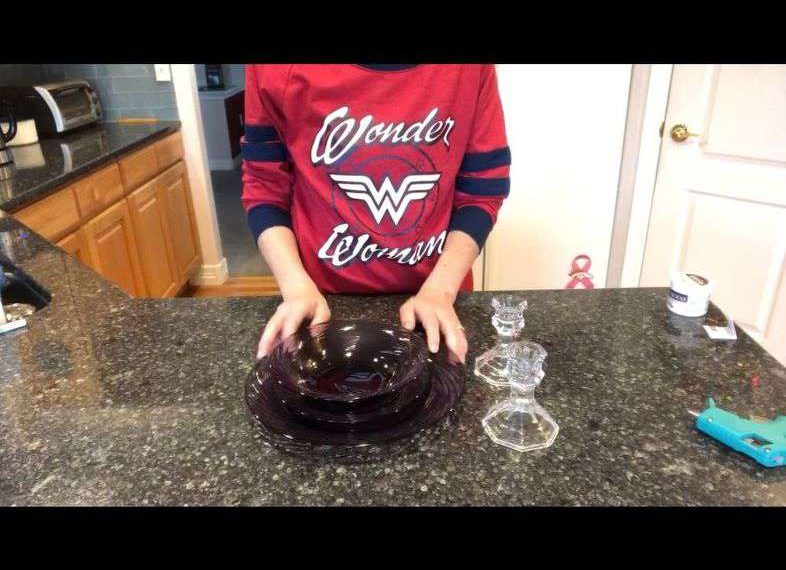
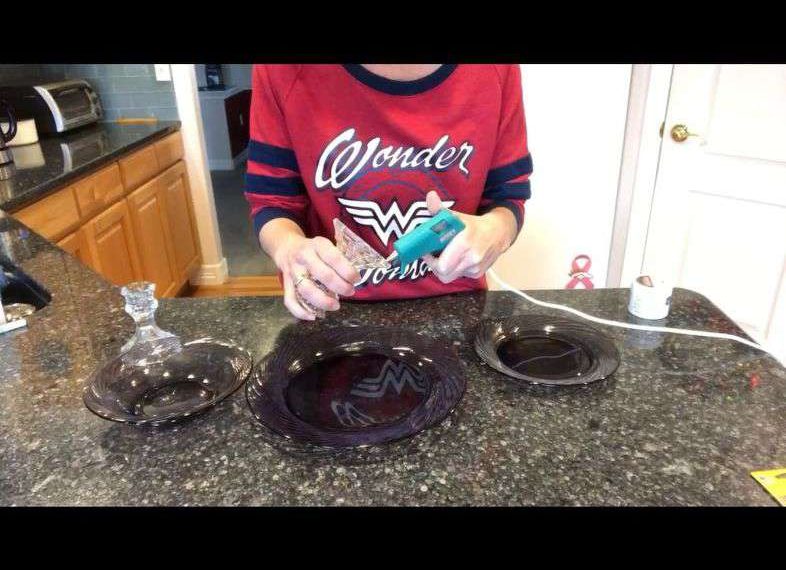
I’m using a large plate, a small plate, a bowl I found at a thrift store, and 2 taper candle holders I had on hand.

Instructions for an easy & beautiful DIY 3 Tiered Stand:
1. Decide which way you want the dishes/bowls and candle holders/vases/jars to go. (Here I tried the large plate on the bottom, bowl in the middle, and small plate on top. I also varied the way the candle holders would be in between the dishes – you’ll notice one is right side up and one is upside down.)
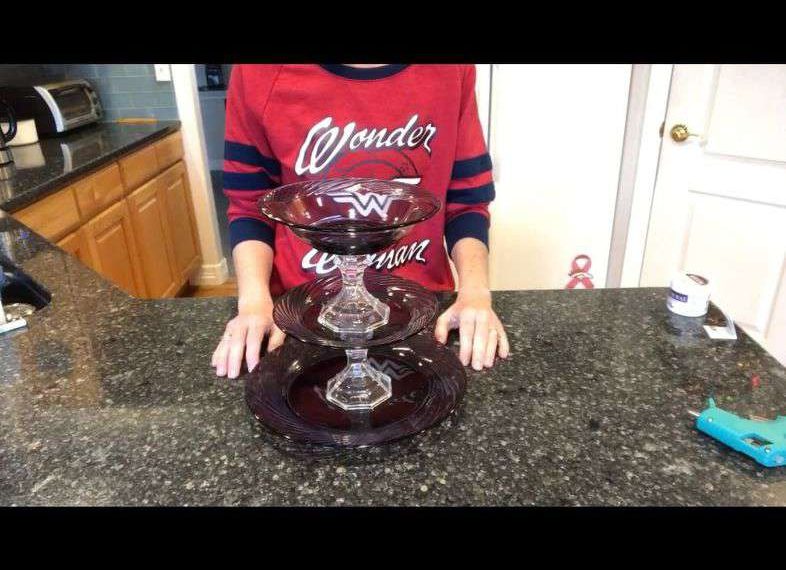
Here is another option the small plate in the middle and the bowl on top and both candle holders are upright.

2. You’ll need to decide how you’d like to adhere to them together. You’ll need to decide if you want something permanent or temporary.
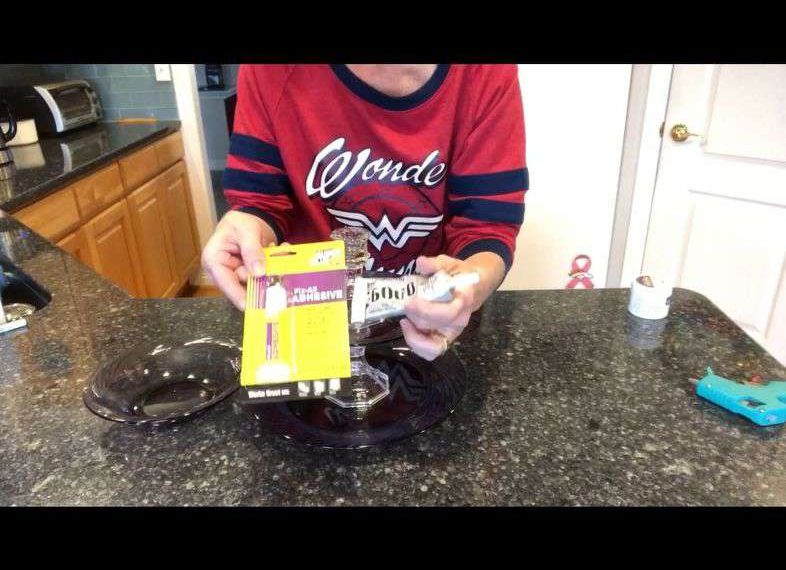
If you want temporary, you’ll want to use either Museum Wax which is what museums or homes in California use to hold their items in place in the event of an earthquake. Another temporary solution is using hot glue. These will make your dishes secure enough for an event and then you can pull them apart to put the dishes away. If you want permanent, you can use an adhesive like E6000 or a Super Glue Fix All adhesive.
3. I’ll use hot glue, but the application of the adhesives would be the same. I place the glue on the bottom of the candle holder and placed it in the center on the bottom dish.

4. I then put a layer of glue on the top of that same candle holder.
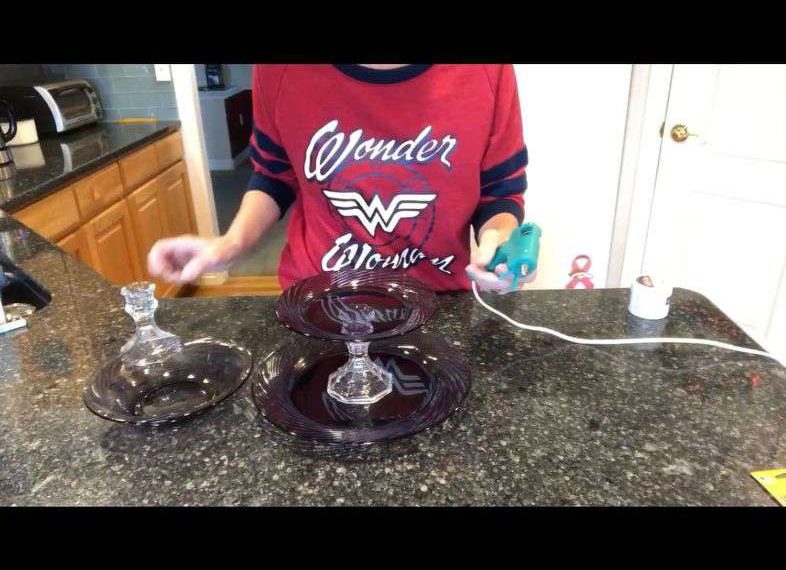
5. I placed the small dish on top of the candle holder.

6. Using the second candle holder upside down, I placed glue on the top of the candle holder and placed that in the center of the small plate.
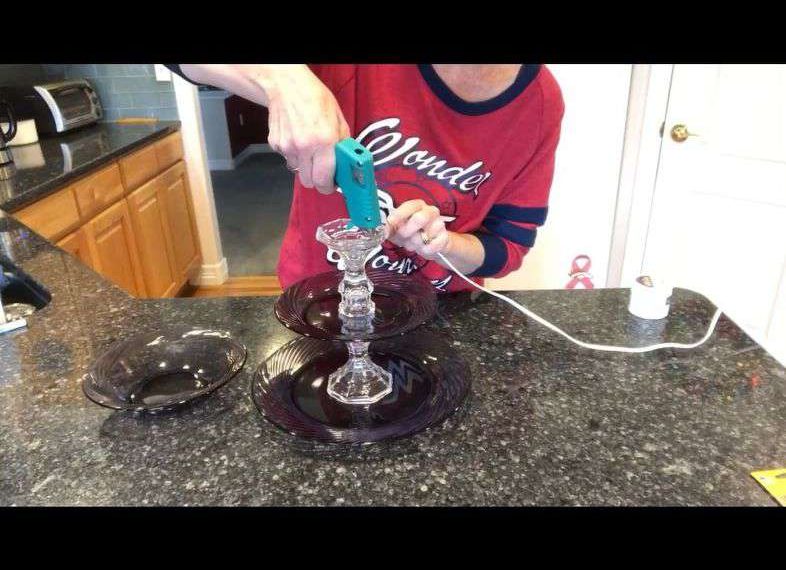
7. I put glue on the base of the candle holder.

8. I set the bowl on the top. Let cool/dry completely.
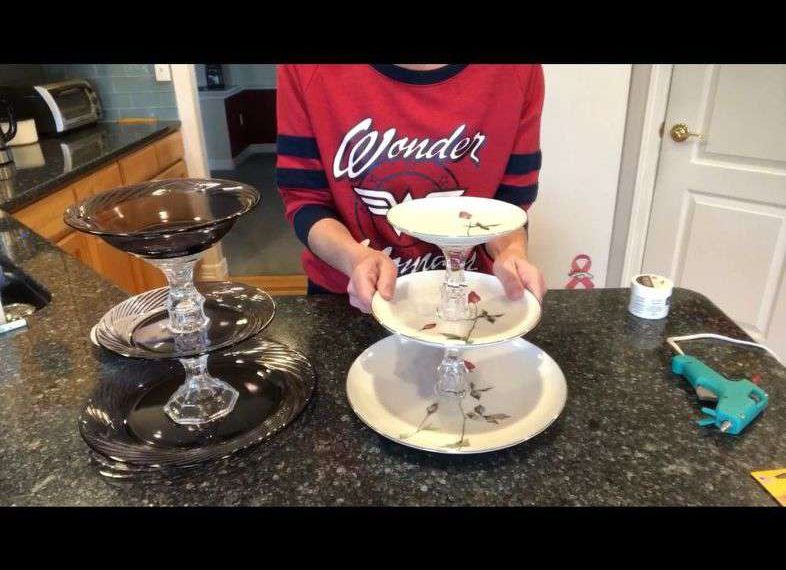
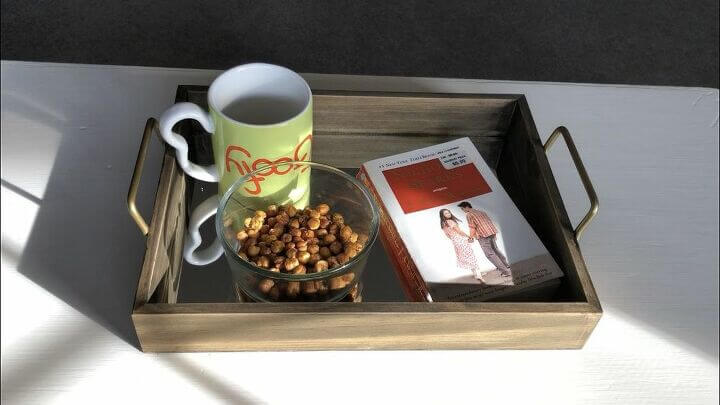
Here is another tier tray I made and this one I used E6000 for the glue as I wanted this one to be permanent. Use a tier stand in the kitchen for serving, in your bedroom for jewelry, or in the bathroom for wash clothes, supplies, and soap.
One idea with so many uses for these tiered stands!
- dessert server
- craft supplies
- farmhouse decor
- tea sandwiches
- dip servers
- cake stand
- afternoon tea
Use this 3-tiered tray at events or places in different areas of your home:
- bridal shower
- coffee table
- dining room
- bathroom
- small spaces
- outdoor furniture
Use any kind of surface you want:
- glass or plastic dishes
- stainless steel
- aluminum base
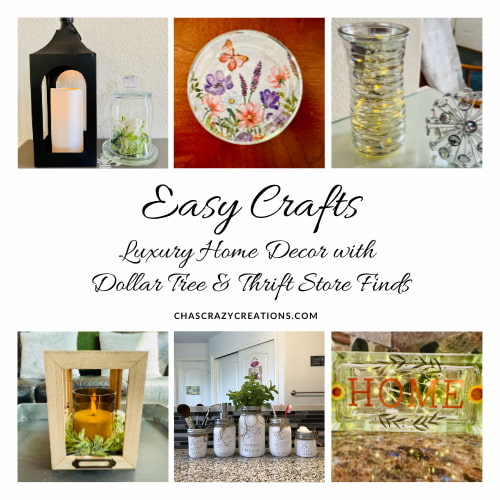
What a great way to make a Pottery Barn knock-off. The good news is that you can make a tiered serving tray the way you want and on a budget.
DIY 3 Tiered Stand Video
Shop any of these stores and I receive a small commission at no cost to you.
 StarPack Farmhouse Style Th…Shop on Amazon
 Beautiful, Elegant Dishware Serve Snacks, Appetizers, Cakes, Candies Durable, Reusable Party or Holiday Hosting (Silver) (1) (1)") Royalty Art 3-Tiered Servin…Shop on Amazon
Royalty Art 3-Tiered Servin…Shop on Amazon Sweese Porcelain 3-Tier Cup…Shop on Amazon
") 3 Tier Serving Tray,Cupcake…Shop on Amazon
3 Tier Serving Tray,Cupcake…Shop on Amazon SensaCasa Farmhouse Tiered …Shop on Amazon
 Sumerflos 3 Tier Porcelain …Shop on Amazon

I love this idea. It is such a nice way to use some things that I already have and make something beautiful!
Thank you so much Amy and they work for so many different things which makes them so versatile
I’ve done something similar to this, and I used silicon to adhere everything. It turned out great, because it was waterproof too 🙂 It’s so pretty, thank you for sharing! From Blogger’s Pit Stop
Thanks Denise
Great post … easy directions.
Thanks so much Snap 🙂
This is such a great idea! I LOVE vintage dishes!!! I am definitely going to use this idea!!
Thanks for sharing at wonderful Wednesday Blog Hop!!!
~Emily @ LeCultivateur.com
Thank you so much Emily and I’d love to see a picture of what you make.
These are so pretty and creative. When I go to garage sales, I often see items that would work for this project. I like the idea that you can use a “temporary” glue then take them apart and put the dishes away. What a great way to store these, use them singly then put them back together another day!
Thank you Linda, I definitely like the temporary use for the ease of clean up as well as for dishes you don’t want to permanently change.
Wbat Great Idea. I run across Vintage non matching dishes all the time, doing estate sales with my husband. Some are to pretty to just donate after the sales are over so I purchase them. I sometimes hang them up at the store to sell or keep for myself. Now I know what to do with some of them.
Love that you save beautiful dishes from being let go of. You might even be able to make some of these to sell 🙂