
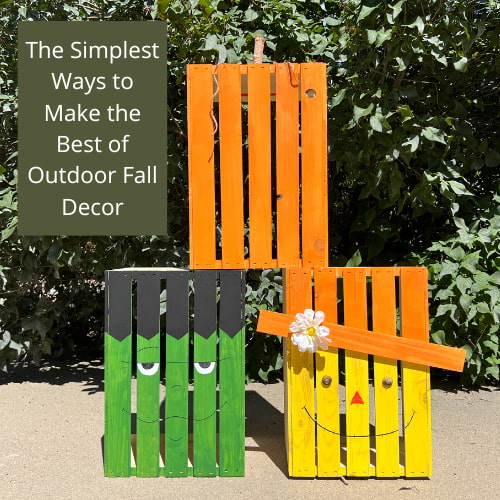
Super Awesome and Easy DIY Scarecrow for Your Home
Do you want to know how to make an easy DIY Scarecrow? I love fall and when decorating I love to make items that can be left up all the fall season. I’m sharing step by step guide to making your own Garden Scarecrow out of a fence post. This is a fun project for the whole family. This is a creative way to make homemade scarecrows that hat can be used as a Halloween decoration, front door or front porch decor, or part of a pumpkin patch. You can make an adorable scarecrow, a dancing scarecrow, a funny scarecrow, or a scarecrow with a scary mask for Halloween night. You can even make a life-sized scarecrow.
I had a left over 4×4 piece of fence post from a snowman family project I did last year. You can use any scrap wood you have available, such as a fence picket.
You can also purchase wood from a hardware store or craft store. I already had all the materials for this project on hand.
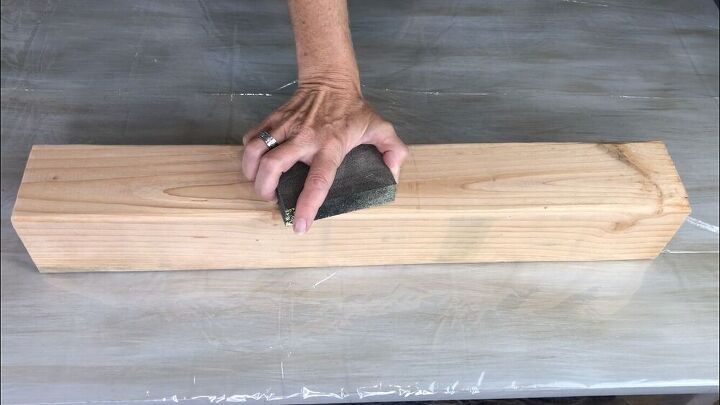
The first thing I did was lightly sand the wood, then wiped it clean to remove all of the dust.

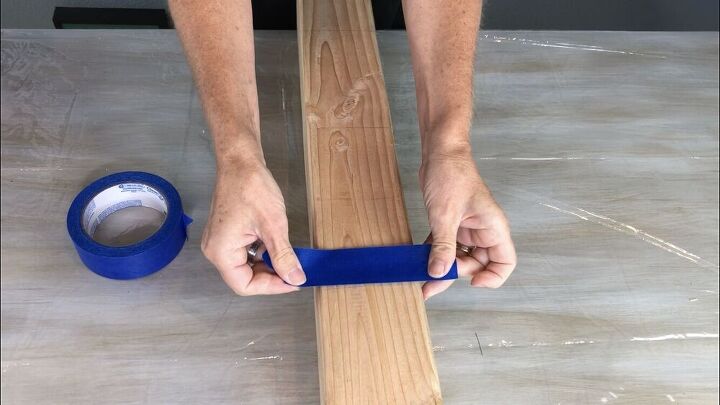
I placed painters tape onto the wood to create a section of wood.
This way when I painted the wood I would get a nice clean line and no overlap.
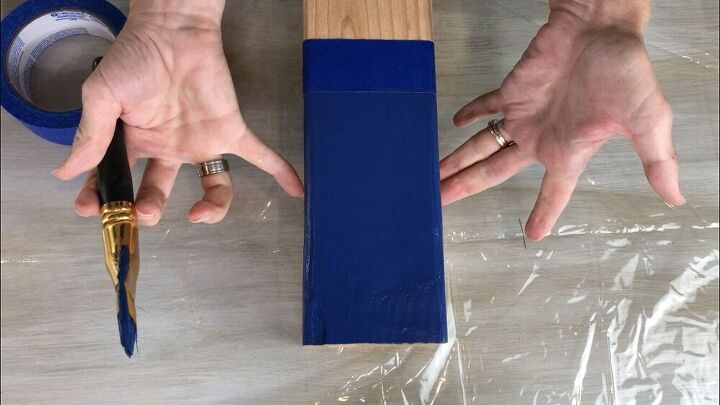
I painted the bottom of the scarecrow with Nautical Folk Art Home Decor Chalk Paint. This would be his pant legs.
I painted 3 sides (you could paint all 4 if you like).

I then added painters tape to the other end of the post.
I painted the top section with Mustard Folk Art Home Decor Chalk Paint.
I waited for the blue section to dry.
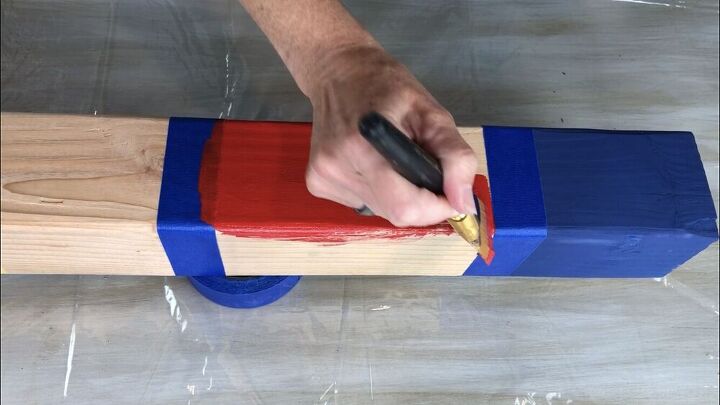
I then added painters tape and used Imperial Folk Art Home Decor Chalk Paint for the shirt section.
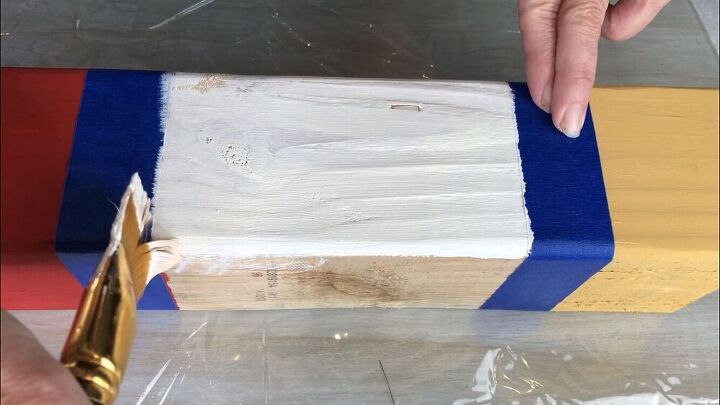
For the last section, I taped it off and used Sheepskin Folk Art Home Decor Chalk Paint.
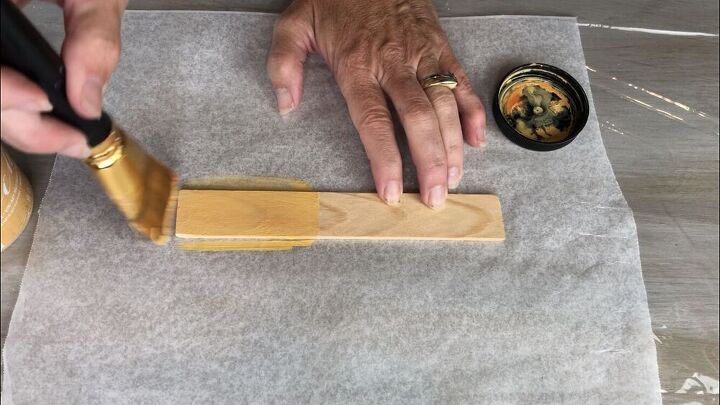
While the paint on the post was drying, I sawed a gallon paint stick to be the hat brim. Then I painted it with Mustard paint.
Once all of the paint was dry, it was time to add finishing touches and embellishments to the post.
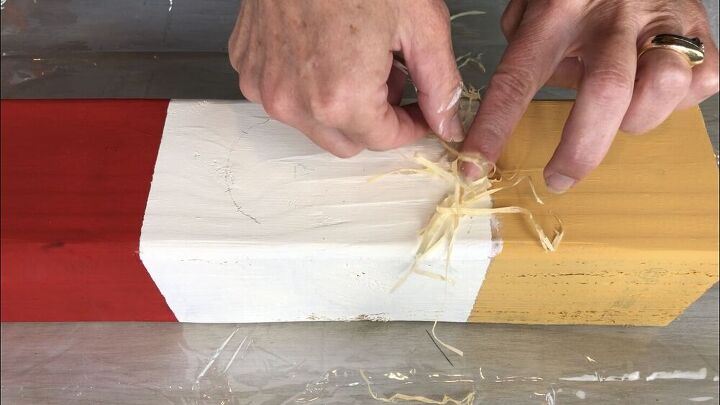
I painted on Mod Podge and then added some raffia for hair. You could also use twine for the hair. A hot glue gun would work for this as well.
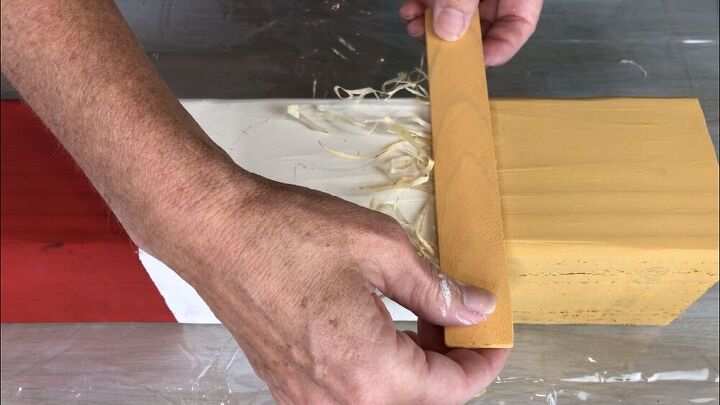
I hot glued on the paint stir stick for the brim once the Mod Podge had dried.
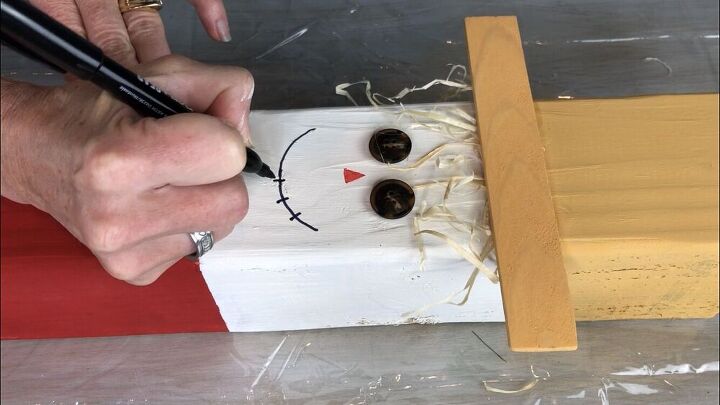
I hot glued on 2 buttons for eyes, and drew on a nose and mouth with permanent markers for the facial features. Here is where you can have fun with it by making a cute face or a scary scarecrow.
I cut a handkerchief and hot glued it onto the fence post around the neck of the scarecrow.
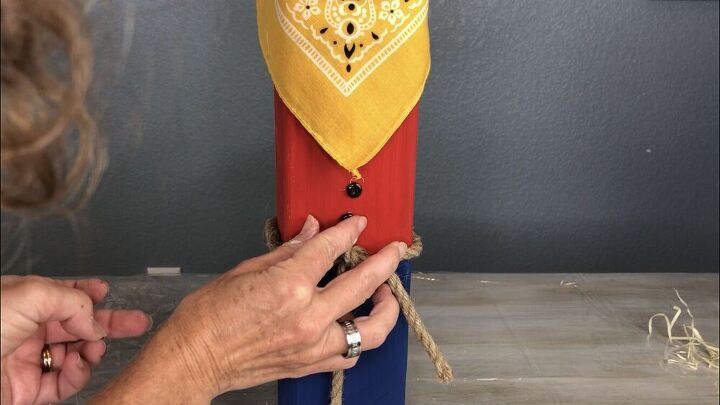
I used some dollar store rope to create a belt and I hot glued on 2 small buttons for his shirt.
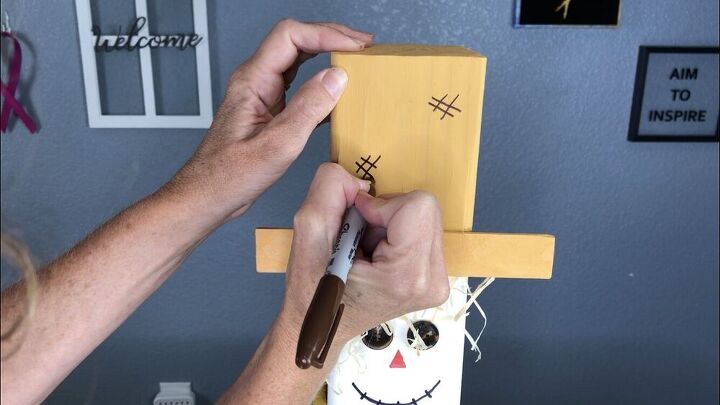
I made some accents onto his hat with a permanent marker.
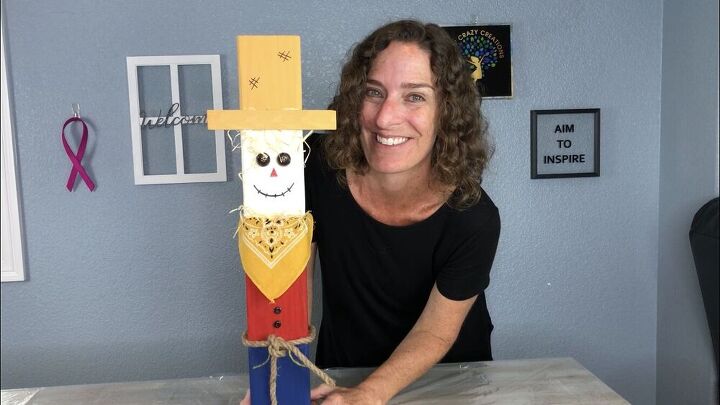
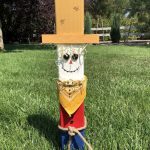
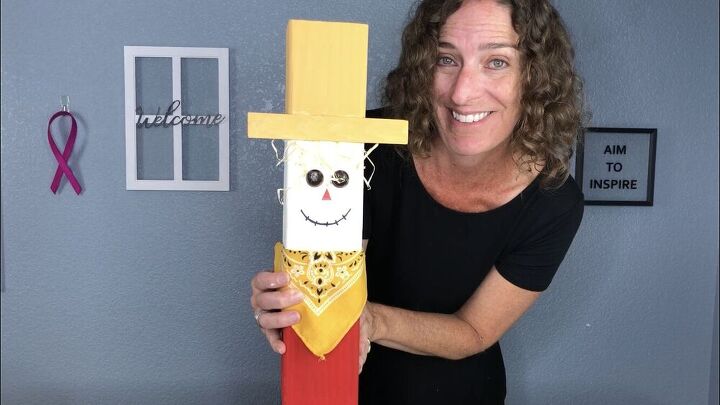
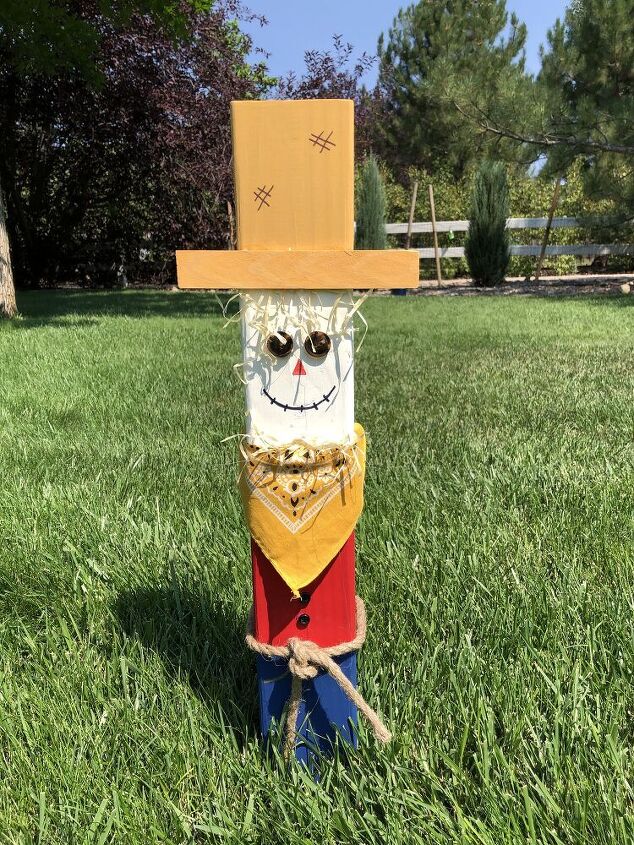
He is all ready to be put on display!

If you want to put him outside, add a coat of Folk Art Home Decor Varnish or Dishwasher Safe Mod Podge.
Other DIY scarecrow ideas of items you can use include:
- old clothes
- straw hat
- safety pins
- rubber band
- burlap sack
- pvc pipe
- milk jug
- plastic grocery bag, grass clippings, bubble wrap (great for stuffing)
- flannel shirt
- baseball caps or old hat
- old shirt
- popsicle stick
- floral wire
- wood chips
- old pair of jeans
- scarecrow mask
- fake flowers
- flower pot
- work boots
- shirt sleeves
- old rags
DIY Scarecrow Video
Shop any of these stores and I receive a small commission at no cost to you.
") FolkArt Home Decor Ultra Ma…Shop on Amazon
FolkArt Home Decor Ultra Ma…Shop on Amazon Mod Podge Gloss Sealer, Glu…Shop on Amazon
, CS15059 Gloss 3 Pack") Mod Podge Dishwasher Safe W…Shop on Amazon
Mod Podge Dishwasher Safe W…Shop on Amazon KINGLAKE Natural Raffia Pap…Shop on Amazon
 One Dozen/12pcs Assorted Ba…Shop on Amazon
Learn more about “Creating Seasonal Decor for Your Home” to create seasonal decor that doesn’t cost an arm and a leg.
Click here for Plaid Enterprises, Inc. Disclosure @PlaidCrafts #PlaidCrafts #PlaidCreators
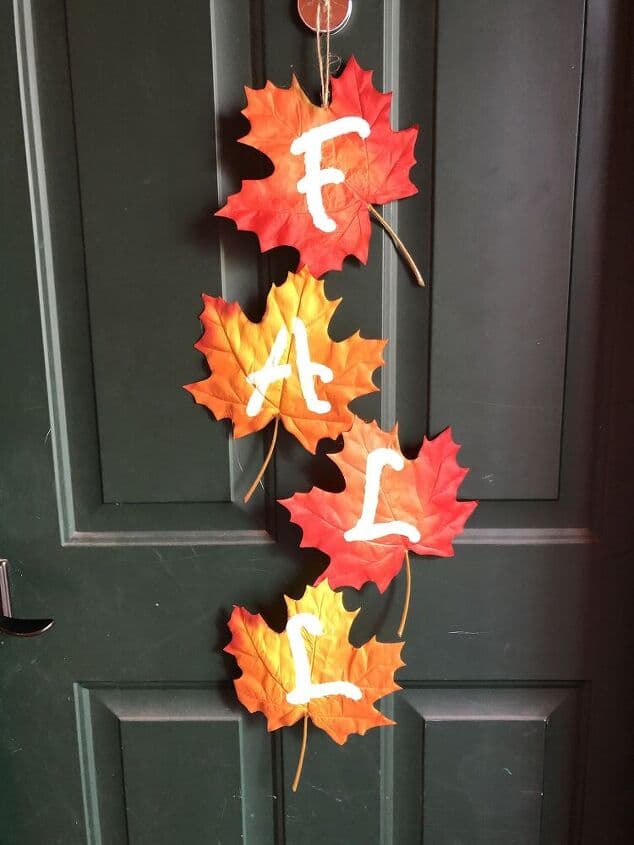
Check out some of my other fall decor!


********************************************************
Thank you for sharing at #OverTheMoon. Pinned and shared. Have a lovely week. I hope to see you at next week’s party too! Please stay safe and healthy. Come party with us at Over The Moon! Catapult your content Over The Moon! @marilyn_lesniak @EclecticRedBarn
********************************************************
Thank you so much Marilyn, I hope you have a great week.
This little scarecrow turned out adorable! You are so creative.
Have a great weekend,
Kippi
Thank you so very much Kippi, I appreciate it.
He’s so cute Chas, I just love him!
Thank you so much Jayne
So Creative. I am so glad I found your blog.
You are so very sweet Rebecca, thank you so much for the kind words friend.
Your scarecrow is so cute! He’s is beautifully painted, and I love his bandana! Pinning!! I’m putting this on my Fall to do list for next fall.
Thank you so much T’onna, I’m so pleased you like him and you made my day that you want to make him next year. Thanks for the Pin.
You come up with the cutest ideas, Chaz, and I love how easy this little guy is to make!
Thank you so much Marie, I really appreciate the kind words.
Looks like you had lots of fun creating this cute and adorable scarecrow, Chas! Perfect in any fall decorations!
Thank you so very much Gail, I’m thrilled you like him. Wonderful crafting with you!
He’s adorable! I have a few snowmen made like this but never thought of making a scarecrow. Pinned.
Thank you Joanne, and this scrap wood is from my snowman family I made last year. Thanks for the Pin
This is adorable, Chas! I love it. What a great way to use a left over post.
Thank you so much Beverly, I’m so glad you like him.
so cute Chas
Thank you so much Faith 🙂
welcome