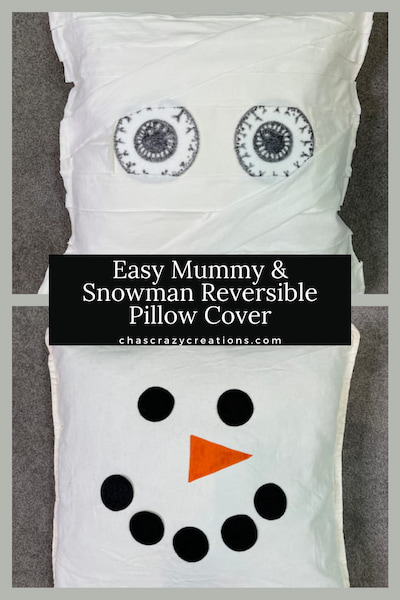
Easy and Cute Mummy and Snowman Reversible Pillow Cover
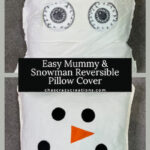
Today I am going to show you a great way to make a simple Halloween decoration that can be used for more than just one holiday. created an inexpensive, cute mummy on one side of a pillow cover and a snowman on the other side. It’s the perfect way to change your decor for the season at no extra cost and it packs away easily too!
Materials needed for your cute mummy and snowman pillow cover
cute mummy and snowman pillow cover Video
How do you make a mummy for Halloween?
Instructions for your mummy and snowman pillow
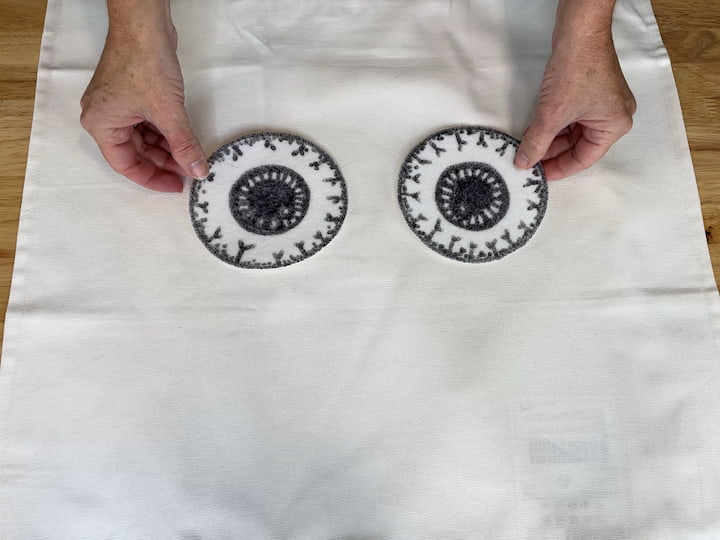
1. Make your mummy’s eyes
The first thing I did was draw 2 eyes on a piece of adhesive white felt. I cut them out, peeled the back off the felt, and stuck them to the pillowcase. You could use regular felt and hot glue or fabric glue to stick them to your pillow cover. You could also try your hand at making googly eyes.
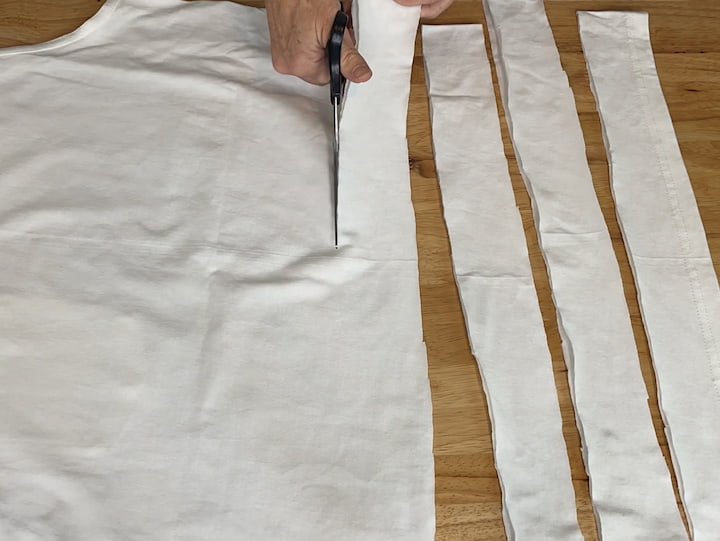
2. Cut strips of fabric for your mummy
For the next step I used an old tank top, but you could easily use old t-shirts, old sheets or new fabric for your mummy’s wrap. I cut wide strips of fabric making sure they’d be wide enough to cover one side of the pillow cover.
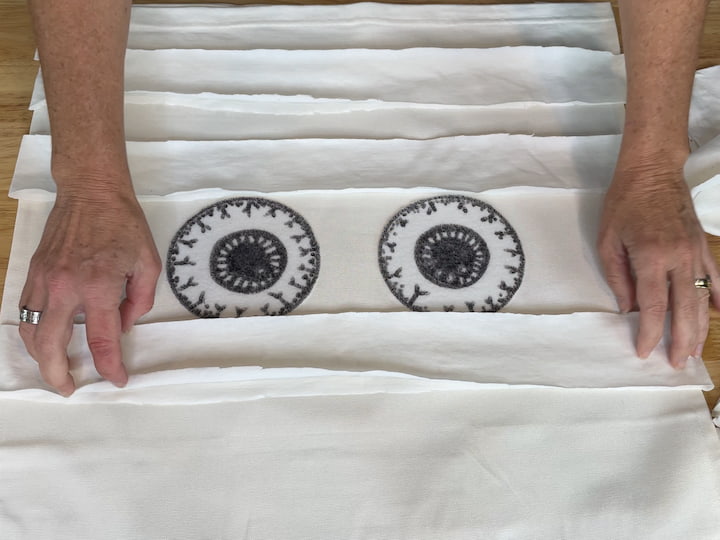
3. Place your strips of fabric on your pillow cover
Place your strips of fabric onto your pillow cover. Feel free to play with your design to make your mummy unique.
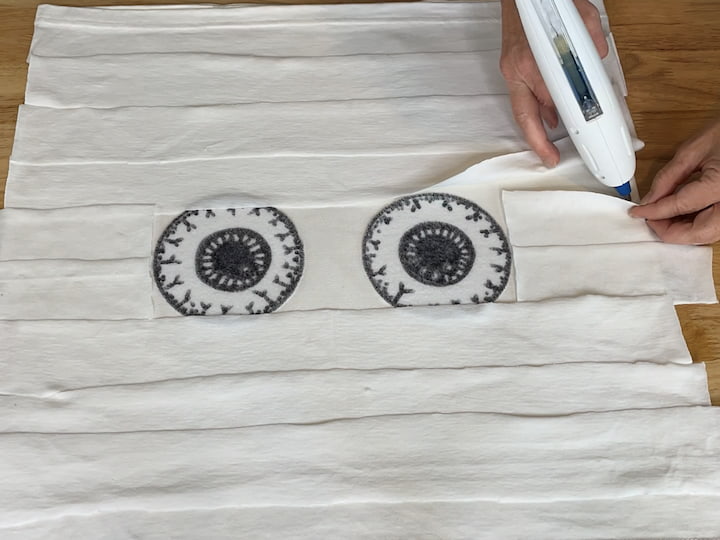
4. Hot Glue the fabric strips onto the pillow cover
Use your hot glue (or you could use fabric glue) to adhere your fabric strips into place on the pillow cover.
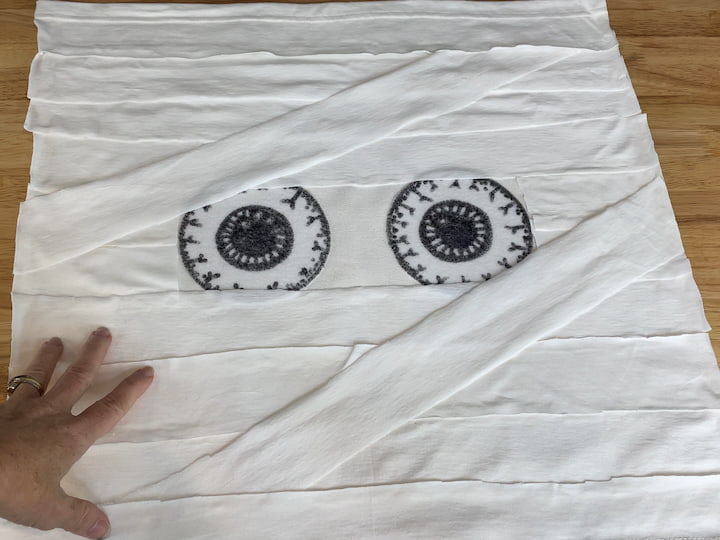
Here is a quick look at the completed DIY mummy side of the pillow cover.
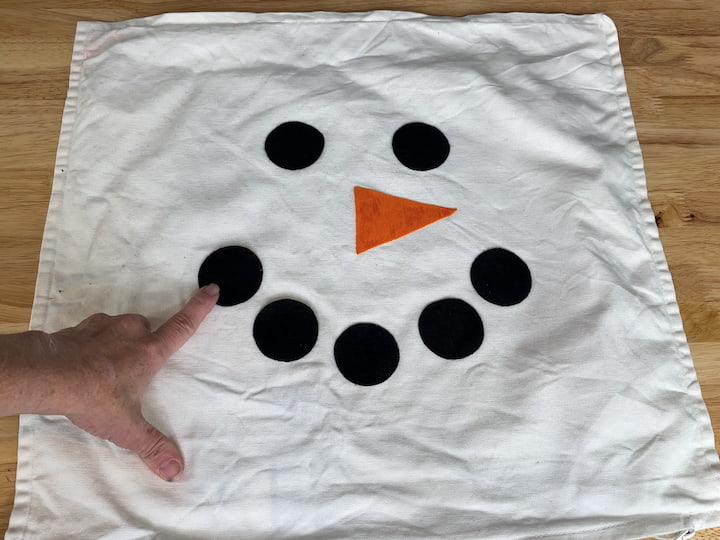
5. Make a snowman on the reverse side
On the other side of the pillowcase make your snowman face. I cut out 7 black circles with the adhesive black felt. I cut out a carrot nose with orange fabric (I couldn’t find adhesive orange felt when I made this). I stuck the black circles onto the pillowcase to form the eyes and mouth, and I placed the carrot nose in the middle using fabric glue.

6. Insert your pillow form
My pillow cover was 20 x 20 inches and I bought a 20 x 20 inch pillow form to place inside the pillow cover.
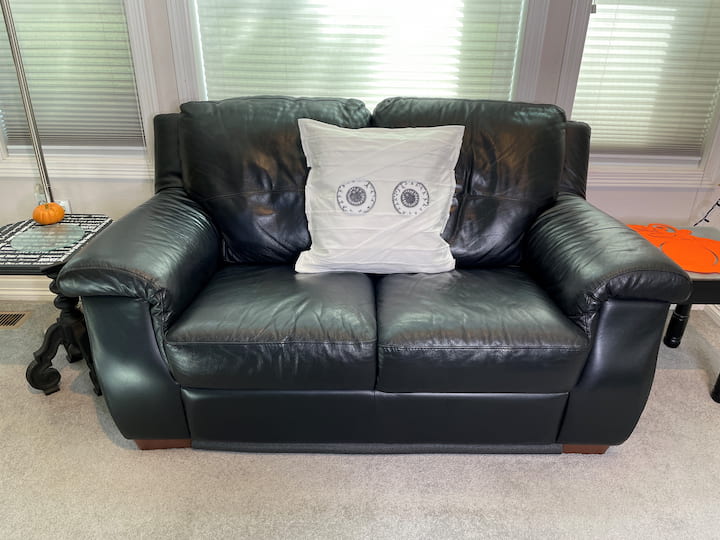
What I love about this project is that I bought 1 pillow cover and by decorating both sides I can keep it out for months. When it’s time to put it away, I can pull the pillow form out and lay the pillow cover flat in my storage bin for Halloween next year.
I can make several of these for any season or holiday. I just use the pillow form, again and again, so no need to store this in my bins.
You can learn more about the history of mummy’s here, and you can find more of my Halloween DIYs here.
You might be interested in my mummy door decor where I decorated my entire door as a mummy using a toilet paper roll for Halloween Day. This was a great front door decoration for Halloween night.
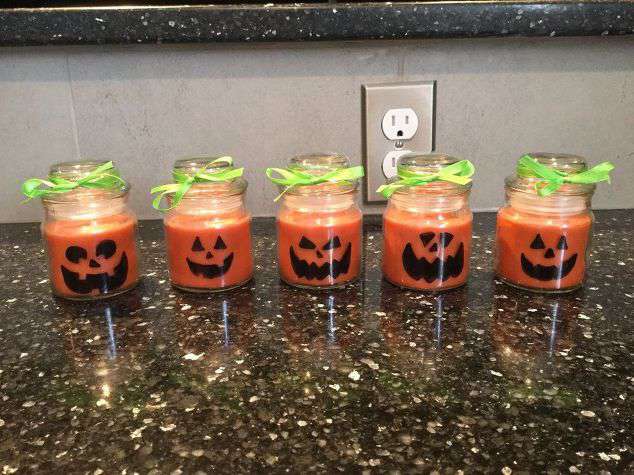
You might also like my Halloween crafts and one of which I took a glass jar and wrapped it with gauze and added some google eyes.
You can also make a DIY mummy costume easily. My mom made a DIY costume for my dad for a Halloween Party. She took some old rags and soaked them in tea bags to make the rags look less white. She had my dad put on long underwear and she then used safety pins to connect all of the fabric strips to the thermal underwear. You could use a sewing machine and sew the strips of fabric instead. She covered his entire face too, all you could see was his eyes. He looked like a realistic mummy from ancient Egypt.
Learn more about “Creating Seasonal Decor for Your Home” to create seasonal decor that doesn’t cost an arm and a leg.
Easy and Cute Mummy and Snowman Reversible Pillow Cover Video
Shop any of these stores and I receive a small commission at no cost to you.


Easy and Cute Mummy and Snowman Reversible Pillow Cover
Equipment
- Hot Glue Gun
Materials
- White Pillow Cover
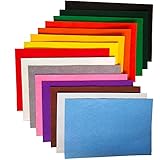
- Adhesive Felt
- White Fabric
- Pillow Insert
Instructions
- MAKE YOUR MUMMY’S EYES
- CUT STRIPS OF FABRIC FOR YOUR MUMMY
- PLACE YOUR STRIPS OF FABRIC ON YOUR PILLOW COVER
- HOT GLUE THE FABRIC STRIPS ONTO THE PILLOW COVER
- MAKE A SNOWMAN ON THE OTHER SIDE
- INSERT YOUR PILLOW FORM
Video
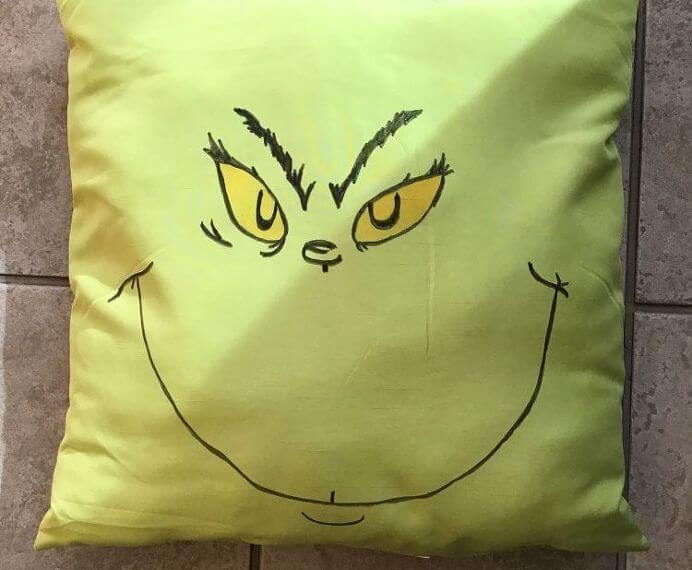

Check out some of my other pillow crafts!