
Pillow Crafts: DIY Projects for Home Decor and Gifts
Just wait till you see all the projects we’re making today! In this blog post, I’ll show you some fun and creative pillow crafts that you can easily make at home. Whether you’re looking to add a splash of color to your living room or create personalized gifts for your loved ones, these DIY pillow projects are perfect for unleashing your creativity. Let’s dive in!
Pillow Crafts Video
Pillow Crafts
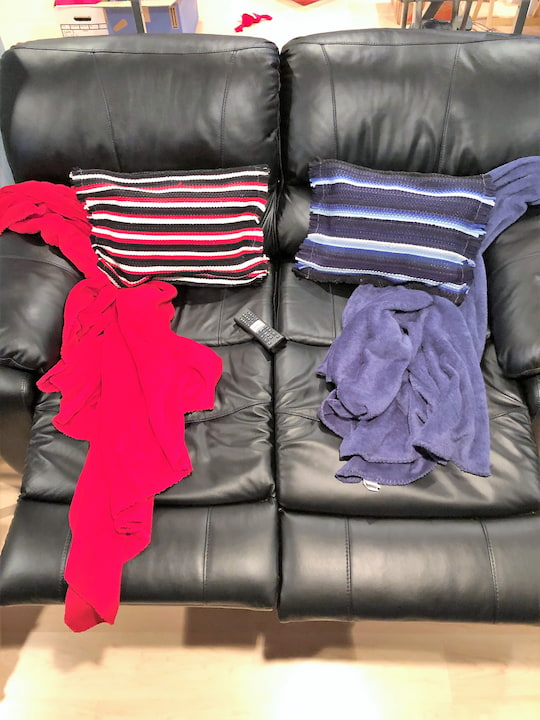
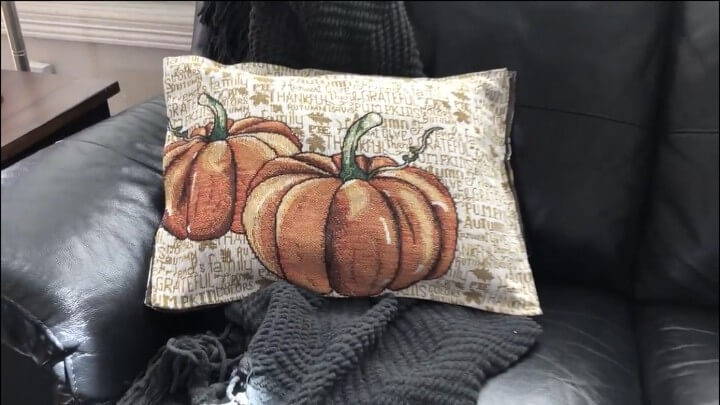
Rug Pillows for Kids
I found these little rugs at the Dollar Tree, and I immediately knew they would be great for pillows. Plus, they happen to be my kids’ favorite colors! To make these pillows, I grabbed two rugs of each color.
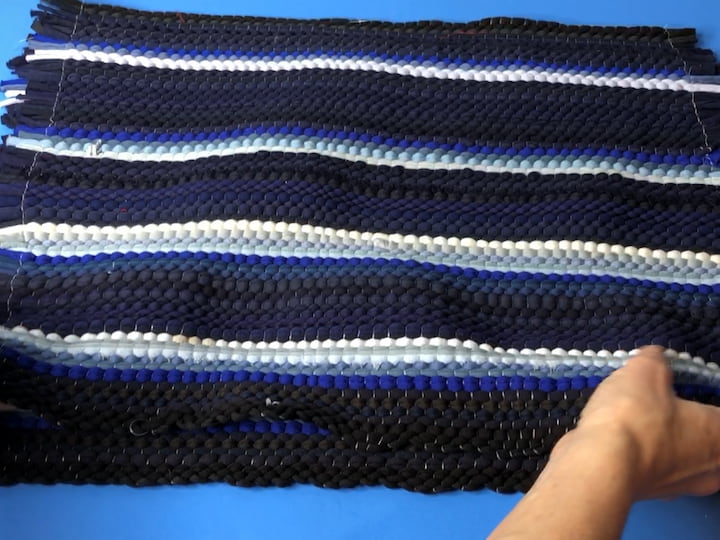
First, I laid one rug down and placed the other rug directly on top of it, tags facing in.
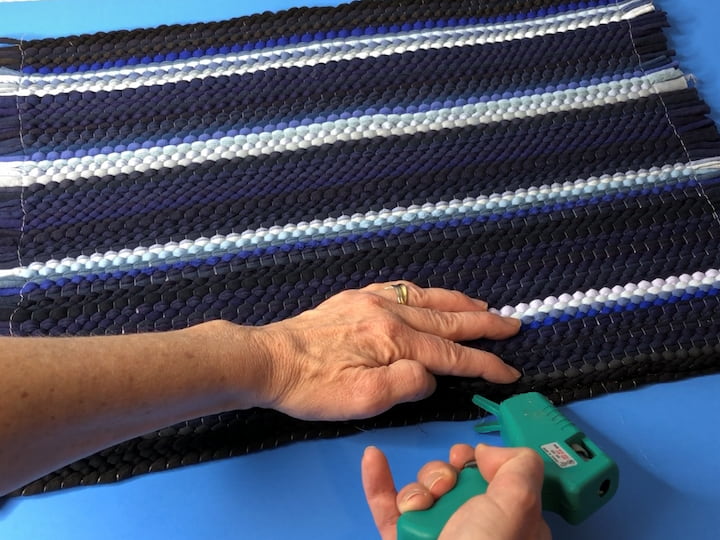
I used hot glue to secure the rugs together, running a line of hot glue down the sides and pressing as I went. If you prefer a sewing option, feel free to sew the rugs together instead.
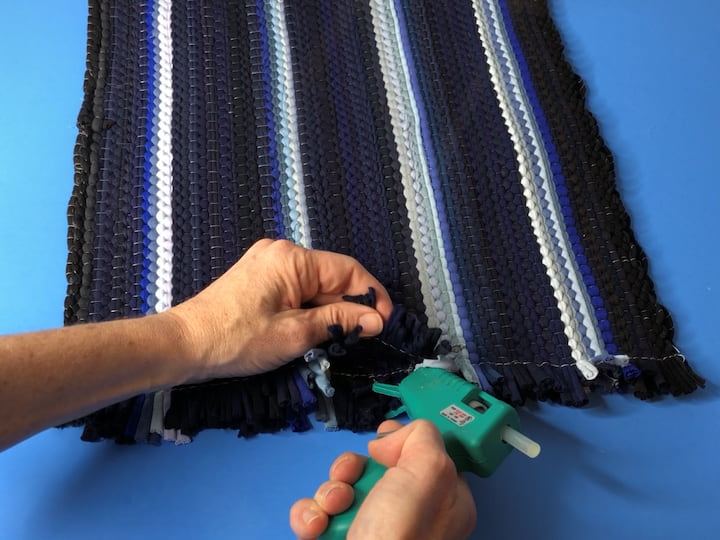
Once both long sides were glued, I repeated the process for one of the short sides. This left one side open for a pillowcase effect.
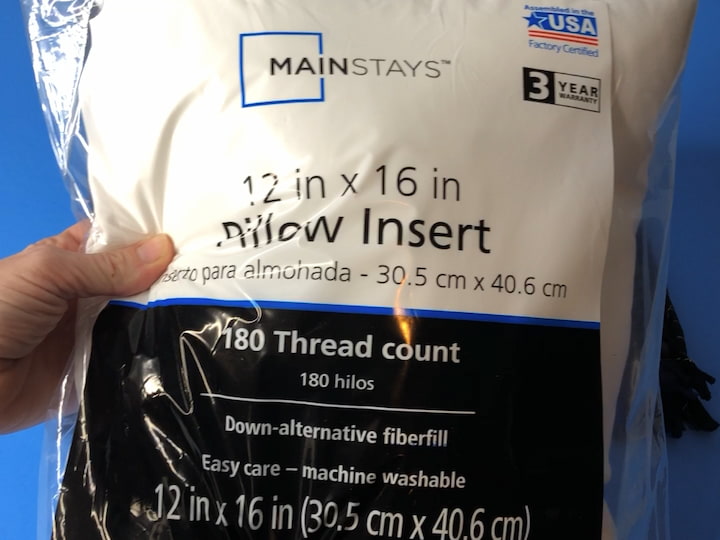
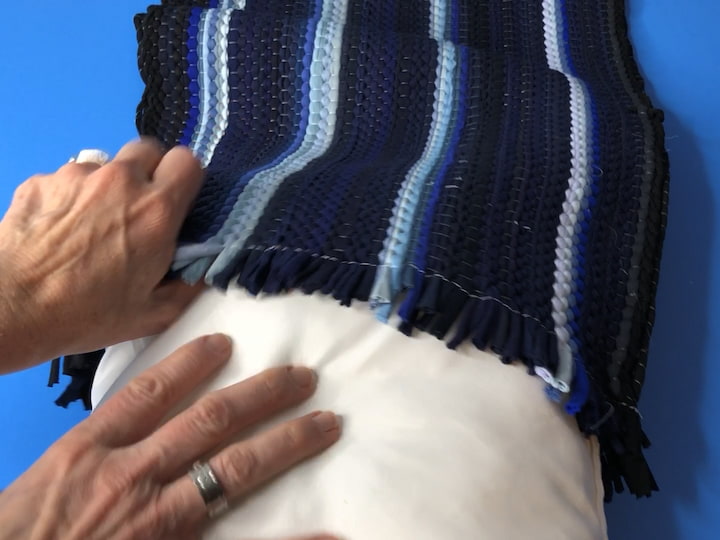
I purchased a 12 by 16 pillow insert from Walmart and stuffed it inside the pillowcase. Leaving one side open allows me to easily remove the pillow and wash the pillowcase. Alternatively, you can seal the final side or use self-adhesive velcro for closure.
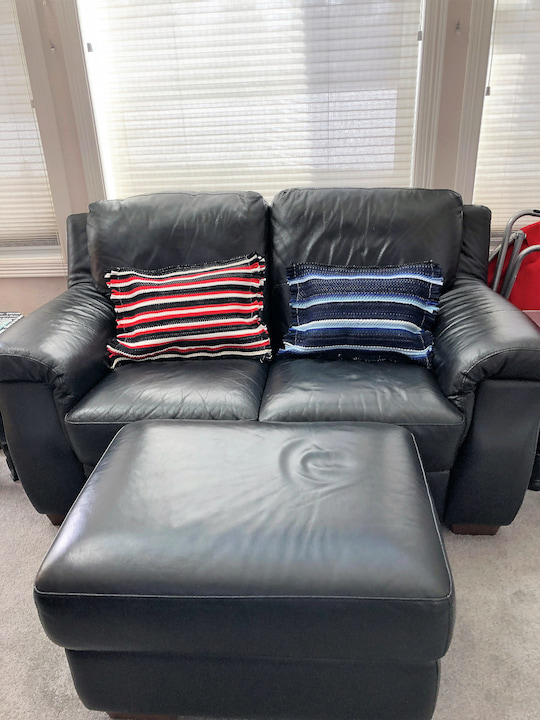
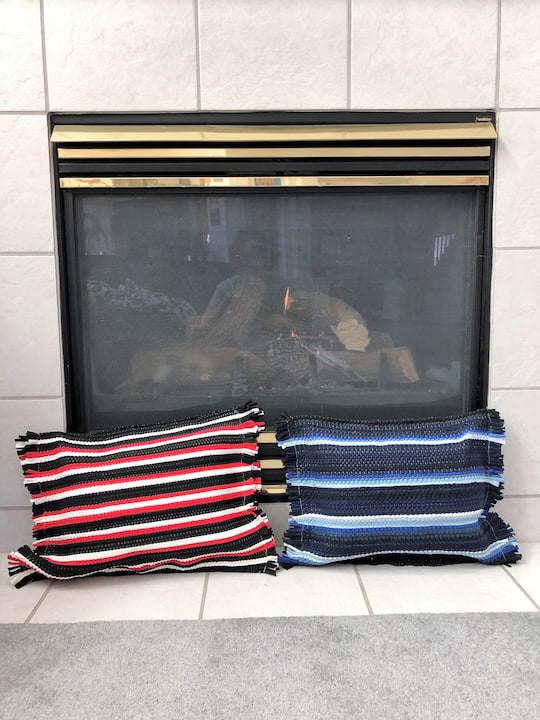
These rug pillows are not only great for home decor but also perfect for kids to use while reading or watching TV. Let’s move on to the next DIY project!
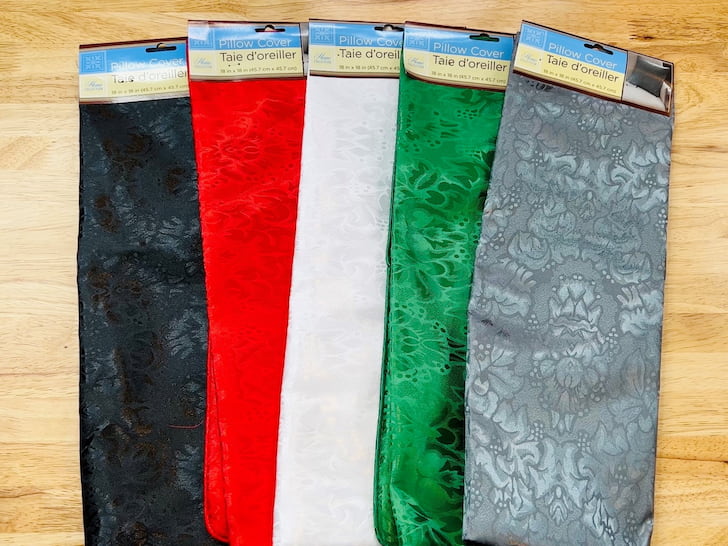
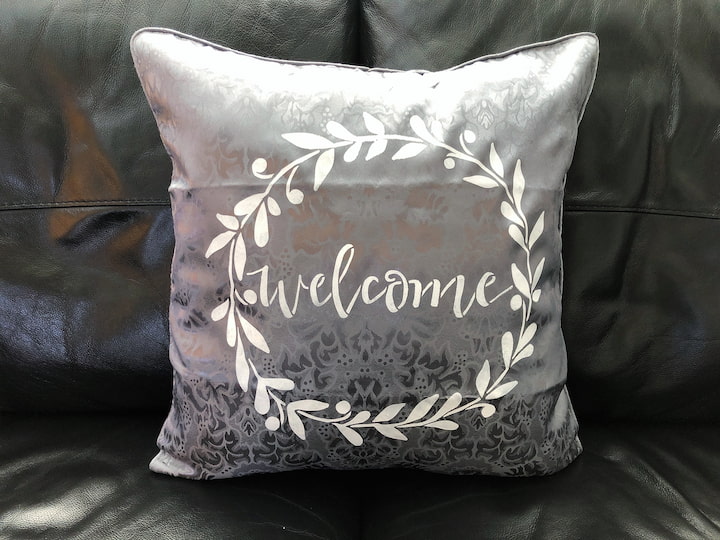
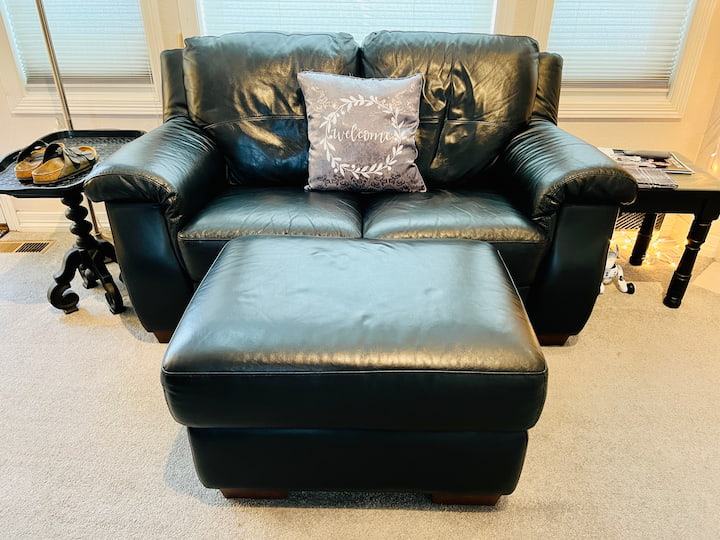
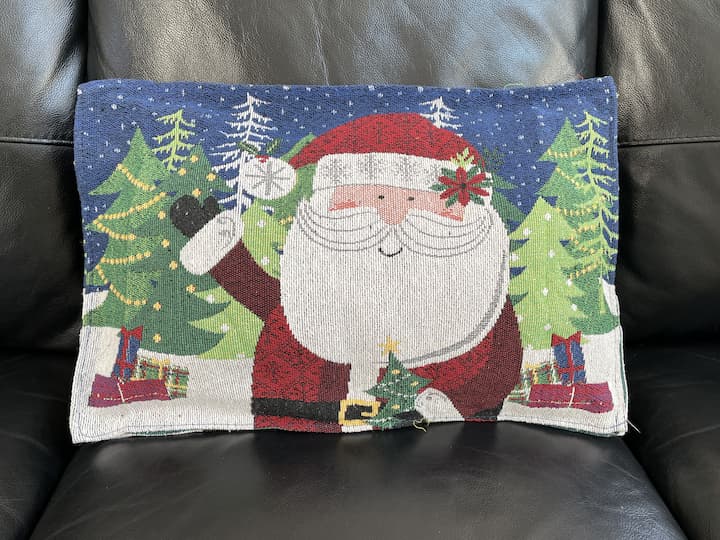
Stenciled Pillow Covers
For this project, I’m using pillow covers I found at the Dollar Tree and a variety of folk art stencils. Start by placing a piece of wax paper inside the pillowcase to prevent paint from bleeding through.
- Folk Art Home Decor Chalk Paint
- Folk Art Stencils
- Stencil Brush
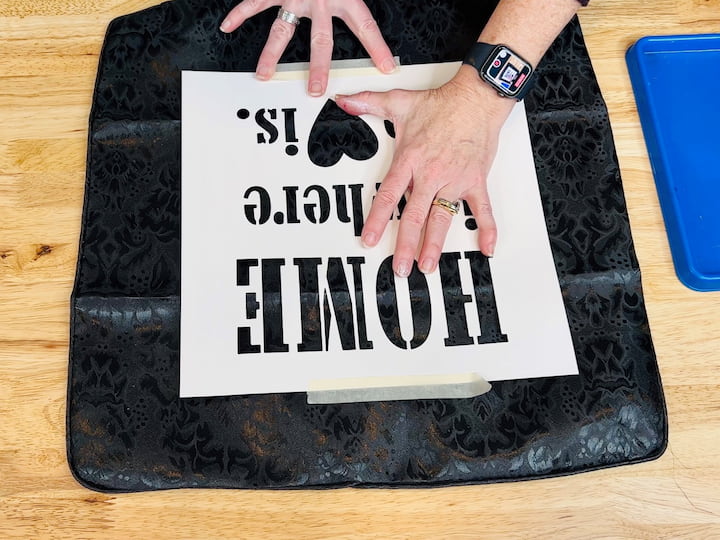
Secure the stencil in place using stencil tape on all four sides for stability. Now it’s time to add color! I’m using folk art home decor chalk paint, but you can use any fabric or acrylic paint. Remember to spot test to ensure opacity and prevent thin or messy results.
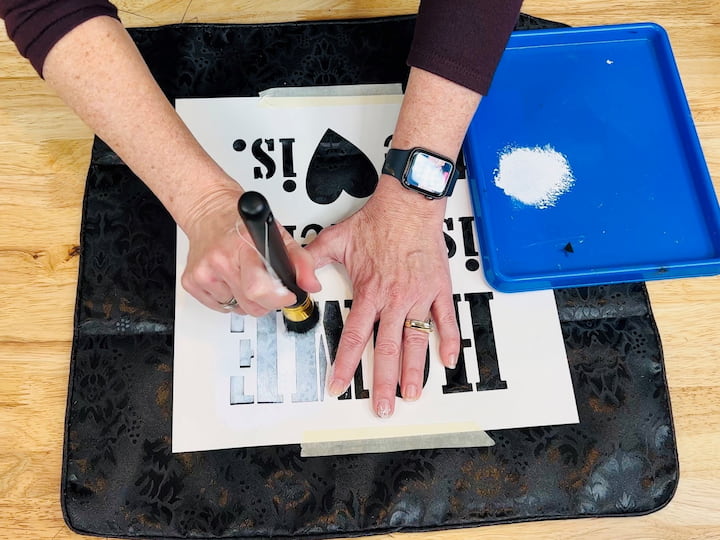
Load your brush with paint and offload as much as possible to avoid bleeding. Pounce the paintbrush up and down onto the stencil, ensuring it doesn’t move sideways or underneath. Repeat this process, dipping the brush in paint and offloading, until the entire stencil is covered.
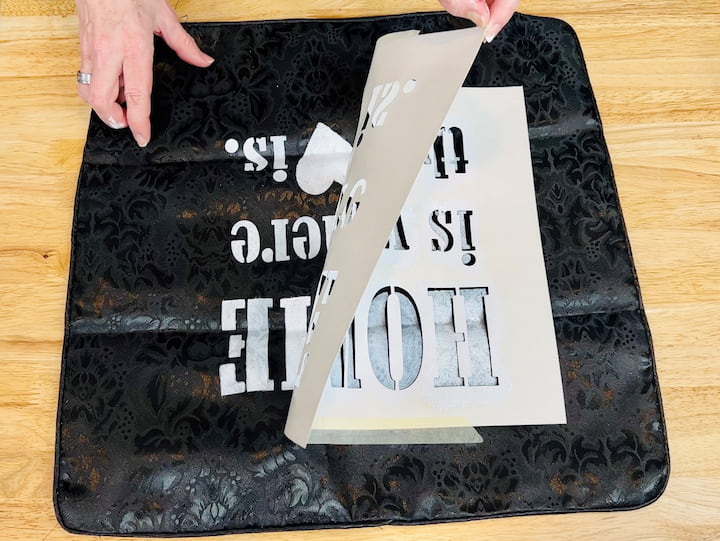
Once you finish stenciling, remove the stencil right away while the paint is still wet to prevent it from sticking or peeling.
Let the paint dry completely before removing the wax paper and inserting the pillow.
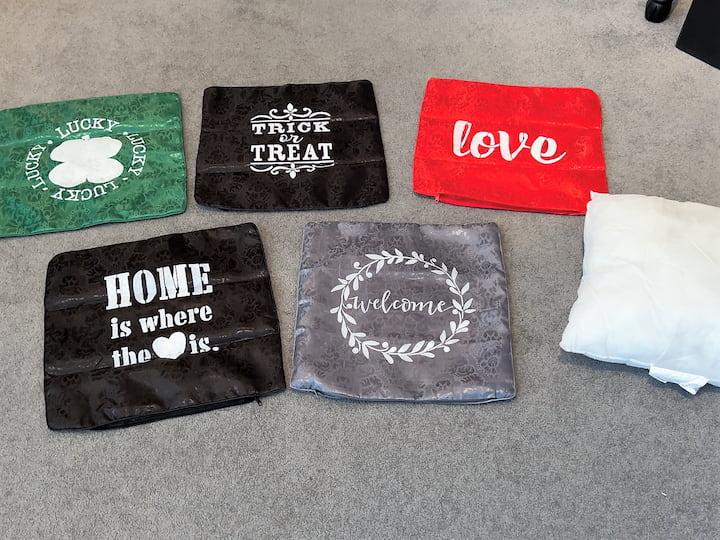
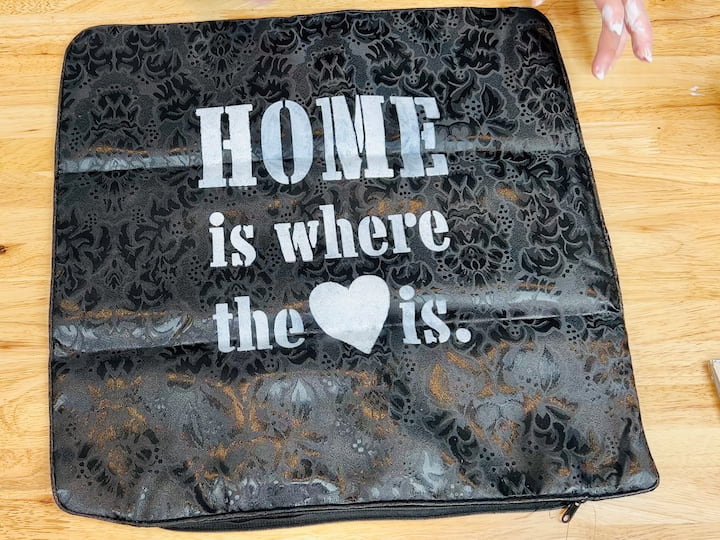
You can create a variety of pillowcases using different stencils and colors. Remember to place wax paper inside, secure the stencil with stencil tape, and paint away. These pillowcases are not only great for seasonal home decor but also for year-round use. They can be easily stored by folding them flat, saving space, and allowing you to use the same pillow for different seasons.
As a bonus tip, you can reuse pillowcases by stenciling the other side with a different design, effectively covering two seasons with one pillow. It’s a cost-effective and versatile way to decorate your home.
More Pillow Crafts
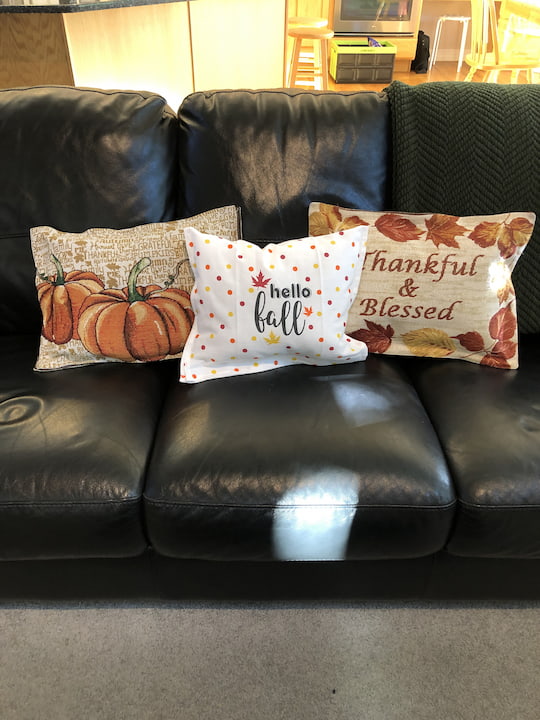
Placemat Pillow Crafts
I was on one of my trips to the dollar store when I found some super cute placemats. Inspiration struck – easy no sew fall pillows! You can find the full tutorial for these at Easy No Sew Pillows
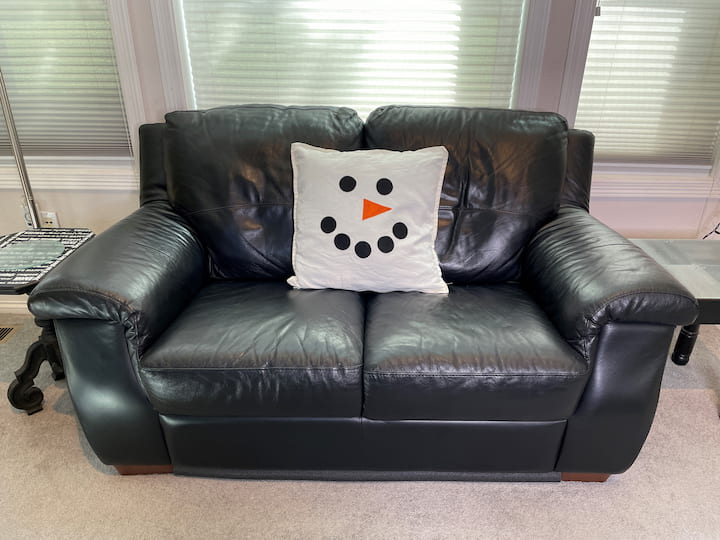
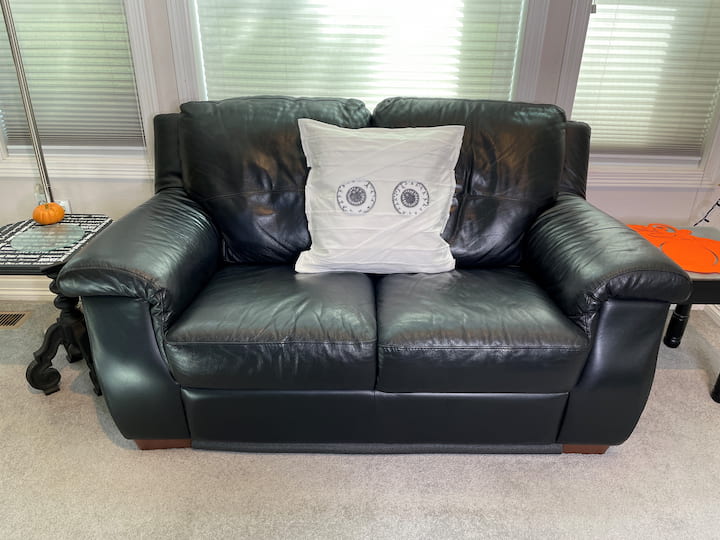
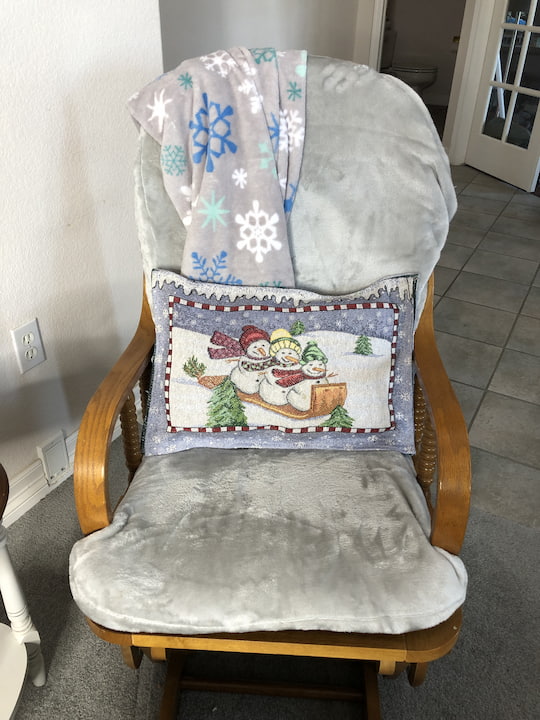
Reversible Pillow Crafts
Today I am going to show you a great way to make a simple Halloween decoration that can be used for more than just one holiday. created an inexpensive, cute mummy on one side of a pillow cover and a snowman on the other side. It’s the perfect way to change your decor for the season at no extra cost and it packs away easily too! You can find the full tutorial at Easy and Cute Mummy and Snowman Reversible Pillow Cover
DIY Sweater Pillows
How do you make homemade pillow covers? My husband wasn’t ready to part with this sweater but knew he wouldn’t wear it anymore. I turned it into a no sew DIY pillow covers for our home. I also made a second tutorial that includes 5 things you can make from 1 thrift store sweater that includes a pillow craft as well.

Shower Curtain Outdoor Pillow
I’m so excited to share with you my repurposed shower curtain & jeans into no sew outdoor pillows with a journal and pen pockets! This easy upcycled project is perfect for any age and makes a great gift idea! You can find the full tutorial at No Sew Outdoor Pillows With Journal/Pen Pockets
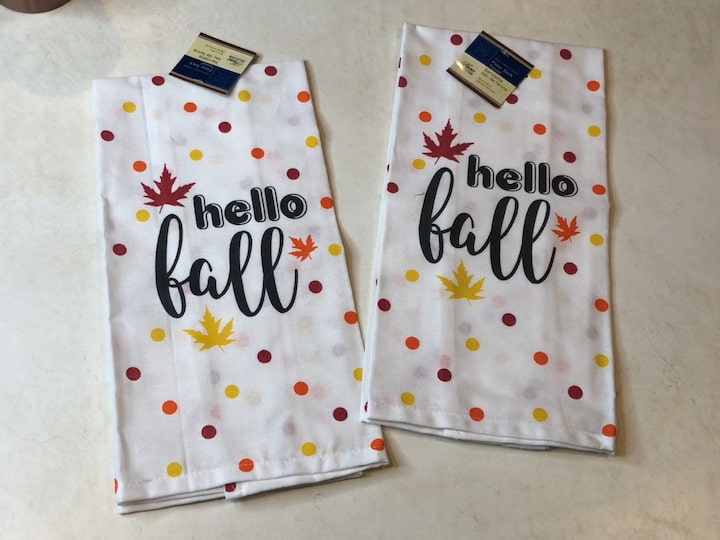
Dish Towel Pillow
For this first project, I found some super cute dish towels at Dollar Tree. I opened up the first dish towel and I thought I would need two dish towels for this project but I was pleasantly surprised that I would only need one. You can find the full tutorial for this DIY Pillow that can be sew or no sew at Easy and Cheap DIY Fall Decor on a Budget with Video
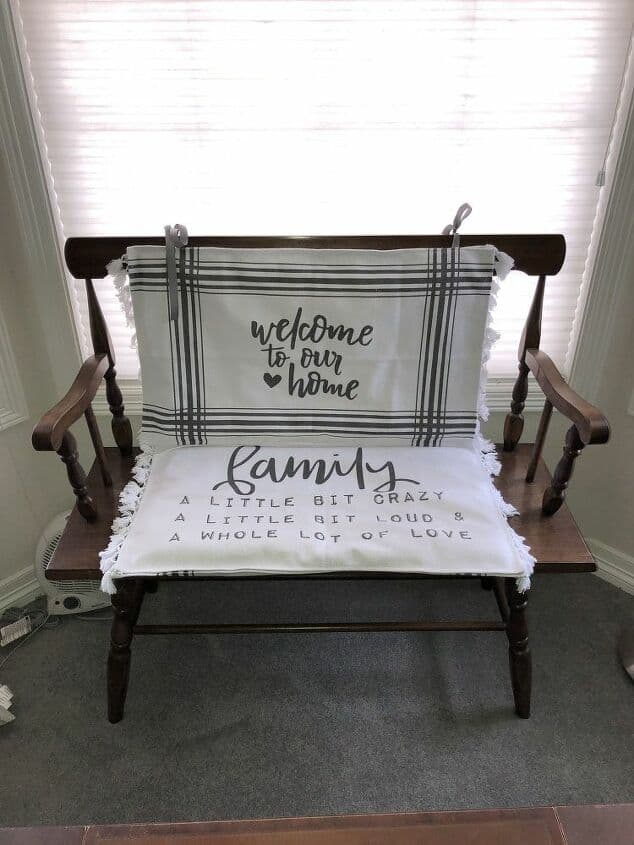
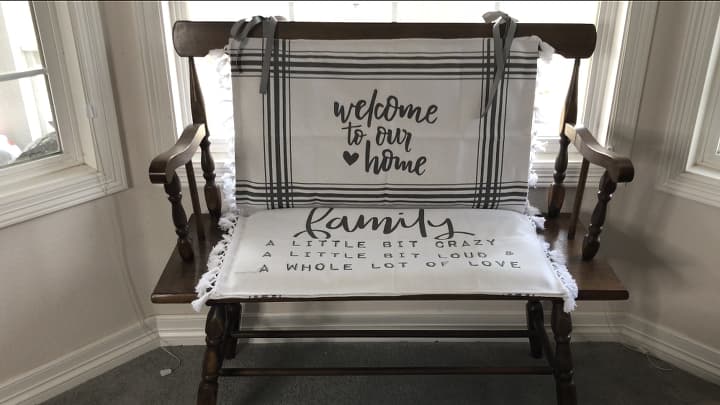
Rug Pillow Cushions
Are you looking for some DIY chair cushions? I have this old farmhouse bench I love but it’s a little hard to sit on. Using rugs from the Target Dollar Spot, I was able to turn them into pillows or cushions. You can find the full tutorial at Easy DIY Chair Cushions Sew and No Sew Options with video
Pillow Crafts Tips
- Pillow Sewing for Kids: Pillow sewing is a fantastic craft for kids to explore their creativity and learn basic sewing skills. With a sewing machine or even just a needle and thread, kids can design and sew their own little pillows. It’s a beginner-friendly project that allows them to choose their favorite fabrics, add buttons or pom-poms for extra flair, and create unique pillow designs. This hands-on DIY craft is not only fun but also a great way to foster their artistic and sewing skills.
- Step-by-Step Instructions: If you’re new to pillow crafts or sewing in general, don’t worry! Many tutorials and online resources provide easy-to-follow instructions for pillow sewing. You’ll find detailed guides with clear visuals that walk you through each step of the process, from cutting fabric to stitching and inserting the pillow insert or cushion. With a little practice, you’ll be crafting beautiful pillows in no time.
- Pillow Covers and Zipper Tricks: Pillow covers are a versatile option for changing up your home decor without having to sew new pillows from scratch. By using zipper closures on your pillow covers, you can easily swap out different designs or wash the covers when needed. Sewing zippers may seem intimidating at first, but with practice and some helpful tutorials, you’ll discover that it’s an easy peasy technique to master.
- Exploring Various Pillow Designs: Pillow crafts offer endless possibilities for creative expression. From round pillows to rectangular cushion shapes, you can experiment with different sizes and styles to suit your preferences. Try making decorative pillows with stencils, using fabric paints to add your own designs, or sewing fun shapes like donuts or unicorns. Let your imagination run wild and add a splash of color and personality to any room.
- Choosing the Right Fabric: When it comes to pillow crafts, the choice of fabric is crucial. Consider factors like comfort, durability, and the overall aesthetic you want to achieve. Cotton fabrics are popular choices for their softness and breathability, while velvet fabrics can bring a touch of luxury to your living room or bedroom. Don’t forget to visit local craft stores or browse online for a wide range of fabric options that suit your project.
- Pillow Inserts and Fluffing Tips: To give your pillows that plush and cozy feel, invest in high-quality pillow inserts. They provide the right amount of fluffiness and support for your crafted pillow covers. Additionally, consider using techniques like quilting or adding tassels or pom-poms to enhance the overall look and feel of your pillows. These small details can make a big difference in transforming a simple pillow into a beautiful statement piece.
Pillow Crafts Video
Shop any of these stores and I receive a small commission at no cost to you.
 – 18 x 18 Inches Down Alternative Pillows for Bed, Sofa, and Couch - Fluffy Decorative Stuffer Pillow for Indoors & Outdoors") Utopia Bedding Throw Pillow…Shop on Amazon
Utopia Bedding Throw Pillow…Shop on Amazon Phantoscope Premium Outdoor…Shop on Amazon
") Trendy Home 12×20 Throw Pil…Shop on Amazon
Trendy Home 12×20 Throw Pil…Shop on Amazon") Sioloc Flower Pillow,Shaped…Shop on Amazon
Sioloc Flower Pillow,Shaped…Shop on Amazon") Sioloc Soft Knot Ball Pillo…Shop on Amazon
Sioloc Soft Knot Ball Pillo…Shop on Amazon Teieas Round Throw Pillow V…Shop on Amazon
 DEMDACO Giving Collection P…Shop on Amazon
 Custom Love, Couple Photo P…Shop on Amazon
Q&A Section
How do you make pillows without sewing?
Making pillows without sewing is possible using alternative methods such as fabric glue, fusible bonding tape, or knotting techniques. Here’s a simple method to make a no-sew pillow:
Materials:
- Fabric of your choice
- Fabric glue or fusible bonding tape
- Scissors
- Pillow stuffing or an old pillow to repurpose
Instructions:
- Measure and cut two equal-sized fabric squares or rectangles according to your desired pillow dimensions. Leave a little extra fabric for seam allowance if needed.
- Lay one fabric piece flat on a work surface with the pattern or desired side facing down.
- Apply fabric glue along three edges of the fabric square, leaving one edge open for stuffing.
- If using fusible bonding tape, place it along the same three edges, leaving one edge open.
- Take the second fabric piece and press it firmly onto the glued or taped edges of the first fabric piece. Ensure that the edges align properly.
- If using fabric glue, allow it to dry as per the manufacturer’s instructions. If using fusible bonding tape, follow the instructions to bond the two fabric pieces together using a hot iron.
- Once the glue or tape has dried and the fabric pieces are securely bonded, you will have a three-sided fabric pocket.
- Stuff the pocket with pillow stuffing or repurpose an old pillow by cutting it open and using the filling.
- Once the pocket is adequately filled, apply fabric glue or use the fusible bonding tape to seal the open edge. Allow it to dry or bond according to the instructions.
- Once the glue is fully dried or the bonding tape has adhered, your no-sew pillow is ready to use!
Remember, while no-sew pillows can be a quick and convenient option, they may not be as durable as sewn pillows. It’s always a good idea to reinforce the seams periodically with fabric glue or tape to ensure the pillow holds up well over time.
What can I stuff in my pillow DIY?
When it comes to stuffing your DIY pillow, there are various materials you can use, depending on the desired look, comfort level, and purpose of the pillow. Here are some common options for pillow stuffing:
- Polyester Fiberfill: Polyester fiberfill is a popular choice for pillow stuffing. It’s lightweight, hypoallergenic, and provides a soft and fluffy texture. This material is widely available and can be easily manipulated to achieve the desired level of firmness.
- Down and Feather: Down and feather stuffing, typically sourced from ducks or geese, offers a luxurious and plush feel. It provides excellent insulation and tends to be more moldable and supportive than synthetic options. However, it’s important to consider ethical sourcing and opt for responsibly obtained down and feather products.
- Memory Foam: Memory foam is known for its contouring and pressure-relieving properties. It conforms to the shape of your head and neck, providing personalized support. Memory foam pillows are especially popular for orthopedic or therapeutic purposes, promoting proper spinal alignment and relieving neck pain.
- Shredded Foam: Shredded foam is a versatile option that combines the moldability of memory foam with a lighter and fluffier feel. It can be used to create pillows with adjustable loft and firmness. Shredded foam can be repurposed from old cushions or purchased in pre-shredded form.
- Fabric Scraps or Old Clothing: If you’re looking for an eco-friendly and cost-effective option, consider using fabric scraps or repurposing old clothing as pillow stuffing. Cut the fabric into small pieces or strips, and stuff them tightly into your pillow cover. This option works well for decorative pillows or those with a more rustic or textured look.
- Buckwheat Hulls: Buckwheat hulls are natural pillow fillings that provide excellent support and breathability. They conform to the shape of your head and neck while allowing air to circulate, keeping you cool throughout the night. Buckwheat pillows are known for their durability and can be adjusted by adding or removing hulls to achieve the desired firmness.
- Wool: Wool is a natural and sustainable pillow stuffing option that offers moisture-wicking and temperature-regulating properties. It provides a resilient and springy feel, offering both support and comfort. Wool stuffing is ideal for those looking for an eco-friendly and chemical-free option.
Remember to choose a stuffing material that suits your preferences in terms of softness, support, and environmental impact. Consider the purpose of the pillow and whether it will be used for decoration, sleeping, or seating, as this will also influence the ideal stuffing choice.

I hope these pillow crafts inspire you to create your own unique designs and explore the world of fabric stenciling. Don’t forget to subscribe to my YouTube channel and blog for more creative ideas. Thanks for watching, and remember to like, share, and subscribe!


cute Chas
Thank you Faith