
Hot Glue & Fabric Paint Snowflakes plus Bonus Window Wax Stencil
It snow here this weekend, and I’m not a huge fan of snow but I did get inspired. I’m sharing 3 different ways to make snowflakes for your windows using hot glue or fabric paint. The great thing about these is that you can leave them up for a season to enjoy.
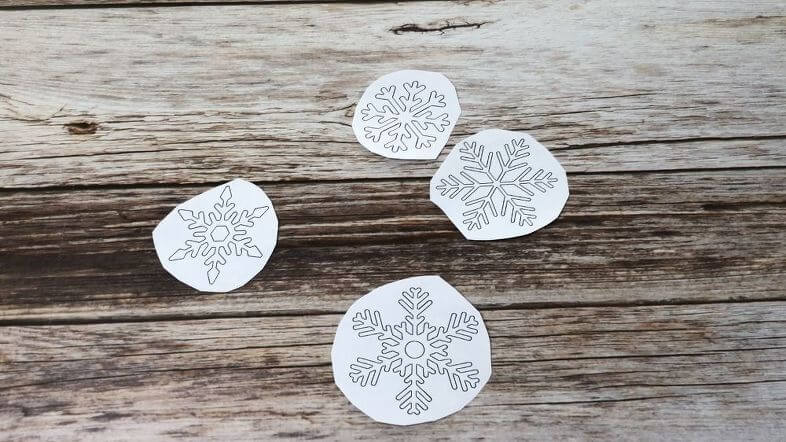
For each of these snowflakes, print out some snowflake shapes that you like and cut them out.
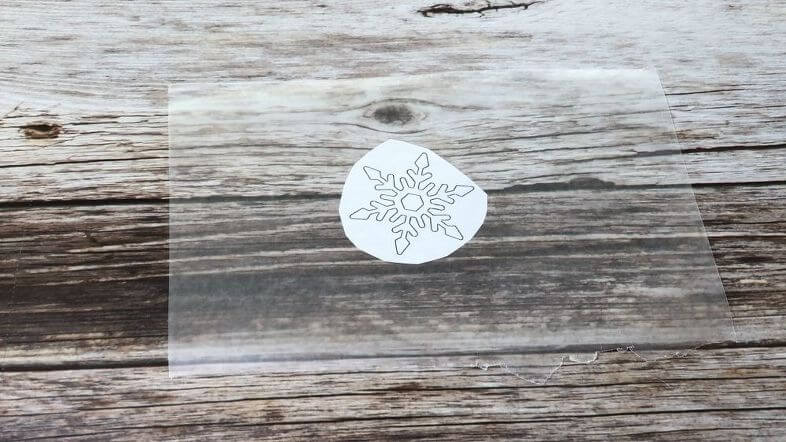

Place your snowflake under a piece of wax paper.

Window Cling –
Use glittery fabric paint and squeeze out onto the wax paper tracing the snowflake underneath. Let it dry for 24 hours.

Carefully peel it off the wax paper and you have a window cling.
Glitter Hot Glue Snowflake –
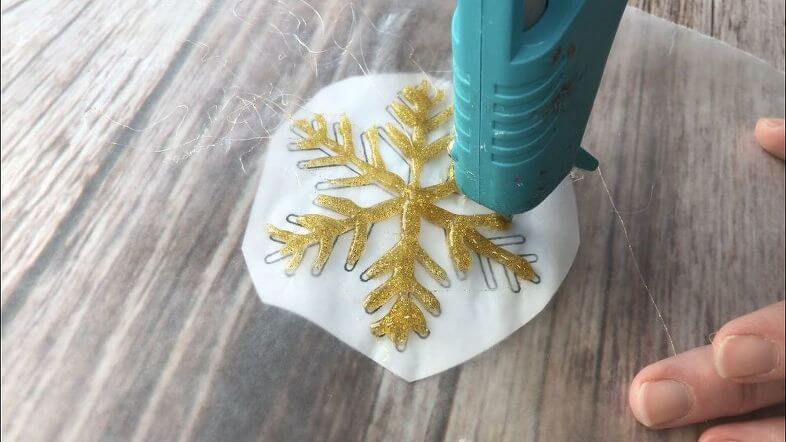
You’ll want to coat the wax paper with either non-stick cooking spray, or lightly rub a little dish soap into the wax paper so the glue won’t stick to the paper. I preferred the dish soap.
I bought glitter glue sticks from Dollar Tree. I squeezed it out onto the wax paper tracing the snowflake design. Let cool completely, peel off, and wash the cooking spray or dish soap off the snowflake.
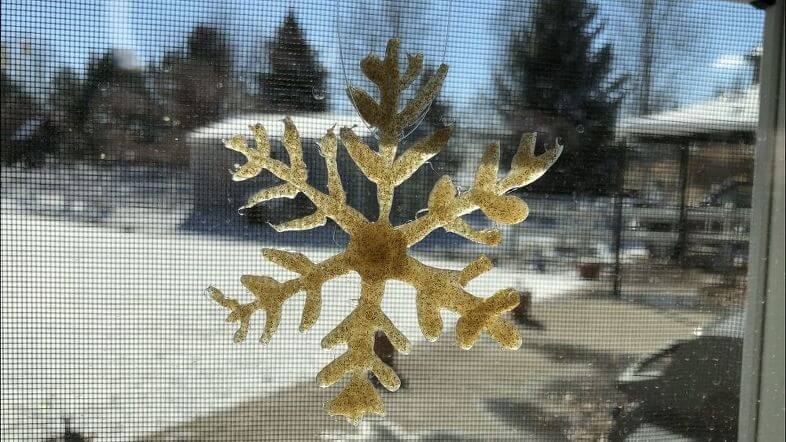
Tie on a piece of fishing line and your snowflake is ready to be hung.
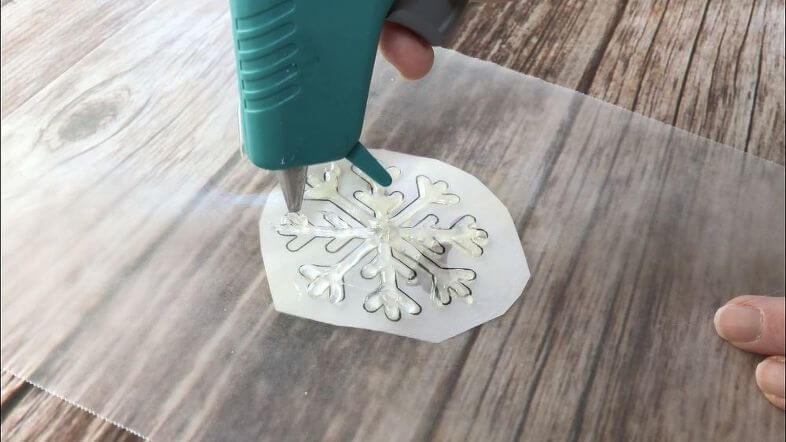
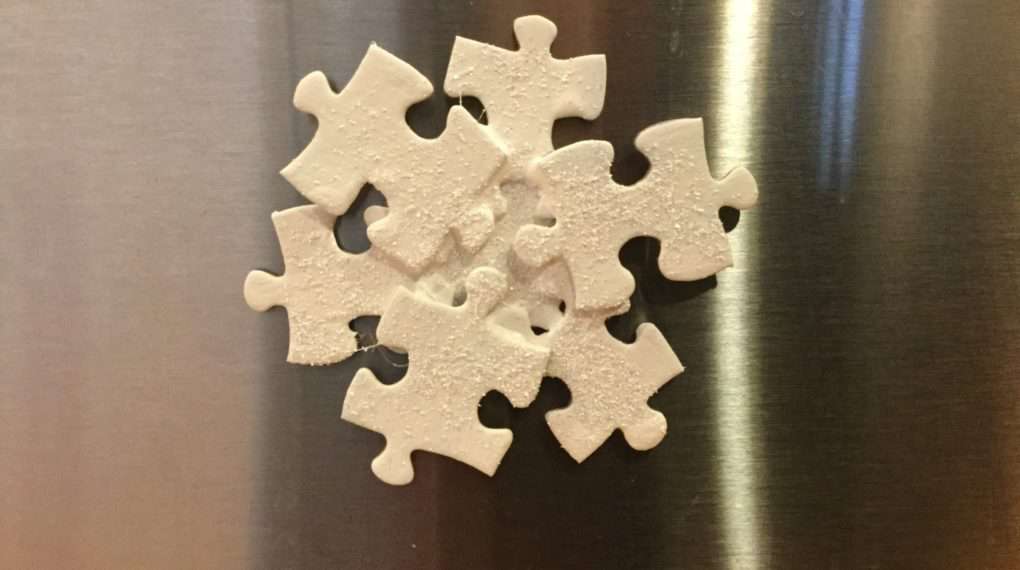
Regular Hot Glue Snowflake – spruced up
Again – coat your wax paper as instructed above. Squeeze your hot glue onto the wax paper tracing the design of the snowflake. Let it cool completely.
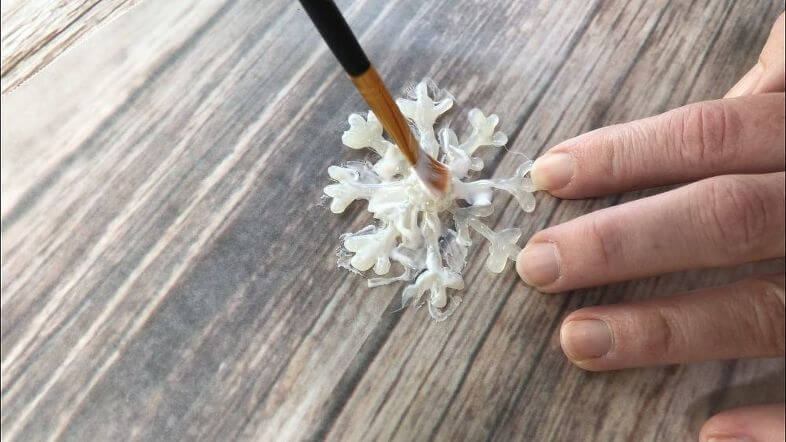
Paint on some Mod Podge onto the hot glue snowflake.
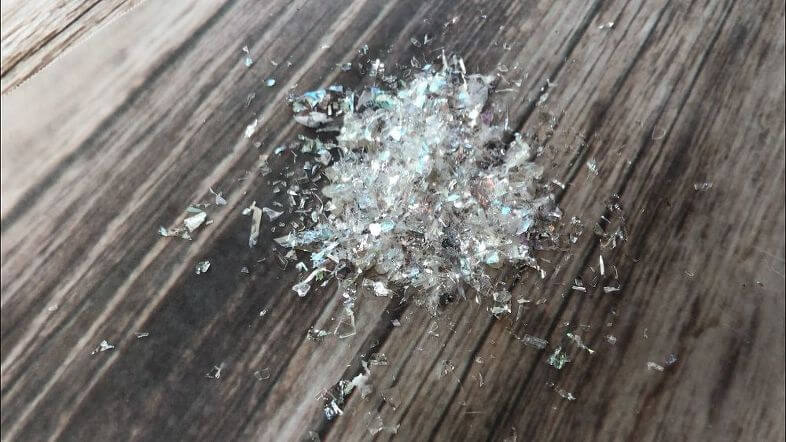
Sprinkle with glitter or I used fake snow on mine. Let it dry completely.
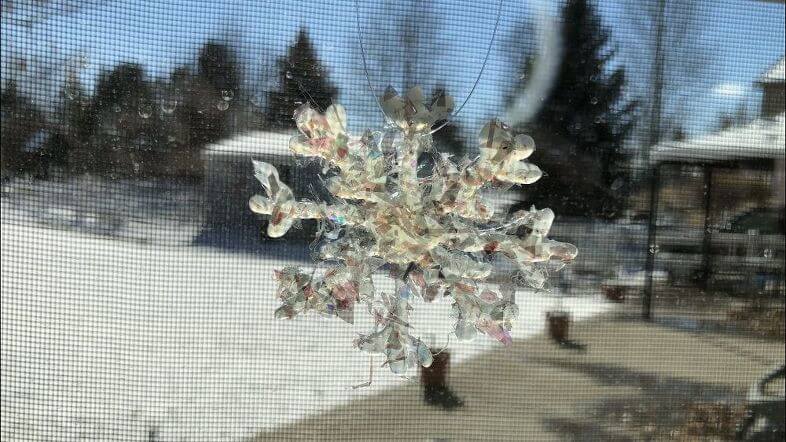
Tie on some fishing line and your snowflake is ready to be hung up.
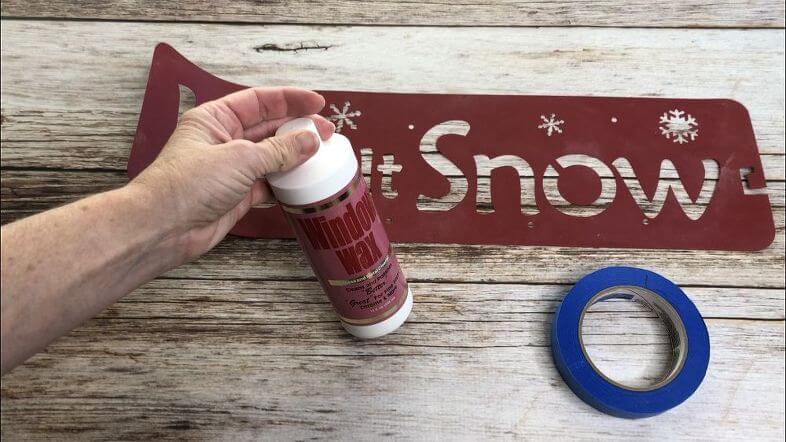
Bonus – stenciling on your windows with Window Wax
You’ll need a stencil, painters tape, Window Wax, and a paint brush.
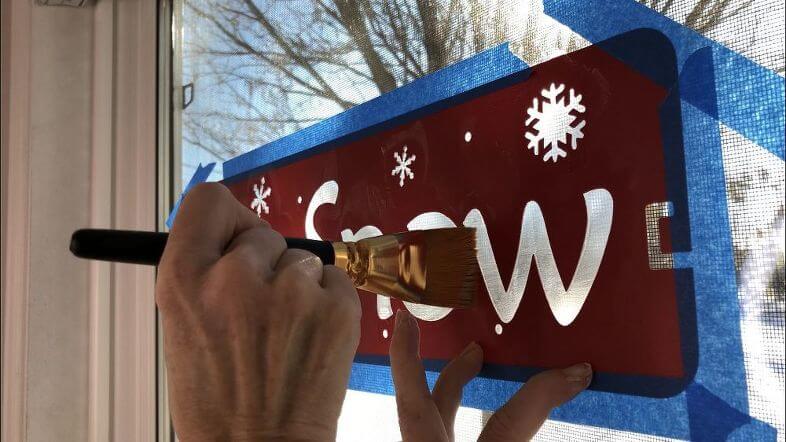
Use the painters tape to hold your stencil onto your window. Brush the Window Wax onto your stencil, and when you’re done carefully remove the stencil.
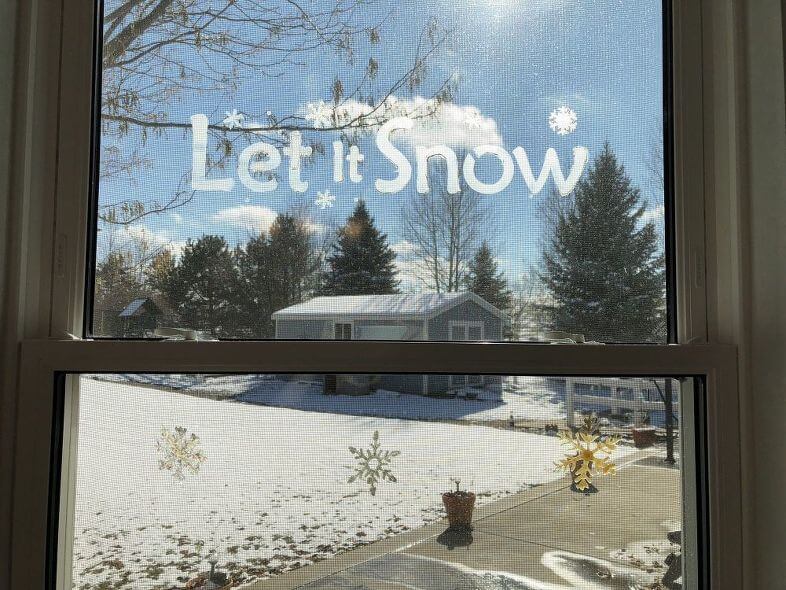
The best part about this is that it’s meant to clean your window! So when you’re ready to take it down, paint on more Window Wax, and then just wipe it off.
You may enjoy my other snowflake posts: Creative DIY Snowflakes: Step-by-Step Tutorials with Video
Subscribe to my blog
and get my crazy creations delivered straight to you inbox.
Never miss a project, update, or latest news!
&
I’d love for you to visit my YouTube Channel and subscribe
Chas’ Crazy Creations YouTube
Shop on Amazon  Tulip Puff Paint Glitter Co…Shop on Amazon Shop on Amazon
  Gel-Gloss No Streak Glass W…Shop on Amazon
You can see my video with Hometalk here!

Check out some of my similar posts!


Where do you find Glass Wax? What brand did you use? Do you have an Amazon link for it?
I used this brand on Amazon – https://www.amazon.com/Window-Wax-Glass-Metal-Cleaner/dp/B00CUKW1KA/ref=as_sl_pc_as_ss_li_til?tag=hasrazyreatio-20&linkCode=w00&linkId=aedf917f1adbee4e969ede85618fd4bd&creativeASIN=B00CUKW1KA#HLCXComparisonWidget_feature_div From what I can tell it looks like it has changed to this brand now … https://amzn.to/2RmuA9i
Very fun project to do with the kids! Visiting from Wall to Wall party.
Thank you so much Victoria, big fan of your work 🙂 Love doing things with the kiddos.
This looks like a fun holiday activity, I love how you test out all the different methods for us!
Thank you so much Julie, and I’m so glad you like my testing. Thanks for stopping by.
This would be a fun project to do with the grandkids. Found you on Simple Homestead Blog Hop.
Thank you Candy and Happy Thanksgiving!