Super Easy Dollar Tree DIY Organization with Video
Are you looking for Dollar Tree DIY Organization? I’m always looking to organize on a budget and here are some super easy tips.
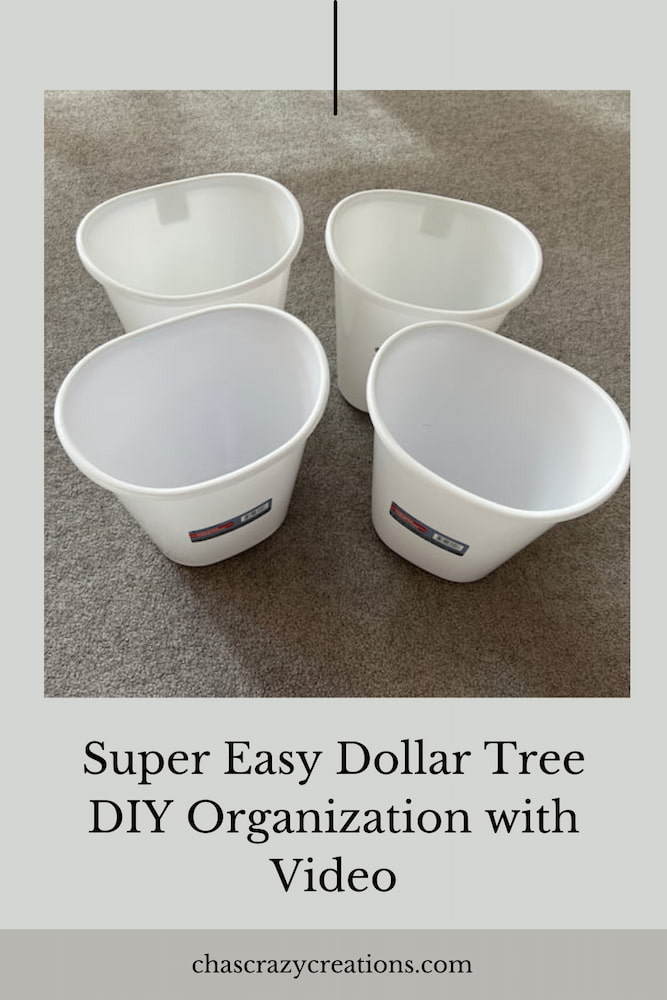
In this tutorial, you won’t need shelves, and if your lacking in closet space this post is for you! We’ll be covering storage ideas when you don’t have a ton of space. We will be turning a Dollar Tree trashcan into a storage bin.
Dollar Tree DIY Organization Materials
 Rubbermaid Vanity Trash Can...Shop on Amazon
 Command General Purpose Var...Shop on Amazon
 96 Chalkboard Labels for St...Shop on Amazon
Dollar Tree DIY Organization Video
Dollar Tree DIY Organization instructions
1. Remove Labels
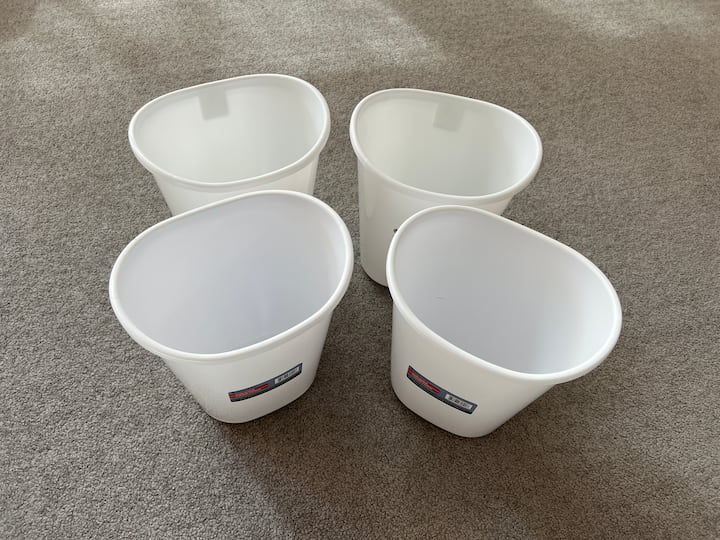
To start this project you’re going to need some trash cans from the dollar store and the amount depends upon what you’ll be putting in them. You’ll want to take the tag off and you could leave it on but they come out pretty easy and then its nice and clear.
2. Add a chalkboard Sticker and Label
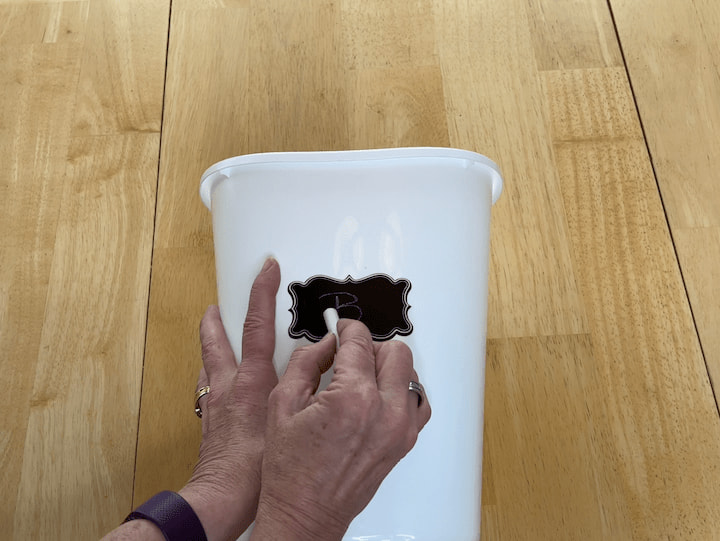
Now you can leave them plain or you can decorate them however you like. I have placed chalkboard stickers on mine. You could use any sticker you want and my point for this is, now I can take a piece of chalk and write each person’s name on it if I want, or their initial and then it’s that easy.
Now you could use a chalkboard marker if you like instead or you could use a different sticker or just write even on the trash can itself.
3. Fill the Bin with these organization ideas
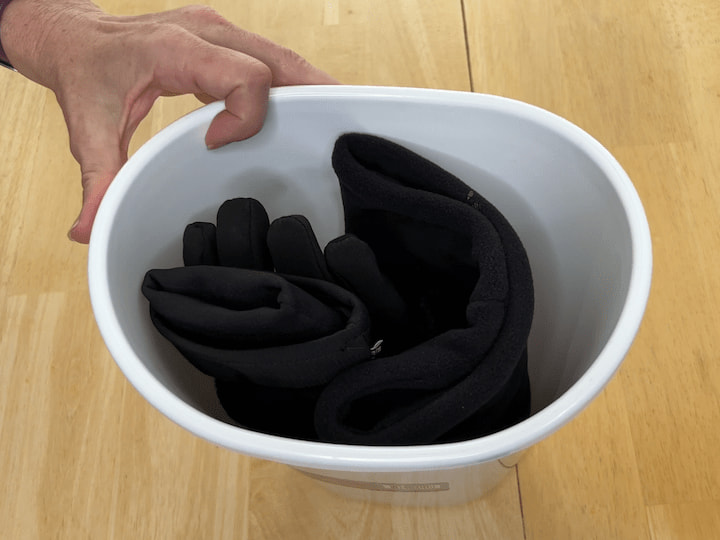
One of the things I’ve used this for our winter gear. I take our hats and our gloves and I put them together, and maybe a scarf or a gator, and then I place them into the bucket and we use this per family member for the wintertime.
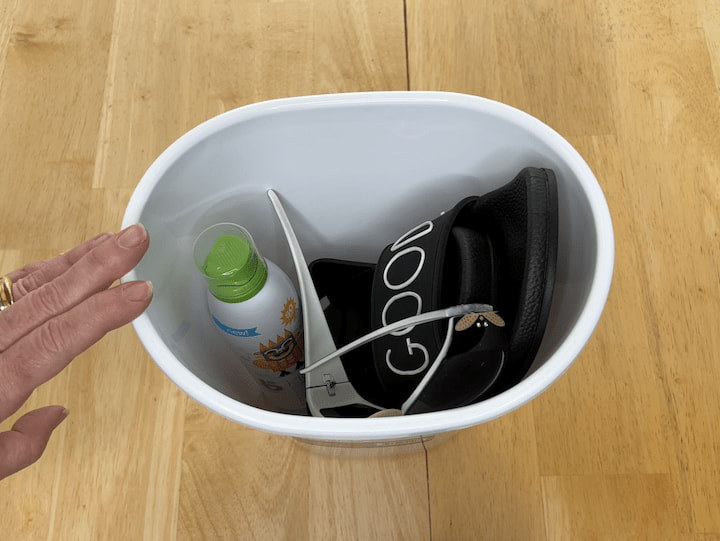
Let’s talk about some other options of what we can put in here as well, so now that Winter’s over we’re going to talk about summer as an example.
I’ve got some flip-flops I’ve got some sunglasses and I’ve got some sunscreen. Easy to grab and grow. If you have bulkier sandals you can easily tuck them into each other for some more space saving.
Let’s go ahead and bring the bucket back and then I’m going to place the shoes in the bucket. I’m also going to place the sunglasses in the bucket and you could get a sunglasses case if you prefer and then my sunscreen.
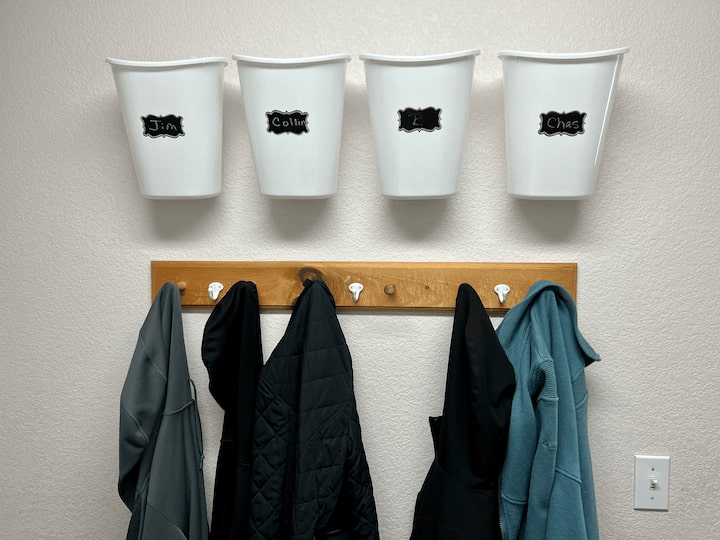
We put this by each person’s jacket and different things by the front door so when it’s time to run you grab what you need and take them out. You can also add a water bottle to this because you always want to hydrate in the summertime too. So very simple and you’ve got yourself stuff to go for each person in the family on the way out the door.
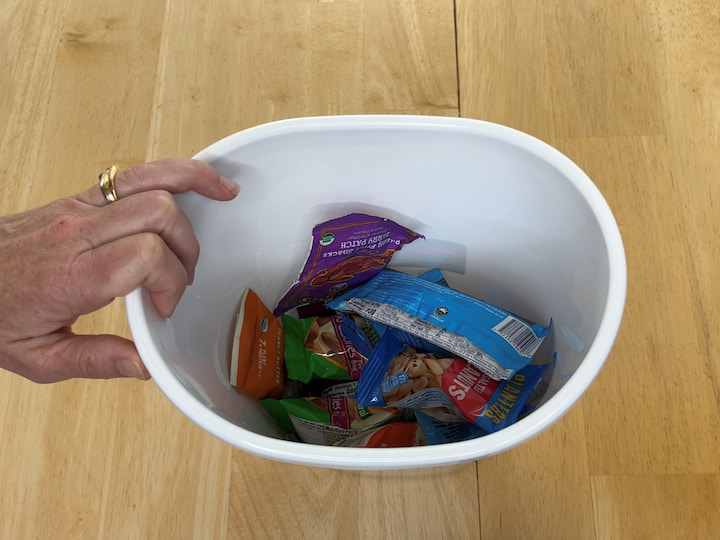
Another option of what you can do with this simple idea is to put snacks in it. Kids are coming in and hungry all the time you can separate them out per container by protein snacks and Carby snacks and fruit snacks. Next, you just get your container and place your snacks into the container for easy grab-and-go.
You can place this in your kitchen somewhere. Maybe along your cabinets or somewhere that’s easy for kids to reach on the back of a pantry door that’s easy for kids to reach in and grab. Or right by your front door or your side door to the garage, quick grab-and-go snacks are great for kids on the go all the time who are active you’ve got them ready and available to them.
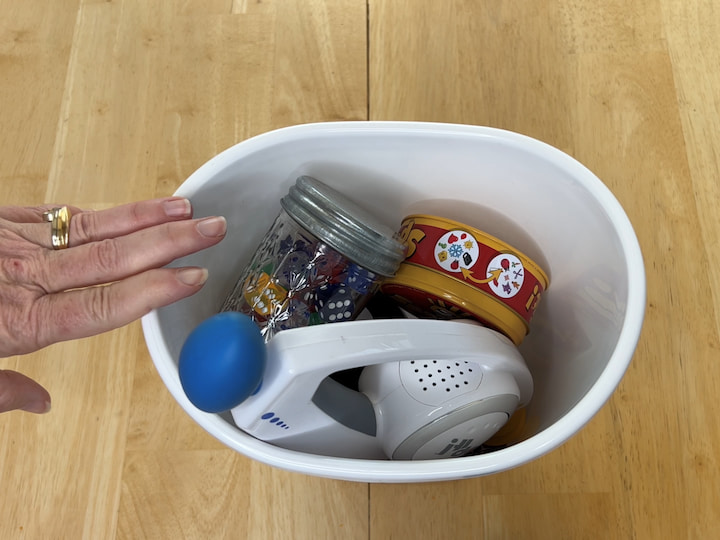
Next up we’re going to talk about games. Card games and other little handy easy take-with-you games. Things like dice to play games like addition, multiplication, or other dice games. You take these games and then you place them in the bucket. Place a variety of small and easy-to-transport games in your bin, and then once again you hang this by your front door. You’ve got games to take with you at any time.
The games are wonderful while you’re waiting anywhere so you’re waiting for your food at a restaurant, while you’re waiting for a sports game to start, or while you’re hanging out anywhere. This creates great family moments and by keeping it by the door you just pick one out to grab it to take with you.
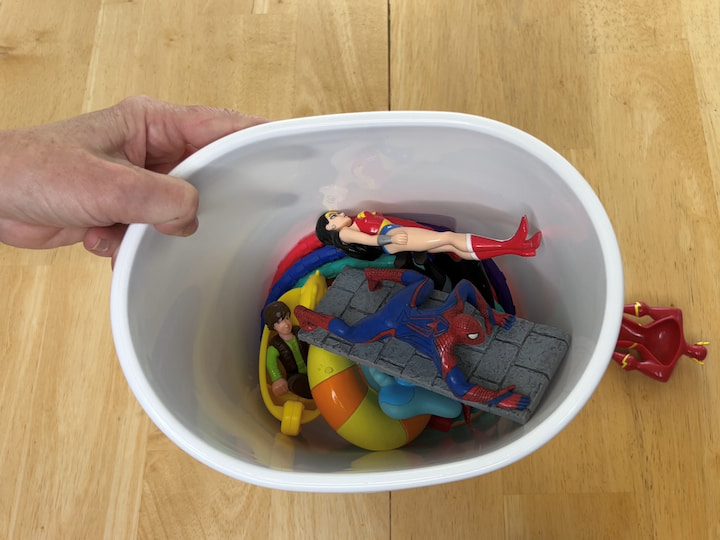
Toys are another great thing you can keep in these bins. Whether they’re inside or outside toys, these happen to be pool toys. You could categorize your Legos in a container, you could put your matchbox cars, your action figures, or anything per container to keep them together. Then hang them up for kids to play with in a toy room or their bedroom.
You can also hang these up outside so kids have easy access to these toys whenever they want just simply hang them up outside your home.
These happen to be pool toys. If I keep these by my front door or out in the garage. I’ve got my quick grab easy pool toys to go.
4. Hang the bin
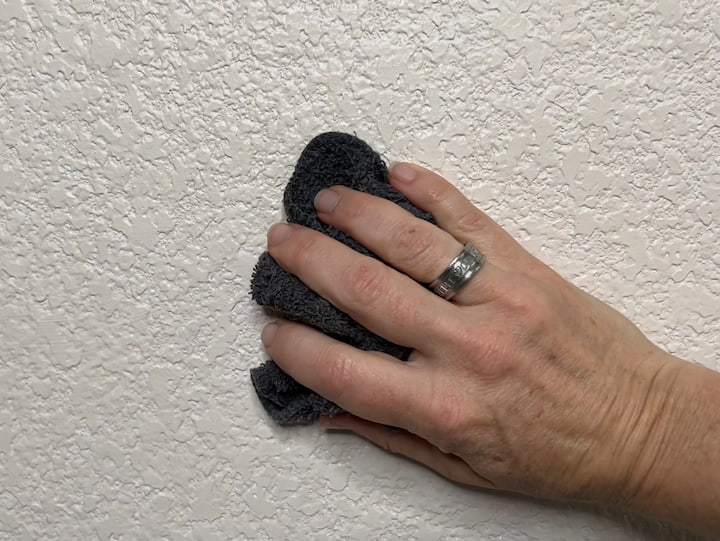
You want to do is decide where you’re going to put the bins. Get a damp rag and you’re going to wipe the surface wall down so make sure to get it good and clean.
There are all kinds of stuff stuck on our walls so this needs to dry 100 before you move on otherwise your Command hooks won’t stick.
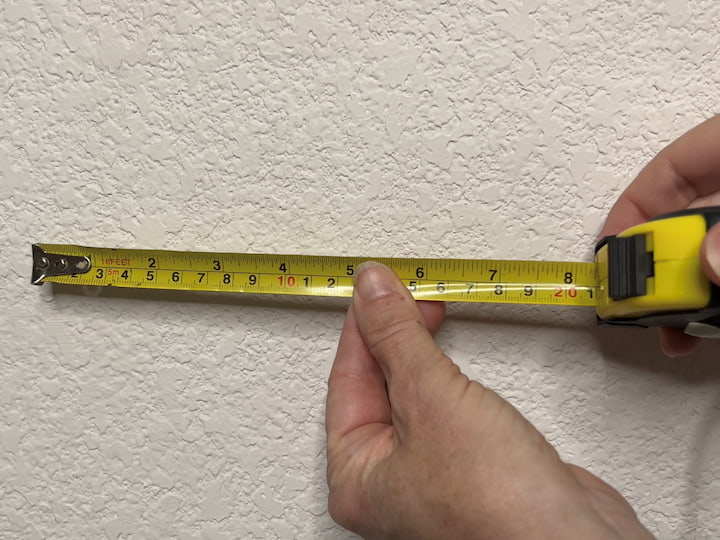
While you’re doing that you can measure the width and the height between each command hook depending on how many of these trash cans you’re hanging.
Now you can hang them horizontally or vertically it just depends on what your needs are.
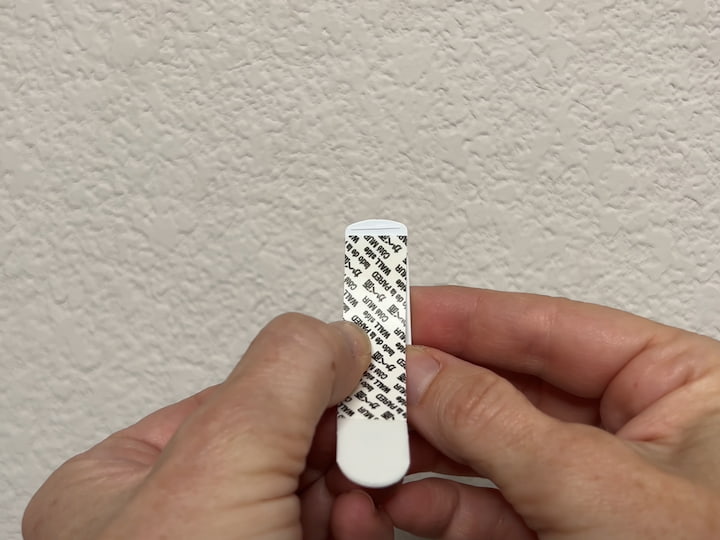
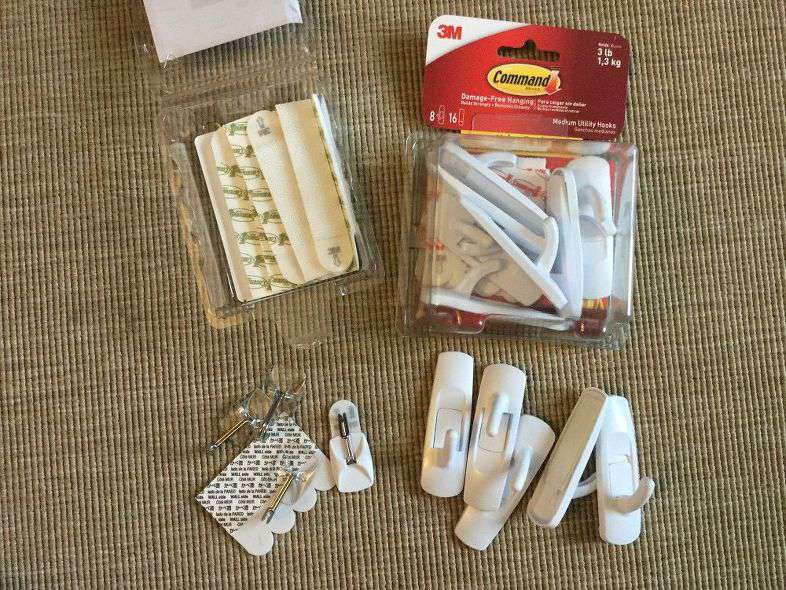
Now it’s time to talk about the command hook and it’s important to pick one that will hold the right weight for what you’re doing. Pick that out first before you leave the store or order them.
You’re going to pull the hook apart depending upon which kind it is and we’re going to focus on the back now each strip says wall side and command side. I’m going to peel off the command side first and then I’m going to go ahead and place it on the back of the strip and press firmly.
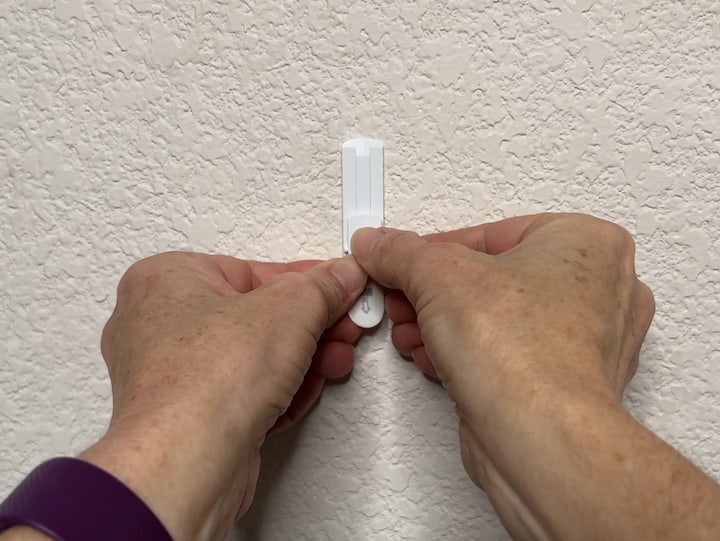
Next, I’m going to remove the wall side and place it on the wall where my mark is. I’m going to go ahead and press this firmly for 30 seconds
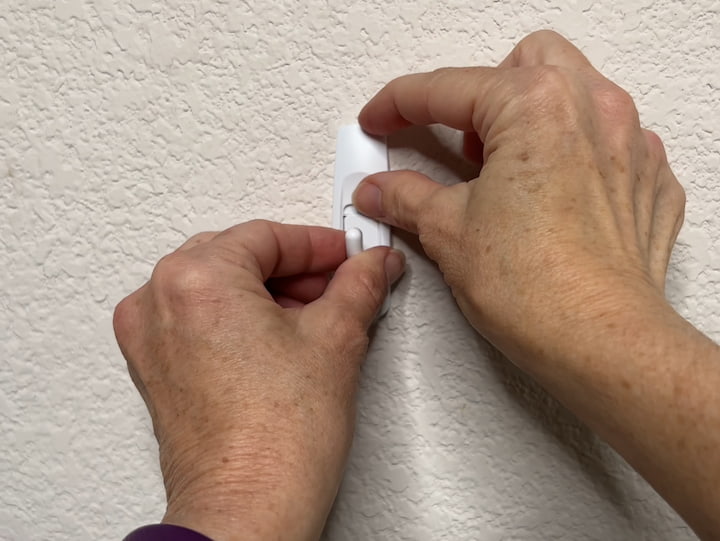
Now that it’s been 30 seconds I can hang up my hook.
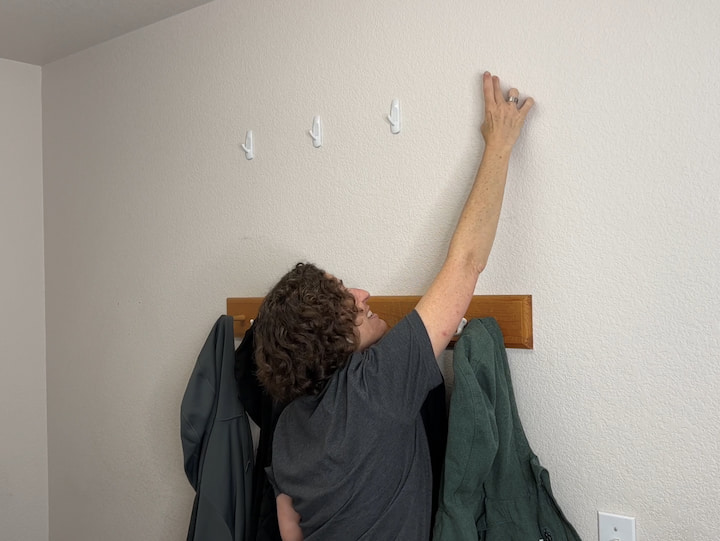
So this is our coat rack, and in the summer we transition these from winter coats to windbreakers and raincoats.
Now I’ve spaced them all out here so each person has their own space and I did not need very heavy hooks because my family doesn’t put things that are that heavy. I’m just sliding on the hooks and then we’ll be ready to put the trashcans on the hooks.
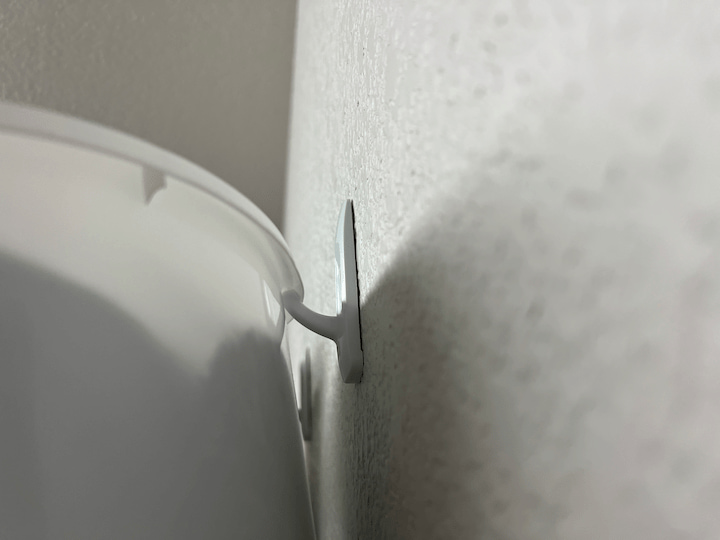
Now we’re going to focus on the hooks and for the trash cans we’re utilizing this right here this little lip to hang them up and all I do is slide that lip on the hook like so and I do that for each person and their hook.
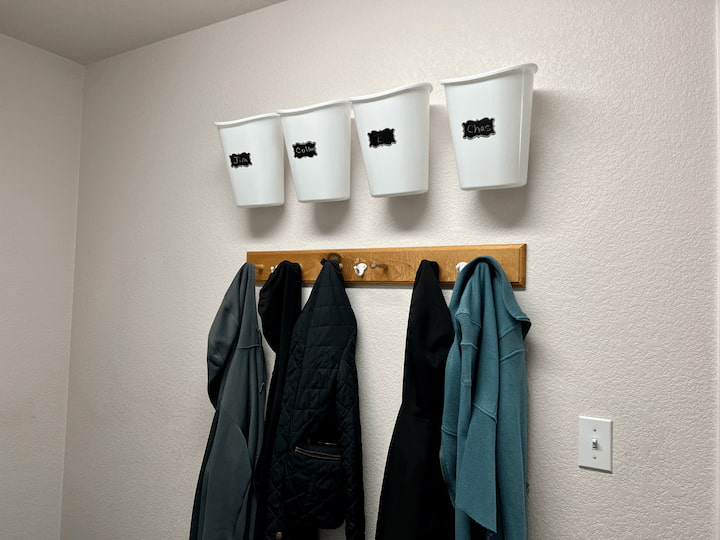
Now each person has their own space to use any time of year for any season and the right above the coats.
Depending upon what style of home you have there are a lot of options. You could go vertically as I mentioned and go with older up here. Younger down you could go underneath coats so that you have more access for younger kids.
Let’s talk about some more options as well. This is my laundry room and we could easily have put them on this side.
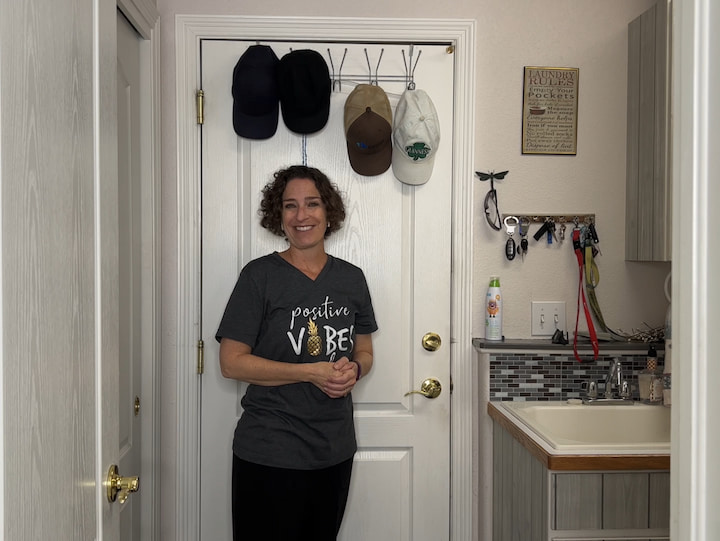
A lot of times in different areas of your home you have an underutilized wall space that could be great for a project like this. As you can see here we have an over-the-door hanging rack and we’ve used it for hats so these hats are grab and go really quickly to get out the door for summer and sun protection.
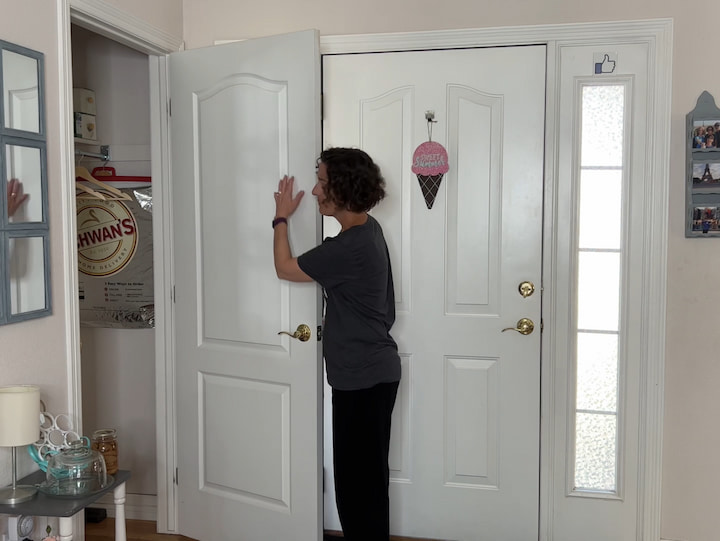
The back of the door is often very underutilized and you can often clean up the bins on the outside or inside of a door. Other options include:
- Under a coat rack for low storage
- On the side of a doorway
- Look for other empty wall spaces
Be sure to watch my video as I tour my home and show all of the under utilized space in my home.
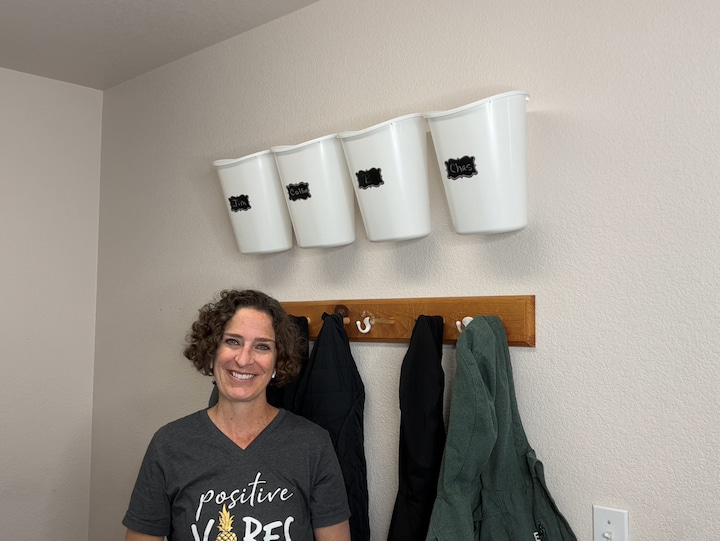
With Command hooks and because they are temporary so you can easily remove them.
This is also fantastic for kids rooms for toy storage, book storage, and so much more.
More dollar store organization ideas
- Use wire baskets to hold your towels, and you can see what I do with other dollar store bins
- Use small baskets as spice racks
- Use a trash can as a small laundry basket
- Use larger baskets to hold your spray paint
- Use smaller baskets to hold your makeup
- Use a caddy to hold your cleaning supplies
- Use glass jars to hold your seasonings
- Use a lid holder to hold lids or pans
- Organize under your kitchen sink
- Organize your pantry and pantry organization, pantry makeover
- Use baskets for fridge organization
- Hanger Hacks
- Door Shoe Organizer – 20 ways
- Use an ice cube tray as a jewelry organizer
- Use small containers in your office for pens, pencils, and more
- Use a paper towel holder for scrunchies, toilet paper, and more
- Use a magnetic strip, and the magnetic containers to make a magnetic spice rack
- Use a bin for a shower caddy
- Make homework stations with a tri-fold display board
- Check out my tutorial on bathroom drawers
- See unique ways to use Dollar Tree baskets
- Organize your scarves with Dollar Tree hangers
- Use a basket to collect bath toys
- Use a dollar store scarf hanger for bracelets, necklaces, and more
Are you ready to visit your local Dollar Tree to get started?
I hope this inspires you to create some Dollar Tree DIY organization of your own. I’d love it if you’d subscribe to my YouTube channel and my blog. Thanks for watching and I’ll see you in my next video and don’t forget to like share and subscribe.
Dollar Tree DIY Organization Video
Shop any of these stores and I receive a small commission at no cost to you.
 Lifewit 3 Pack 90L Clothes ...Shop on Amazon
 Airtight Food Storage Conta...Shop on Amazon
 Chef's Path 32 Piece Airtig...Shop on Amazon
 Deco Brothers Stackable Can...Shop on Amazon
 SWOMMOLY Expandable Food St...Shop on Amazon
Check out some of my other organization posts!
