Easy DIY Dollar Tree Plastic Crate Shelves with Video
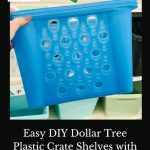
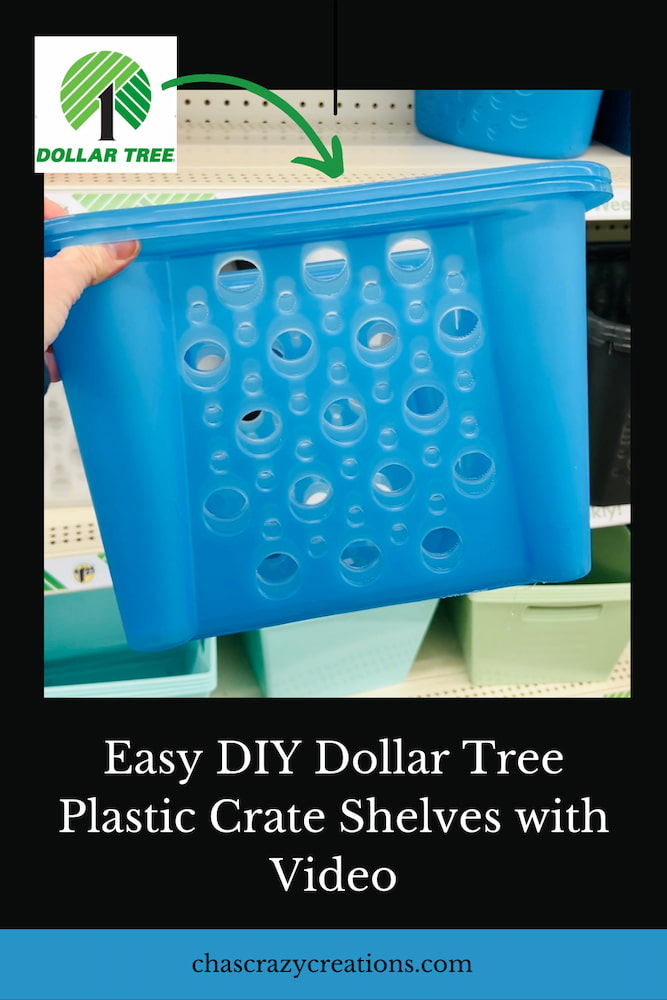
Are you looking for some easy shelves? I am always looking for various ways to add storage and I love to get creative. I ran to Dollar Store, grabbed some bins, and made easy plastic crate shelves on a budget. You can find similar plastic crates at Walmart or your favorite local stores that sell crafting or storage supplies. They come in different sizes and a variety of colors. You might enjoy my post Dollar Tree Hacks, 29 Brilliant Baskets Ideas
Plastic Crate Shelves Materials
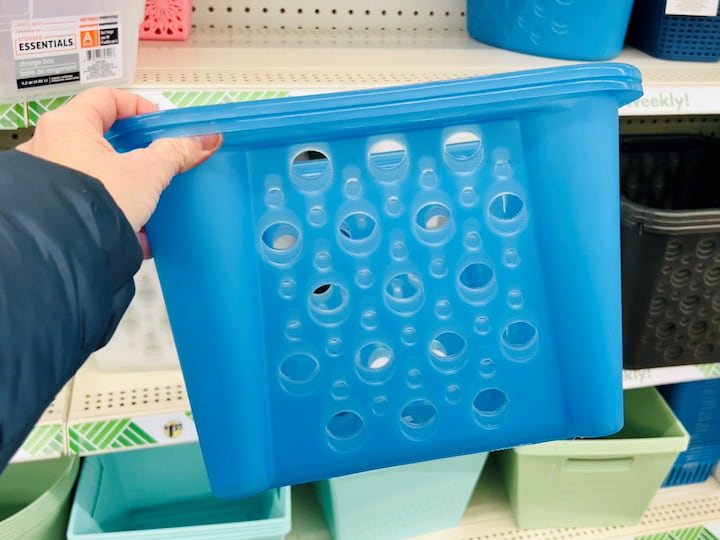
Head over to Dollar Tree and grab some of these baskets for this awesome DIY. You’ll need the following dollar store supplies
- baskets
- pool noodles
- Xyron glue gun
- foam core board
- contact paper
- posterboard
- ruler
- pencil
- razor blade or scissors
 Sterilite Storage Crate, St…Shop on Amazon
") The Dreidel Company Floatin…Shop on Amazon
The Dreidel Company Floatin…Shop on Amazon Warner Manufacturing Tool 1…Shop on Amazon
 Abyssaly Contact Paper Wood…Shop on Amazon
 School Smart Railroad Poste…Shop on Amazon
Plastic Crate Shelves Video
Plastic Crate Shelves instruction tutorial
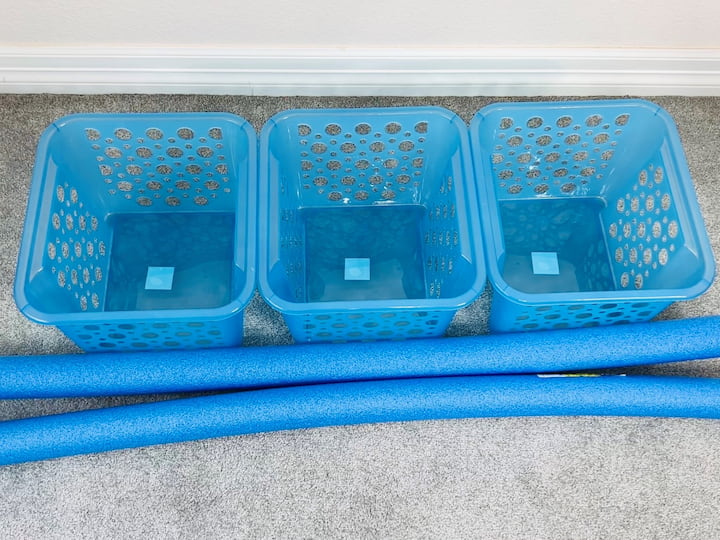
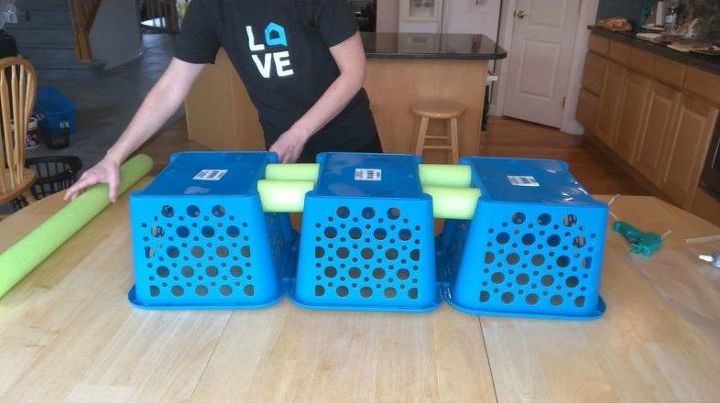
We’re going to start with three baskets and a pool noodle.
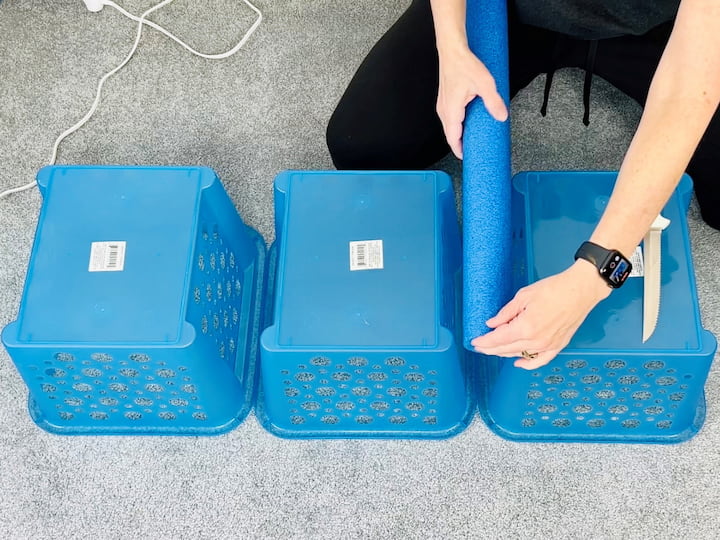
1. Measure, cut, and glue Pool noodles Between Plastic Crates
After you’ve decided what direction you want your baskets to go place the three baskets upside down. Measure your pool noodles so they will fit between each of the baskets.
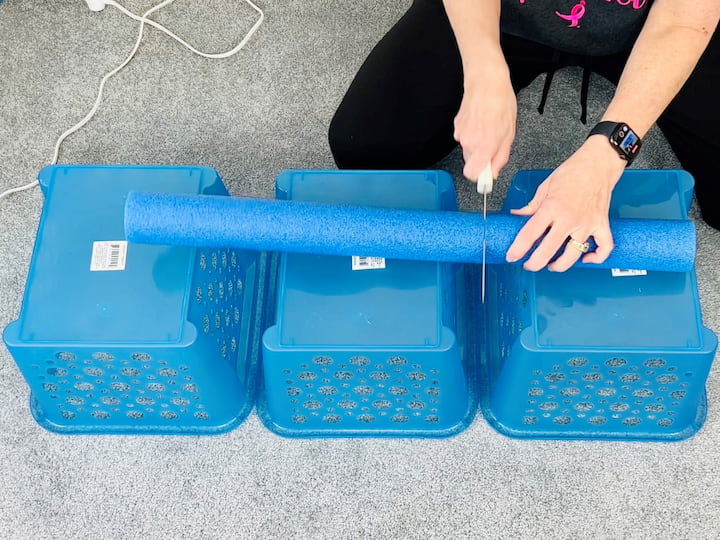
It is easiest to use a serrated knife, or something similar, to cut each of the pool noodles. Place them in between each of the baskets.
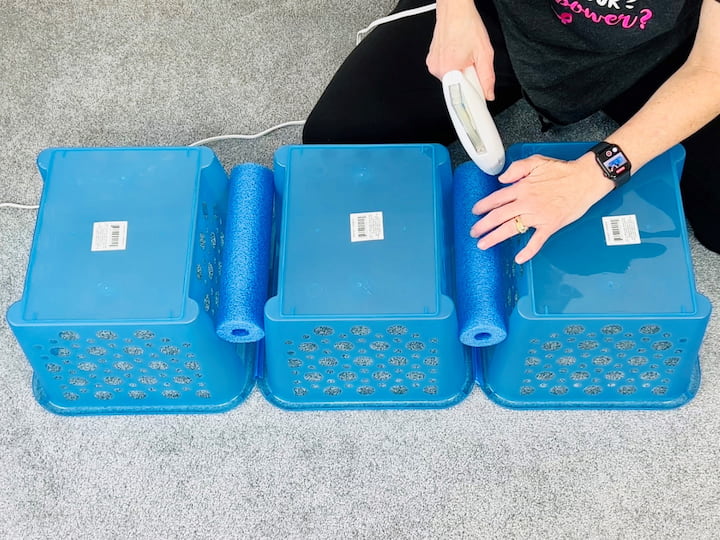
Next, grab your hot glue gun. I’m using my Xyron self-loading glue gun, which is super awesome, to hot glue each of the pool noodles into place between each of the baskets. This helps make them more stable. I repeated the process and made two sets of baskets.
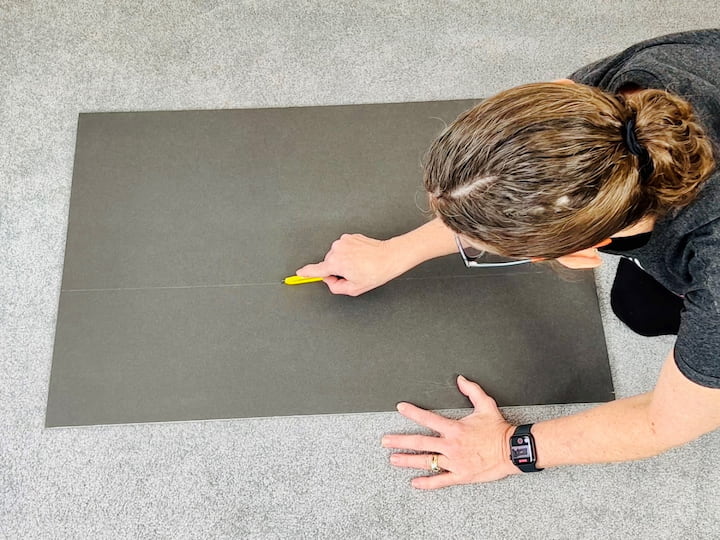
2. Make Crate Storage Shelf Top
Now I’m taking a piece of foam core board and I’m measuring it out to fit on top of my baskets. I made a line where I need to cut and used a razor blade to cut down the line.
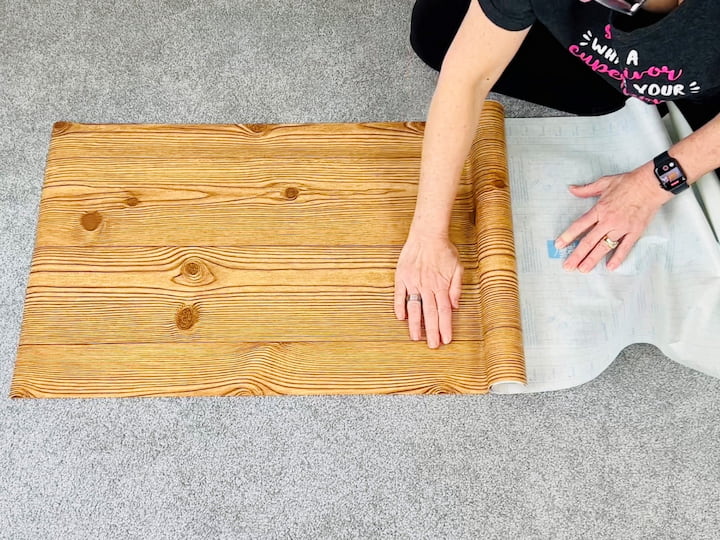
I grabbed some wood grain style contact paper from Dollar Tree to cover the poster board. I measured the contact paper for the size of the poster board and I cut a little extra. I peeled the backing off as I went and placed the contact paper onto the poster board, smoothing it out as I went to get rid of any bubbles.
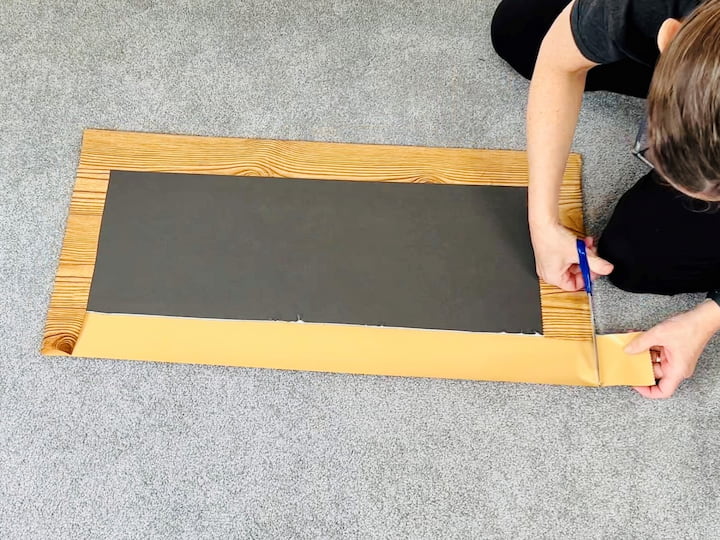
I folded two sides up around the board and pressed them firmly to make them adhere. Then I took scissors and cut the corners out so that I could fold the remaining sides around the board.
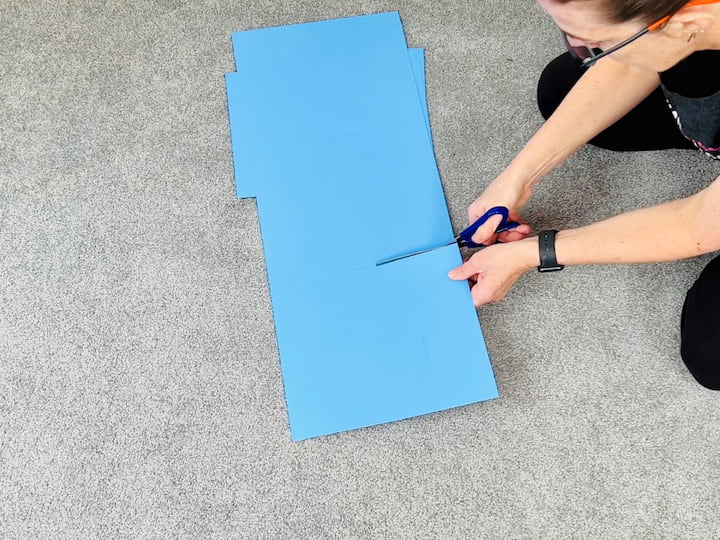
3. Measure and cut poster board for the Plastic Crate STorage shelves
Next, I measured my baskets and cut a piece of poster board in half and then I divided it into thirds to make shelving. I cut the six pieces of poster board to place at the bottom of each of the baskets.

3. Assemble the Plastic Crate Storage Shelves
I placed the baskets vertically against a wall.
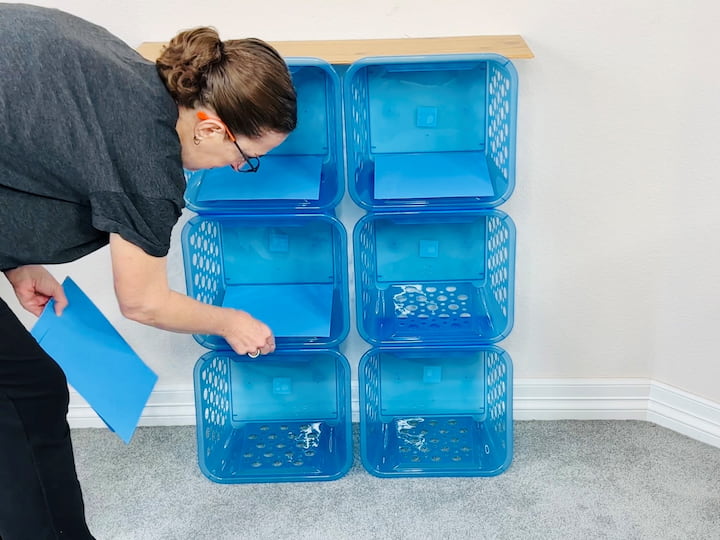
I placed my foam core board on top of the shelving unit. I placed the poster board into the bottom of each of the baskets to keep things from falling through the holes.
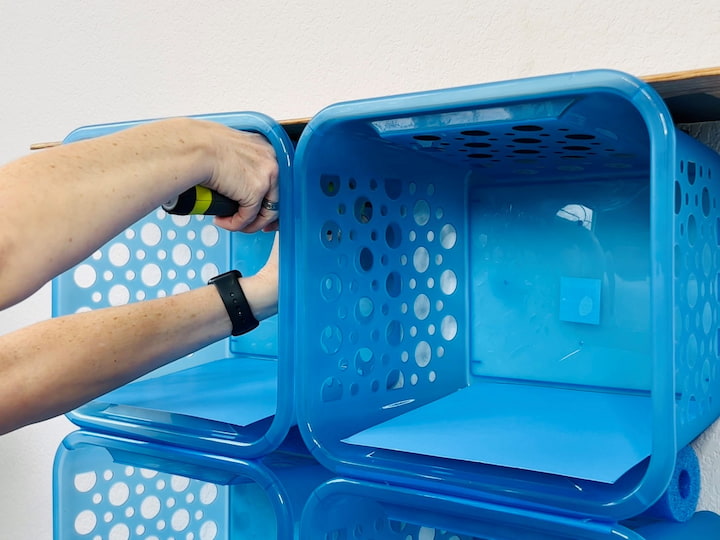
If you want the baskets to be more stable you can attach them to the wall with screws.
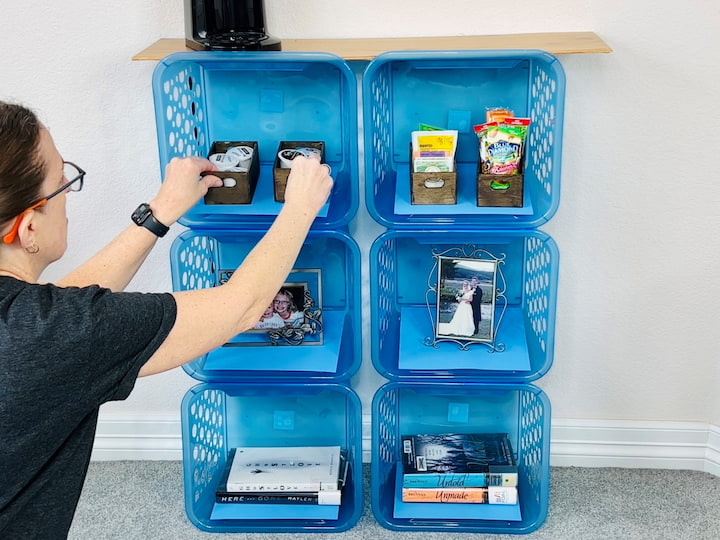
4. DEcorate your Plastic Crate Storage Shelves
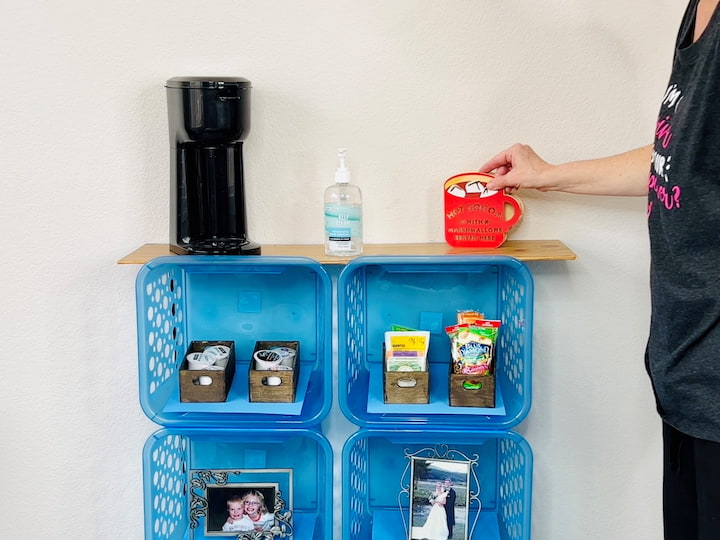
Now it’s time to decorate. If you want to use these for closed storage you can buy some bins, baskets, or soft cloth crates to slide in to create drawers. I started by adding some books and frames on the bottom. I also added some snacks and coffee pods with a small coffee pot on top. I also added some hand sanitizer and a cute little hot chocolate. sign. You could also add a glass vase or flower pot.
This would be great for a guest room as a coffee station or shelving unit.

Plastic Crate Shelves Video
Shop any of these stores and I receive a small commission at no cost to you.
") YGEOMER Floating Shelves fo…Shop on Amazon
YGEOMER Floating Shelves fo…Shop on Amazon HOMIDEC Closet Organizers a…Shop on Amazon
 Furinno LUDER Book Shelf, 5…Shop on Amazon
 HOOBRO Bakers Rack with Pow…Shop on Amazon
 Mind Reader Cup and Condime…Shop on Amazon
Plastic Crate Shelves Q&A Section
Other Plastic Crate ideas:
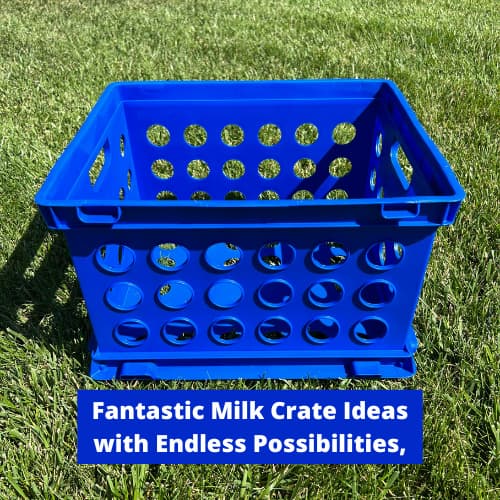
- Use milk crates instead of plastic crates from Dollar Tree
- If you want a different color use spray paint
What can you use these shelves for?
- storage shelves
- bookshelves
- great for classrooms to create cubbies for kids
- Wonderful storage solutions for your bathroom (they work great for holding hand towels)
- Great in a closet for additional storage
- if you replace the poster board with a sheet of thin plastic you can use them on your front porch or patio to hold your favorite plants. You can also use them to display indoor plants, faux plants, or houseplants.
The benefit of using regular milk crates (or file crates) is that you can stack them without the pool noodle, but they will be more expensive. They have more durability so will be able to hold more weight. The milk crates come in a range of colors so you don’t have to paint them.
We used to use these at the dance studio I worked at and once they were stacked we used zip ties to reinforce them.
More crate Ideas
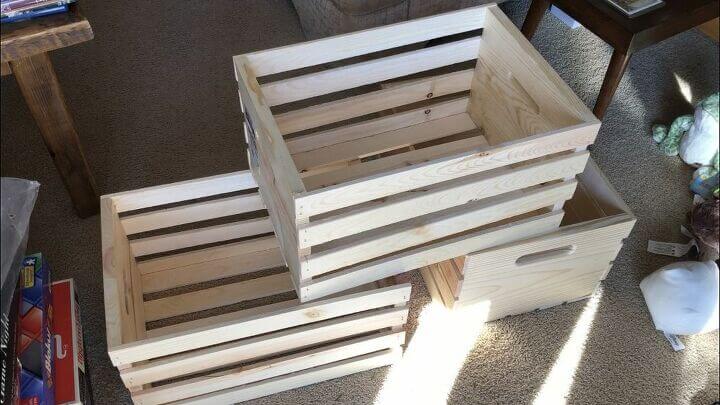
You can use wood crates too. Stack them, add caster wheels, and maybe even make one a bench. You can see some of those tutorials here:
- Fantastic Milk Crate Ideas with Endless Possibilities, You Won’t Believe It
- Easy and Awesome DIY Wood Crate Bookshelf with Video
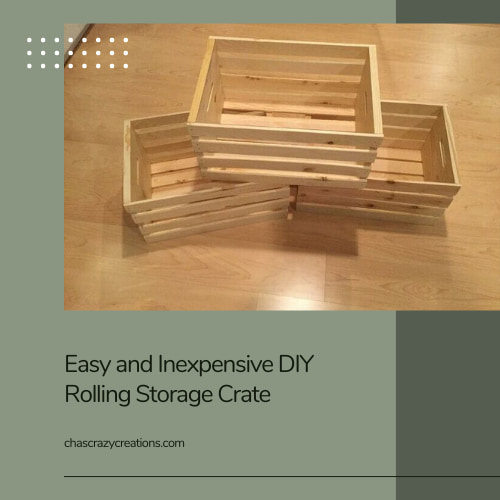
- Easy and Inexpensive DIY Rolling Storage Crate
- Dollar Tree Hacks, 8 Brilliant Baskets Ideas
Crafts with Crates
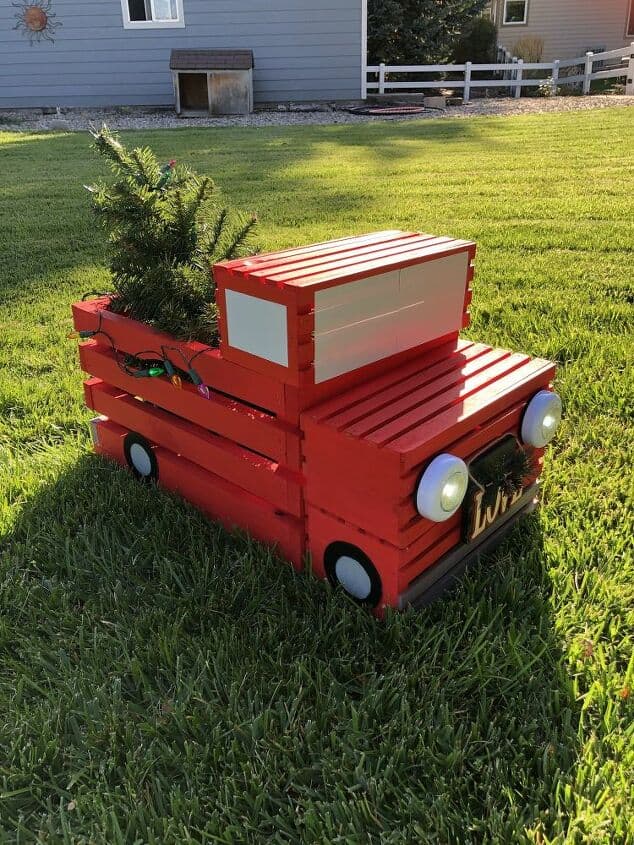
- How To Make A Super Cute DIY Crate Red Pickup Truck
- The Simplest Ways to Make the Best of Outdoor Fall Decor
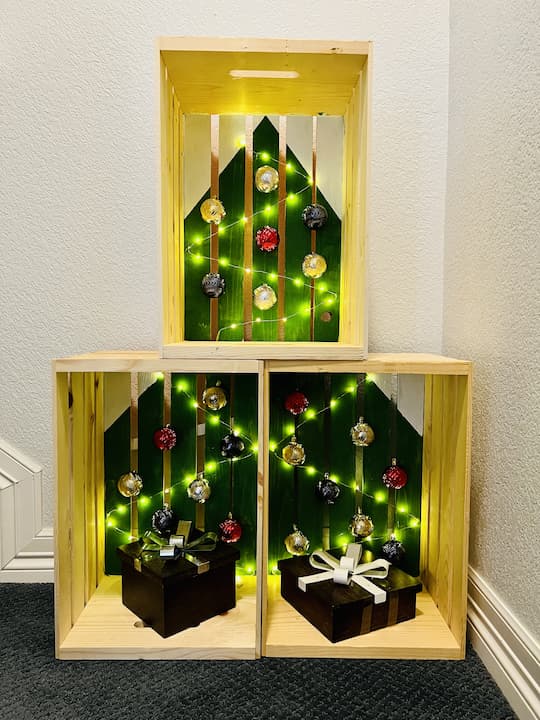
- Easy and Unique DIY Wooden Christmas Tree with Video
I’d love it if you’d subscribe to my YouTube channel and my blog at chascrazycreations.com. Thanks for watching and I’ll see you in my next video. Don’t forget to like, share and subscribe.