
How To Dye Clothespins Fast and Easy DIY

Do you want to know how to dye clothespins? Did you know you can dye wood with food color? I tried this method out on clothespins and turned them into coasters that I gave as gifts. I’ll show you how to make Food Color Dye Clothespin Coasters
Follow these easy steps and you’ll be amazed at the craft projects you’ll be able to use these for. Now you can buy your clothespins at Dollar Tree, but I ended up finding them cheaper at Walmart.
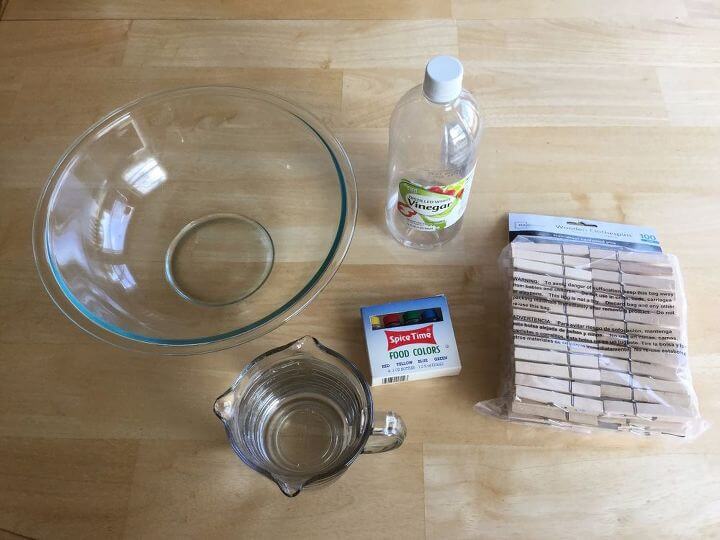
How To Dye Clothespins Materials
- A bowl
- A measuring cup
- Food coloring
- vinegar
- wooden clothespins
- *for coasters – adhesive of your choice.
How To Dye Clothespins Instructions
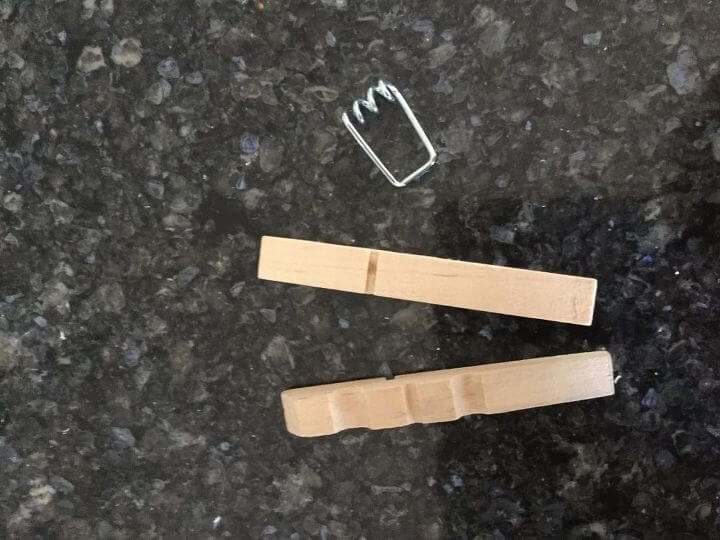
Pull apart your wood clothespins. This is to prevent your metal from rusting in the vinegar water.
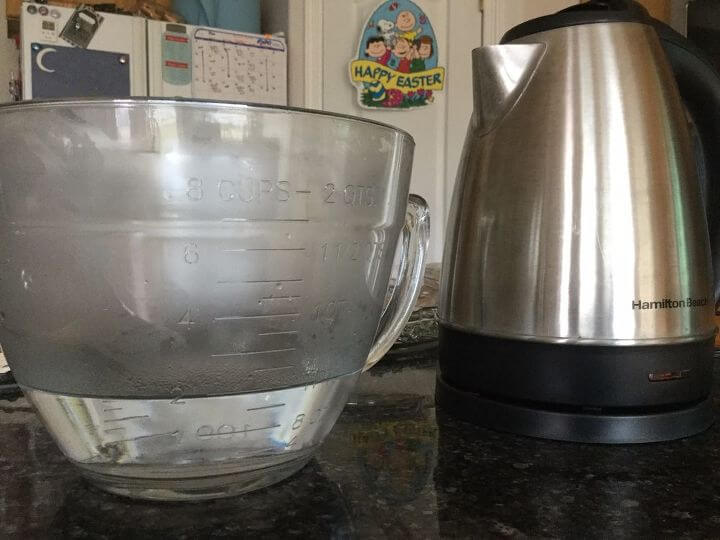
Put boiling water in a bowl. For this recipe, I’m using 2 cups of hot water per bowl (or you can use hot tap water). You could also use a plastic bucket if you wish, or I’ve been known to use an ice cream bucket.

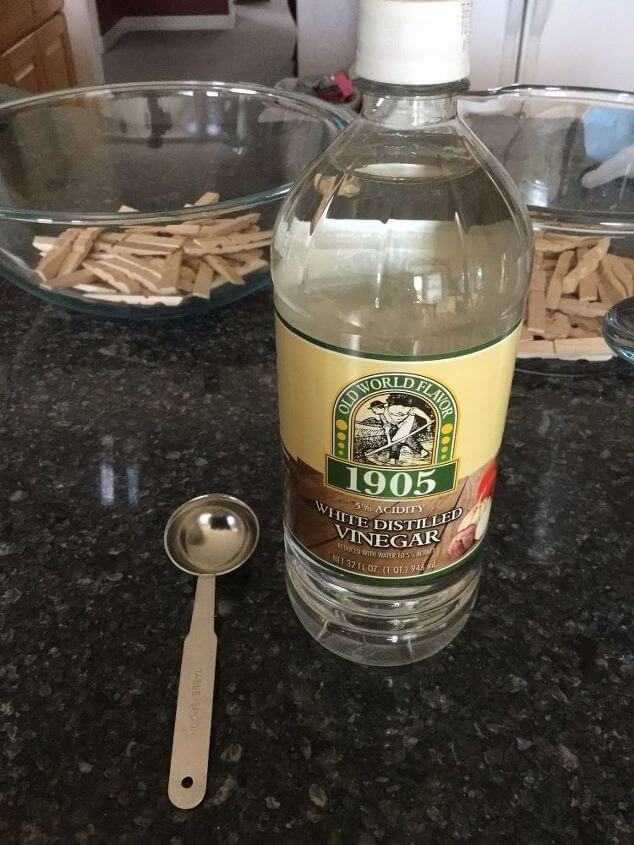
Add 1 tablespoon vinegar per bowl.
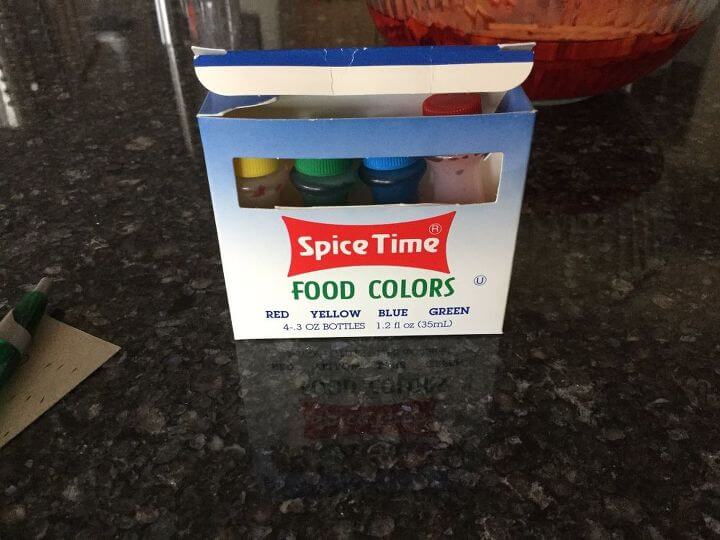
Add enough food coloring drops to make the color you want. Create different colors by mixing the food color. Create a ton of other colors, make your color scheme, and make the perfect color and the right color for you. I’m doing red, purple, and blue clothespins.
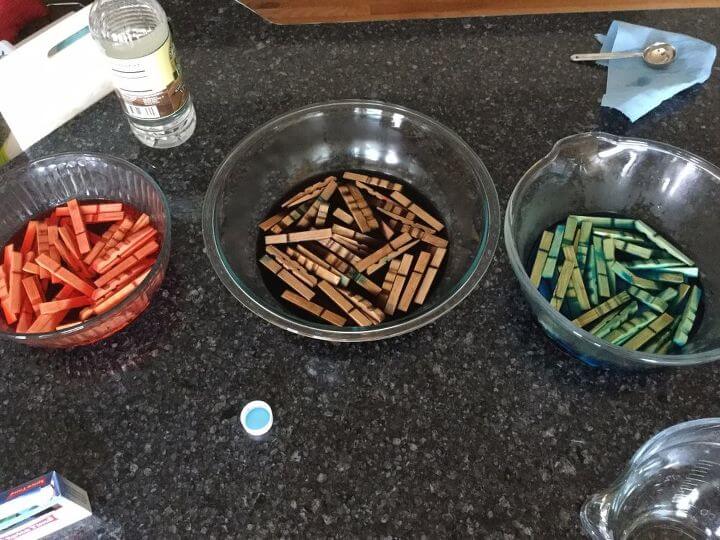
Stir and add your bunch of clothespins in. I placed clothespins at about 20 per bowl.
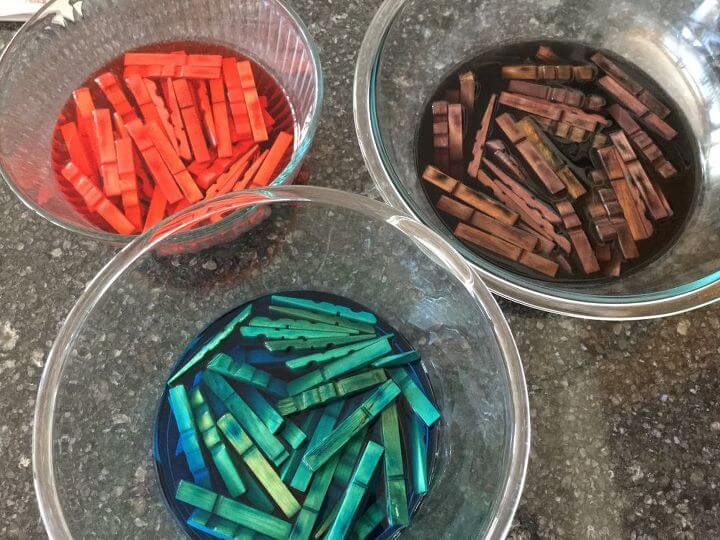
Let them soak for 24 hours.
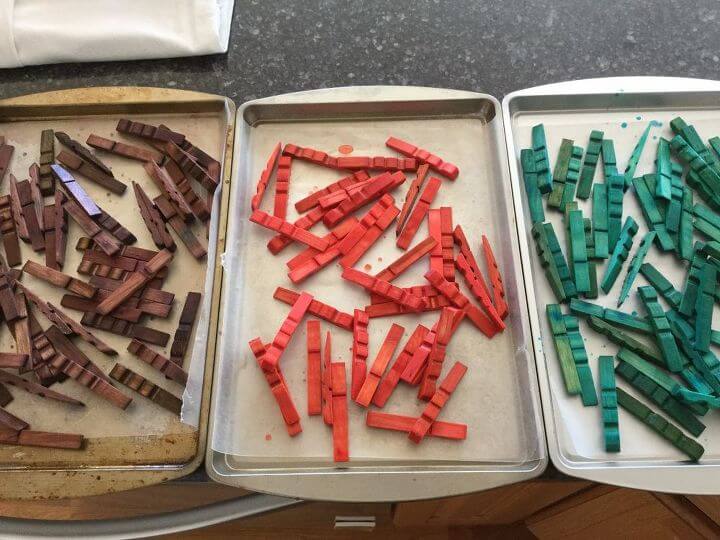
I place clothespins on cookie sheets on top of the wax paper and let them air dry. This took about 2 days stacked the way they are in this picture.
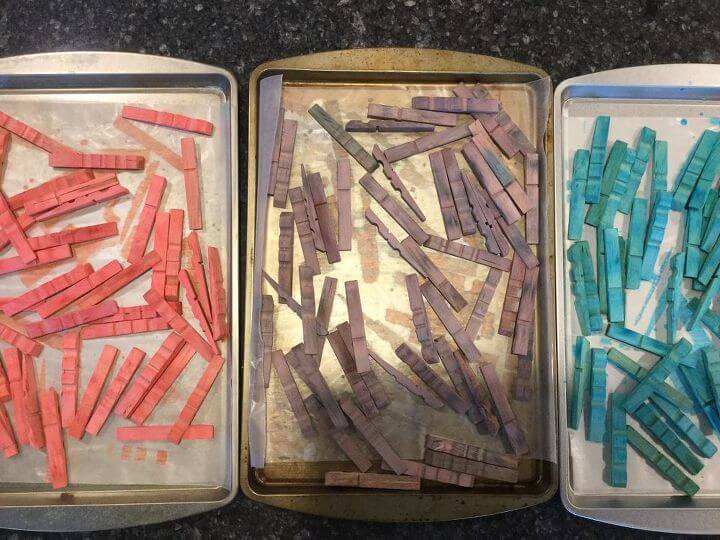
When they are dry the color fades a bit and gives them more of a stained wood look.
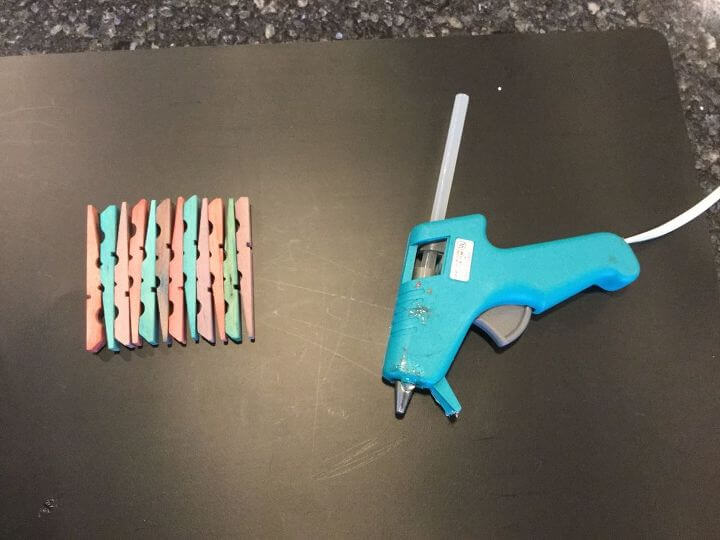
For teacher appreciation week for all the dance teachers I work with, I used these to make coasters. I used a hot glue gun to adhere them, but you could use glue of your choice.
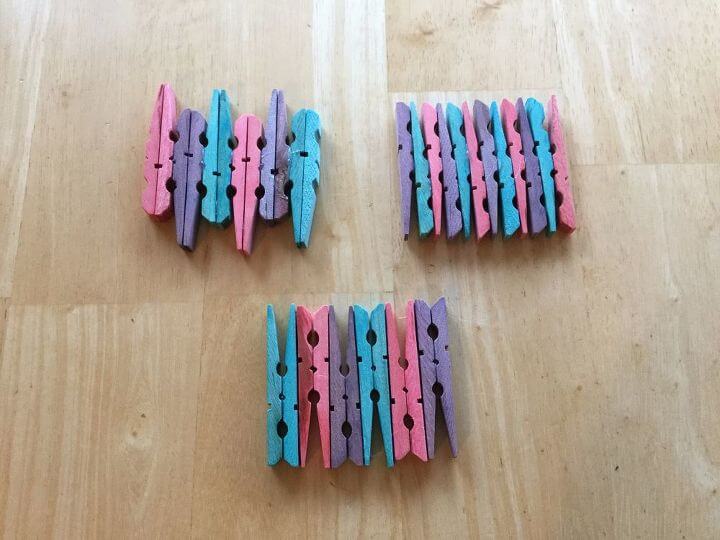
Mix and match your dry clothespins for different coaster designs. I used about 6 clothes pins per coaster.
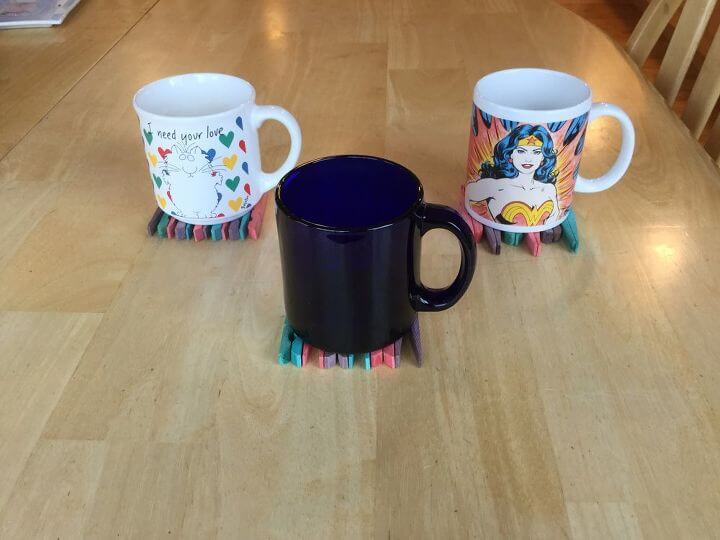
Once the glue has dried they’re ready to use.
Isn’t this a great DIY project, and such a great idea? Are you ready to make your own Food Color Dye Clothespin Coasters? This is an easy way if not the easiest way to color multiple clothespins at one time.
Other ways you can color plain clothespins:
- acrylic paints
- package of rit dye or liquid rit dye
- spray paint like white spray paint
- chalk paints
Do you want some other clothespin crafts? Check these out
- 4 Easy and Useful Clothespin Ideas
- Easy Clothespin Sign with Endless Uses
- How To Make A Daisy Clothespin Wreath
- How To Make An Easy DIY Clothespin Sunflower Wreath
It’s also popular to make different decorative clothespin wreaths with a wire wreath form or clothes hangers for your front door like a patriotic clothespin wreath or July wreath, or Christmas craft. They make lovely home decor
The best thing is that these are a great way and simple way to make great gifts and here are some different ways to use them
- chip clips
- coasters
- place cards
- fridge magnets
- hang Christmas cards on a ribbon
Shop any of these stores and I receive a small commission at no cost to you.
 Whitmor Wood Natural Clothe…Shop on Amazon
 Spice Supreme Assorted Food…Shop on Amazon
") White House Vinegar – White…Shop on Amazon
White House Vinegar – White…Shop on Amazon Anchor Hocking Batter Bowl,…Shop on Amazon

EASY & AWESOME DIY GIFTS ON A BUDGET TO MAKE AND SELL Ebook
Do you love to make gifts for friends and family members? Would you like to personalize your gifts too? This book is for you! Over 30 DIYs gifts on a budget plus extra tips, tricks, eco-friendly gift wrapping ideas, and more!
So what are you waiting for?!!! Get your copy today and start creating!

Don’t forget to link to ThriveCart – Book

Honestly, what will you think of next! You really are full of ideas, I never know what you will share with us next. Brilliant!
Thank you so much Julie, you are so sweet. I have been crafting all day – some new crazy creations coming soon …
this is an interesting idea for a coaster and I do have a lot of clothespins I bought for craft supplies. Thanks for linking this post with us at #OMHGWW
Thank you Alice and I hope you give it a try. It was so much fun to do.
Very creative and inspirational Chas.
And I want to thank you so much for linking up to our Celebrate Your Story link party.
Have a great and Blessed Day!
Kari @ Me and My Captain
Thank you Kari and thanks for stopping by.
What a fun project! Thanks for sharing with us at The Blogger’s Pit Stop!
Thank you so much Roseann 🙂
What a clever idea. I rather like how the colour fades as they dry. They would make a lovely gift for mothers day #handmademonday
Thank you so much Louisa, and I love that idea for a mother’s day gift.
what a great idea, clothespins can be used for so many different things
Thank you so much Angie 🙂
I really love this idea. and the colours are so pretty too
Thank you so much Natasha, and I’m so pleased you think so 🙂
Wow Chas. Your creativity continues to amaze me. What a great idea for a fun gift that people will enjoy!
Thanks very much Linda – they were really fun to make. I wonder if you could dye Eggs first and then do this afterward – more bang for your buck type of thing 🙂
Super cute and so easy! Turned out beautifully. Plus they are just FUN! ?
Thank you so much Naomie, and love that you think they’re fun 🙂 Sending hugs to you my friend!
These would be fun to make with the grandkids to color and make as coasters. Found you on Simple Homestead blog hop.
Thank you Candy and love that you suggested to make things with the grandkids 🙂
These are so great. A fantastic idea. Thanks for sharing!
Thank you so much Christine, I’m so glad you think so 🙂
That is so creative!!
Thank you so much Tamar 🙂