
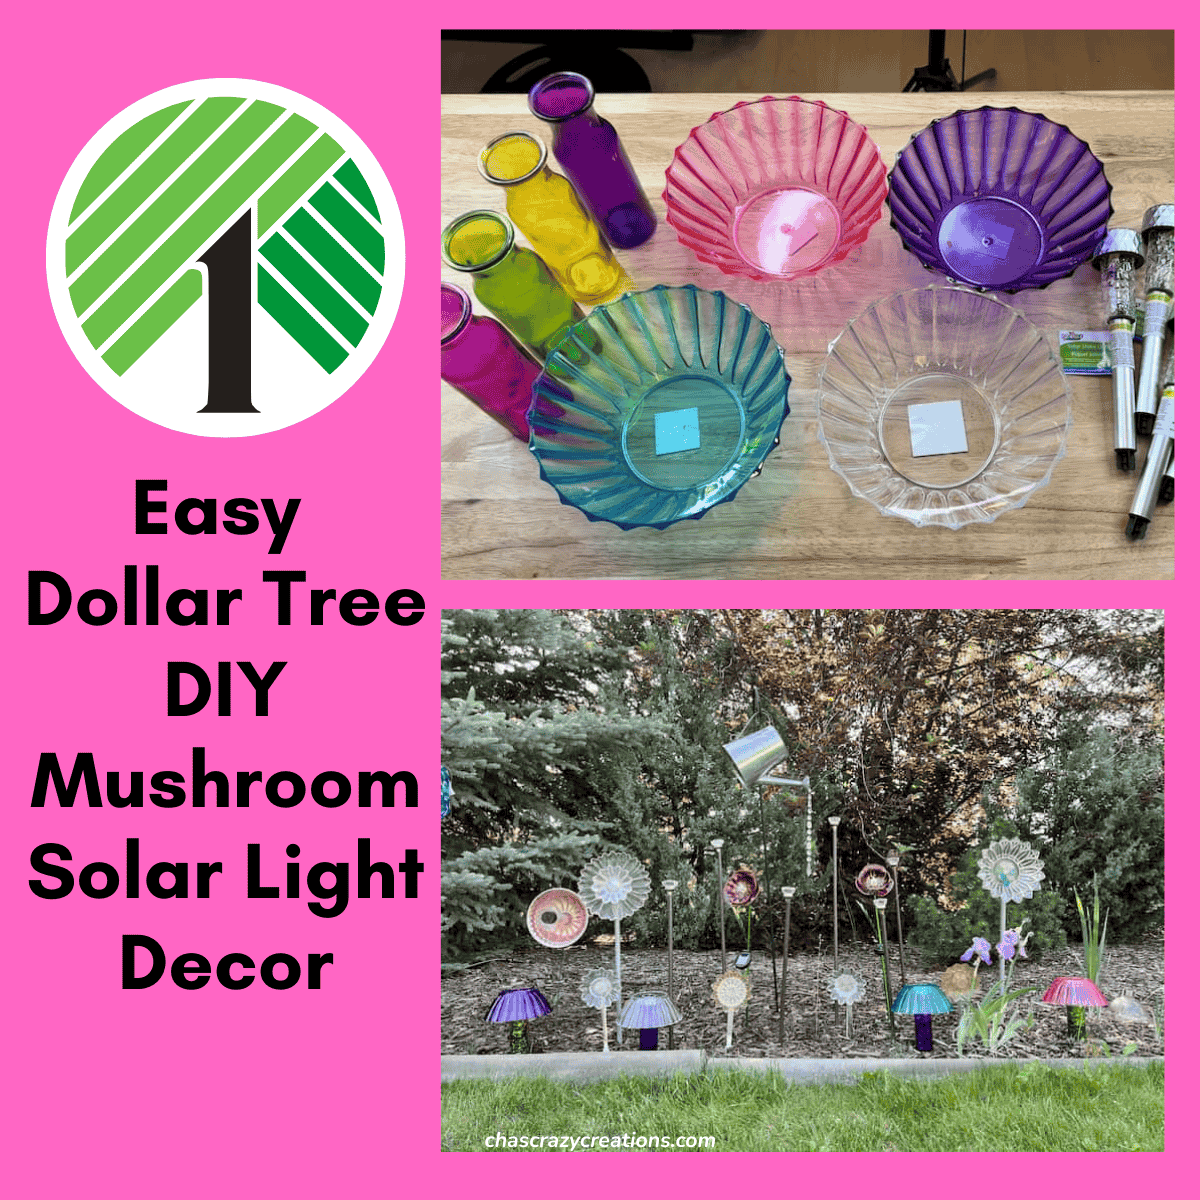
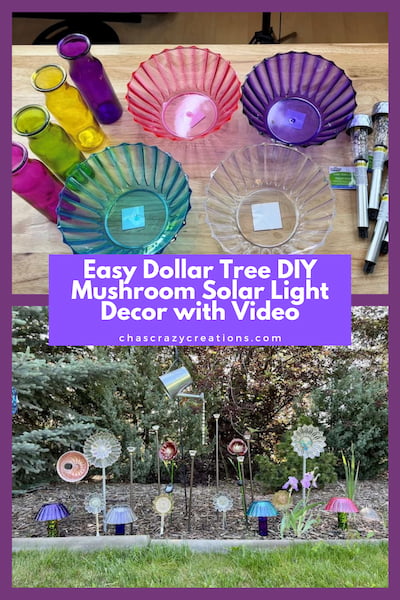
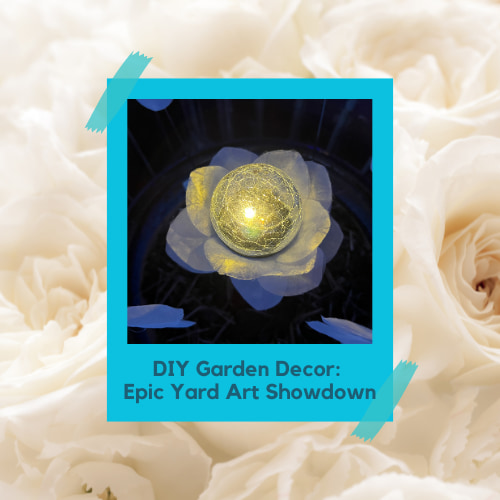
Easy Dollar Tree DIY Mushroom Solar Light Decor
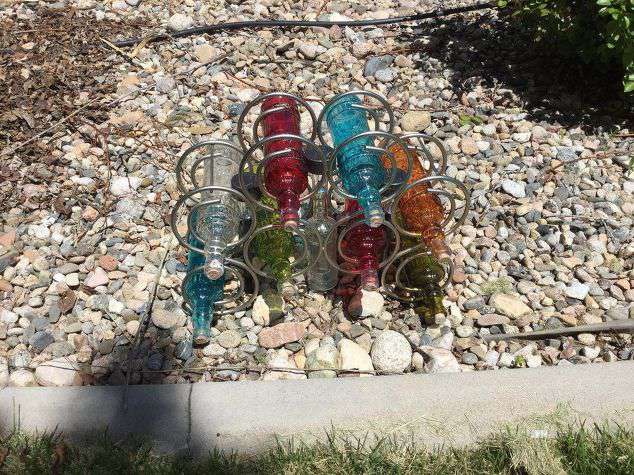
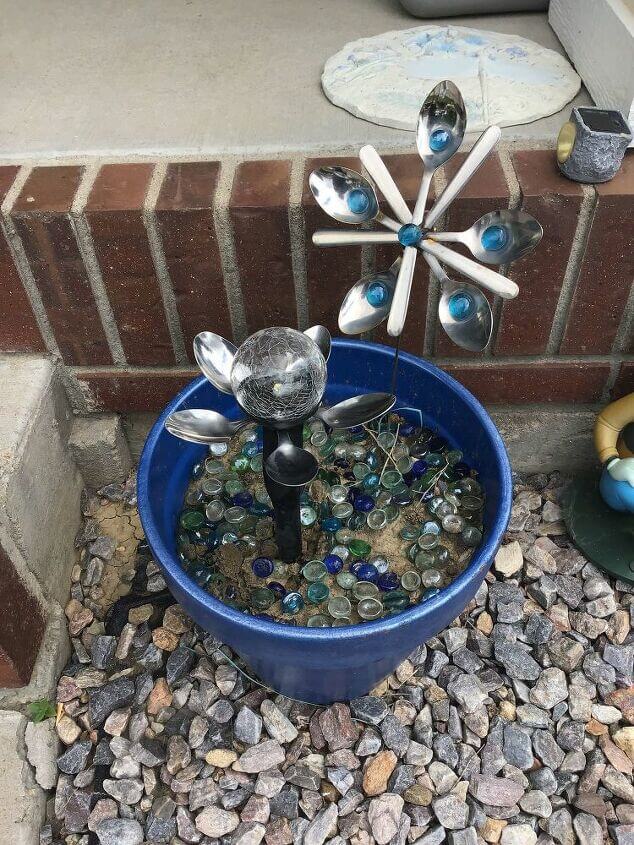
Do you want to add some whimsy to your garden without spending a fortune at the garden center? Look no further! With just a few glassware items from the dollar store, you can create adorable “glass mushrooms” that actually glow at night. I love adding light to my yard—whether it’s my Solar Silverware Flowers or my Repurposed Wine Rack Decor—but these mushrooms might be my favorite yet. They are colorful, sturdy, and completely powered by the sun. If growing real mushrooms isn’t in the cards for you (or you just want color in the dead of winter), these glass versions are the perfect solution.
Project at a Glance
- Goal: Create a glowing glass mushroom for the garden.
- Cost: ~$5 per mushroom.
- Time: 15 Minutes.
- Skill Level: Beginner / Kid-Friendly.The Secret: Using clear glue dots so you can change the solar light batteries later!
Why I Love This Budget Garden Decor
I first made these because I wanted to add height and color to my “Dish Flower Garden.” The best part about this project is how customizable it is. You can mix and match different colored bowls and vases to create a whole forest of unique mushrooms.
Plus, because we are adding rocks to the base, they are heavy enough to withstand wind and rain—making them a perfect “set it and forget it” decoration.

DIY Mushroom Materials Needed
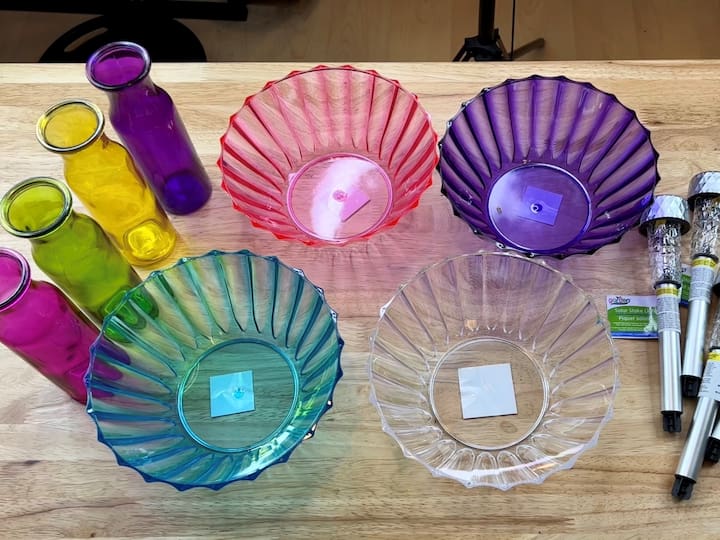
Everything listed here can be found at Dollar Tree or a thrift store.
- Colorful Bowls: (Glass or transparent plastic works best for the light to shine through).
- Colorful Vases: (Tall and skinny ones look most like mushroom stems).
- Solar Lights: Standard stake lights (remove the stake part).
- Weight: Rocks, marbles, or glass gems.
- Adhesive: Glue Dots (Recommended) or E6000/Silicone if you want a permanent bond.
DIY Mushroom Video
How to Make DIY Solar Mushrooms
1. Prep your glassware
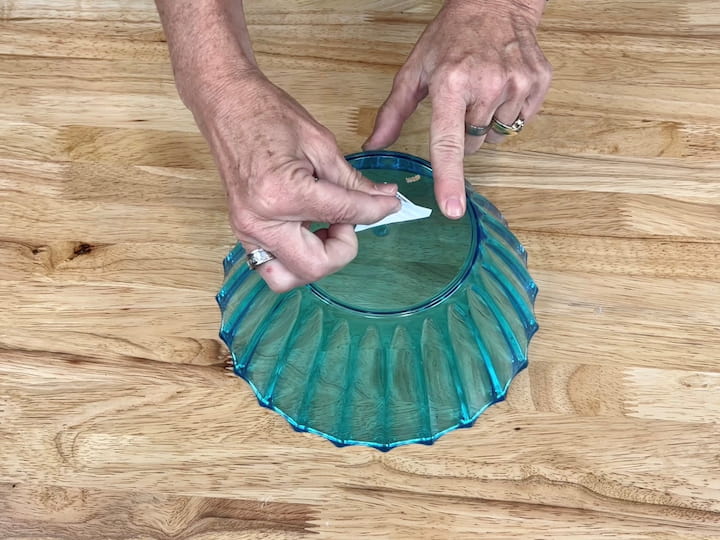
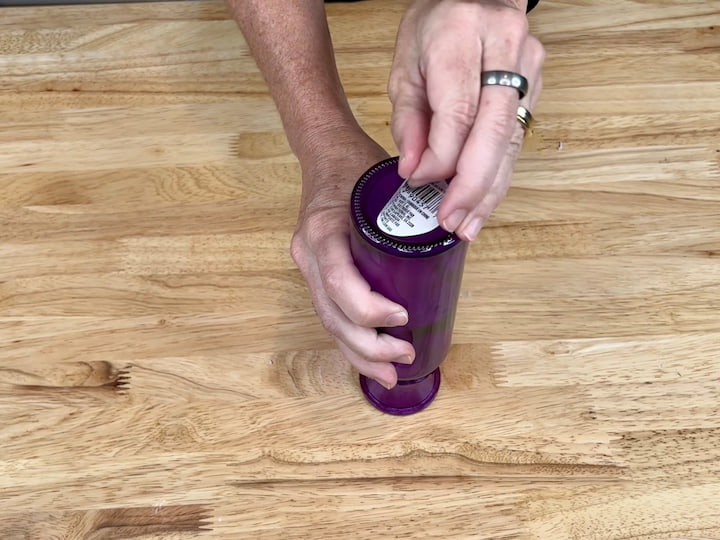
First, remove all labels from the bowls and vases.
- Chas’ Tip: This is crucial for the bowl (the mushroom cap) because the solar panel needs a clear view of the sun through the glass to charge during the day. If the sticker residue is stubborn, use a little Goo Gone or peanut butter to scrub it off.
2. Prep the solar light
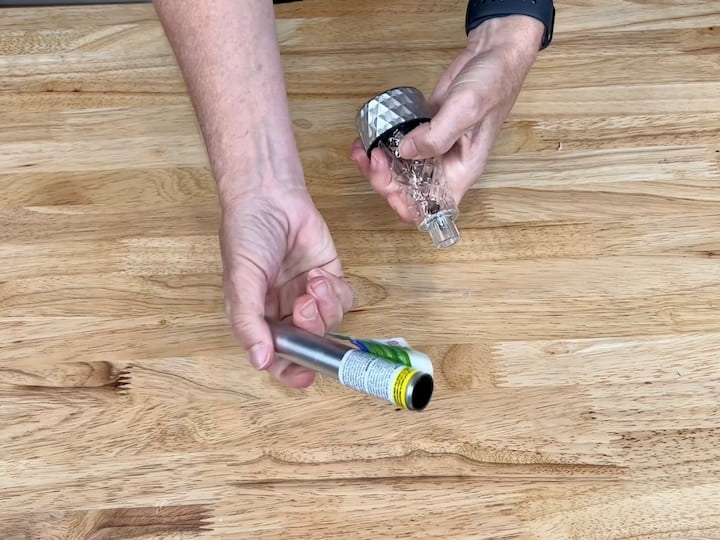
Take your standard solar path light and pull the stake off the bottom (save it for another project!).
- Make sure to pull the battery tab out and test that the light turns on.
3. Weight the base
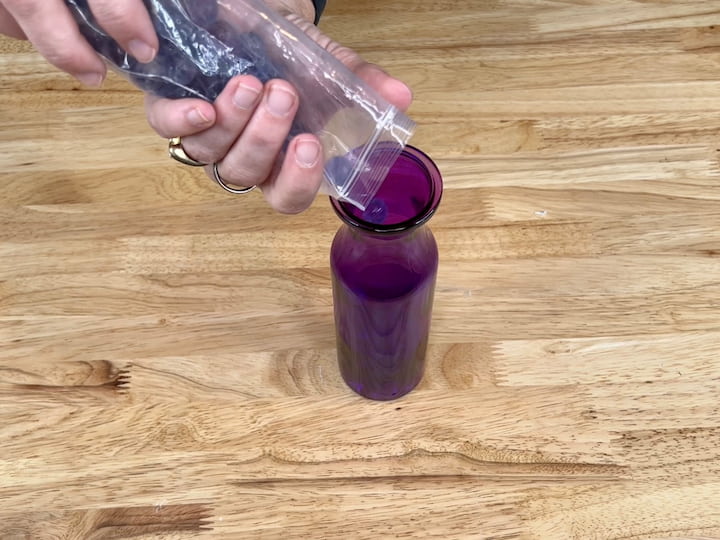
Fill your vase about halfway with rocks, marbles, or sand.
- Why? This weighs the “stem” down so your mushroom doesn’t tip over in the wind. I used clear marbles to keep it sparkly!
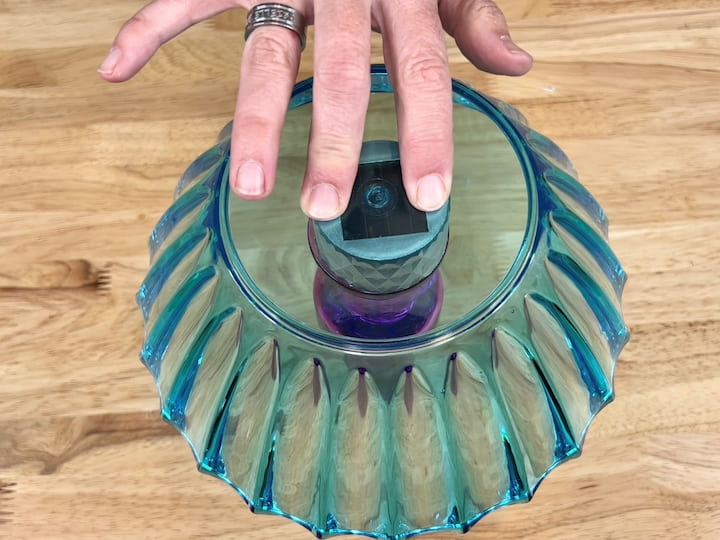
4. Assemble the stem

Place the solar light (solar panel facing up) into the opening of the vase. It should sit comfortably on the rim.
- Note: I usually do not glue the light to the vase. This makes it easy to take the light out if you need to replace the battery next season.
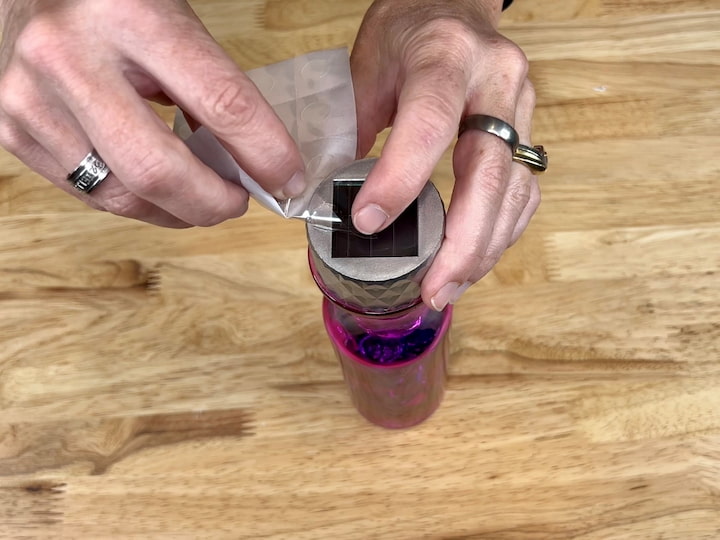
5. Attach the mushroom cap
Now, turn your colorful bowl upside down—this is your mushroom cap! Apply Glue Dots (or your chosen adhesive) to the rim of the solar light. Center the bowl over the light and press down firmly.
Why Glue Dots? They hold the bowl securely but can be peeled off if you ever need to access the solar light underneath. If you use Super Glue or Epoxy, you won’t be able to change the battery later!
The Result: A Glowing Garden!
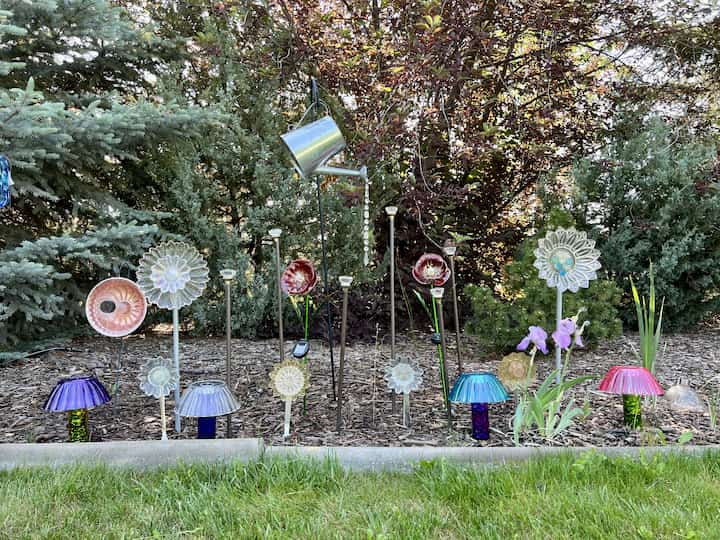
I placed these out in my flower beds, and I love how they look both day and night. During the day, the sun catches the colored glass, and at night, they give off a soft, magical glow.
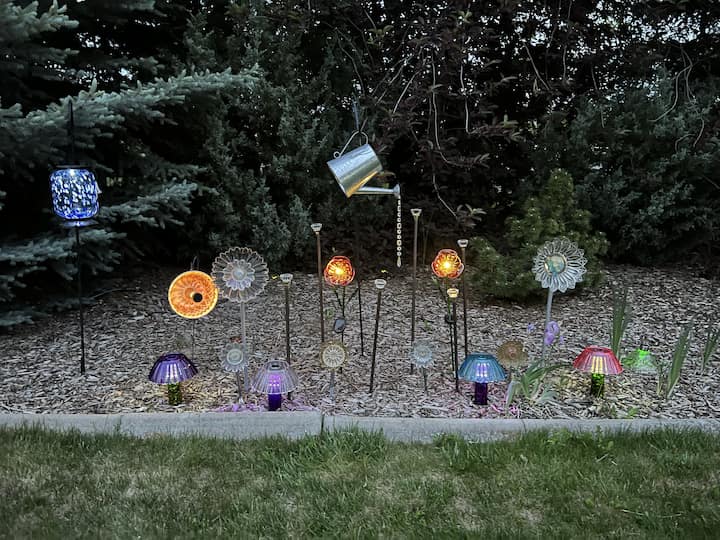
It is a great way to decorate your yard, save water (no watering these mushrooms!), and add a bit of light to keep critters away.
Frequently Asked Questions
I recommend using E6000 or clear GE Silicone II for a permanent, weather-proof bond. However, for this solar mushroom project, I prefer using Glue Dots or clear mounting tape. This allows you to detach the bowl later if you need to replace the solar light or change the battery.
Since the solar panel needs clear glass to charge, the sticker residue must be completely gone. I find that a mixture of baking soda and cooking oil (or just peanut butter!) works wonders. Let it sit for 10 minutes, then scrub it off. Goo Gone is also a great option.
If you live in an area with freezing temperatures, it is best to bring glass garden art inside during the winter. Water can get trapped inside the rim of the vase or bowl, freeze, expand, and crack the glass.
More Solar & Garden Projects
If you enjoyed this easy light project, check out my other tutorials:
- Watering Can Yard Decor – A spilling light feature.
- Super Easy Garden Mushrooms – Another fun variation!
- How To Make Garden Dish Flowers
- Garden Flowers Made From Dishes
Check out my other solar light projects!
DIY Mushroom Video

Dollar Tree Solar Mushrooms
Equipment
- 1 Glue Gun
Materials
- 4 Colorful Bowls
- 4 Colorful Vases
- 4 Solar Lights
- Adhesive
- Rocks or marbles
Instructions
- Clean: Remove labels from all glassware, especially the bottom of the bowls.
- Disassemble: Remove the stakes from the solar lights and pull the battery tabs.
- Weight: Fill the vases (stems) 1/2 full with rocks or marbles for stability.
- Insert Light: Place the top of the solar light into the vase opening.
- Attach Cap: Apply adhesive to the rim of the solar light. Place the bowl upside down on top of the light and press to secure.
- Place: Set in a sunny spot in the garden to charge!
Video


wow so cute
Thank you Faith 🙂
Nice idea for Solar lights. We had a bad storm last week leaving us without power for 4 days & nights. At night I could see the whole yard lit up with our solar lights and thought why not bring them indoors instead of using our flashlights. They worked great and lasted 8 hrs. Mom nursed her puppies by solar light. And the pups got to see shadows.
Wow, 4 days is a lot and I’m glad you had some solar lights to help you! Glad everyone is okay.