
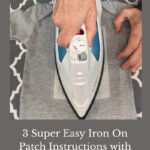
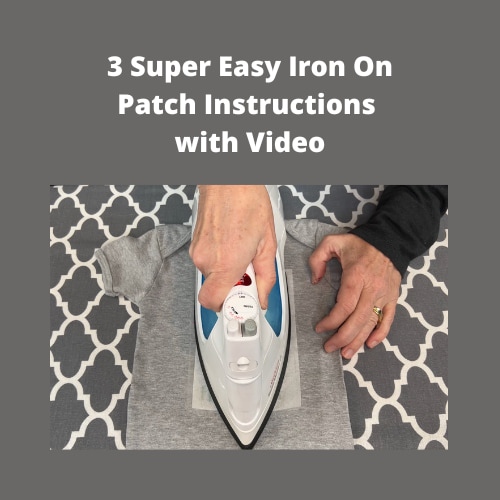
3 Super Easy Iron On Patch Instructions with Video
Are you looking for easy iron-on patch instructions? Look no further as I have 3 different easy iron-on tutorials with video! No need for sewing machines, all you’ll need is a hot iron for this easy DIY. You might also enjoy my post Easy DIY T-Shirt Tote Bag (No Sew & Sew Options)
Iron On Patch Instructions Materials needed:
- Iron on transfer, decal, patch
- Clothing or fabric item of your choice
- Iron
- Ironing board
- Parchment paper
 Harsgs 60pcs Random Assorte…Shop on Amazon
") HTVRONT Iron on Patches for…Shop on Amazon
HTVRONT Iron on Patches for…Shop on Amazon Amazon Essentials Women's R…Shop on Amazon
 Amazon Essentials Men's Reg…Shop on Amazon
 Pursteam Steam Iron for Clo…Shop on Amazon
 GORILLA GRIP The Original I…Shop on Amazon
 Unbleached 15 x 200 ft Parc…Shop on Amazon
Iron On Patch Instructions Video:
Iron On Patch Instructions
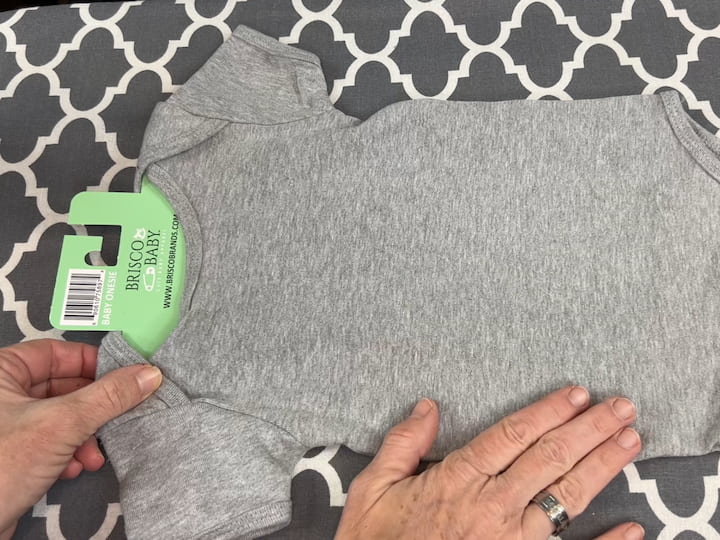
1. Wash Your clothing Item
I washed my first piece of clothing which is a baby onesie. It’s always a good idea to wash the clothing in case it will shrink. You may need to iron out any wrinkles as well. If you iron on your patch before you wash the fabric and it does shrink, it could cause the patch to bunch up and not lie flat.
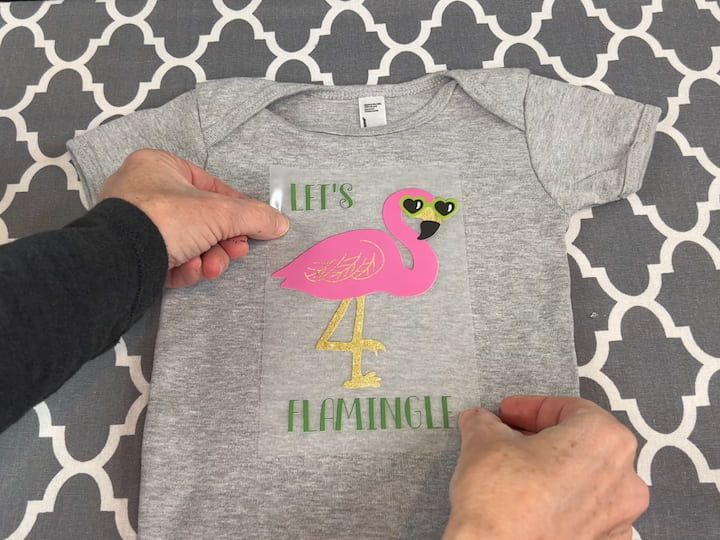
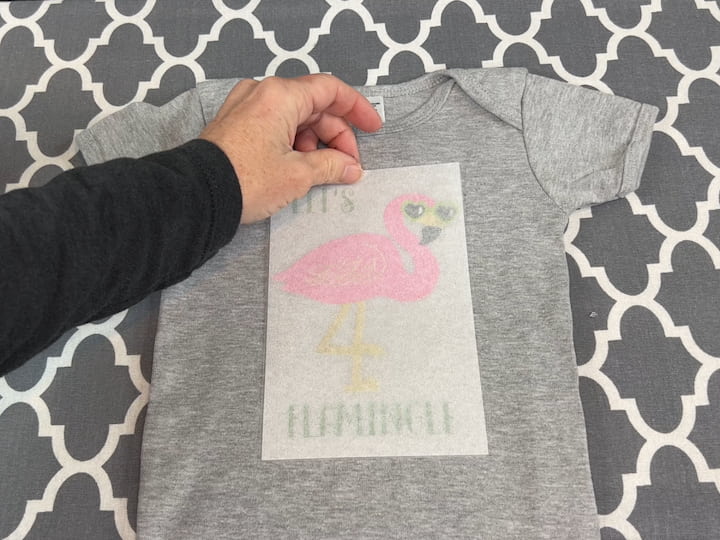
2. place your iron-on patch onto the fabric
I placed my onesie on my ironing board and you could use a flat surface covered by a thick towel as well. I looked at the package instructions for this iron-on and it told me which side to place right side up and which side touches the fabric. I centered the iron-on transfer onto the baby onesie. Patches work well on cotton fabrics.
3. Place parchment paper over the iron-on
My iron-on patch came with a piece of parchment paper that I placed onto the iron-on transfer. If yours doesn’t come with one you can use regular parchment paper, a pressing cloth, or a light towel and cut it so it covers the iron-on completely. This will protect your iron from the transfer or decal adhesive.

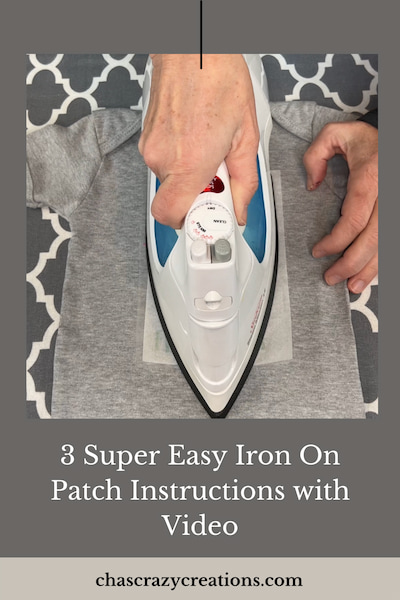
4. Preheat your iron and follow instructions for iron time
I preheated my iron according to the iron patch instruction and make sure your steam setting is turned off. You can use a heat press as well. Most iron ons recommend a lower temperature and some all the way to high heat. I slowly moved the iron side to side and up and down with constant pressure over the entire patch for the length of time specified in the instructions. You can also use a slow circular motion and this will heat seal your patch onto the fabric. Make sure to iron all of the edges of the patch. Some patches require as little as 30 seconds, and some require more. It just depends on what the patch is made out of, how deep it is, etc.
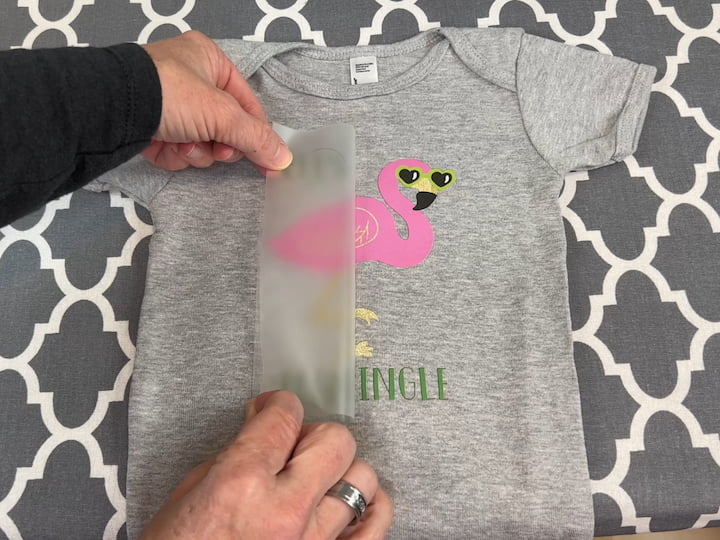
5. Let the patch cool and peel the backing off
I removed the transfer paper and let the patch cool (again following the package instructions). I carefully peeled the backing off the patch making sure the transfer stayed on the fabric. For best results, if your transfer is peeling up, stop immediately, set the sheet back on the fabric, and iron it longer. When your iron-on is ready it’ll peel off easily. Not all patches have removable paper. If your patch doesn’t have this paper, simply wait for the patch to cool and check it to see that it is stuck entirely to the fabric. If not, repeat the ironing process until you get a solid seal.
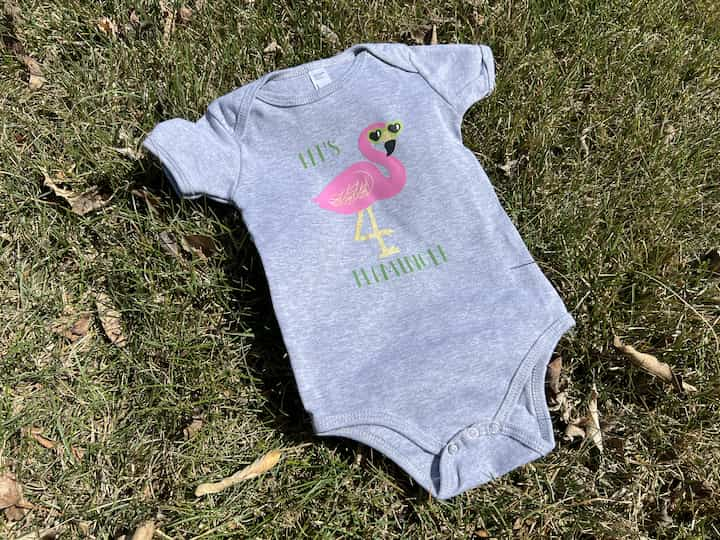
I love how this little onesie turned out and I made it for a friend who is having a baby. Using iron on patches is an easy way to create the following:
- patching holes or tears in clothing
- making custom clothes. This works great on t-shirts, denim or any cotton apparel.
- making custom bags
- making custom gifts
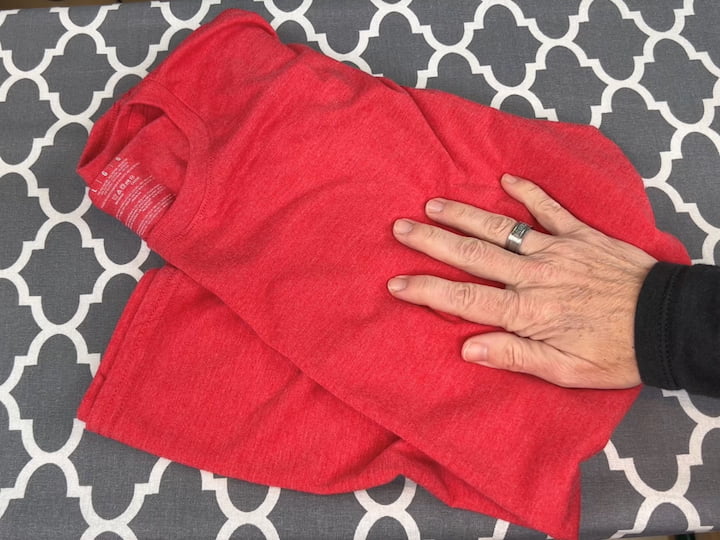
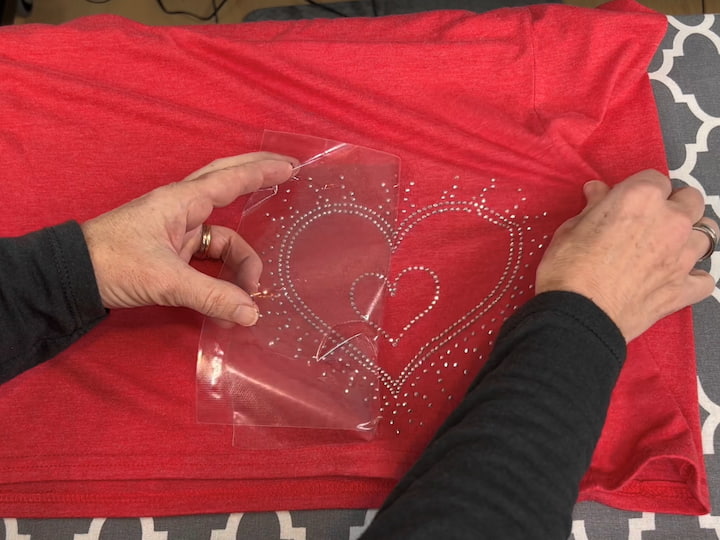
I wanted to also share a new patch and a few more projects, as not all iron-on transfers are created the same. This is a red shirt I purchased and let me tell you it’s super soft.
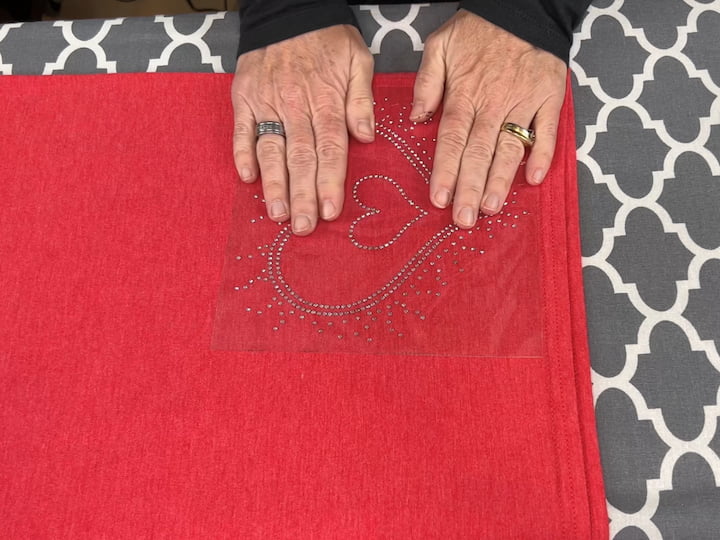
This heart transfer is made out of mini metal beads. I peeled the back off of this one and set the position of the patch onto the shirt to the right spot for me.
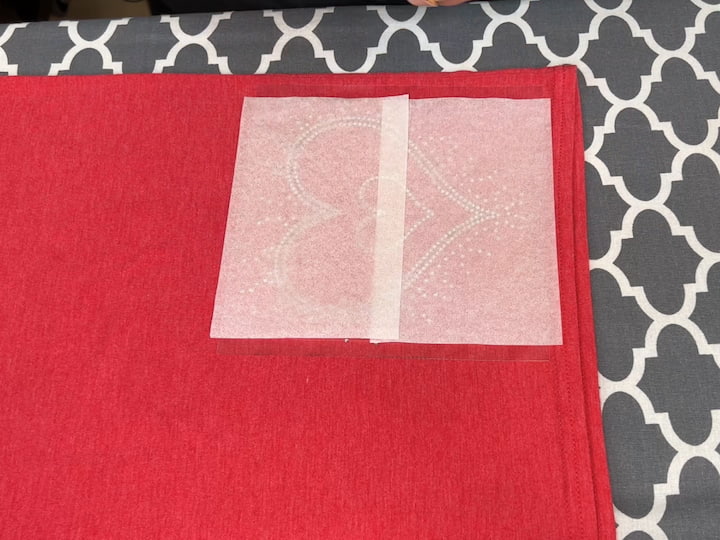
I placed parchment paper on top of the iron-on. This one did not come with parchment paper.
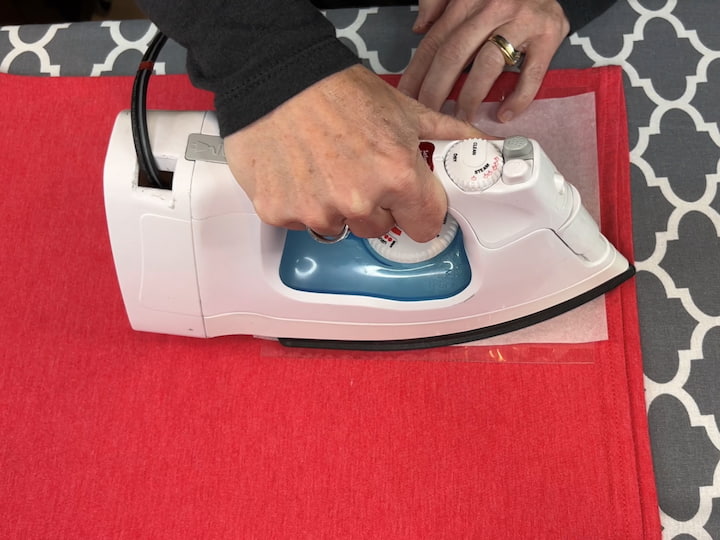
I used my heated iron and ironed over the patch following the instructions.
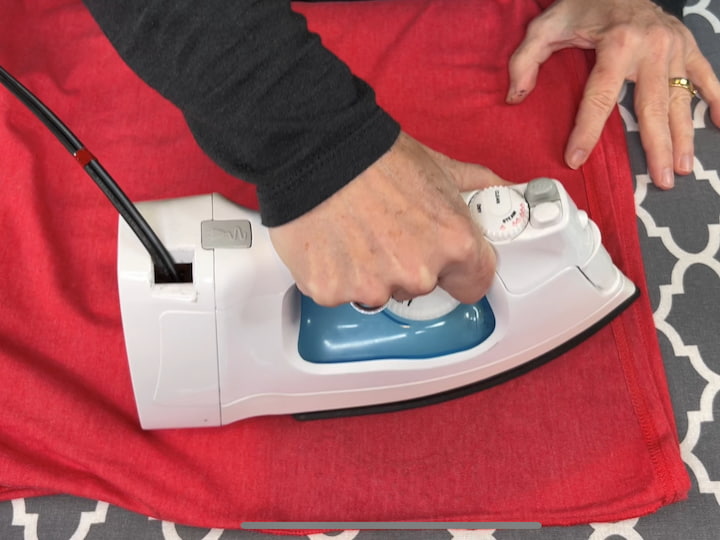
This particular iron on then told me to turn garment inside out and iron on the back side of the shirt to help the back of the patch stick to the shirt.
I let the iron on cool and started to peel up the backing. This one did not peel well, so I had to iron it a second time. After letting it cool the second time, I was able to peel off the backing with success.
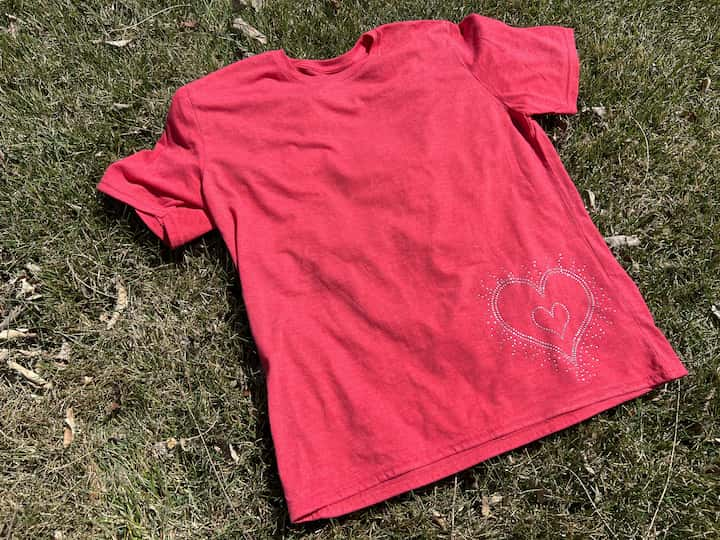
I made this shirt for me, and I’m thrilled with how it turned out. As you can see I aimed for an off-center look with this shirt. You can place your patches wherever you want, and it doesn’t always have to be front and center of the item.
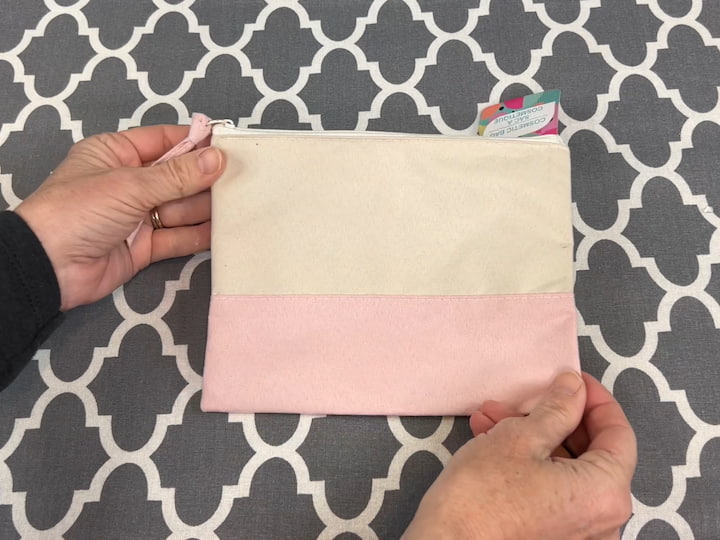
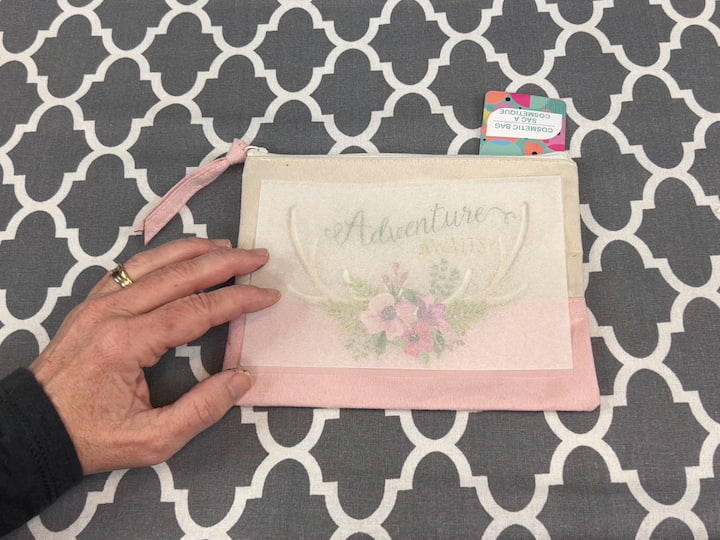
Now to show different ways to use your iron on patches. I found this little cosmetic or pencil pouch and it was pretty plain.
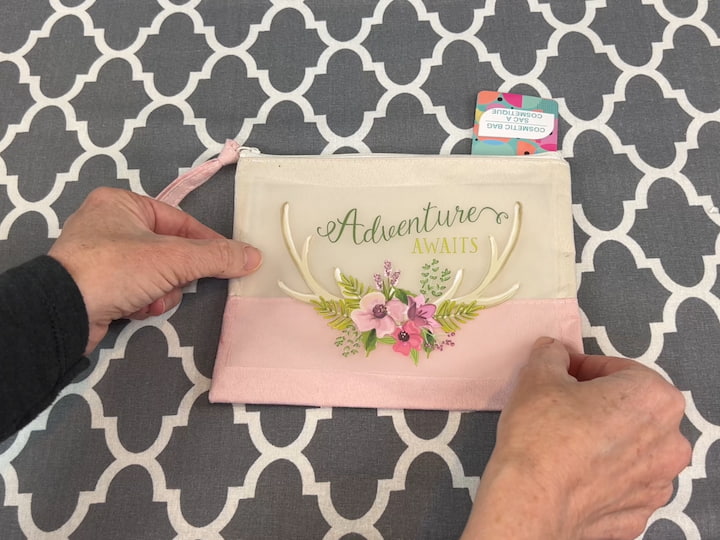
I placed my iron on decal onto the pouch.
I placed my parchment paper onto the patch.
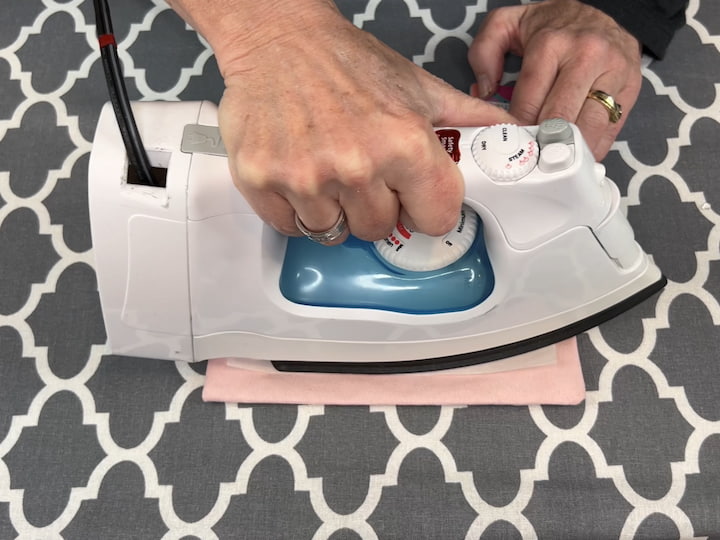
I set the iron temperature, let it warm-up, and then ironed the bag all following the package instructions.
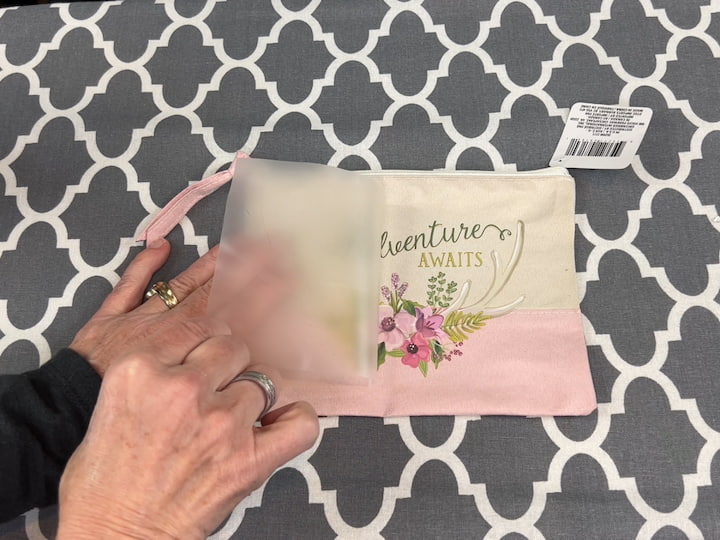
I let the bag cool and I peeled the backing off the iron on. It came off really easy.
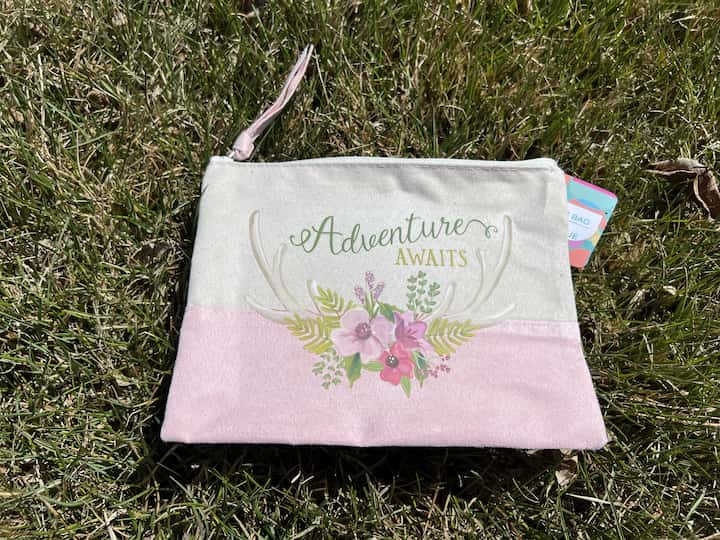
Wouldn’t this make a great gift idea? So many uses with this little bag.
Do iron on patches stay on in the wash?
It is usually best to turn your garment inside out and place in the washing machine. Select the delicate fabrics cycle, and wash with cold water. I like to hang my fabrics to dry.
Iron On Patch Instructions Video
Shop any of these stores and I receive a small commission at no cost to you.
 Crocs Unisex-Adult Classic …Shop on Amazon
, Small") Gildan Men's Crew T-Shirts,…Shop on Amazon
Gildan Men's Crew T-Shirts,…Shop on Amazon") Women's Floral Print Short …Shop on Amazon
Women's Floral Print Short …Shop on Amazon Dockers Men's Perfect Short…Shop on Amazon
 WIHOLL T Shirts for Women V…Shop on Amazon
 Hanes Women's Jersey Pocket…Shop on Amazon
 CUPSHE Women's One Piece Sw…Shop on Amazon
 ANRABESS Women Summer Maxi …Shop on Amazon
 Ldihjaos Summer Dresses for…Shop on Amazon

3 Super Easy Iron On Patch Instructions with Video
Equipment
- Iron
Materials
- Iron on transfer decal, patch
- Clothing or fabric item of your choice
- Ironing board
- Parchment paper
Instructions
- WASH YOUR CLOTHING ITEM
- PLACE YOUR IRON-ON PATCH ONTO THE FABRIC
- PLACE PARCHMENT PAPER OVER THE IRON-ON
- PREHEAT YOUR IRON AND FOLLOW INSTRUCTIONS FOR IRON TIME
- LET THE PATCH COOL AND PEEL THE BACKING OFF
Video


FAB JOB! Well done \(^o^)/
Thank you so much
I wanted to do the mini beaded pattern on the red shirt. Where do I find that pattern?
Asking for a reply.
I purchased the heart iron on at Dollar Tree 🙂