DIY Garden Sphere with Video
Do you want to make your own garden sphere? I have an easy DIY for you that is inexpensive, easy, and will glow at night.
I just love those gazing balls/garden globes in people’s yards. When I was a kid I always thought they were like a special crystal ball that would have magical powers. I have noticed a lot of people making them lately. I decided to give it a try and wanted to share it with all of you. Instead of mine being for the yard or garden, I’m making mine for my table outside. You will be able to adjust this for the yard or if you want to keep yours indoors.
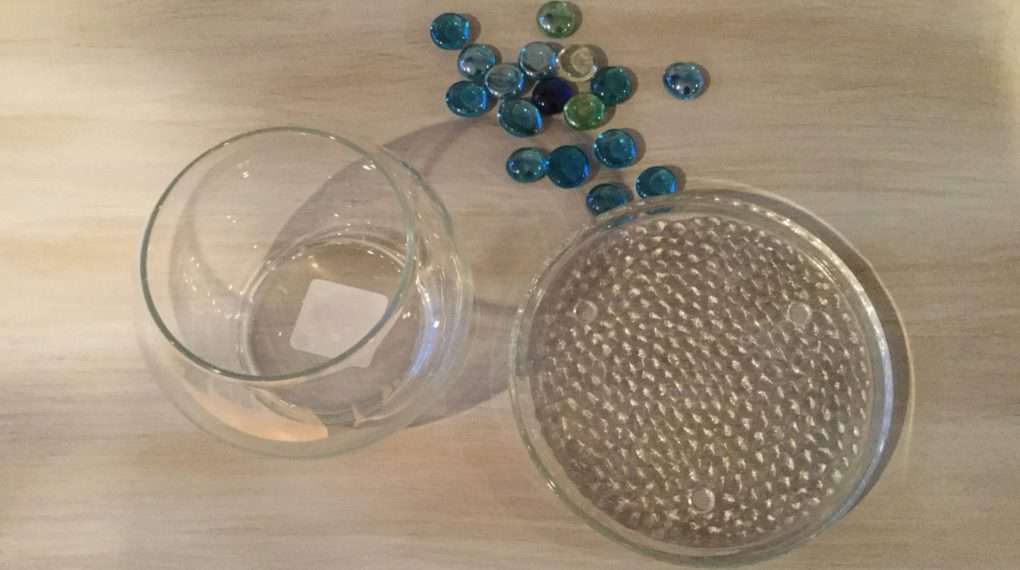
Materials needed to make your own gazing ball
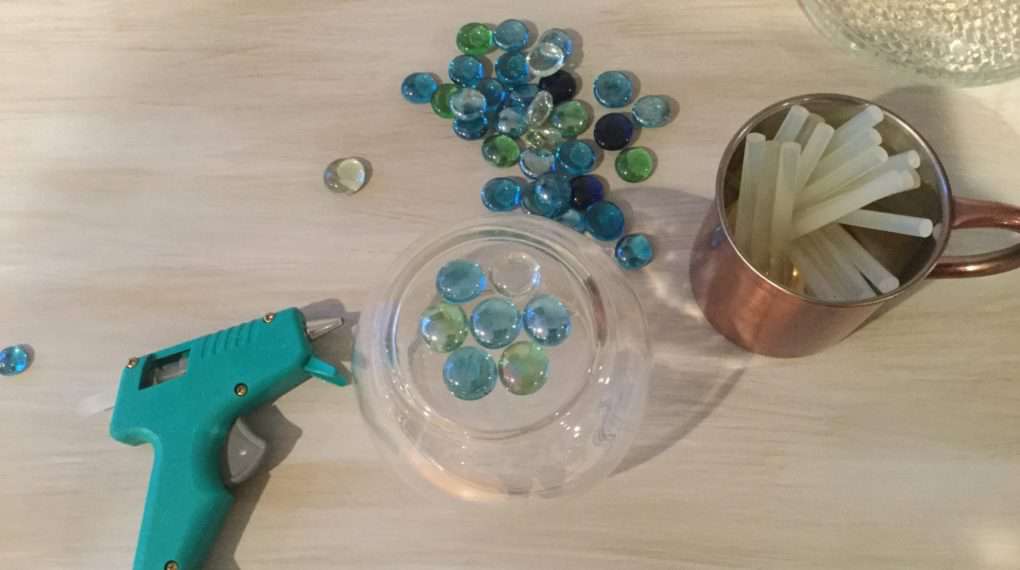
Instructions for making a garden globe
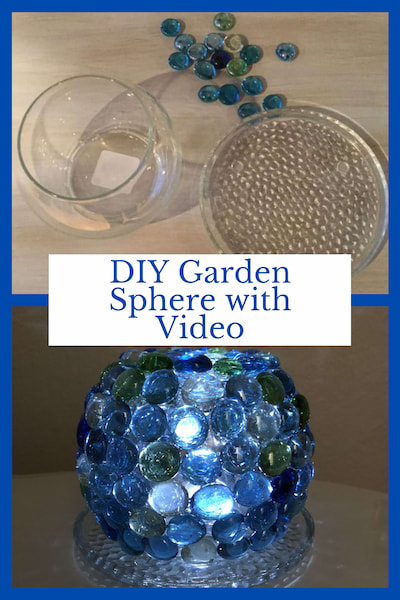
You’ll want a floral bowl, a flat candle holder base, and flat glass rocks.
Start by hot gluing the rocks onto the floral bowl. I did the bottom first.

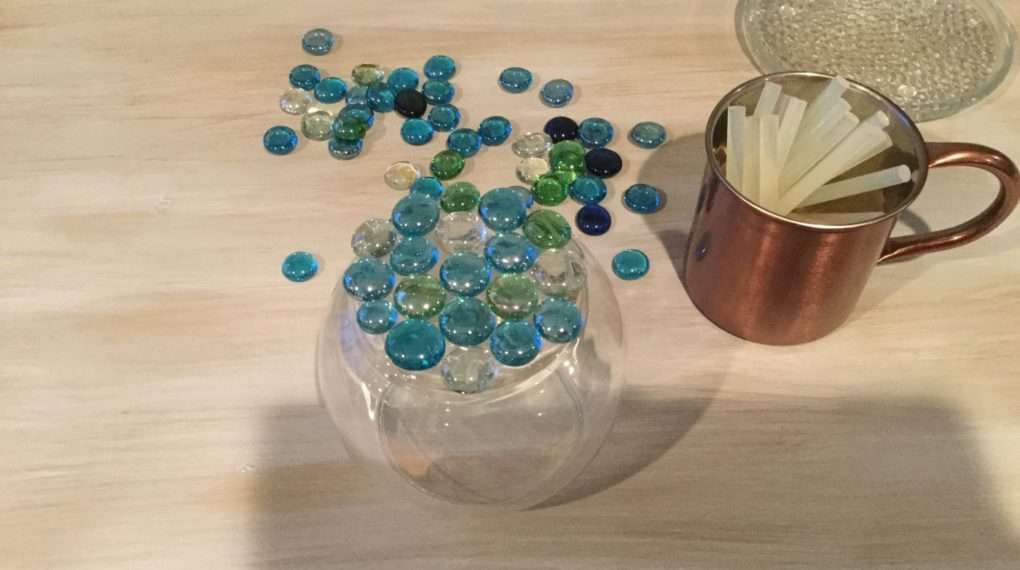
Here is what the bottom looked like when I was done. There were a few stones that hung a little over the edge. I wasn’t worried about that as I would be adding them to the sides and they would blend in after that.
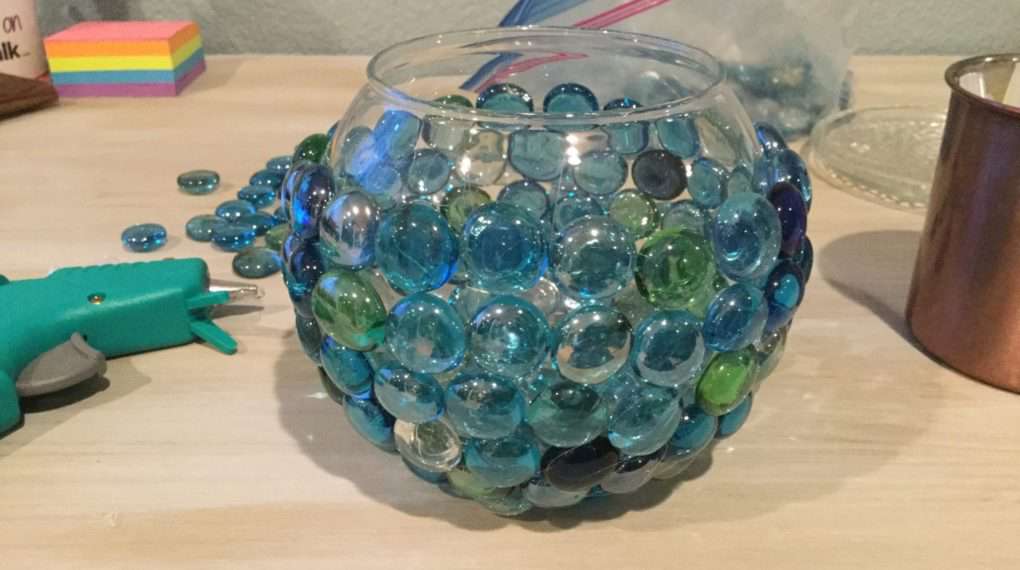
I next started on the bottom and glued the stones around the globe one line at a time. I didn’t worry if there were little spaces or gaps.

If you are going to leave it inside, you can stop here. If you want it outside you’ll want to pipe in E6000 or a glue of your choice. Sometimes if hot glue gets too hot or cold the rocks will fall off. The E6000 will hold up to the weather. The reason for not using this glue from the beginning is that is doesn’t hold immediately. It takes time to dry, so You would need to glue the rocks, tape them to hold them, then wait 24 hours, then do another row, etc. This is just a quicker way.

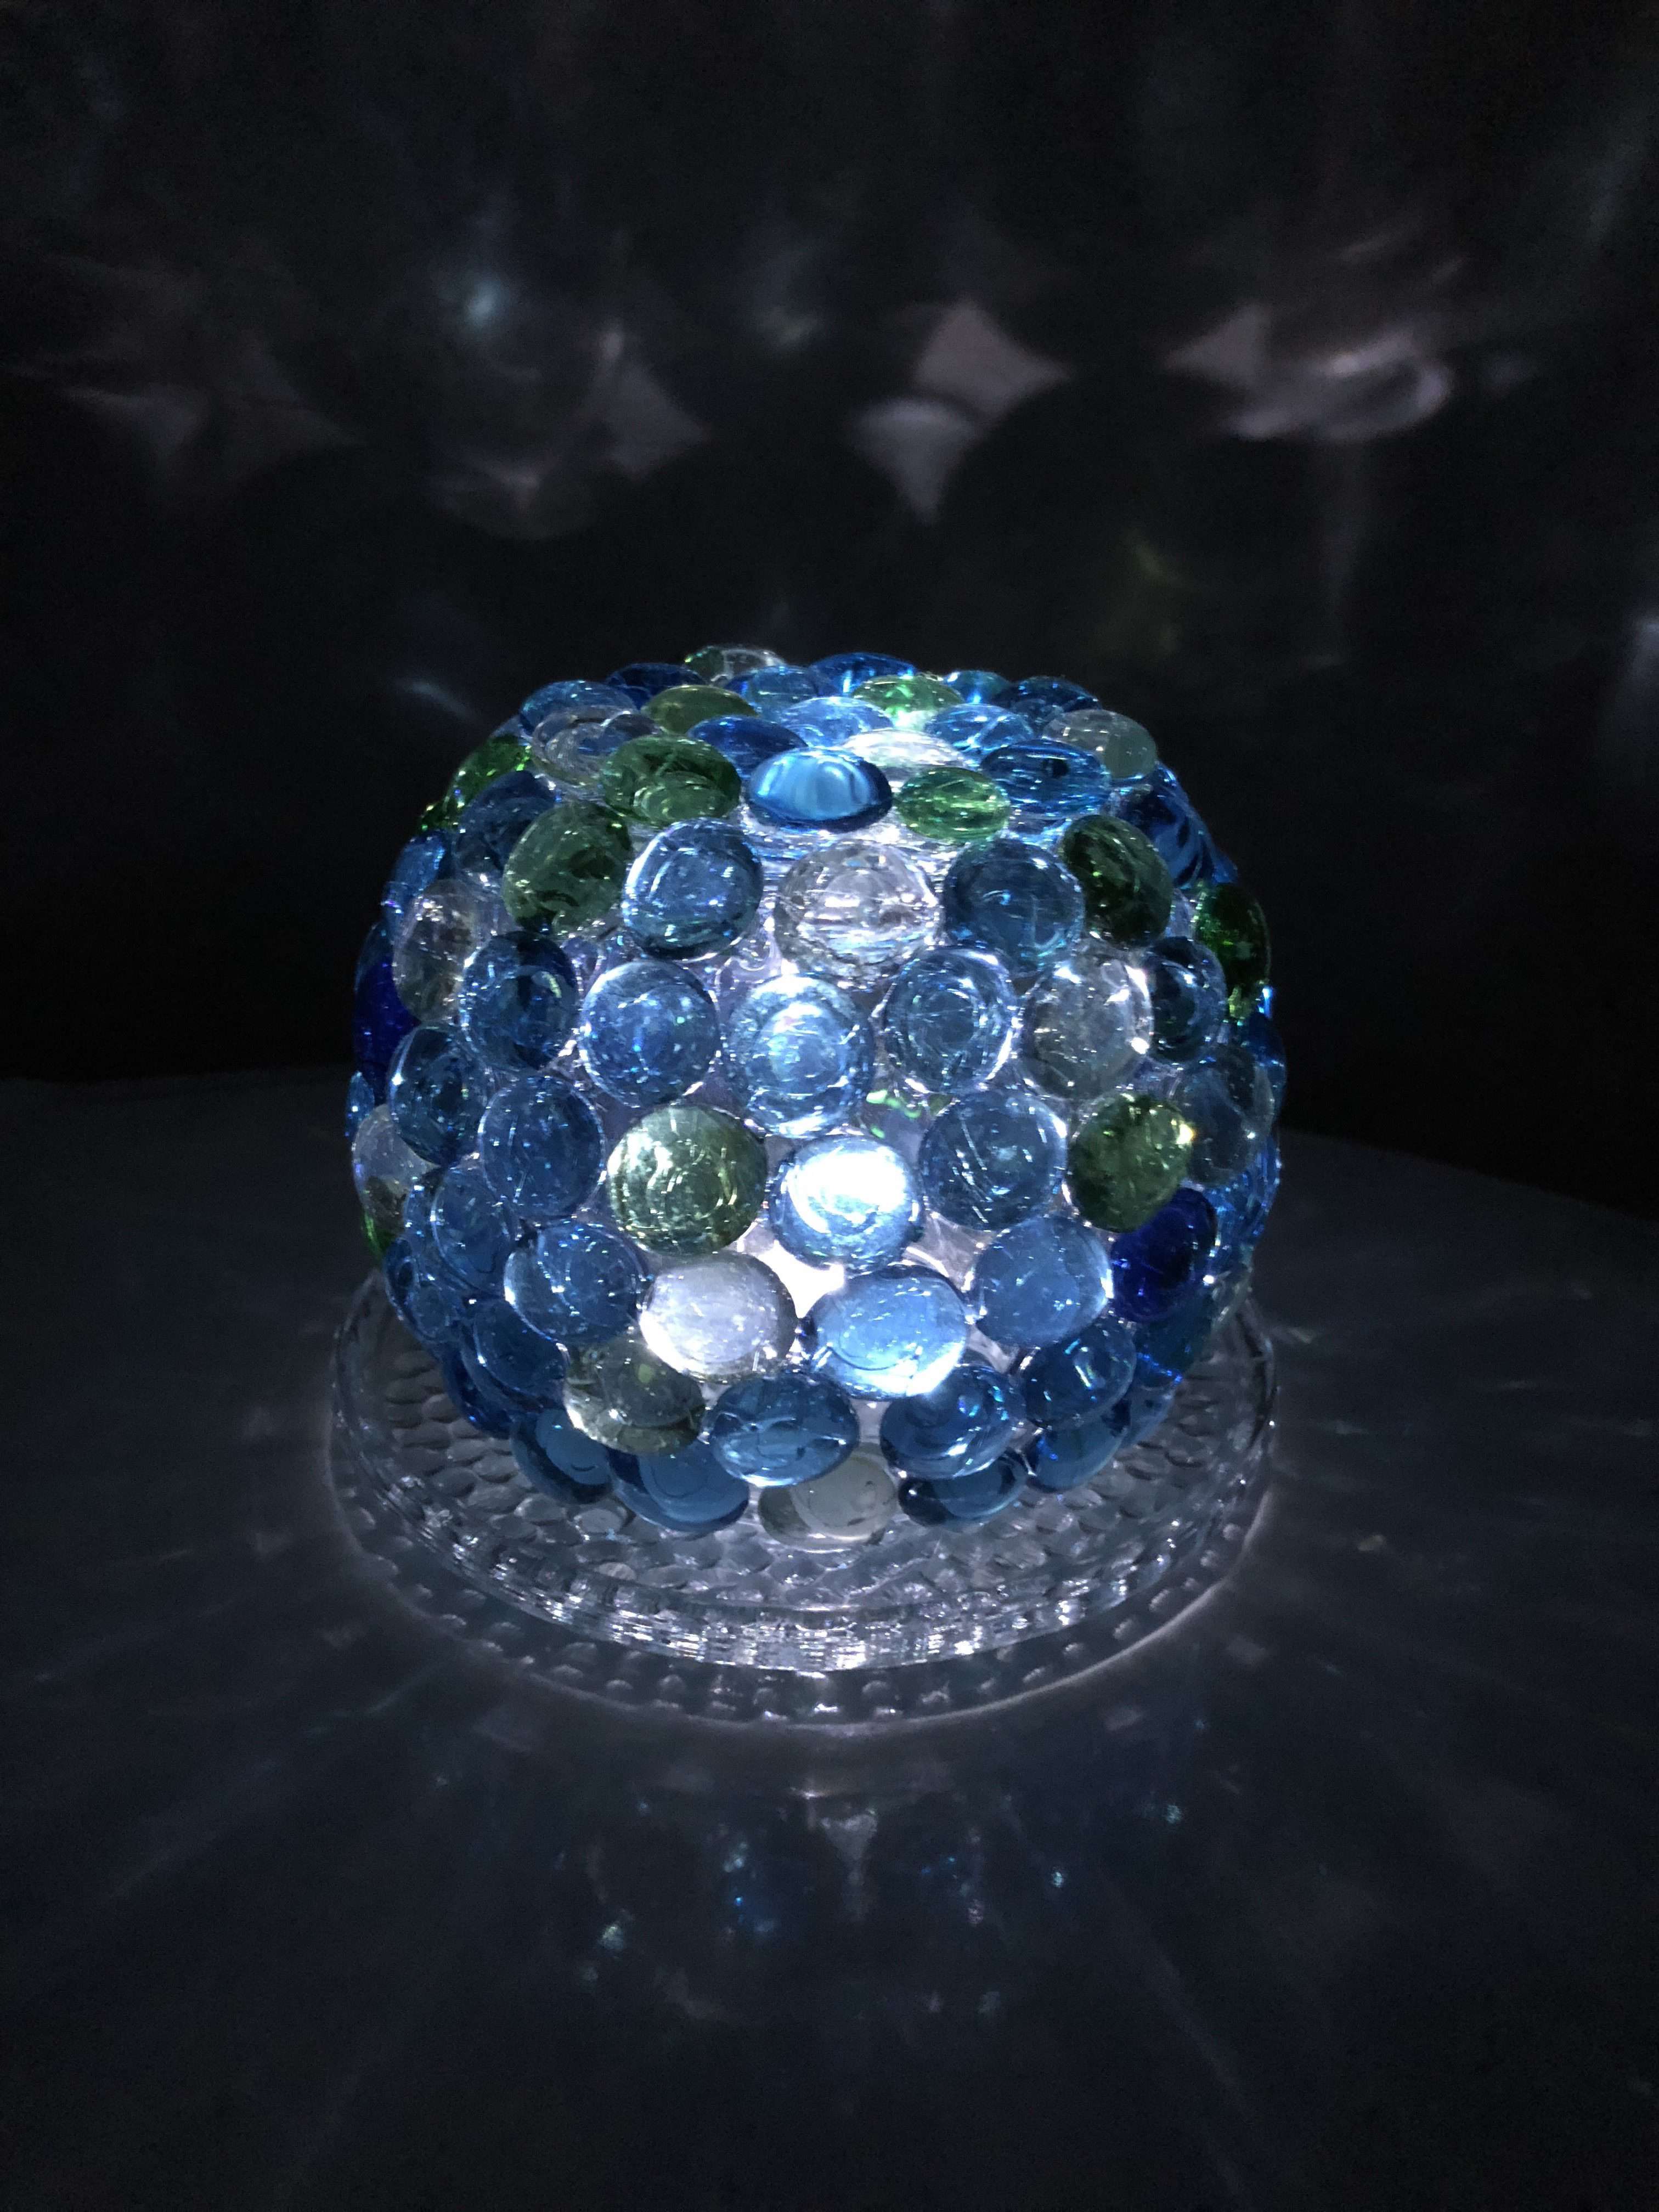
Let the glue dry completely and it’s done! Leave as is, or add a battery operated LED or tea light for some ambiance. I set mine on a flat pillar candle holder.
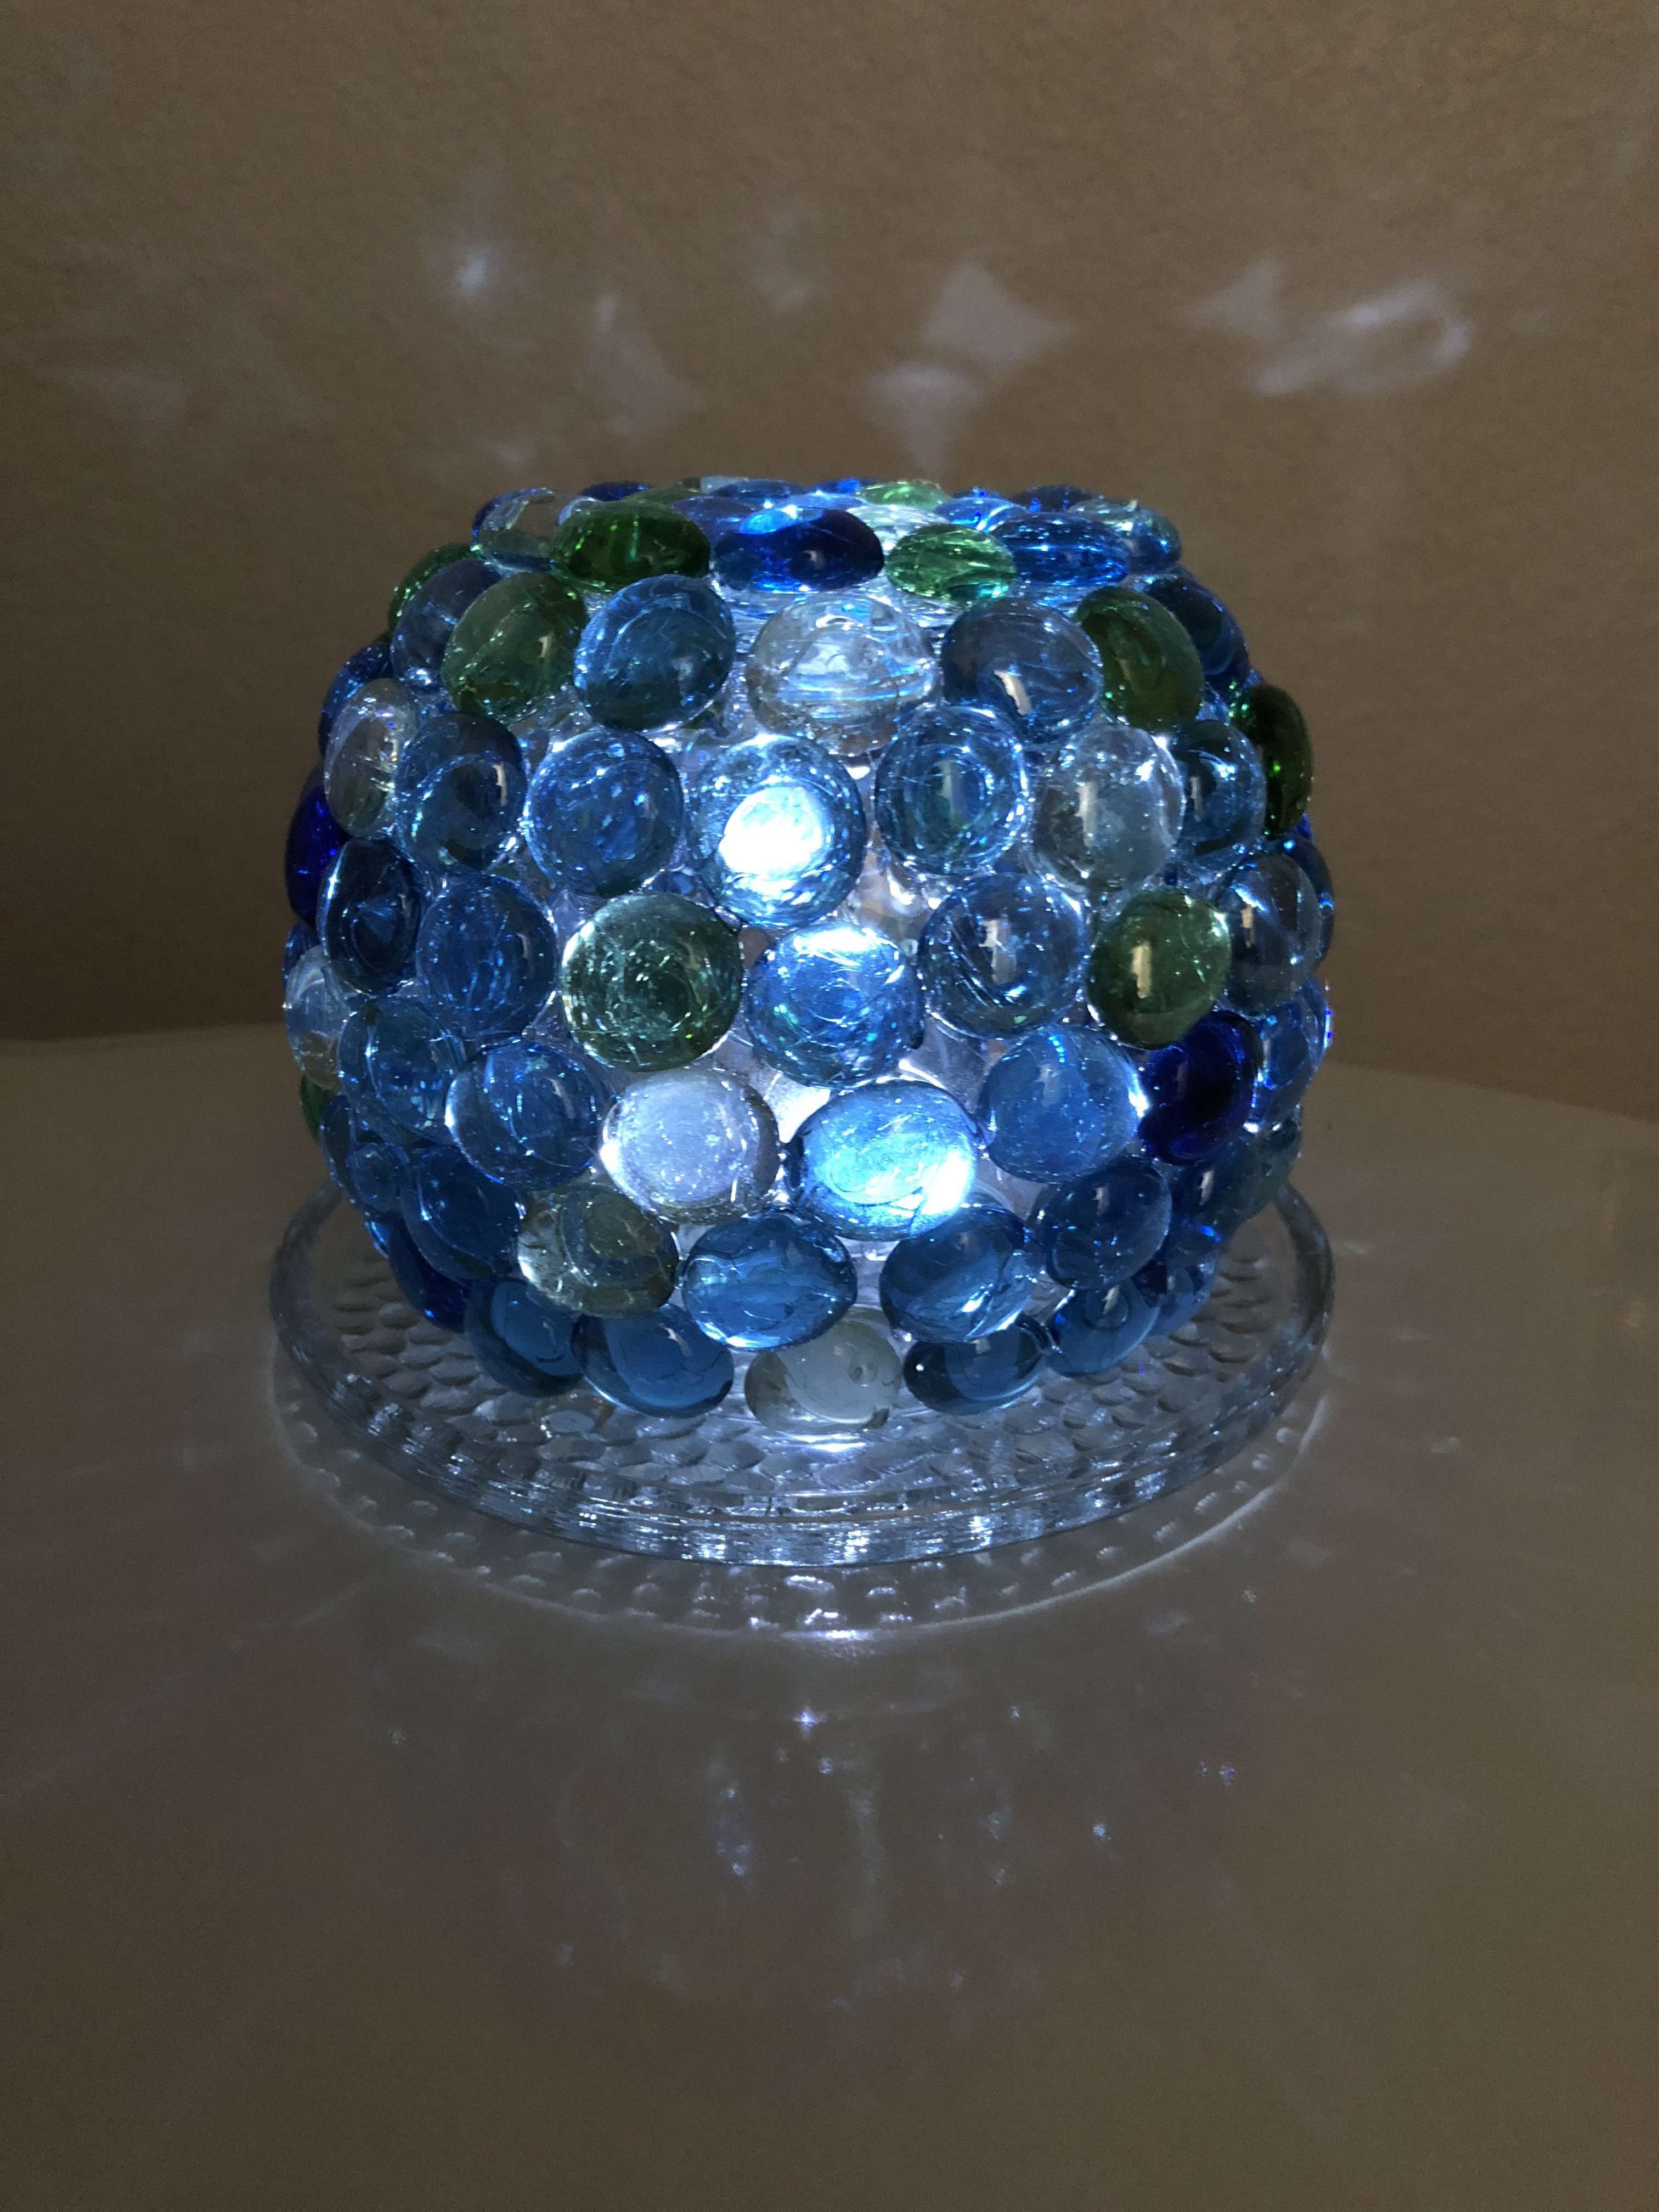
Here it is all lit up … I love it!
Find out “What Exactly Does It Mean To Repurpose Or Upcycle“, save money, and create the most amazing things.
DIY Garden Sphere Video
Floral Vase
Pillar Candle Holder
Glass Rocks
Glue Gun & Glue Sticks
E6000
LED light
Floral Vase
Pillar Candle Holder
Glass Rocks
Glue Gun & Glue Sticks
E6000
LED light
This particular version I’m placing on my table top. You can place them anywhere in your yard or garden.
You can see my full tutorial on this here 7 Easy Garden Globes & Gazing Balls
You can see my full tutorial on this here 7 Easy Garden Globes & Gazing Balls
Shop any of these stores and I receive a small commission at no cost to you.
 Rose Bowl and Flower Guide ...Shop on Amazon
 NUPTIO Glass Plate for Pill...Shop on Amazon
 CYS EXCEL Light Blue Stones...Shop on Amazon
 Gorilla Mini Hot Glue Gun K...Shop on Amazon
 E6000 Clear 1.9 Fl Oz Plus ...Shop on Amazon
 JINHEZO Submersible LED Lig...Shop on Amazon

Now check out my friends and their amazing outdoor projects!
How to Build a Garden Obelisk – Life at Bella Terra
Upcycled Mailbox – A Storage Cubby for our Vegetable Garden! – Grandma’s House DIY
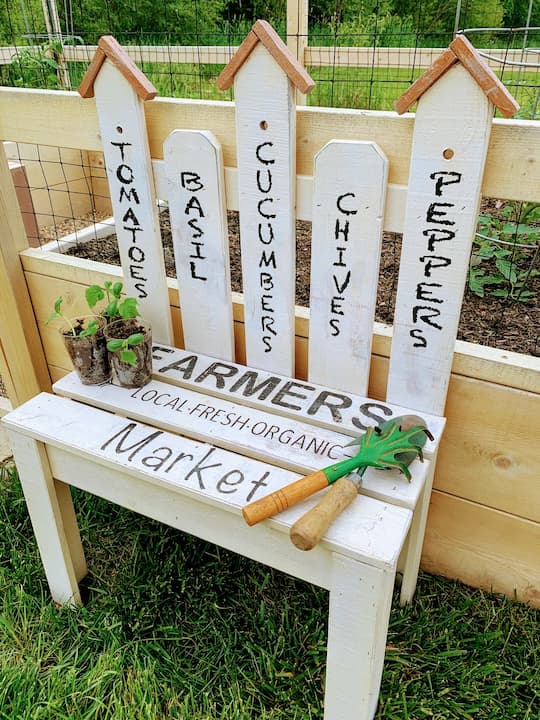
DIY Garden Bench Makeover – The House on Silverado

Inexpensive DIY Mud Kitchen – Health Home and Heart
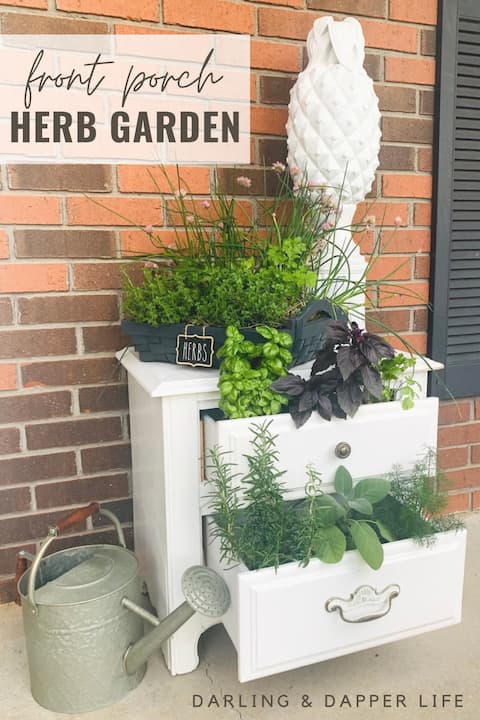
Front Porch Herb Garden – Darling and Dapper Life
DIY Garden Sphere with Video
Equipment
- Glue Gun & Glue Sticks
Ingredients
- Floral Vase
- Pillar Candle Holder
- Glass Rocks
- E6000
- LED light
Instructions
- Start by hot gluing the rocks onto the floral bowl. I did the bottom first.
- Here is what the bottom looked like when I was done. There were a few stones that hung a little over the edge. I wasn’t worried about that as I would be adding them to the sides and they would blend in after that.
- I next started on the bottom and glued the stones around the globe one line at a time. I didn’t worry if there were little spaces or gaps.
- If you are going to leave it inside, you can stop here. If you want it outside you’ll want to pipe in E6000 or a glue of your choice. Sometimes if hot glue gets too hot or cold the rocks will fall off. The E6000 will hold up to the weather. The reason for not using this glue from the beginning is that is doesn’t hold immediately. It takes time to dry, so You would need to glue the rocks, tape them to hold them, then wait 24 hours, then do another row, etc. This is just a quicker way.
- Let the glue dry completely and it’s done! Leave as is, or add a battery operated LED or tea light for some ambiance. I set mine on a flat pillar candle holder.
Video



So pretty, Chas! My daughter would love to help make one (or ten… 🙂 ) of these! Such a great idea! Thank you for sharing the tutorial!
Thank you so much Amy and I love that your daughter would make one of these 🙂
Another wonderful tutorial Chas! I love those colors on the gazing ball too – so pretty! Thanks as always for the inspiration!
Thank you so much friend, I’m thrilled you like it
I just love how this turned out! I too have fond memories of these from when I was little. I love the pop of color they add to an outdoor space. And a DIY version is right up my alley for sure. Great tutorial, thanks for sharing it!
Thank you so much Allison
Oh my goodness, that is so pretty! I would never have thought of this–what a good idea!
Niky @ The House on Silverado
Thank you very much Niky
Oh this turned out SO pretty! Its great hopping with you every month!
Thank you very much Tarah
I love the way it looks with the candle in it. Would be so fun for a garden party. Thanks for sharing!
Thank you so much Andrea, I just love how it glows 🙂
Chas, I’ve never heard of the E6000 glue…it will be interesting to see if it will hold up to our Phoenix summer heat. This is so pretty. I am going to make this for my garden. Thanks for the great tutorial!
Thank you so much, Mary and I’m thrilled you want to make one. Mine is 3-4 years old now and doing great 🙂