
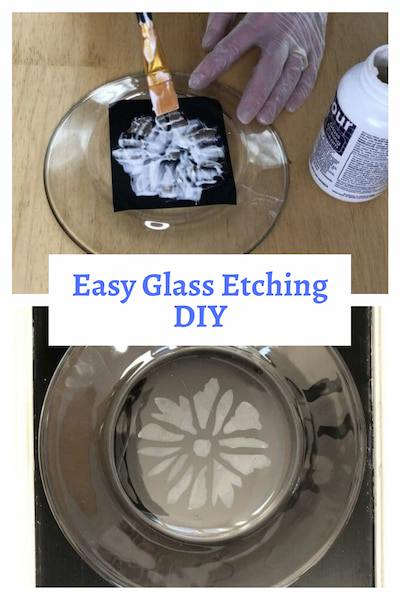
Easy Glass Etching DIY with Video
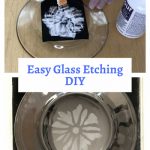
Did you know glass etching is so easy? With a few simple steps, you can easily customize dishes, candle holders, mirrors, and more with this easy technique.
Here are the materials you’ll need to etch glass
How do you etch glass?
Etching Glass Instructions
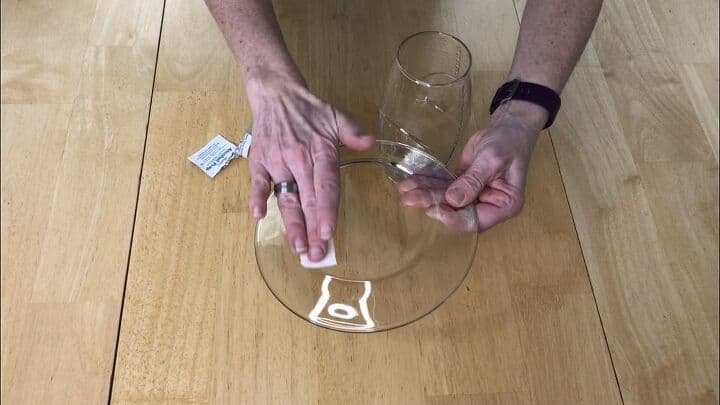
1. Clean the Glass
Wash your item you’ll be etching, let it dry, and then wipe the surface with rubbing alcohol to clean it from all oil, dirt, and debris.
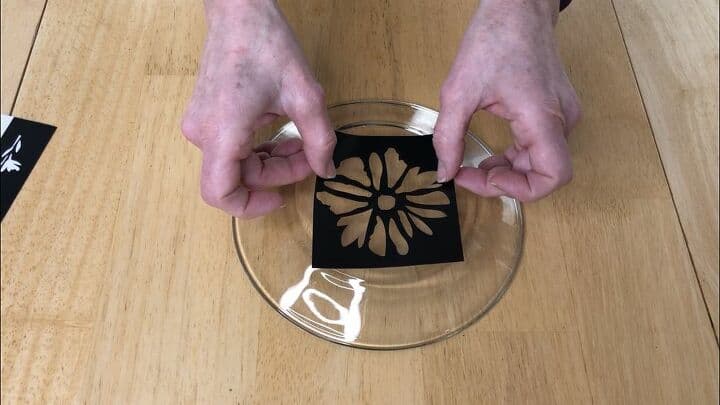
2. Add Your Stencil
I like to use adhesive stencils as it seals the areas you don’t want the etching cream to go.
If you want to use a regular stencil, you can always use a spray or liquid adhesive to hold those in place.

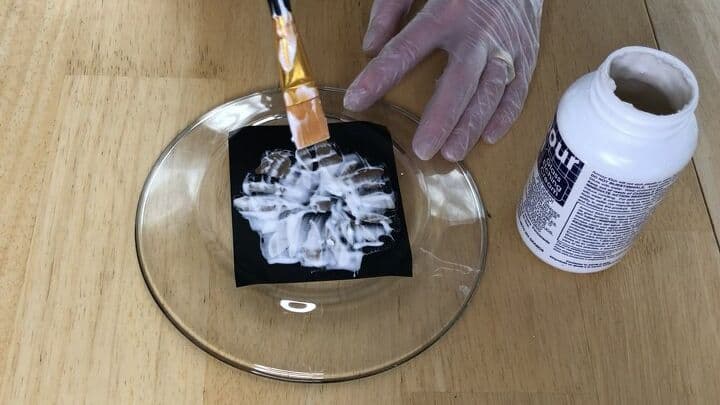
3. Apply Etching Cream
There are a ton of varieties of etching cream out there and many of them are good. This project I’m using Armor Etch. I recommend wearing protective gloves.
Apply the etching cream thickly, and once on smooth out as brush strokes will show up if you leave them.
Once applied, let your dish set according to your etching cream instructions. Most of the time it’s 10 minutes or more.
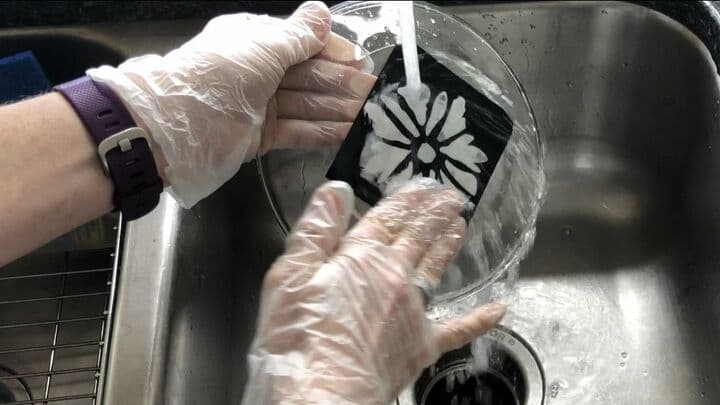
4. Clean off the Etching Cream
After the time is up, rinse off the etching cream. Place the dish under running water and rub with your fingers.
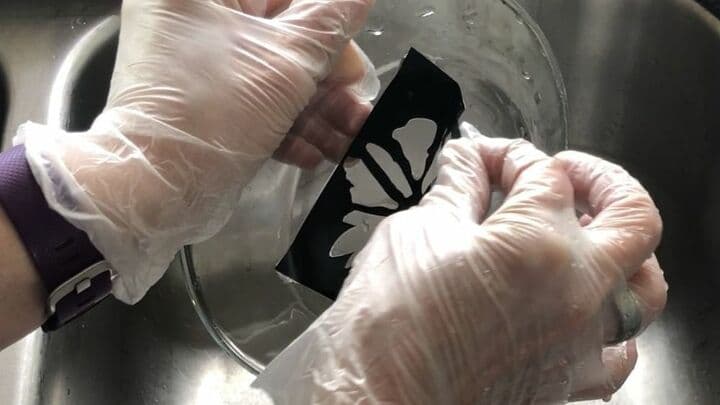
5. Remove the Stencil
Carefully peel off the stencil, and rinse off any remaining etching cream.
Clean your stencil and place it back on the adhesive baking it came on. These are reusable up to several times.
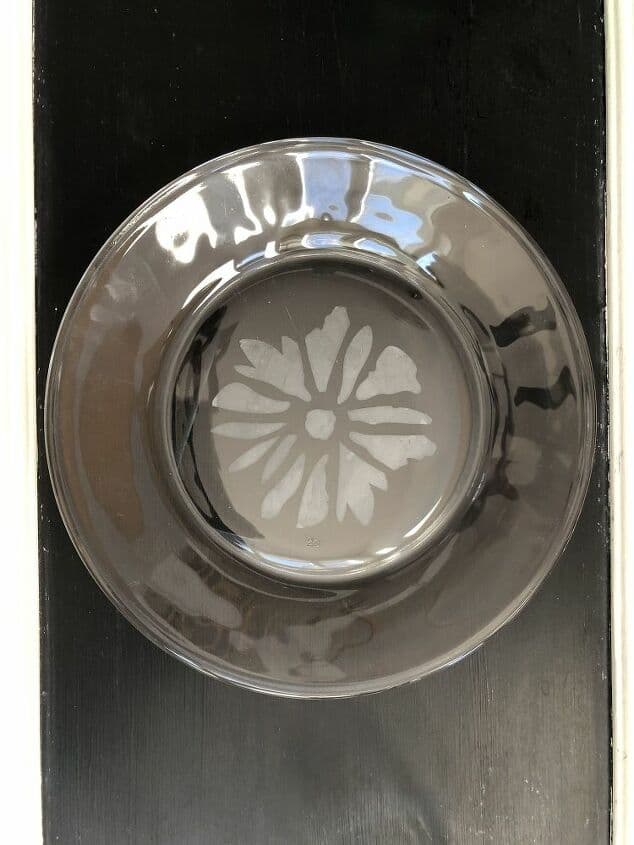
Once it’s cleaned and dry, it’s done.
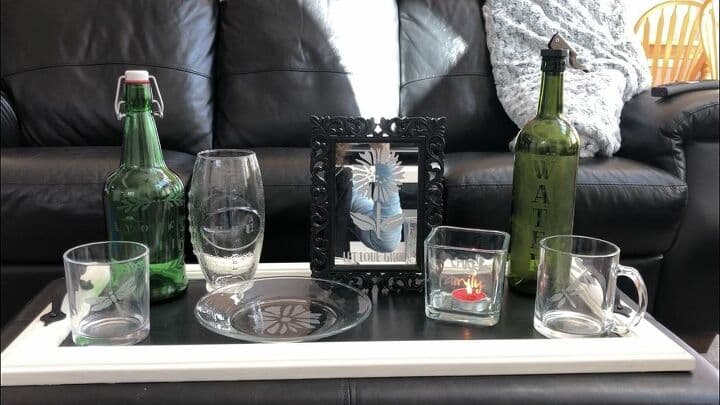
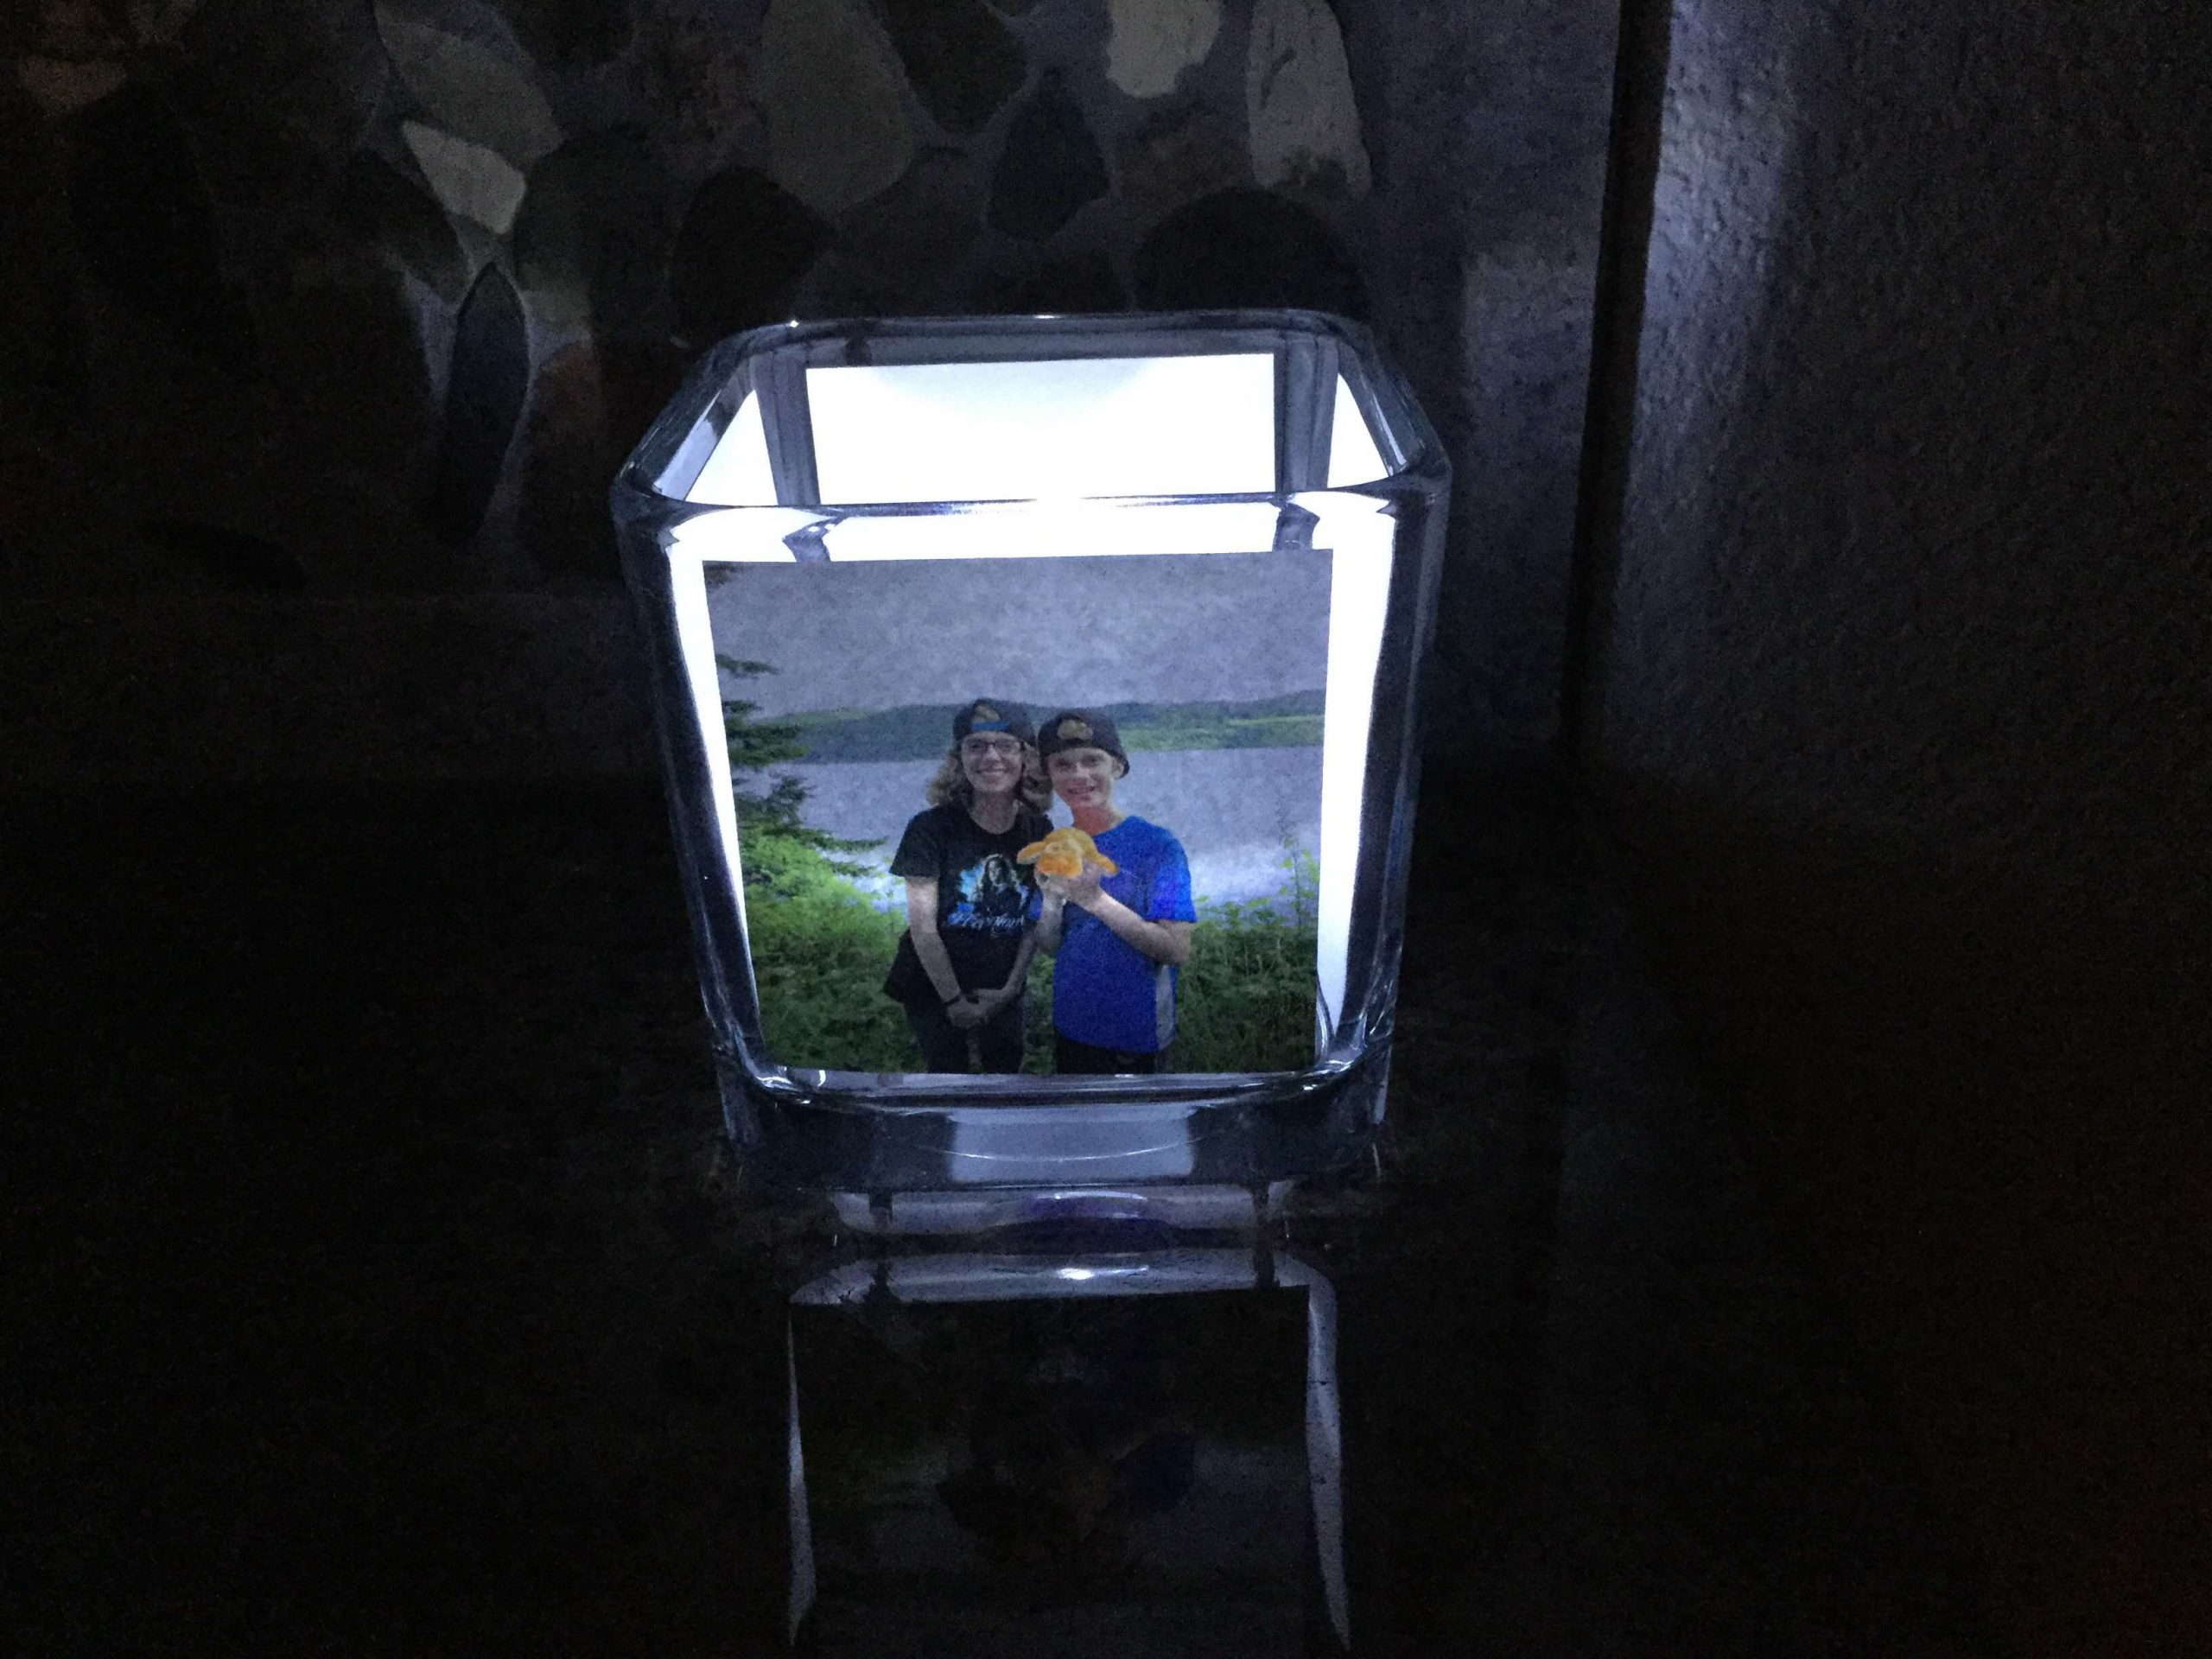
This is great for creating gifts. You can etch anything that is glass (mirrors included). Here are a few examples of things I have etched – recycled bottles, candle holders, dishes, mirrors, sun catchers, picture frames, etc.
Don’t want to etch glass? You might be interested in my Easy Graphic Transfers With Packing Tape
Find out “What Exactly Does It Mean To Repurpose Or Upcycle“, save money, and create the most amazing things.
You’ll want the following supplies
Glass or Mirror of your choice
Etching Cream
Rubbing Alcohol
Stencils
Paint Brush
I’m a huge fan of Armor Etch
No you cannot add color to etching cream. However you can etch colored glass.
Yes, if you buy a product like Armor Etch, it is permanent. If you are using it to etch dishes, you can put them in the dishwasher.
Easy Glass Etching DIY Video
Shop any of these stores and I receive a small commission at no cost to you.
 Armour Etch Glass Etching C…Shop on Amazon
 FolkArt Peel and Stick Sten…Shop on Amazon
,") Delta Creative Stencil Magi…Shop on Amazon
Delta Creative Stencil Magi…Shop on Amazon") FolkArt Plaid Nylon Brush S…Shop on Amazon
FolkArt Plaid Nylon Brush S…Shop on Amazon Safeguard Nitrile Disposabl…Shop on Amazon
EASY & AWESOME DIY GIFTS ON A BUDGET TO MAKE AND SELL Ebook
Do you love to make gifts for friends and family members? Would you like to personalize your gifts too? This book is for you! Over 30 DIYs gifts on a budget plus extra tips, tricks, eco-friendly gift wrapping ideas, and more!
So what are you waiting for?!!! Get your copy today and start creating!
Shop any of these stores and I receive a small commission at no cost to you.
Find out “What Exactly Does It Mean To Repurpose Or Upcycle“, save money, and create the most amazing things.
Don’t forget to link to ThriveCart – Book
Wow – who knew!?! Now that I found out about etching cream, I’m going to try some of your great projects. I’m thinking a whole line of M&T tableware … ??!! I’m sure that’ll make my fortune! 🙂 Thanks for the great inspiration Chas! Take care out there!
Thank you and I love that idea – once you start, the ideas keep coming 🙂
Chas, This is something that has been on my to do wish list!! Thanks so much for the great step by step and for linking up at Charming Homes & Gardens! I am excited to share you as my feature this week!
Thank you so much for the feature Kristin and I’m so happy you want to give it a try too. Once you start, you’ll have so many ideas – great gifts too 🙂
I love this idea! I am so glad you shared this creative post with the Charming Homes and Gardens Link Party!
Thank you so much Kim – I’m so glad you like it.
Such a great idea. Thanks for sharing with us at Charming Homes & Gardens Link Party.
Rachel
Thank you so much Rachel, I’m thrilled you like it.
This is one of those things I’ve always wanted to try and you make it look easy, Chas! Thank you for sharing at Party In Your PJ’s.
Thank you Ann and it is truly easy. There are so many possibilities with glass, mirrors, recycled bottles… so much fun to be had.
Thank you for sharing at #OverTheMoon. Pinned and shared. Have a lovely week. I hope to see you at next week’s party too! Please stay safe and healthy. Come party with us at Over The Moon! Catapult your content Over The Moon! @marilyn_lesniak @EclecticRedBarn
Thank you Marilyn, I’ll see you at the next party
I love how this turned out, Chas. I haven’t tried etching because I thought it was a much more involved process. Now, it’s on my to do list. Thanks for the great tutorial!
Thanks Beverly, it’s so fun and easy – you’ll love it and it will open so many possibilities!
love it, and yes etching glass is soooooo much fun! thanks for sharing on craft schooling Sunday!!
Thank you so much Sara and I’m thrilled you like glass etching too. So many possibilities right???
What a fun project.
Thank you Tamar
very cool thanks for sharing this technique with me
come see us at shopannies.blogspot.com
Thank you Angie
Chas, I’ve never used etching cream but it looks like a fun project. I will look for clear plates and cups when I out thrifting to try this medium out.
Thanks,
Rachelle
Thanks Rachelle, and I’m thrilled you want to try it. There are so many possibilities too.
How cool! I had no idea etching could be done at home.
Michelle
mybijoulifeonline.com
Thank you so much Michelle – so glad you like it.