
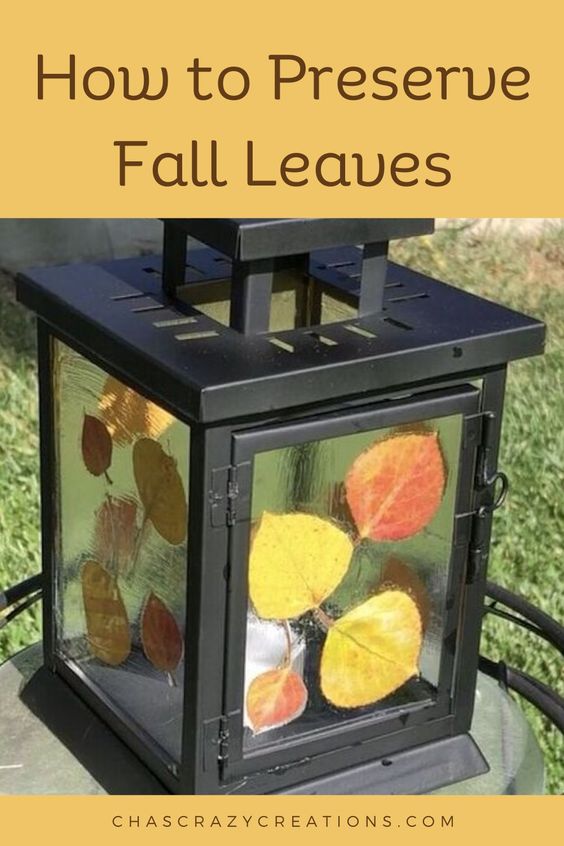
How To Preserve Leaves: Easy Step by Step Guide

Do you love the colors of fall foliage? Do you wish you could capture the reds, yellows and oranges of autumn? Here’s a way to preserve autumn leaves and I’ll be creating a fun lantern with them.
This is just one preservation method for dry leaves and I find it to be one of the simplest. I’ll include several other options after this first tutorial.
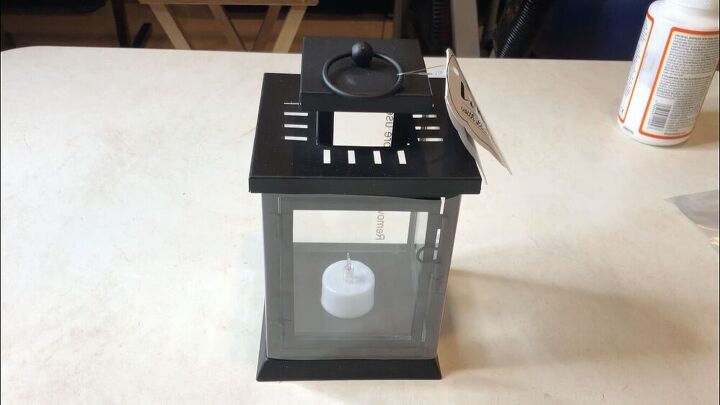
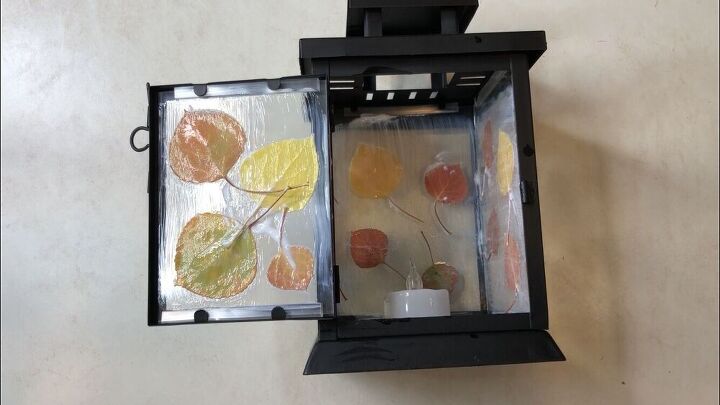
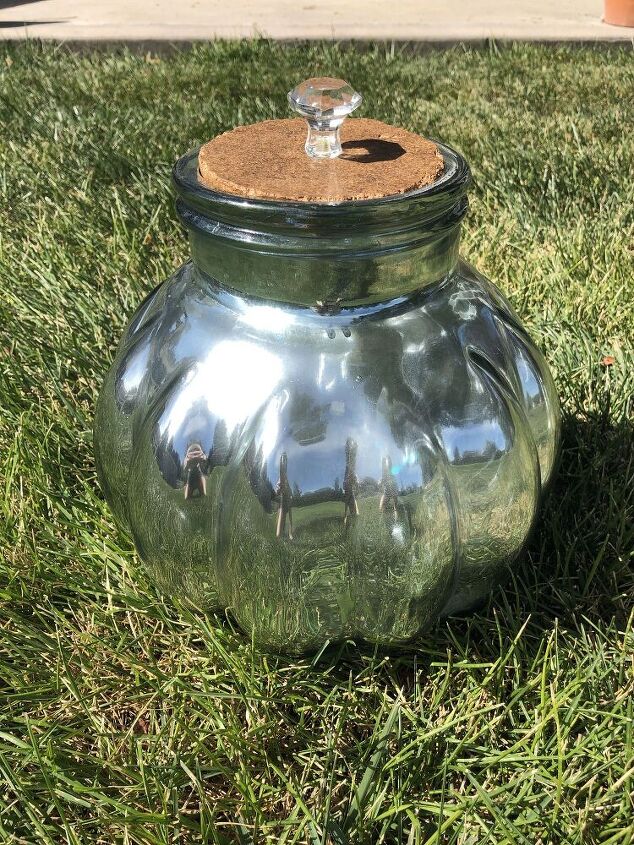
I found this lantern in the Target dollar spot section. It contained a battery operated tealight.
How To Preserve Fall Leaves Video
How To Preserve Leaves
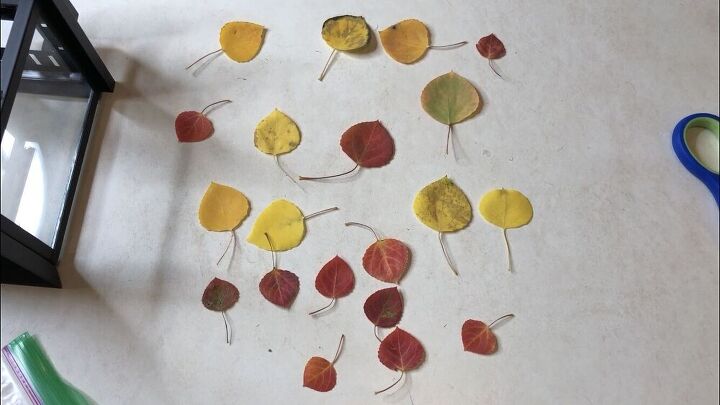
On one of my daily walks I started collecting fall leaves.

I’m originally from Minnesota where there are so many fall colors. Here in Colorado, we don’t have as many color options.
How do you preserve fall leaves as decor?
The key to this project is doing these next steps when the leaves are still “fresh and alive”. The color immediately begins to fade as the leaf dies, and they become more brittle.
Don’t want to use fresh leaves? No problem, you can use fake fall leaves for this project. You can find bags of fall leaves at any craft store.
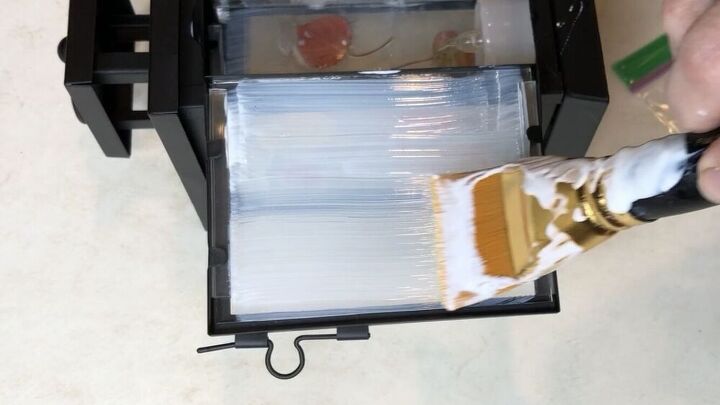
I painted Mod Podge onto the lantern glass.
You can do this on the inside or out, it’s really your preference. I went with inside.
Mod Podge goes on white and dries clear.
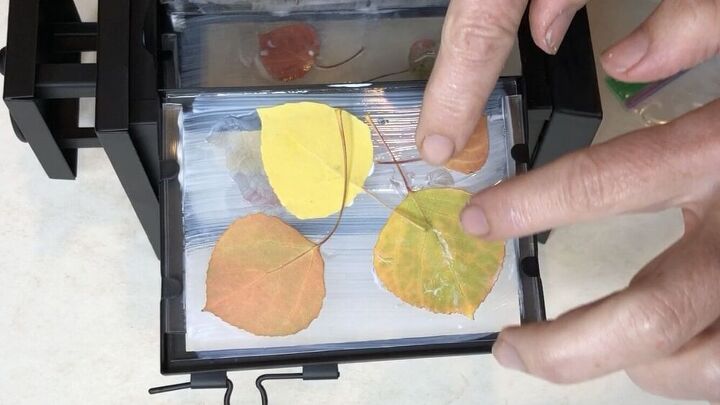
Next I placed the leaves onto the Mod Podge.
You have a lot of options when placing the leaves.
How many do you want on each section
What direction you want the leaves to be
Change up the shape, style, and color of the leaves.
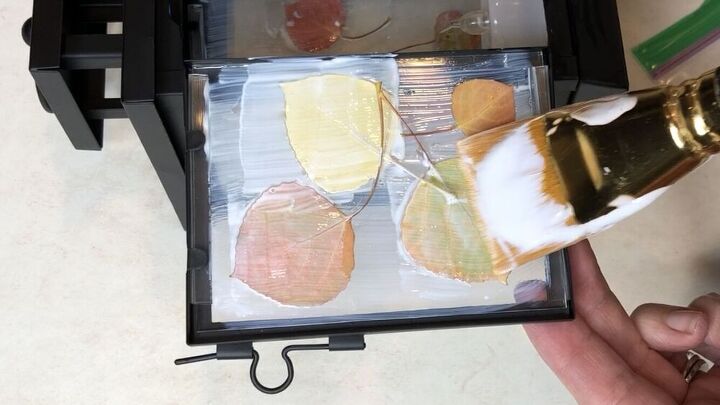
I painted another layer of Mod Podge over the top of the leaves.
Brush strokes do matter, so after you get the leaves in place be sure to run your brush from top to bottom. Another option would be to bounce your brush up and down to create a textured effect.
Once you have the top coat of Mod Podge painted on, let it dry completely.
This is the next key on how to preserve fall leaves. You’re sealing the leaves with the Mod Podge.
You can simply paint Mod Podge onto the leaves on both sides and let them dry to seal them. Then you can use them in so many decorations.
- Create leaf scatter
- Make a garland
- Display them in a bowl
Hang them with fishing line to create a falling effect, and you can see mine here – Natural Fall Decor With Leaves
Use them on a wreath, and you can see mine here – Natural Fall Wreath

Once my lantern dry, it was ready for display.

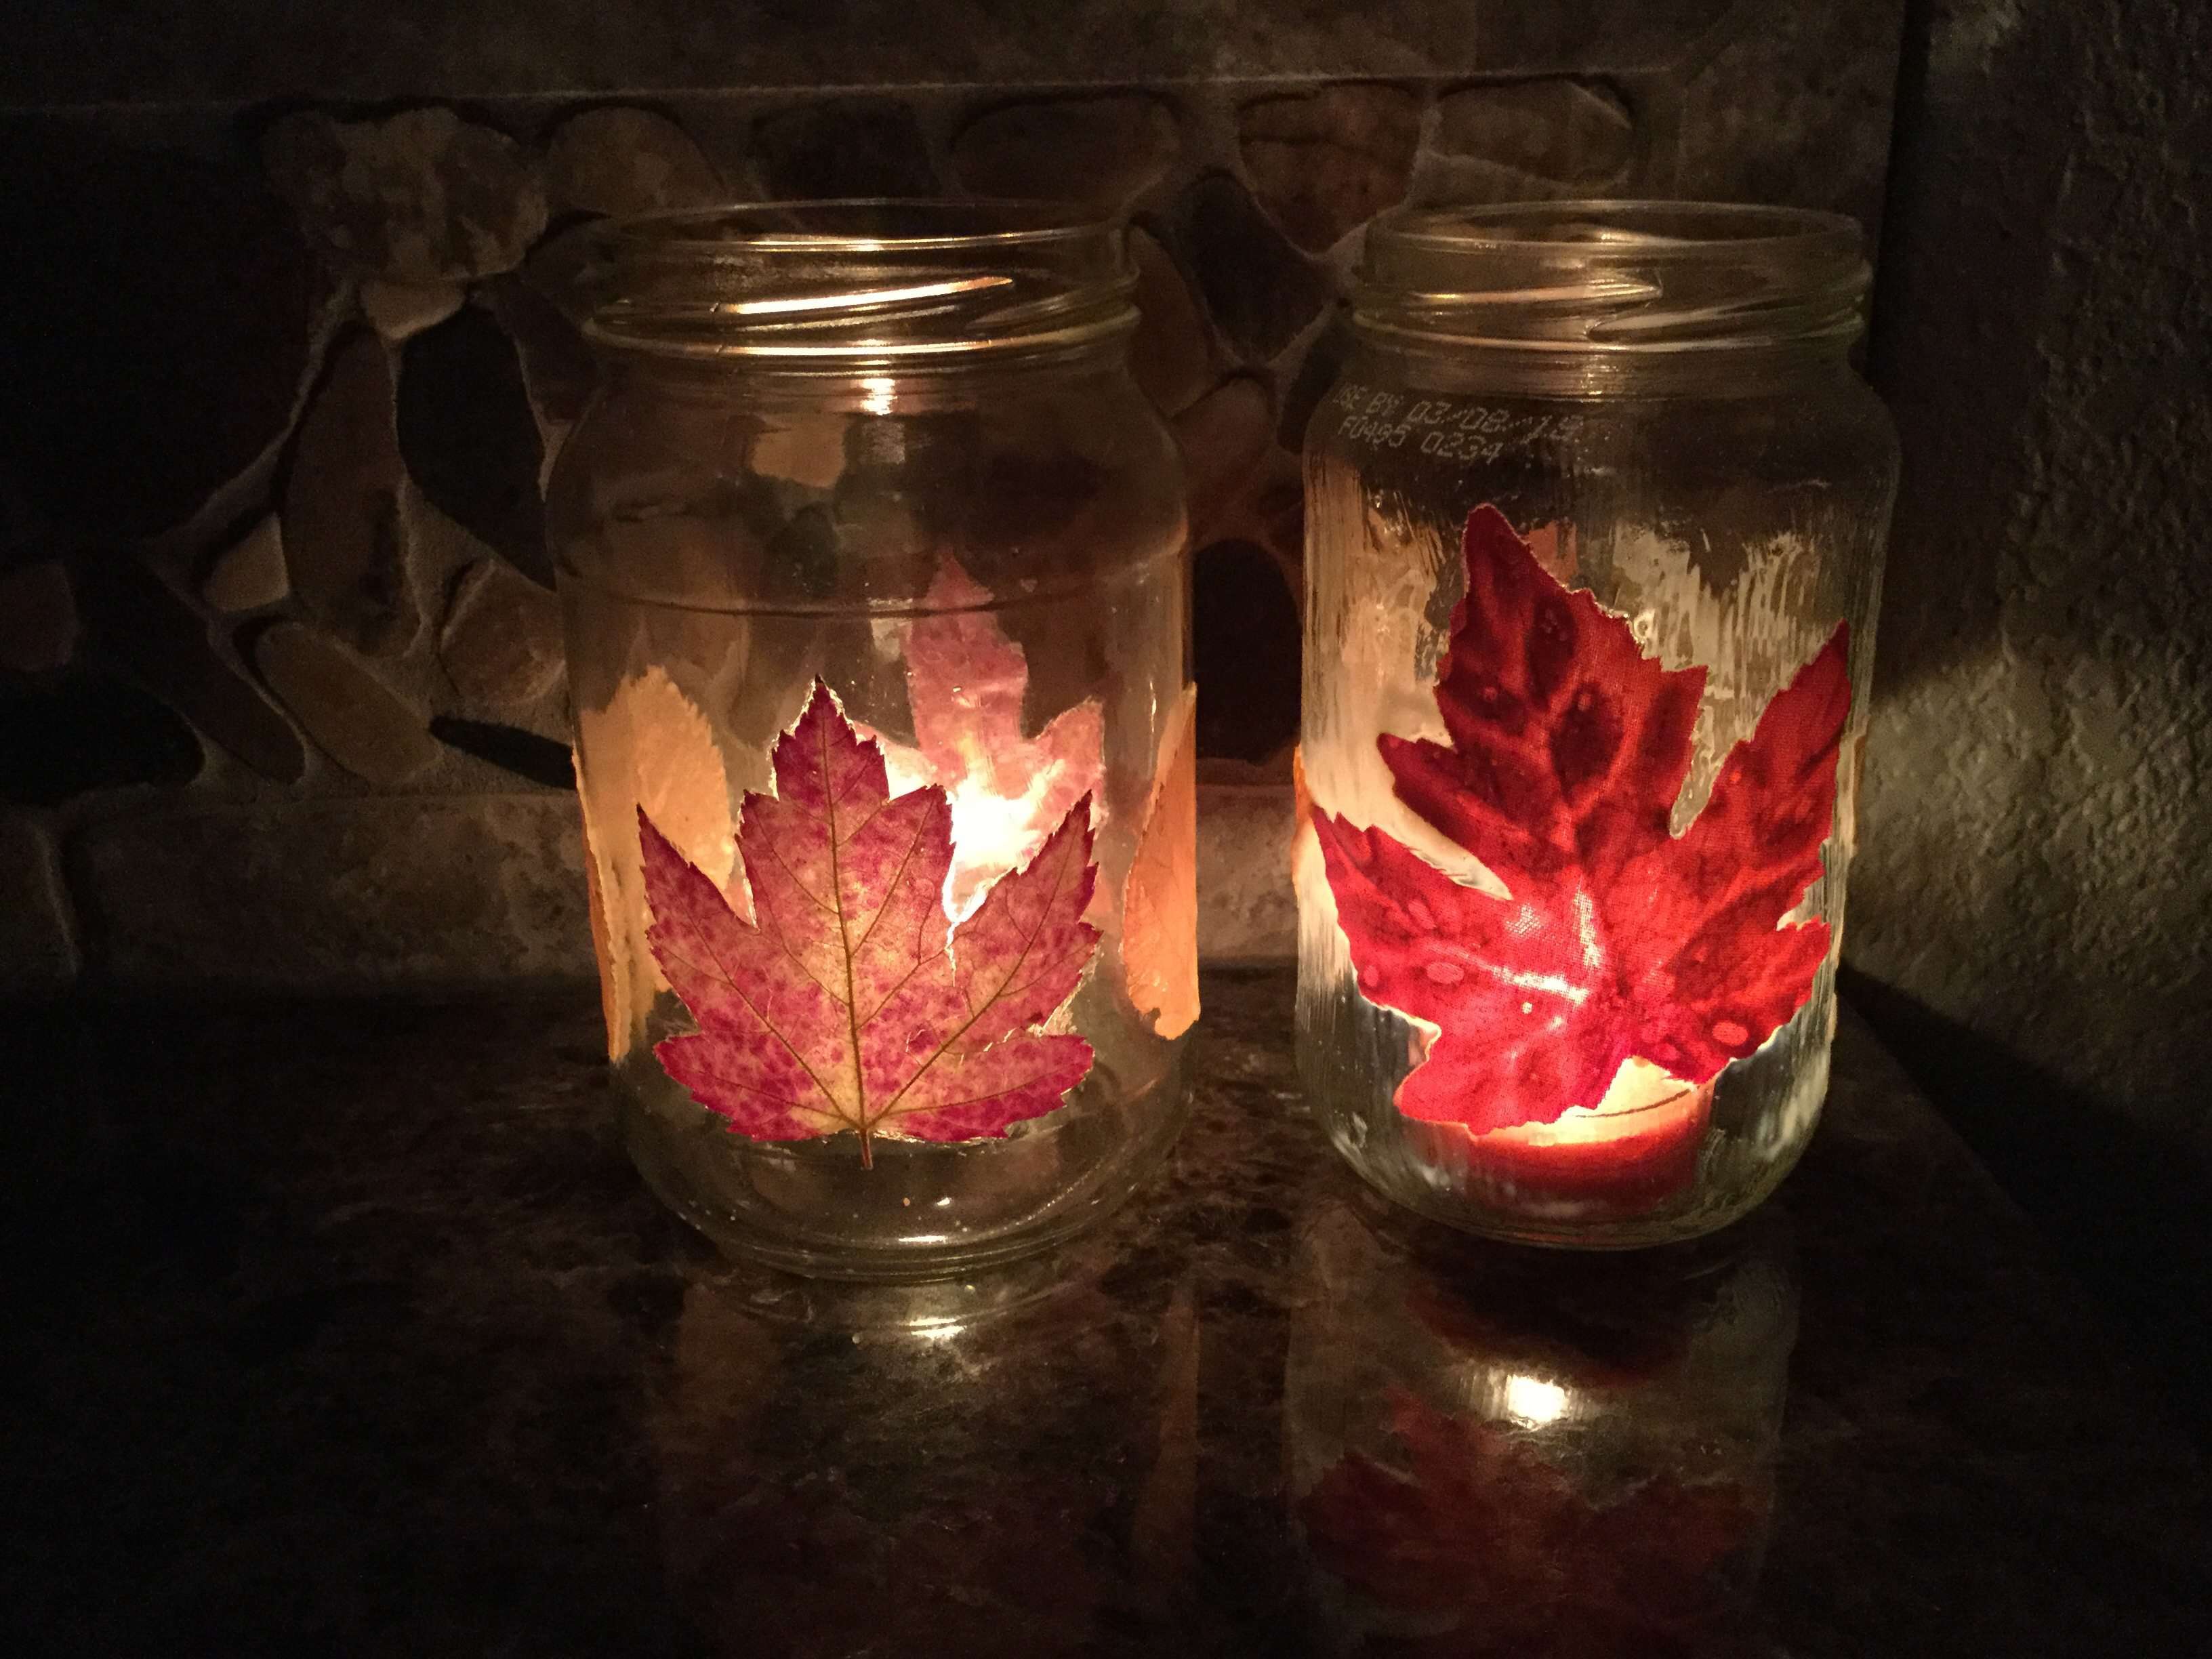
See how amazing the leaves look when the tealight inside the lantern is turned on?
The light just glows through the leaves and the colors are so beautiful.
HOW TO PRESERVE FALL LEAVES VIDEO
Shop any of these stores and I receive a small commission at no cost to you.
Shop here for How to Preserve Fall Leaves supplies

How to preserve leaves Q & A
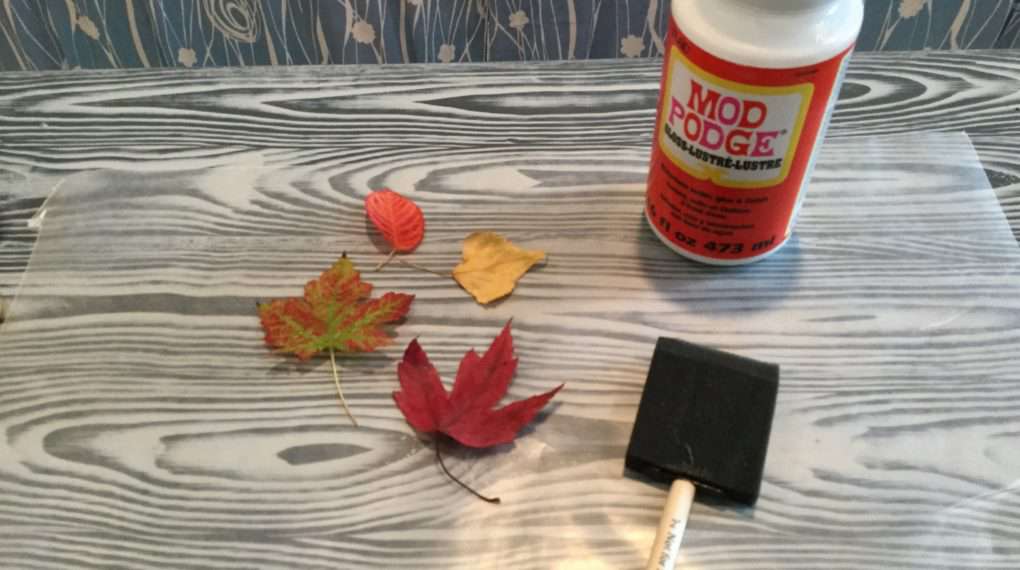
I like using Mod Podge because it is so simple, but there are several other leaf preservation methods.
1. Place leaves between sheets of wax paper and apply a hot iron.
2. Dip leaves in melted beeswax.
3. Place leaves between 2 paper towels and sandwich leaves between heavy books.
4. Soak leaves in a glycerin bath. Make a glycerin mixture with 2 parts water, 1 part glycerin.

Can you preserve leaves with hairspray?
Yes, you can preserve leaves with hairspray, but it might not be the most effective or long-lasting method compared to other preservation techniques. Hairspray can act as a temporary fix to help prevent leaves from drying out and becoming brittle, but it may not provide long-term preservation.
To preserve leaves with hairspray, you can follow these steps:
- Choose healthy leaves that are free from blemishes or tears.
- Lay the leaves flat on a surface covered with parchment paper or newspaper.
- Hold the hairspray can about 12-18 inches away from the leaves to ensure an even coating.
- Lightly spray the hairspray over the entire surface of the leaves. Be careful not to saturate the leaves, as excessive moisture can cause them to rot.
- Allow the leaves to dry completely. This might take a few hours, depending on the humidity in your area.
- Once dry, you can use the preserved leaves for decorative purposes or crafts.
It’s important to note that hairspray is not a professional method of leaf preservation. Over time, the hairspray may break down or become discolored, leading to the deterioration of the leaves. If you’re looking for a more effective and long-lasting method to preserve leaves, you might consider using a glycerin solution or pressing them between heavy books.
For long-term preservation, the glycerin method involves soaking leaves in a mixture of water and glycerin, which helps to maintain their flexibility and color. Pressing leaves between heavy books with absorbent paper is another common method that flattens and dries the leaves while preserving their natural appearance.
You can see my tips on using hairspray to preserve foliage here: DIY Hairspray Hacks
Can you preserve natural leaves?
Air dry and press method for drying leaves
- First collect your leaves – fresh ones are the best. Lay them on a paper towel.
- Put another paper towel over the top.
- Set a heavy book/dictionary, etc on top of the leaves to press them flat.
- Keep them like this for at least a week. Then check and see if they’re dry.
- If not, leave them there longer
- Once they’re dry they’re ready to use.
This process is easy however keep in mind that the leaves will be brittle.
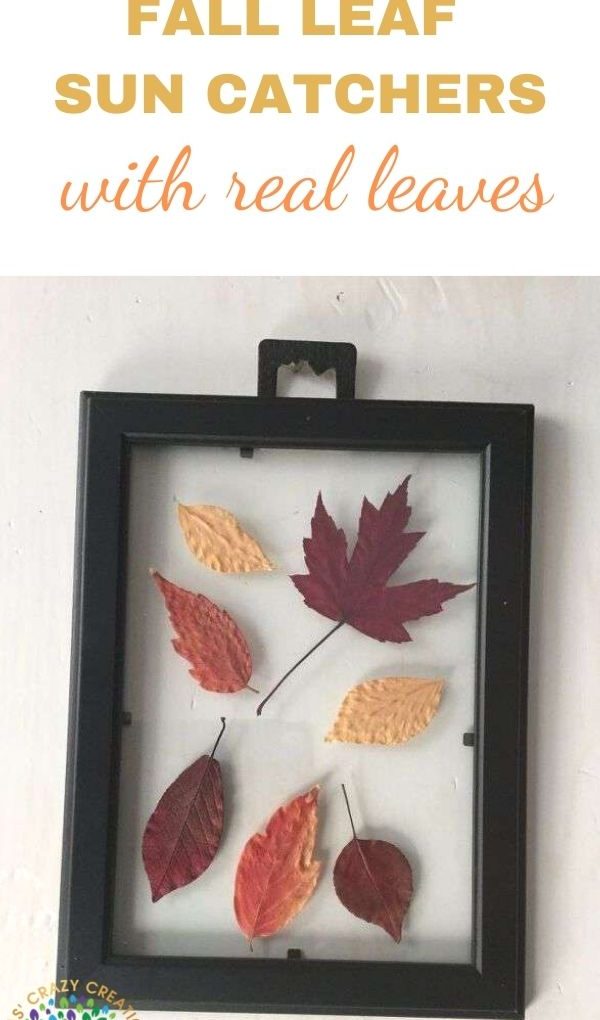
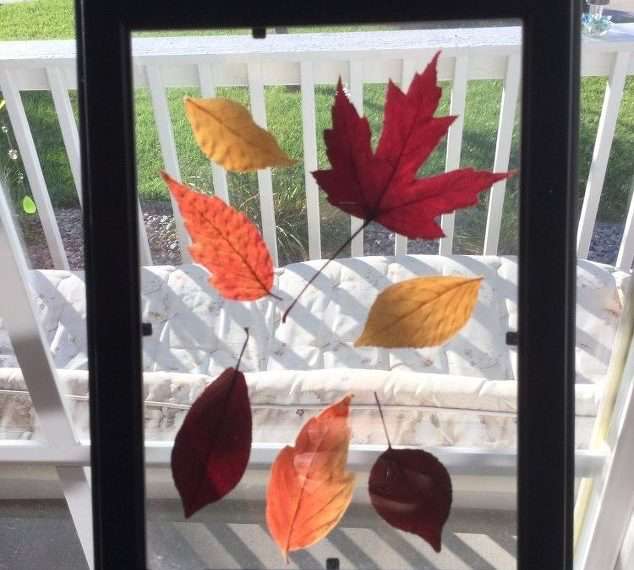
You can see the this tutorial turned into a suncatcher: How To Make A Fun Fall Leaf Sun Catcher
How do you preserve leaves and keep their color?
You’ll need to do this process as soon as possible after collecting the leaves. This will preserve the color the best.
- Collect freshly fallen leaves
- Add Mod Podge to the front and back of the leaves to seal them.
- Let them dry on a piece of wax paper, the leaves will curl and this is normal.
- Once the leaves are dry, if you would like to have them become flat again, press them between 2 pieces of wax paper under a book for 24 hours.
- Once the Mod Podge is dry the leaves are sealed and preserved.
You might be interested in a couple of DIYs I have done with this process of preserving leaves:
- Natural Fall Wreath
- Natural Fall Decor With Leaves
- Fall Candle with Leaves
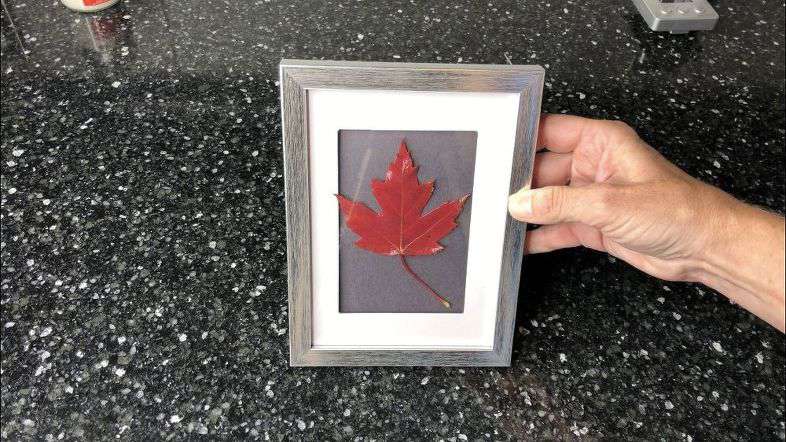
- Fall Leaves Framed 3 Ways
How do you seal leaves between wax paper?
How to Preserve Leaves with Wax Paper: Step-by-Step Guide
- Gather a selection of healthy and colorful fall leaves. Choose leaves that are relatively flat and not too thick, as thick leaves might not preserve well using this method.
- Place the leaves between the pages of a heavy book for a day or two to flatten and dry them. This step is optional but can help ensure that the leaves are flat and less likely to wrinkle during the preservation process.
- Lay out a sheet of wax paper on a flat surface. Arrange the leaves on the wax paper, leaving a bit of space between them to prevent sticking.
- Place another sheet of wax paper over the arranged leaves, creating a “sandwich” with the leaves in the middle.
- Set your iron to a low heat setting without steam. Place a thin cotton cloth or paper towel over the top layer of wax paper to protect the iron and leaves. Gently iron over the wax paper, applying light pressure and moving the iron in a slow and steady motion.
- Carefully lift a corner of the top layer of wax paper to check if the leaves are adhering to the paper. If the leaves are sticking properly and the wax paper looks transparent where the leaves are placed, they are adequately preserved.
- Allow the wax paper to cool completely before handling. Once cooled, you can trim around the edges of the wax paper to create a clean border if desired.
- Your preserved leaves are now ready to be displayed or used in various crafts. They can be used as decorative elements in greeting cards, bookmarks, or simply as seasonal decorations.


Gorgeous! thanks so much for sharing on craft schooling sunday as always!
Thank you so much Sara, I’m so glad you like it 🙂
Fabulous idea Chas! I’d love for you to share over at our weekly Wednesday Crafts Linky Party creativelybeth.com/
Have a great week!
Creatively, Beth
Thank you so much Beth, I truly appreciate it.
Chas, these are just gorgeous, and I love how you used them on the lantern. I had no idea about preserving them, only the old trick to stick them in a heavy book!
Thank you so much Chloe. I have done the flattening with a book method too. I just didn’t like how the color didn’t last… Mod Podge seals in that color and it’s awesome!
I love how this turned out! Fall leaves are so pretty!
Thank you so much Danielle, I am so excited you like it.
I recall doing leaf projects where we ironed leaves between layers of wax paper thanks for sharing your project a new twist that we may just try out this year
come see us at shopannies.blogspot.com
Thank you for sharing Angie, and I am thrilled you like the project.
Another great project Chas! I’ve always wanted to preserve fall leaves.
Thanks Kim, I love the glow that comes through them. So warming 🙂
I’m looking forward to seeing more of these beautiful Fall lanterns all across your porch – that would look so pretty!
Thank you so much Jayne, I’m thrilled you like it and I can’t wait to make more 🙂
Very clever project.
Thank you so much Anita
So pretty. I love fall leaves. 🙂
Thank you so much Linda, and I have the acorns you sent me out on display again too 😉
LOL Sweet! 🙂
This is such a fun and easy idea! What a great way to use fall leaves…Again, another Chas winner!
You are just so kind Mary, thank you so much! I love preserving fall leaves and using natural things to decorate in the fall. So inexpensive and easy (plus you don’t have to store them).
Very nice idea! Autumn is my favorite season
Thank you Pat, it’s my favorite too 🙂